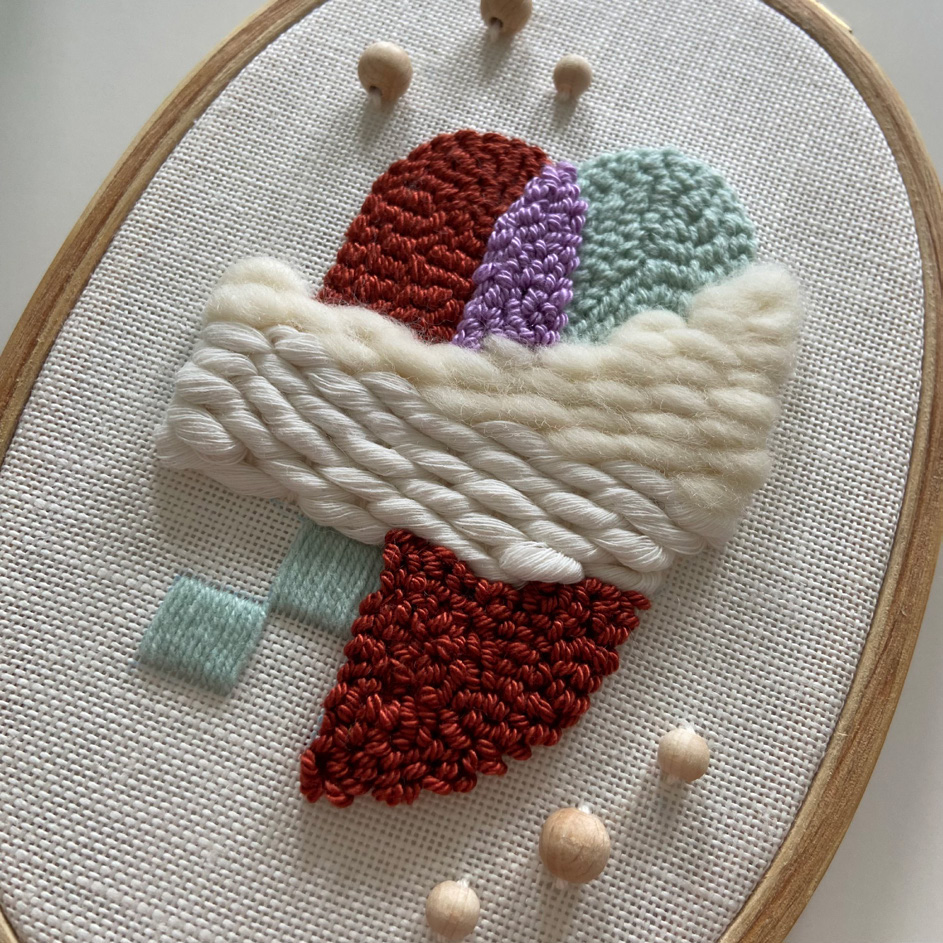
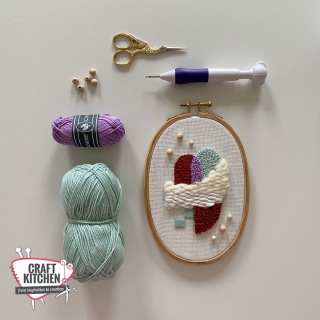
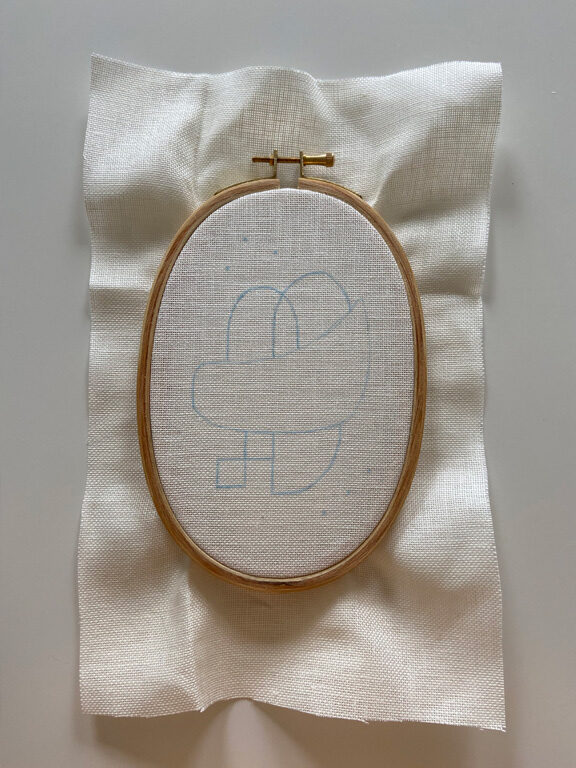
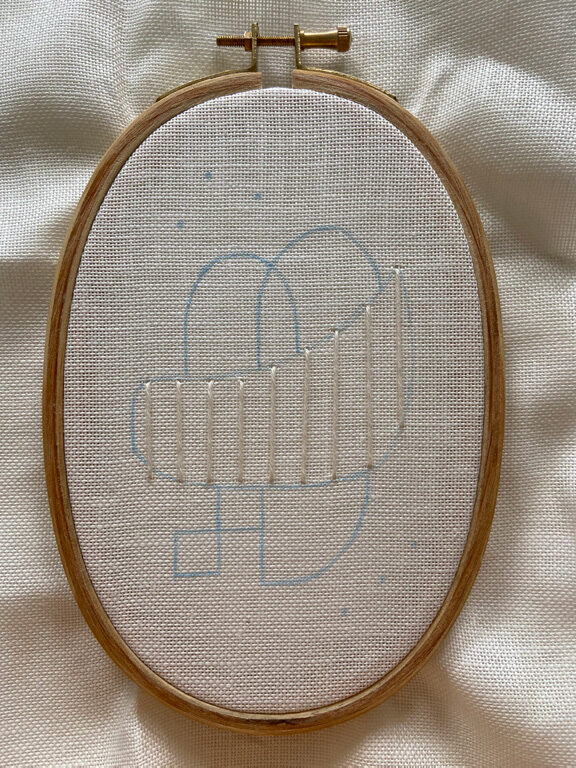
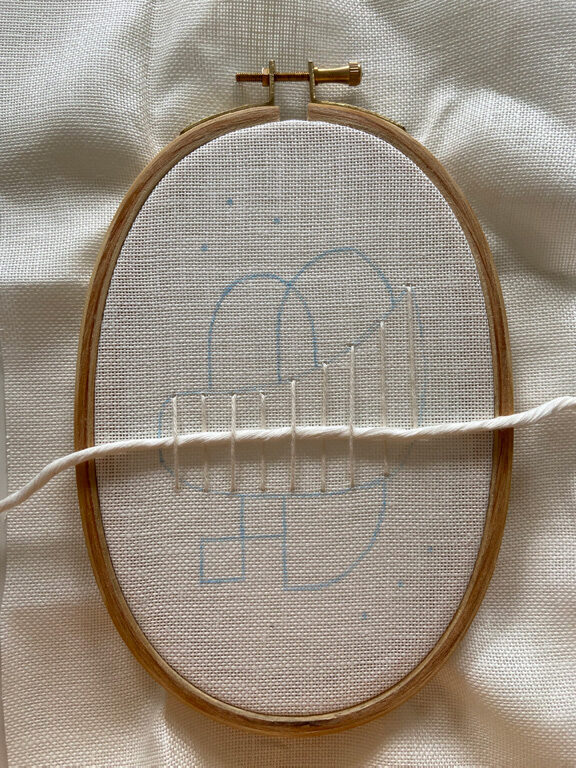
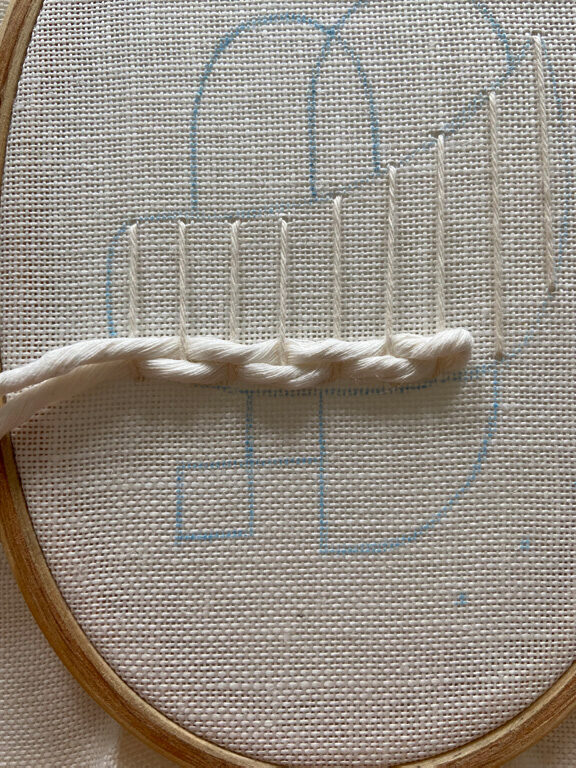
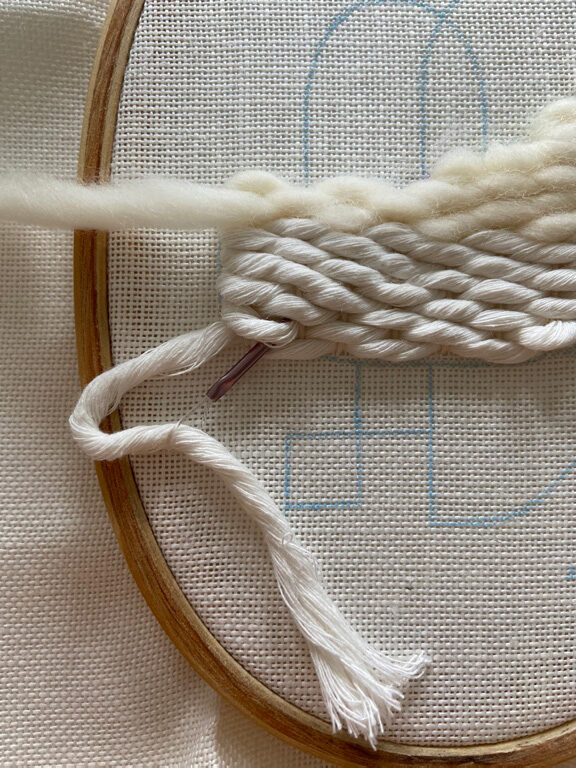
Borduurring Abstract

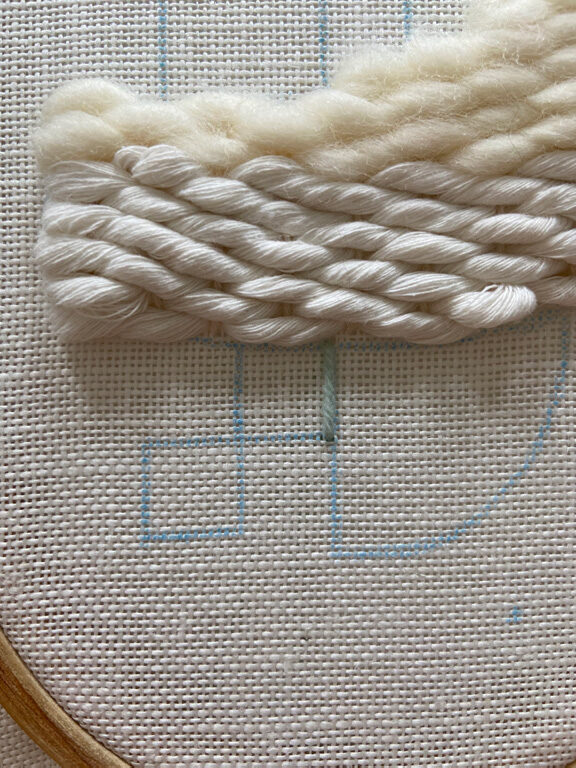
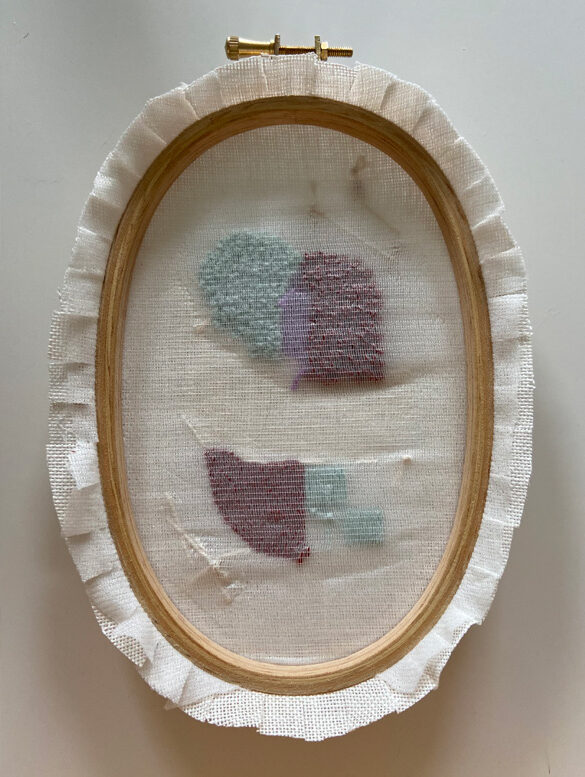
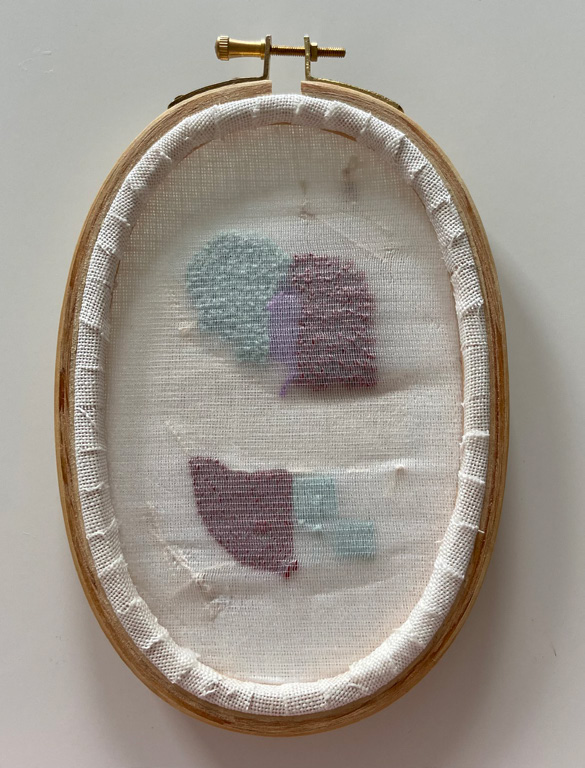
Why choose between embroidery, punching, or weaving when you can combine these three techniques in one embroidery hoop? By alternating thin and thick yarns in different colors, each design becomes unique! Dig out your yarn scraps and get started right away!

Supplies

  • Durable Rope, art. 010.87 color 326 Ivory
  • Durable Chunky, art. 010.68 color 326 Ivory
  • Durable Knitting Cotton No. 8, art. 010.1.8 color 087
  • Durable Cozy extra fine, art. 010.80 color 2137 Mint
  • Durable Coral mini, art. 010.71 colors 261 Lilac, 2239 Brick
  • ReStyle Linen embroidery fabric, art. 078.303ZB color 089
  • Pentacolor Wooden Beads 6mm, art. 043.H4335
  • Pentacolor Wooden Beads 8mm, art. 043.H4336
  • Gütermann Textile Glue, art. 002.639820
  • DMC Embroidery Hoop Oval, art. 074.U2107
  • Antex Embroidery fleece, art. 025.238105
  • Prym Punch needle, art. 022.611708

Other supplies

Dimensions

20 x 13 centimeters

Work description

Step 1

Cut a piece of fabric large enough to fit in the hoop. Print the template (or get started with your own design!) and trace the design onto the front of the fabric with a water-soluble pencil or pen. Then stretch the fabric tightly in the embroidery hoop (see photo 1).

Step 2

The technique we start with is weaving. Cut a 1 meter piece of the ball of Durable knitting cotton and take your embroidery needle. Make a double knot at the end of your thread and pull the thread through the eye. Starting at the bottom left corner of the shape, take your needle and insert it through the back of your fabric towards the front. In the top left corner, insert the needle to the back again. Fill in the entire shape with vertical lines. Make sure the wires are approximately 1 cm apart. When the entire shape has been completed, bring the thread to the back of the fabric, cut it and tie it so that it does not come loose (see photo 2).

Step 3

Cut a piece of Durable Rope and Durable Chunky of approximately 1.5 meters. Take your wool needle and pull the piece of rope through the eye. Work from left to right, leaving a section of approx. 7 cm at the beginning for finishing later. Start weaving by passing the thread alternately under the first and over the second thread. Repeat this until you reach the end of the row (see photo 3).

Step 4

On the way back, repeat the same steps, but opposite to the first row. We now go under the wires that we first went over (see photo 4).

Step 5

When the area is approximately half full, switch from the Rope to the Chunky. Make sure you have a piece of approx. 7 cm left at the end for finishing.

Step 6

Take the thread ends and hide them under your weaving (see photo 5).

Step 7

Now continue embroidering the two small squares at the bottom left using the satin stitch. To do this, take the ball of Cozy extra fine and use a piece of approximately 1 meter. Place the stitches parallel and close to each other so that the fabric is not visible. This gives the best result (see photo 6).

Step 8

The remaining areas are filled with punches. Thread the yarn through the punch needle according to the package instructions. I used the thickest needle supplied. The great thing about the Prym punch needle is that it can also be adjusted in height, allowing you to make small and large loops. Set the punch needle to length 5. This will give us medium sized loops. The side where you will punch will be the flat side, on the other side of the fabric you will see loops being made. The nice thing about punching is that you can choose whether the flat side or the loop side will be the front of the work. By alternating both ways you get a nice playful effect with relief. For the bottom surface and the overlapping part of the arches, the looped side becomes the front, for the two arches the flat side becomes the front.

Step 9

Start punching. To do this, push the punch needle perpendicularly through the fabric and withdraw it. Be careful not to let the punch needle rise too much, as this could cause the loop to come loose again. Then cross a little further through the fabric and make the next loop. Complete the entire pattern in this way. If you are going to change colors, pull the punch needle upwards very carefully so that you do not pull the loops loose. Then cut the thread and continue with the next color.

Step 10

Cut a piece of Durable knitting cotton of approximately 1 meter and use it to thread six wooden beads where the circles are located as the finishing touch to your design.

Step 11

Cut all threads short at the back. Then cut out a piece of embroidery stabilizer large enough for the entire design. Remove the fabric from the hoop and iron the piece of embroidery stabilizer onto the back of your design.

Step 12

Stretch the fabric tightly back into the embroidery hoop. Cut all around, leaving an edge of approx. 1.5 cm. Cut the embroidery fabric into small strips (see photo 7). Then take your fabric glue, place it around the inner embroidery hoop and fold the embroidery fabric inward. Press firmly (see photo 8).

Your embroidery hoop is now completely ready!

Info About the blogger

admin

Newsletter

Stay up to date with the latest products and projects by subscribing to our newsletter.