DIY (Do It Yourself)
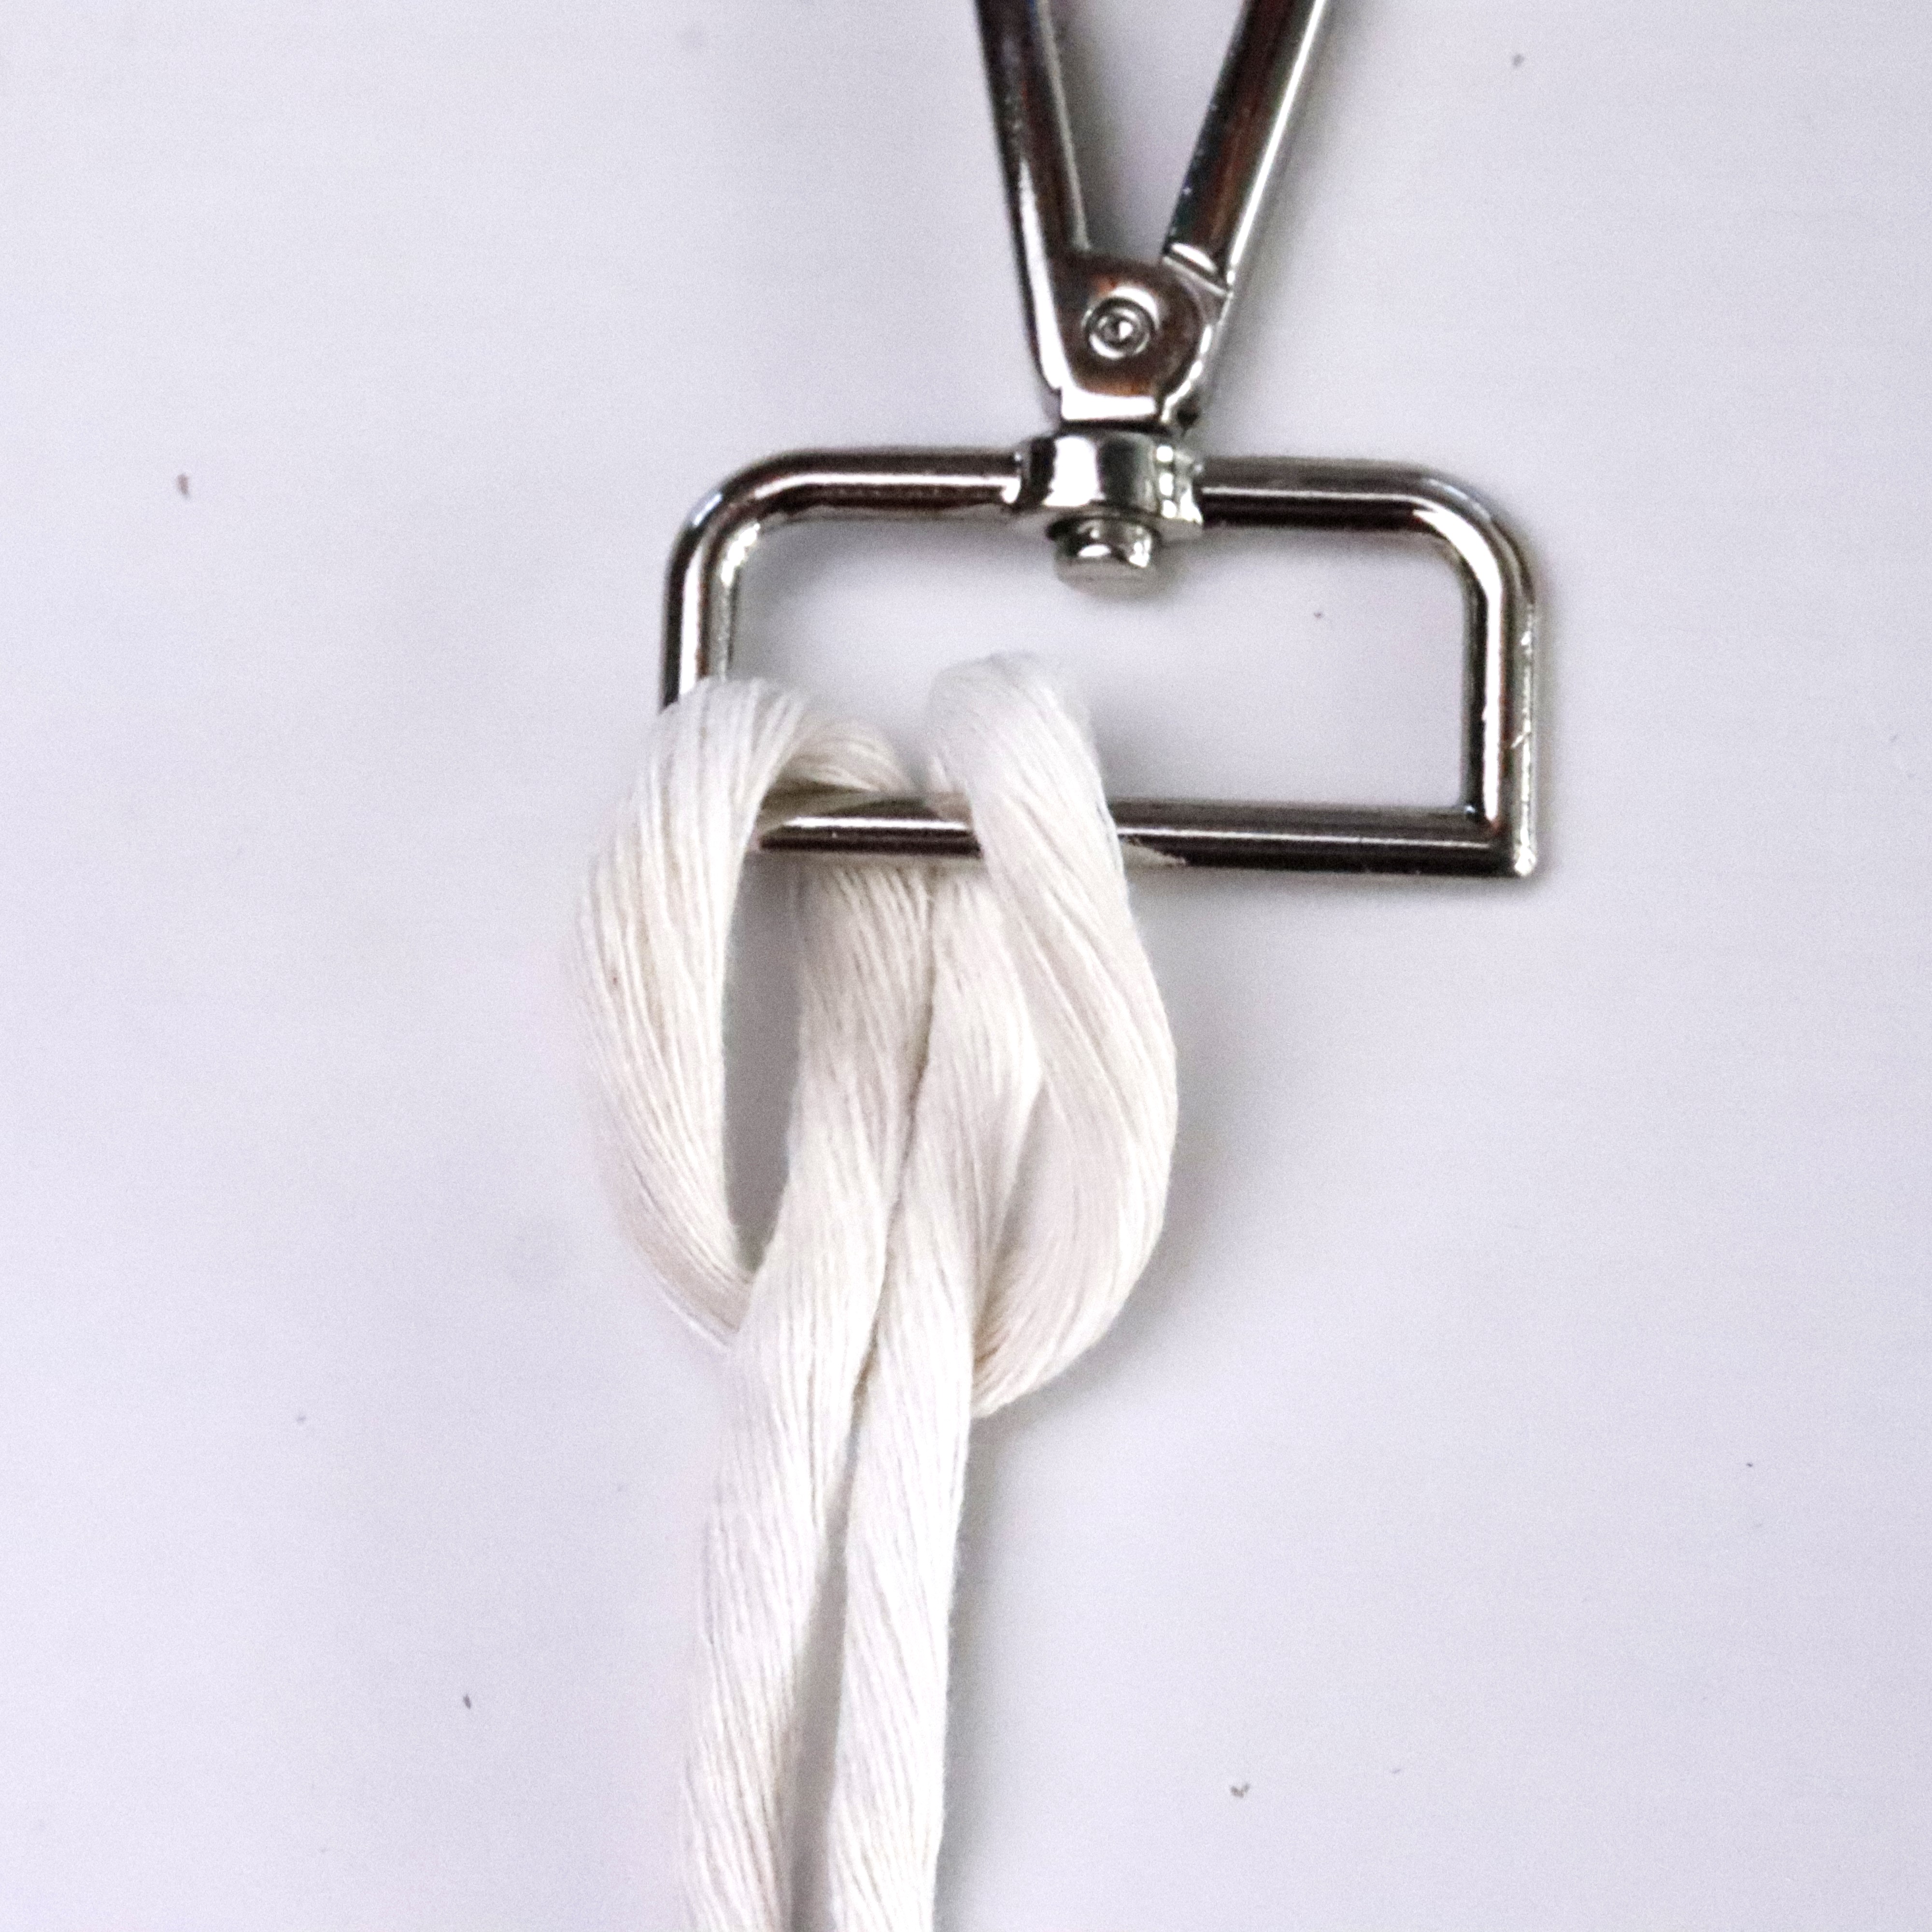
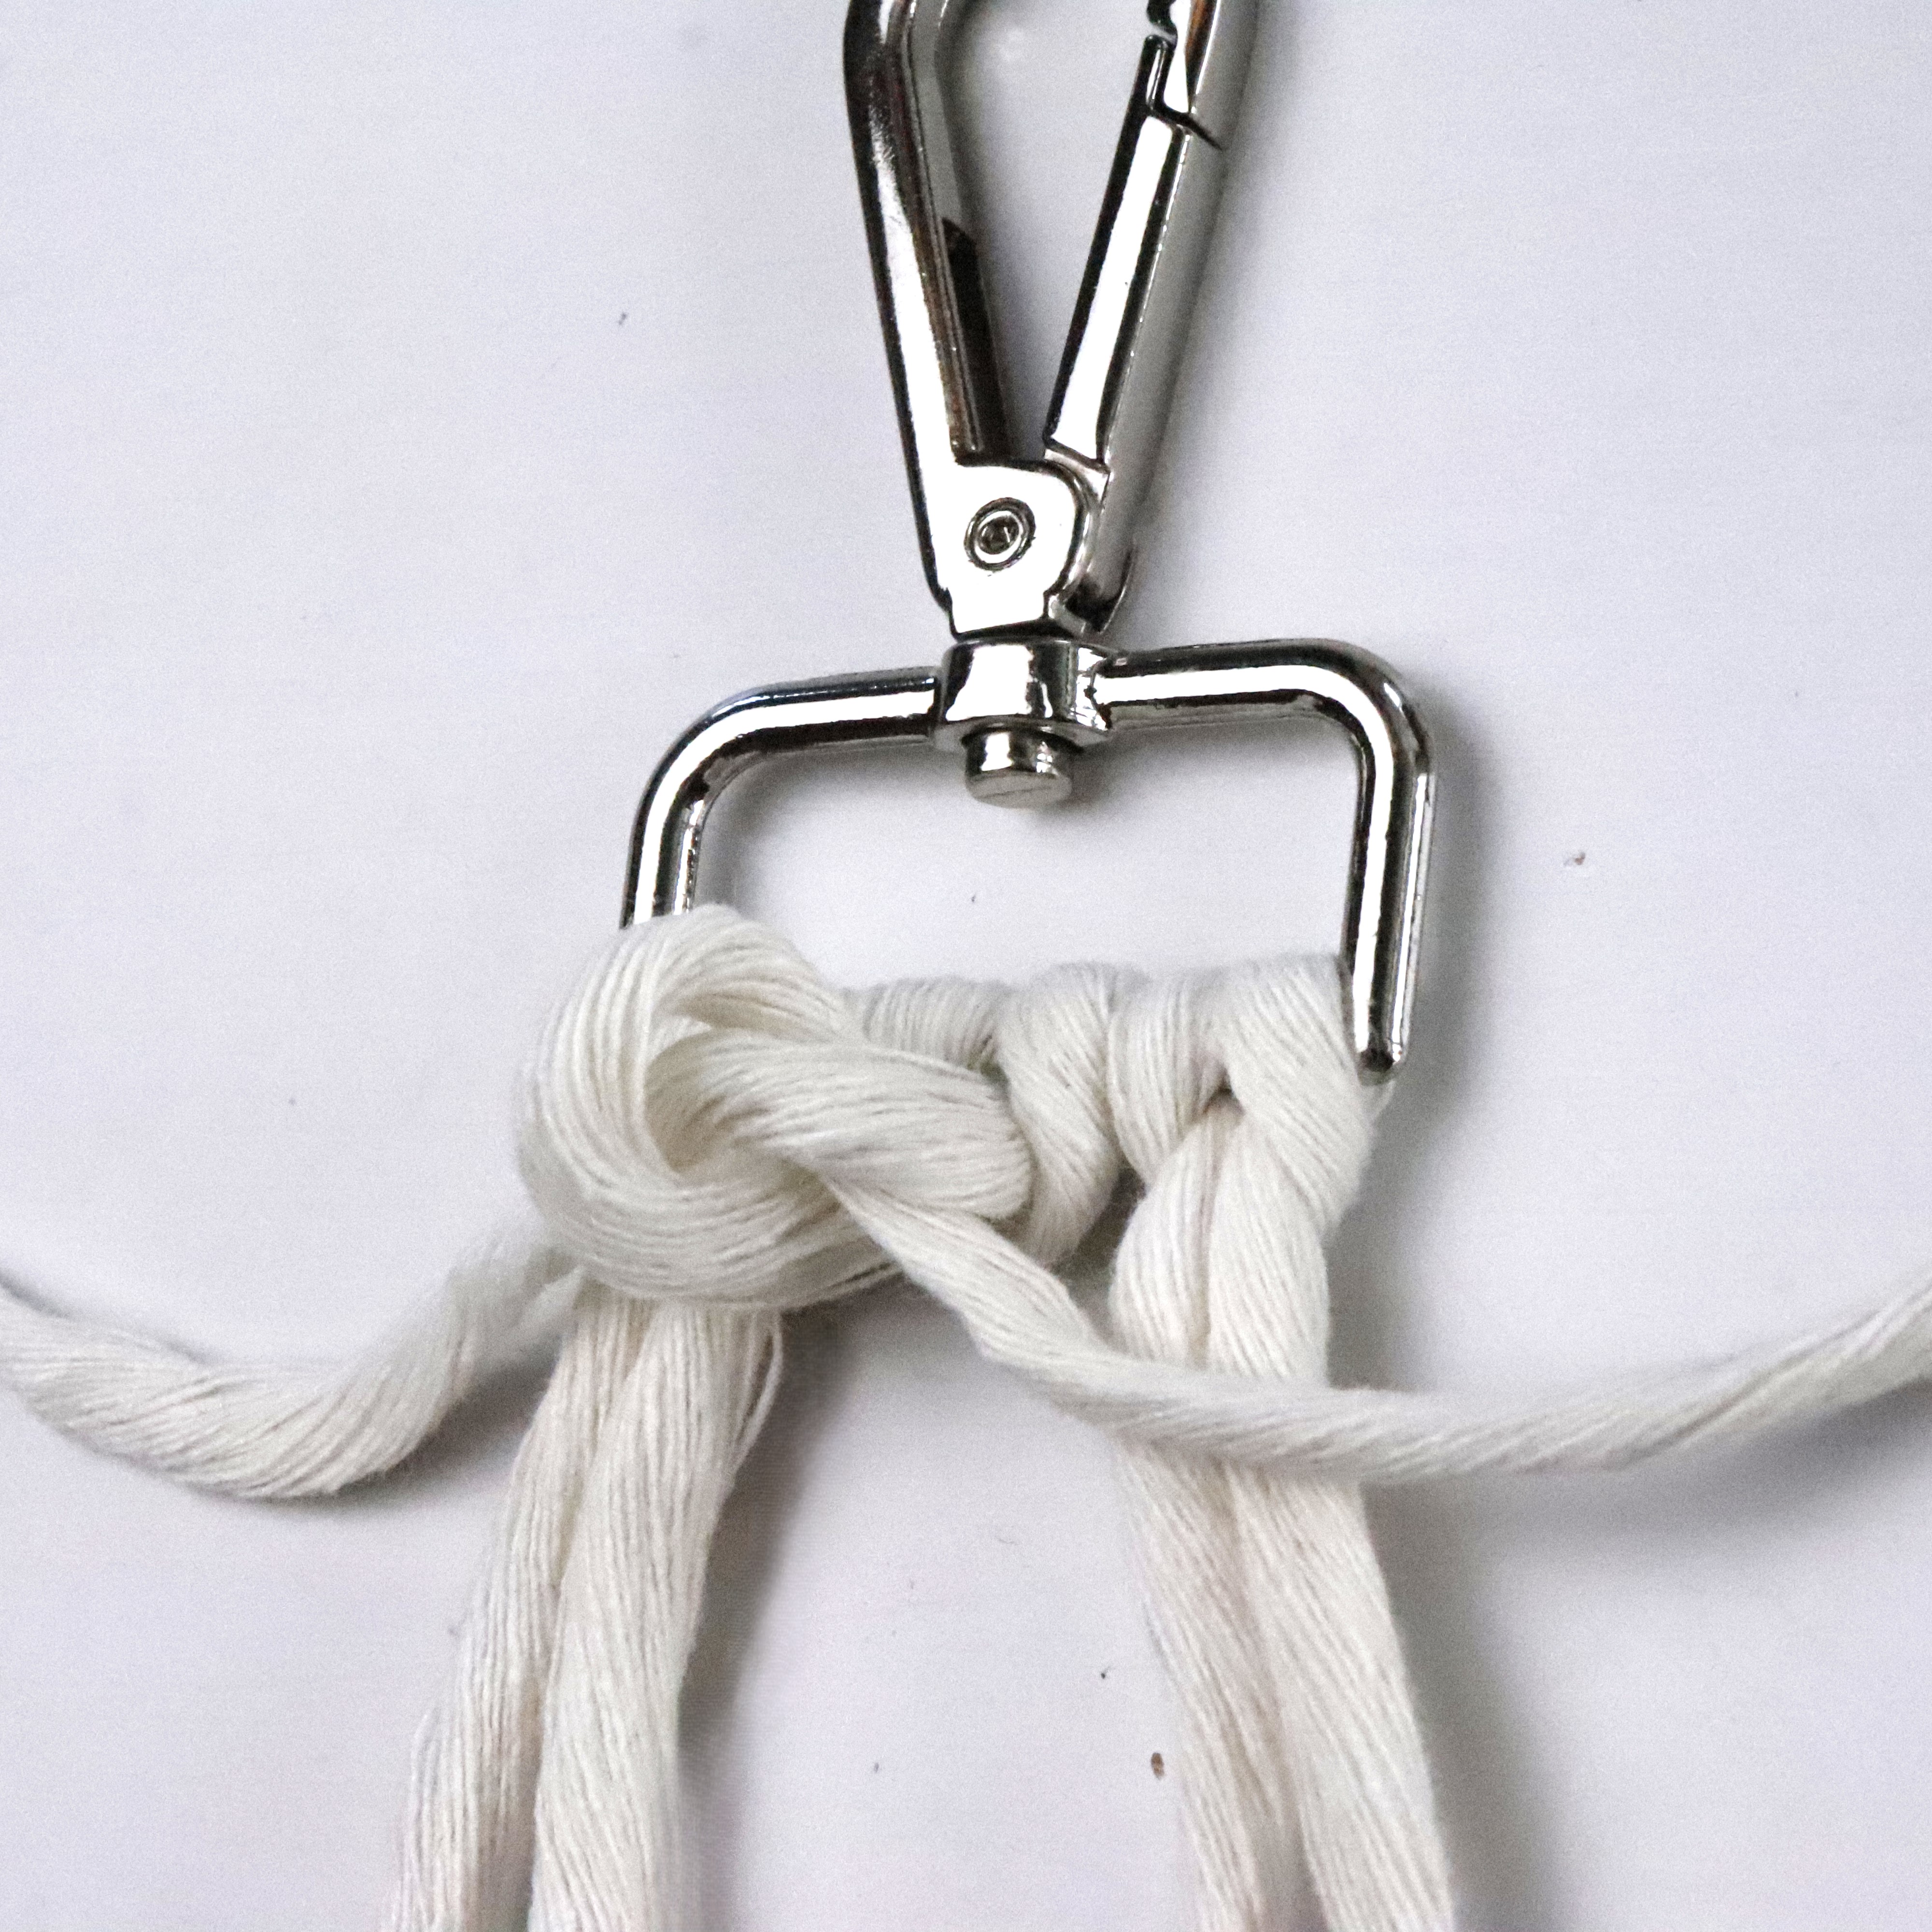
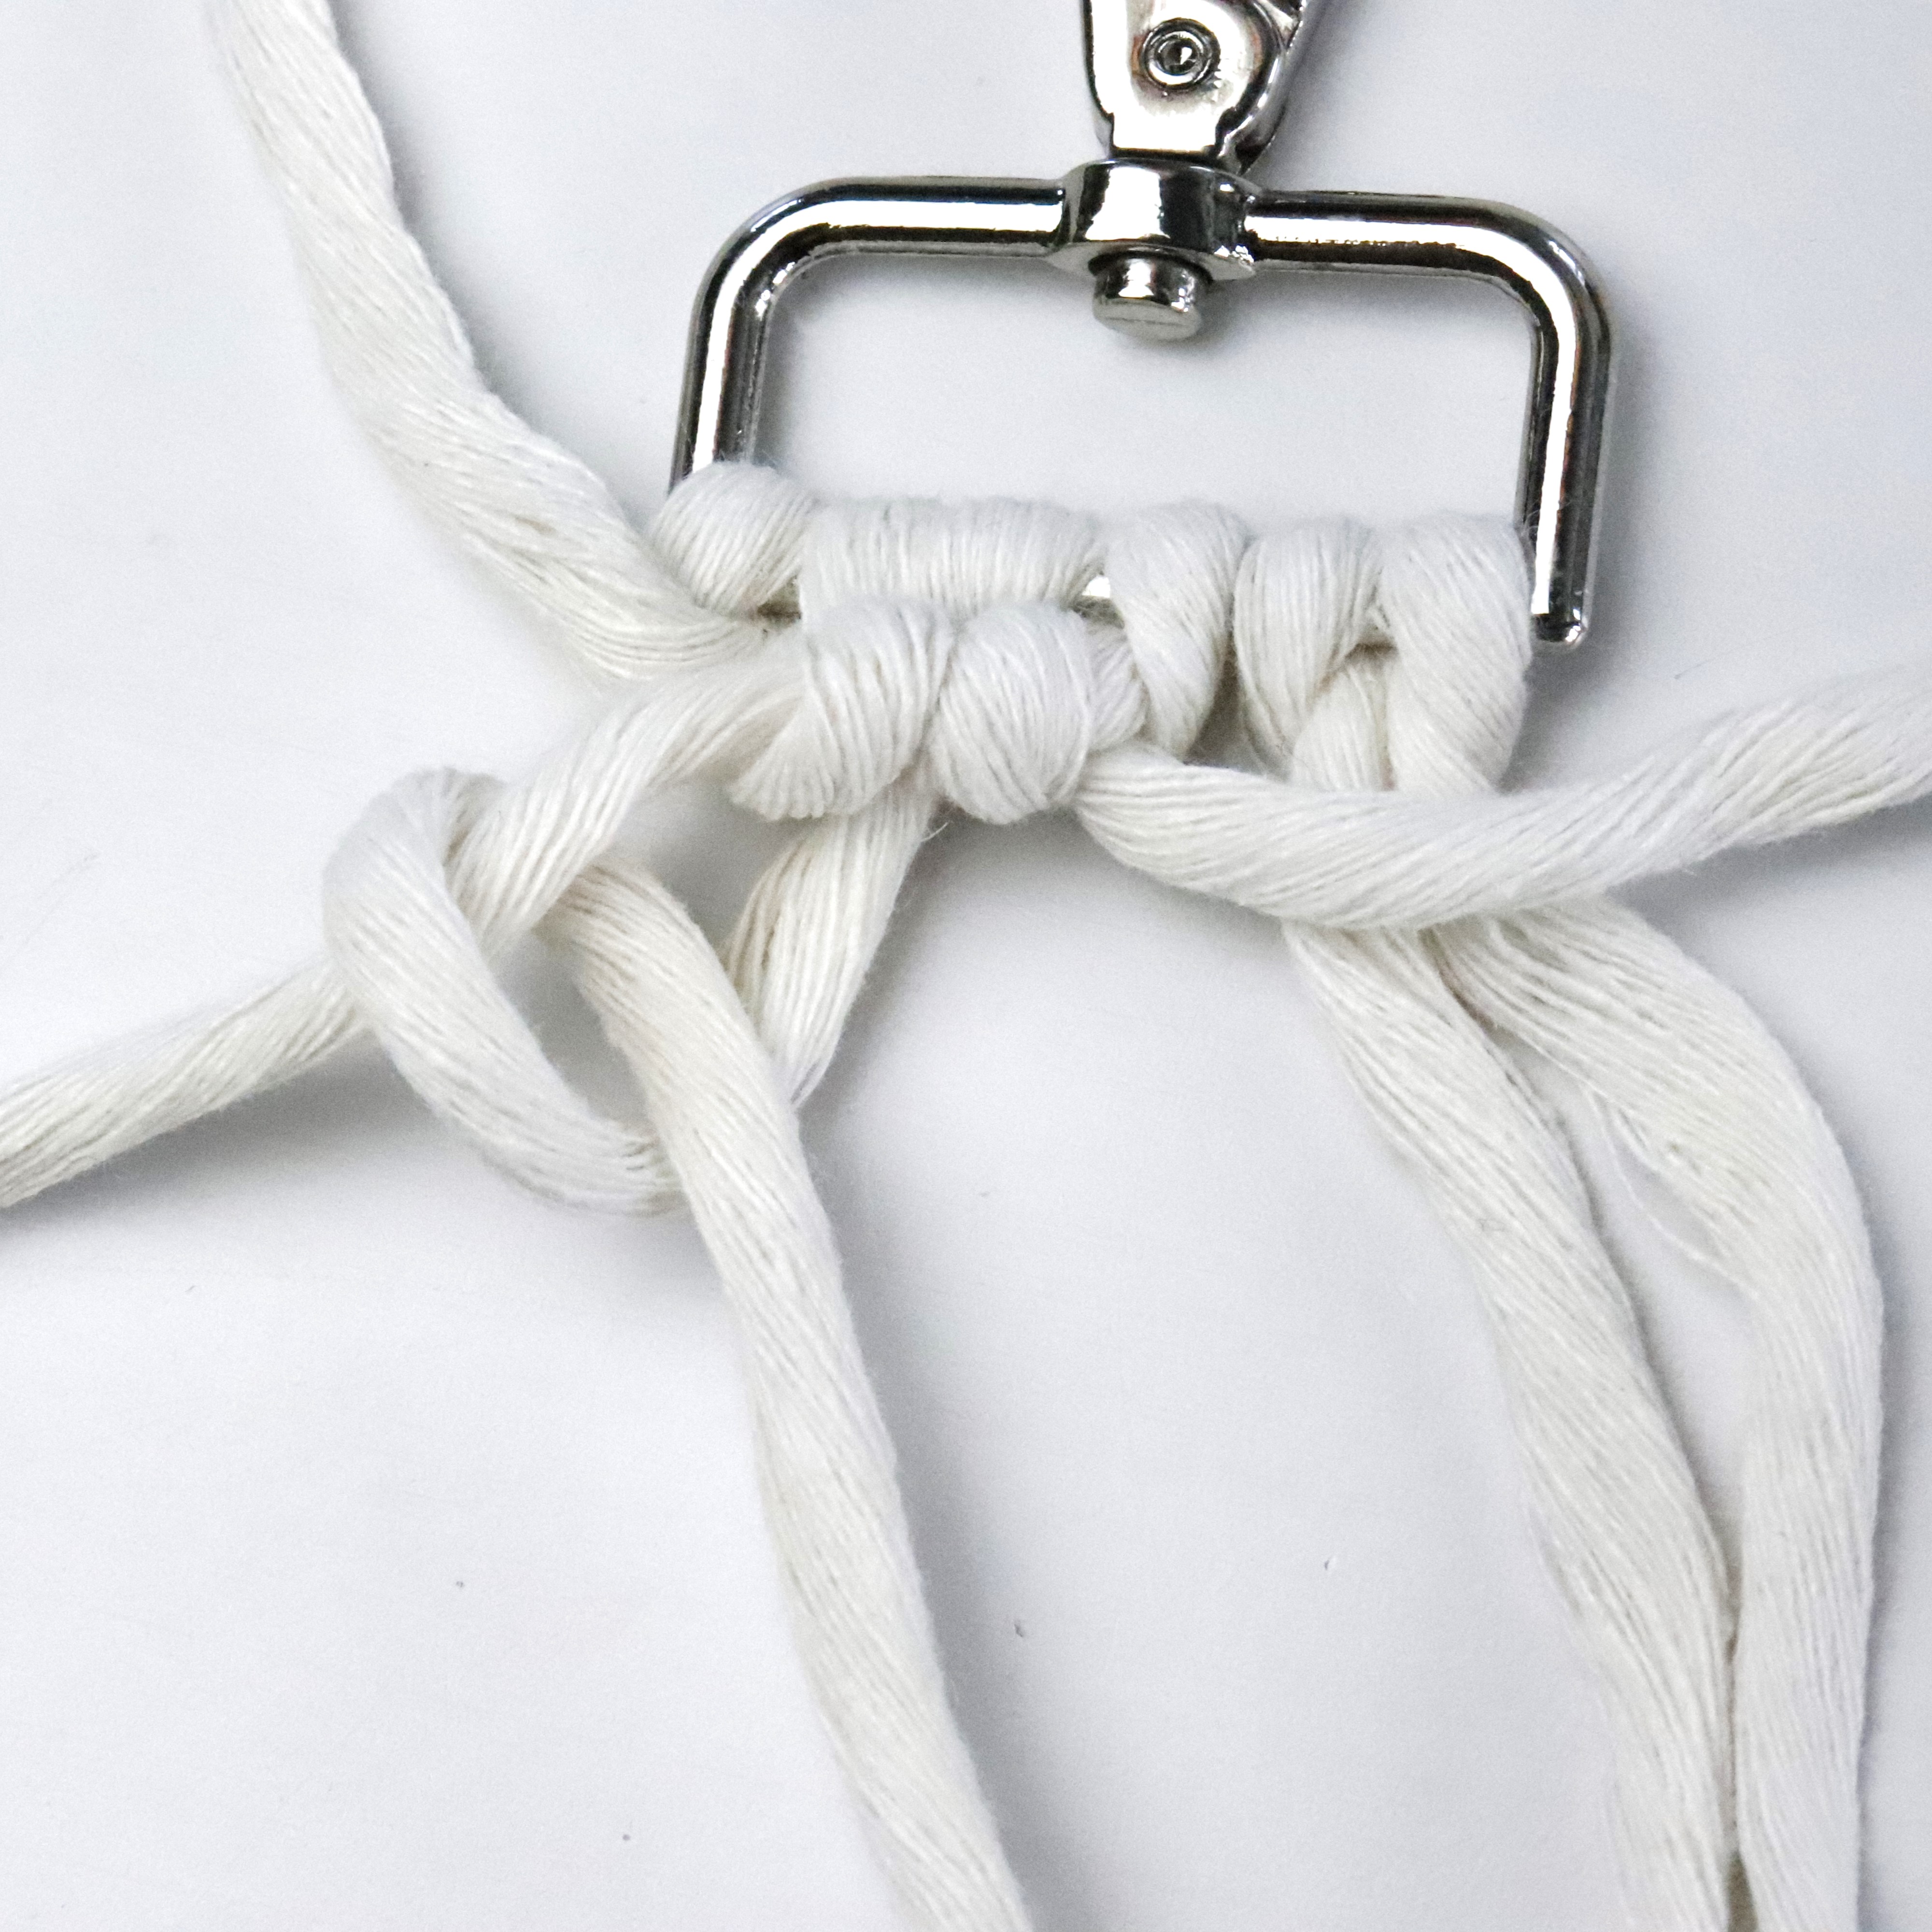
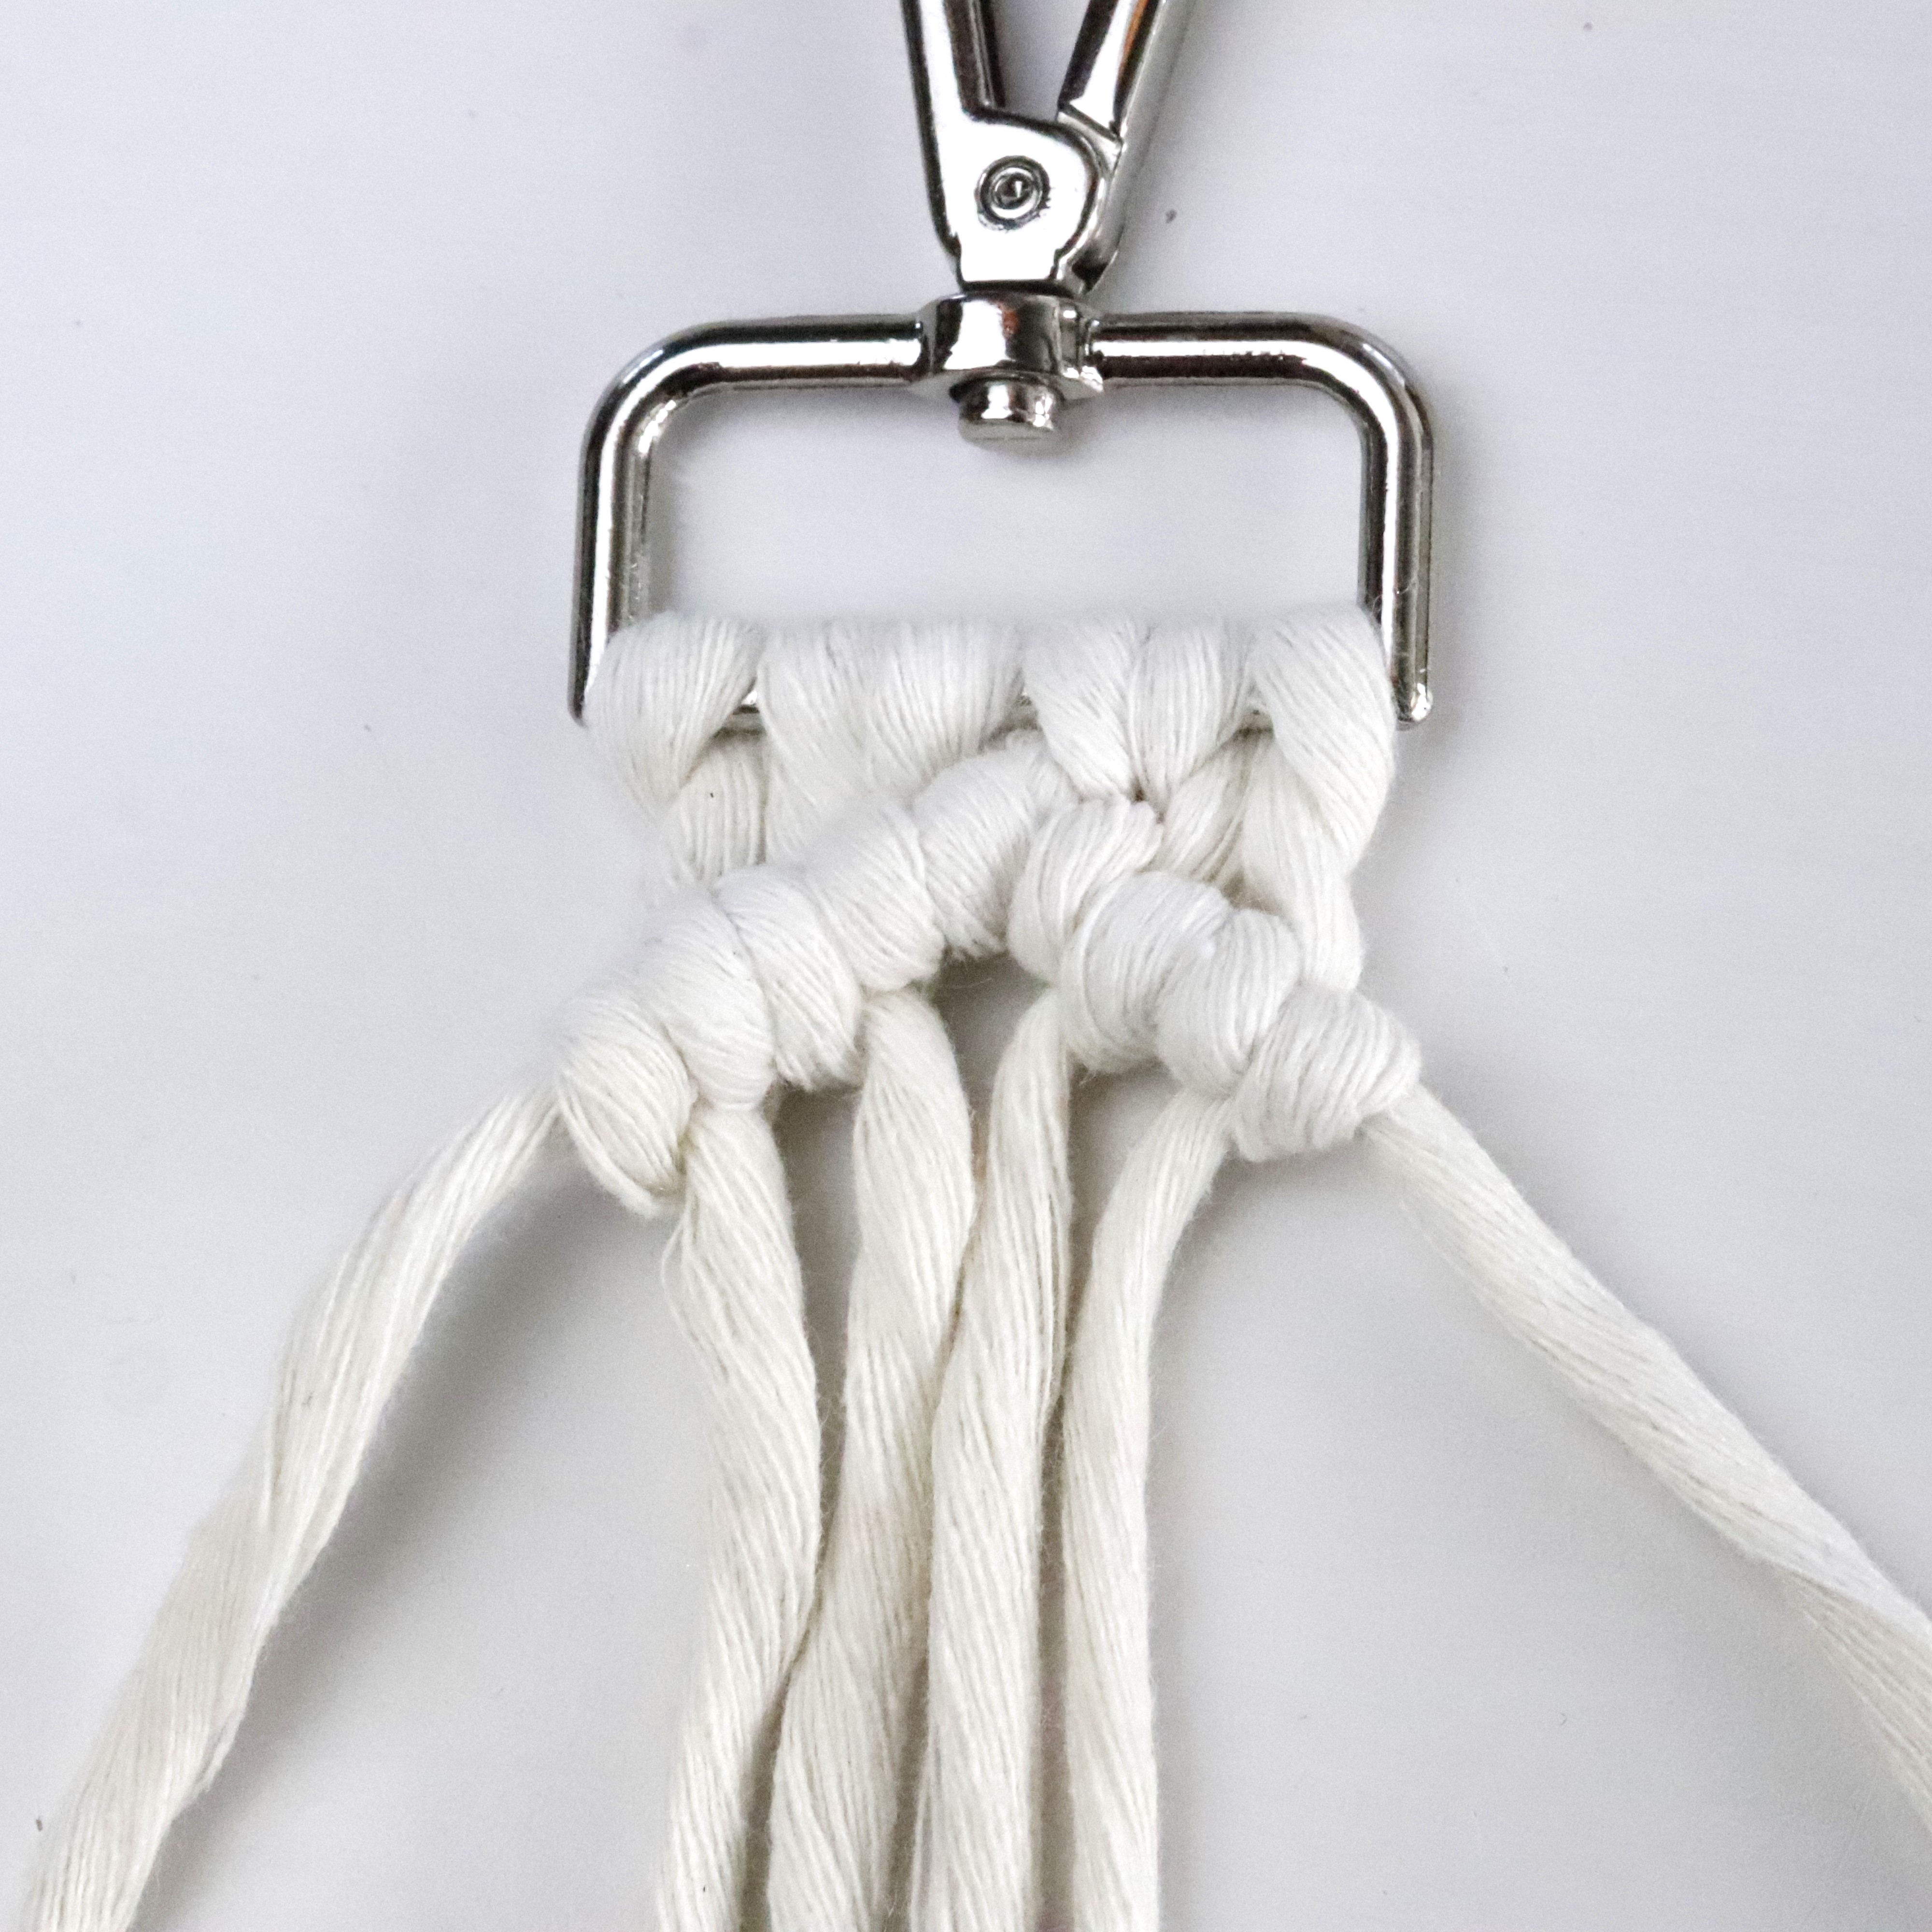
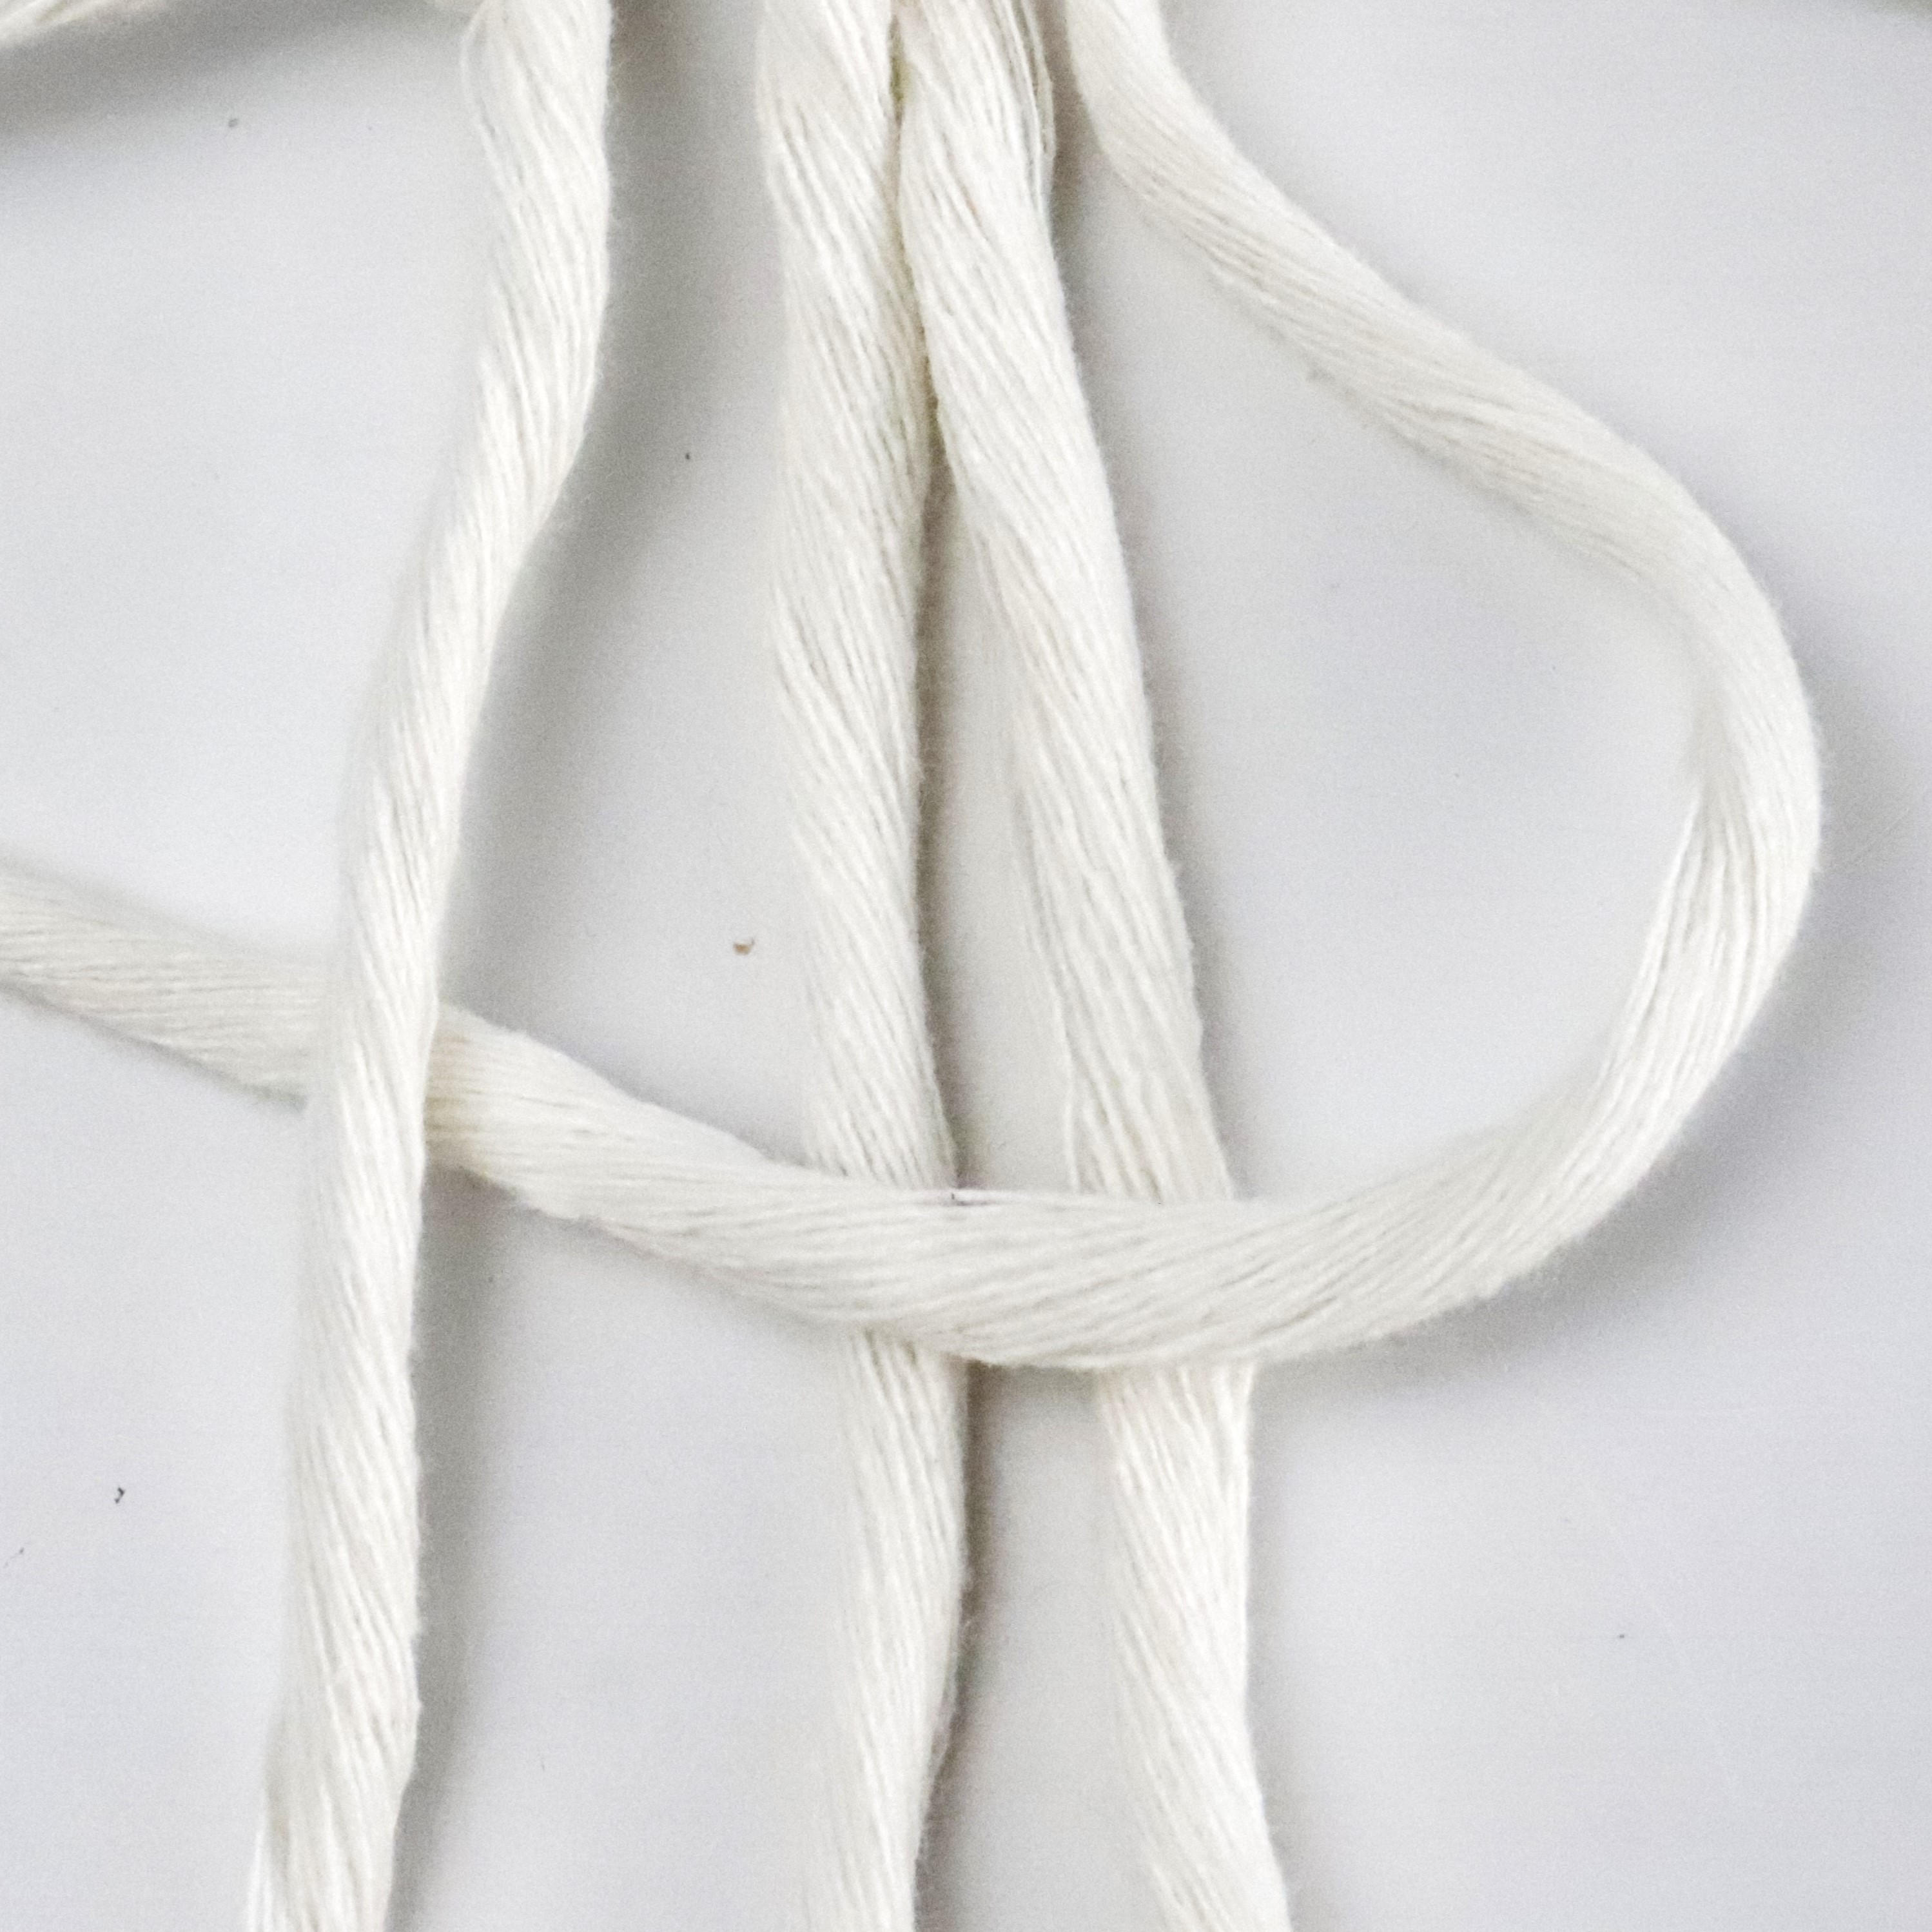
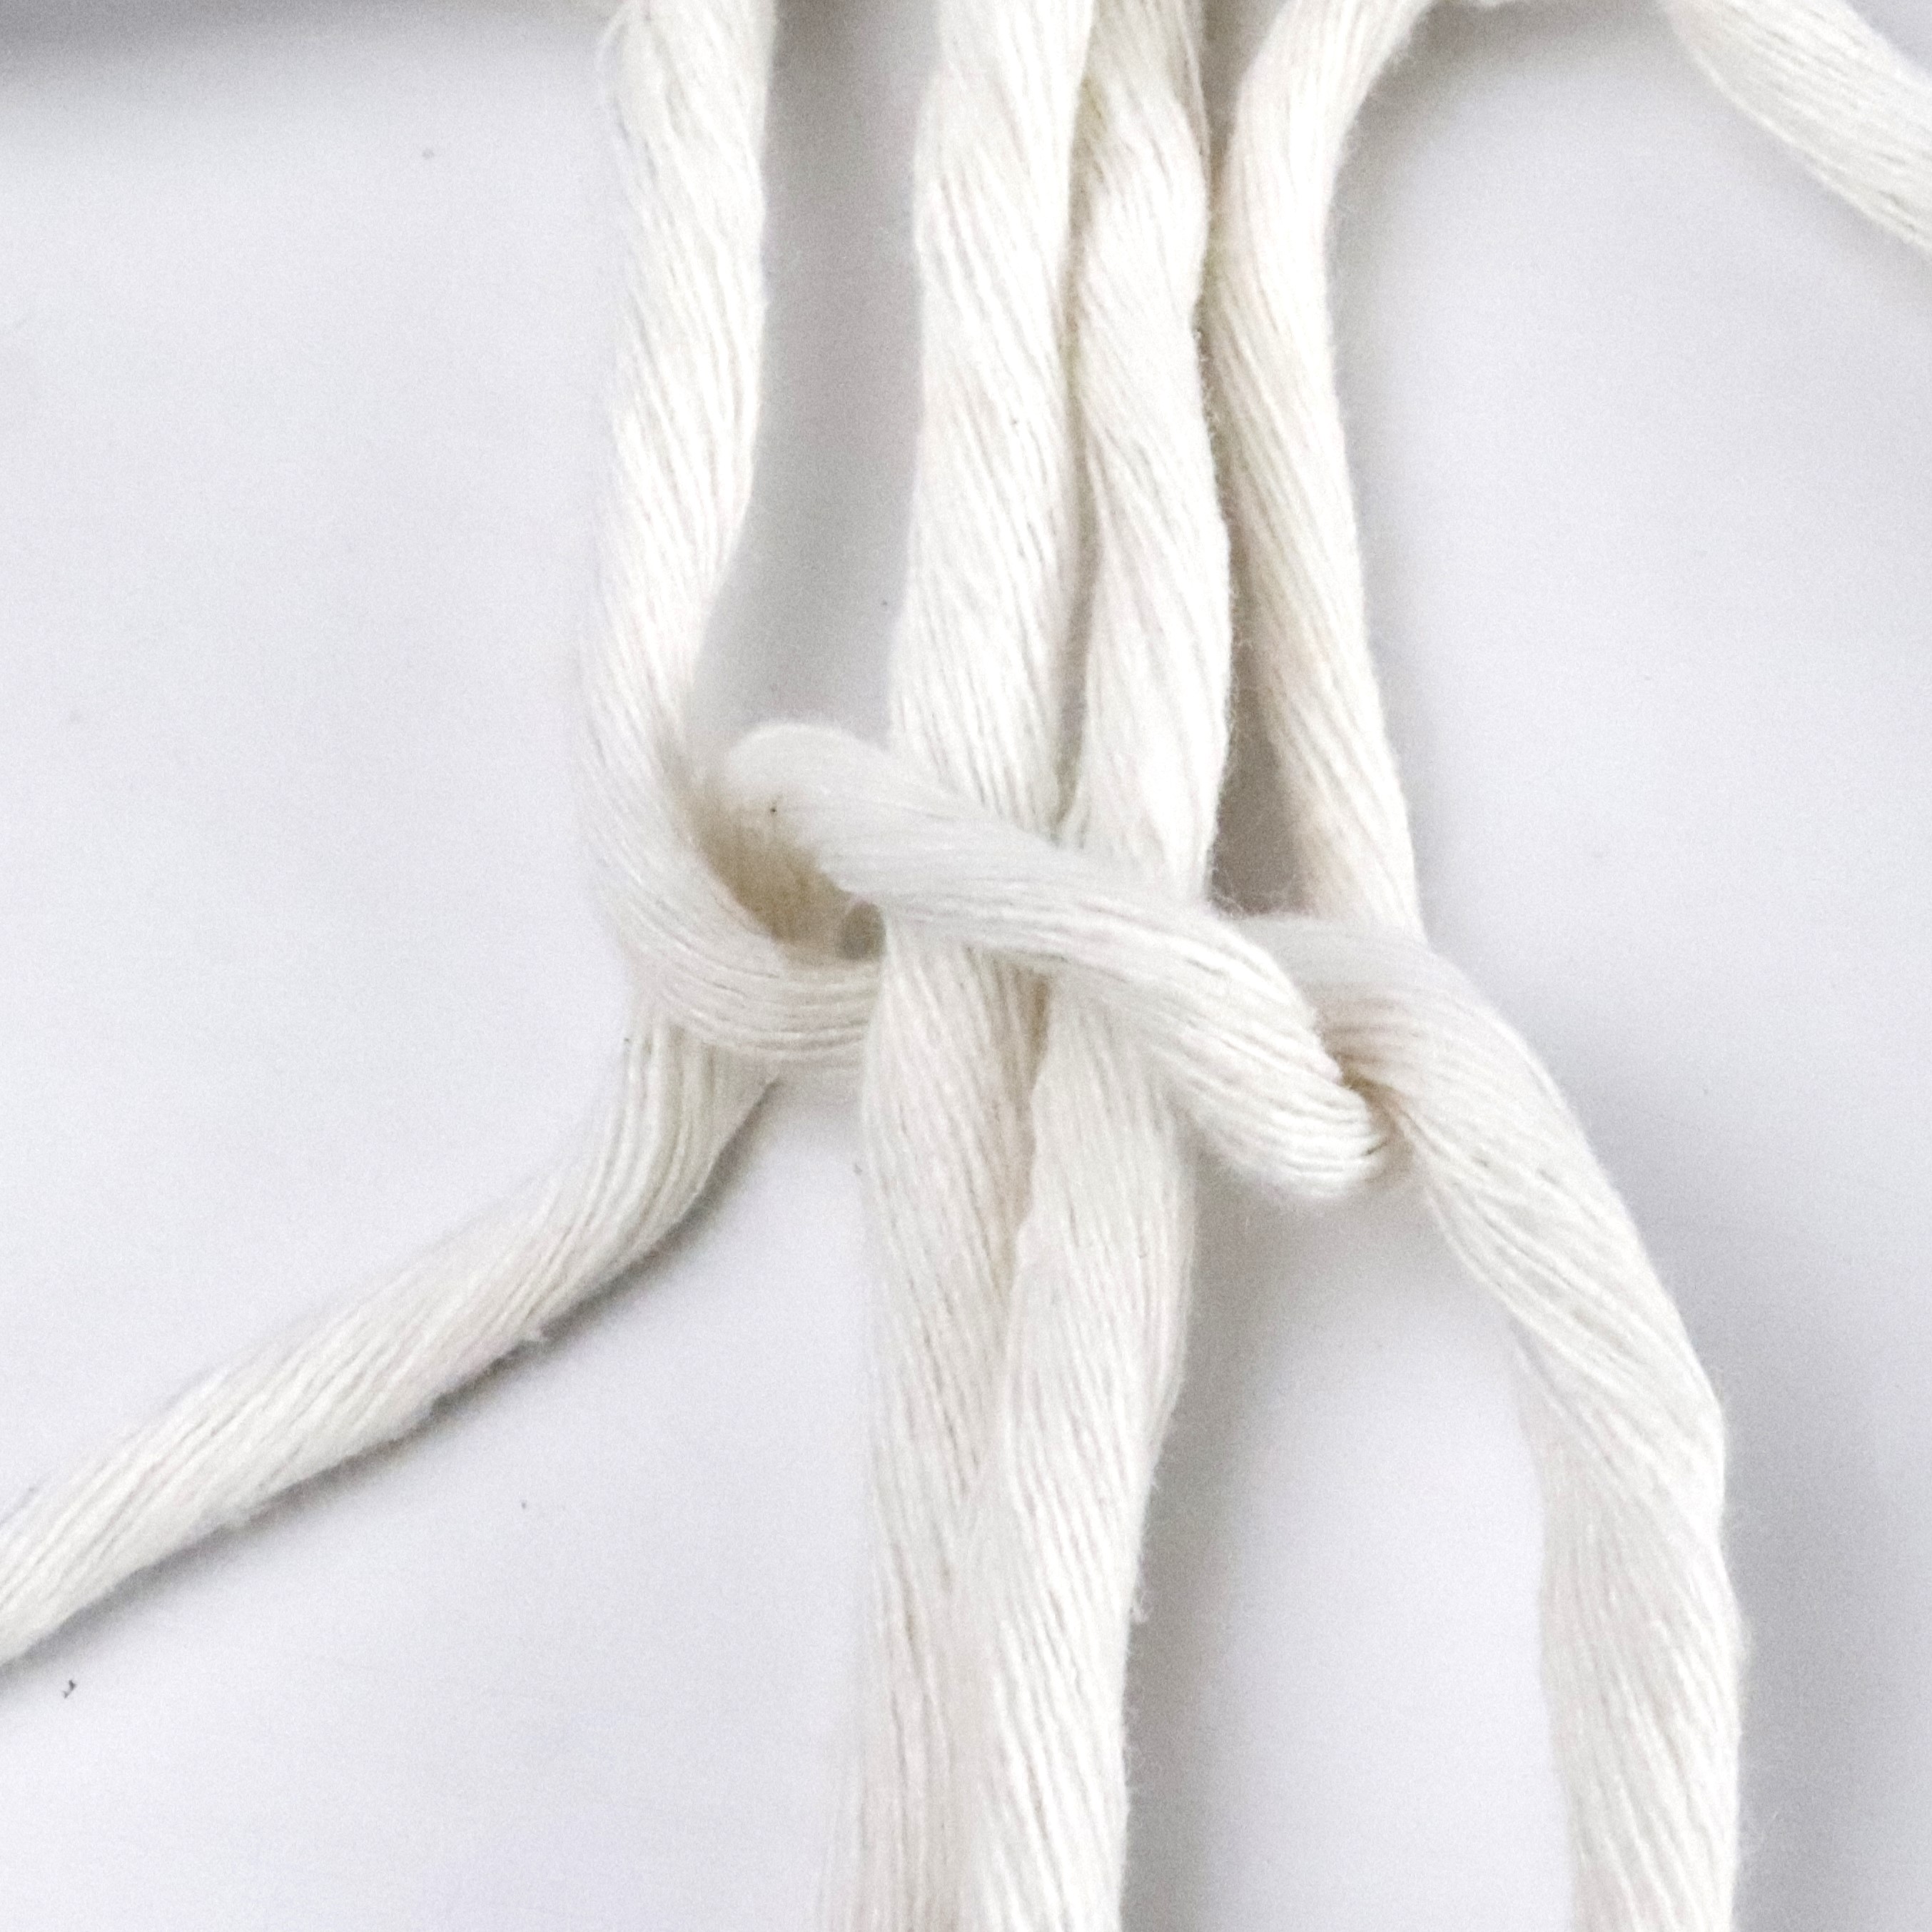
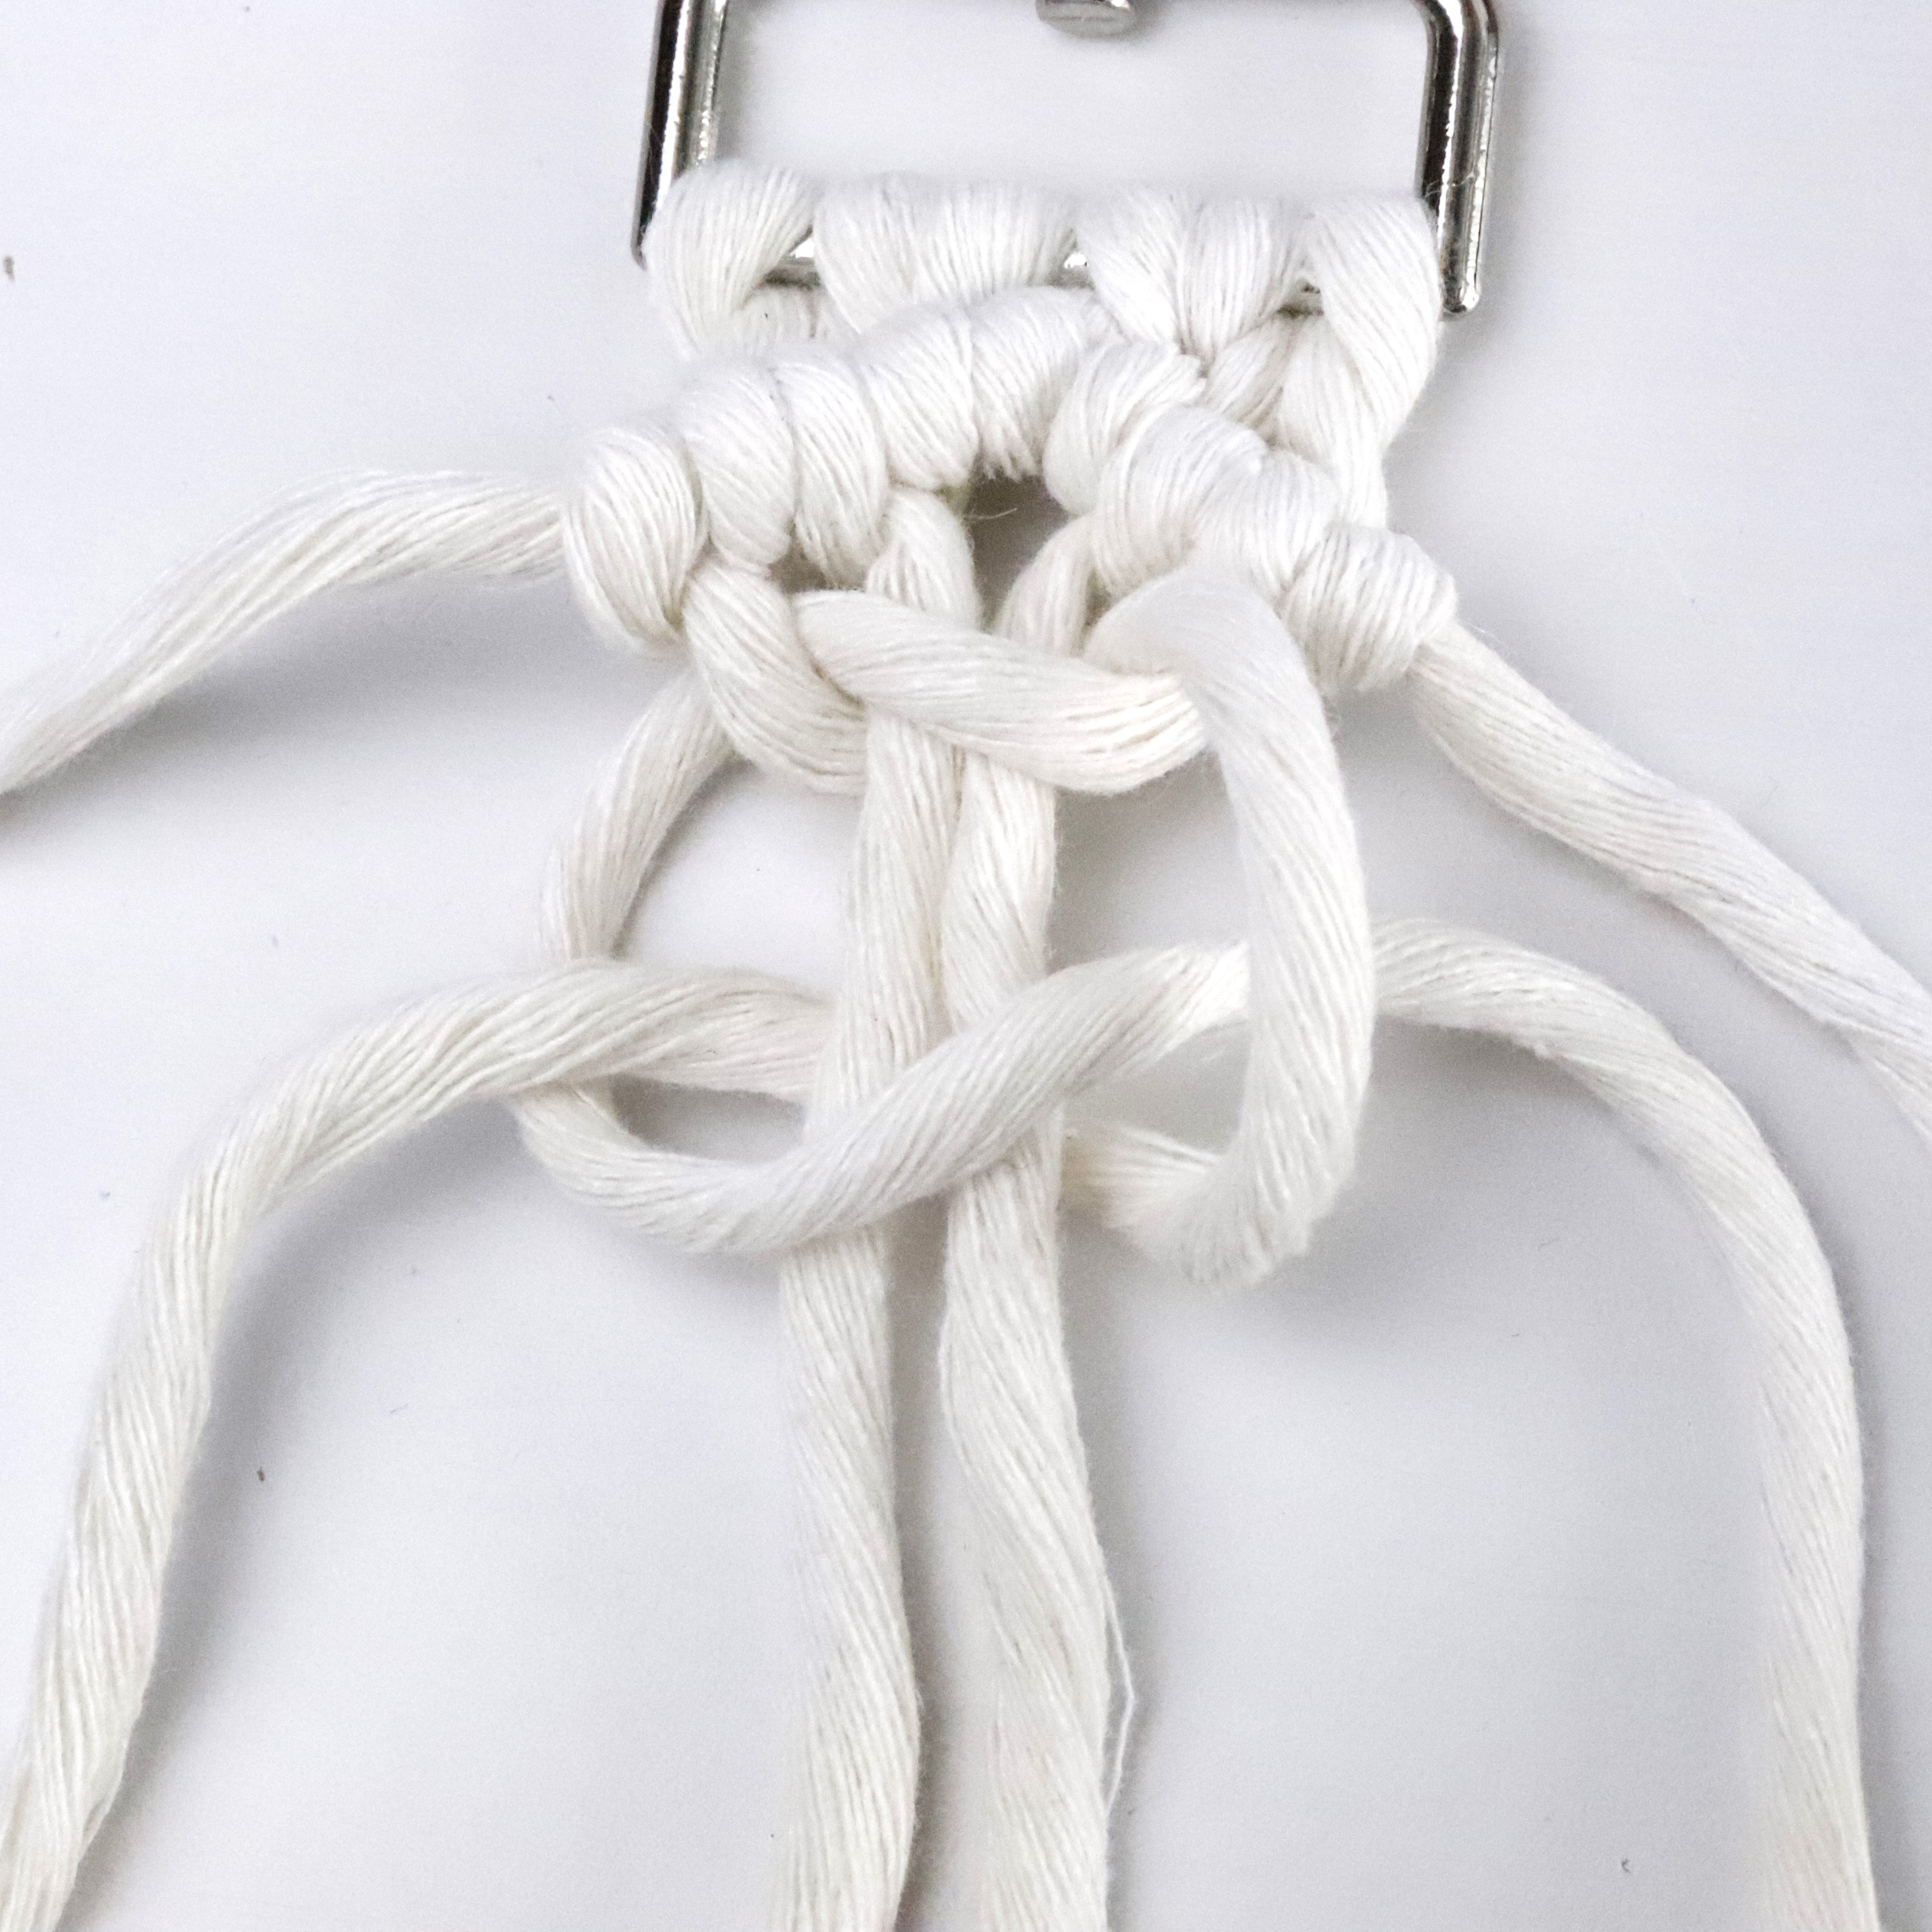
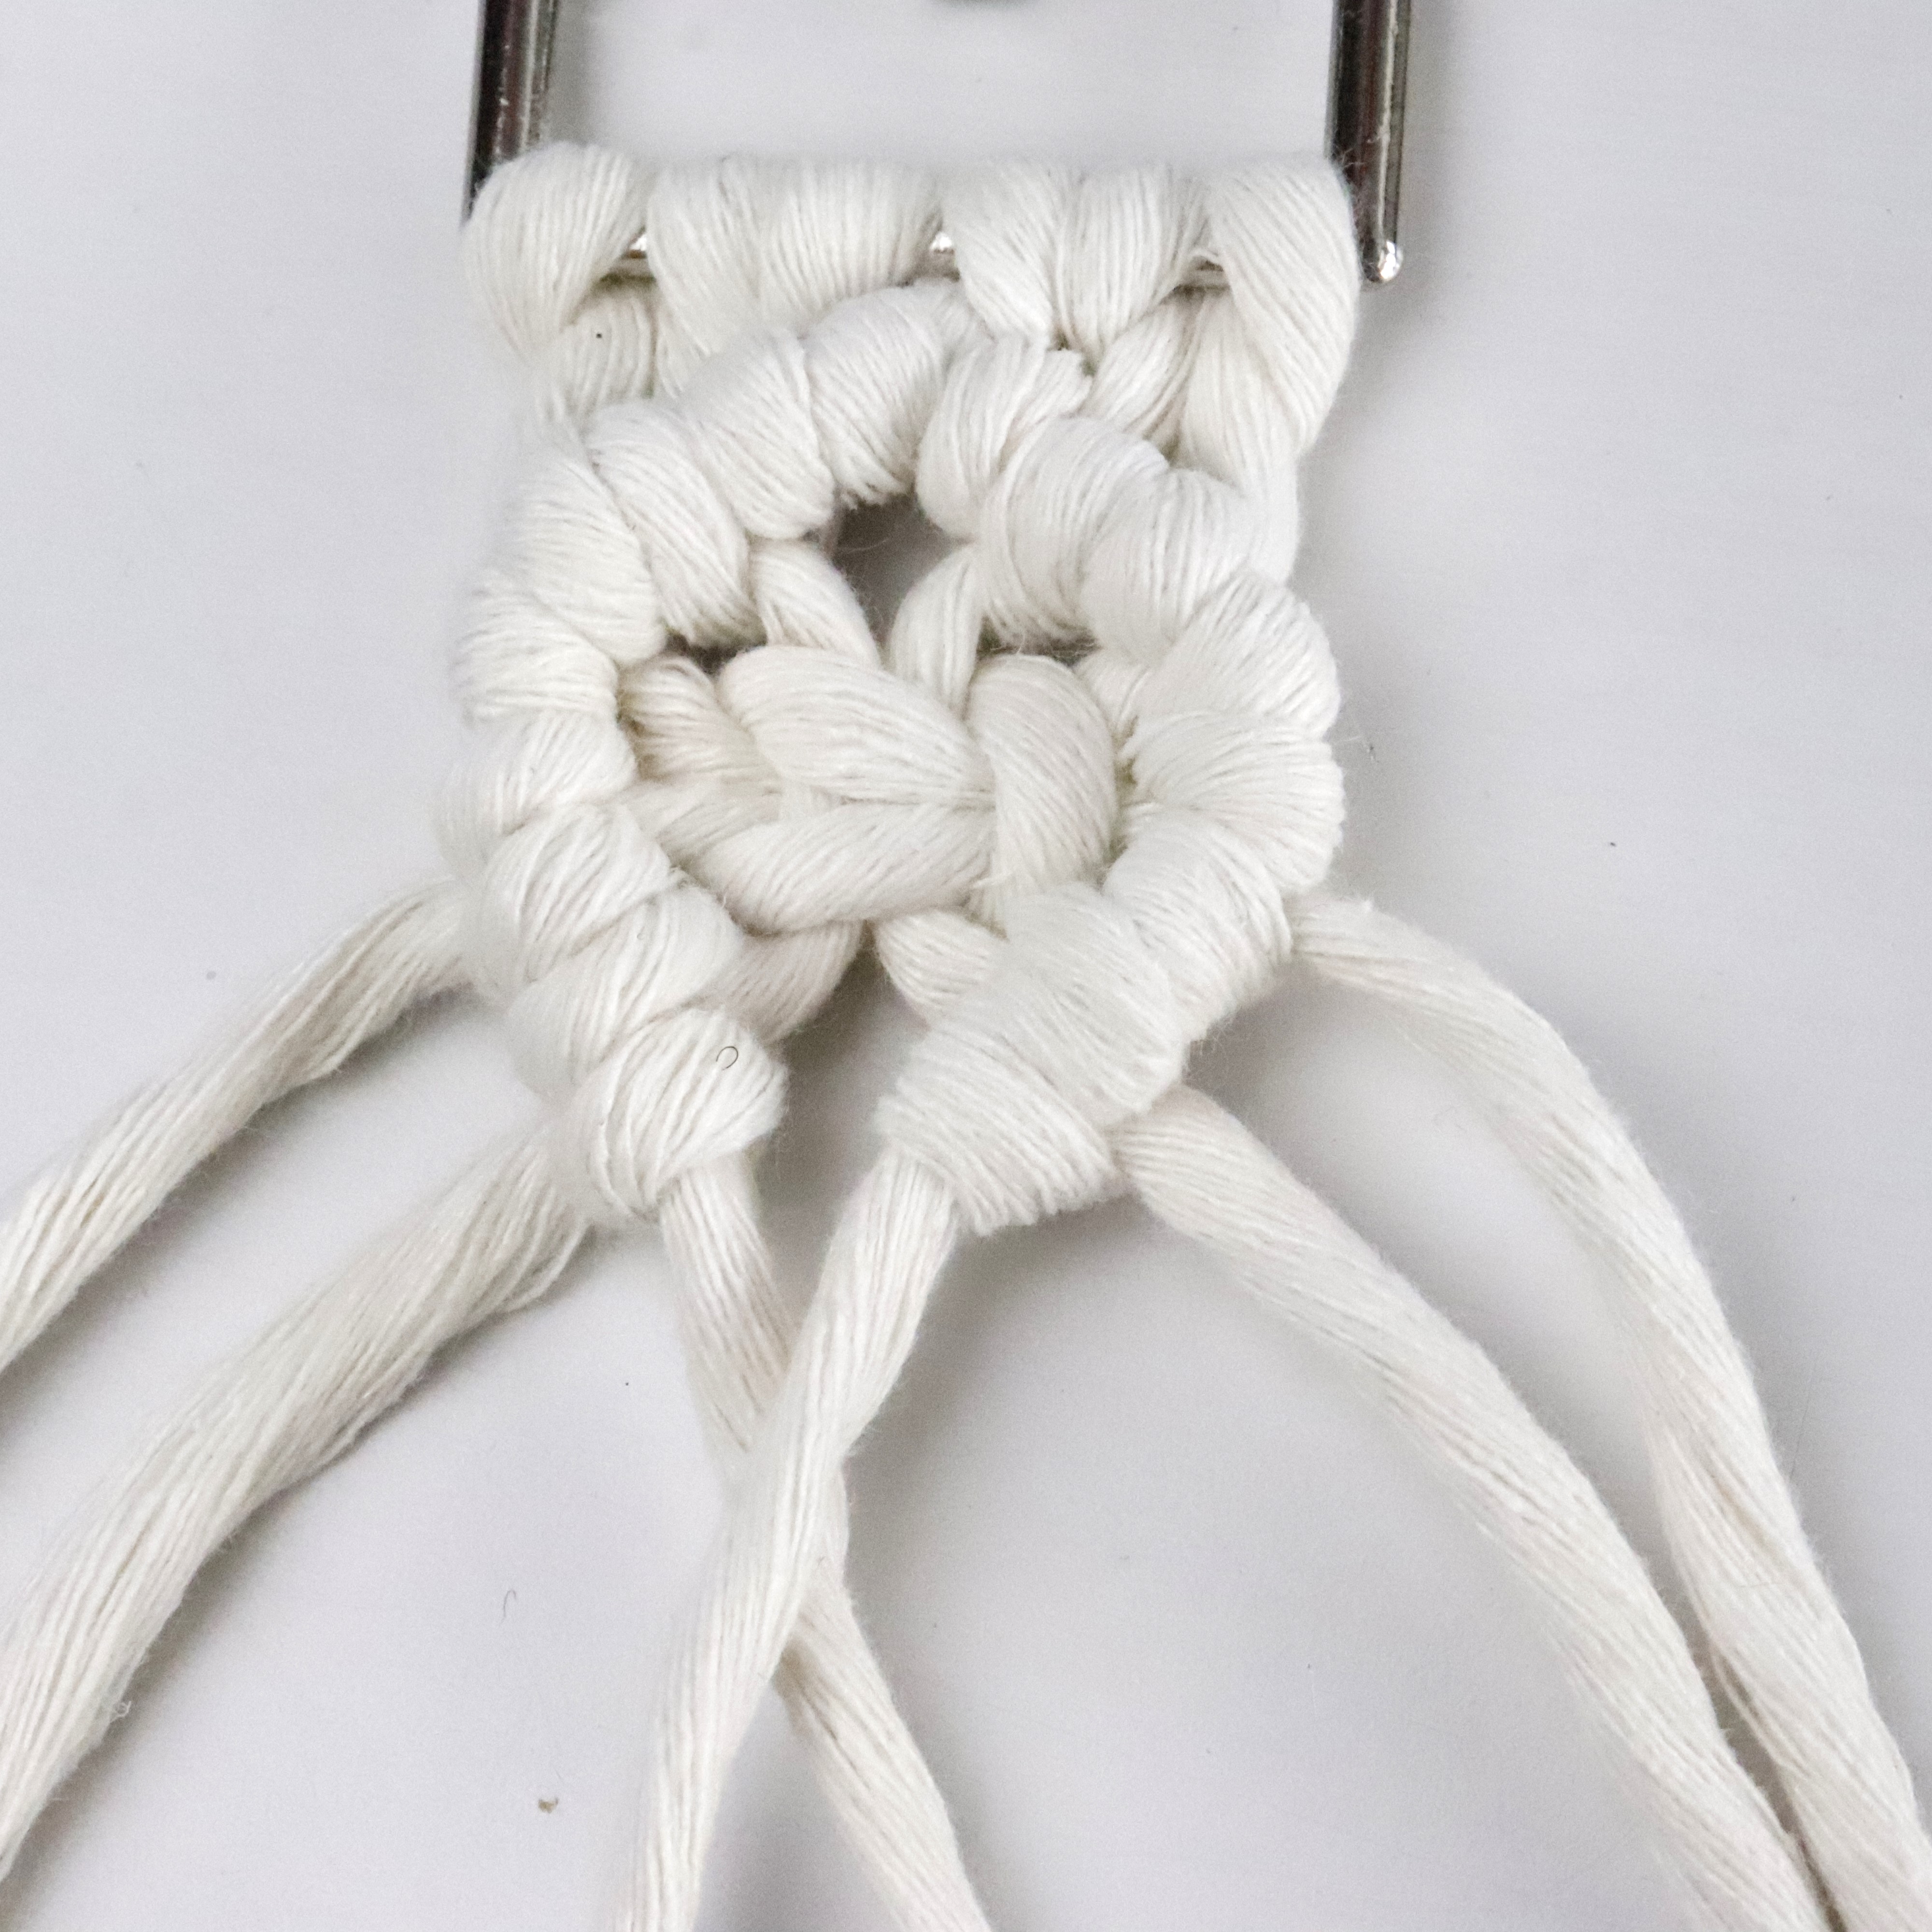
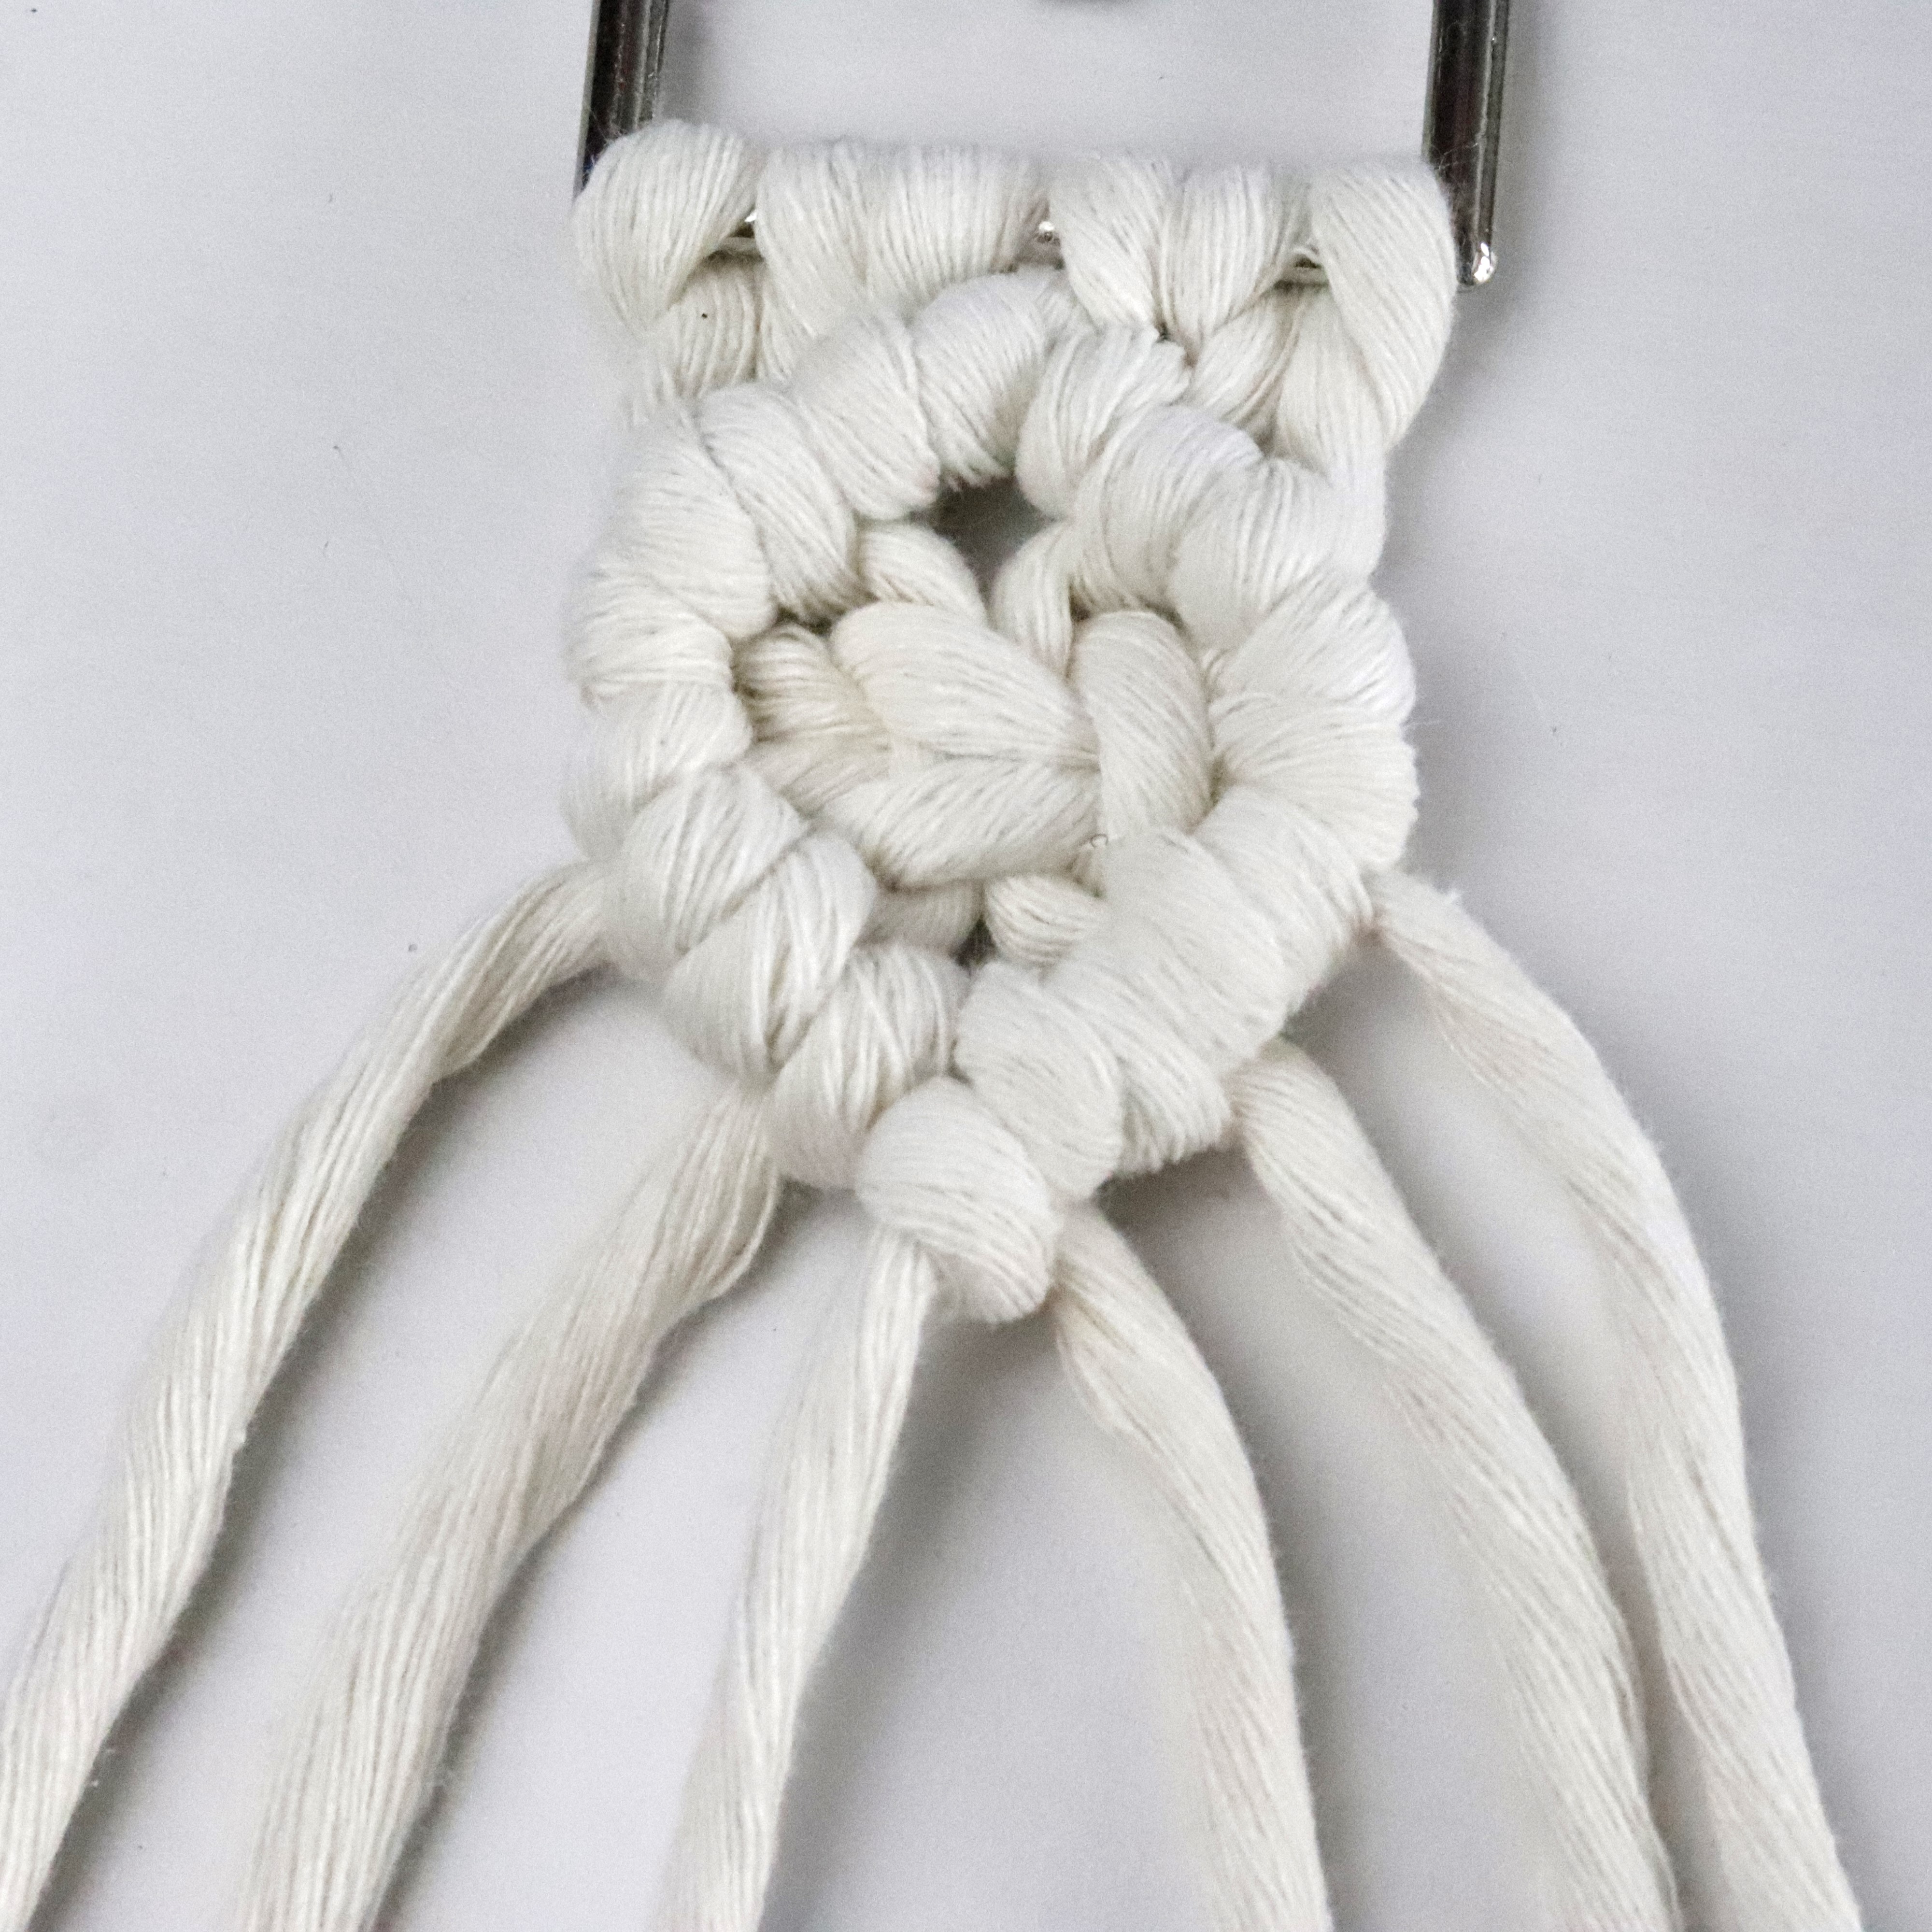
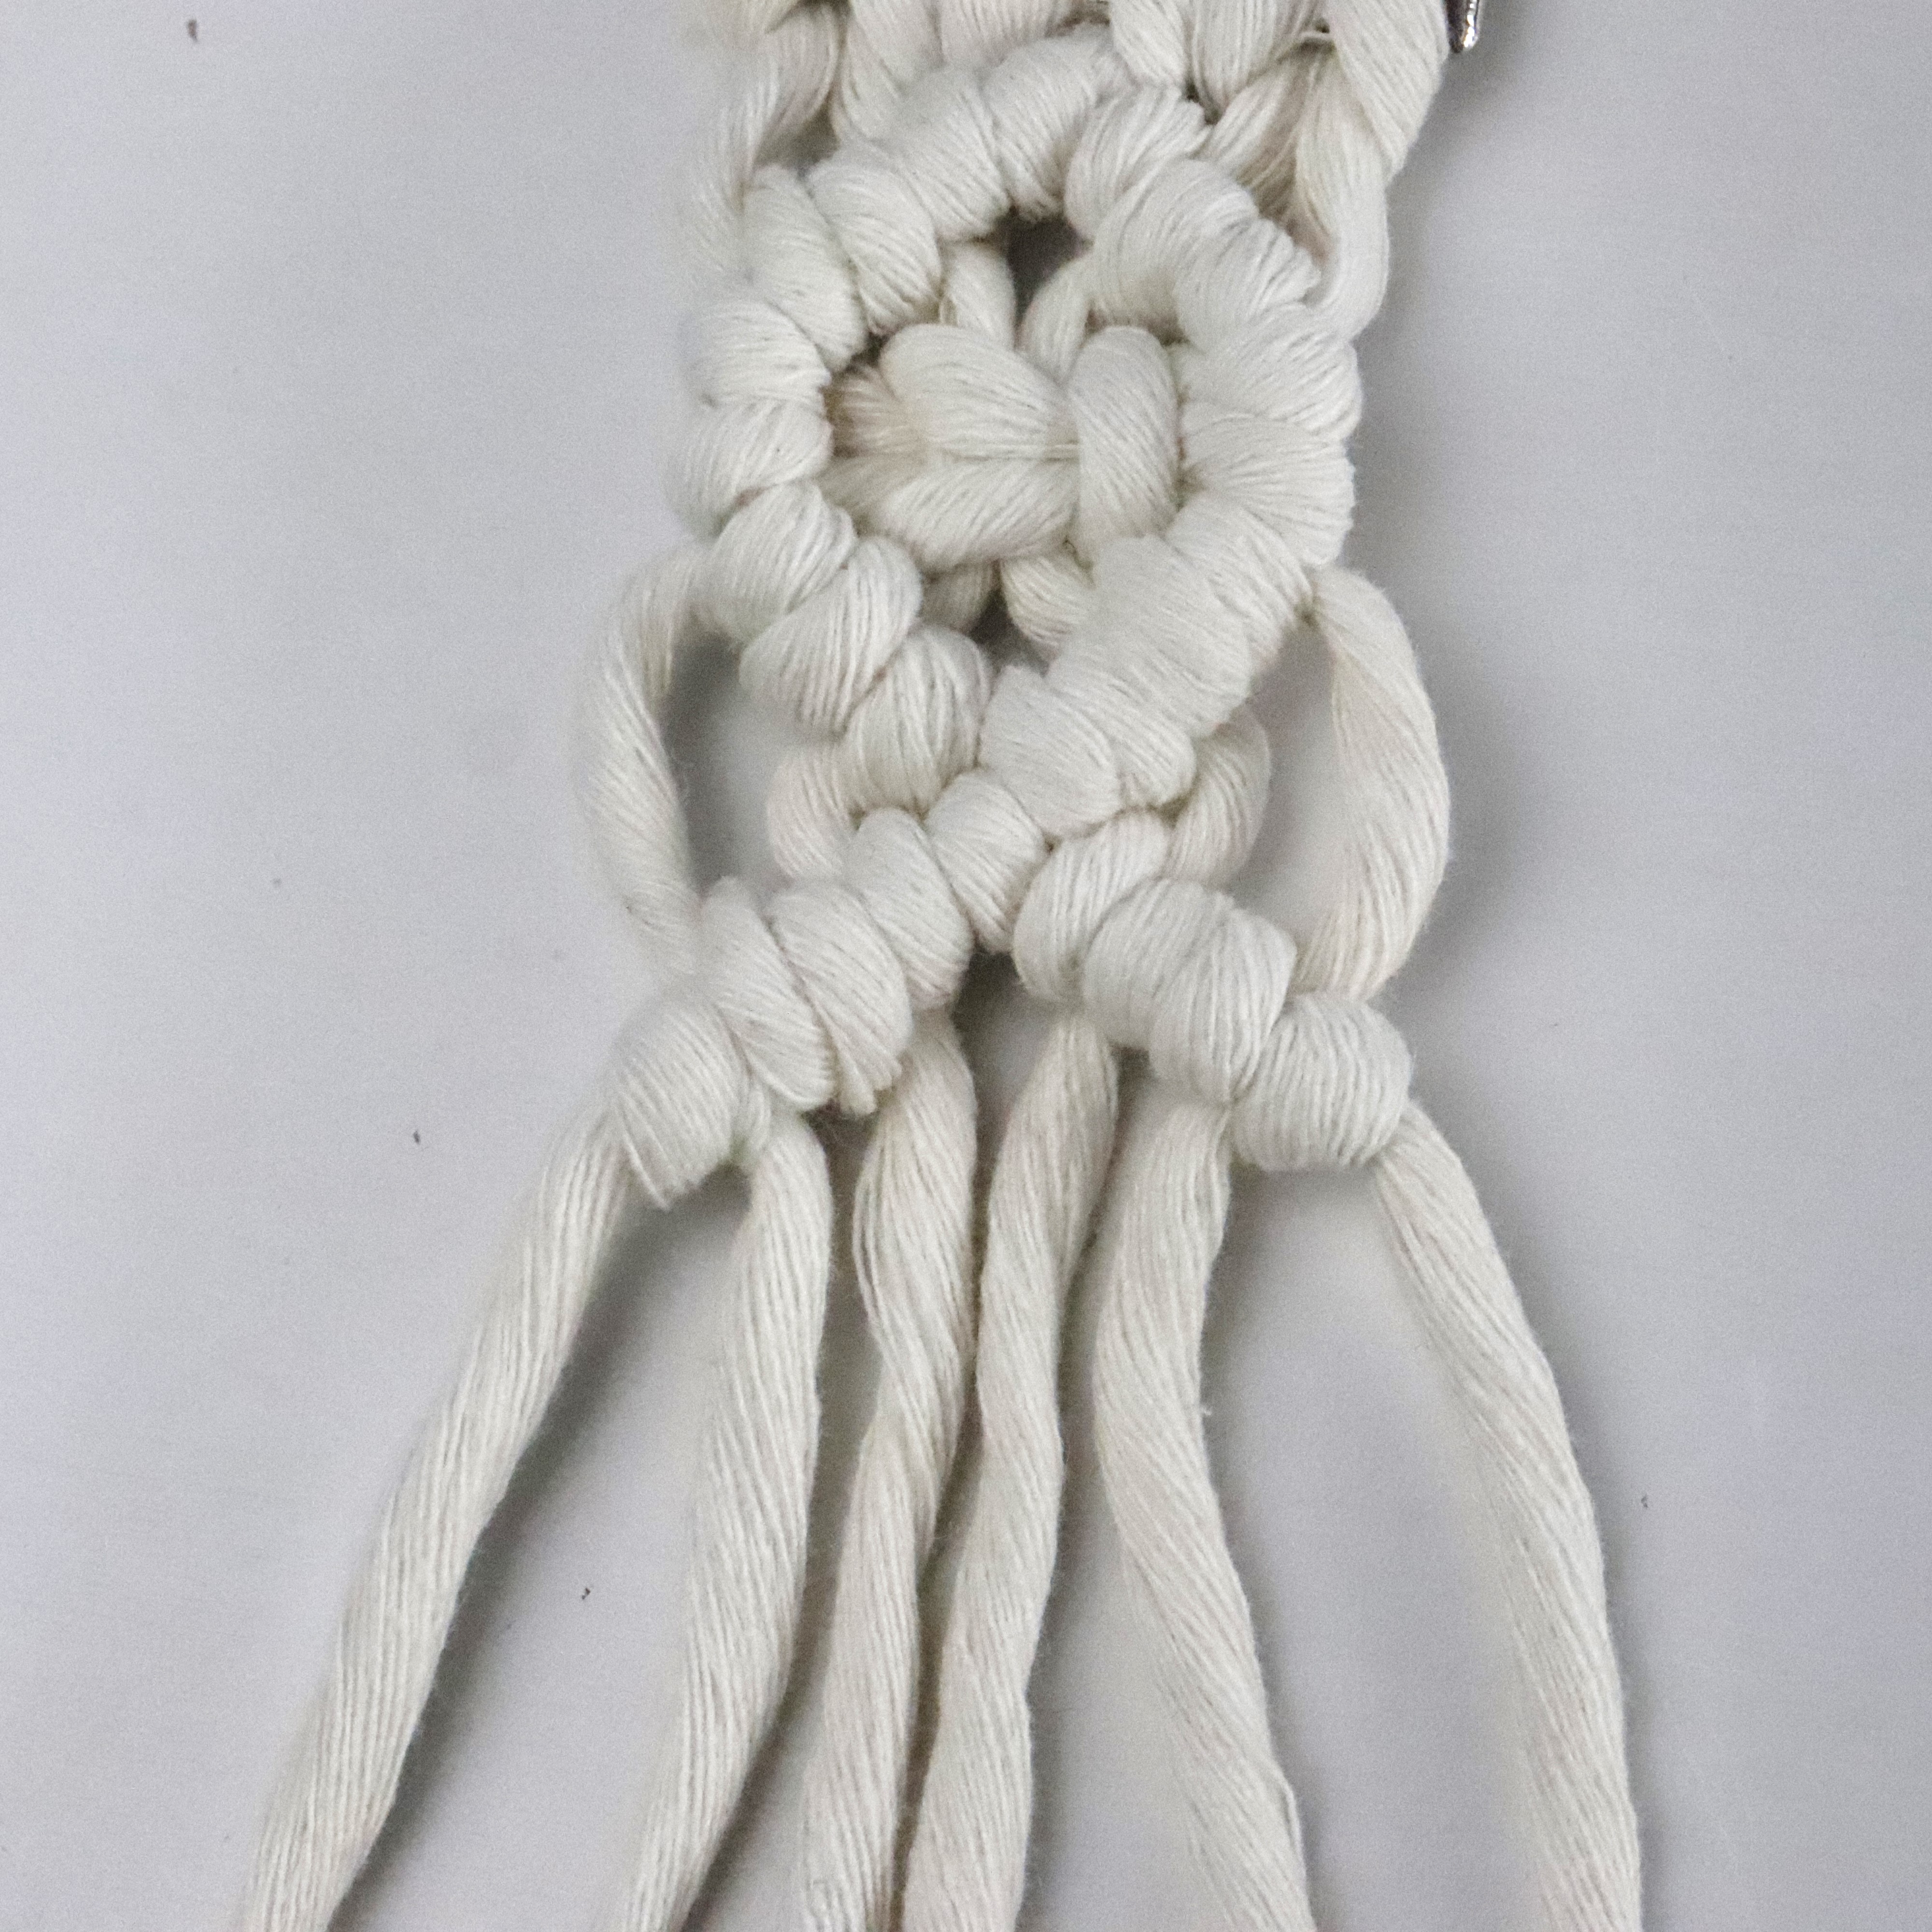
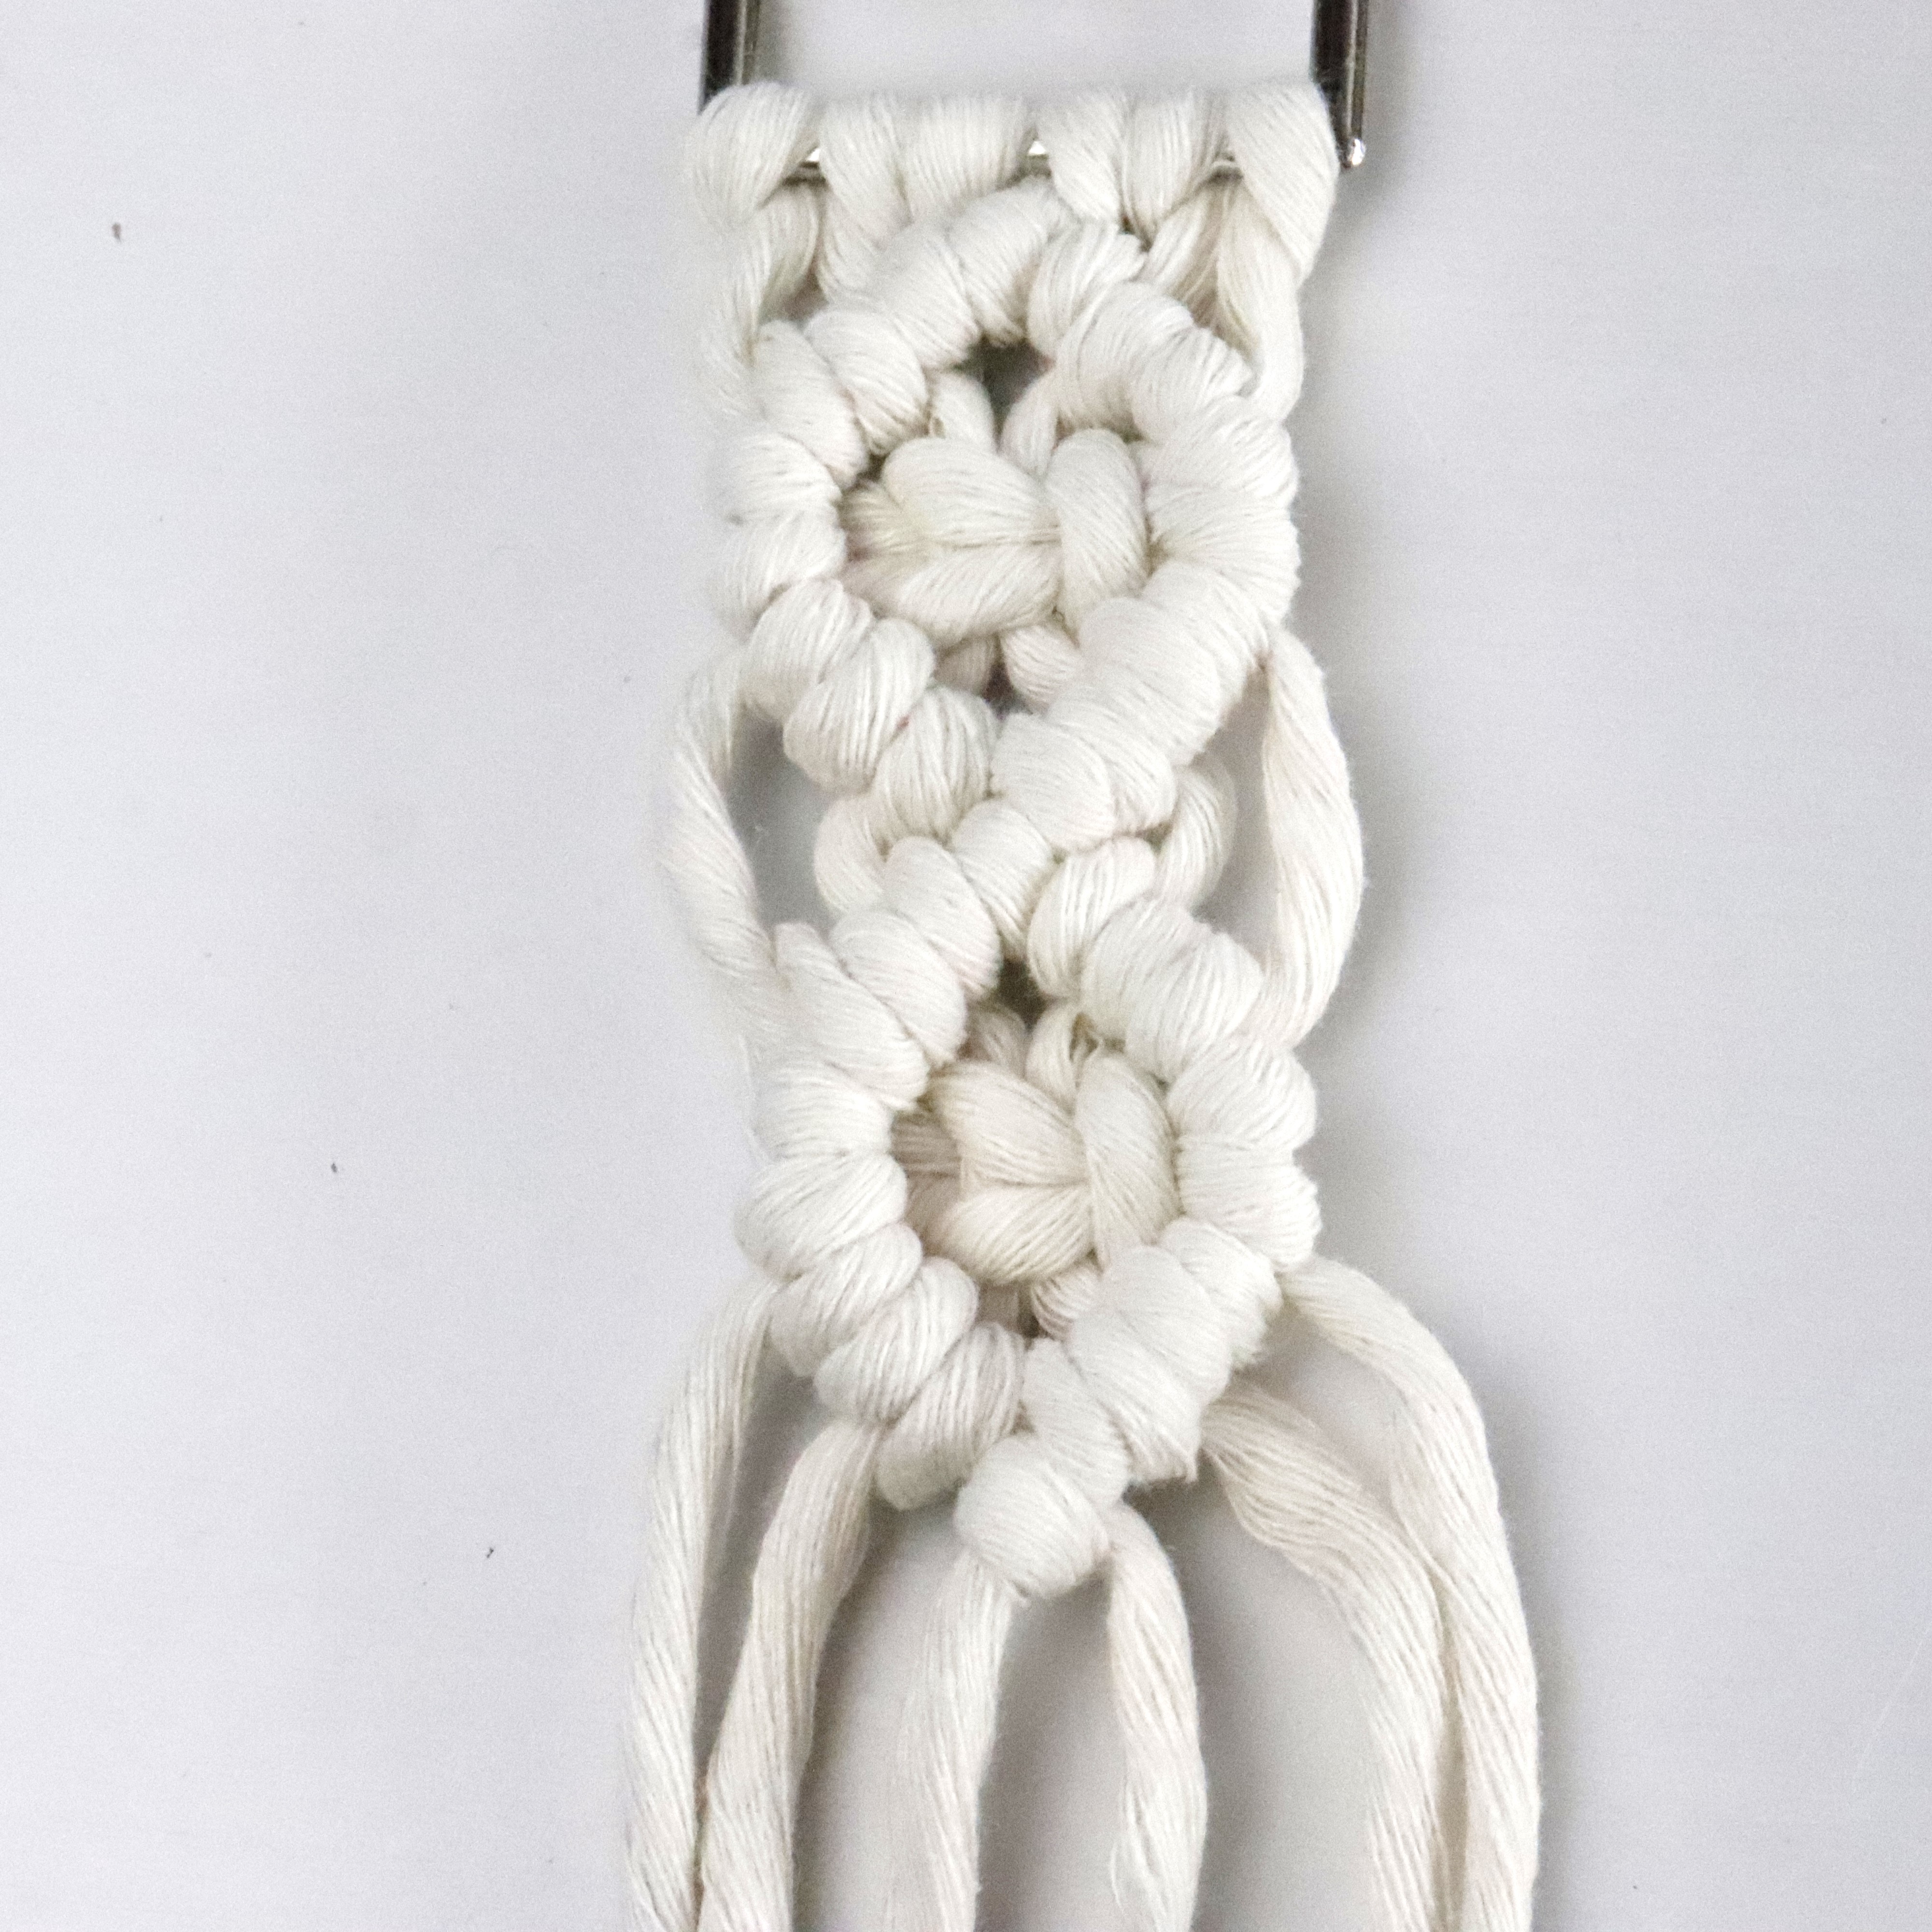
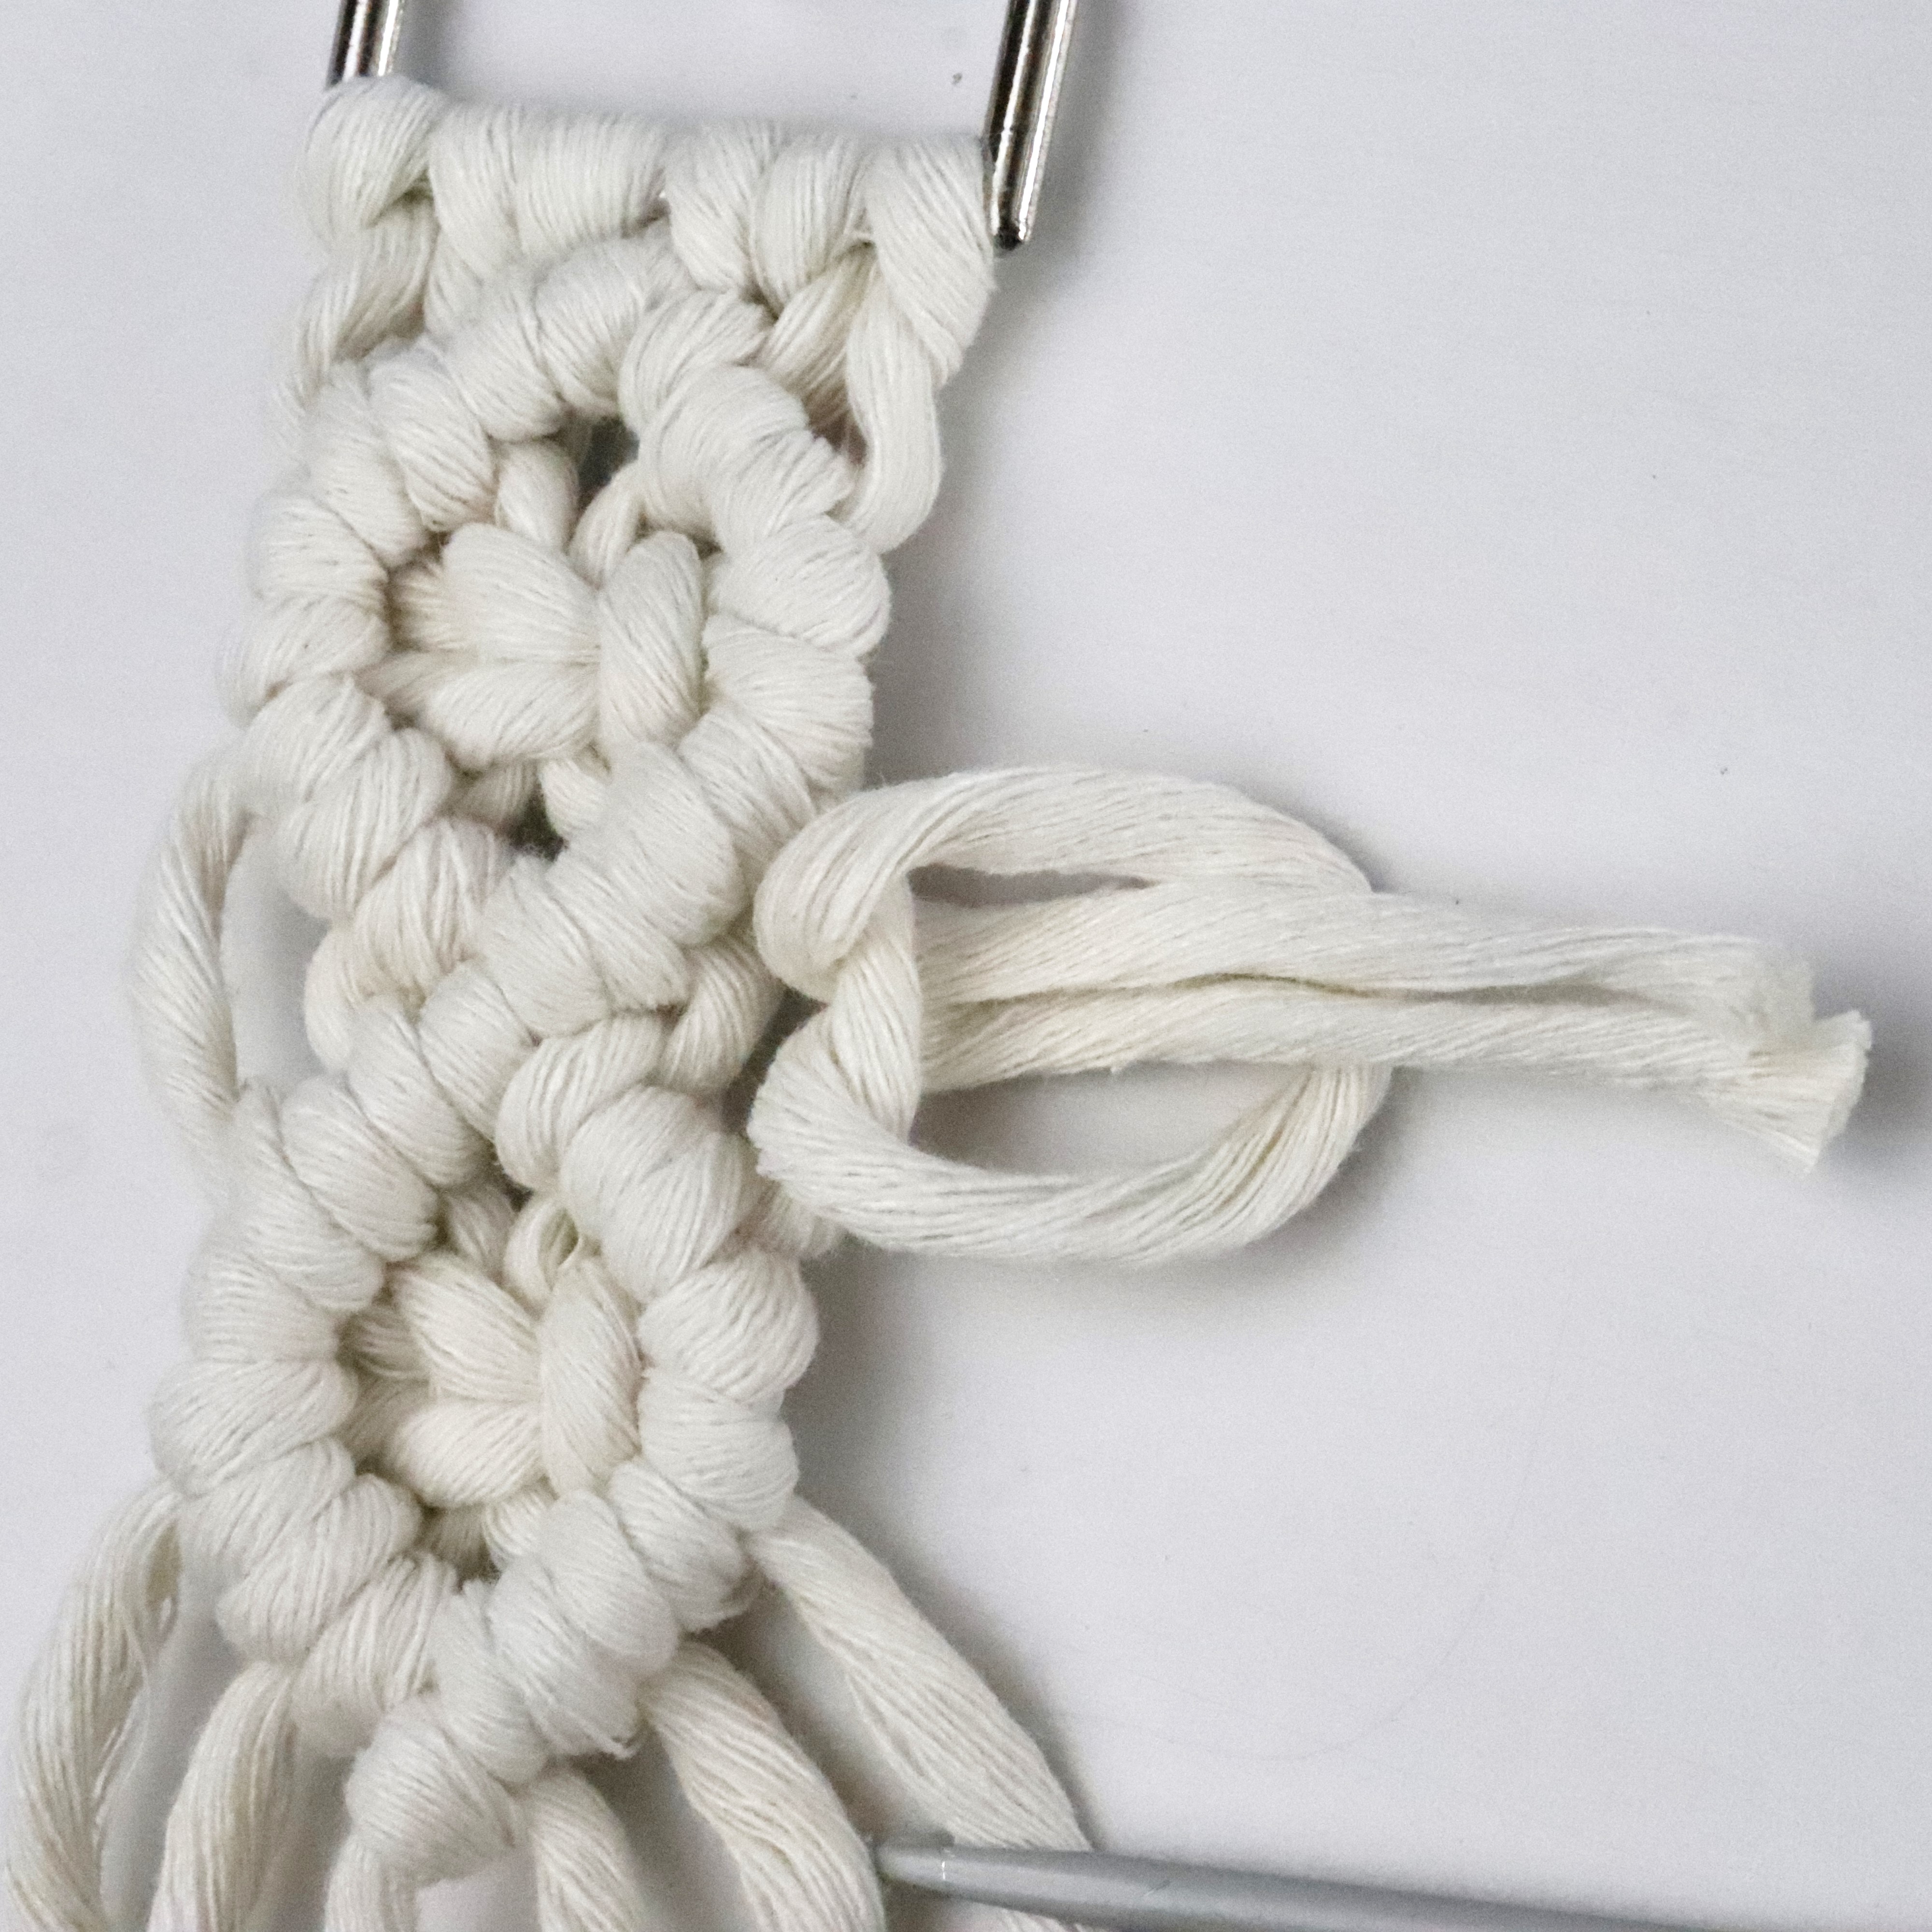
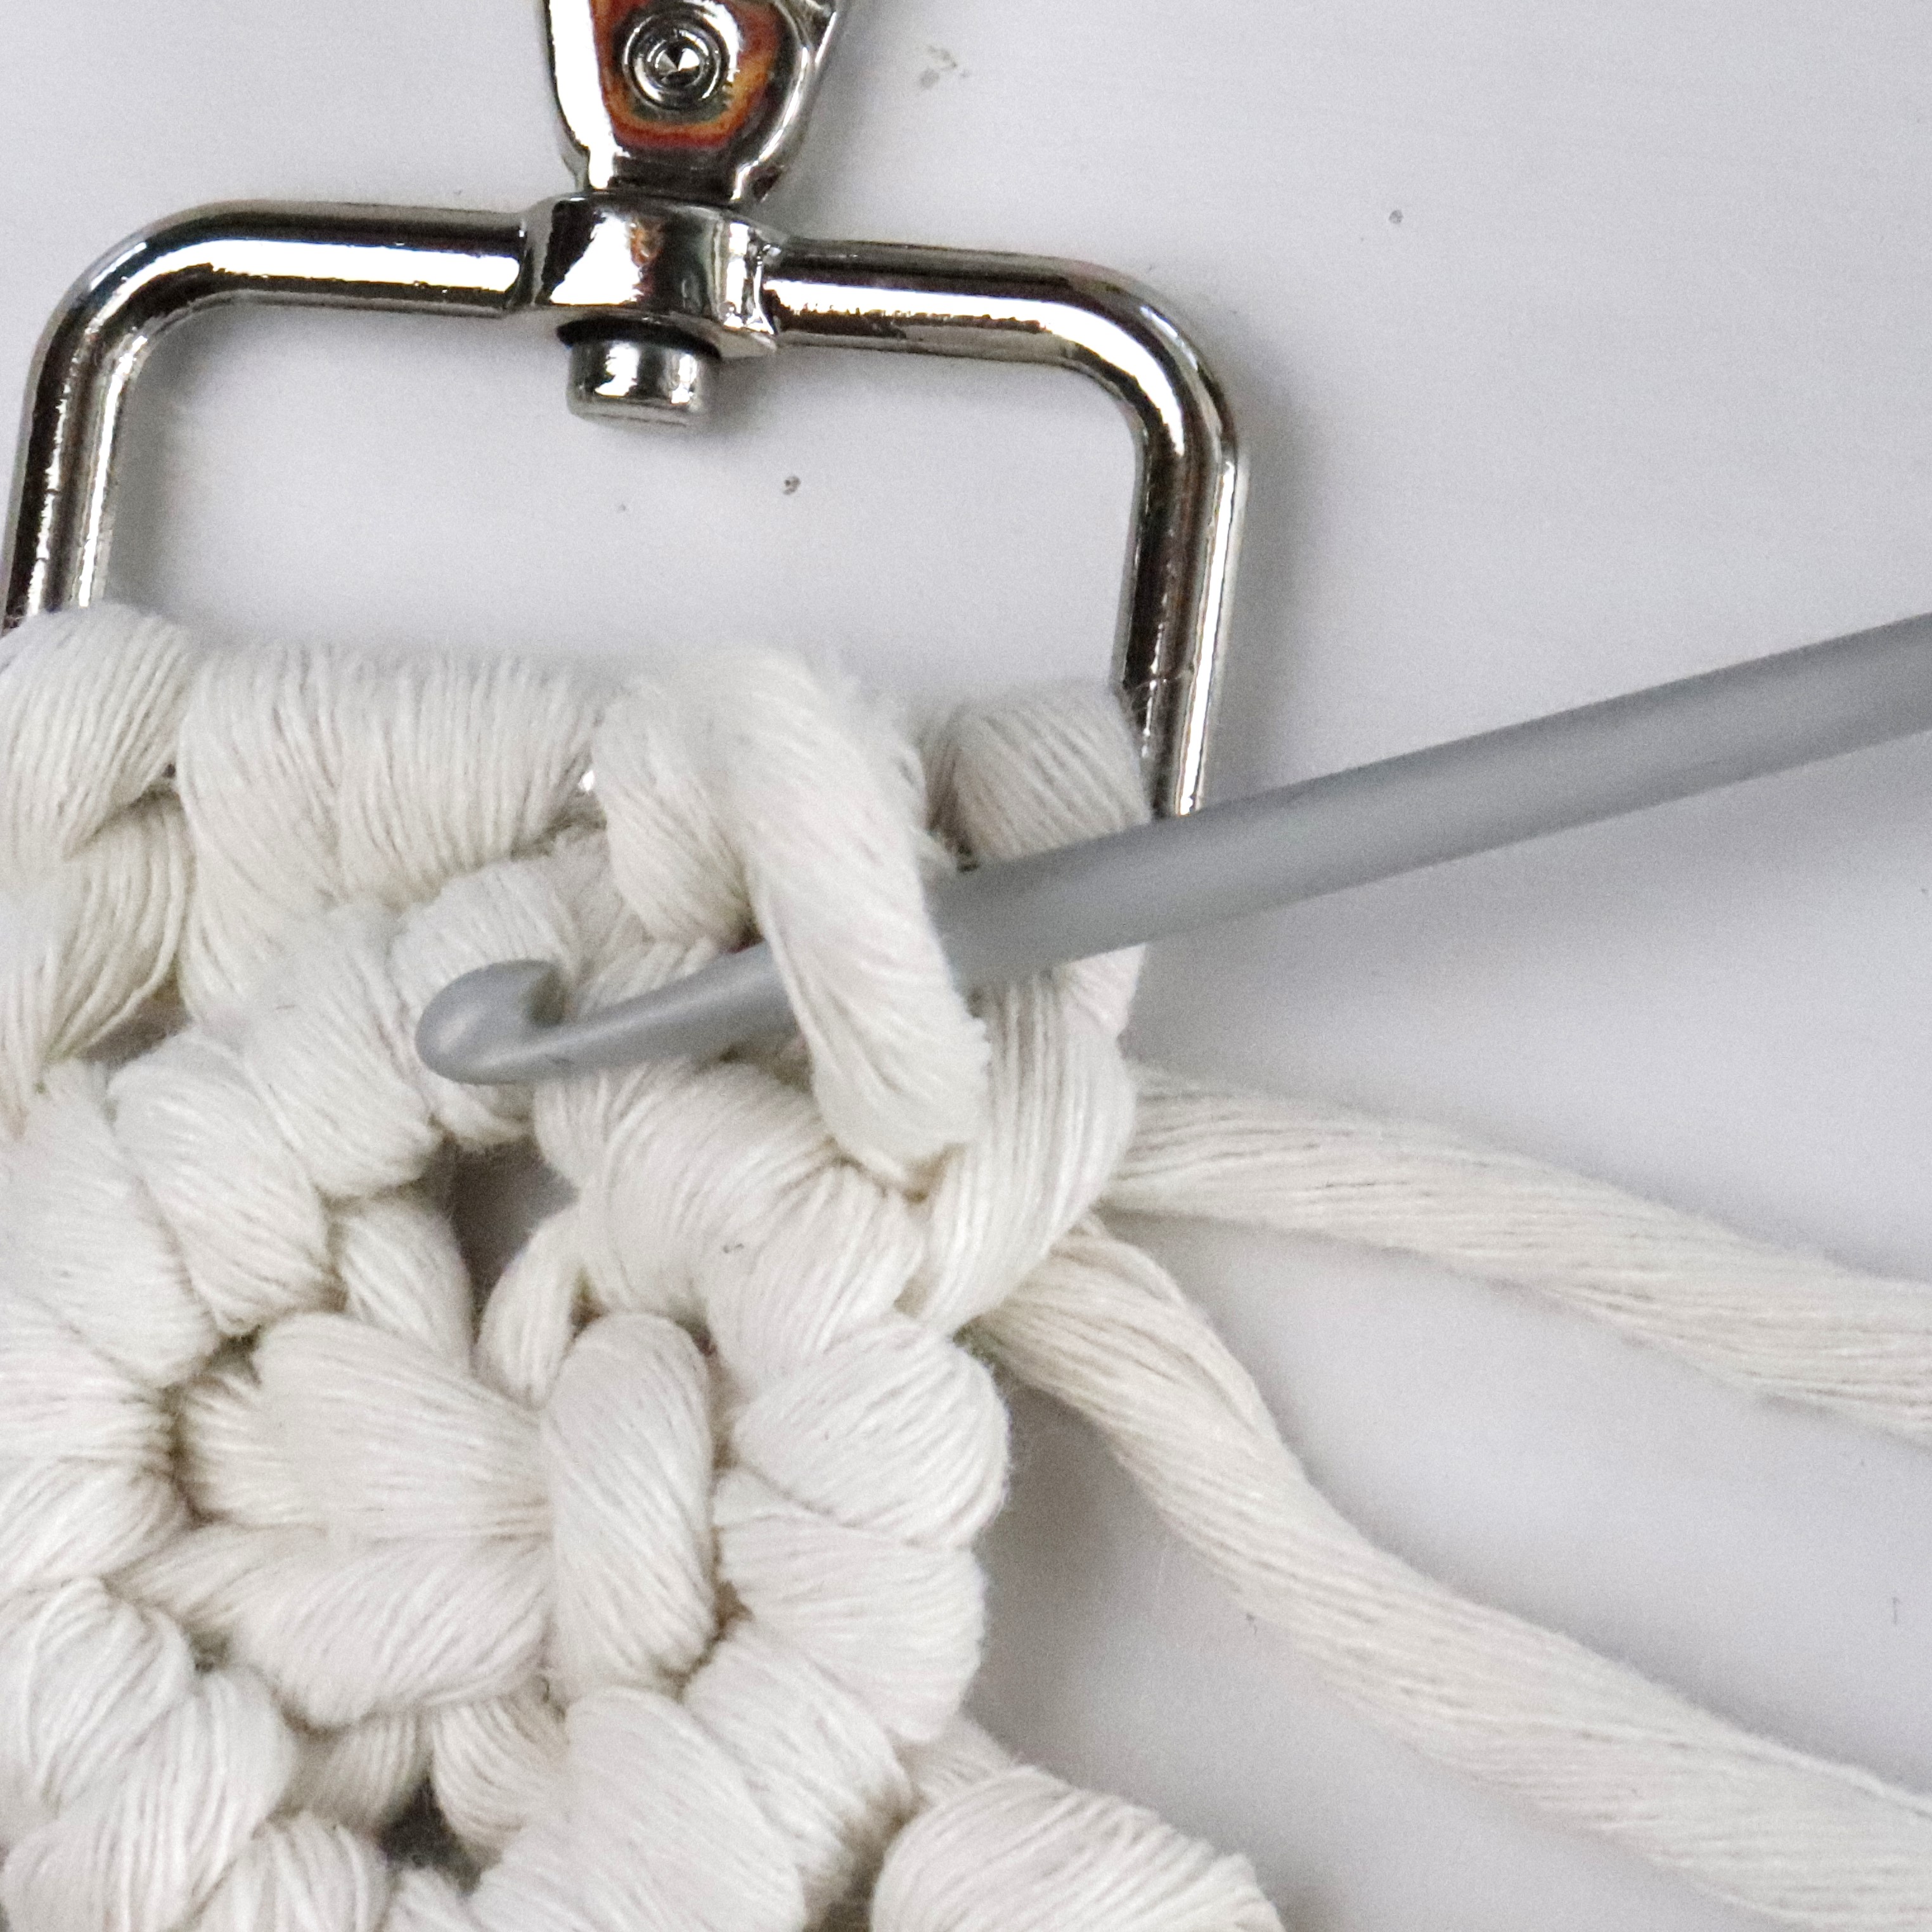
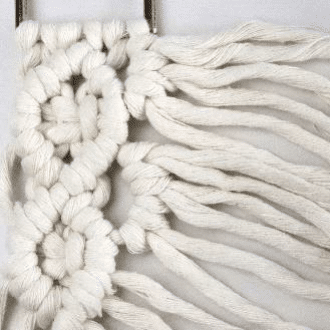
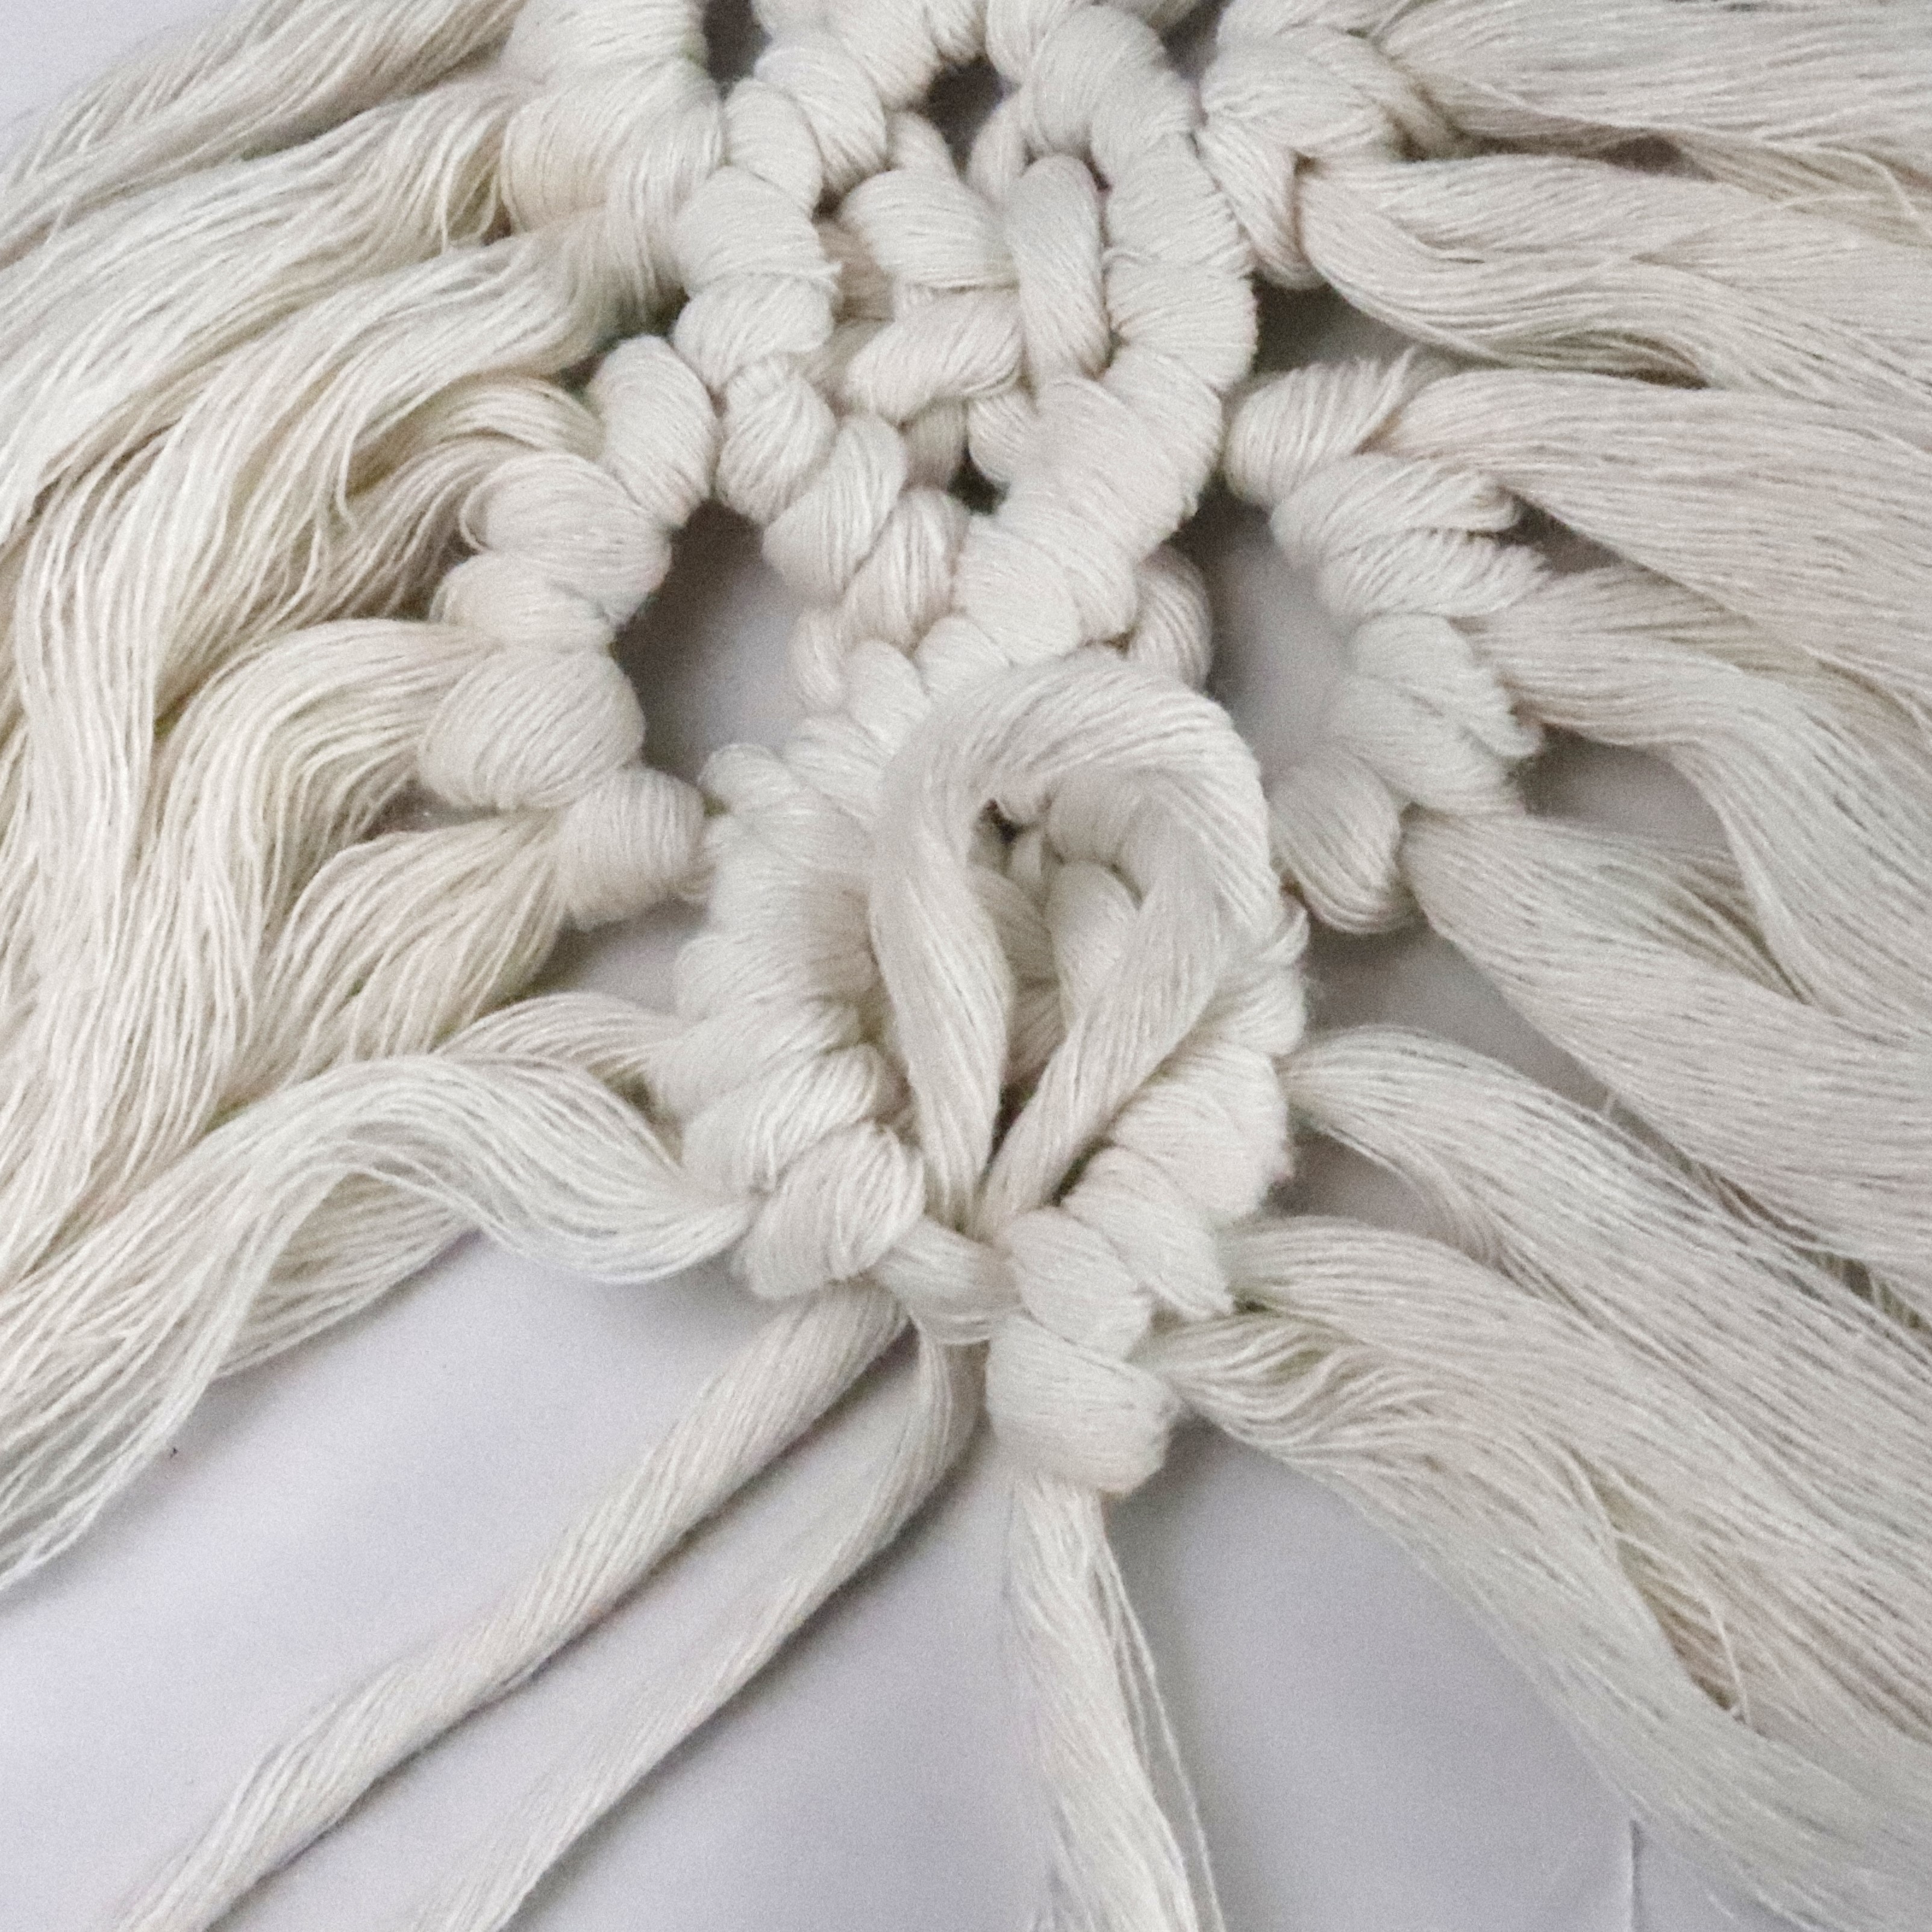
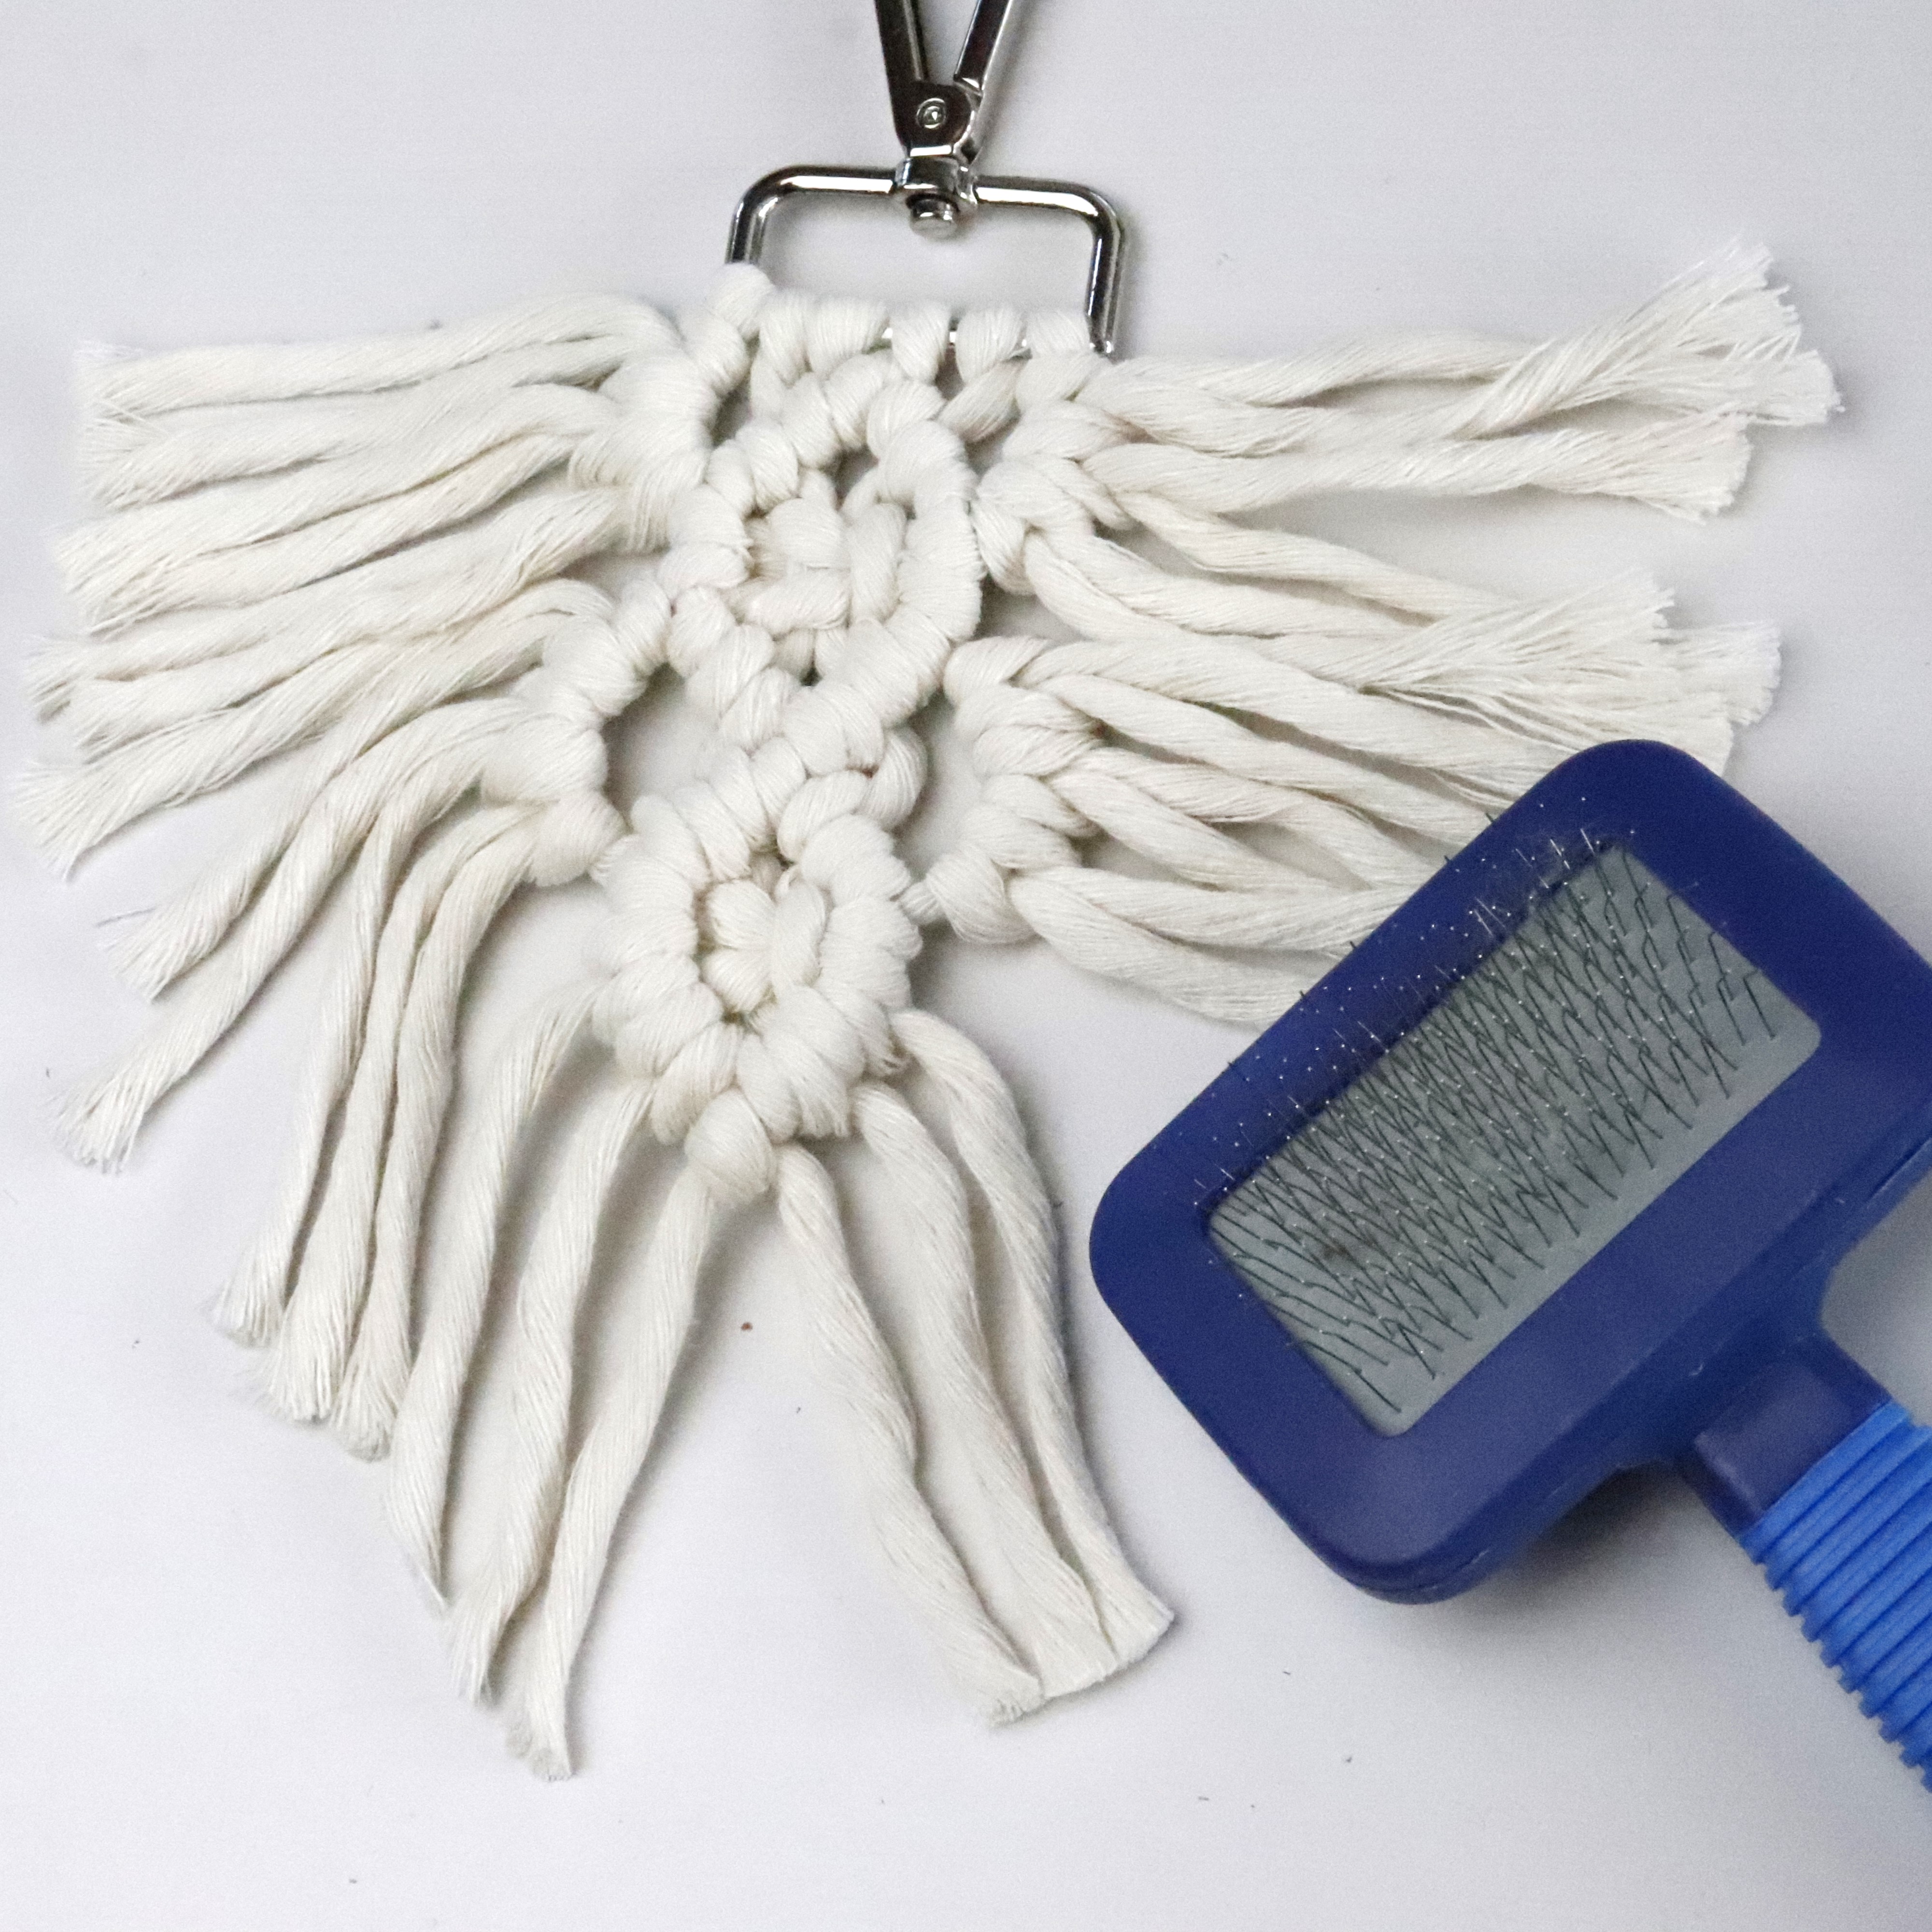
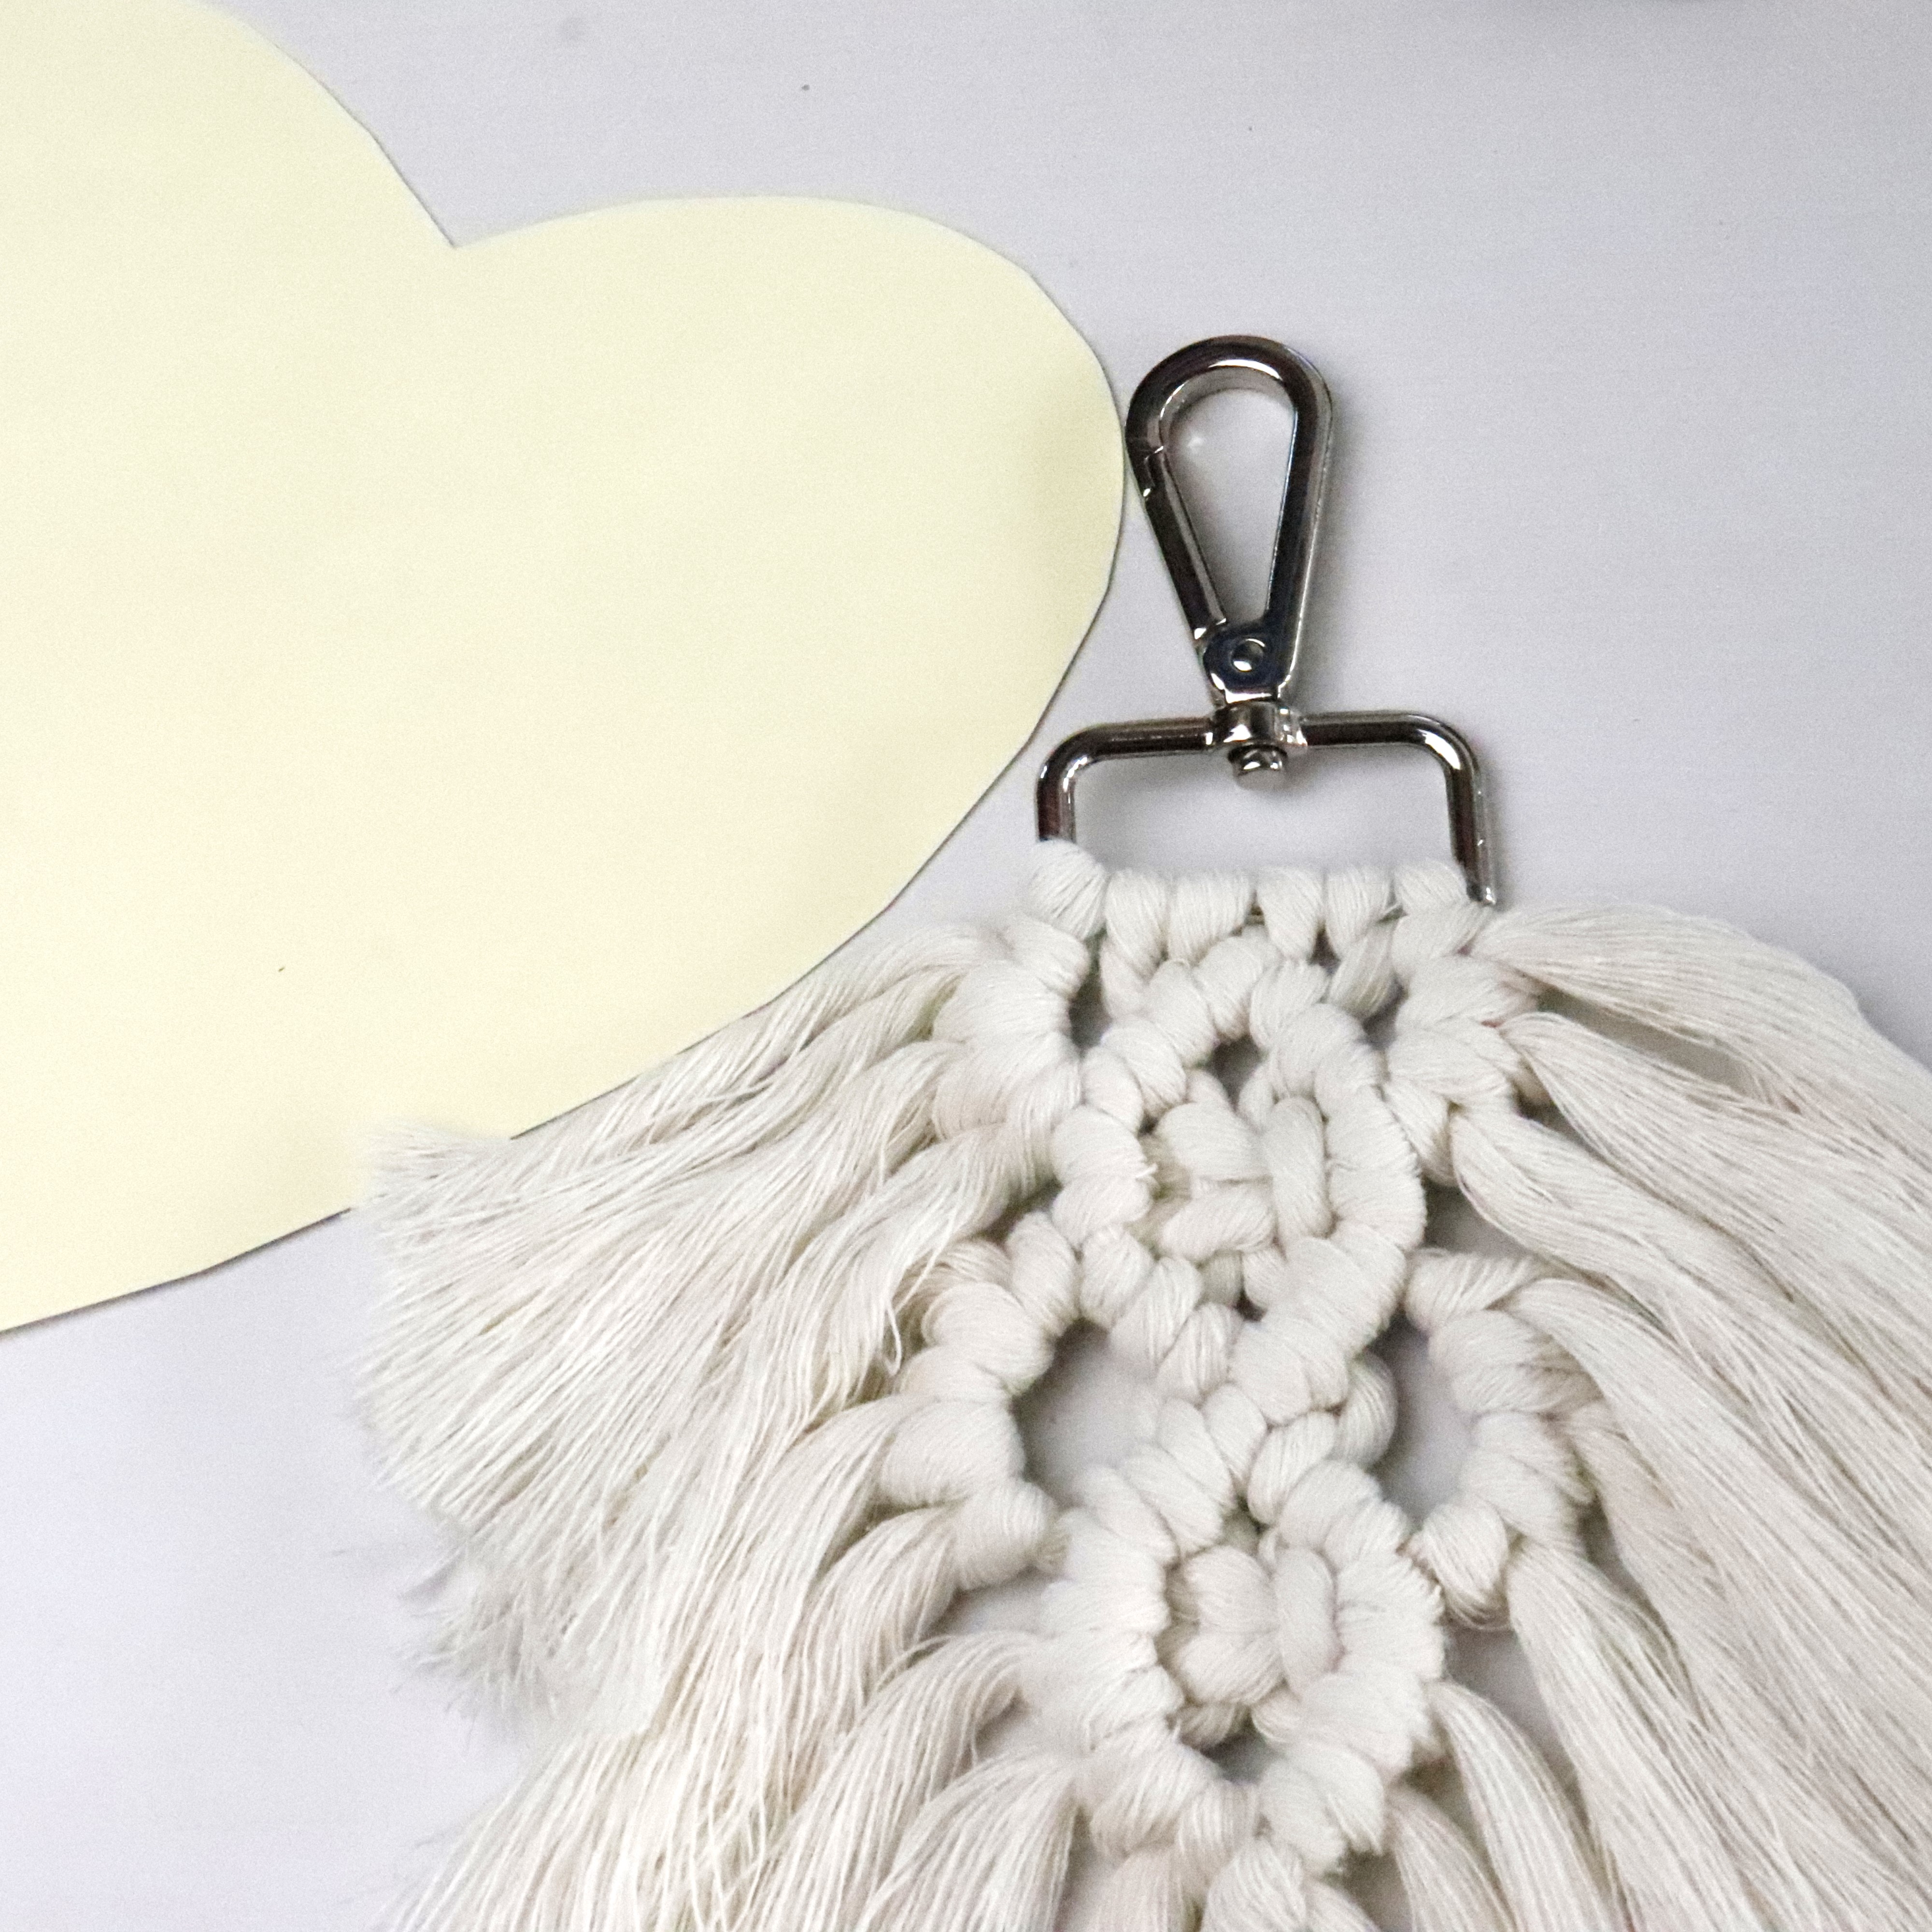
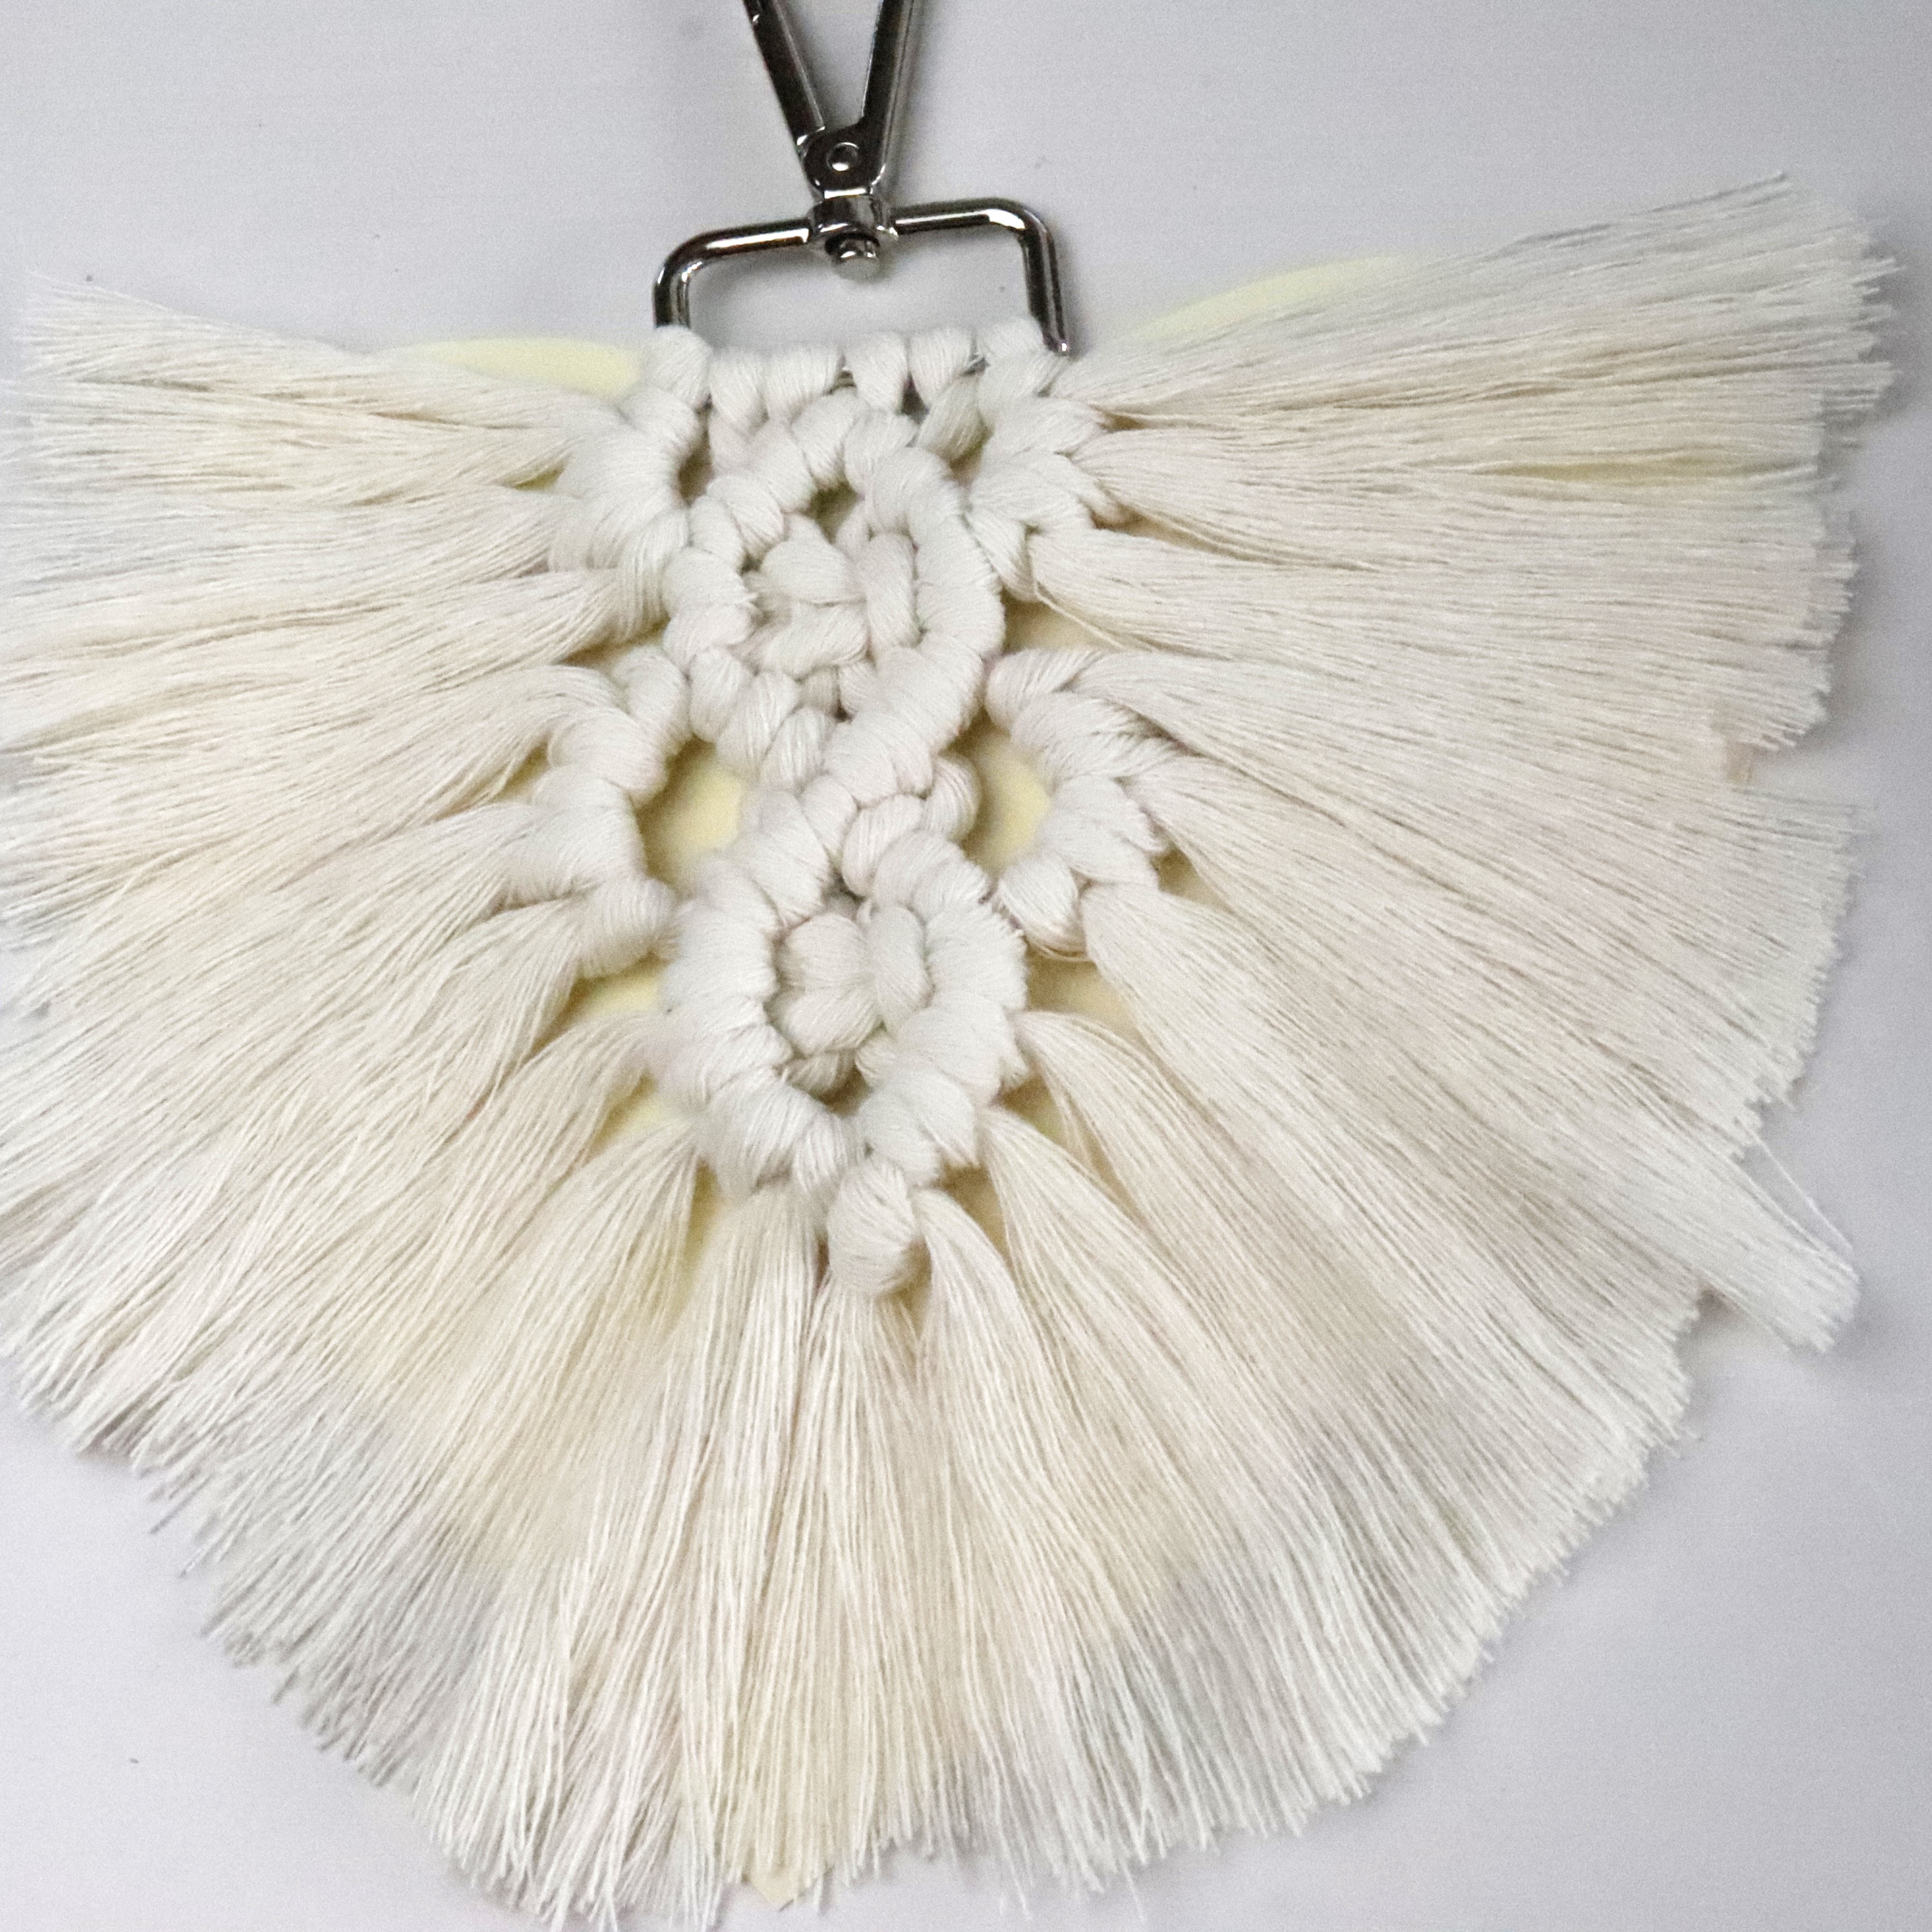
DIY Macramé Keychain – Stylish Deco Feather Charm for Your Bag or Keys
Start today with macramé and create this stylish keychain with a decorative feather. A fun and easy DIY project, perfect as an accessory for your bag or keyring!
