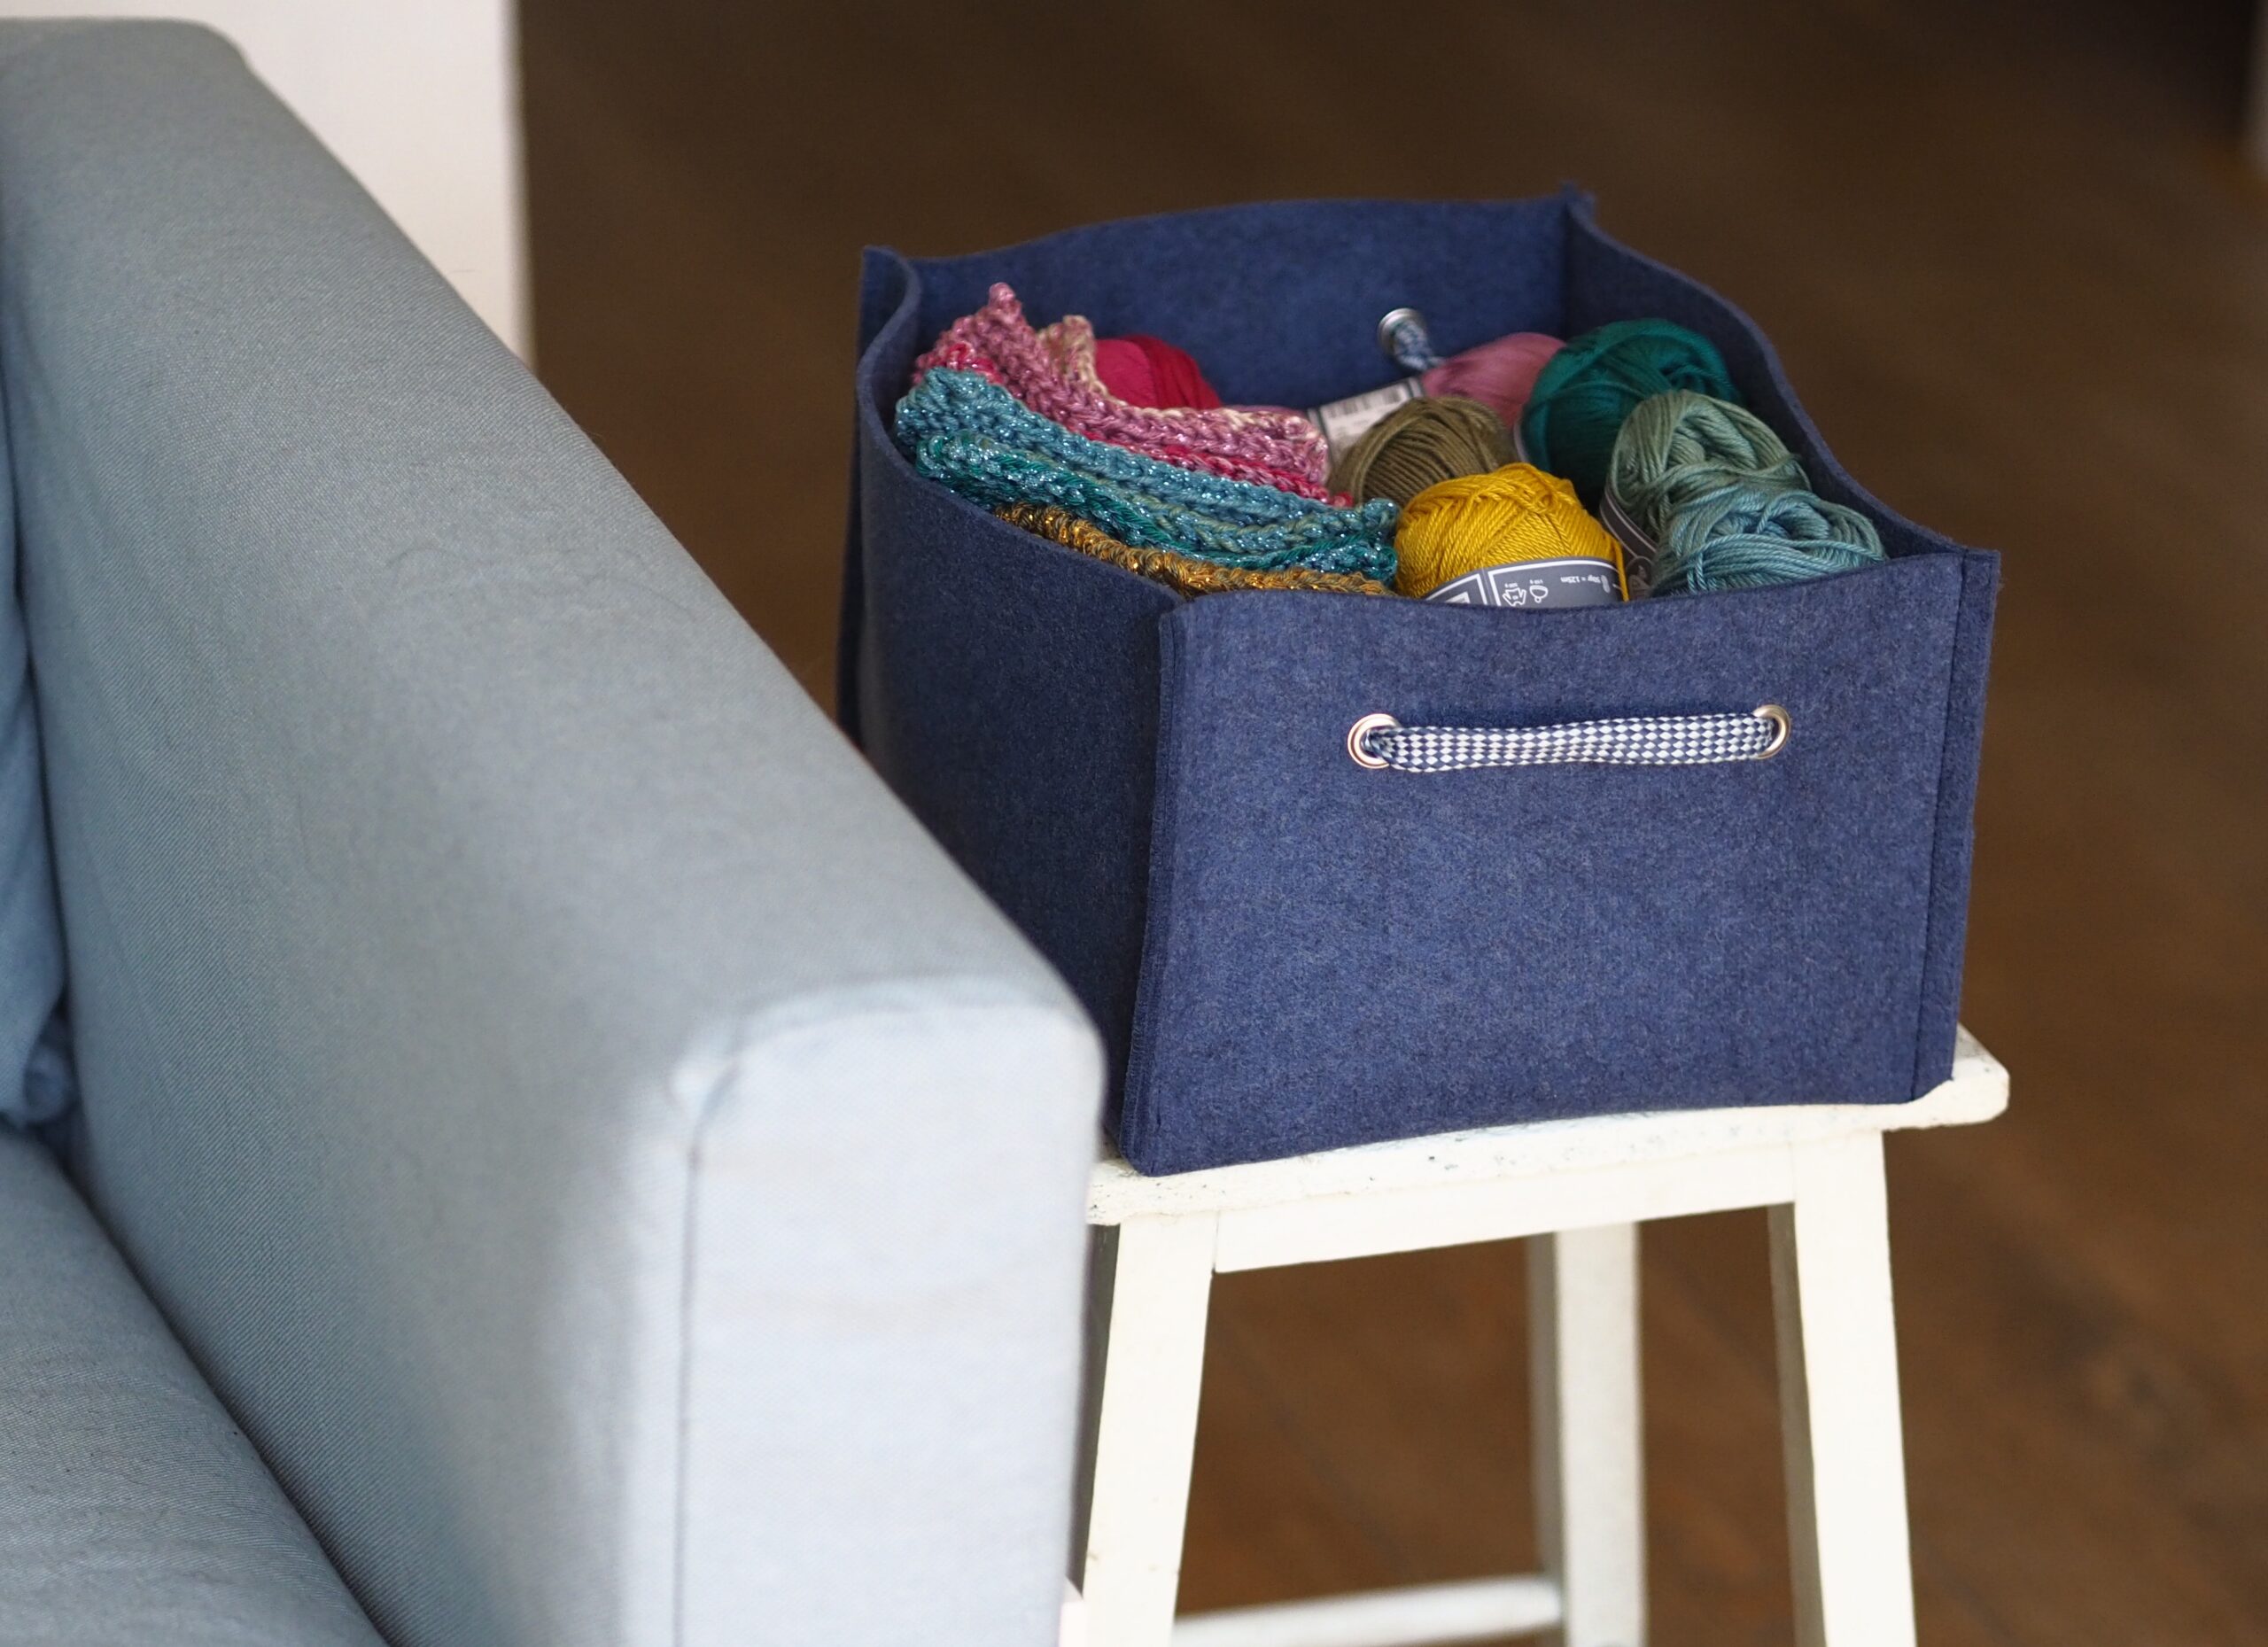
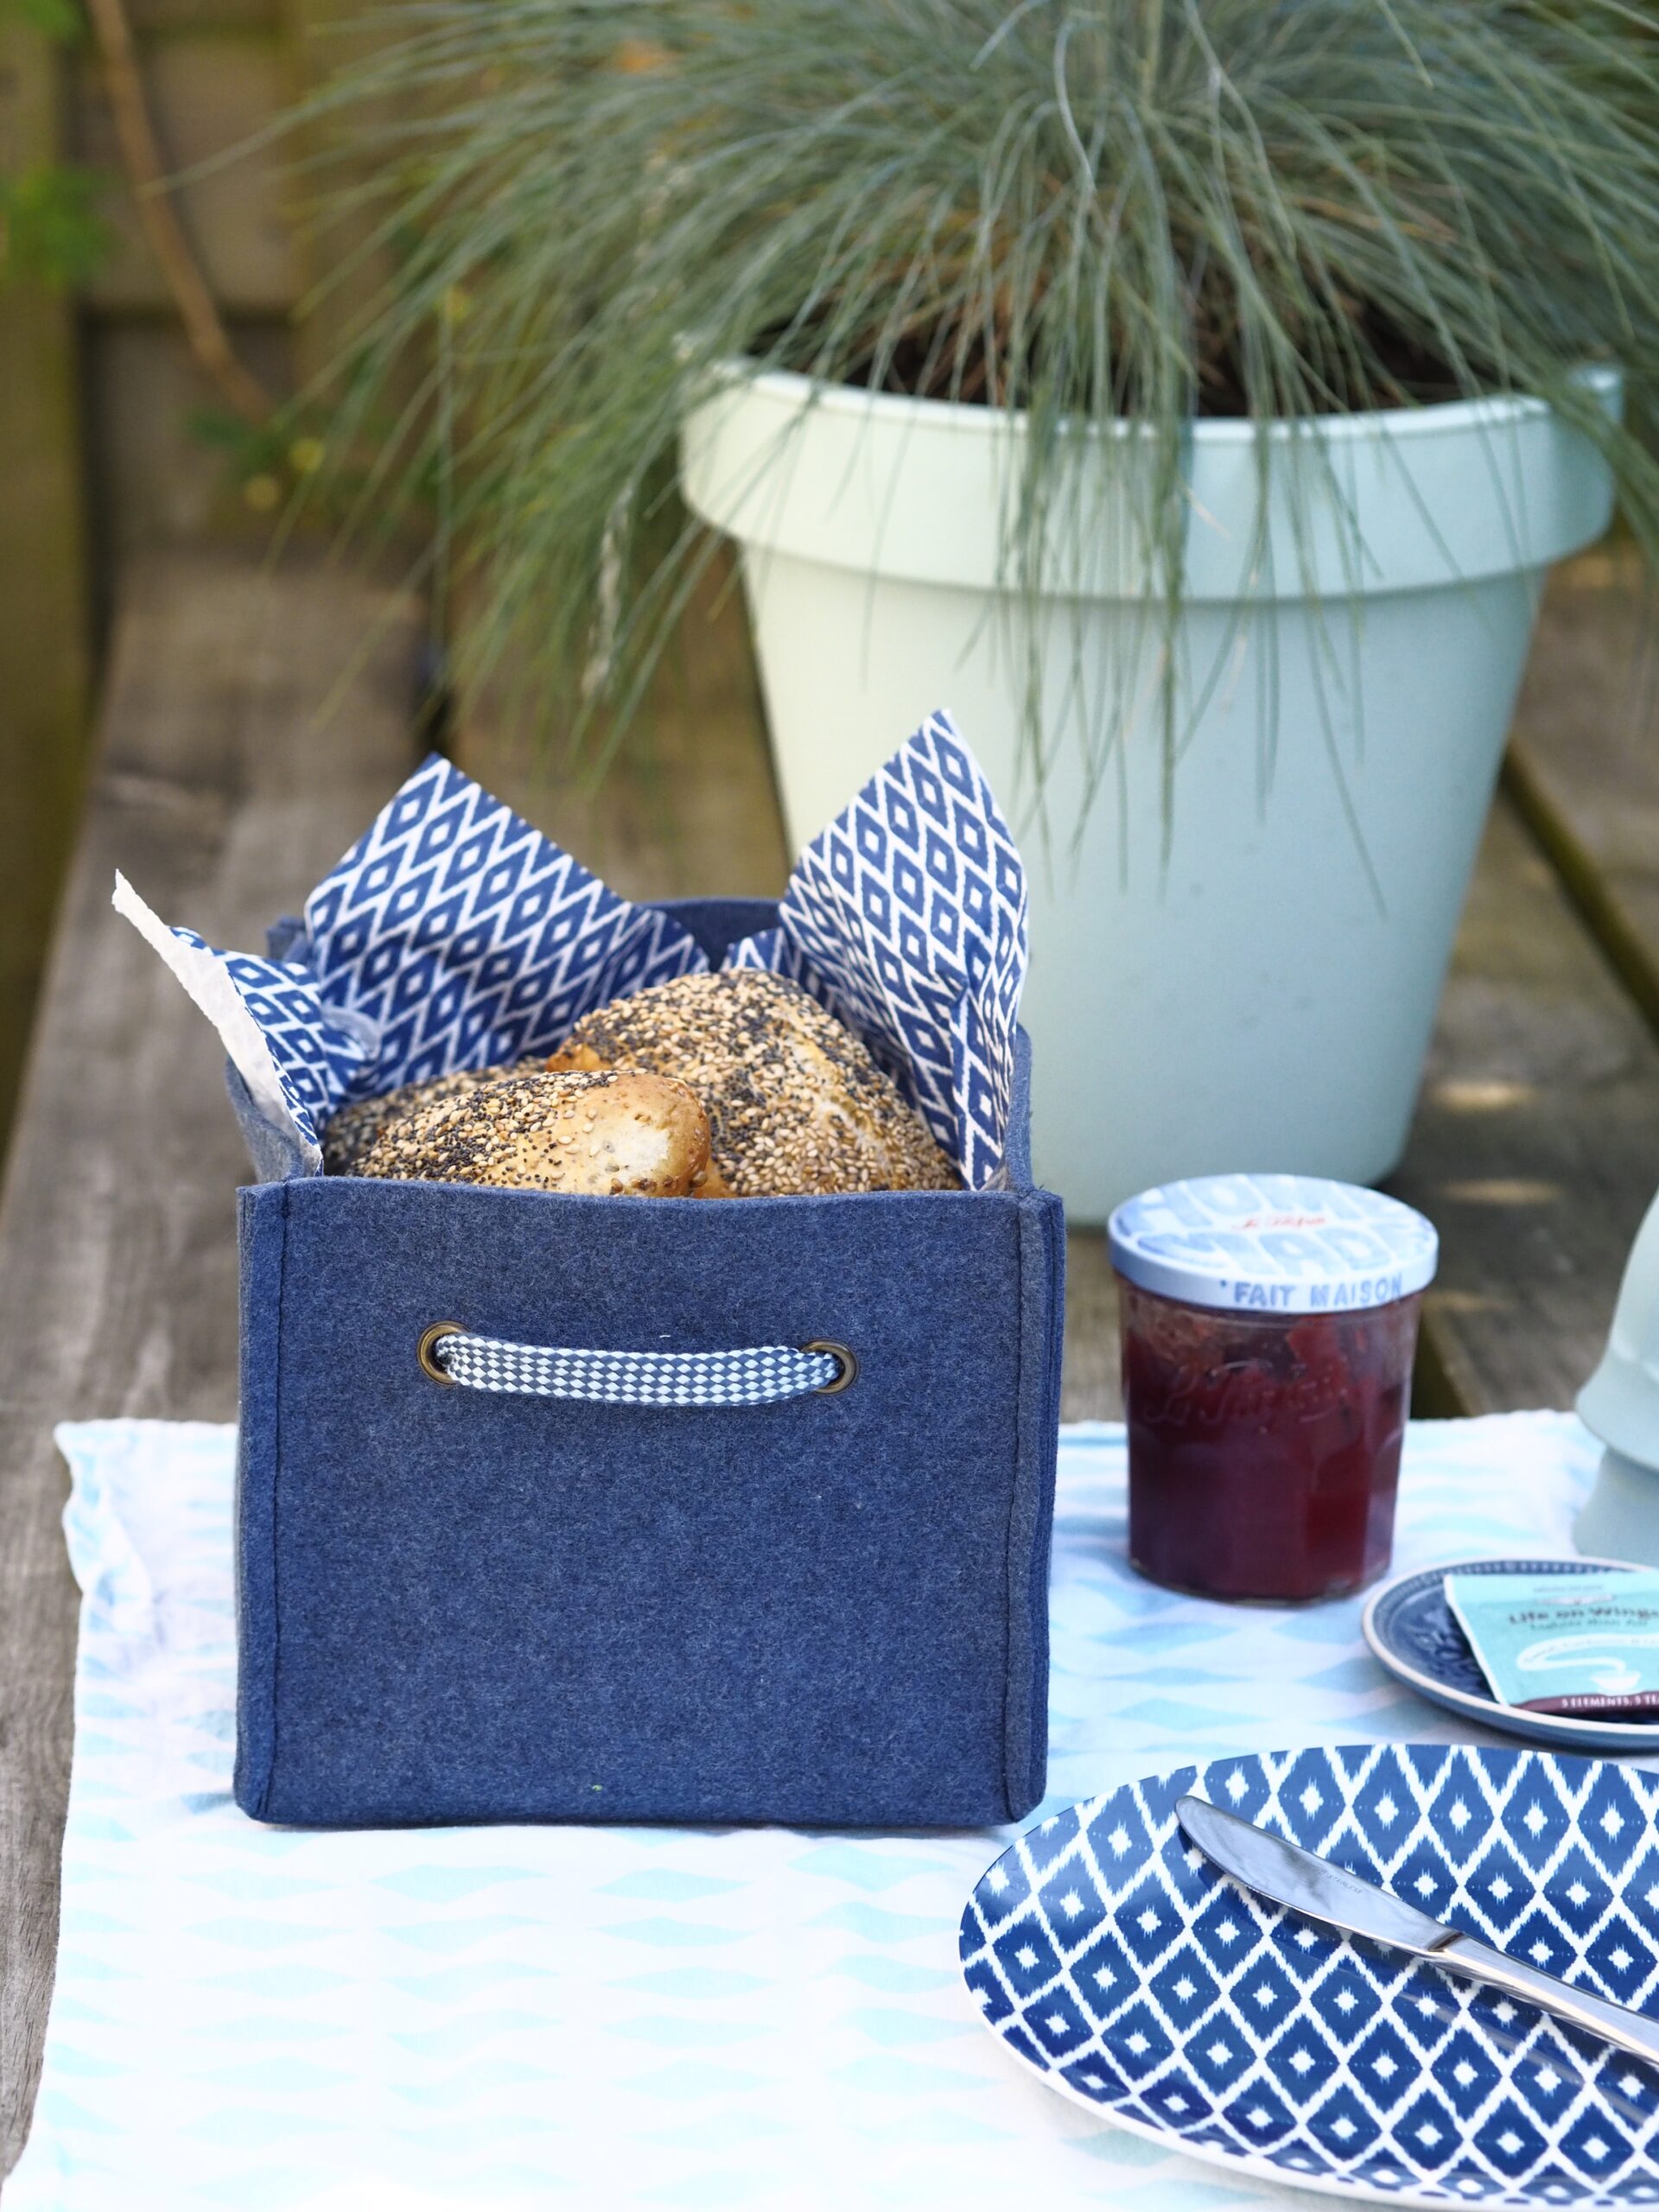
Looking for a simple and stylish DIY project? With this felt basket tutorial, you can sew your own sturdy storage baskets in no time! Whether you use them in the living room, your craft space, the kids’ room, or bedroom—these baskets are perfect for keeping things neat and organized.
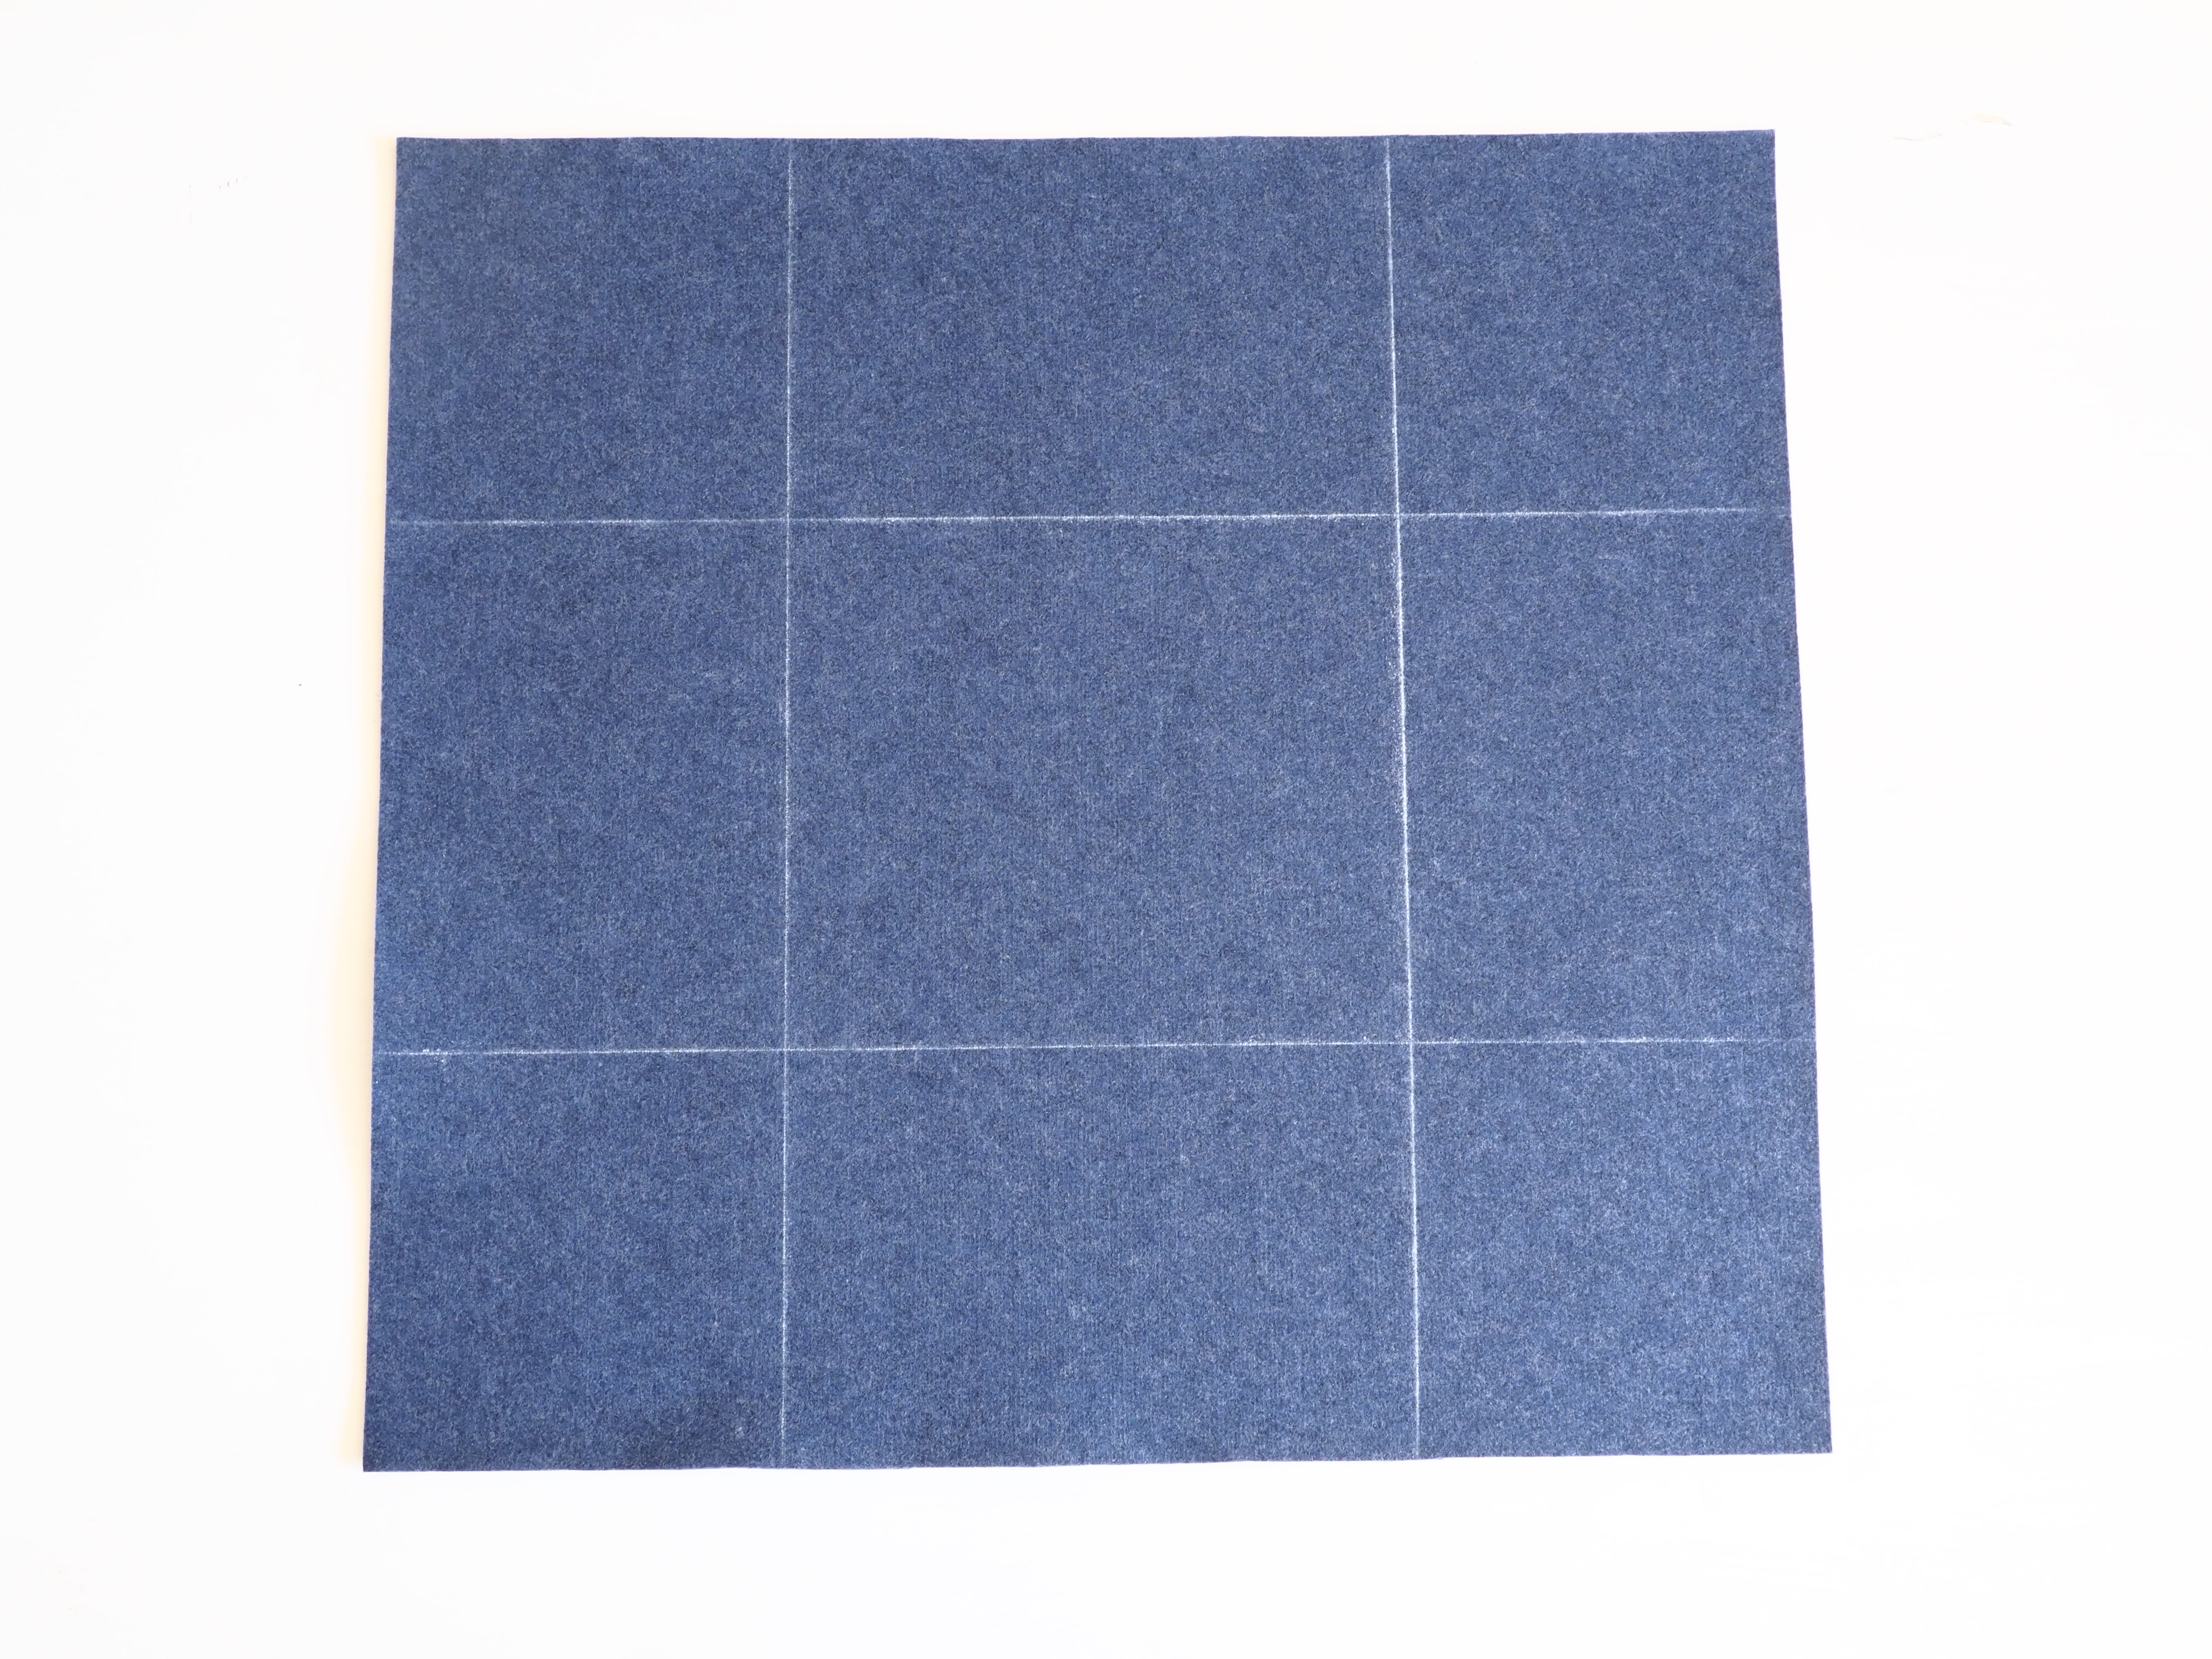
You might know felt from the small craft sheets, but did you know it also comes in thicker, sturdier versions? For this project, ReStyle Blogger Lidy used 2 meters of thick felt, sold by the meter. This strong material gives the baskets structure and a cool, robust look.
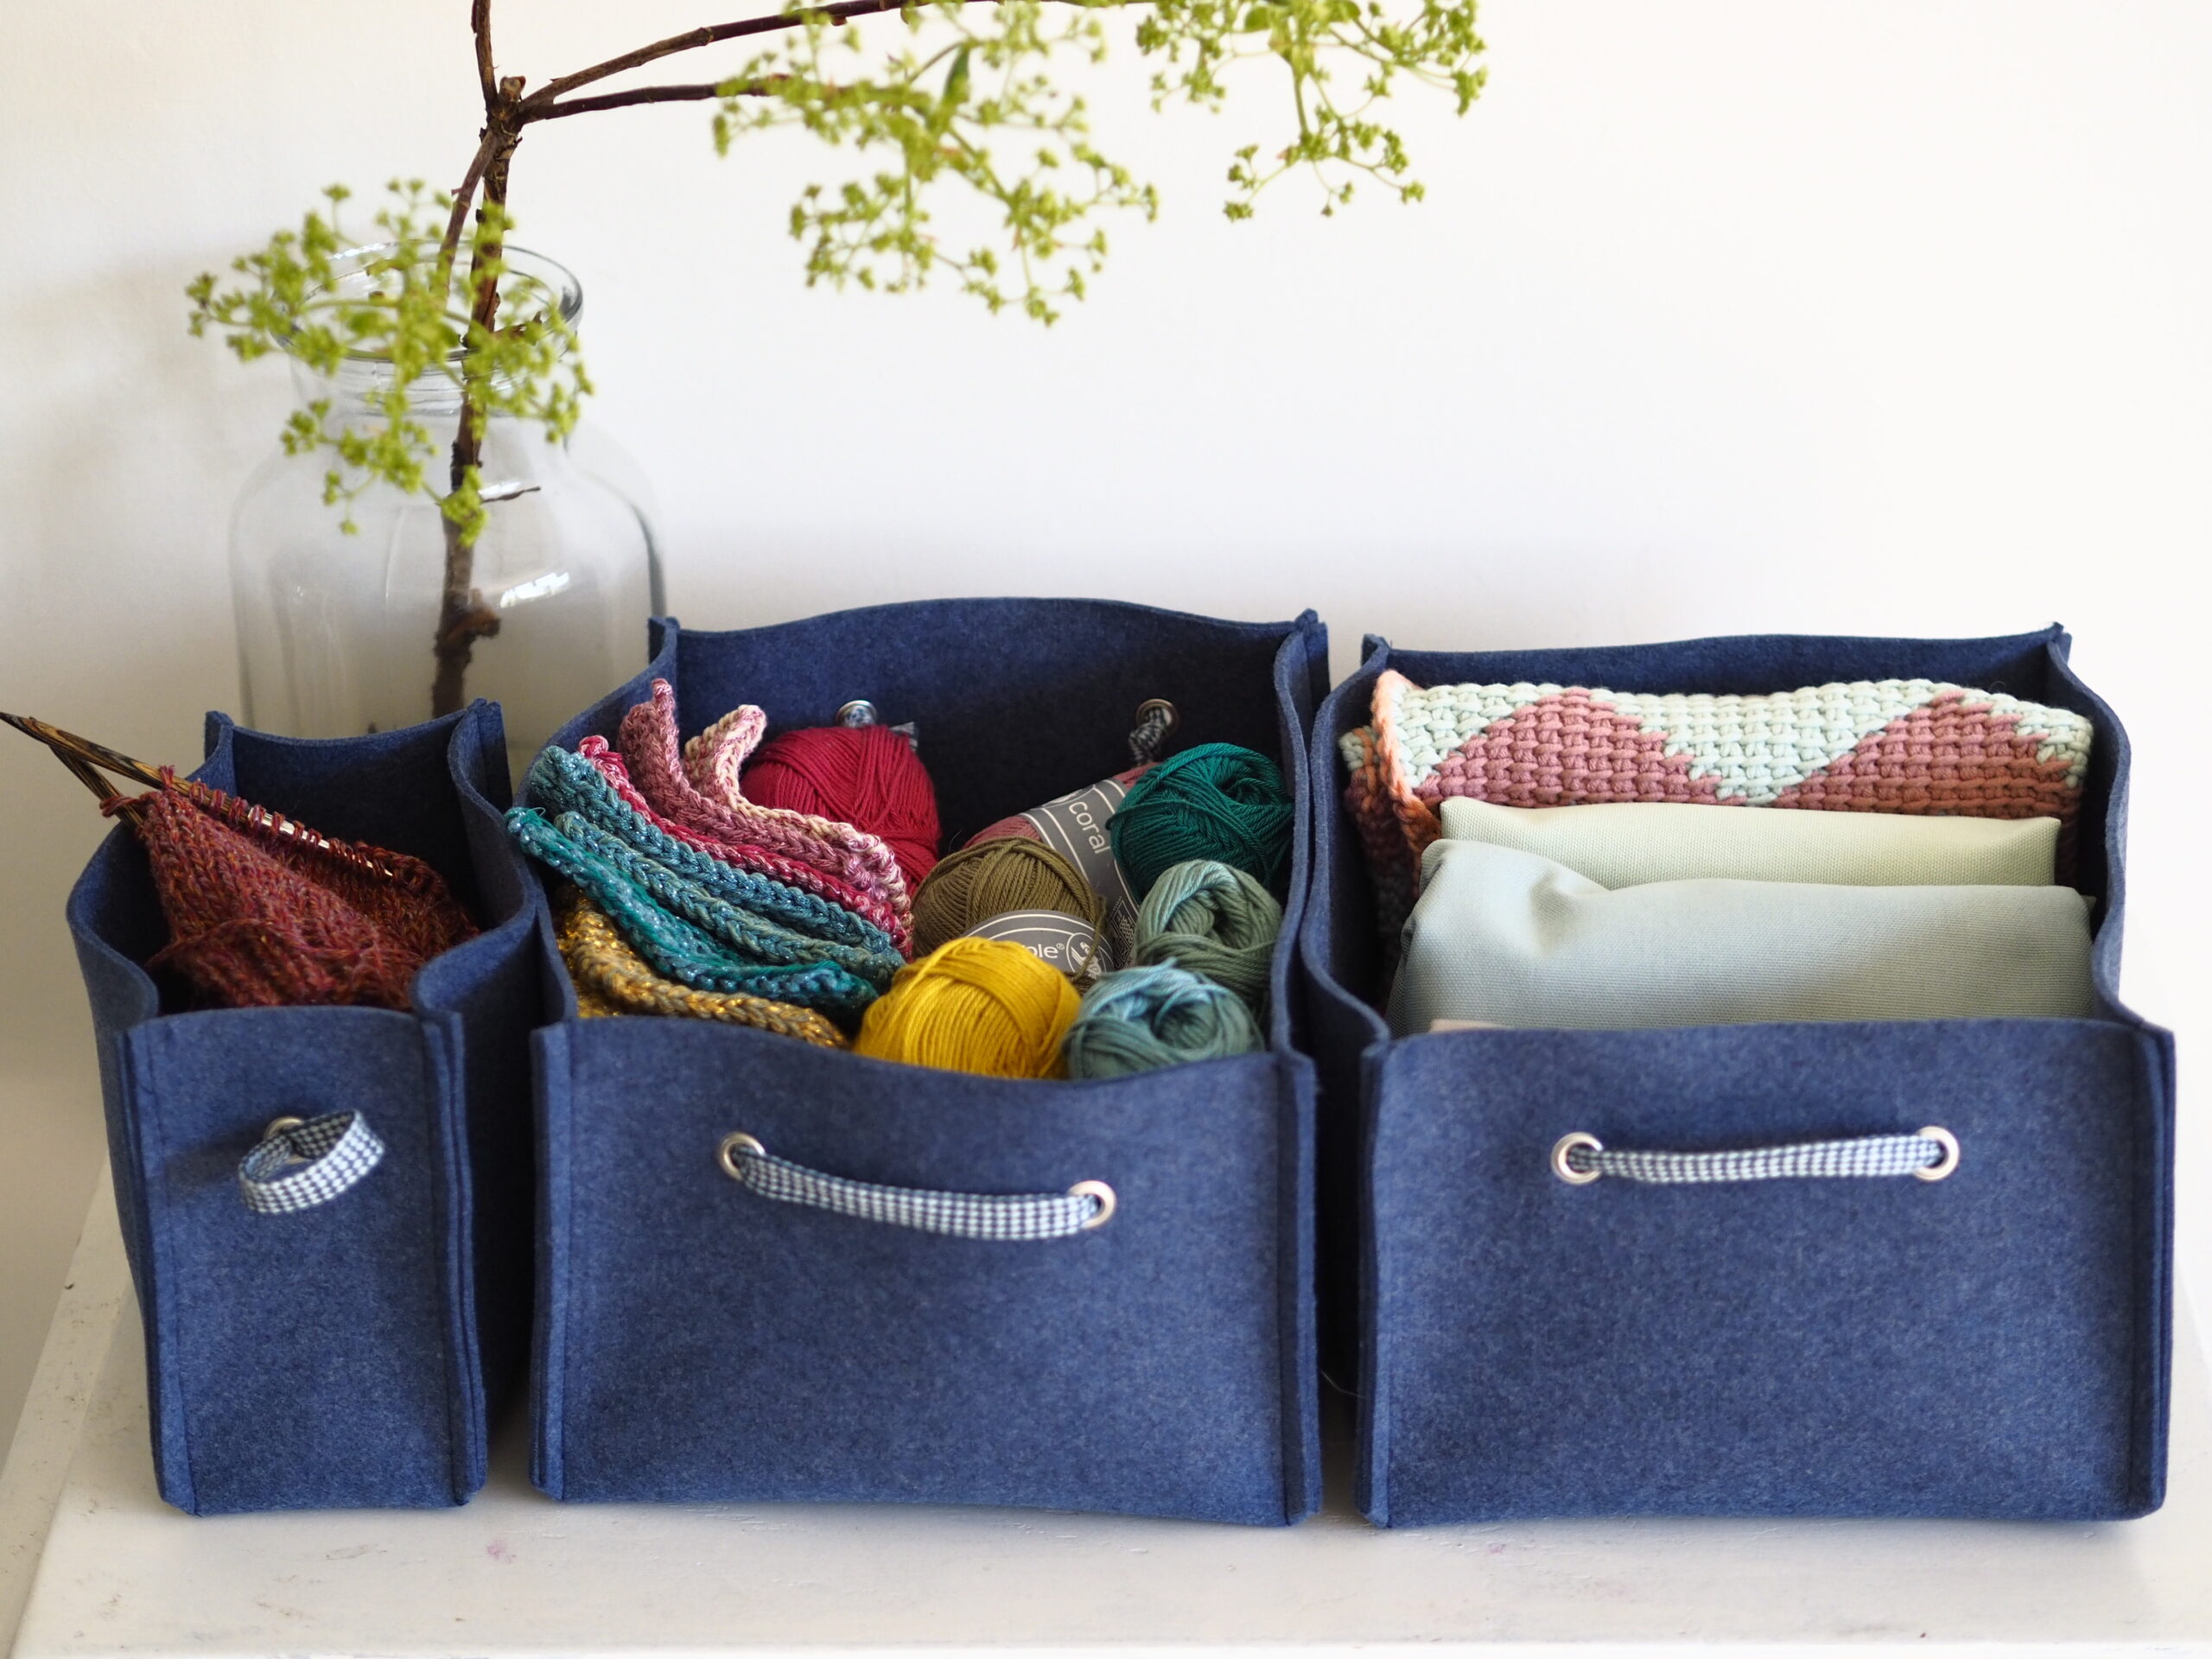
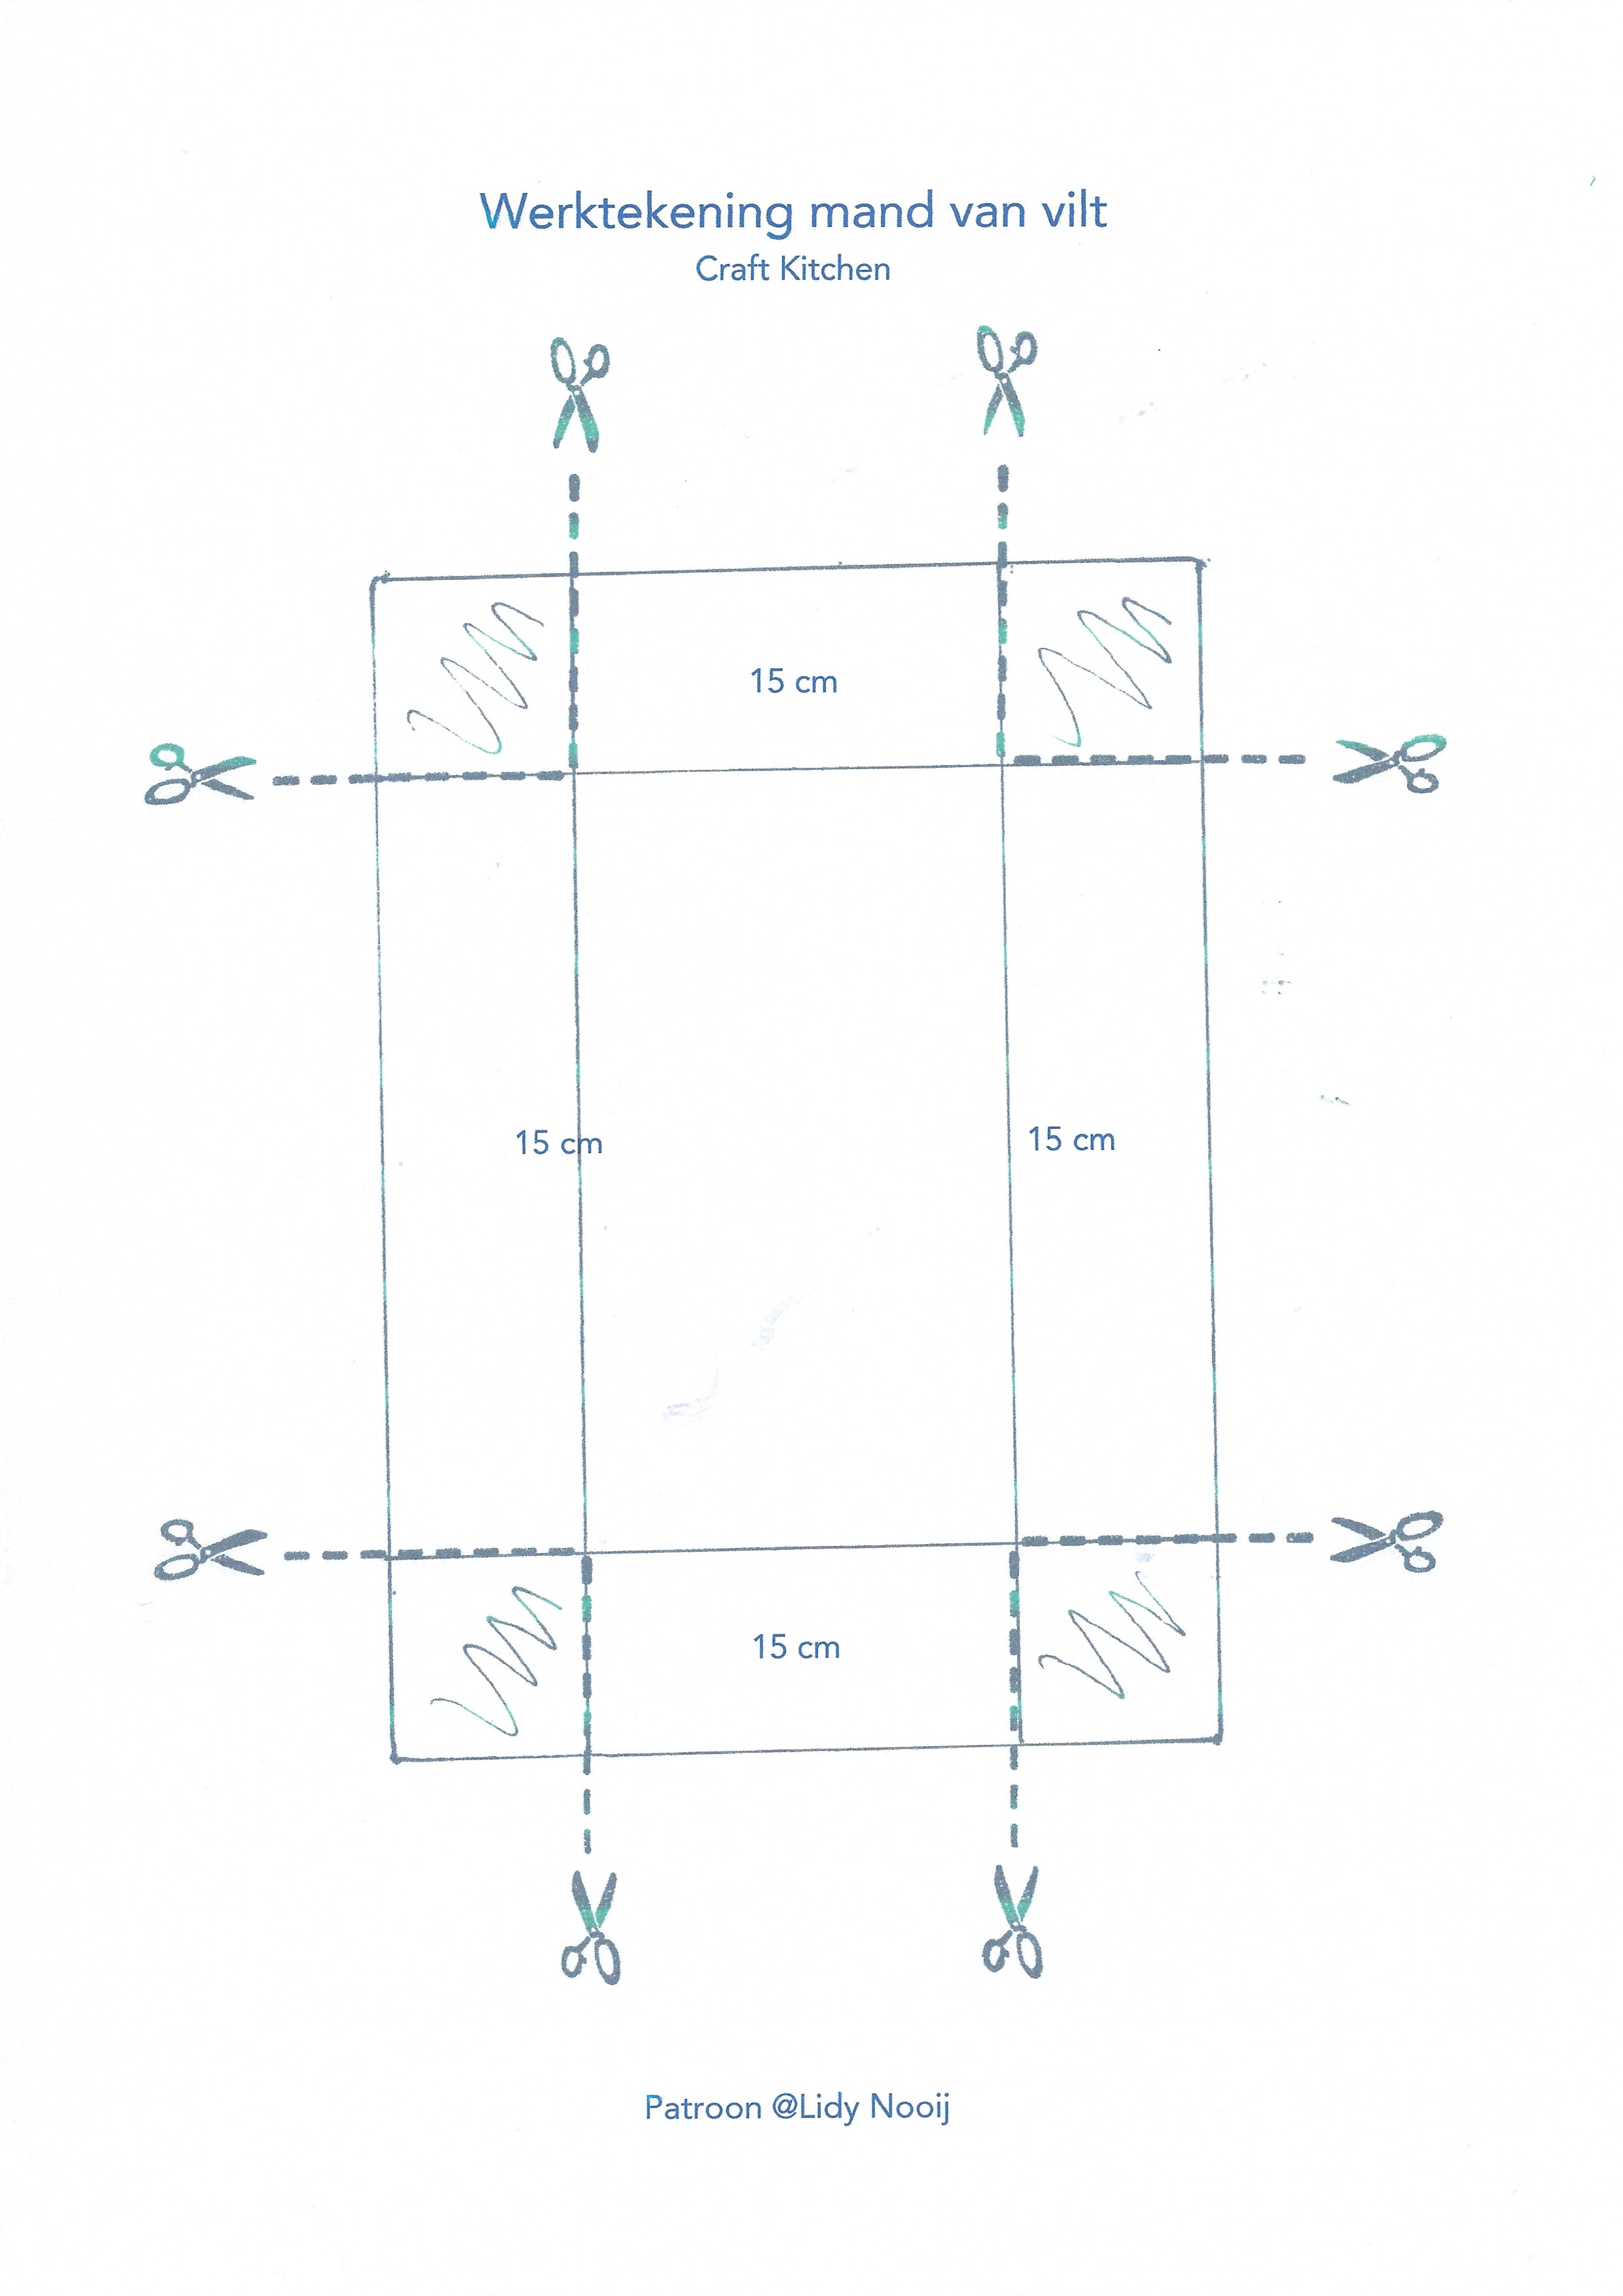
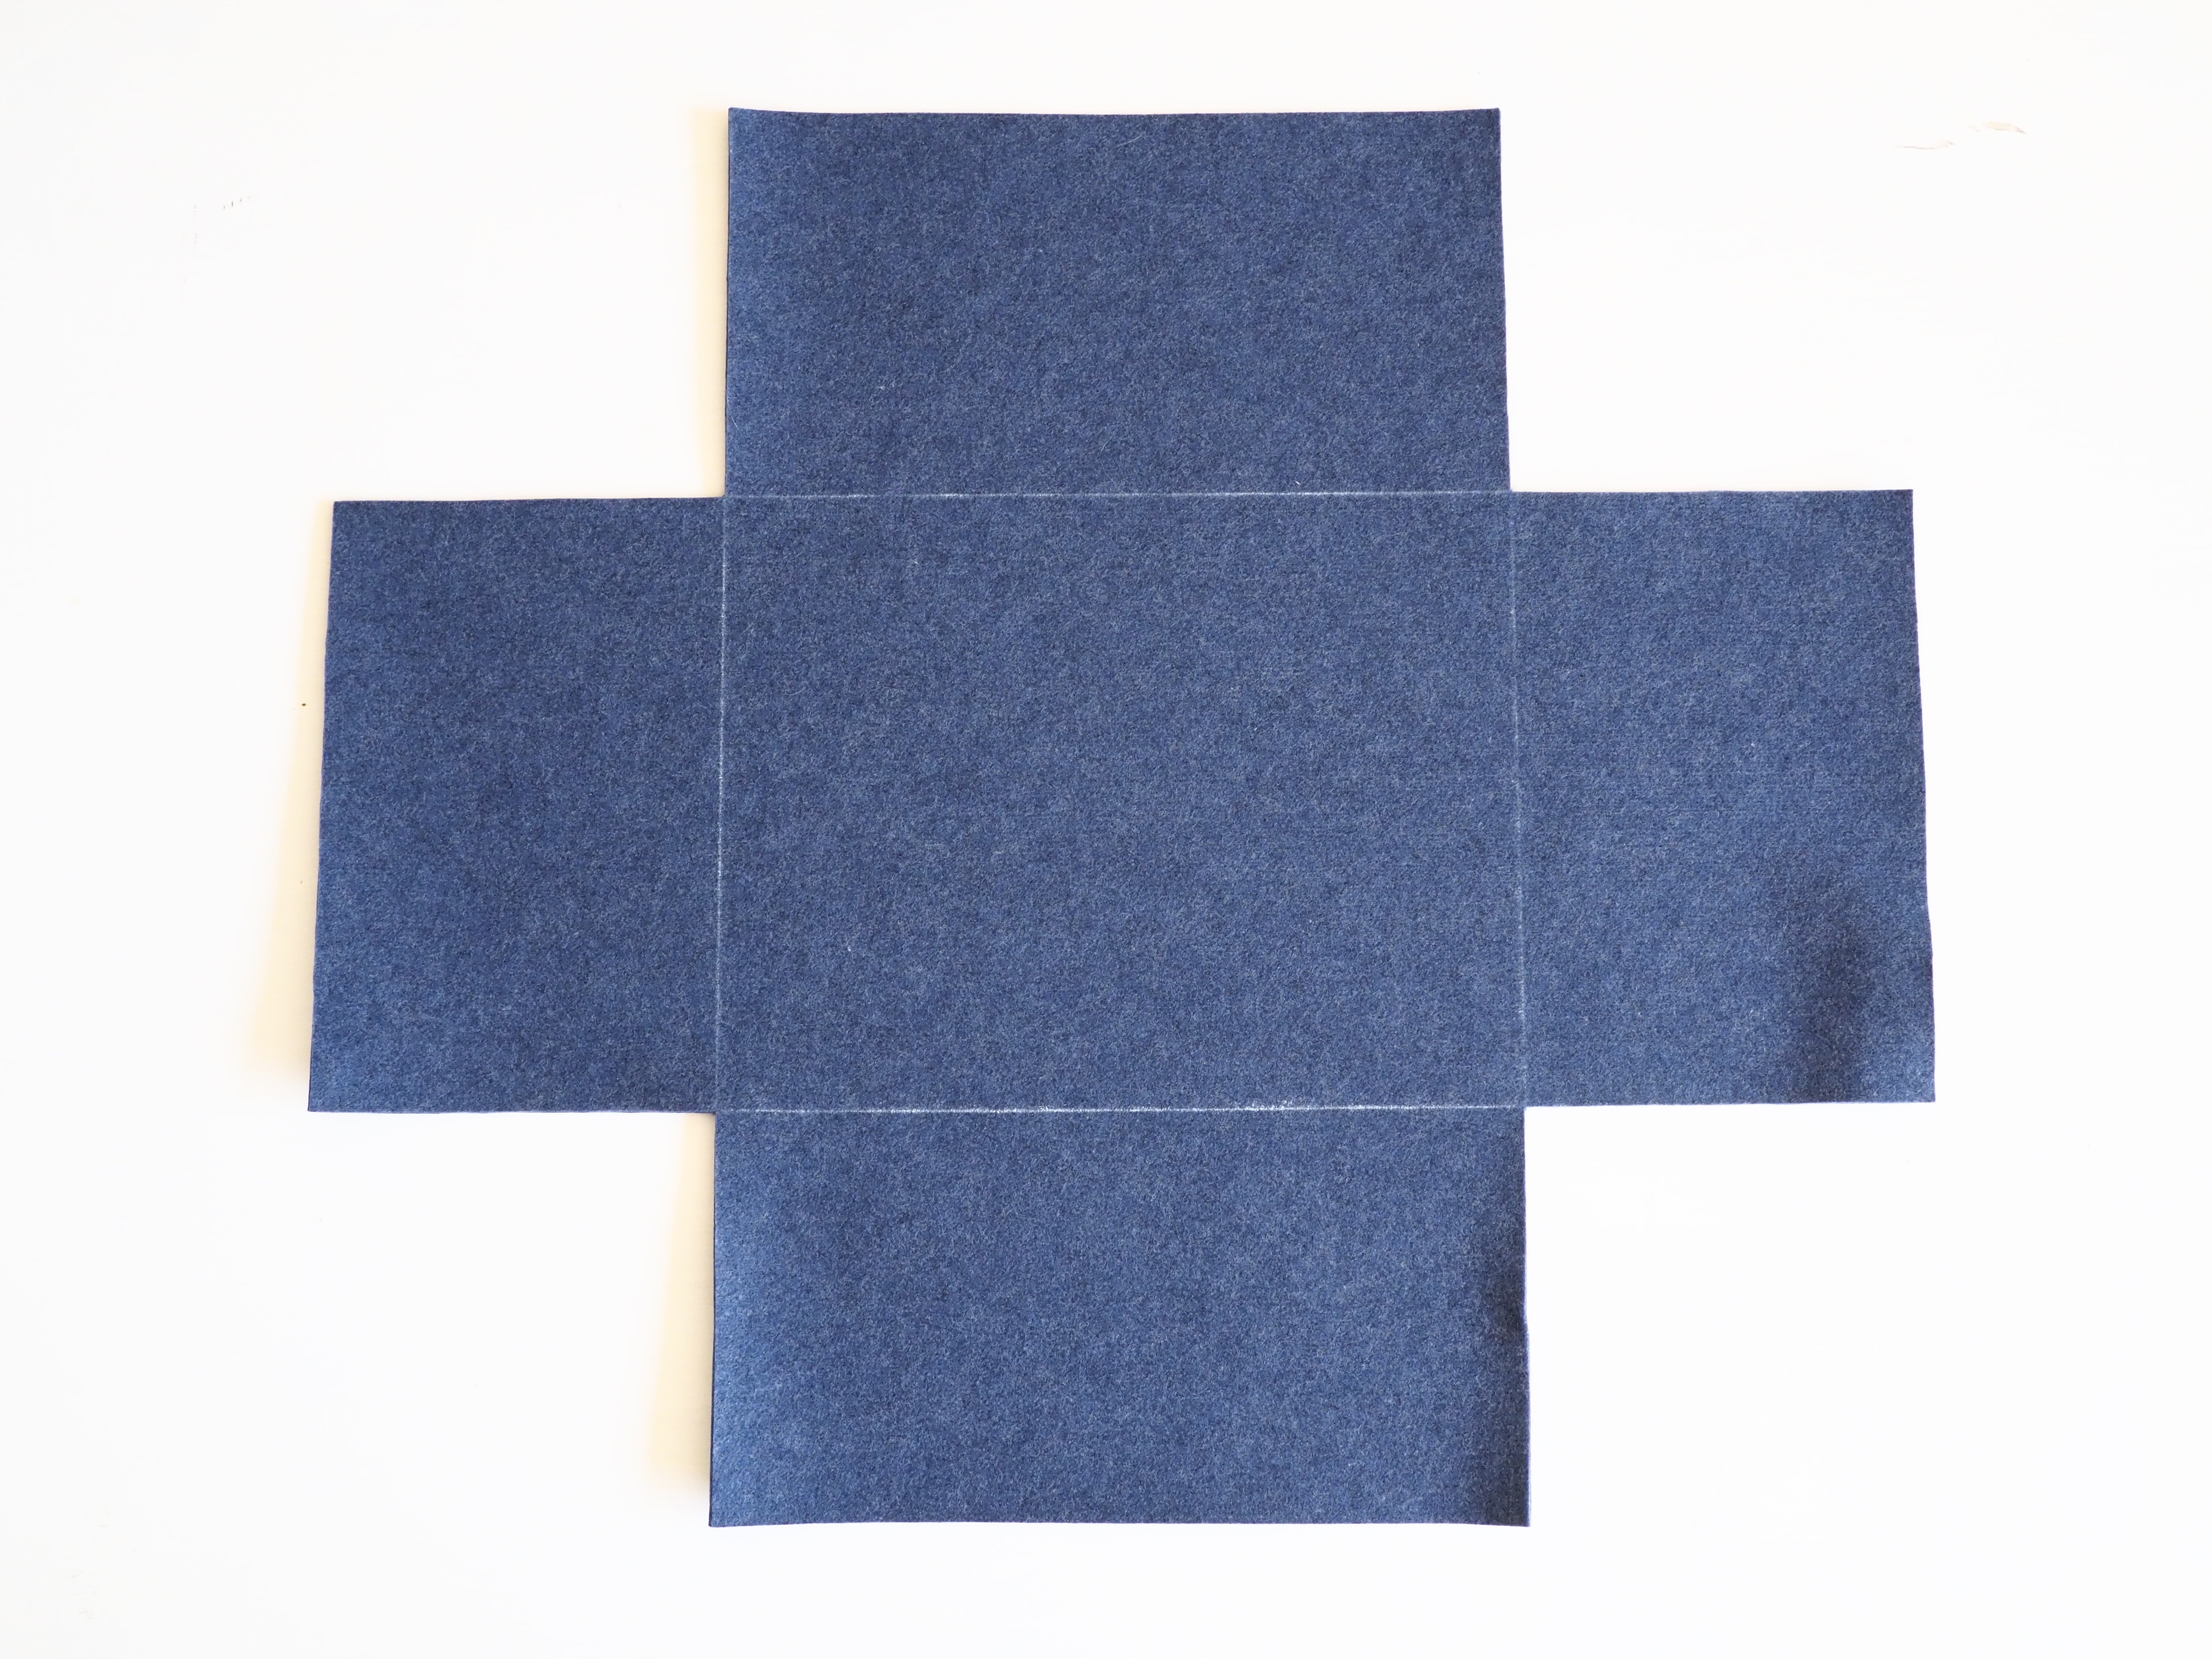
From 1 meter of felt, Lidy made two identical baskets measuring 28 x 21 cm. With the second meter, she created one narrow basket (8 x 21 cm) and one medium-sized basket (18 x 21 cm). All baskets are 15 cm high—a practical size to store all kinds of items, from yarns and craft supplies to socks and magazines.
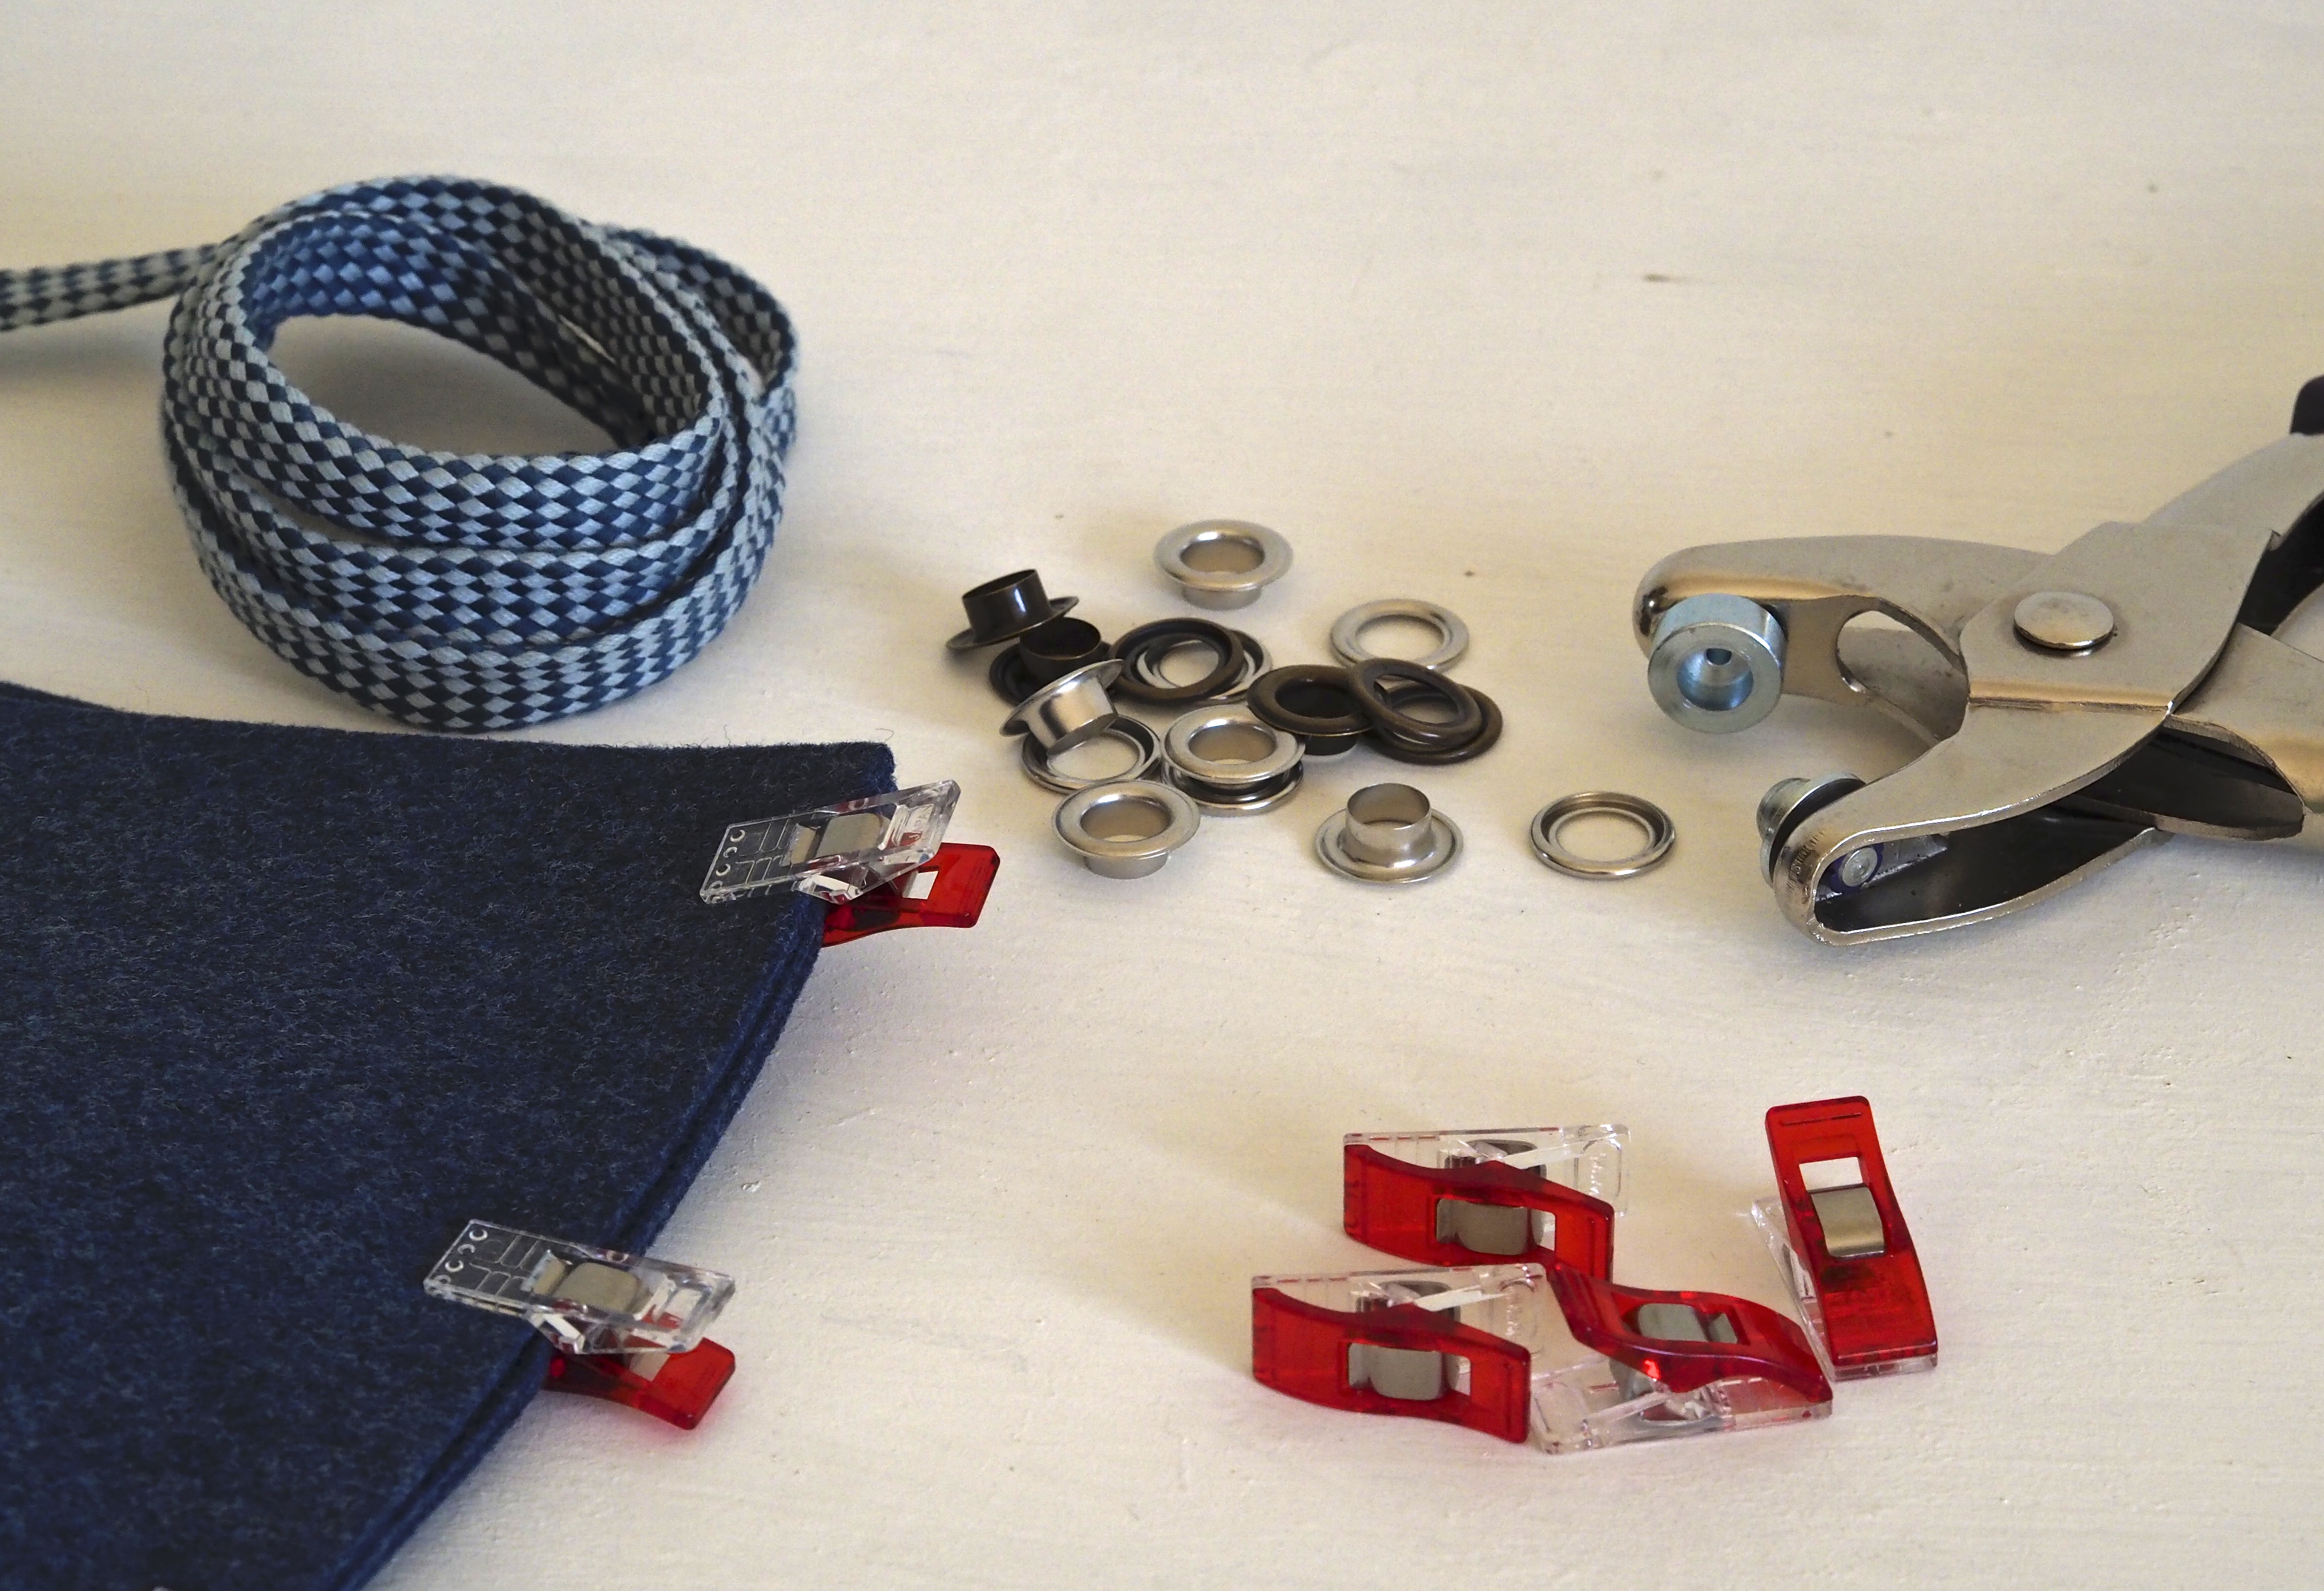
These felt baskets are not only functional but also fun and quick to make. Thanks to the thick felt, you can whip them up in no time. Pair them with other sewing supplies from ReStyle to make the process even easier and more enjoyable.
Ready to get started? Discover the pattern and follow the step-by-step tutorial to sew your own set of felt baskets!
Supplies
- ReStyle Felt 3mm on roll 082.29 color 223 denim blue for 2 baskets 100×53 cm
- Eyelet + disc 8 mm, 8 pieces for 2 baskets
- ReStyle Flat cord color 027 019.135 for 2 baskets 100 cm
- Denim sewing machine needle
- Gutermann sewing machine thread blue
- Textile chalk ReStyle tracing wheel 015.16560
Other supplies
- Variotang ReStyle 015.12790
- ReStyle Fabric Clips 015.10080
- Possibly a ReStyle quilting ruler 15 x 60 015.16702
Dimensions
Basket 50×53 cm
Tags
Work description
Step 1
Cut a piece of felt measuring 50 x 53 cm. Now, according to the cutting scheme, draw lines on the felt. A quilting ruler is a useful tool for drawing the lines, and with the ReStyle chalk tracing wheel, you’ll achieve nice straight lines.
Step 2
Trim the corners. Now, fold the cut sides of each corner together, secure them with wonder clips. Stitch the seam, giving an extra stitch at the beginning and end. Sew over the first stitch again. Sew all corners in this way.
Step 3
On the short sides, attach the eyelets. Measure and determine the correct position with the help of pins, 4 cm from the top edge, with a 9 cm gap between the 2 eyelets. Attach the eyelets using the Variotang. The packaging clearly indicates how to do this.
Step 4
Cut two pieces of cord, each 25 cm long. Insert the ends through the eyelet to the inside of the basket, making sure they are on the right side. Tie a knot at the ends, but do not pull the knot too tight.
Step 5
Make the other baskets in the same way. Only the narrow basket has an eyelet on one side.