Make Your Own Bias Tape? It’s Easier (and More Fun) Than You Think!
There’s nothing quite like that satisfying moment when, after spending a few hours at your sewing machine, you finally reach the finishing touches. And let’s be honest—we love using bias tape for that final detail.
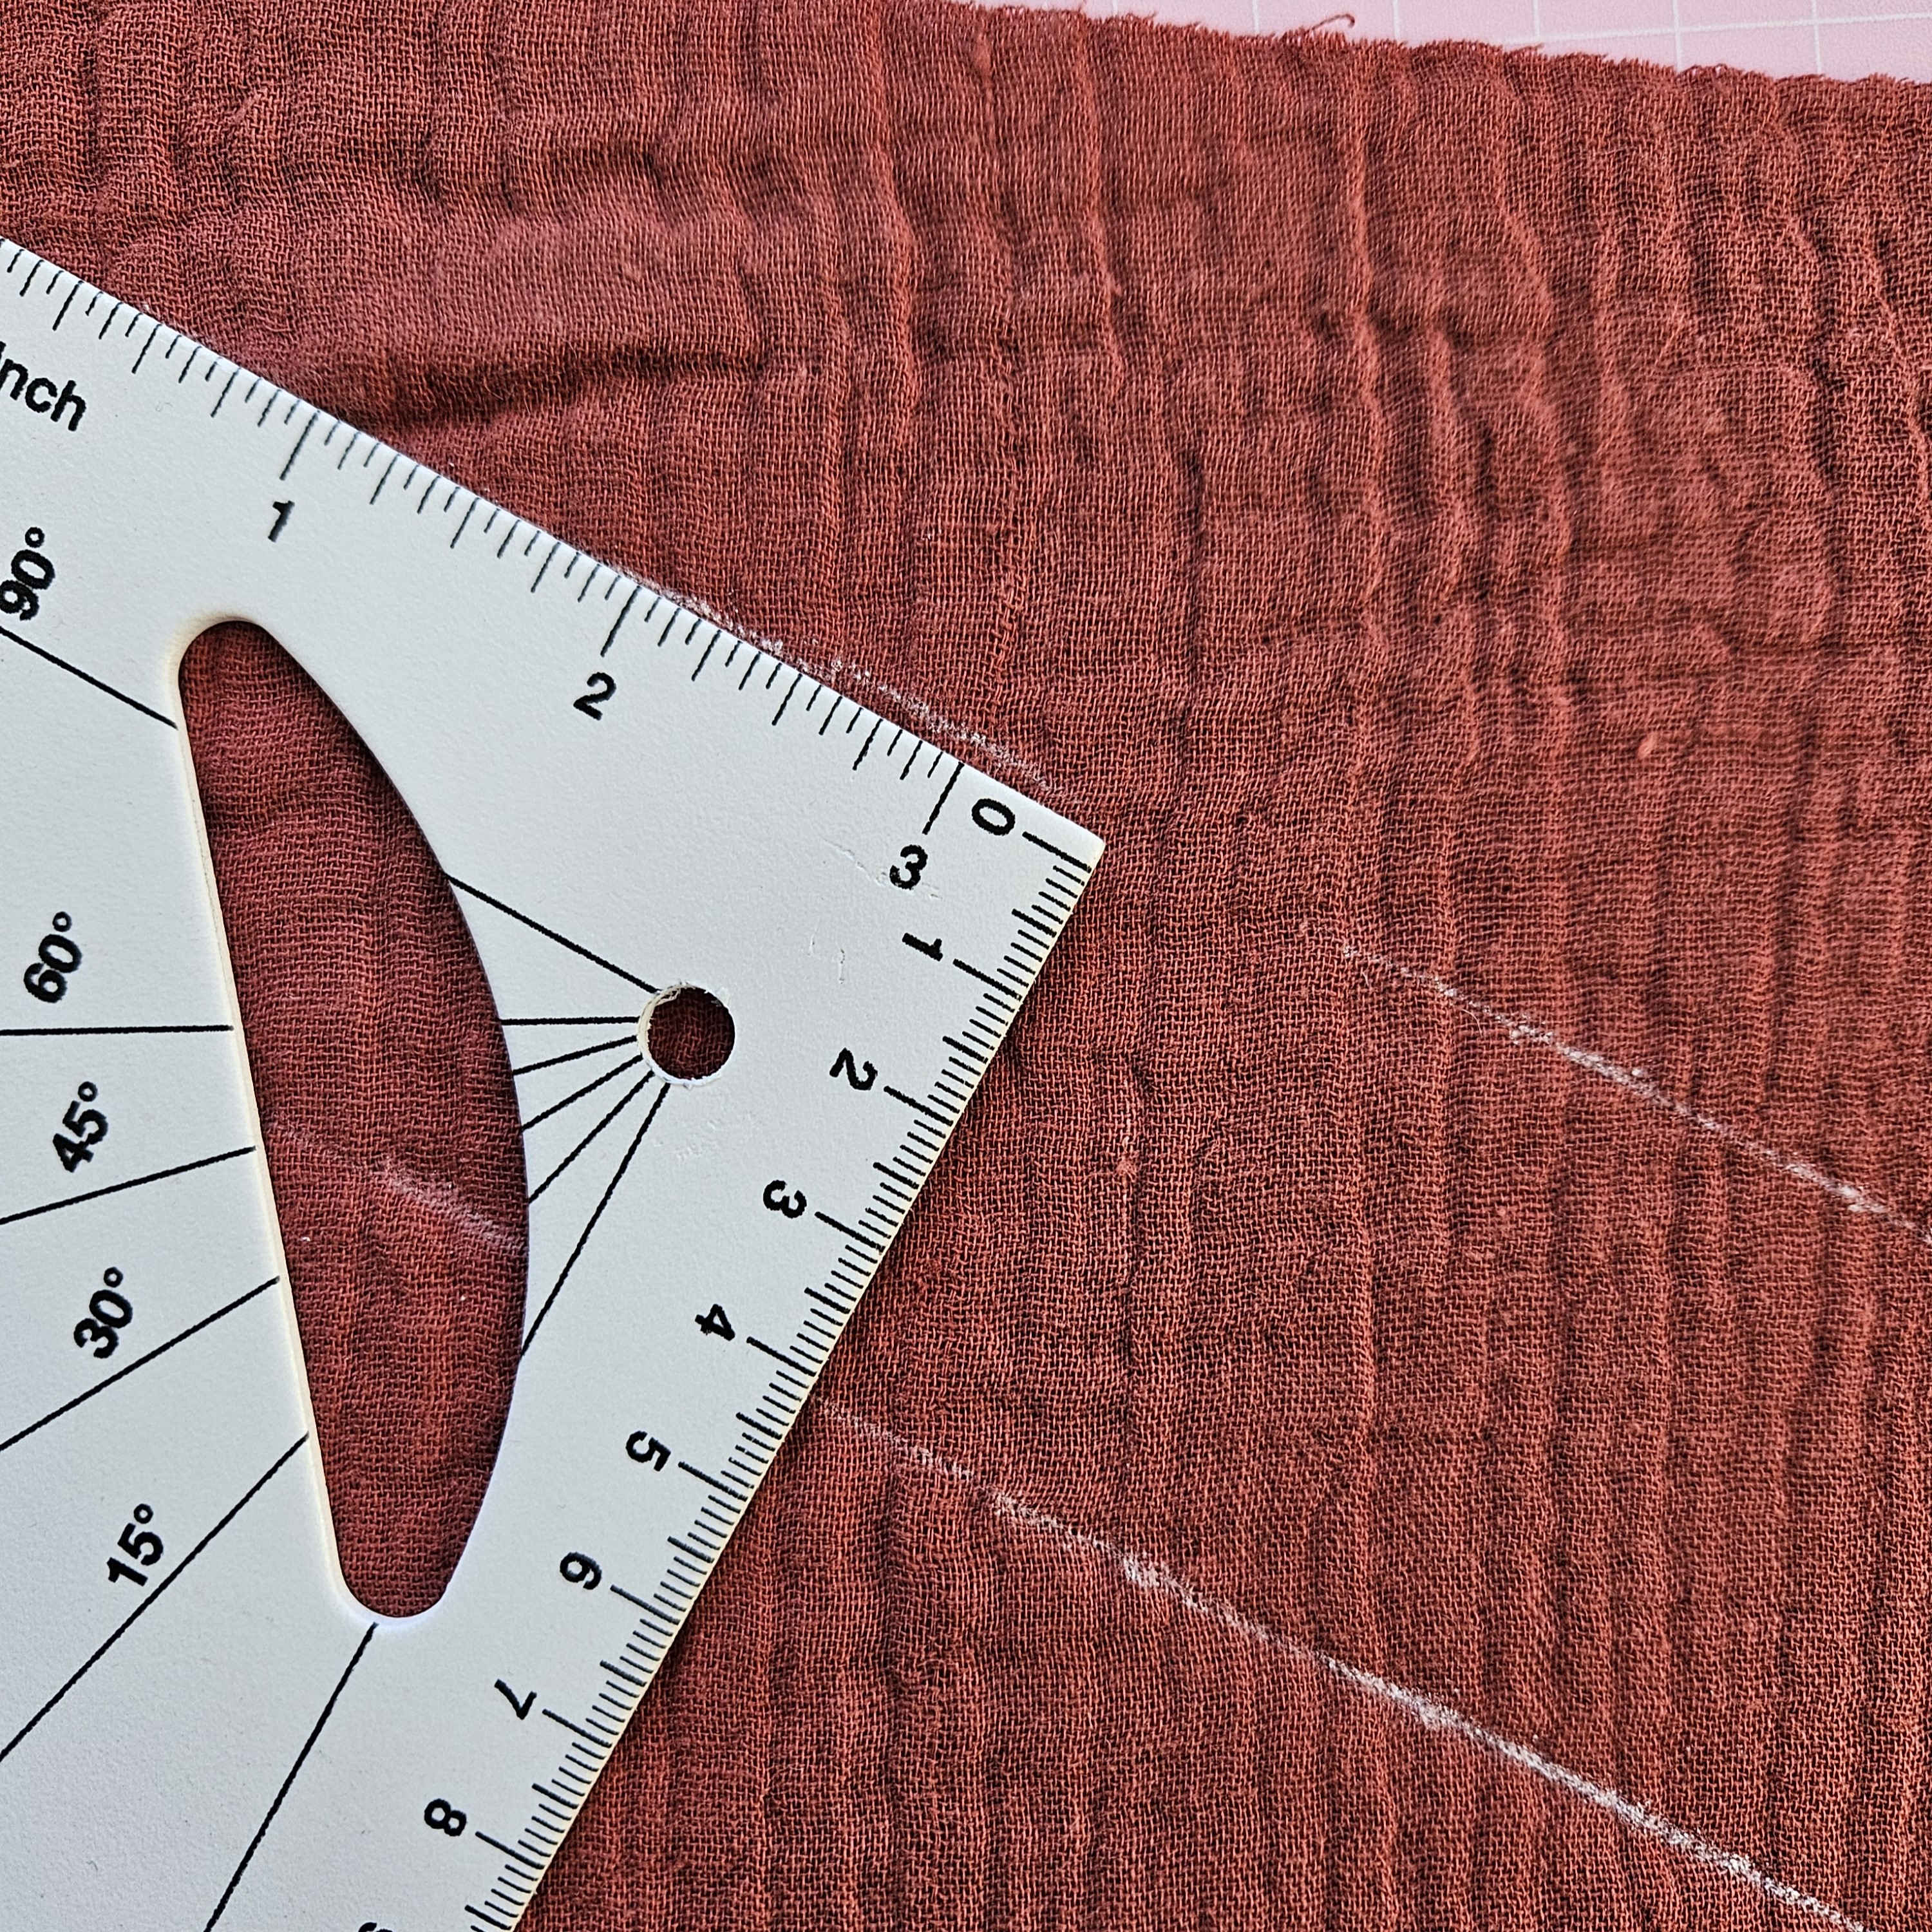
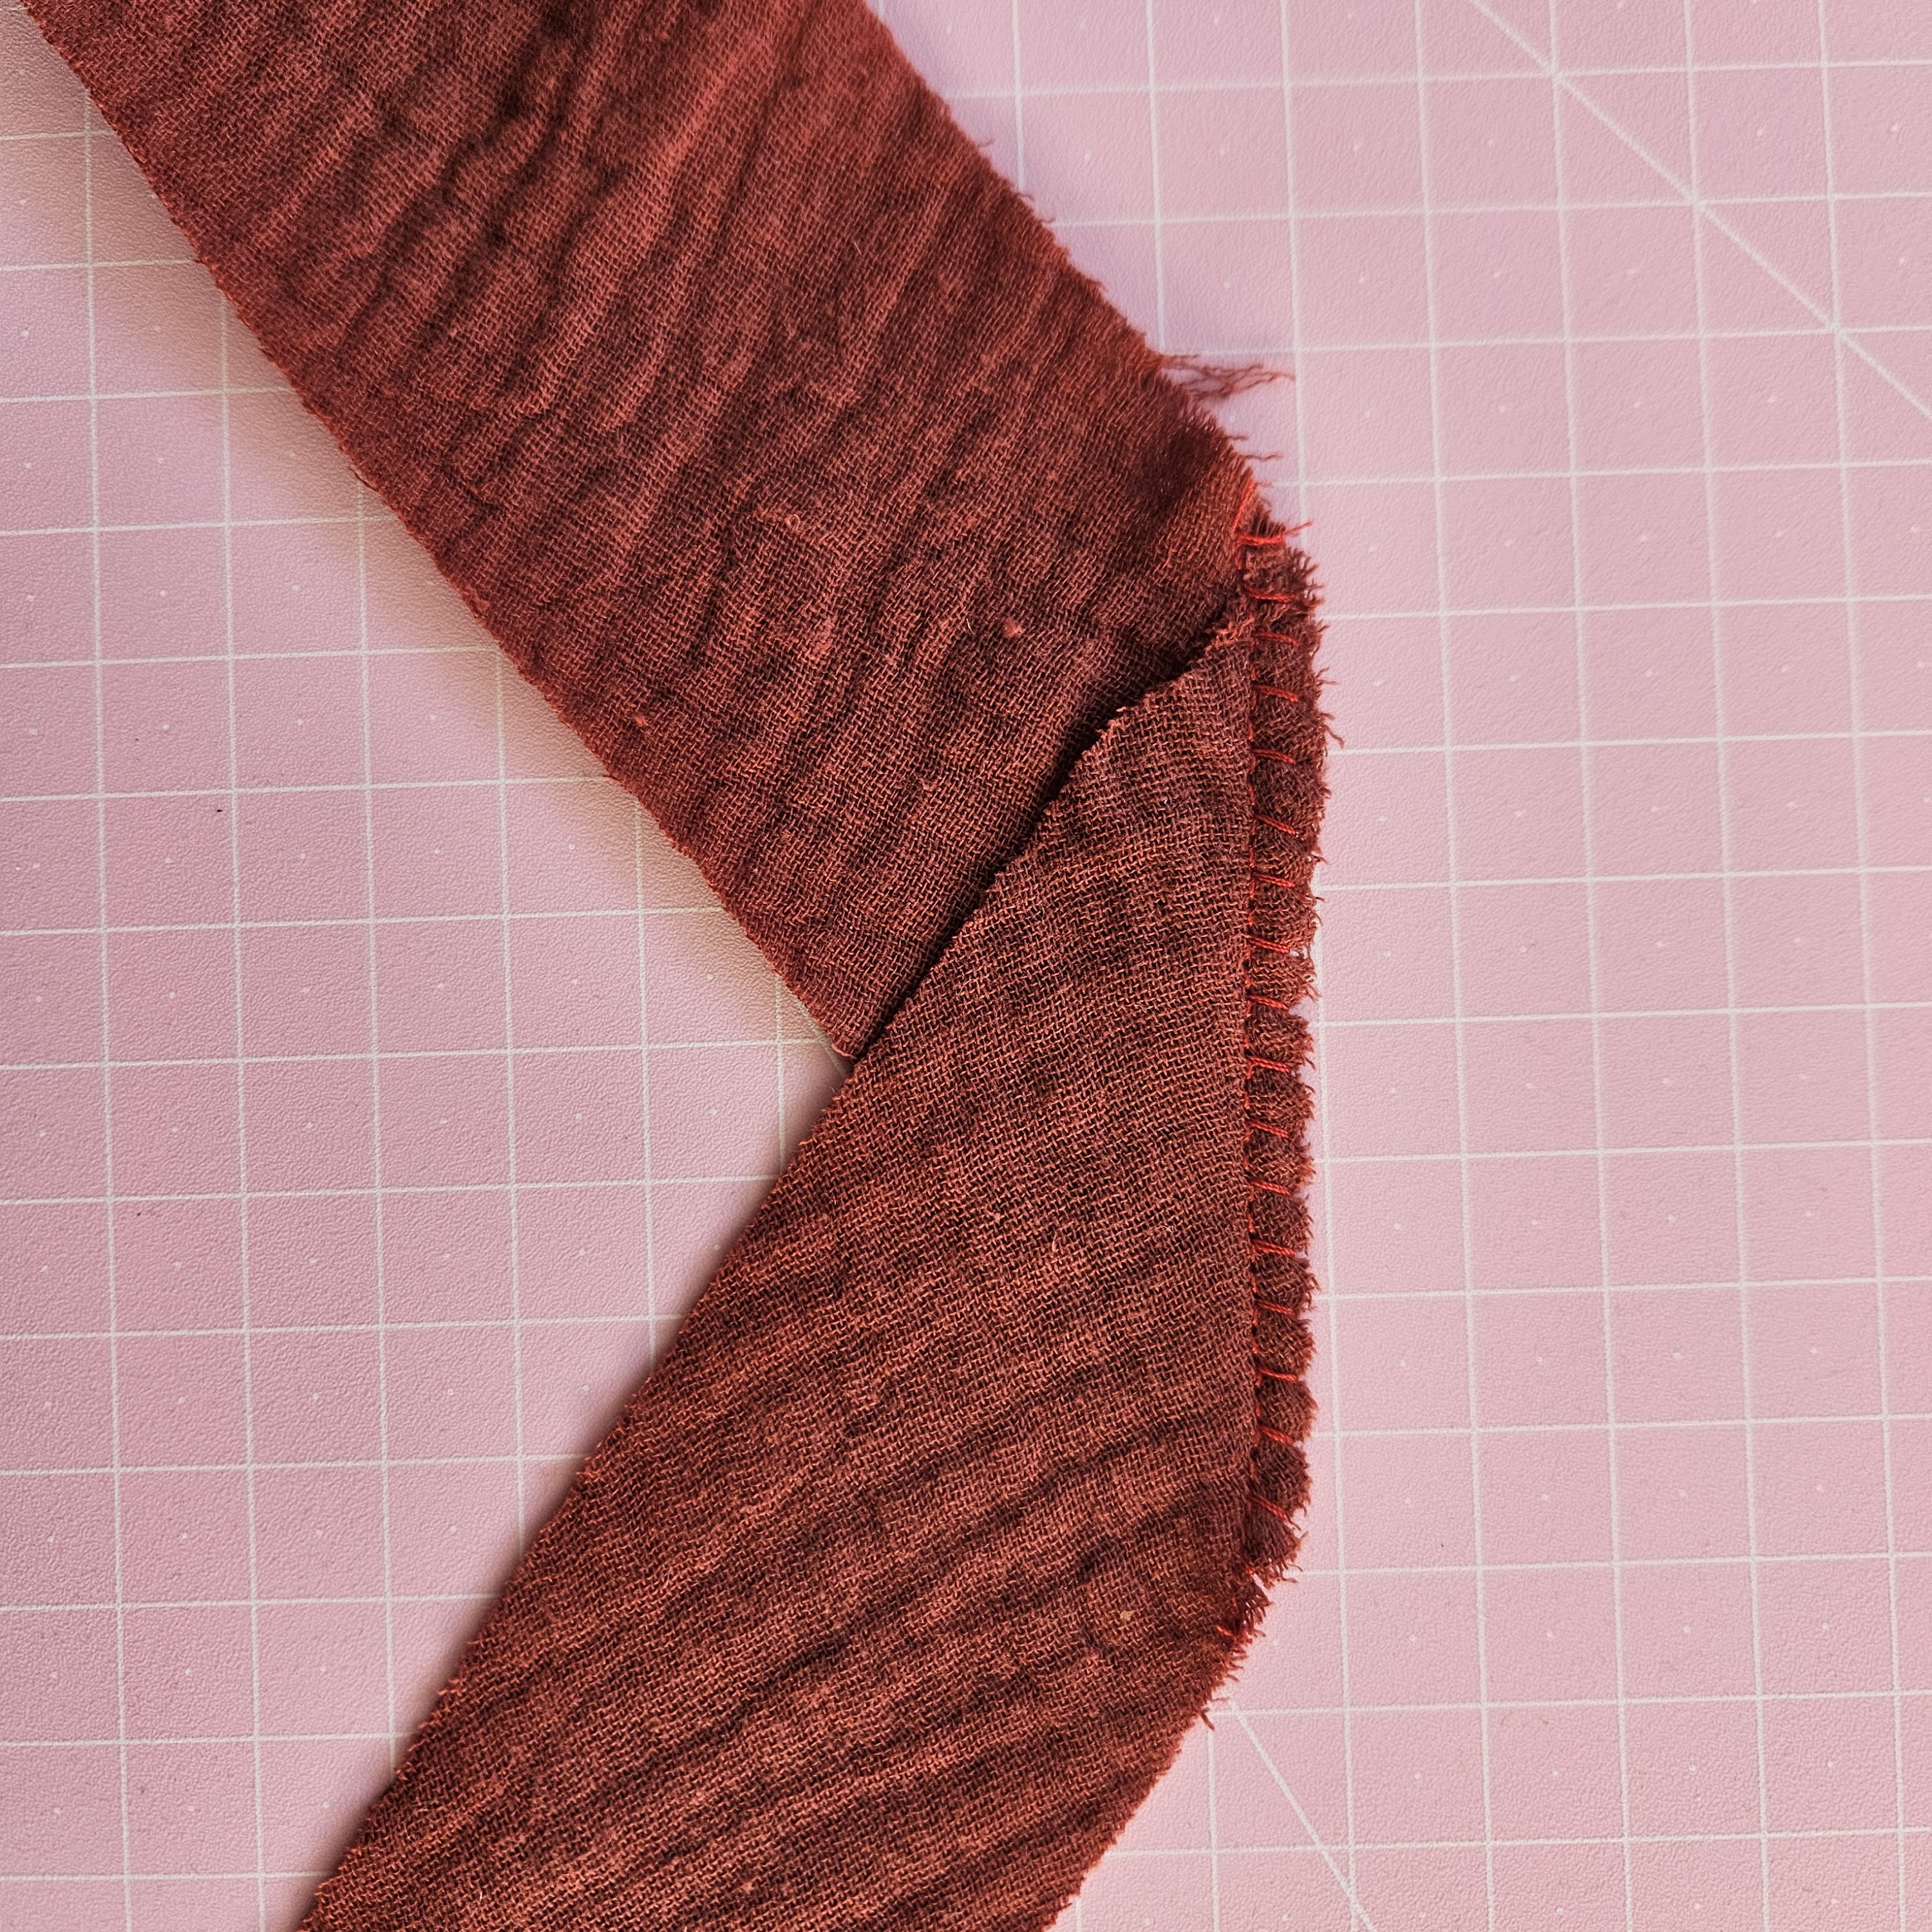
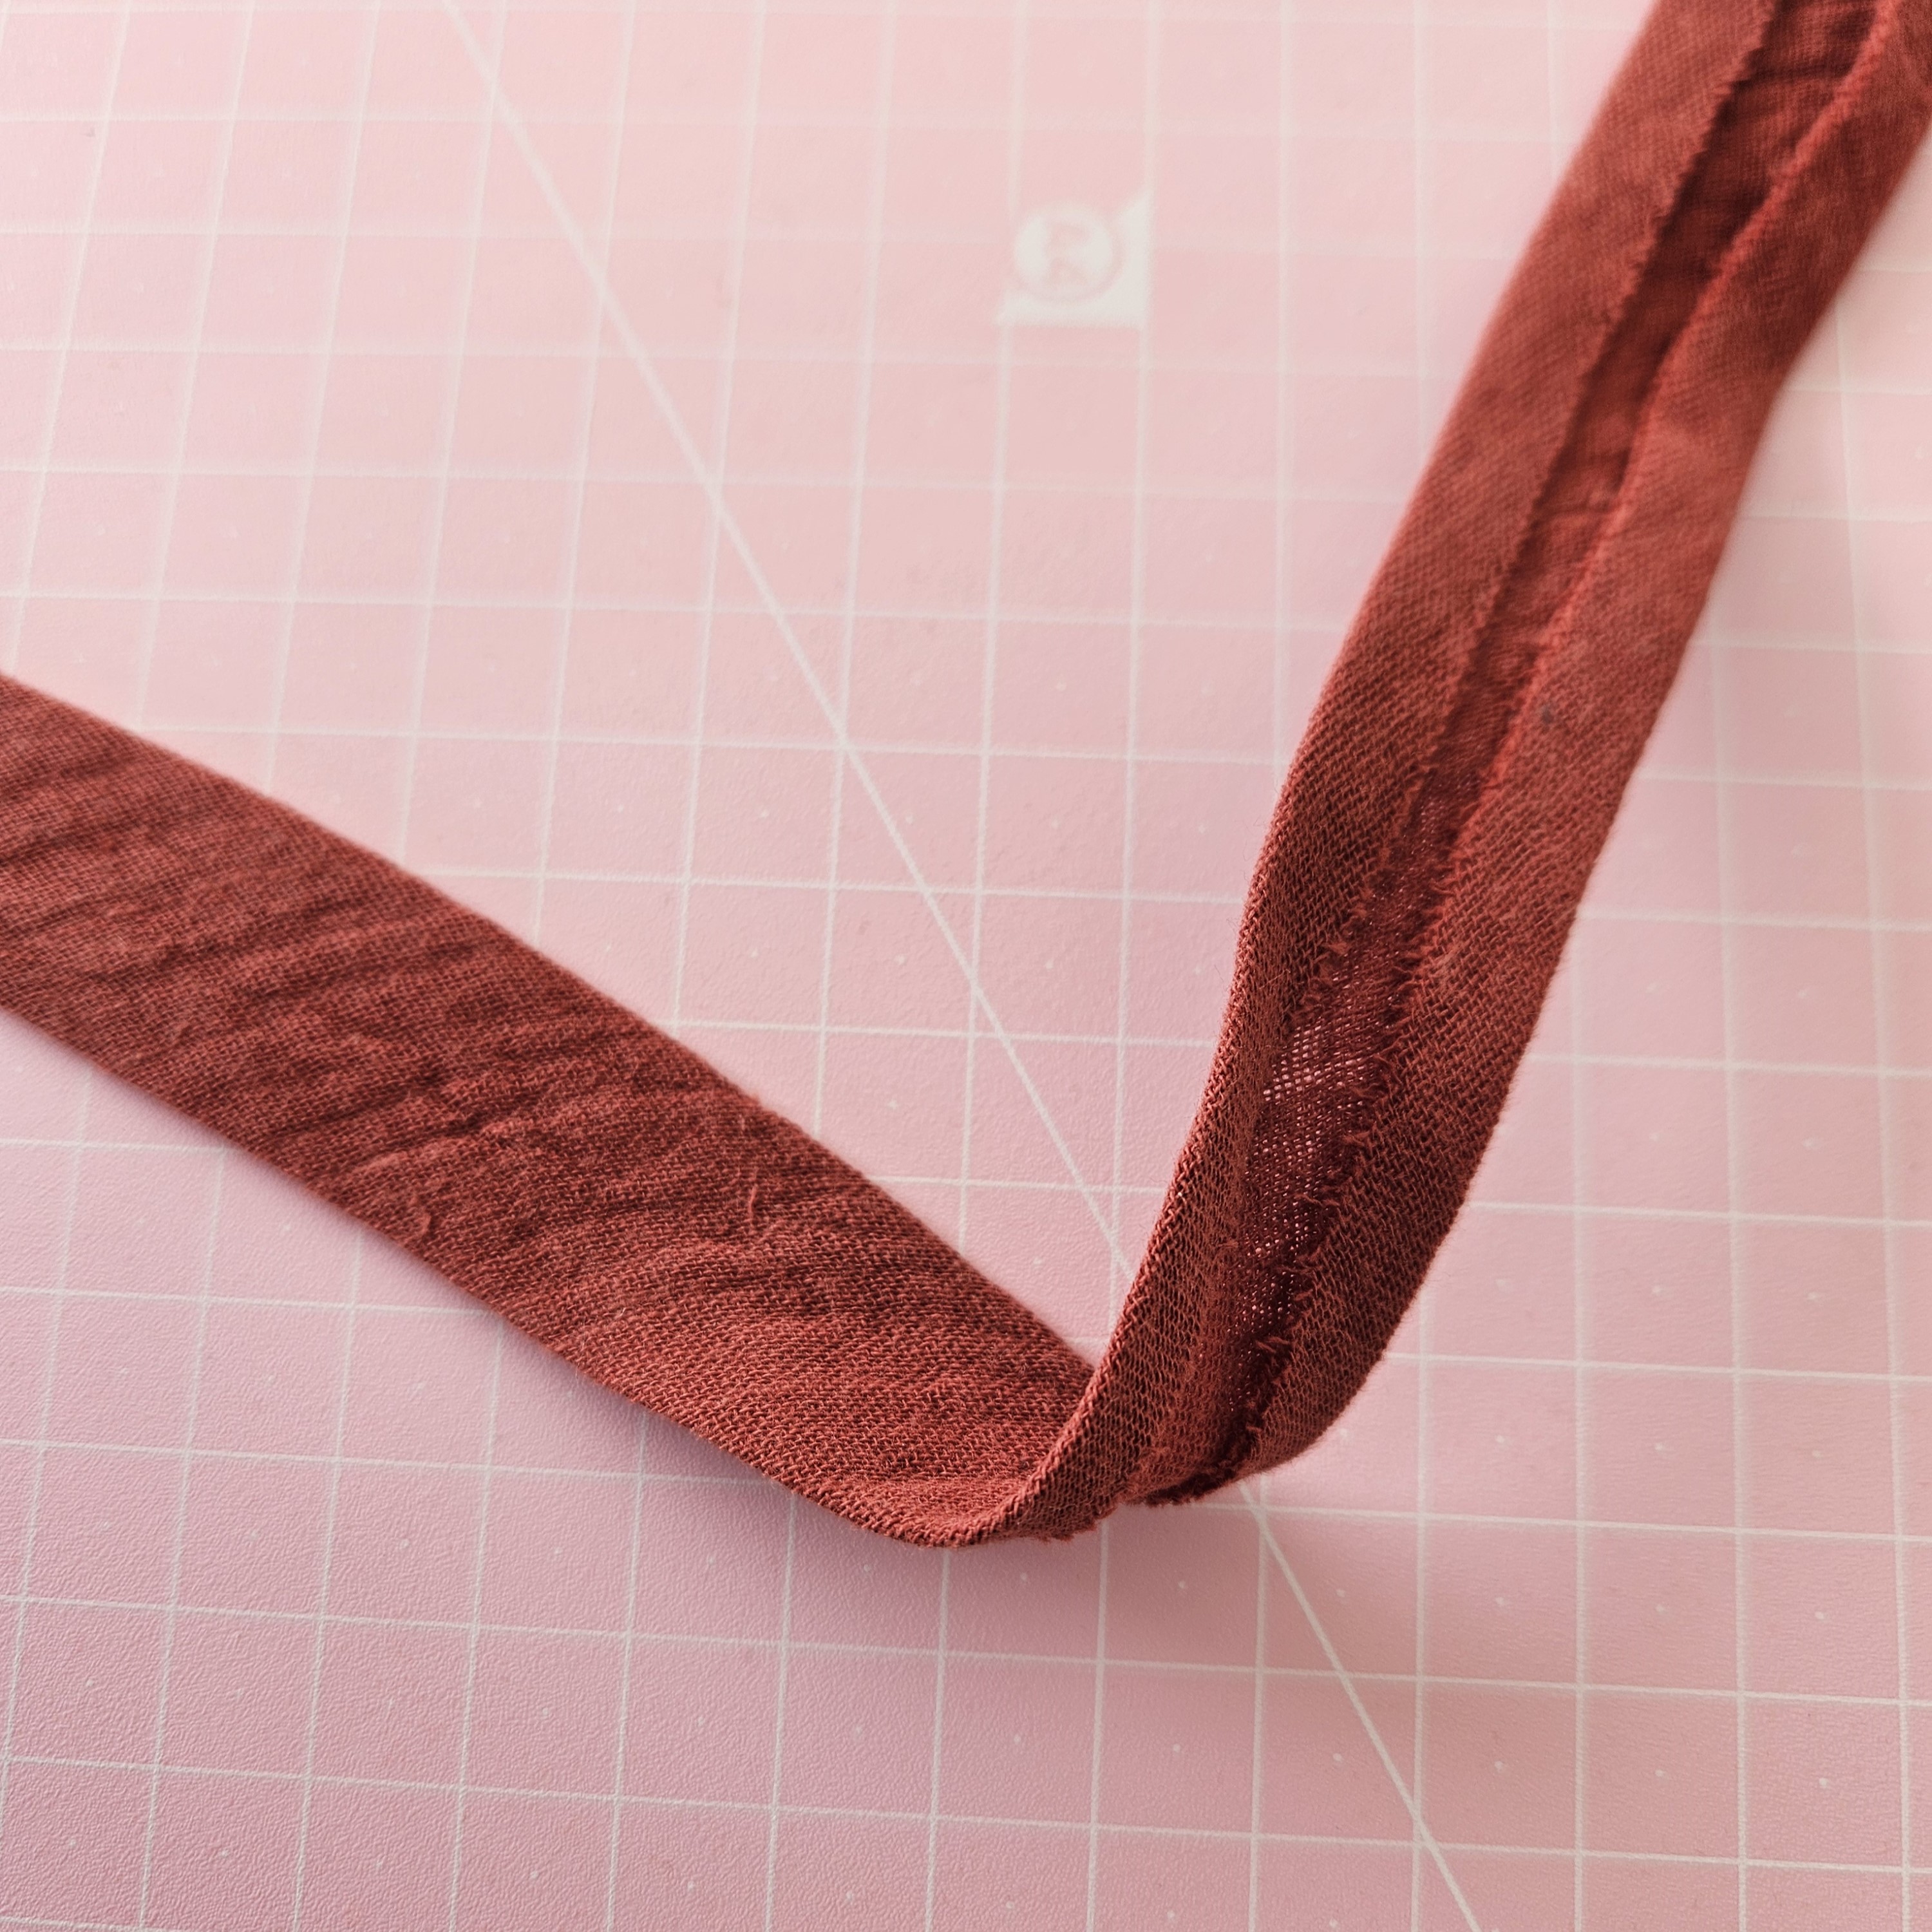
But have you ever had a very specific idea in mind, only to find that nothing in the shop matches what you’re looking for? Or maybe the width you need just doesn’t exist. No problem! With a little patience and a bias tape maker, you can make your own. 100% your style, using leftover fabric you already have.
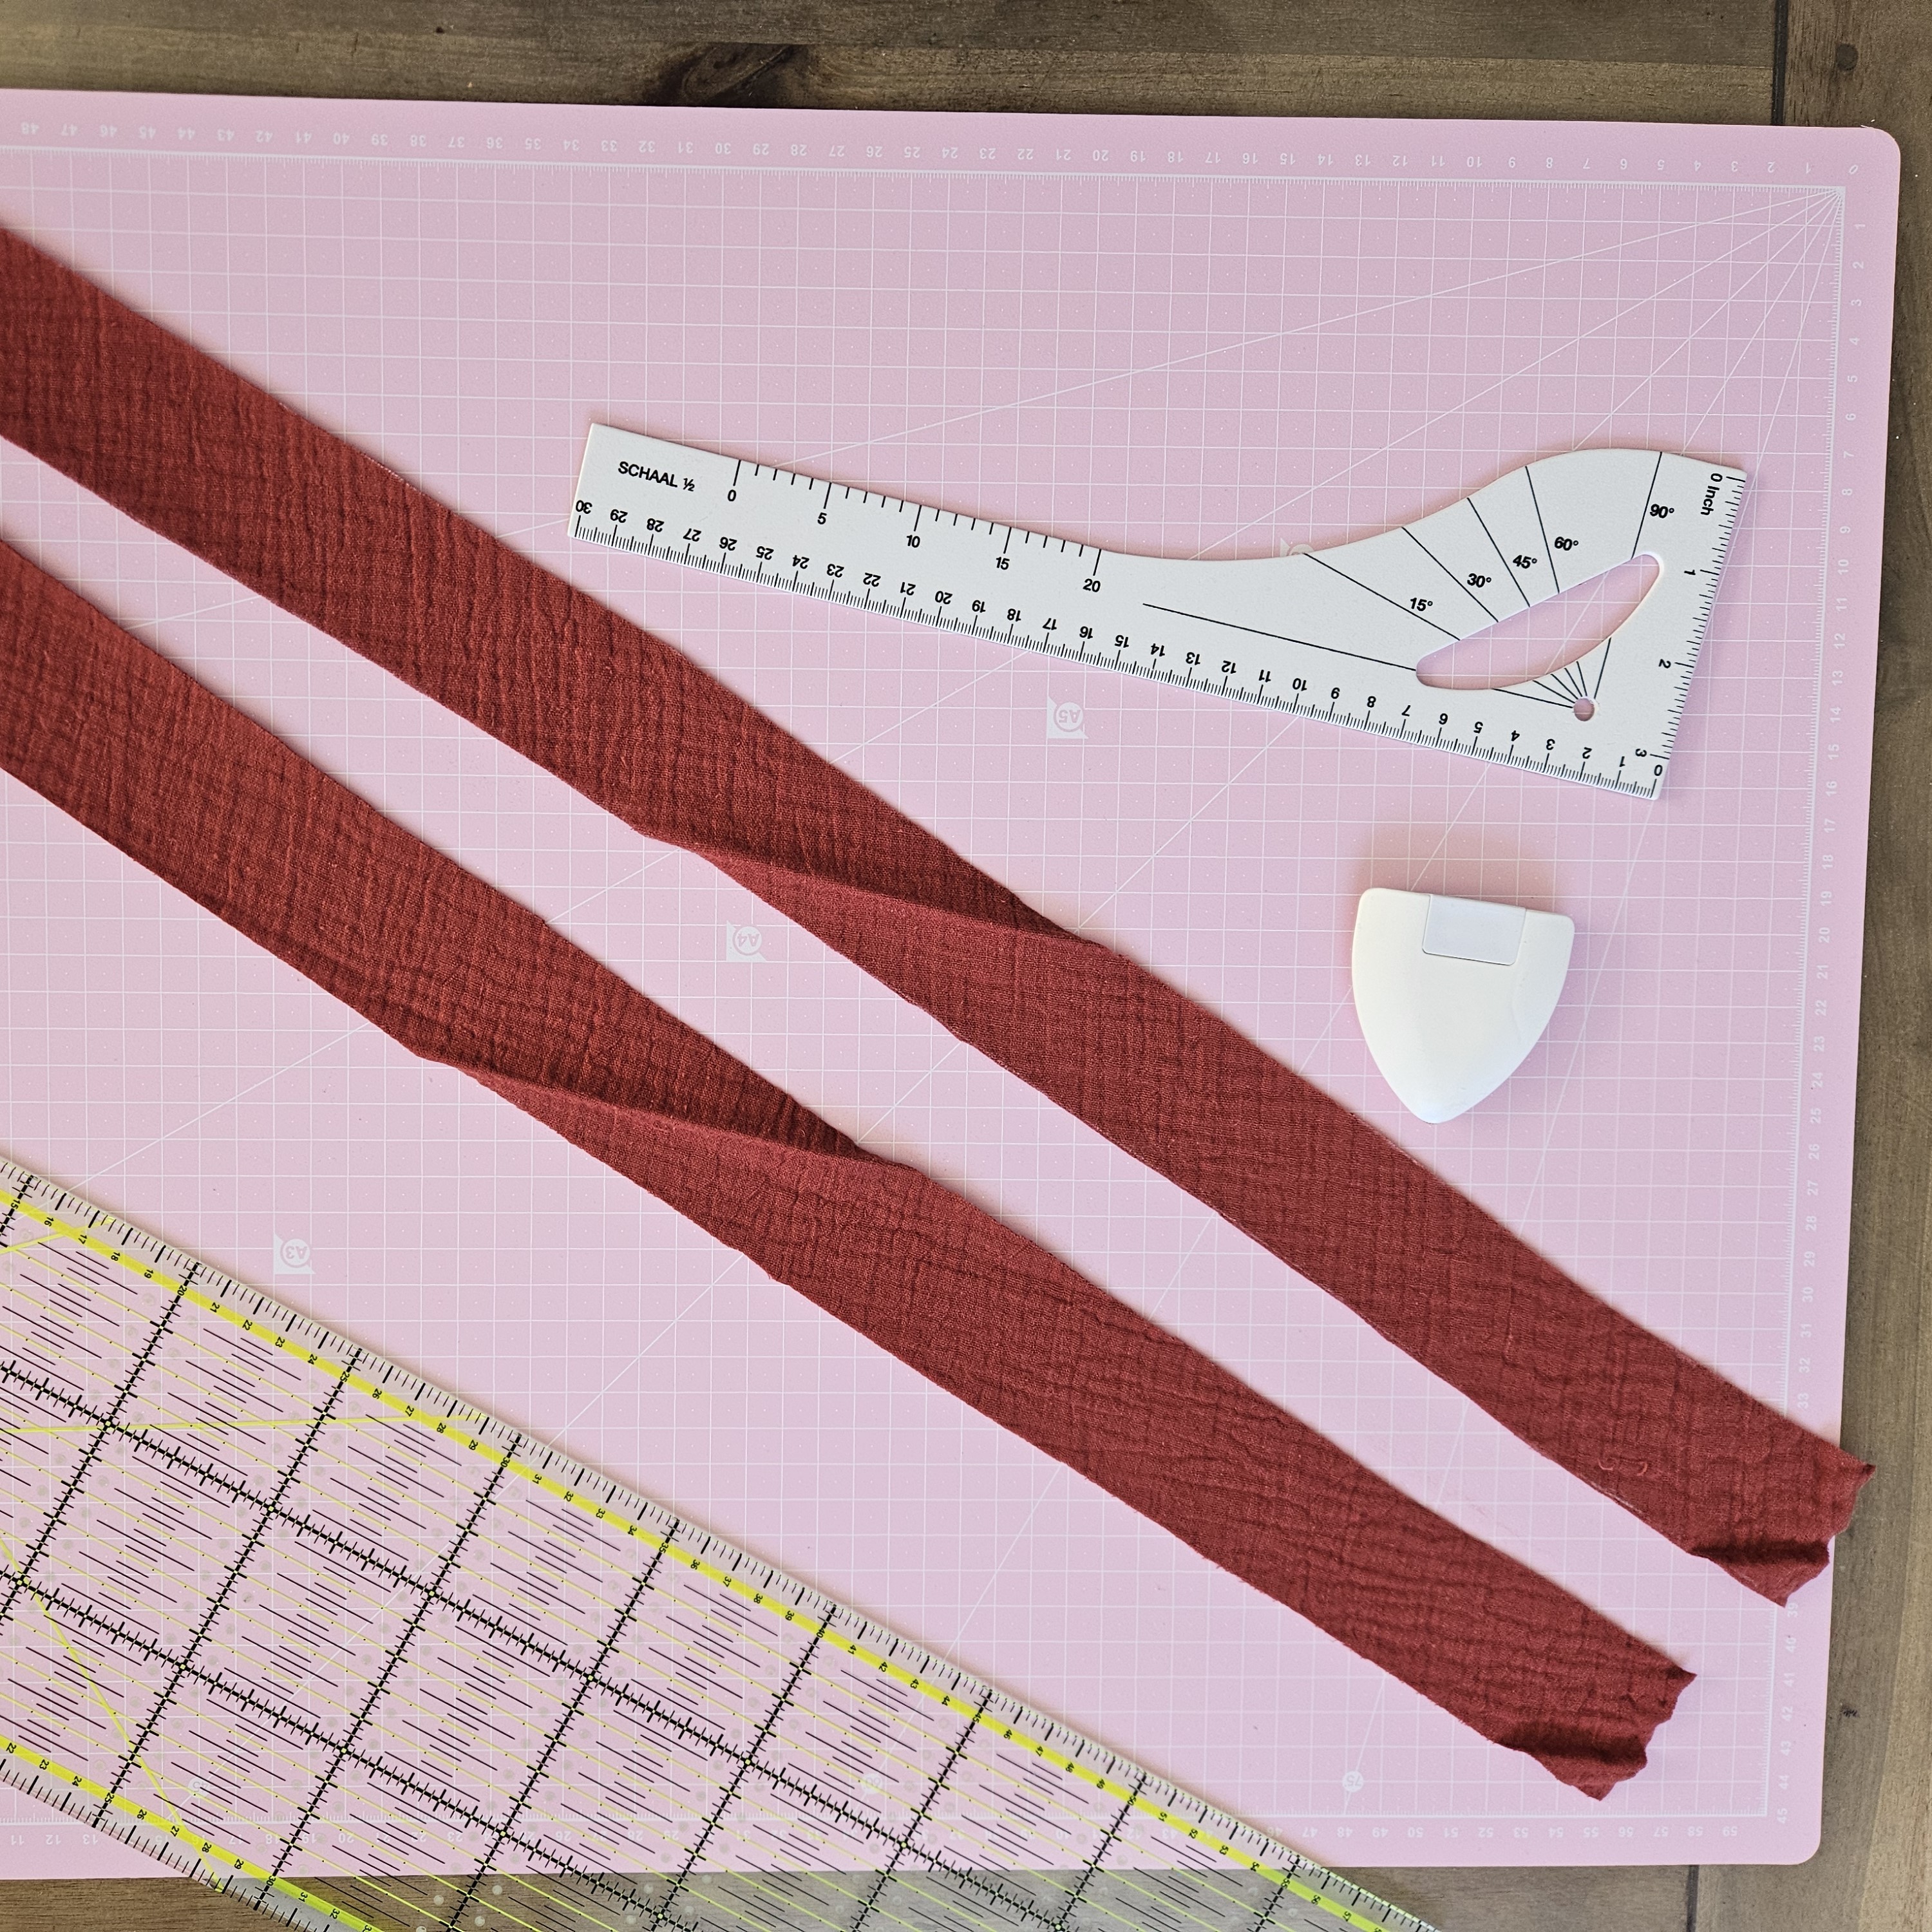
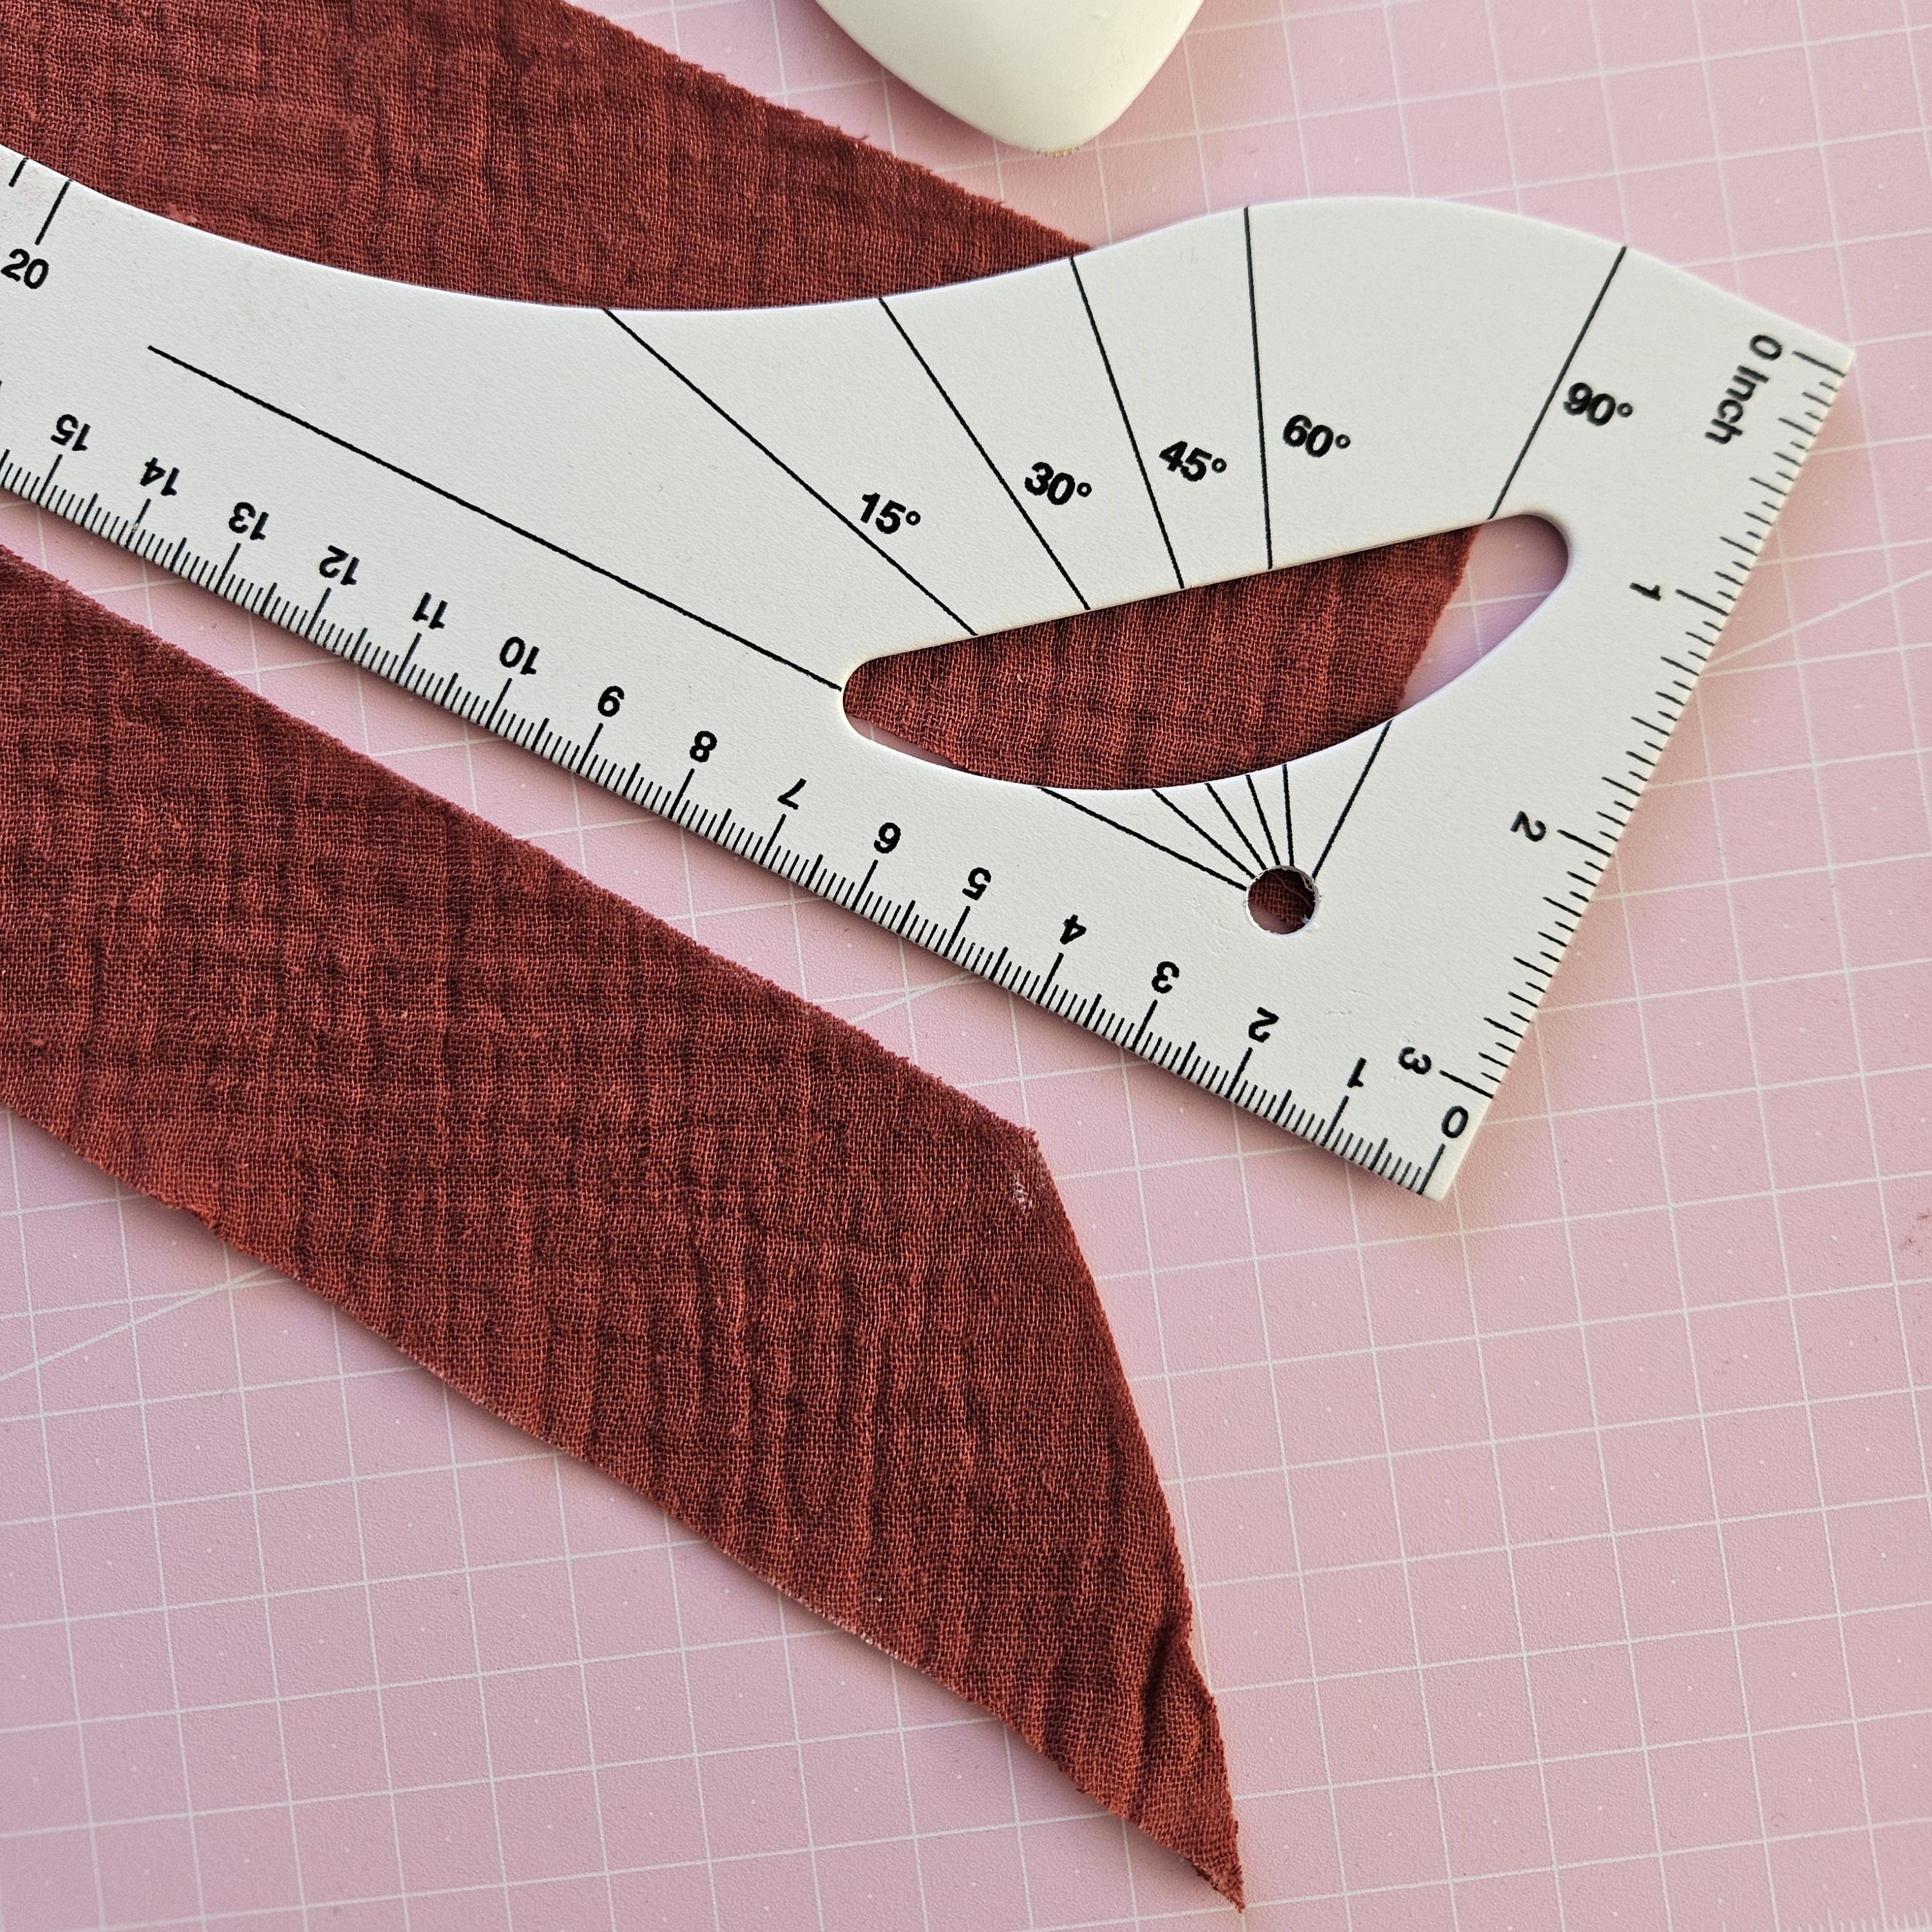
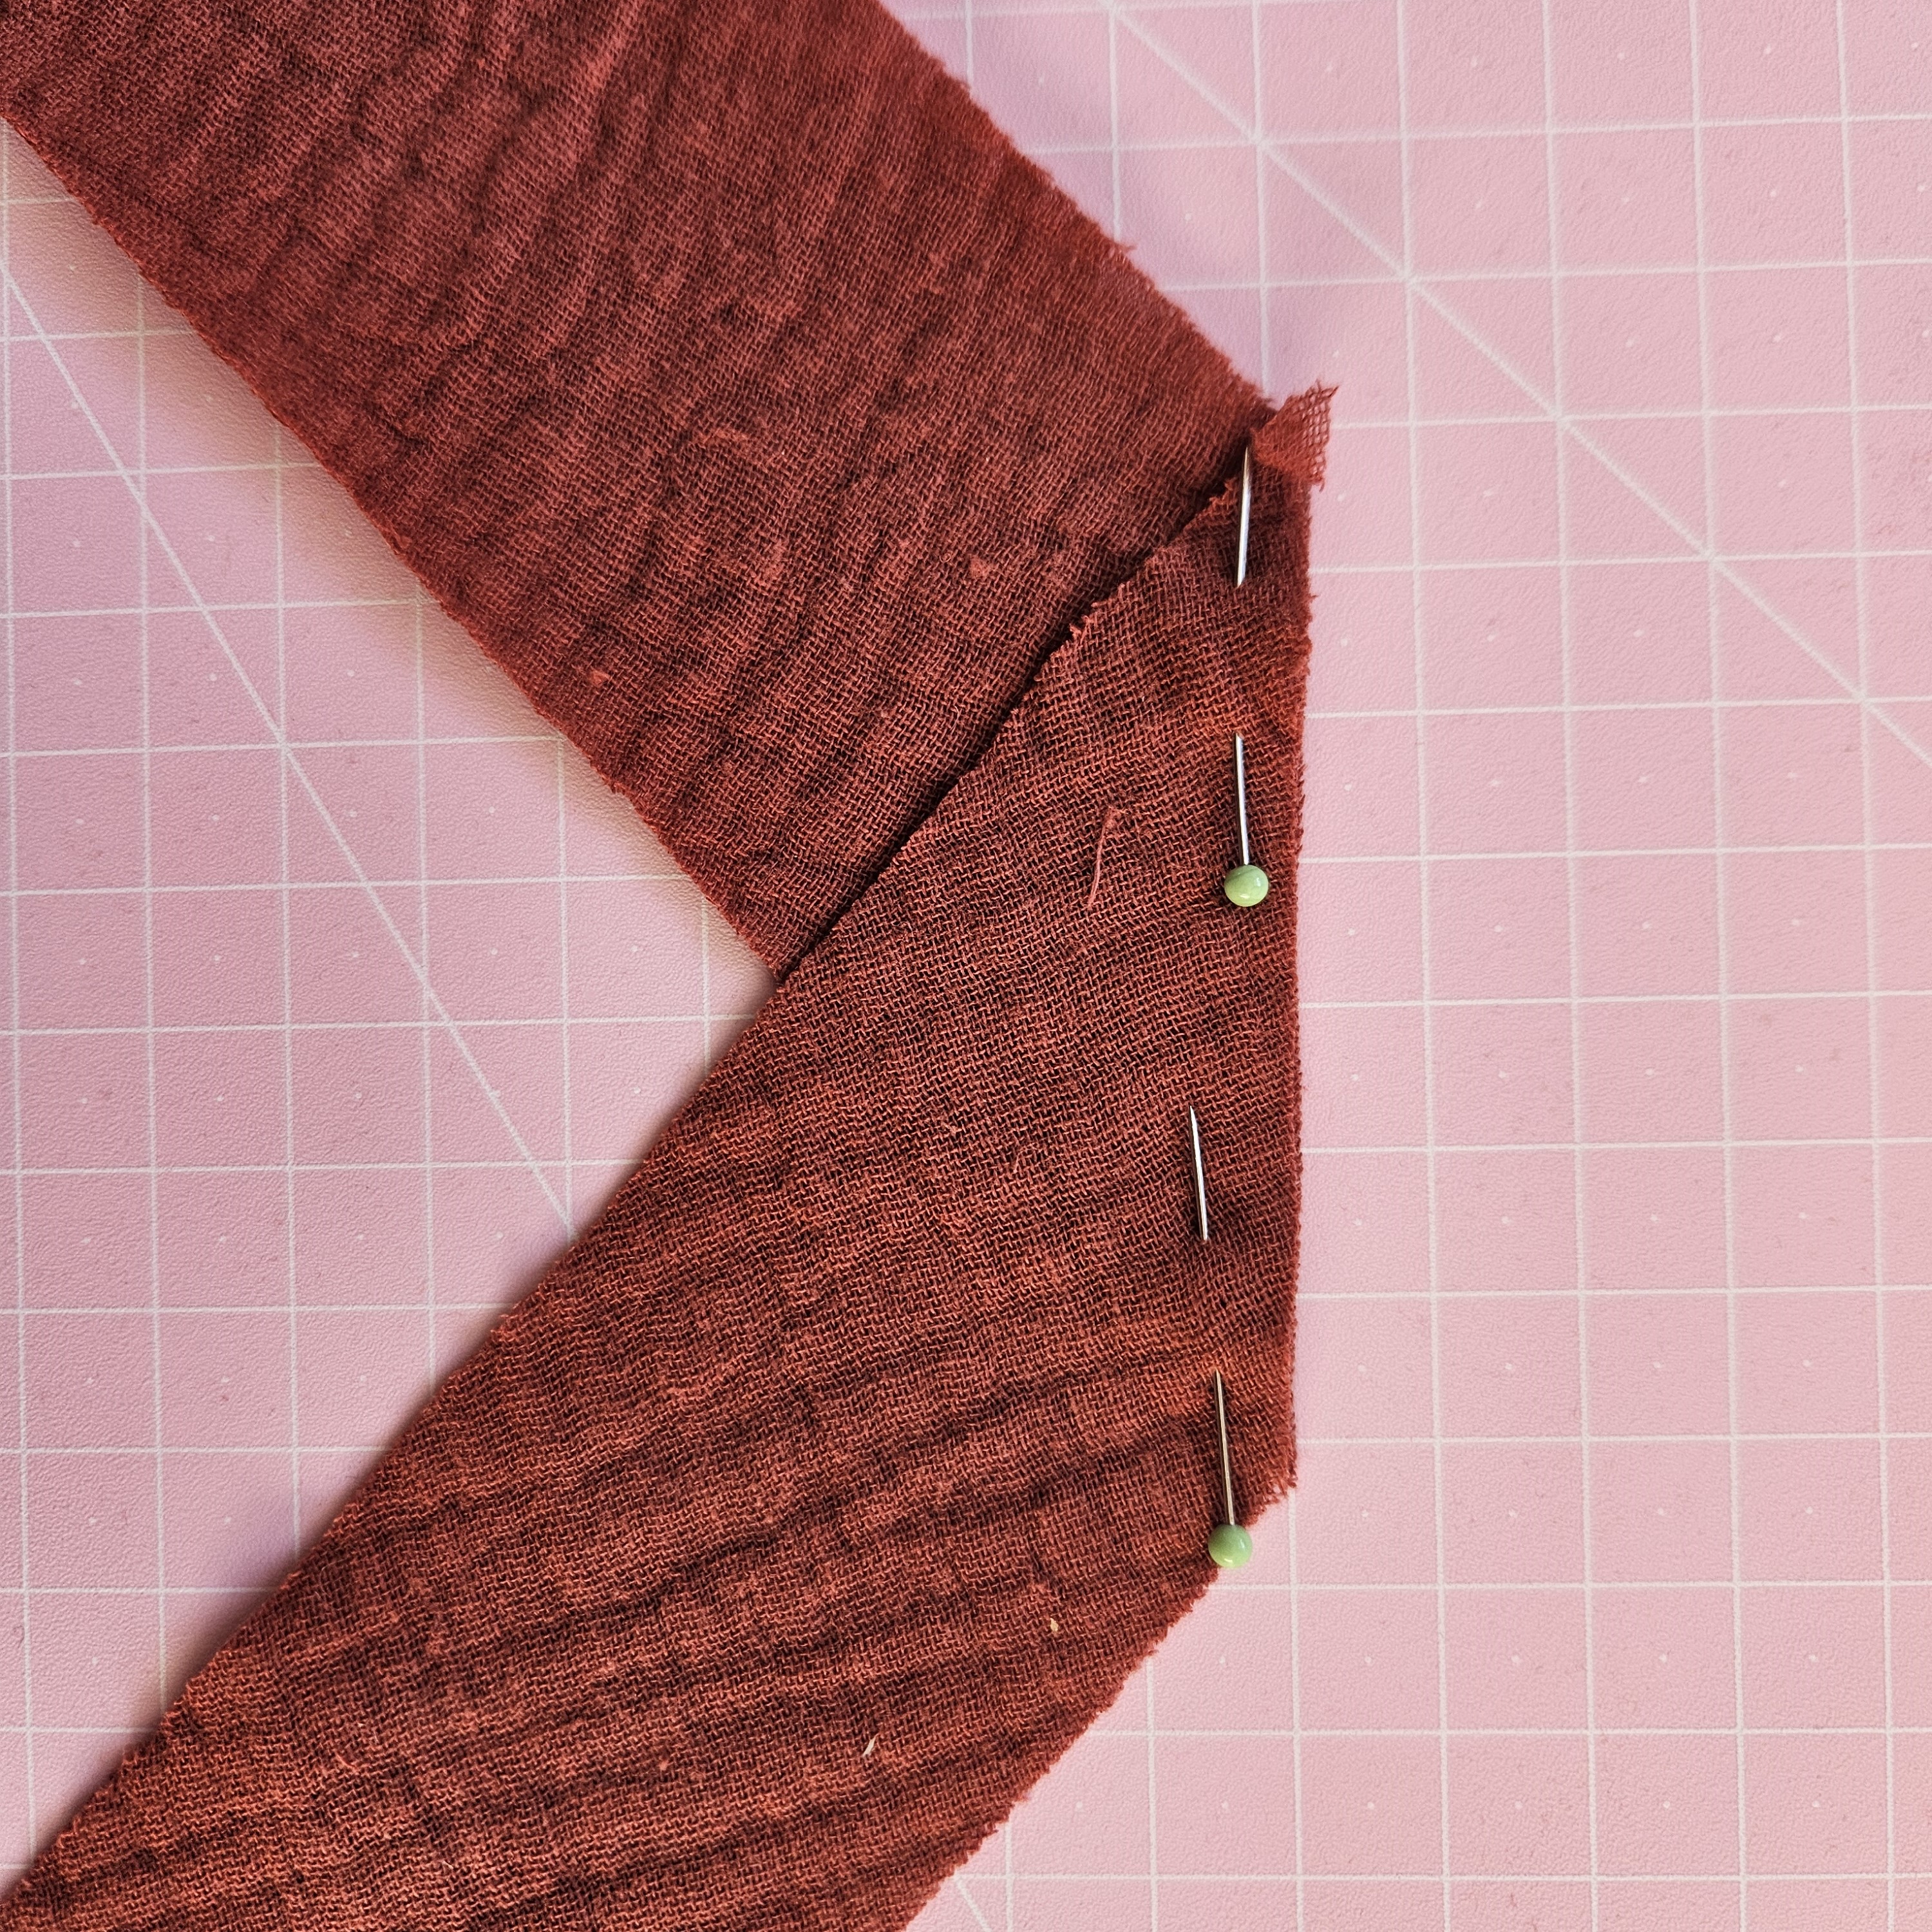
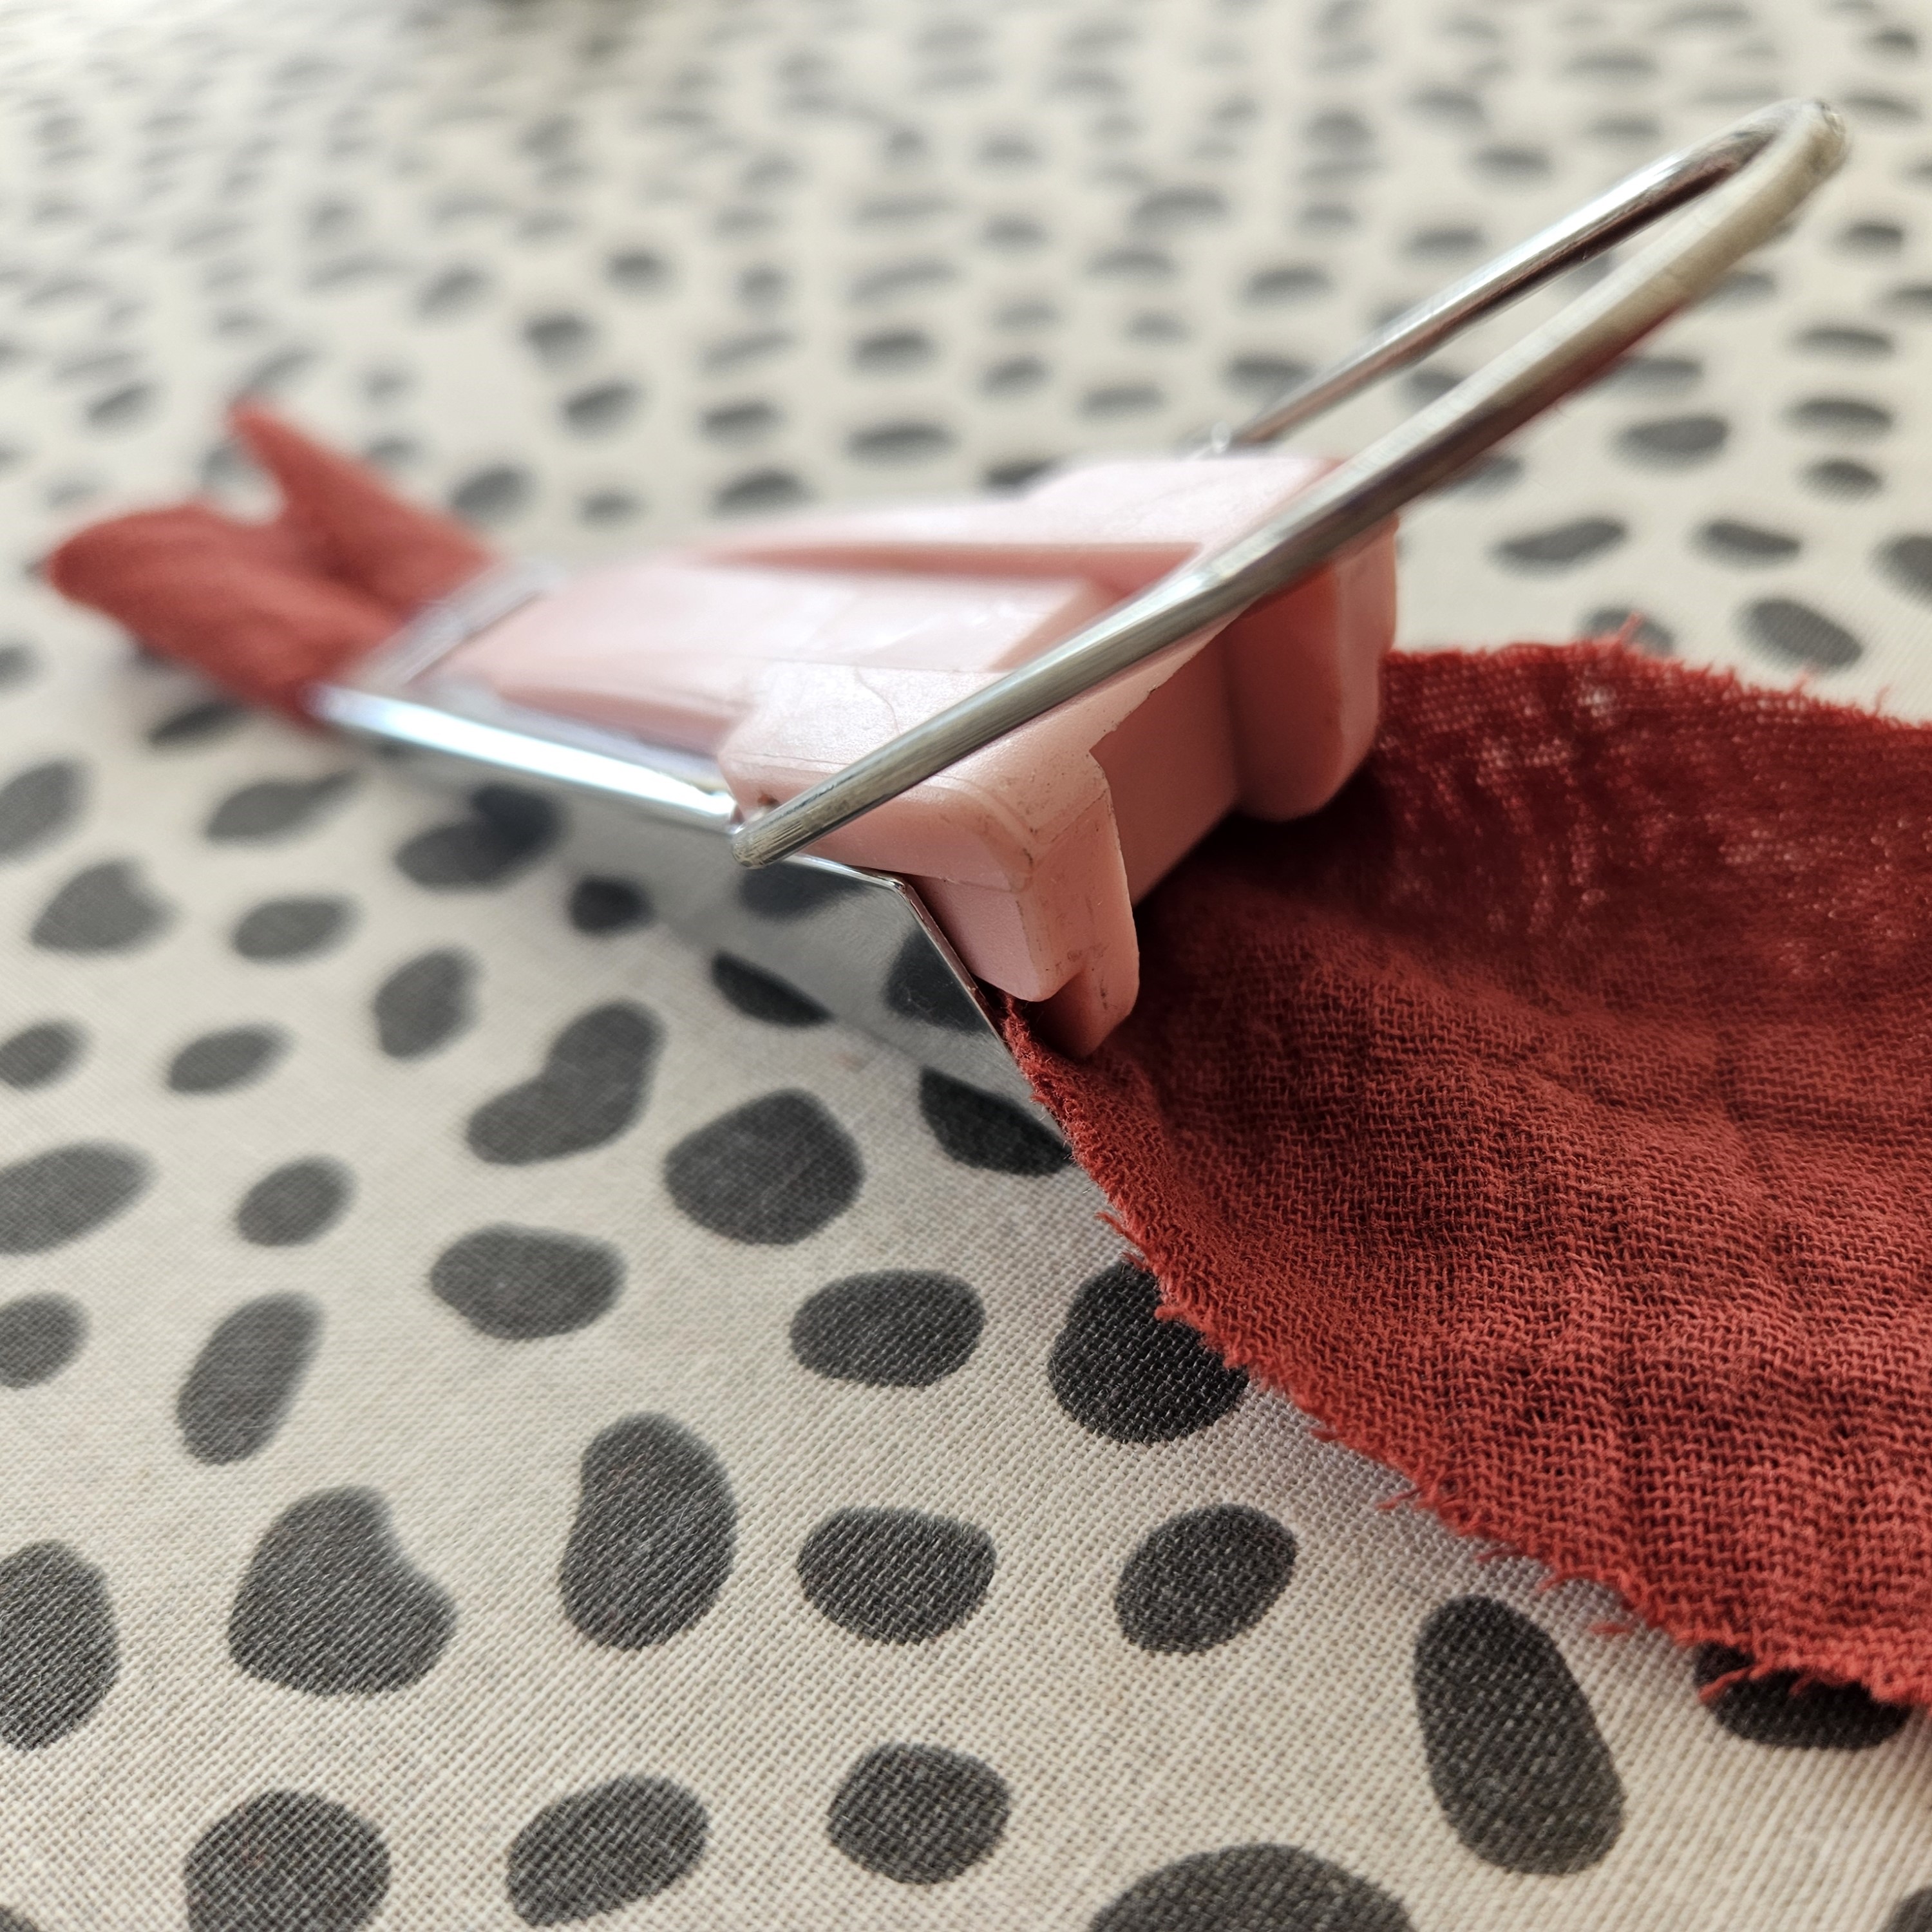
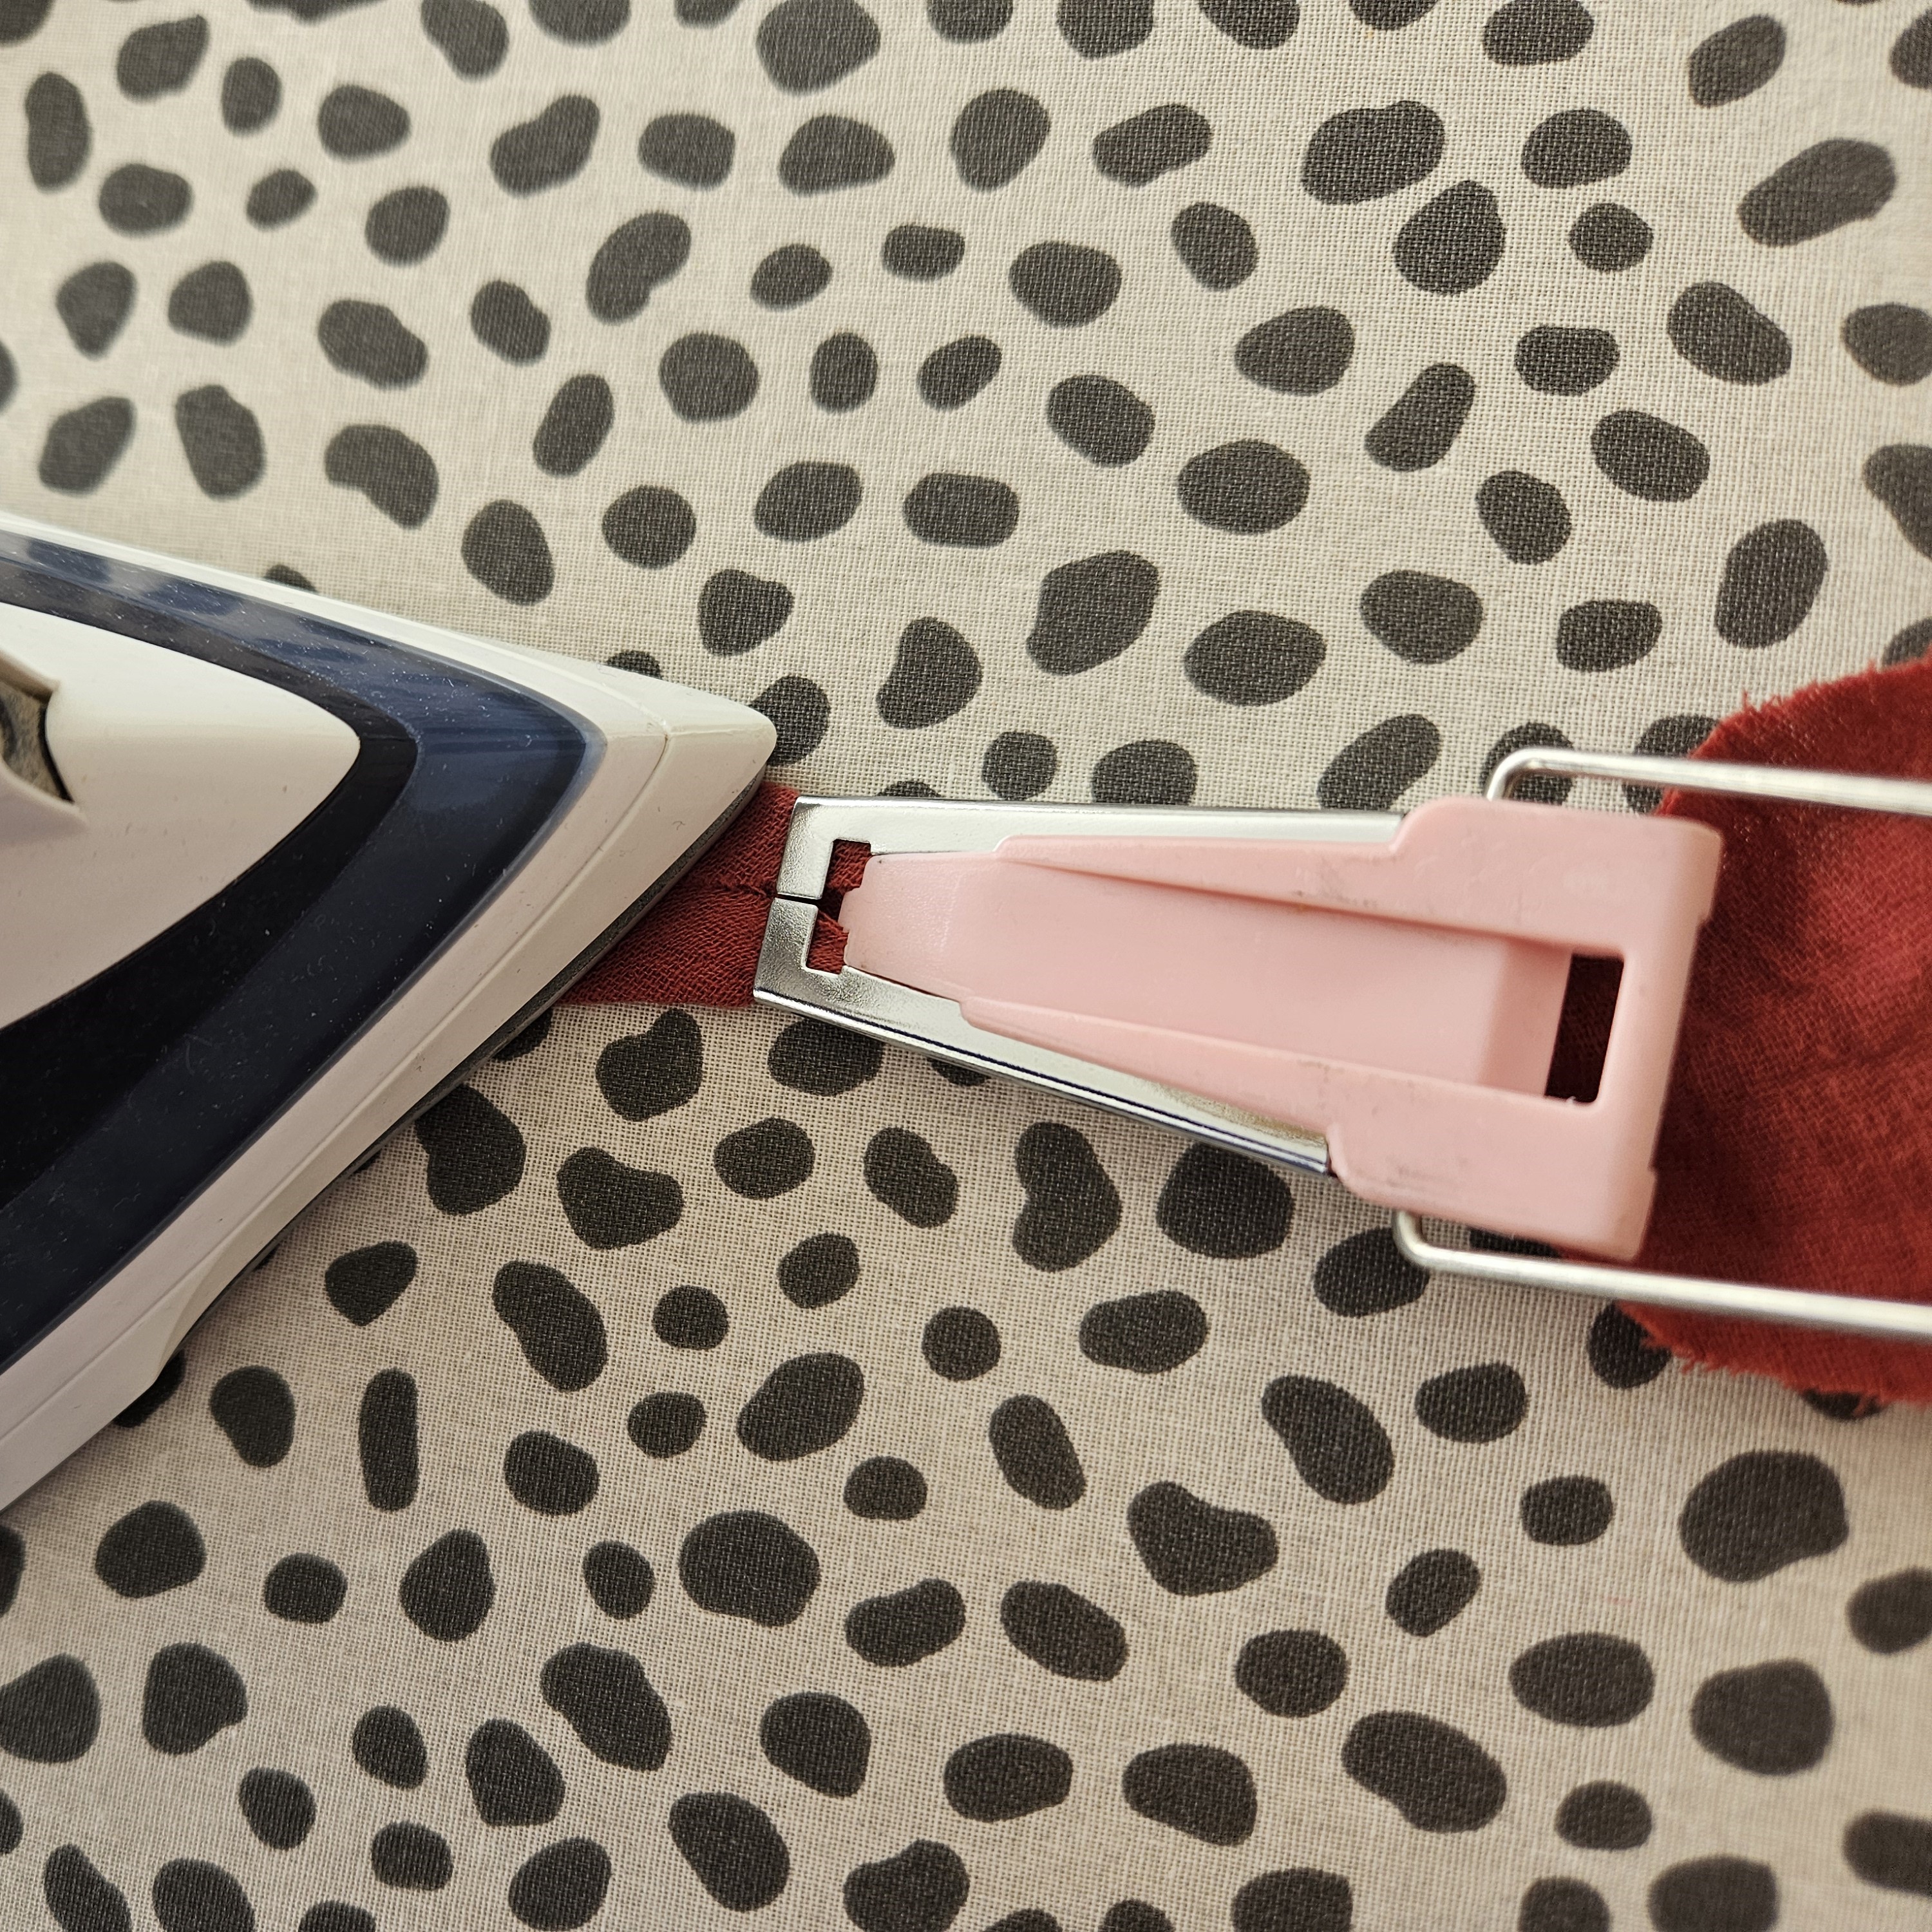
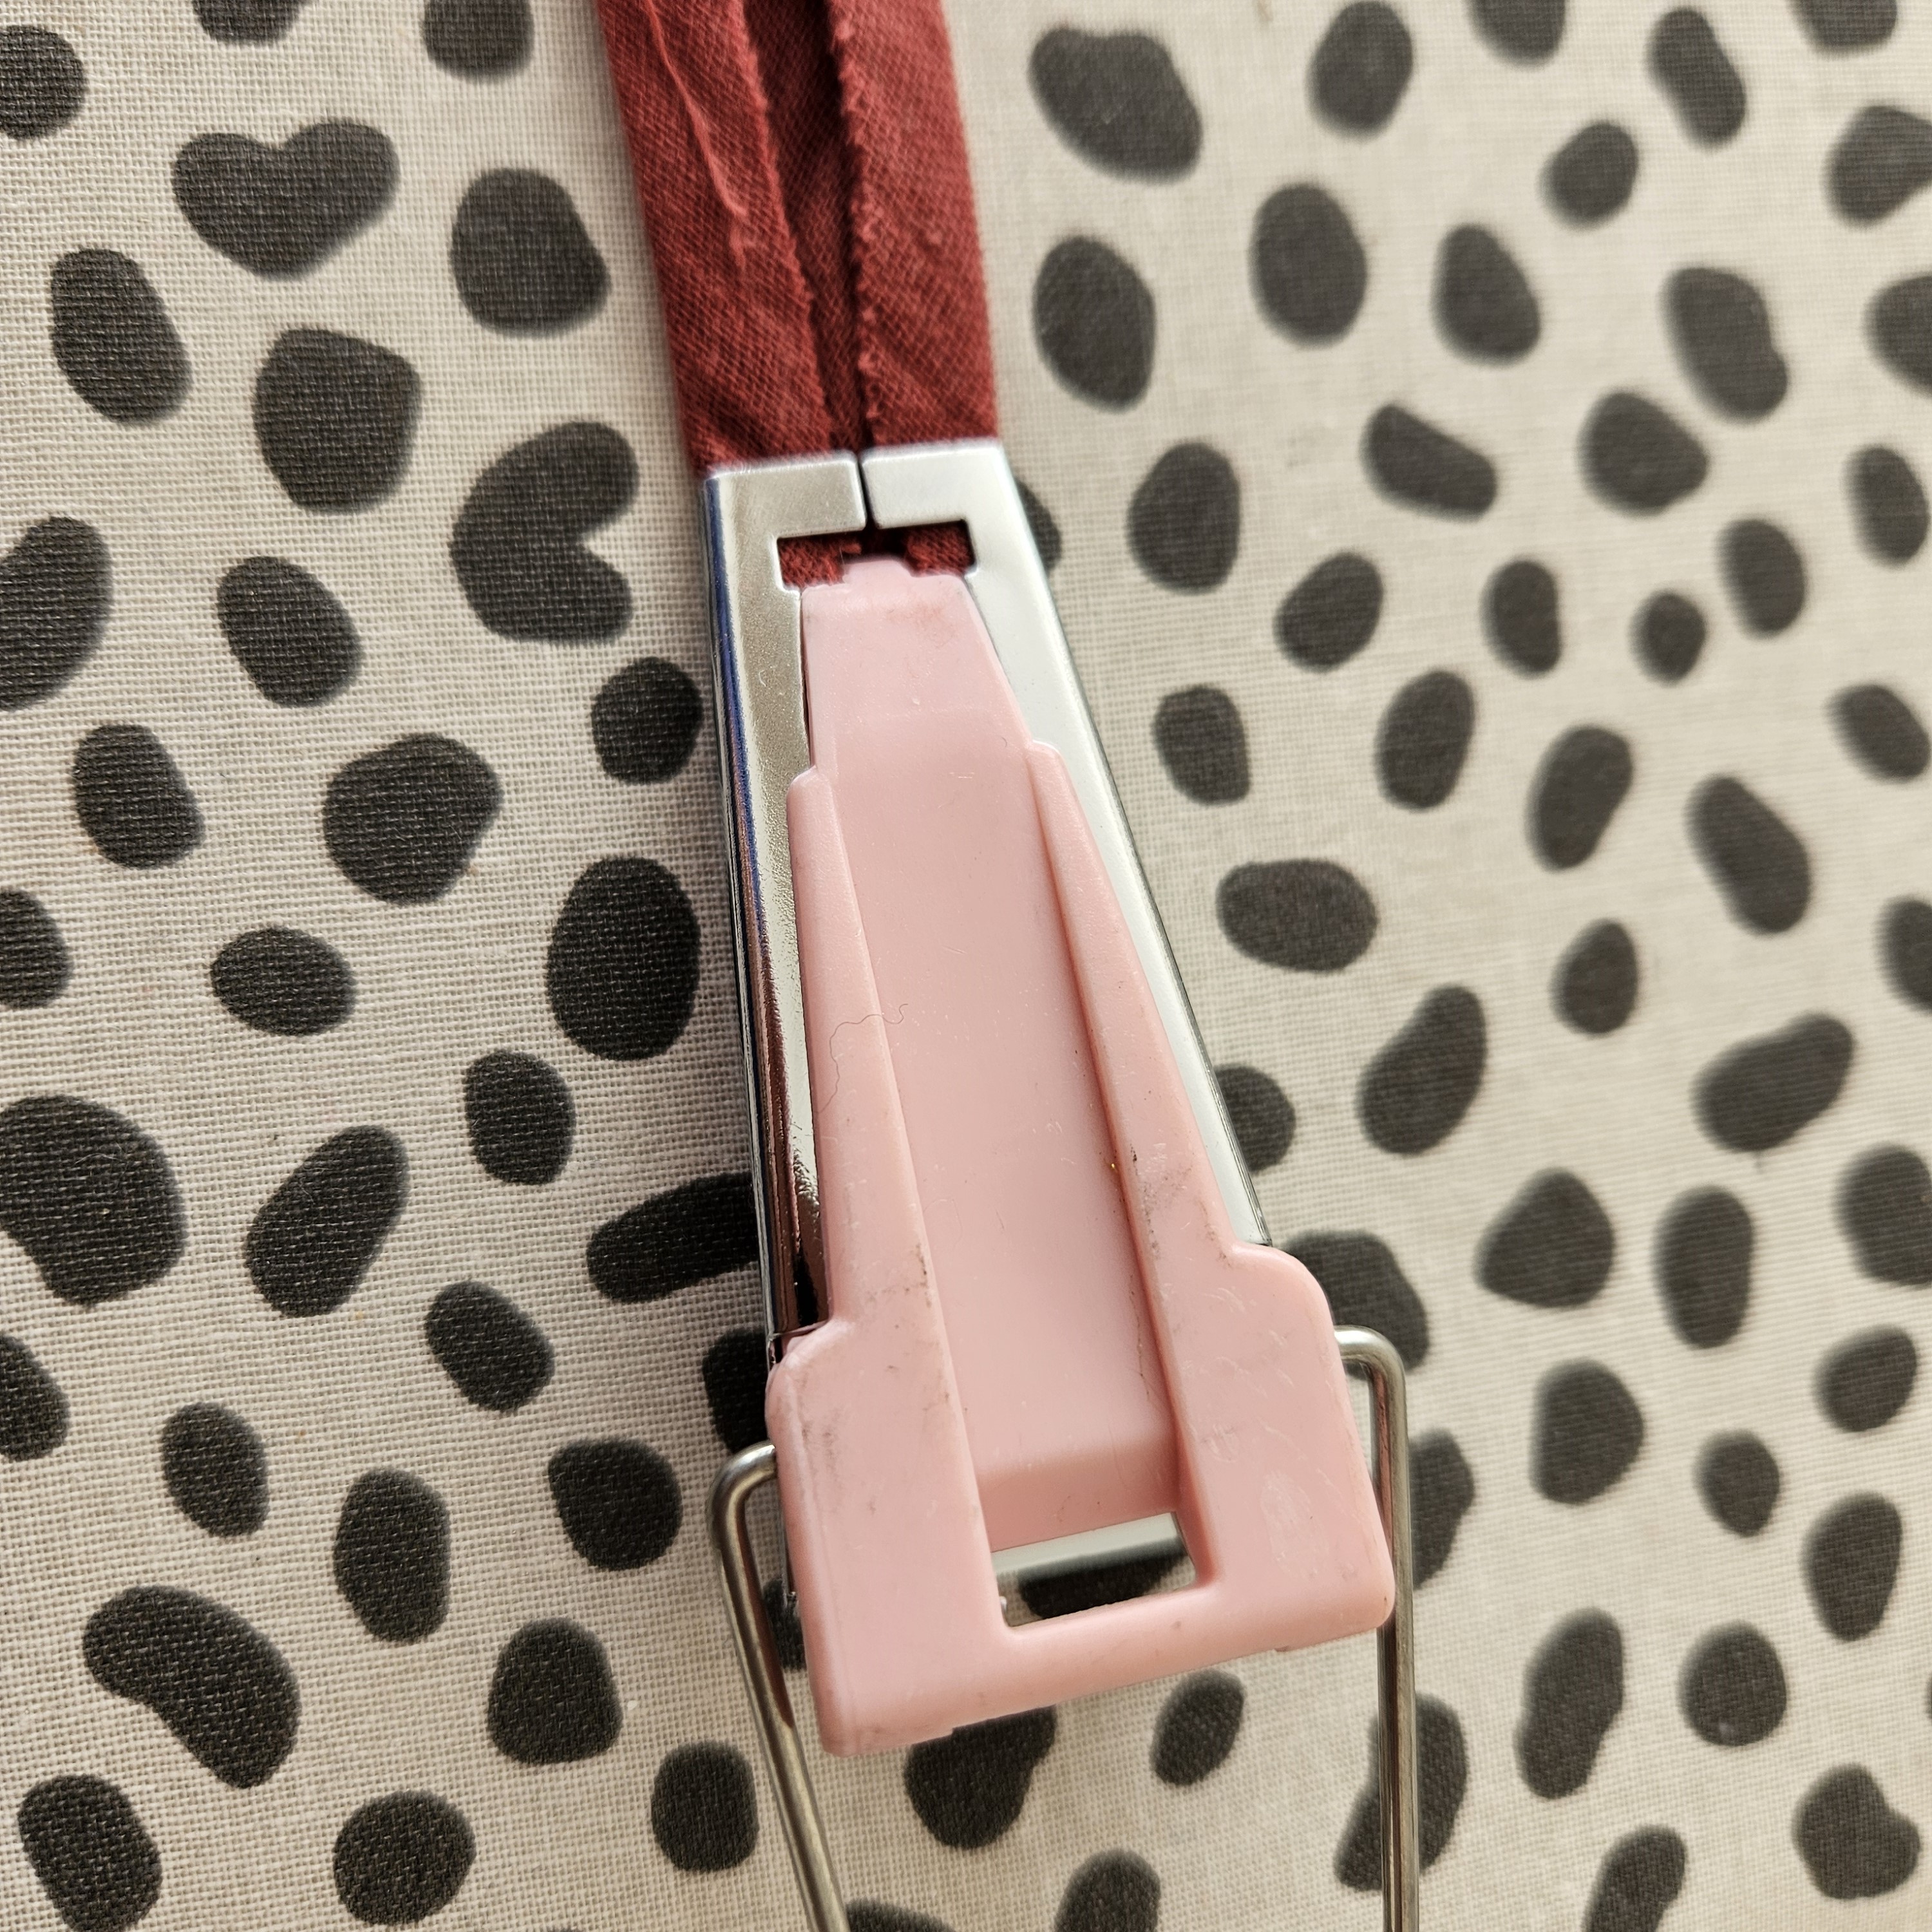
In this DIY, we’ll guide you through the process of making your own bias tape. We’re using the 18 mm bias tape maker, but feel free to use any size that suits your project.
Grab your fabric scraps, plug in your iron, and let’s go!
Supplies
- Fabric scraps
- ReStyle Self-healing cutting mat (015.16601)
- Restyle Quilting ruler 15×50 cm (015.16702)
- Restyle dressmaker’s ruler (057.31)
- ReStyle Tracing wheel (015.16560)
- ReStyle Bias tape maker, 18 mm (015.16204)
Other supplies
- Iron
- ReStyle Fabric Scissors (027.SPTR80SFS)
- ReStyle Glass head pins (015.10103)
Work description
1. Cut Your Fabric Strips
Cut strips 4 cm wide, on the bias (at a 45-degree angle to the grain). A cutting mat and quilting ruler are super helpful here. Cutting on the bias gives the tape the stretch it needs to curve smoothly around edges.
2. Trim the Ends
Cut the ends of your strips at a 45-degree angle. This makes them easier to join together.
3. Sew the Strips Together
Place two strips right sides together at a 90-degree angle and sew across the join. Repeat as needed until you have the length you want.
4. Press the Strip
Iron your long strip nice and flat. A good press makes all the difference!
5. Feed the Strip into the Bias Tape Maker
Insert one end of your strip into the bias tape maker. This part can be a bit fiddly—don’t give up! Turn the maker upside down to see if the fabric is going in smoothly. Use a pin or needle to help guide the fabric through if needed.
📌 Tip: Make sure the right side of the fabric is facing down. This keeps the seam allowances neatly hidden inside the tape.
6. Pull the Tape Maker Back
Once the fabric is in place, push the silver handle back and gently pull the bias tape maker along the strip.
7. Press as You Go
While pulling, iron the folded tape as it comes out of the maker. This sets the shape nicely.
8. Flip and Press Again
Once you’re done, turn your tape over and give it a final press from the front for a crisp, clean finish.
And You’re Done!
Tada! Your homemade bias tape is ready to use. It’s totally custom, matches your fabric perfectly, and was made with love.
Are you going to try this yourself? Share your finished result with us on Instagram or send us a photo—we’d love to see your creations!