DIY (Do It Yourself)

DIY: Make Your Own Trendy Phone or Bag Strap with a Vintage Scarf

Straps for your phone or bag are a major trend — and we’ll show you how to create your own with a unique twist! In this DIY blog, you’ll craft a stylish strap using a vintage scarf found at a thrift store. It’s a fun and sustainable way to transform something old into something new. Your accessory won’t just look amazing, but it will also become a true ReStyle project.

DIY: Make Your Own Trendy Phone or Bag Strap with a Vintage Scarf

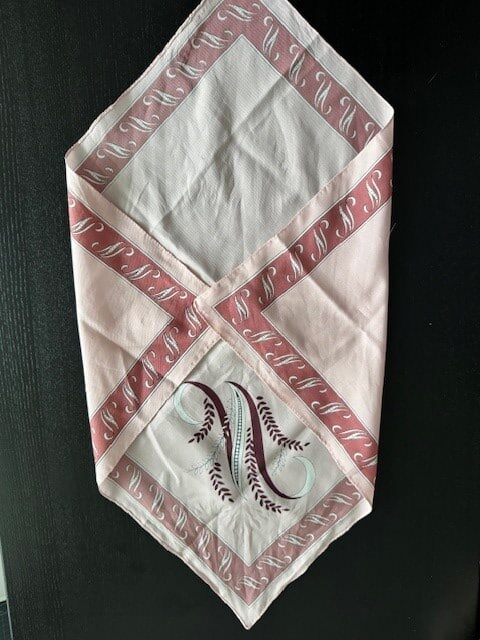
Phone and bag straps are totally on-trend — and we’ll show you how to create your own with a unique twist! In this DIY blog, you’ll learn how to make your own stylish strap using a vintage scarf found at a thrift store. It’s a fun and sustainable way to turn something old into something completely new. Your handmade accessory won’t just be fashionable, but also a true ReStyle project.

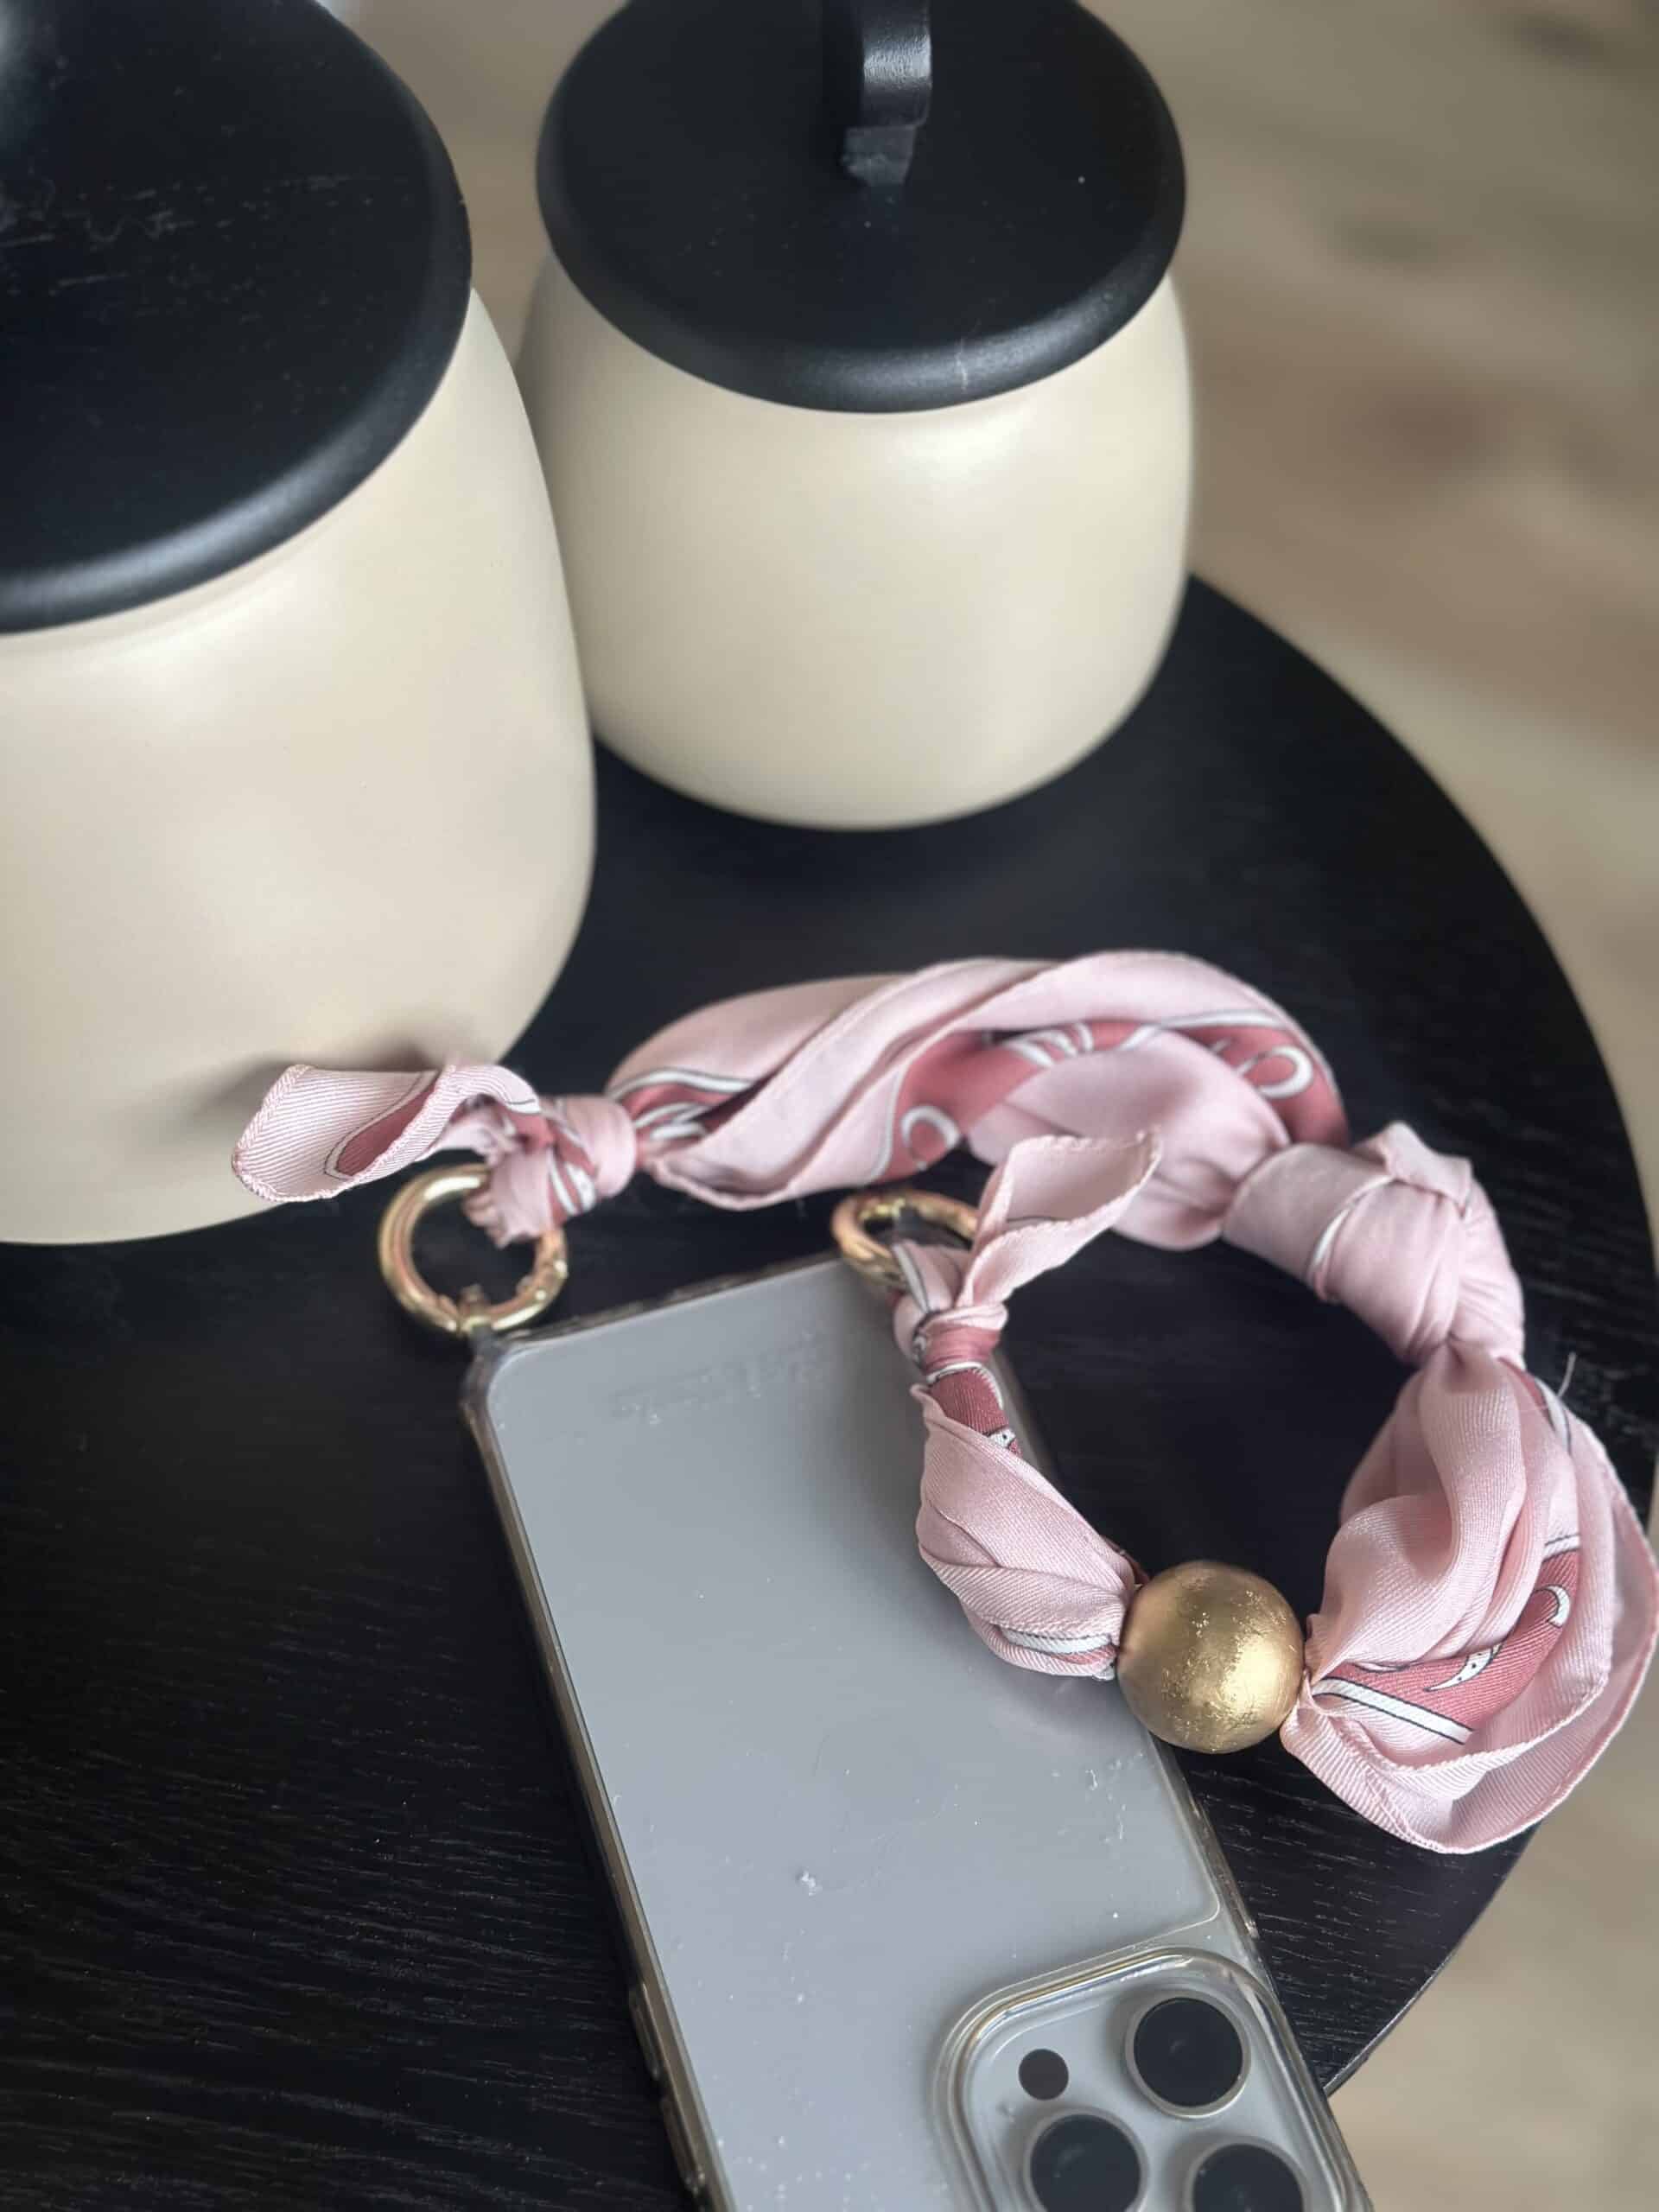
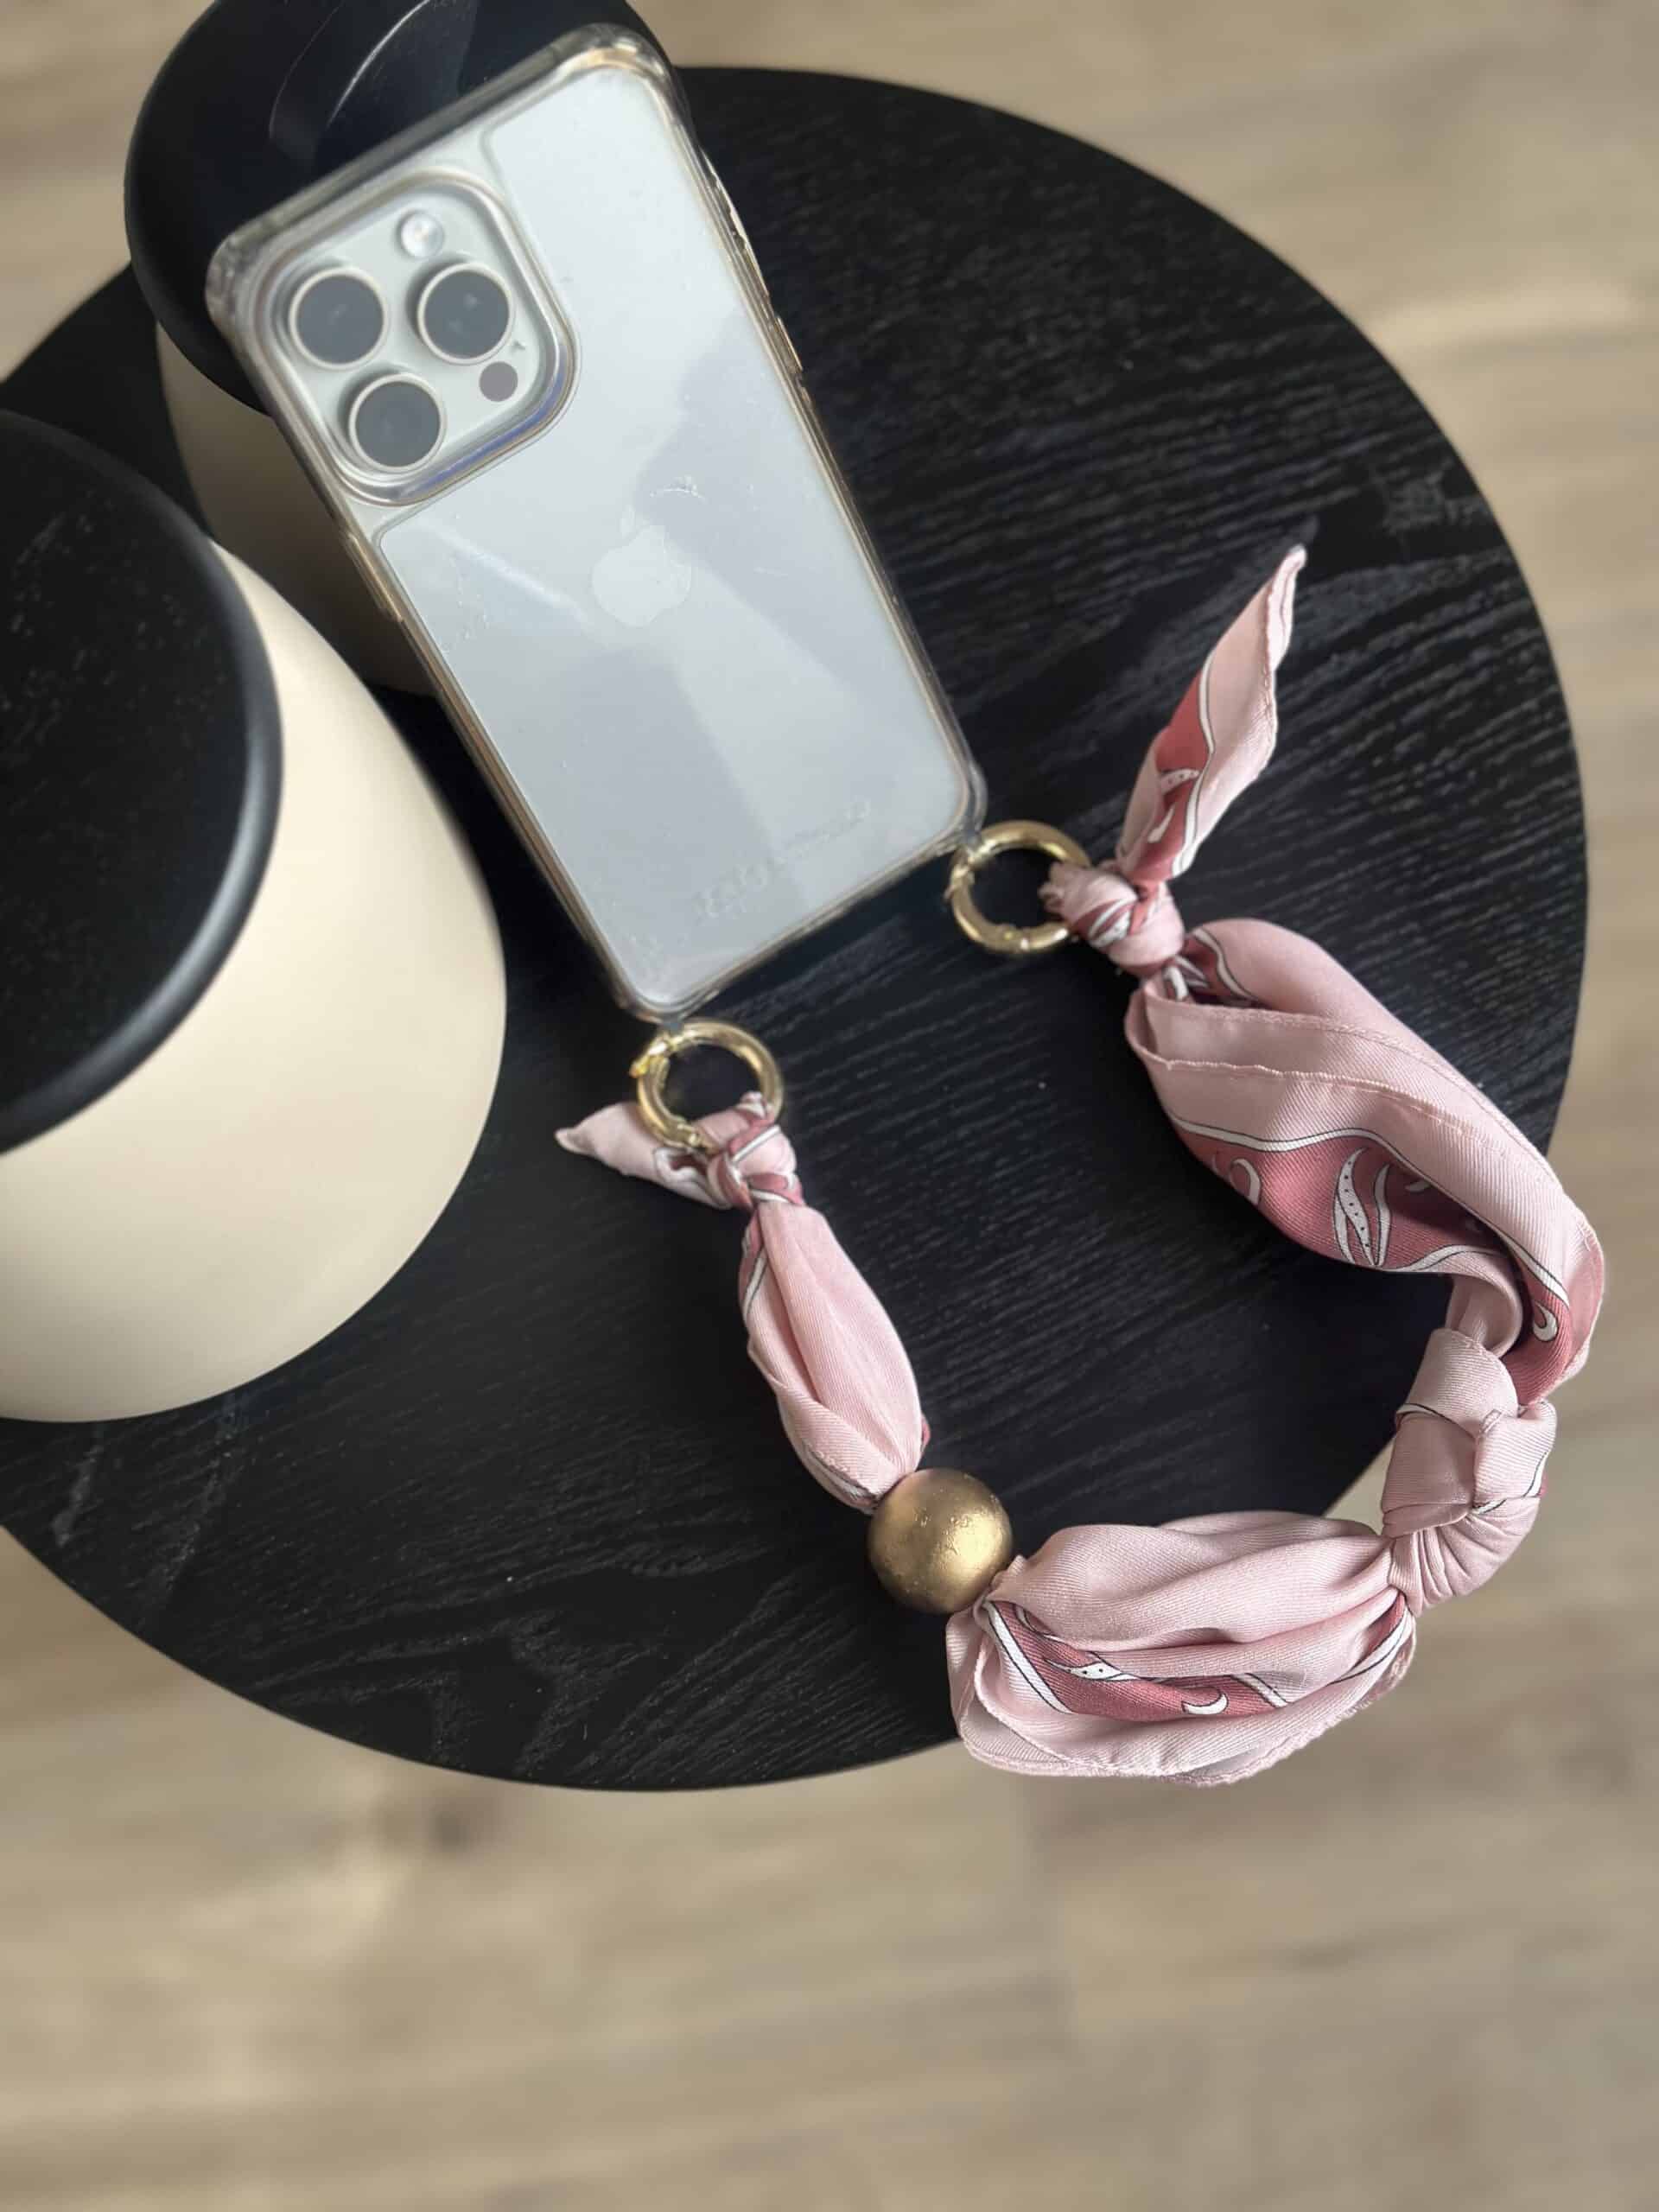
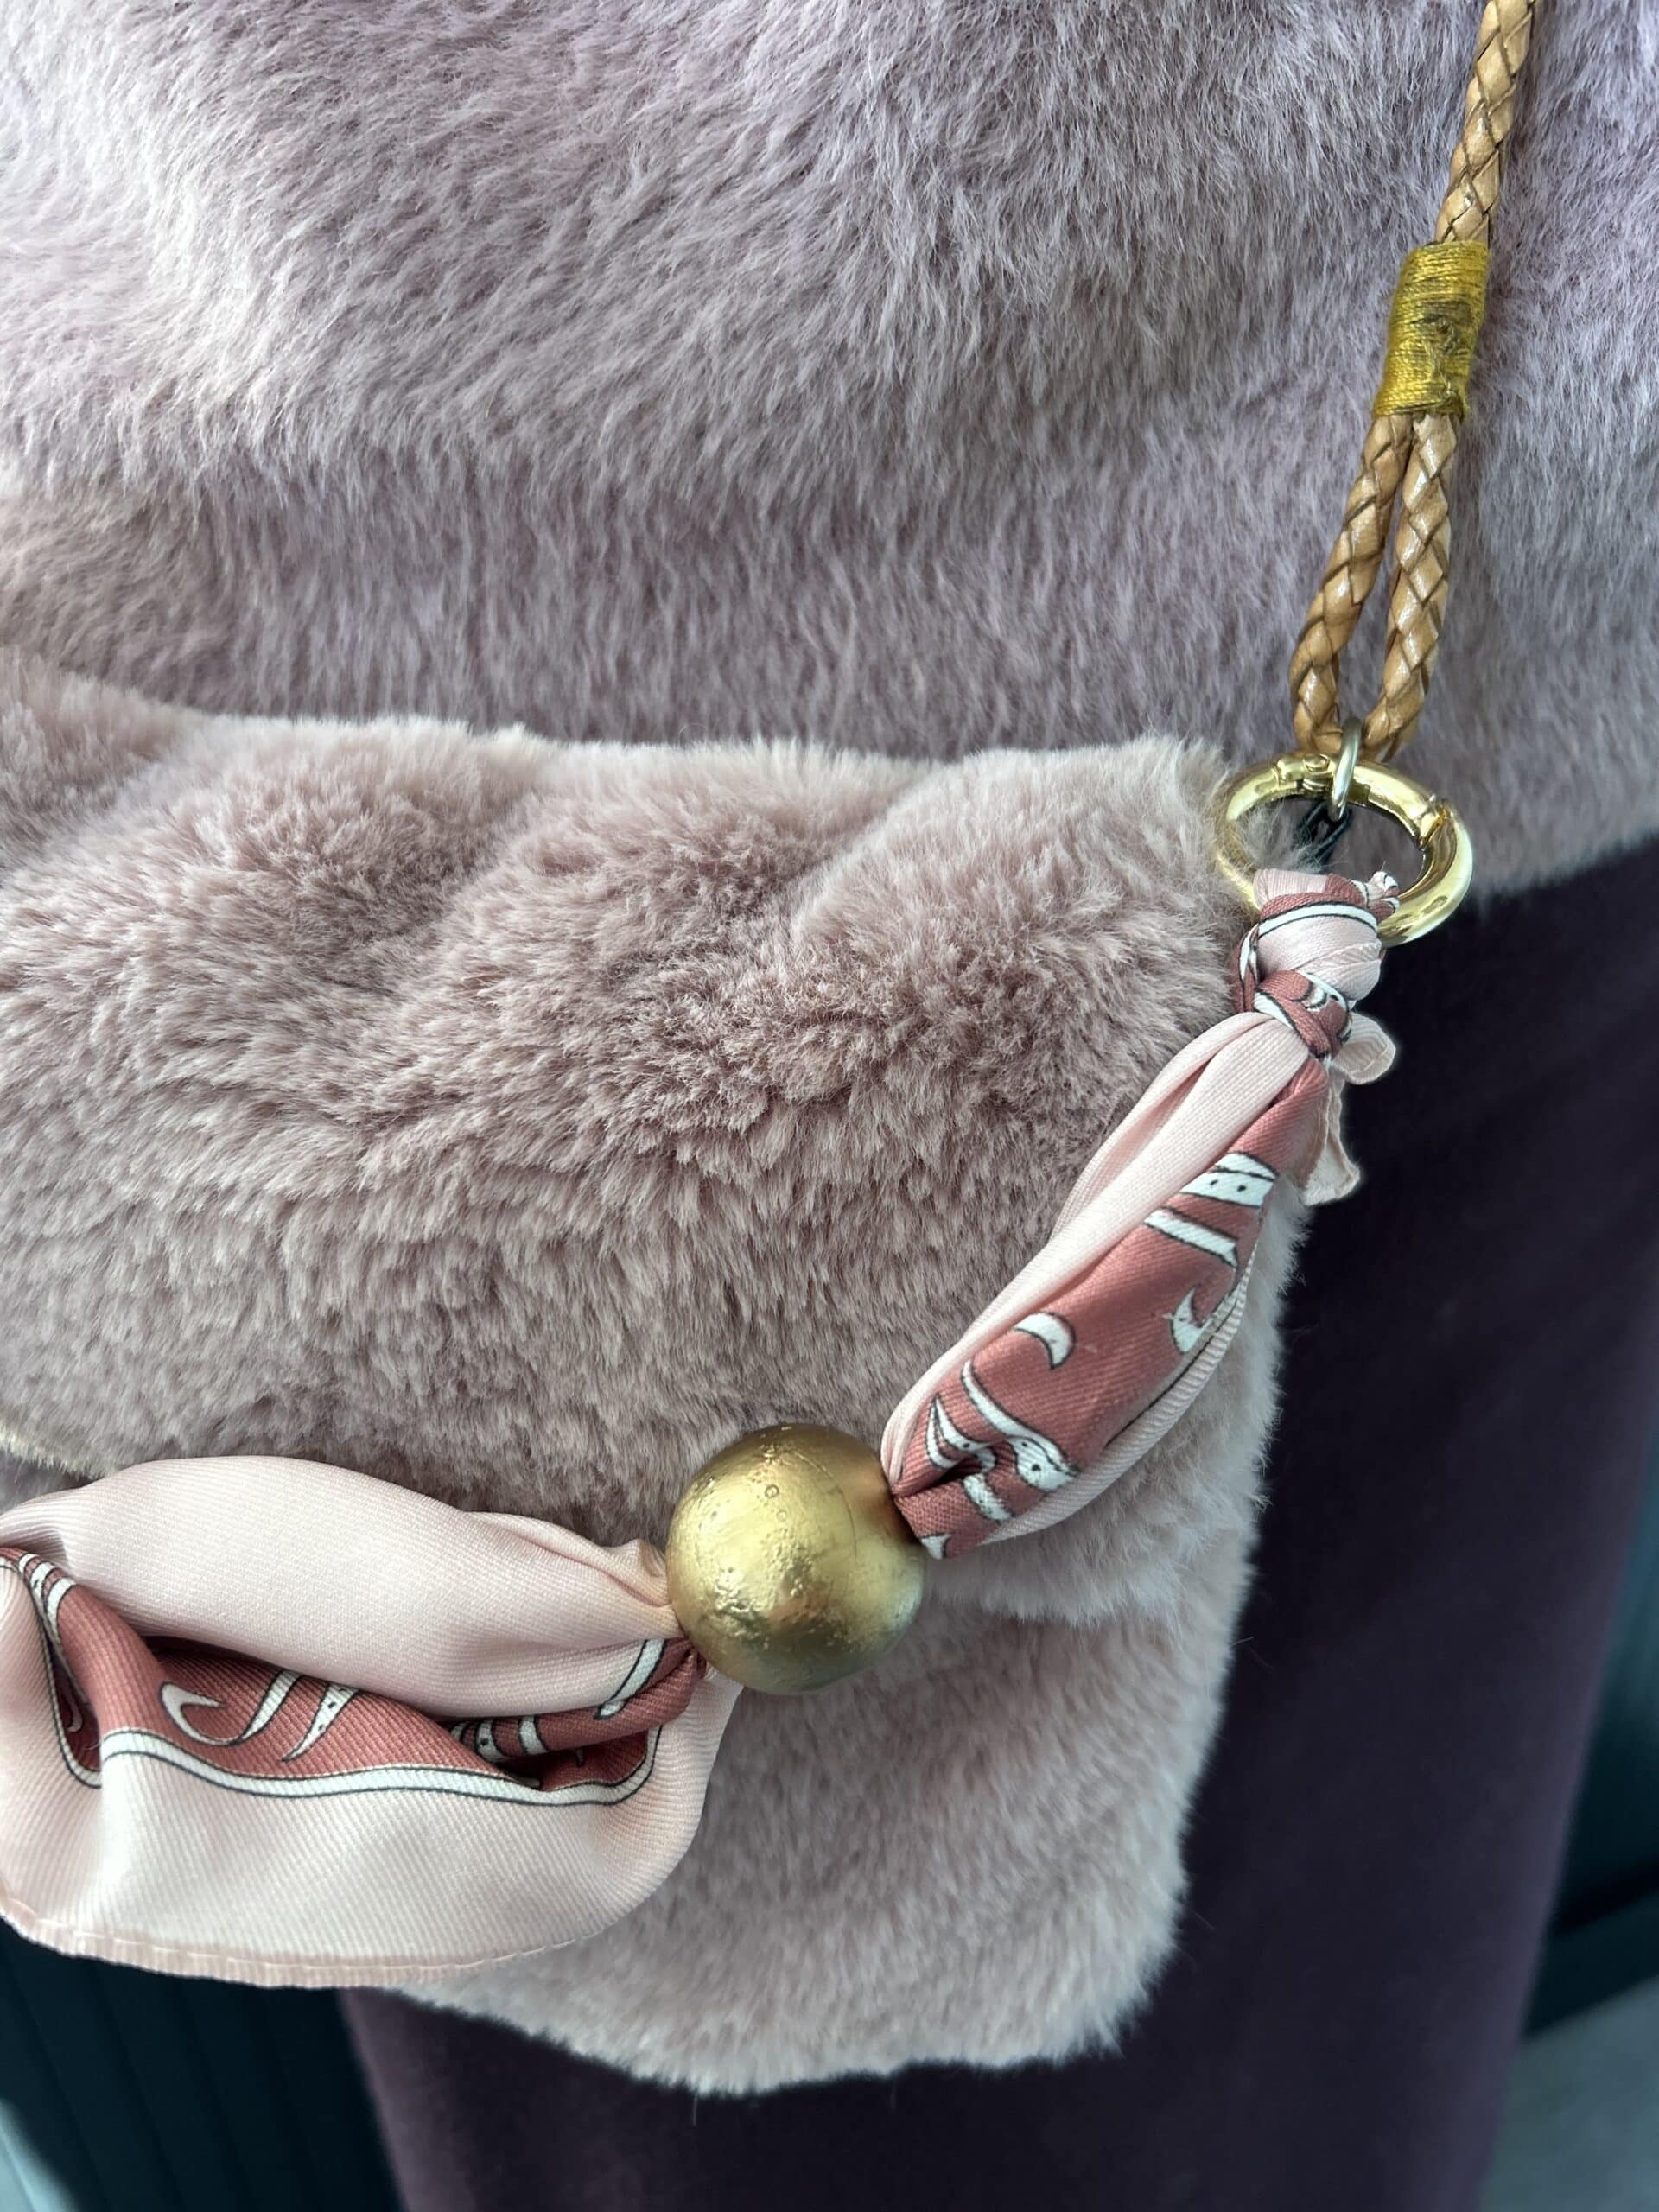
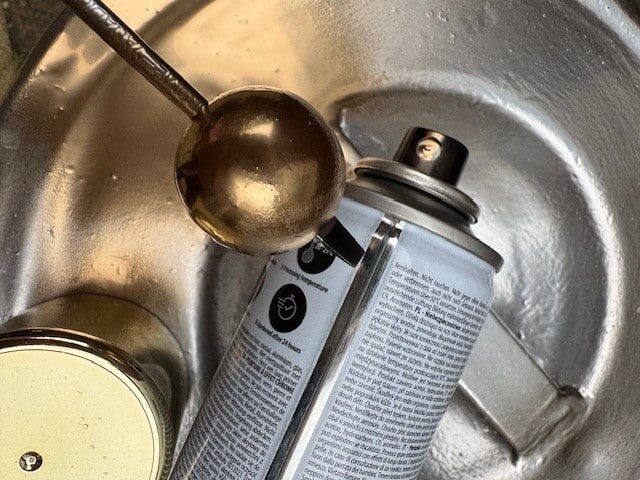
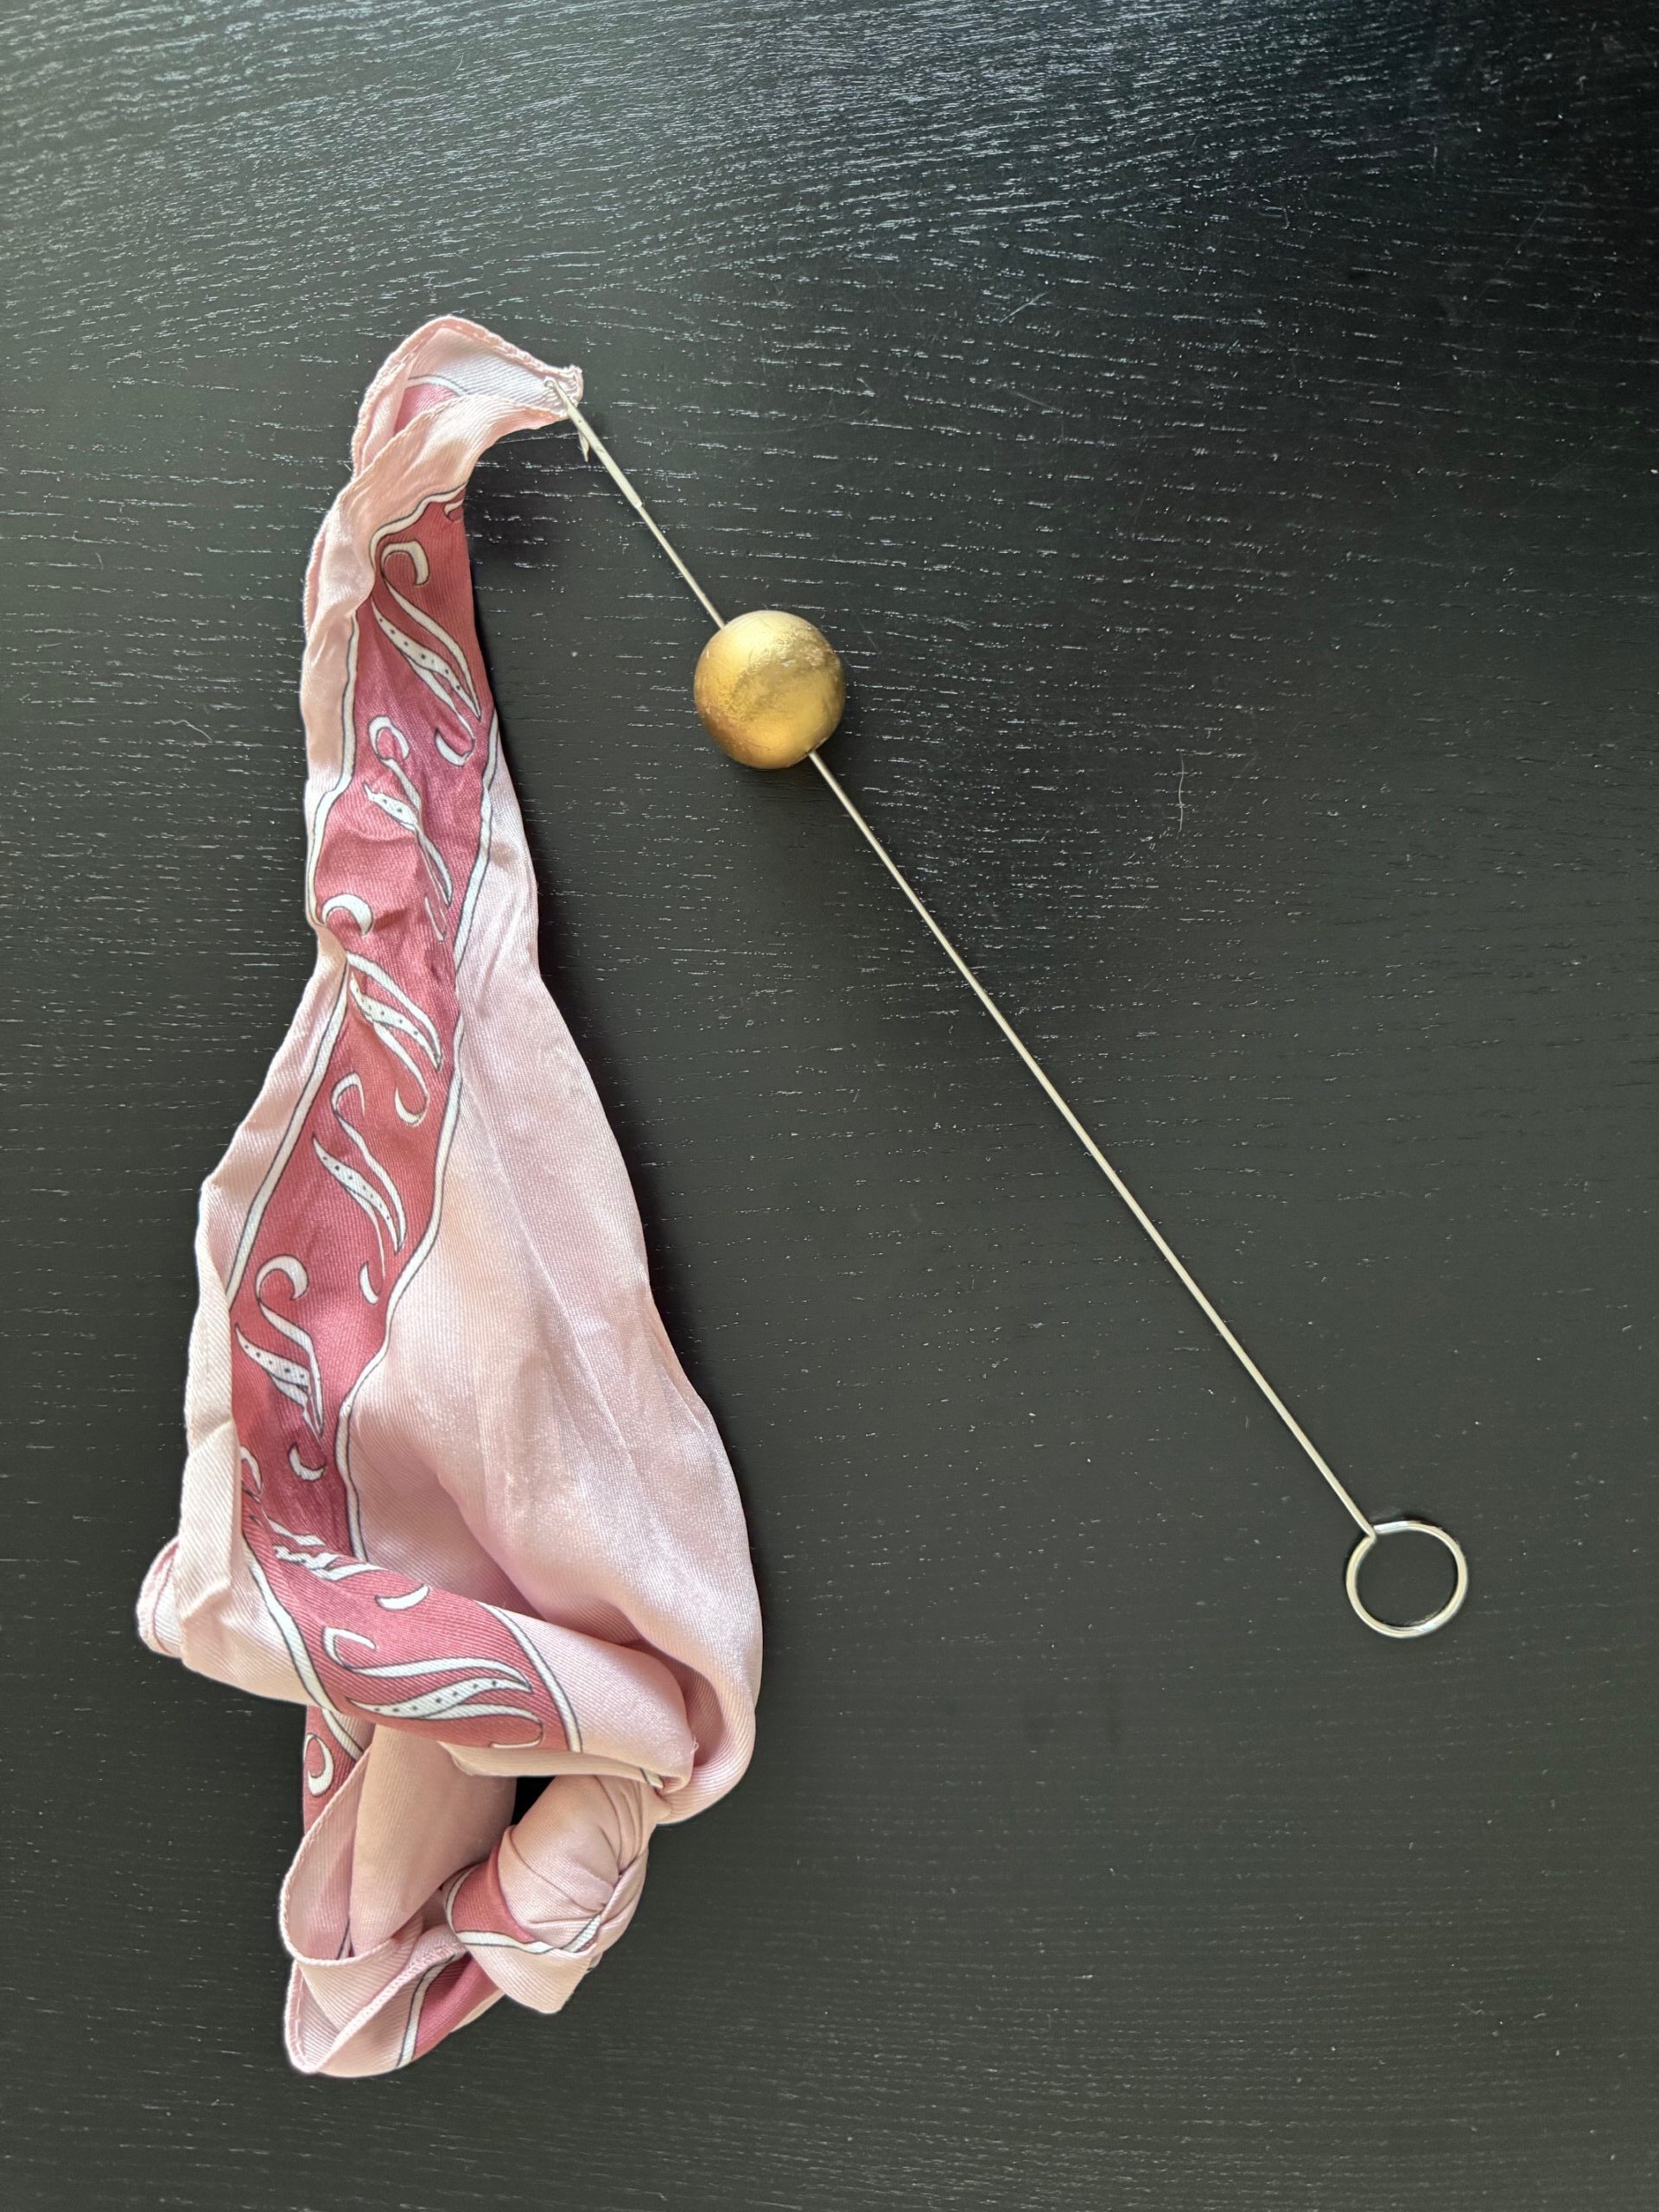
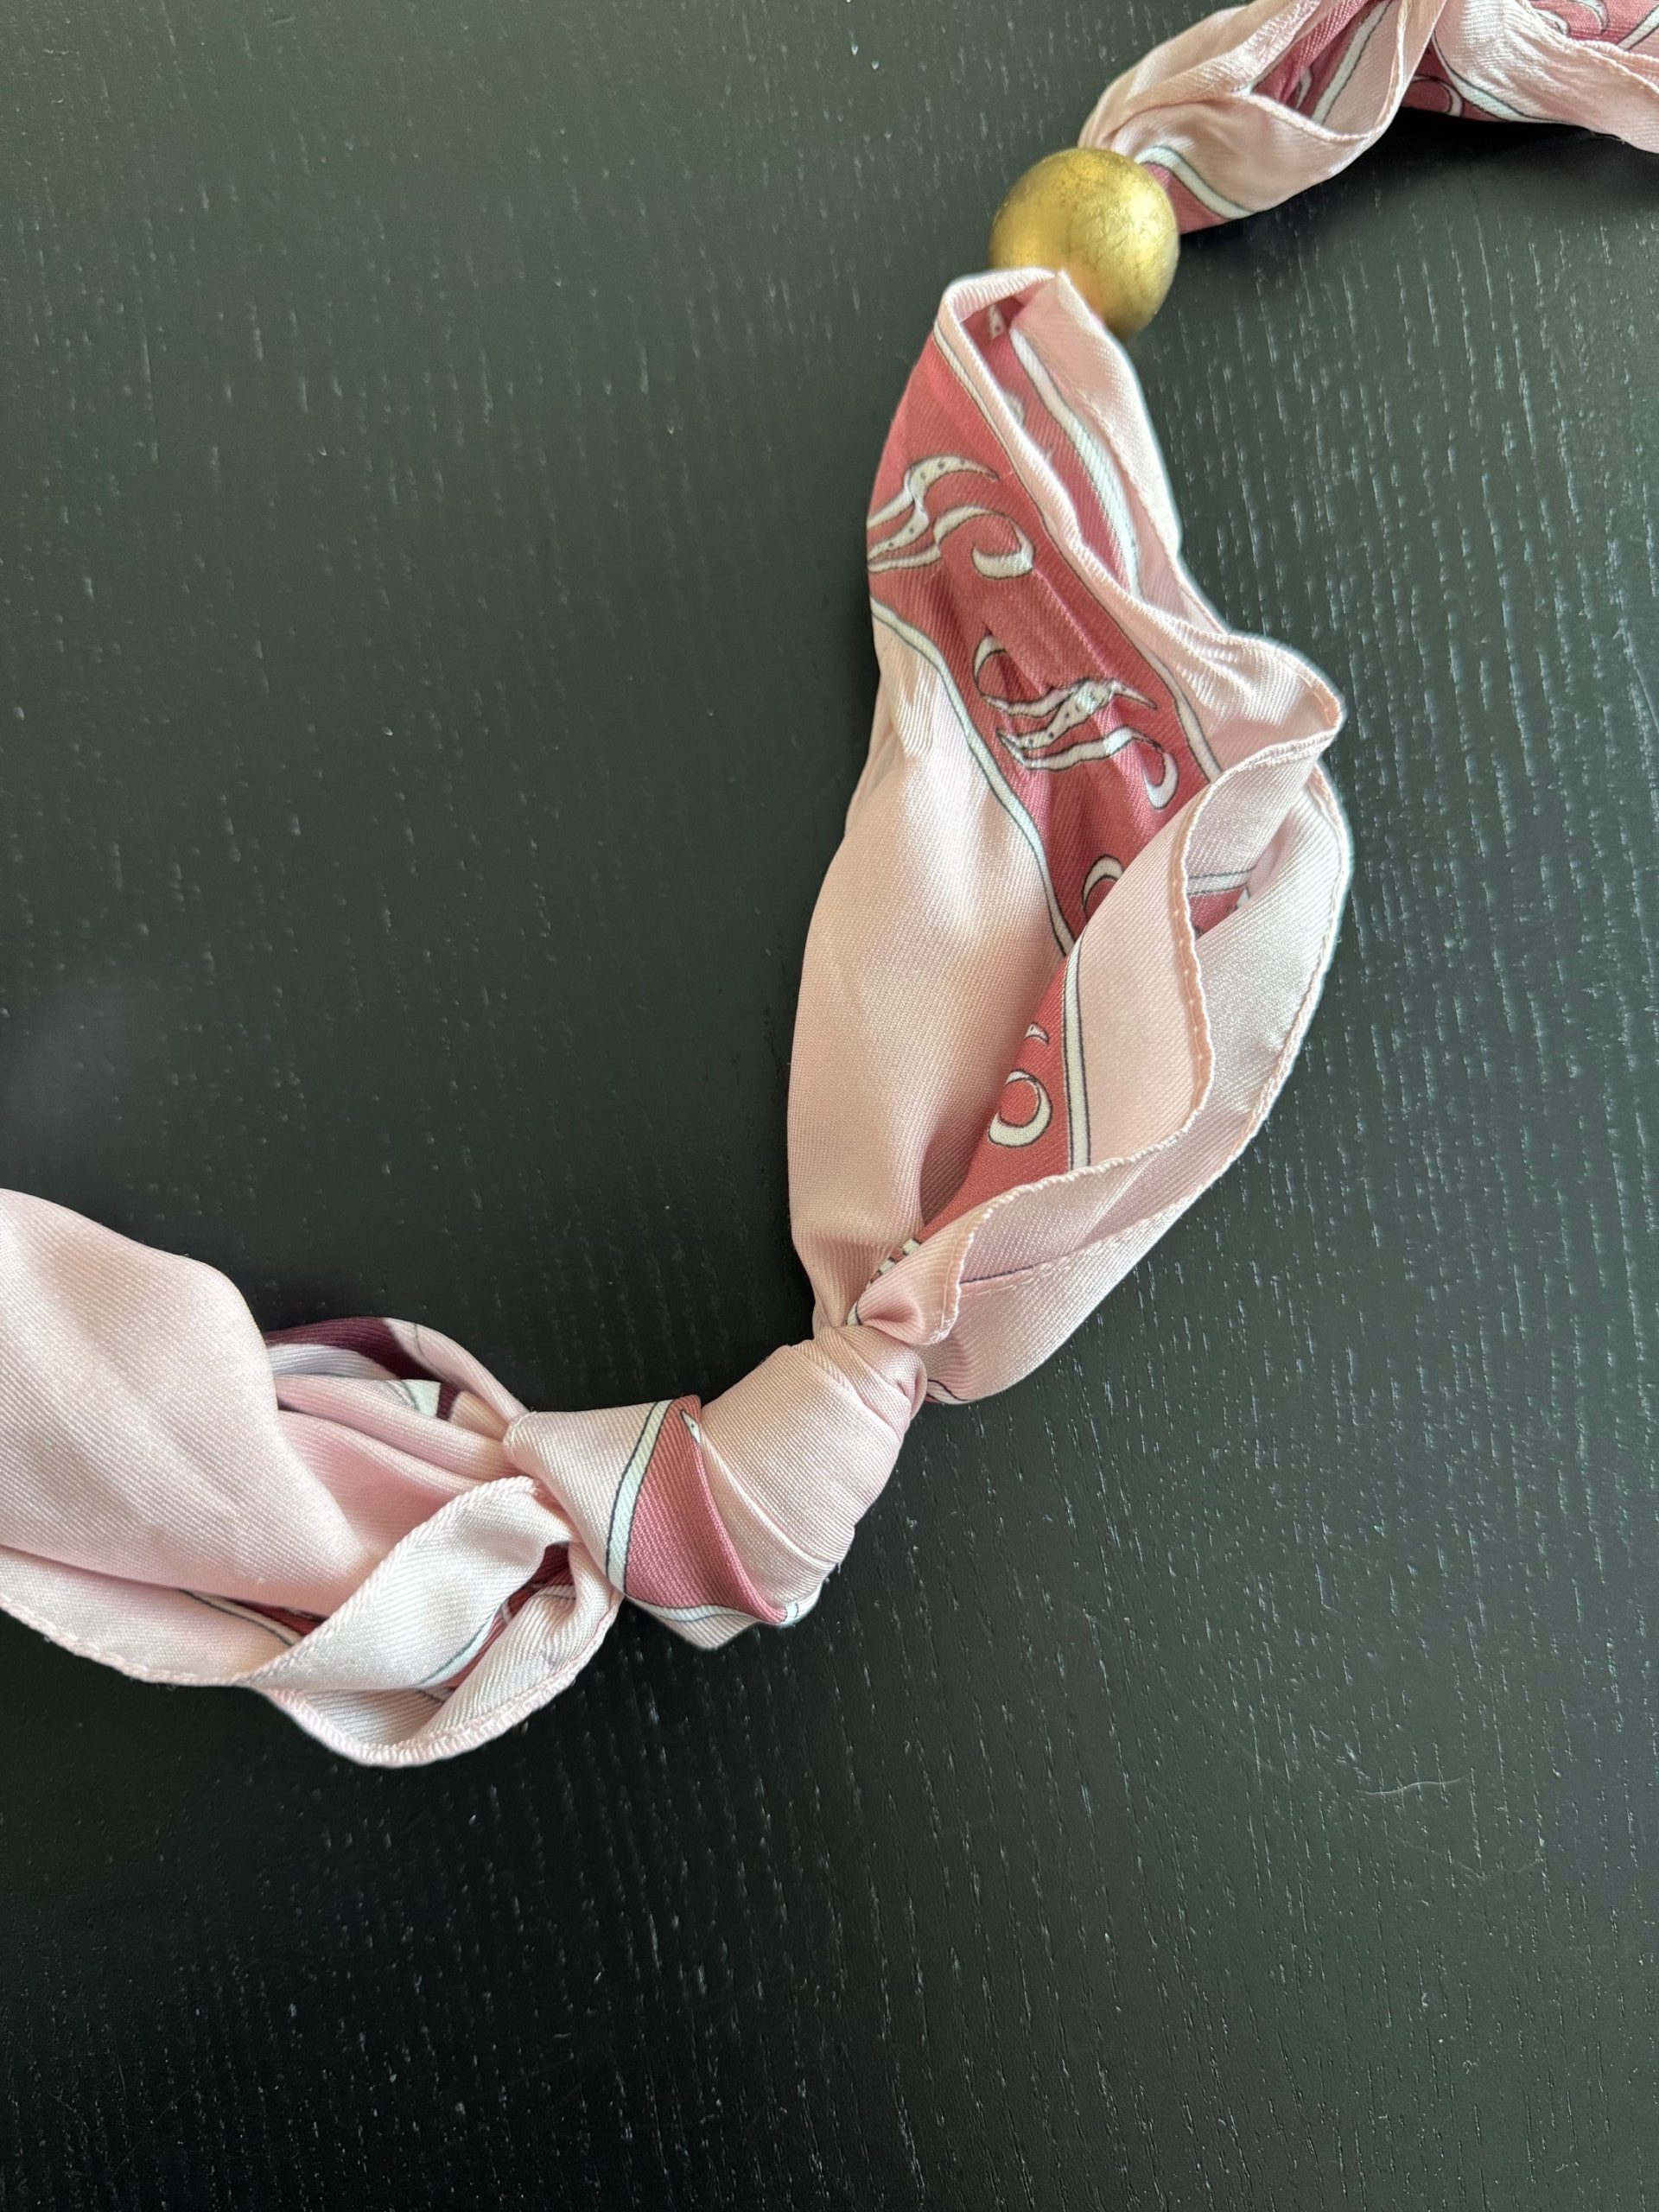
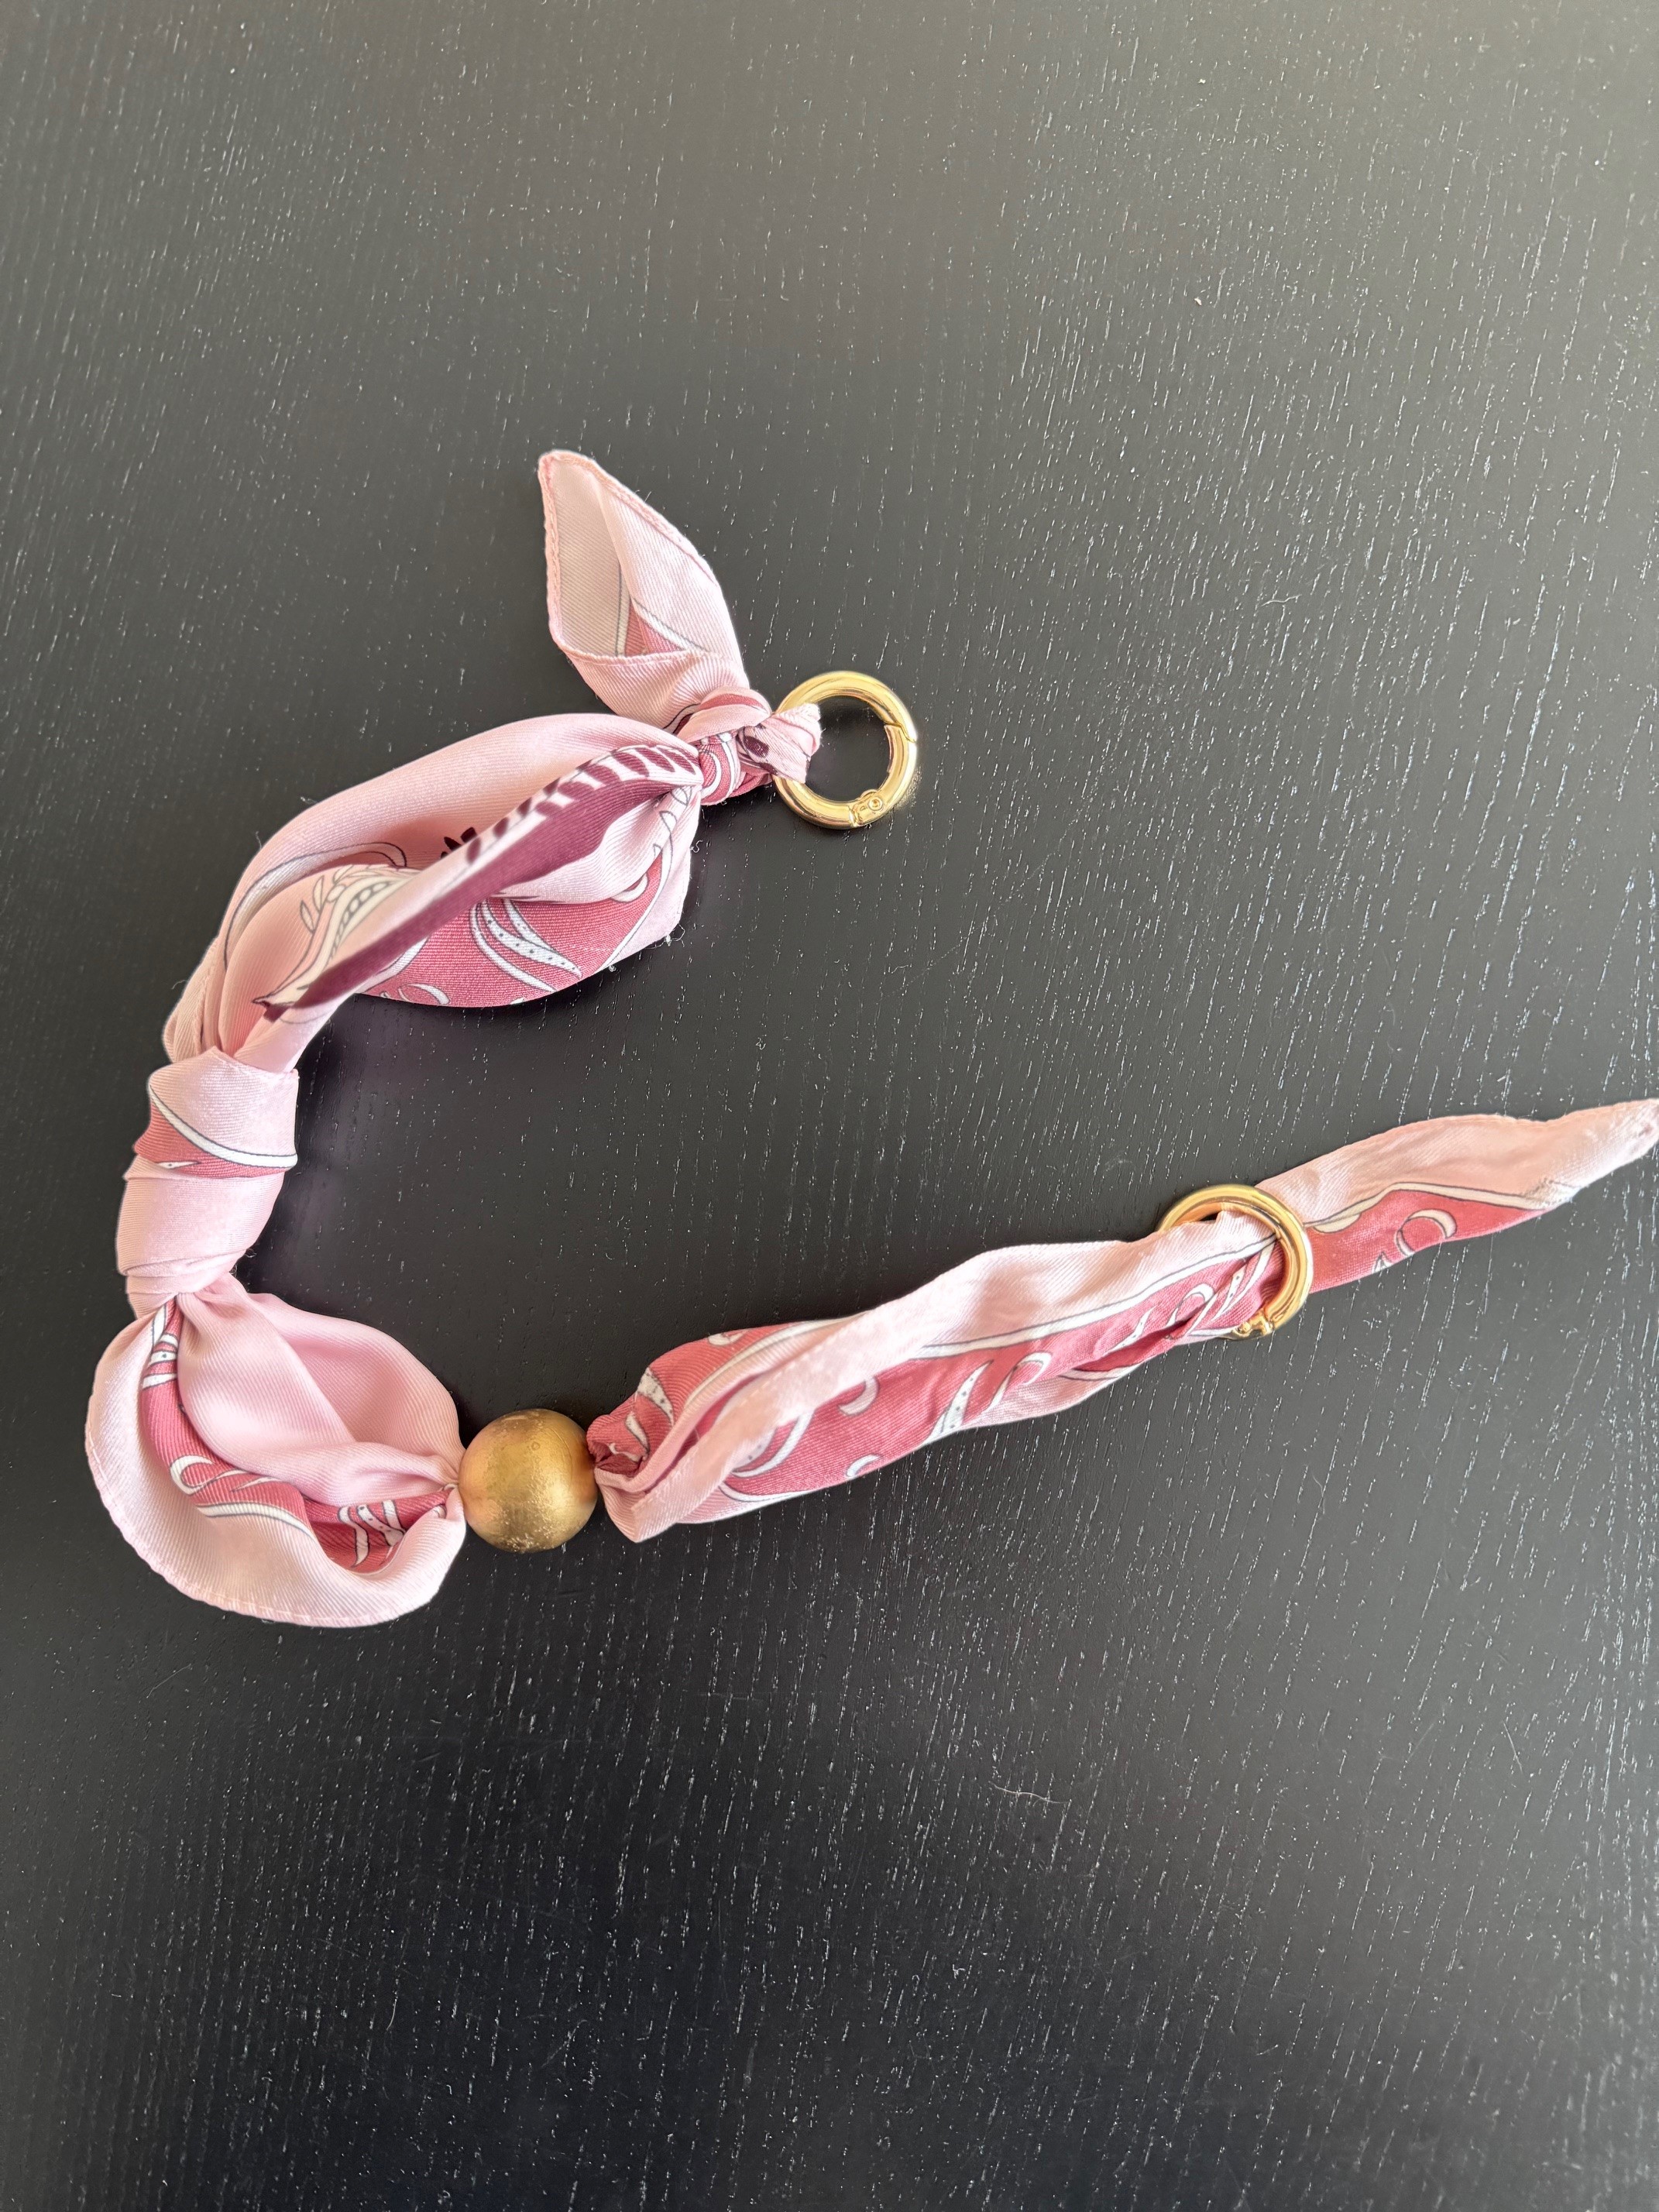
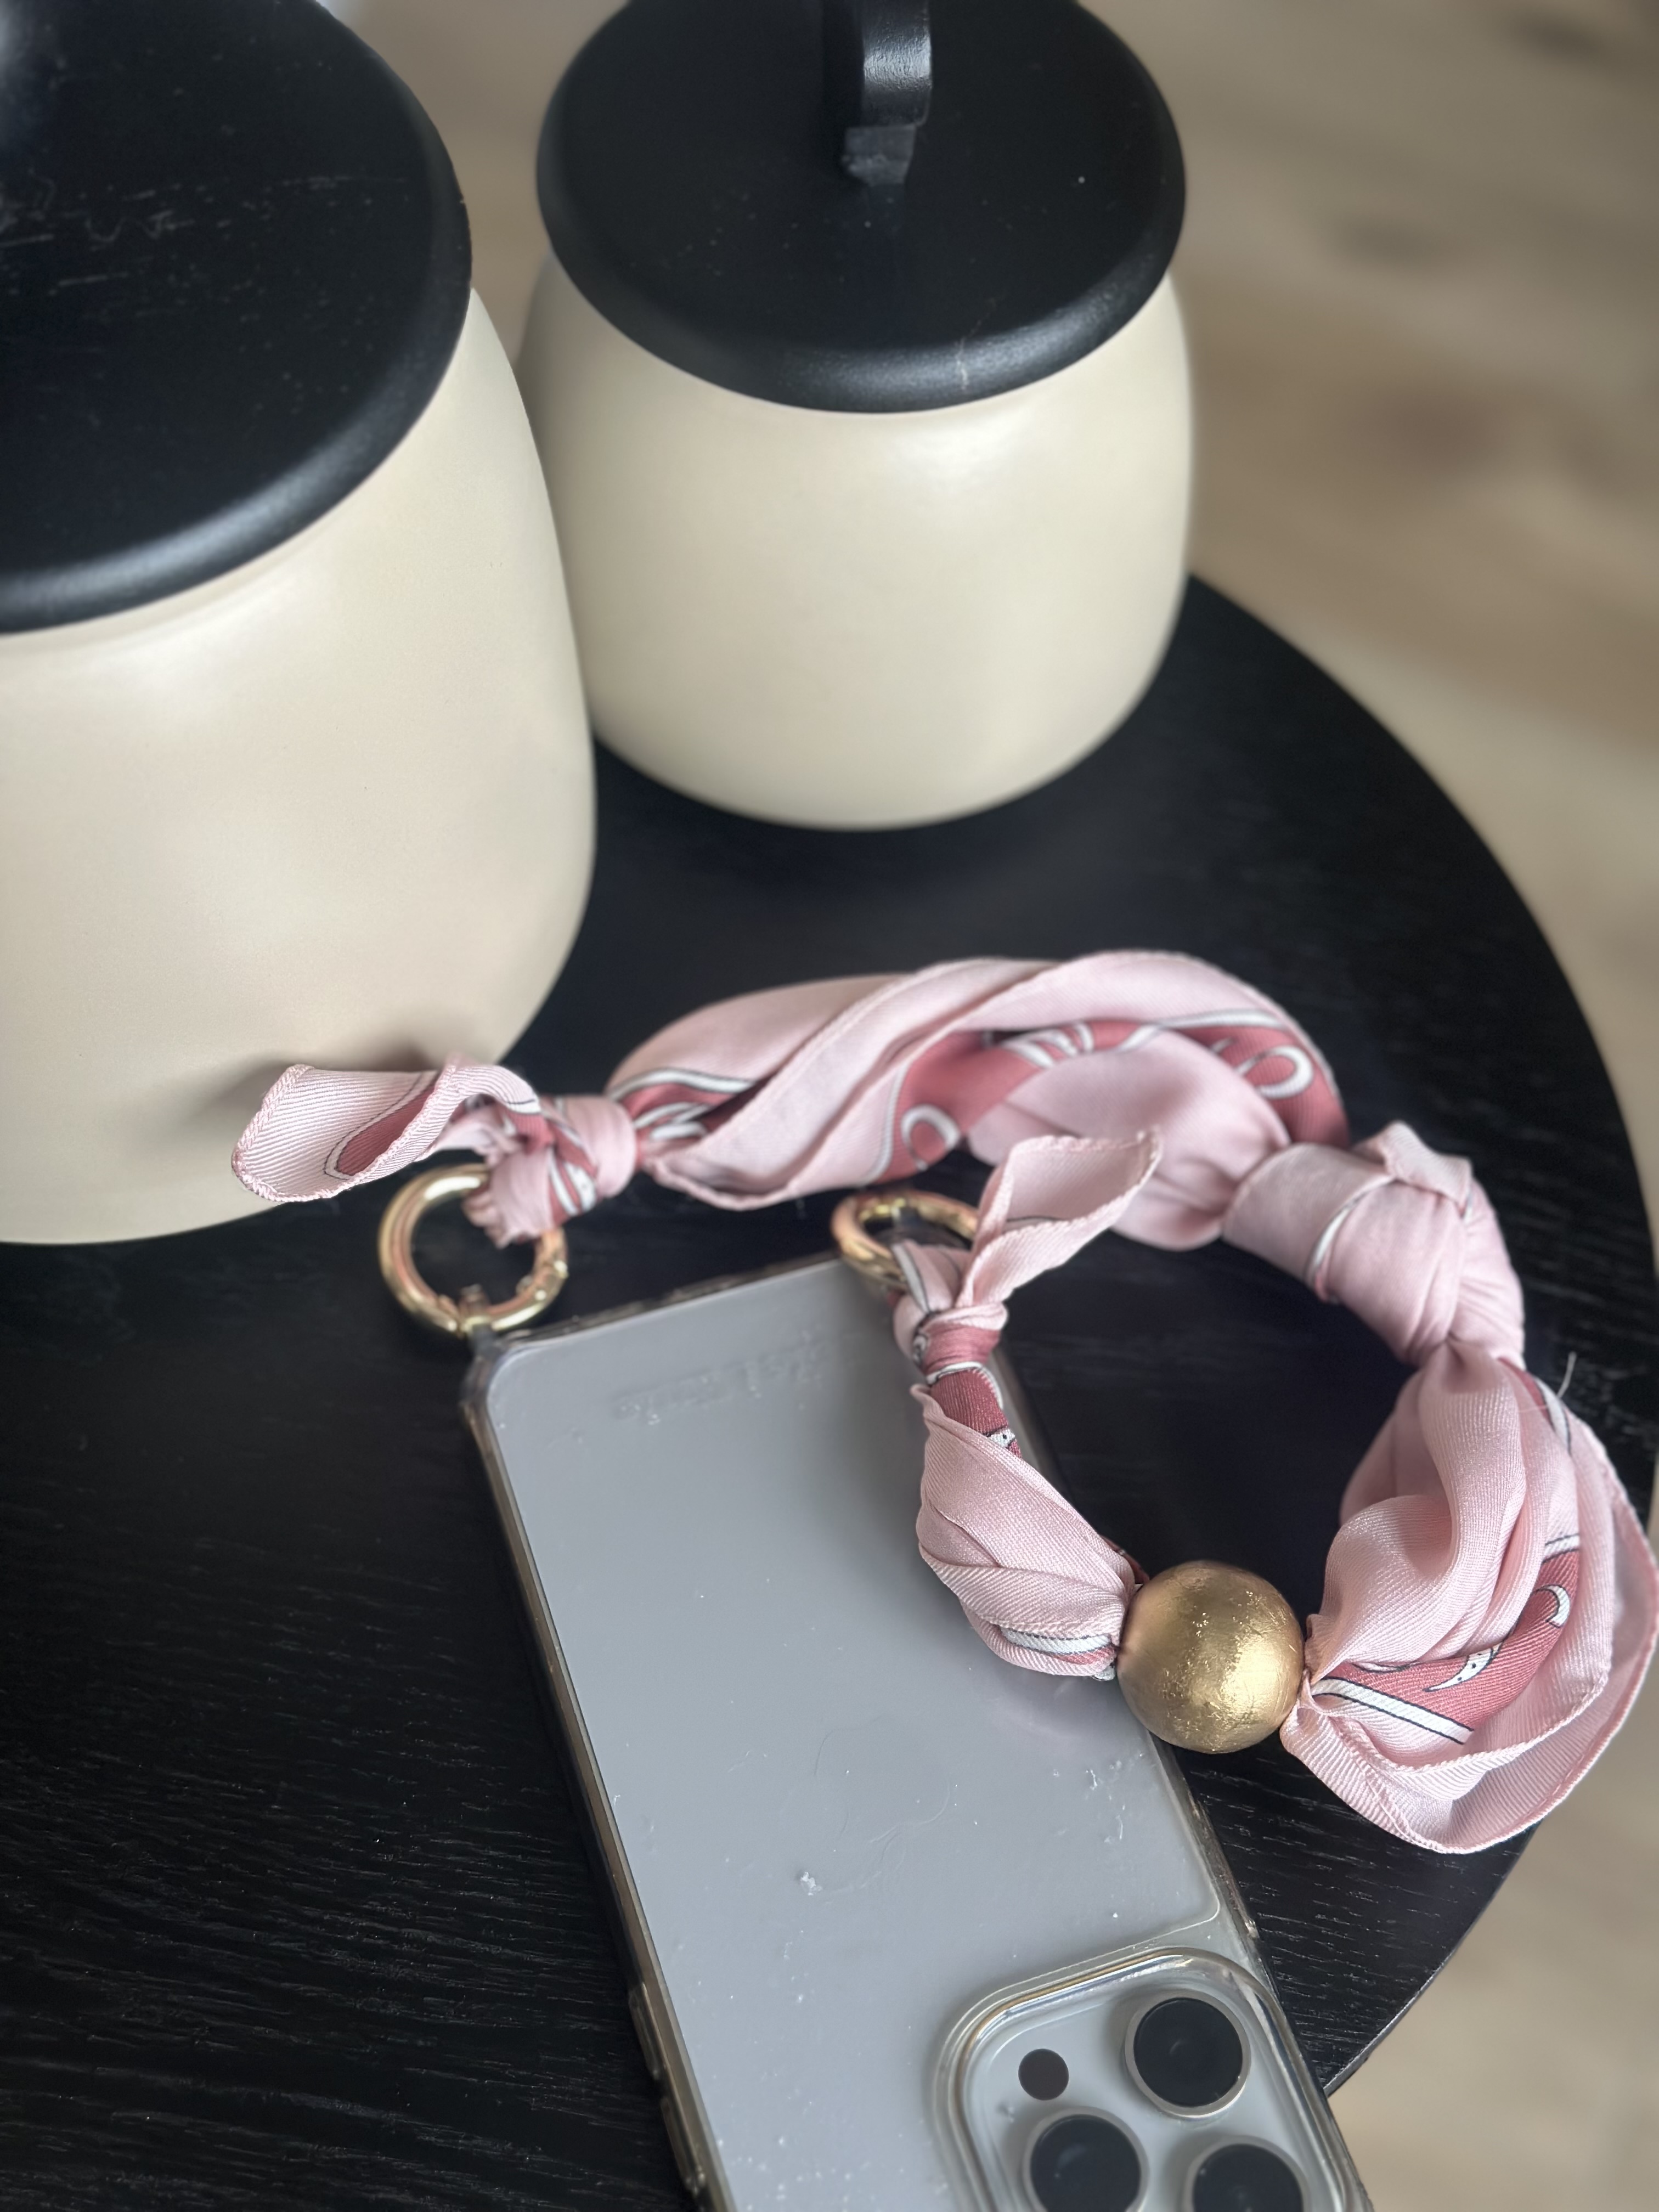
Making this DIY phone or bag strap is surprisingly easy and takes no time at all. What do you need? A beautiful vintage scarf, a wooden bead, some metallic spray paint, and the handy round carabiner hooks from ReStyle. Personalize the wooden bead with a splash of paint, attach everything together, and you’re ready to shine with your one-of-a-kind creation.

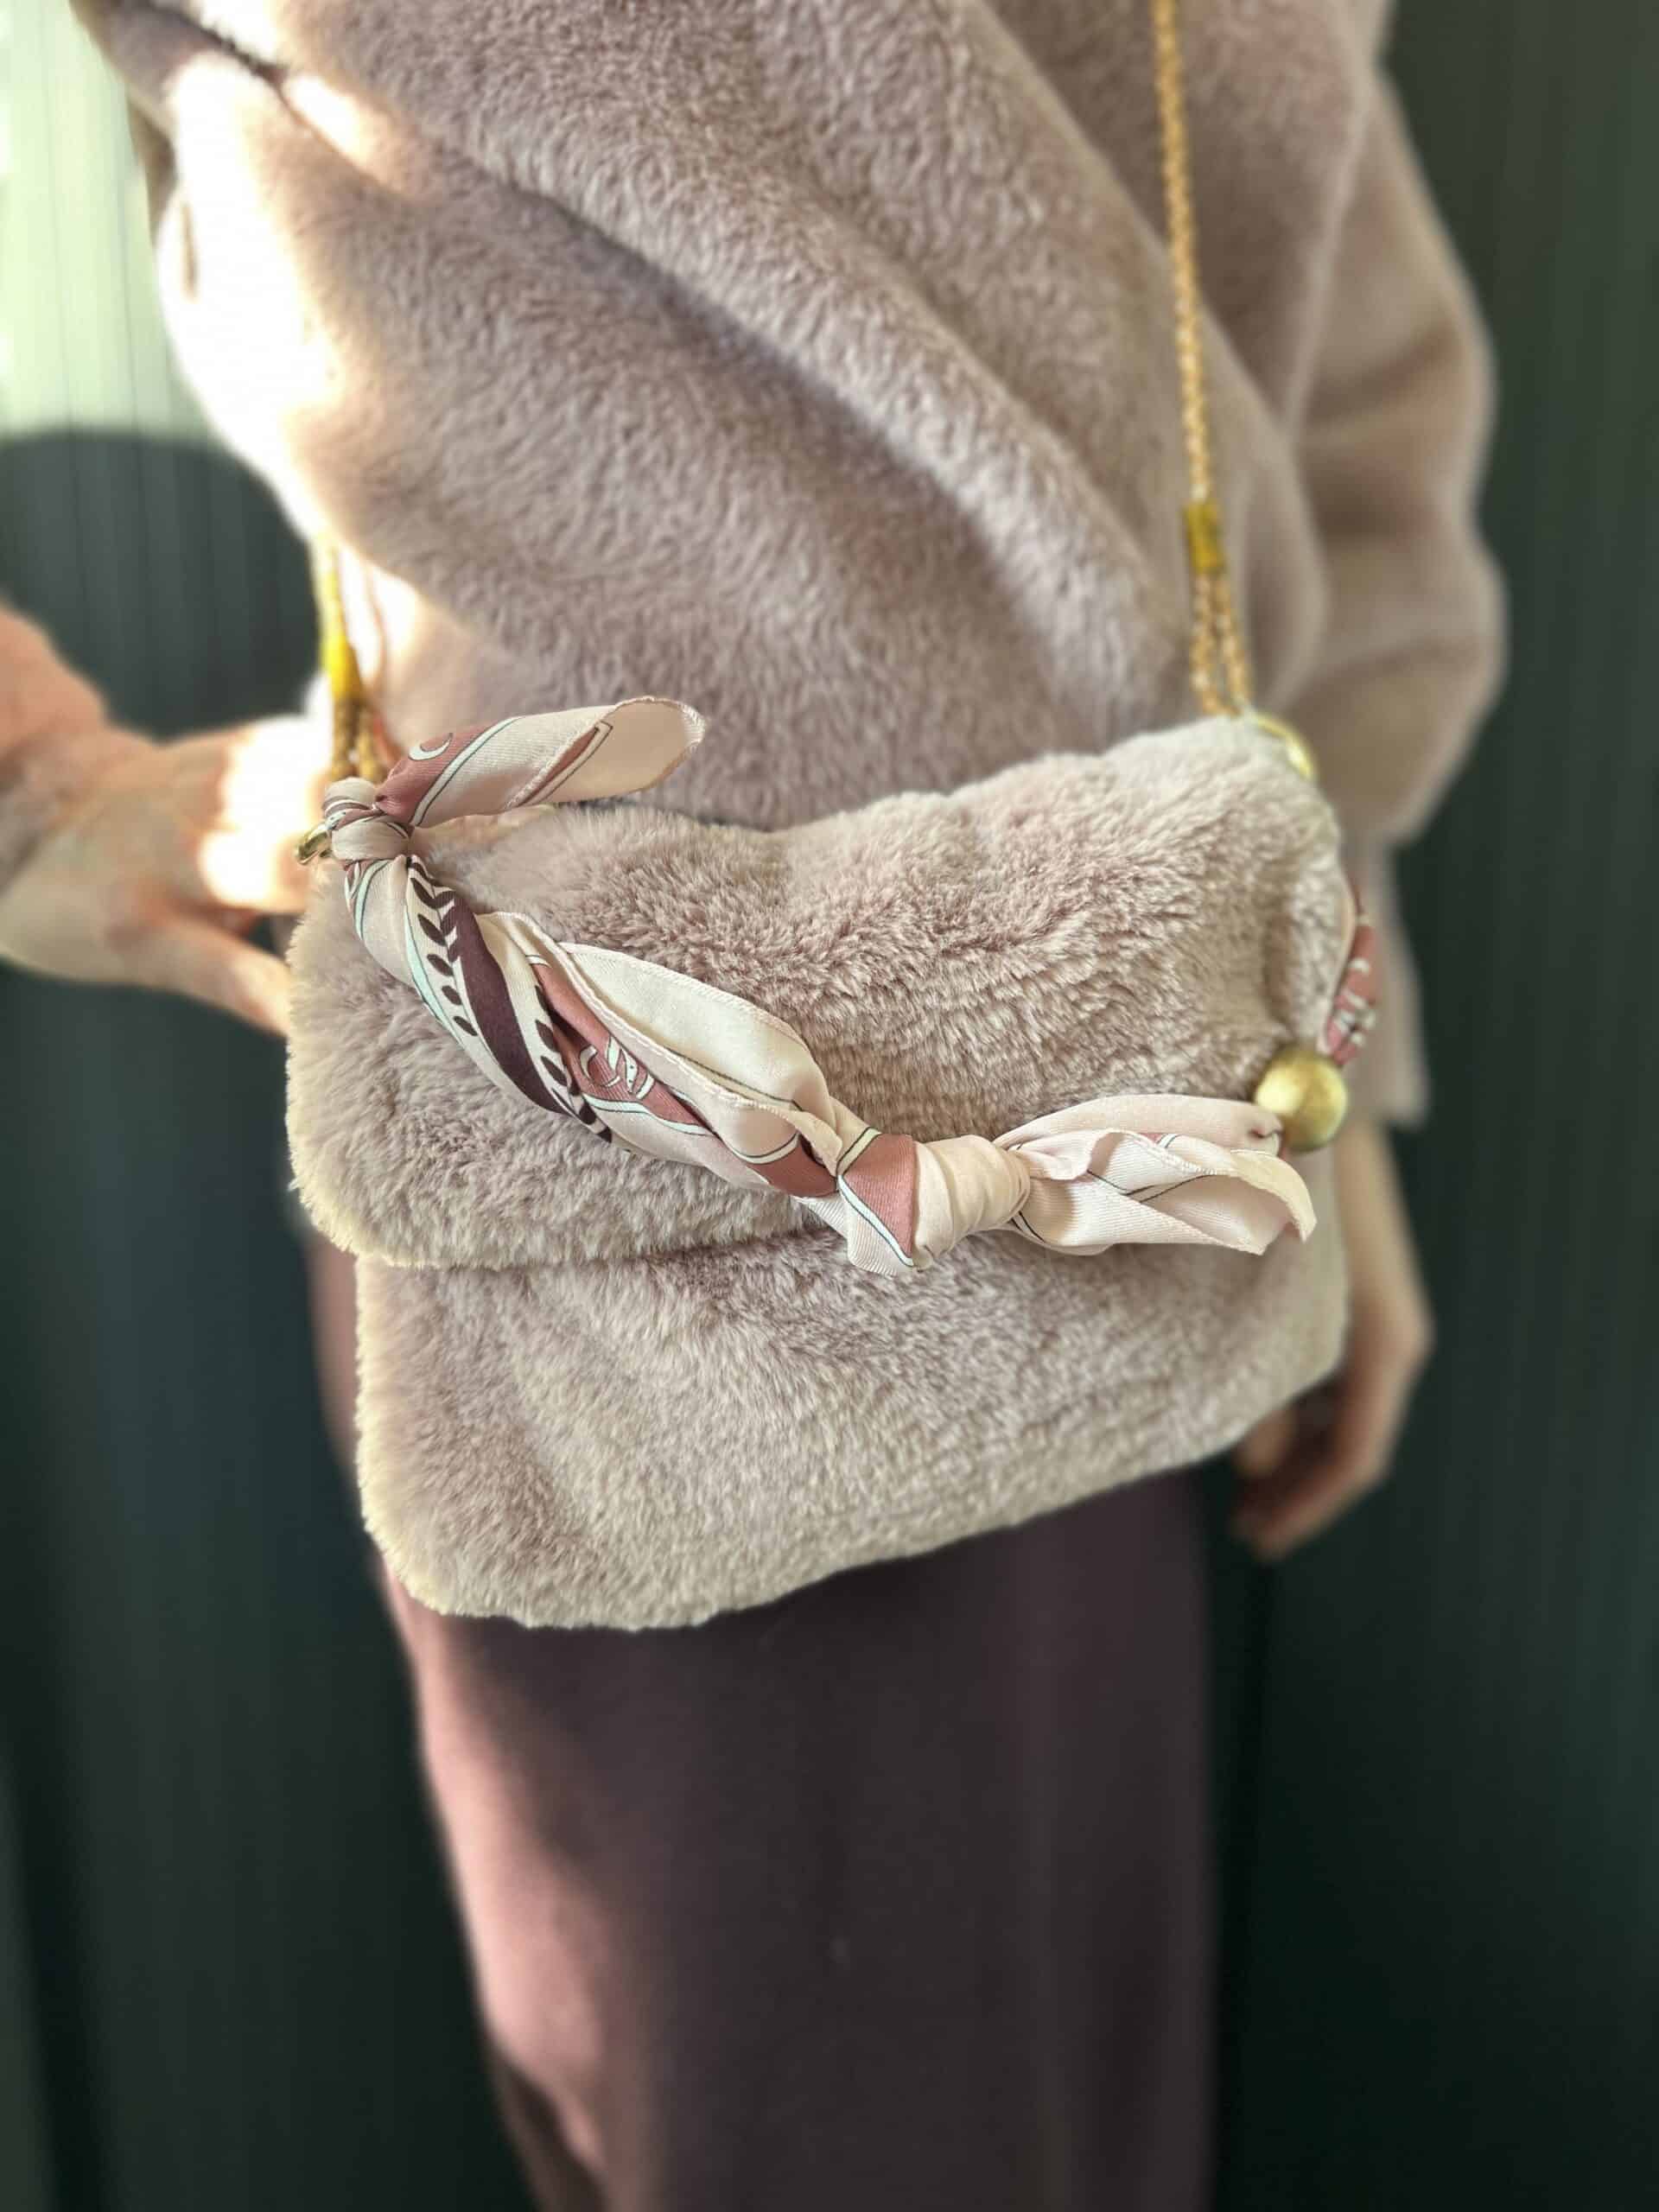
Clip your strap to your phone case, bag, or keychain — or gift it to someone who loves handmade accessories. With this simple tutorial, you’ll create a trendy and upcycled fashion item that’s guaranteed to stand out.

Check out the full step-by-step guide in the blog and get inspired to add your own vintage touch to your accessories!

Supplies

  • Scarf 20 x 20 cm (thrift store)
  • 1 wooden bead 40 mm (043.H12888)
  • 2 Restyle round carabiner hooks, 29 mm, color 040 (015.15500.29)

Other supplies

  • Restyle turning hook (015.10870)
  • Spray paint in gold

Dimensions

The size depends on the scarf you use. Want a longer strap? Choose, for example, a scarf of 70 x 70 cm

Work description

Step 1: Paint the bead

Slide your wooden bead onto a skewer or screwdriver and spray it with the spray paint. Let the bead dry thoroughly.

Step 2: Fold the scarf

Fold the scarf by bringing two opposite points together and then fold the sides inward repeatedly until you have a narrow strip.

Step 3: Add the bead

Slide the bead over the turning hook. Attach the end of the scarf to the turning hook and gently pull the bead over the fabric. Once you’ve pulled the fabric through the bead, remove the turning hook. Pull the bead into place. This may require some force. See how far you can get. If it’s too tight, you can enlarge the hole in the bead slightly.

Step 4: Tie a knot

Tie a knot in the middle of the scarf and pull it tight. If you don’t like it exactly in the middle, you can also place it slightly to the side. See what you like best.

Step 5: Attach the carabiner hooks

Firmly tie the short ends of the scarf around the carabiner hooks. Make sure it’s really tight. If you’re unsure whether it’s secure enough, you can add a few stitches with needle and thread through the knot. This will prevent it from coming loose.

Info About the blogger

Cobie Haasnoot
Hoi hoi allemaal, Leuk om me aan jou voor te stellen. Ik ben Cobie en was als klein meisje al gefascineerd door het “zelf maken”. Uren kon ik kijken naar mijn oma die altijd aan het “praten en breien” was. En ik verwonderde me daarbij altijd over hoe een draadje zich tot een prachtig kledingstuk kon voltrekken. Dat wilde ik ook kunnen! Hoewel ze me vaak de breipennen in de handen drukte, heb ik me voor breien niet warm kunnen maken. Alleen helaas pas nadat ze er niet meer was, maar weet ik zeker dat ze trots op me zou zijn. Ook naaien en ander creatiefs heb ik van thuis uit mee gekregen. Mijn moeder was in staat om van de simpelste dingen, de mooiste kledingstukken te maken. Vaak was ik zelf dan bezig met wat restjes om voor mijn poppen en barbies ook zoiets geweldigs te maken. Toen ik ouder werd en mijn eigen kinderen zich aandienden, heb ik mijn eigen creatieve talent steeds verder ontwikkeld. En steeds meer nieuwe technieken me eigen gemaakt. Ik kan zo blij worden van iets zien, iets bedenken en dan van een paar simpele dingen een geweldig product kunnen maken met een eigen style. Nu mag ik jullie meenemen in dat geweldige proces. En mijn tip aan jullie, gewoon doen, experimenteer en durf wat af te wijken van het idee. Dan ontstaat echt jouw product en is het helemaal van jou. En is het de eerste keer niet helemaal perfect: “niet perfect is, is ook heel erg mooi” want het is met jouw passie gemaakt. Zo hoop ik dat we elkaar kunnen inspireren. Nu ben ik al benieuwd naar jullie versies, van mijn ideeën. Cobie