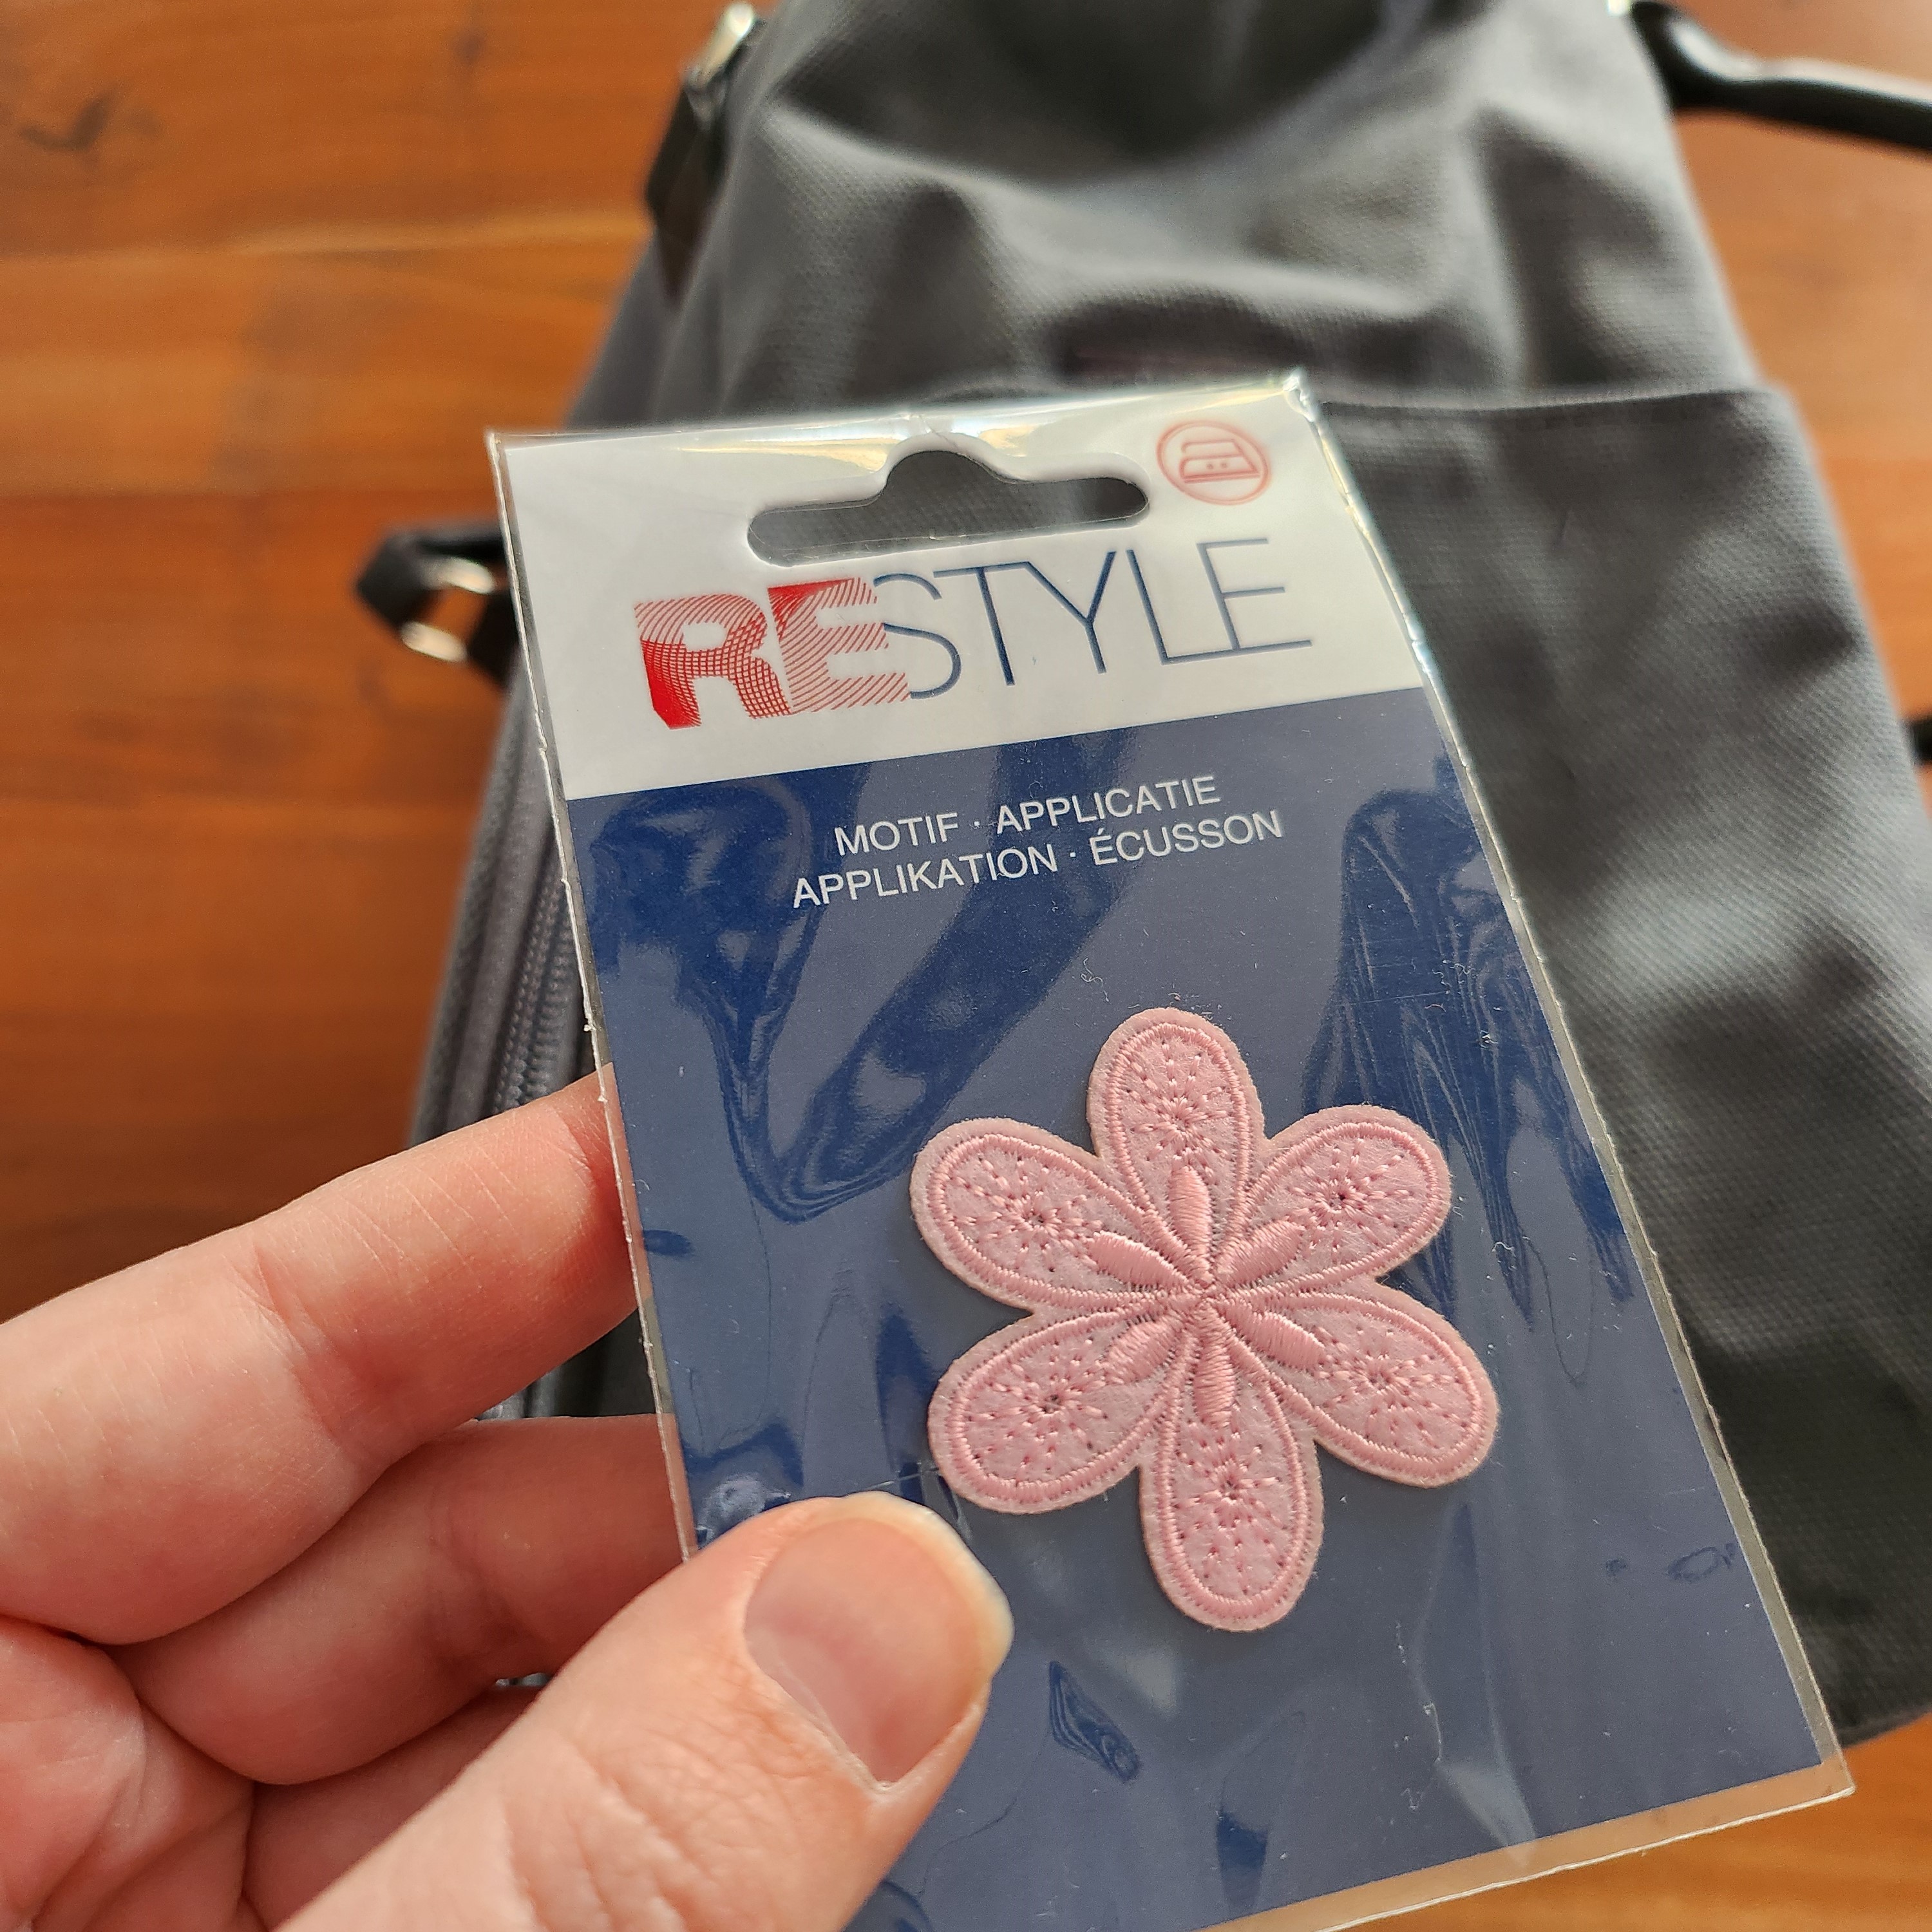
Want to give your bag a personal and trendy touch? With ReStyle’s iron-on patches, you can transform your bag in no time! This is a quick, fun, and budget-friendly way to give your accessories a unique look.
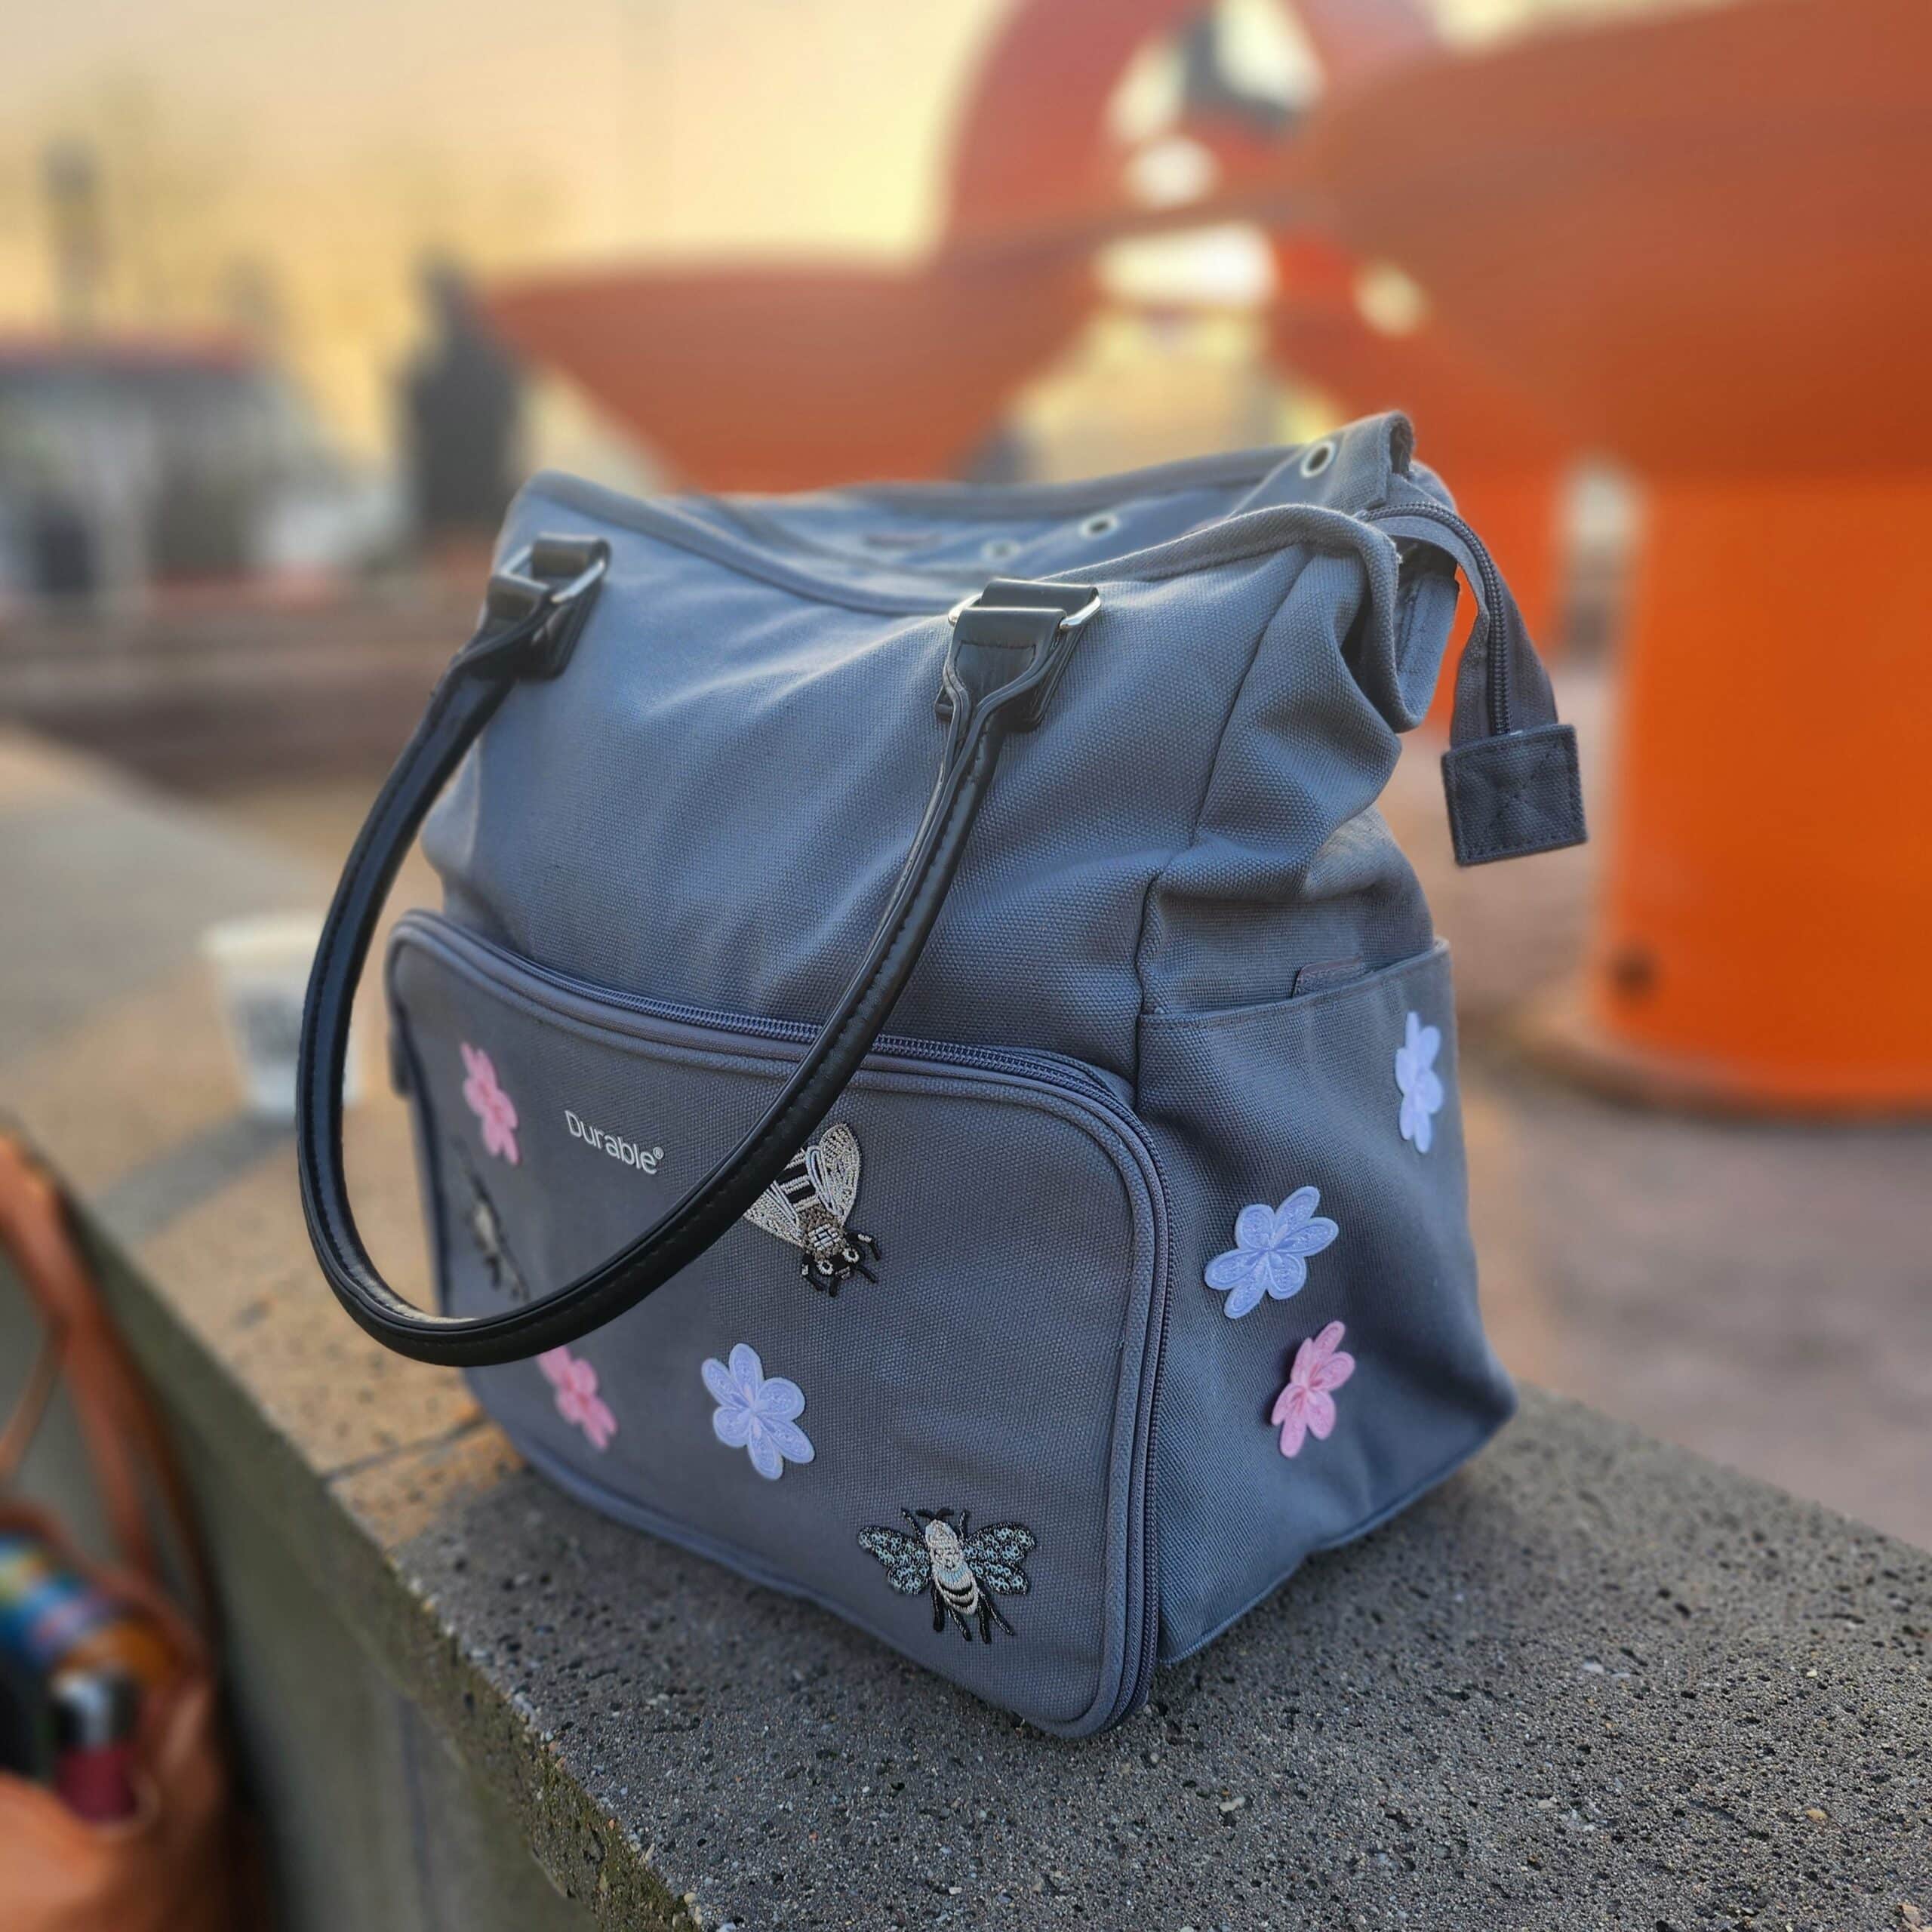
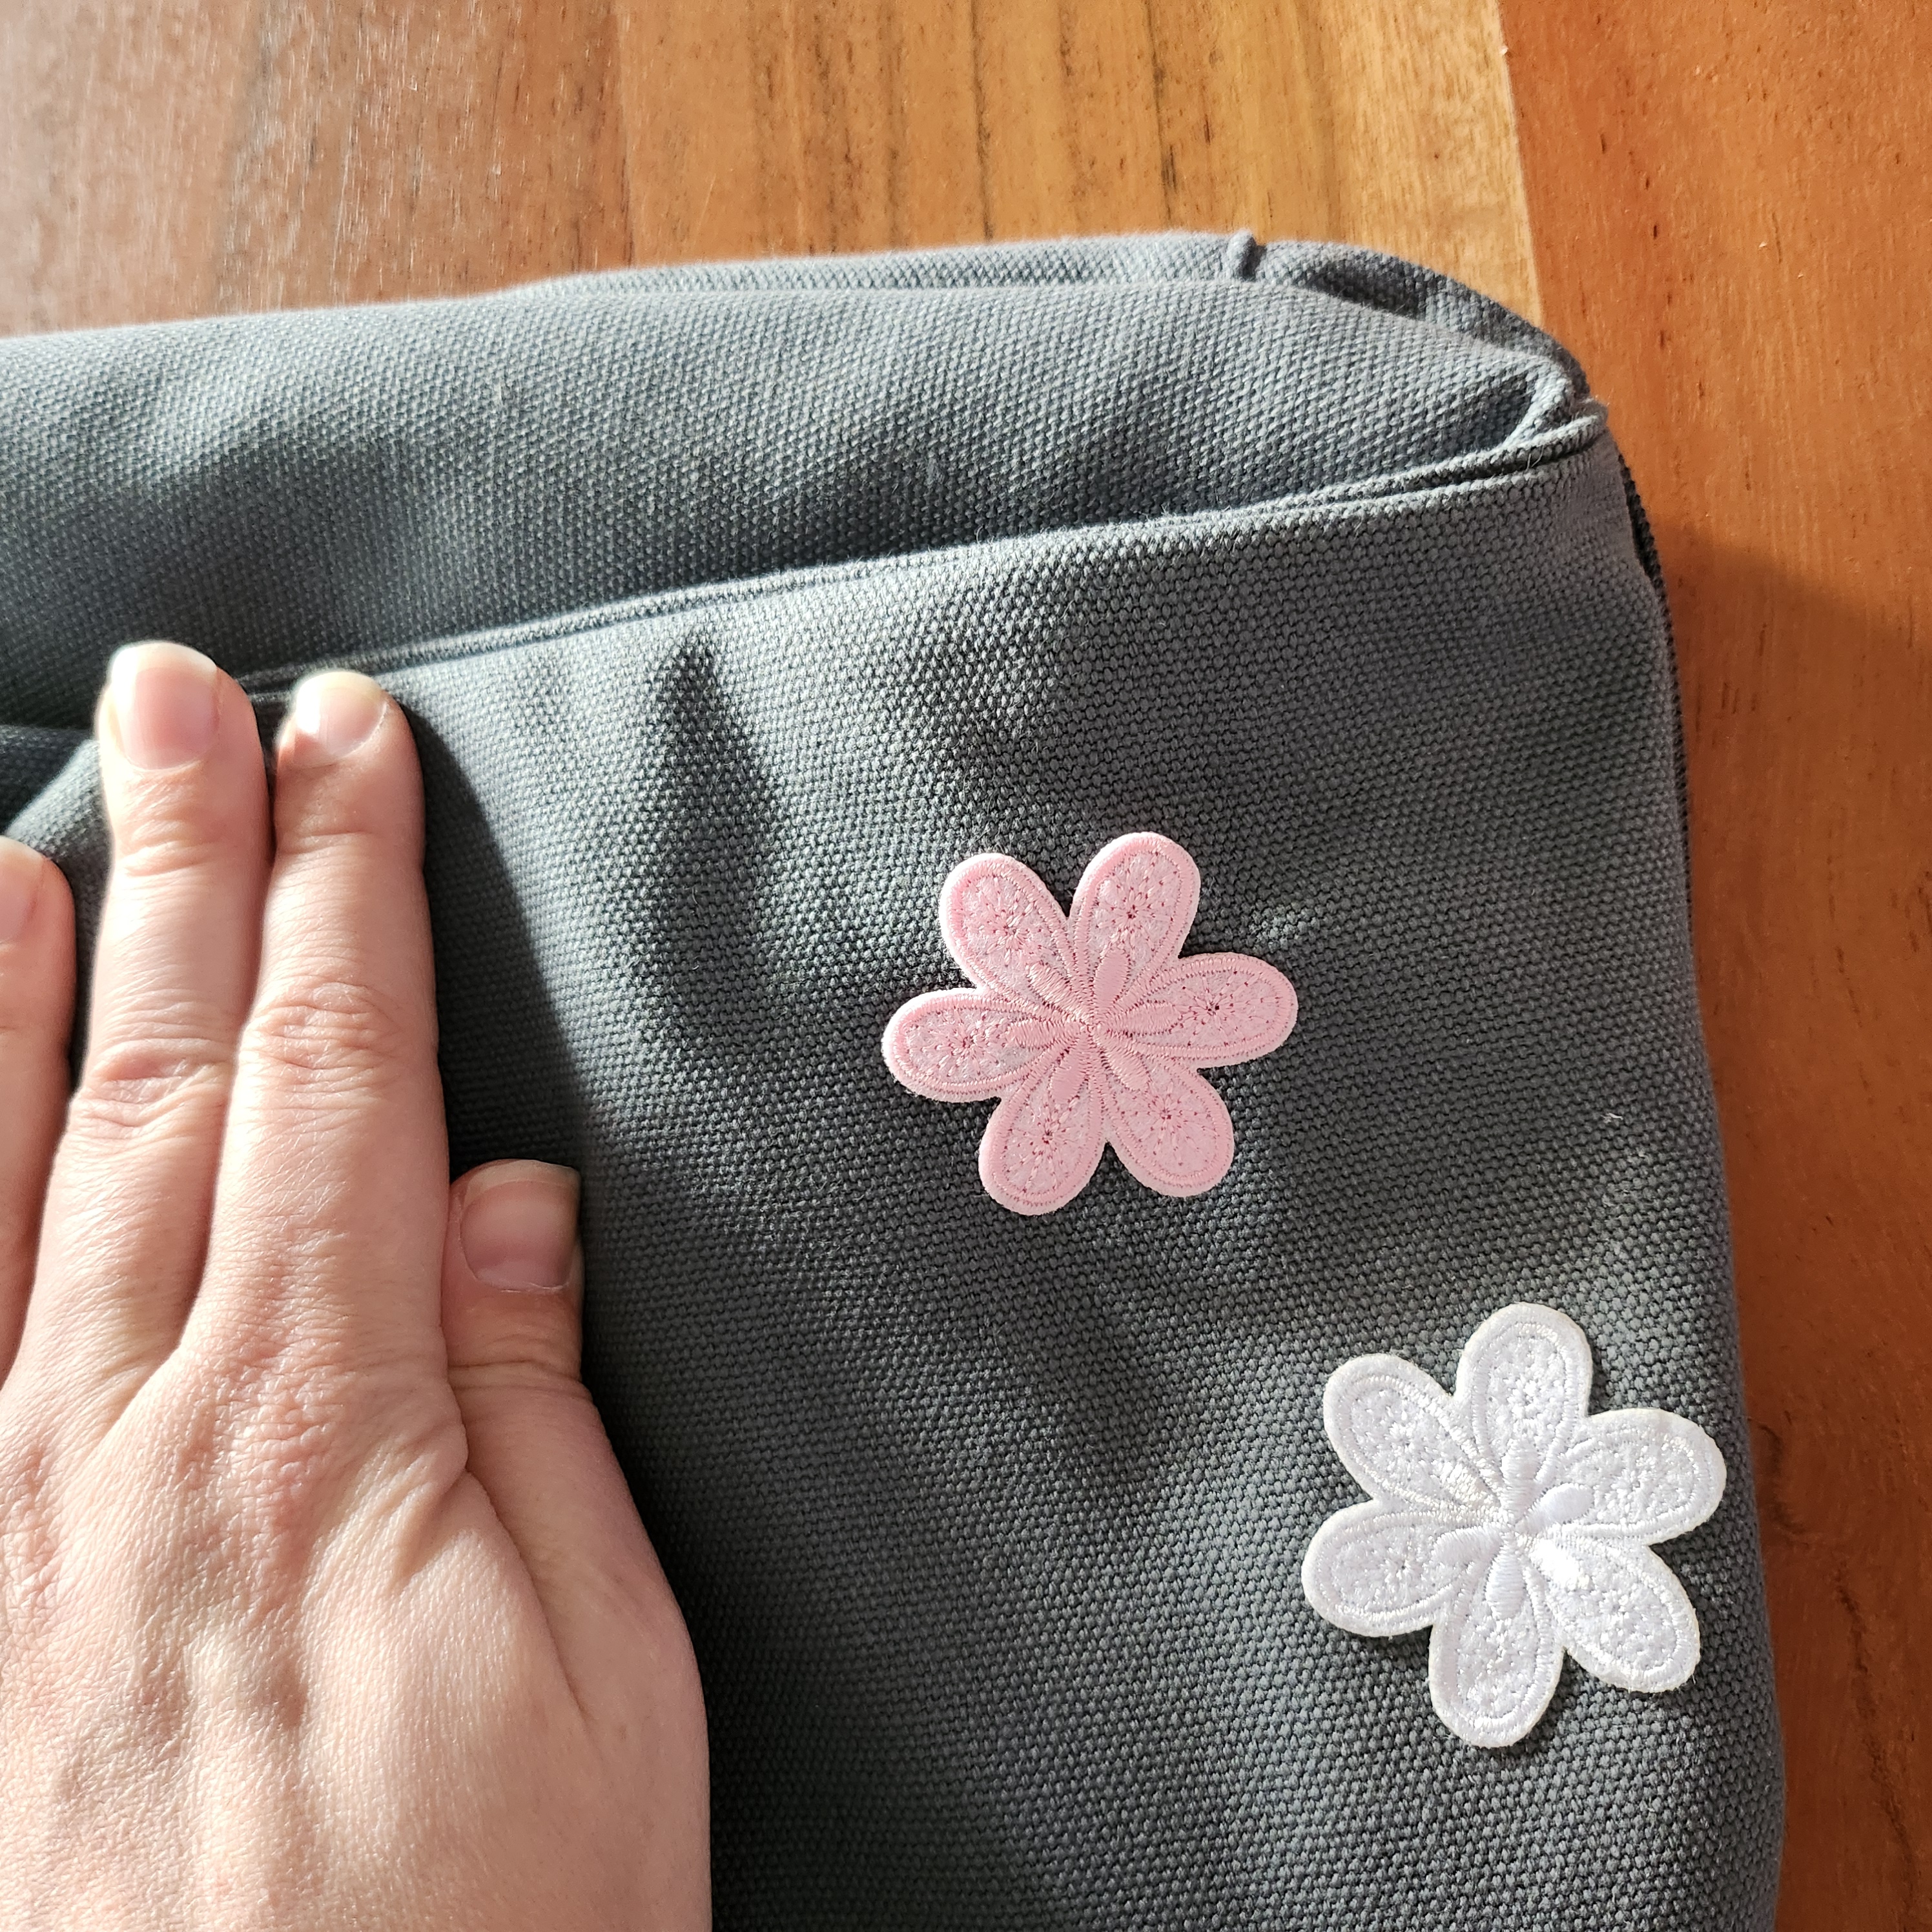
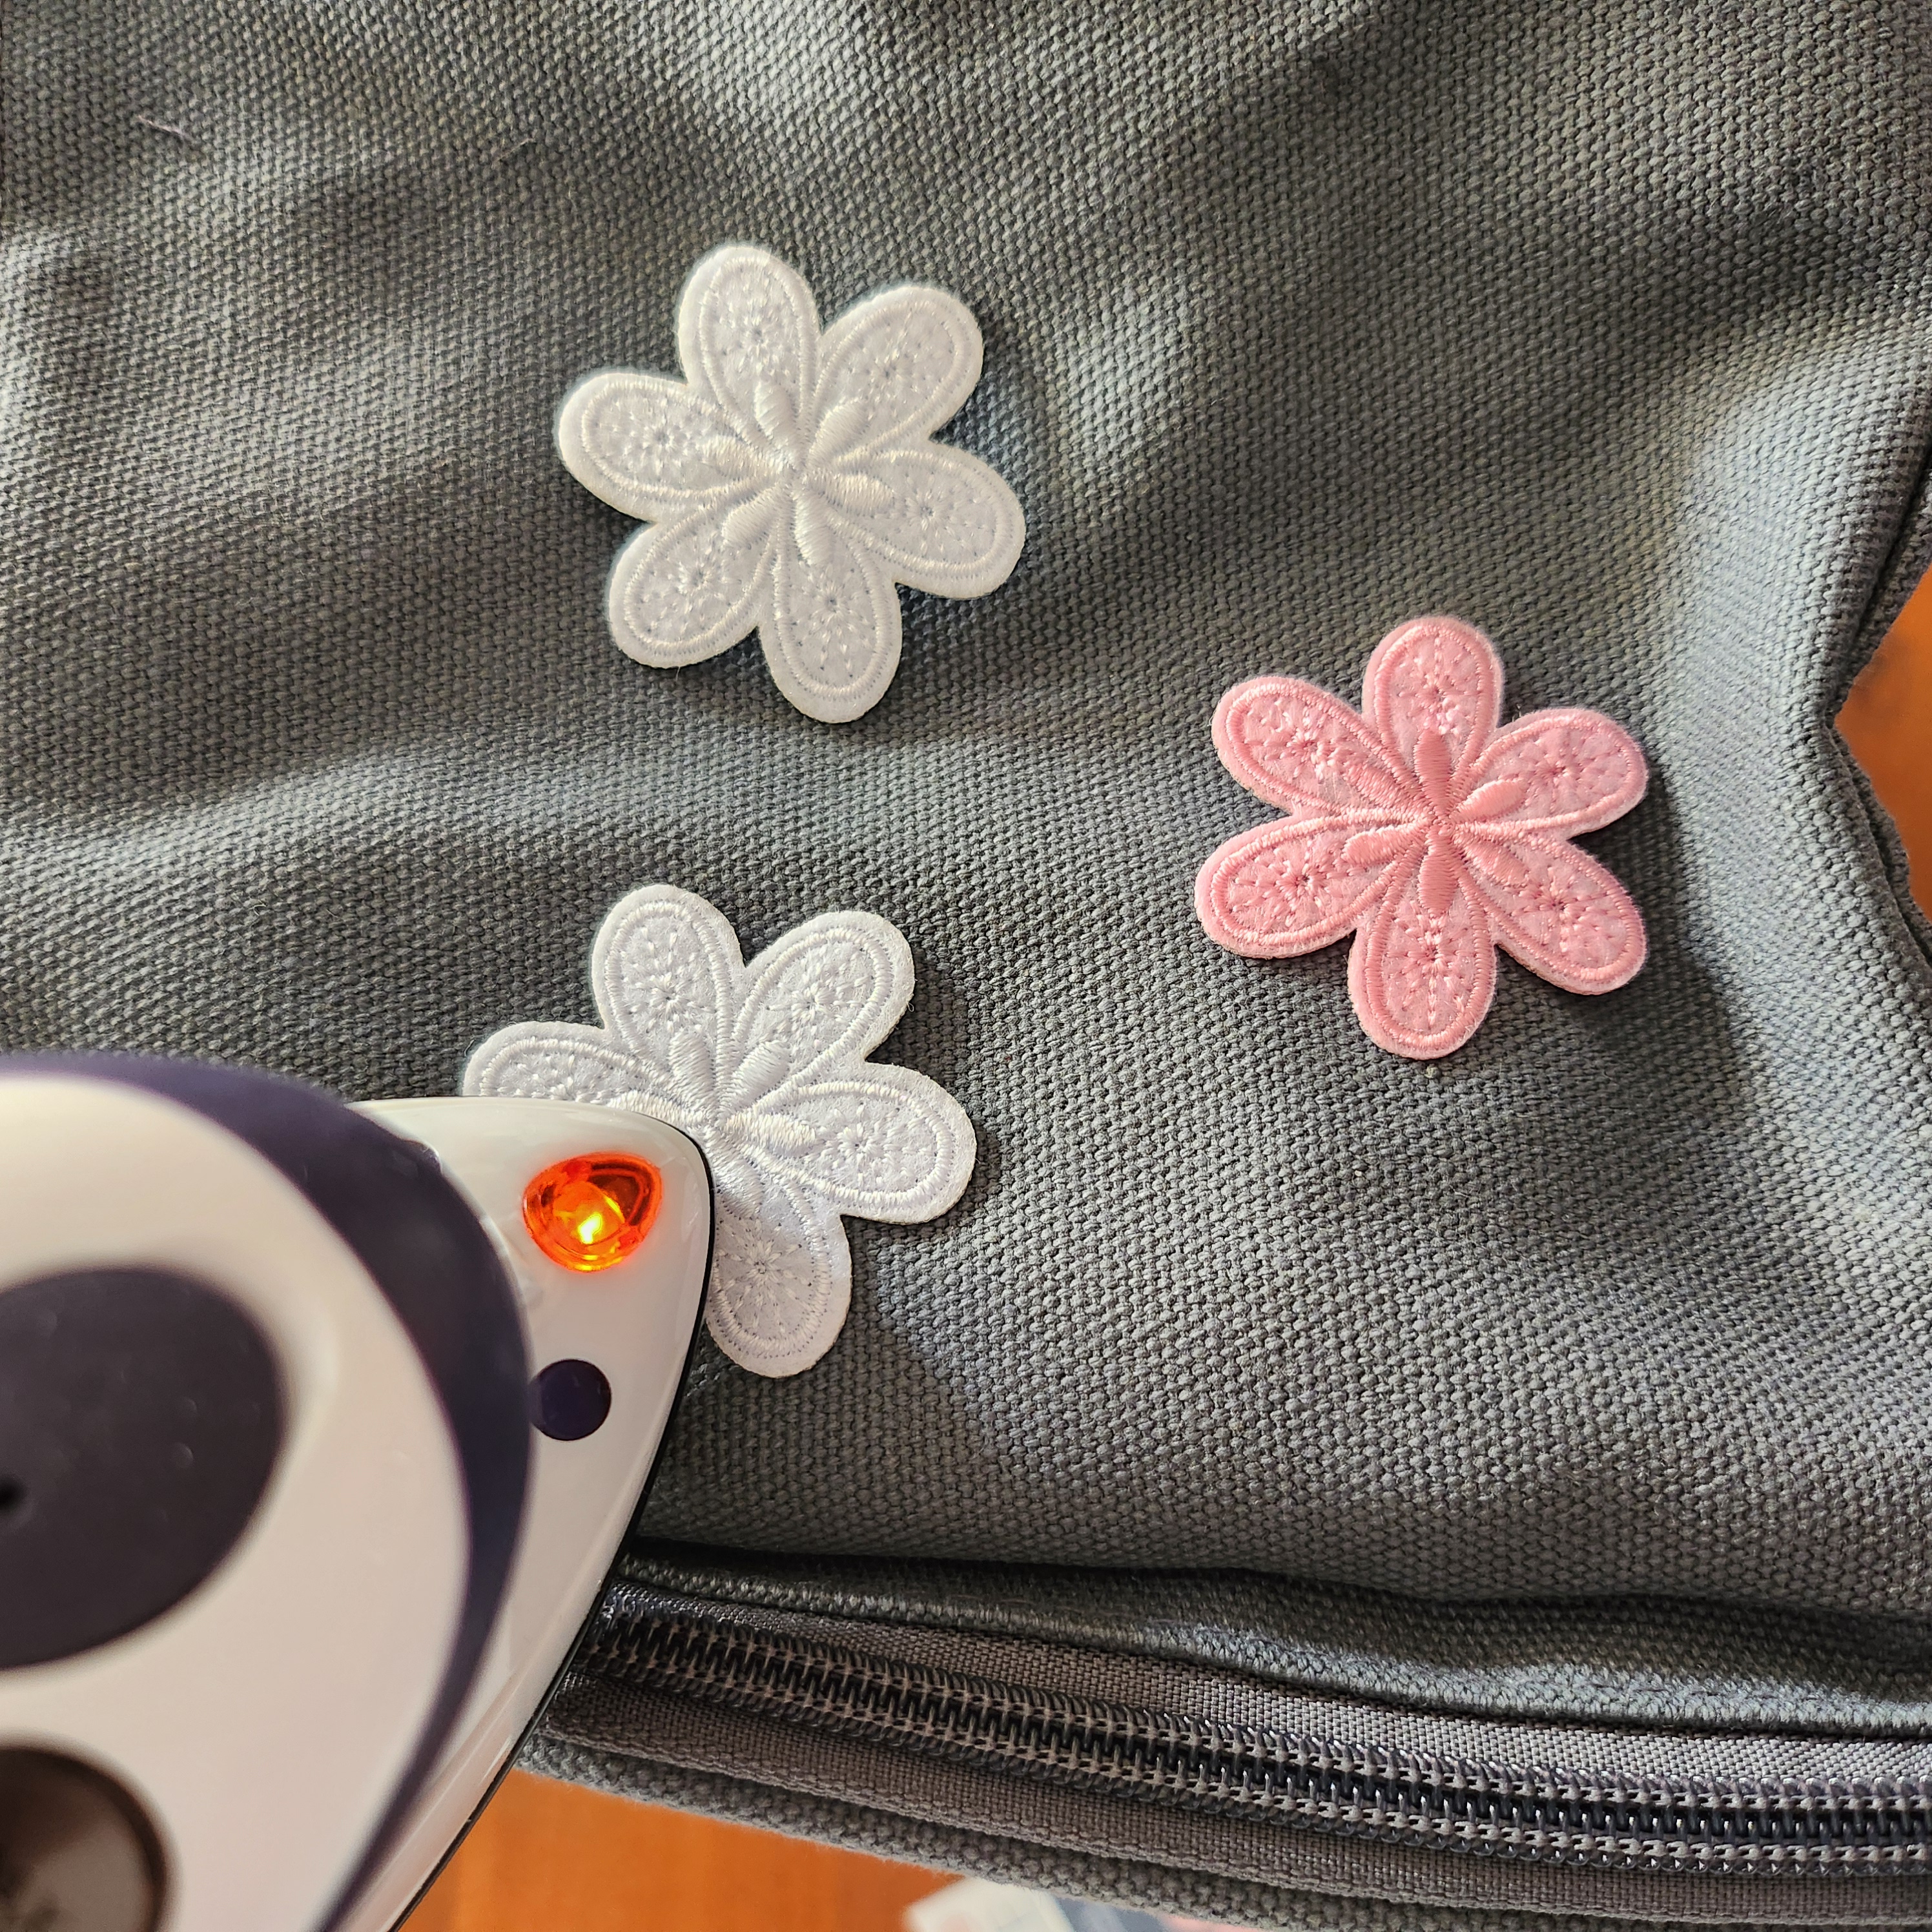
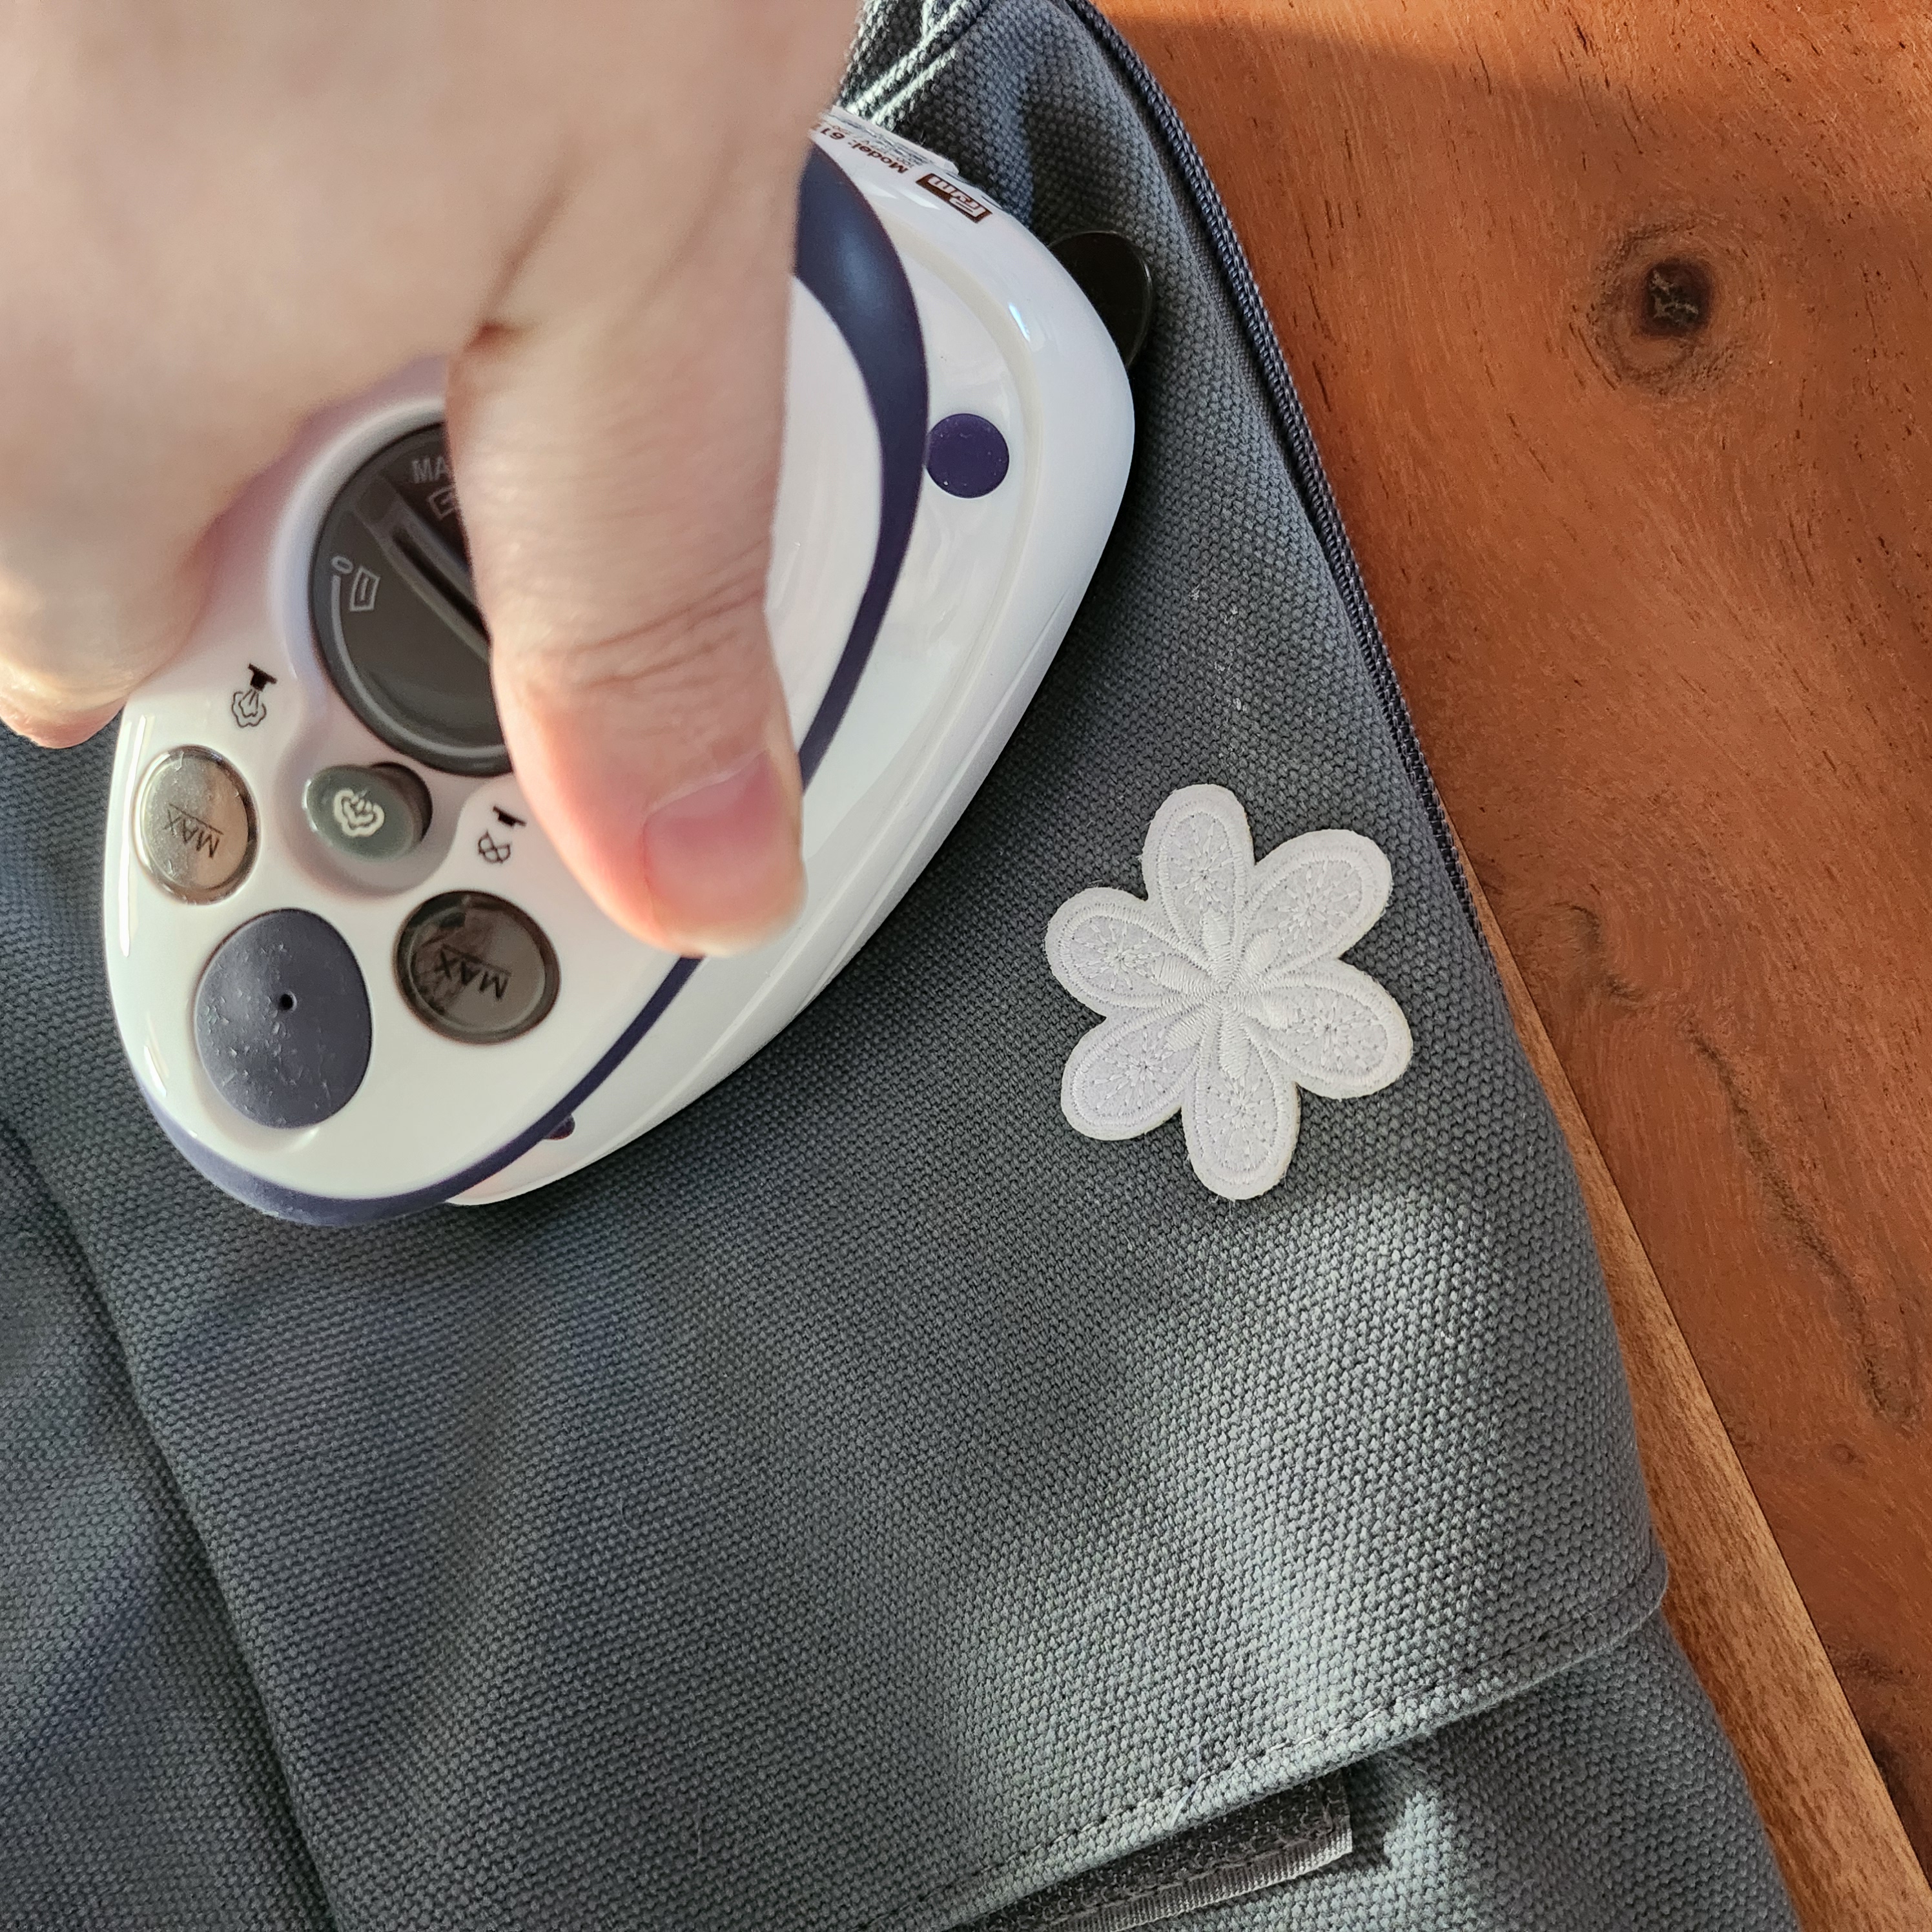
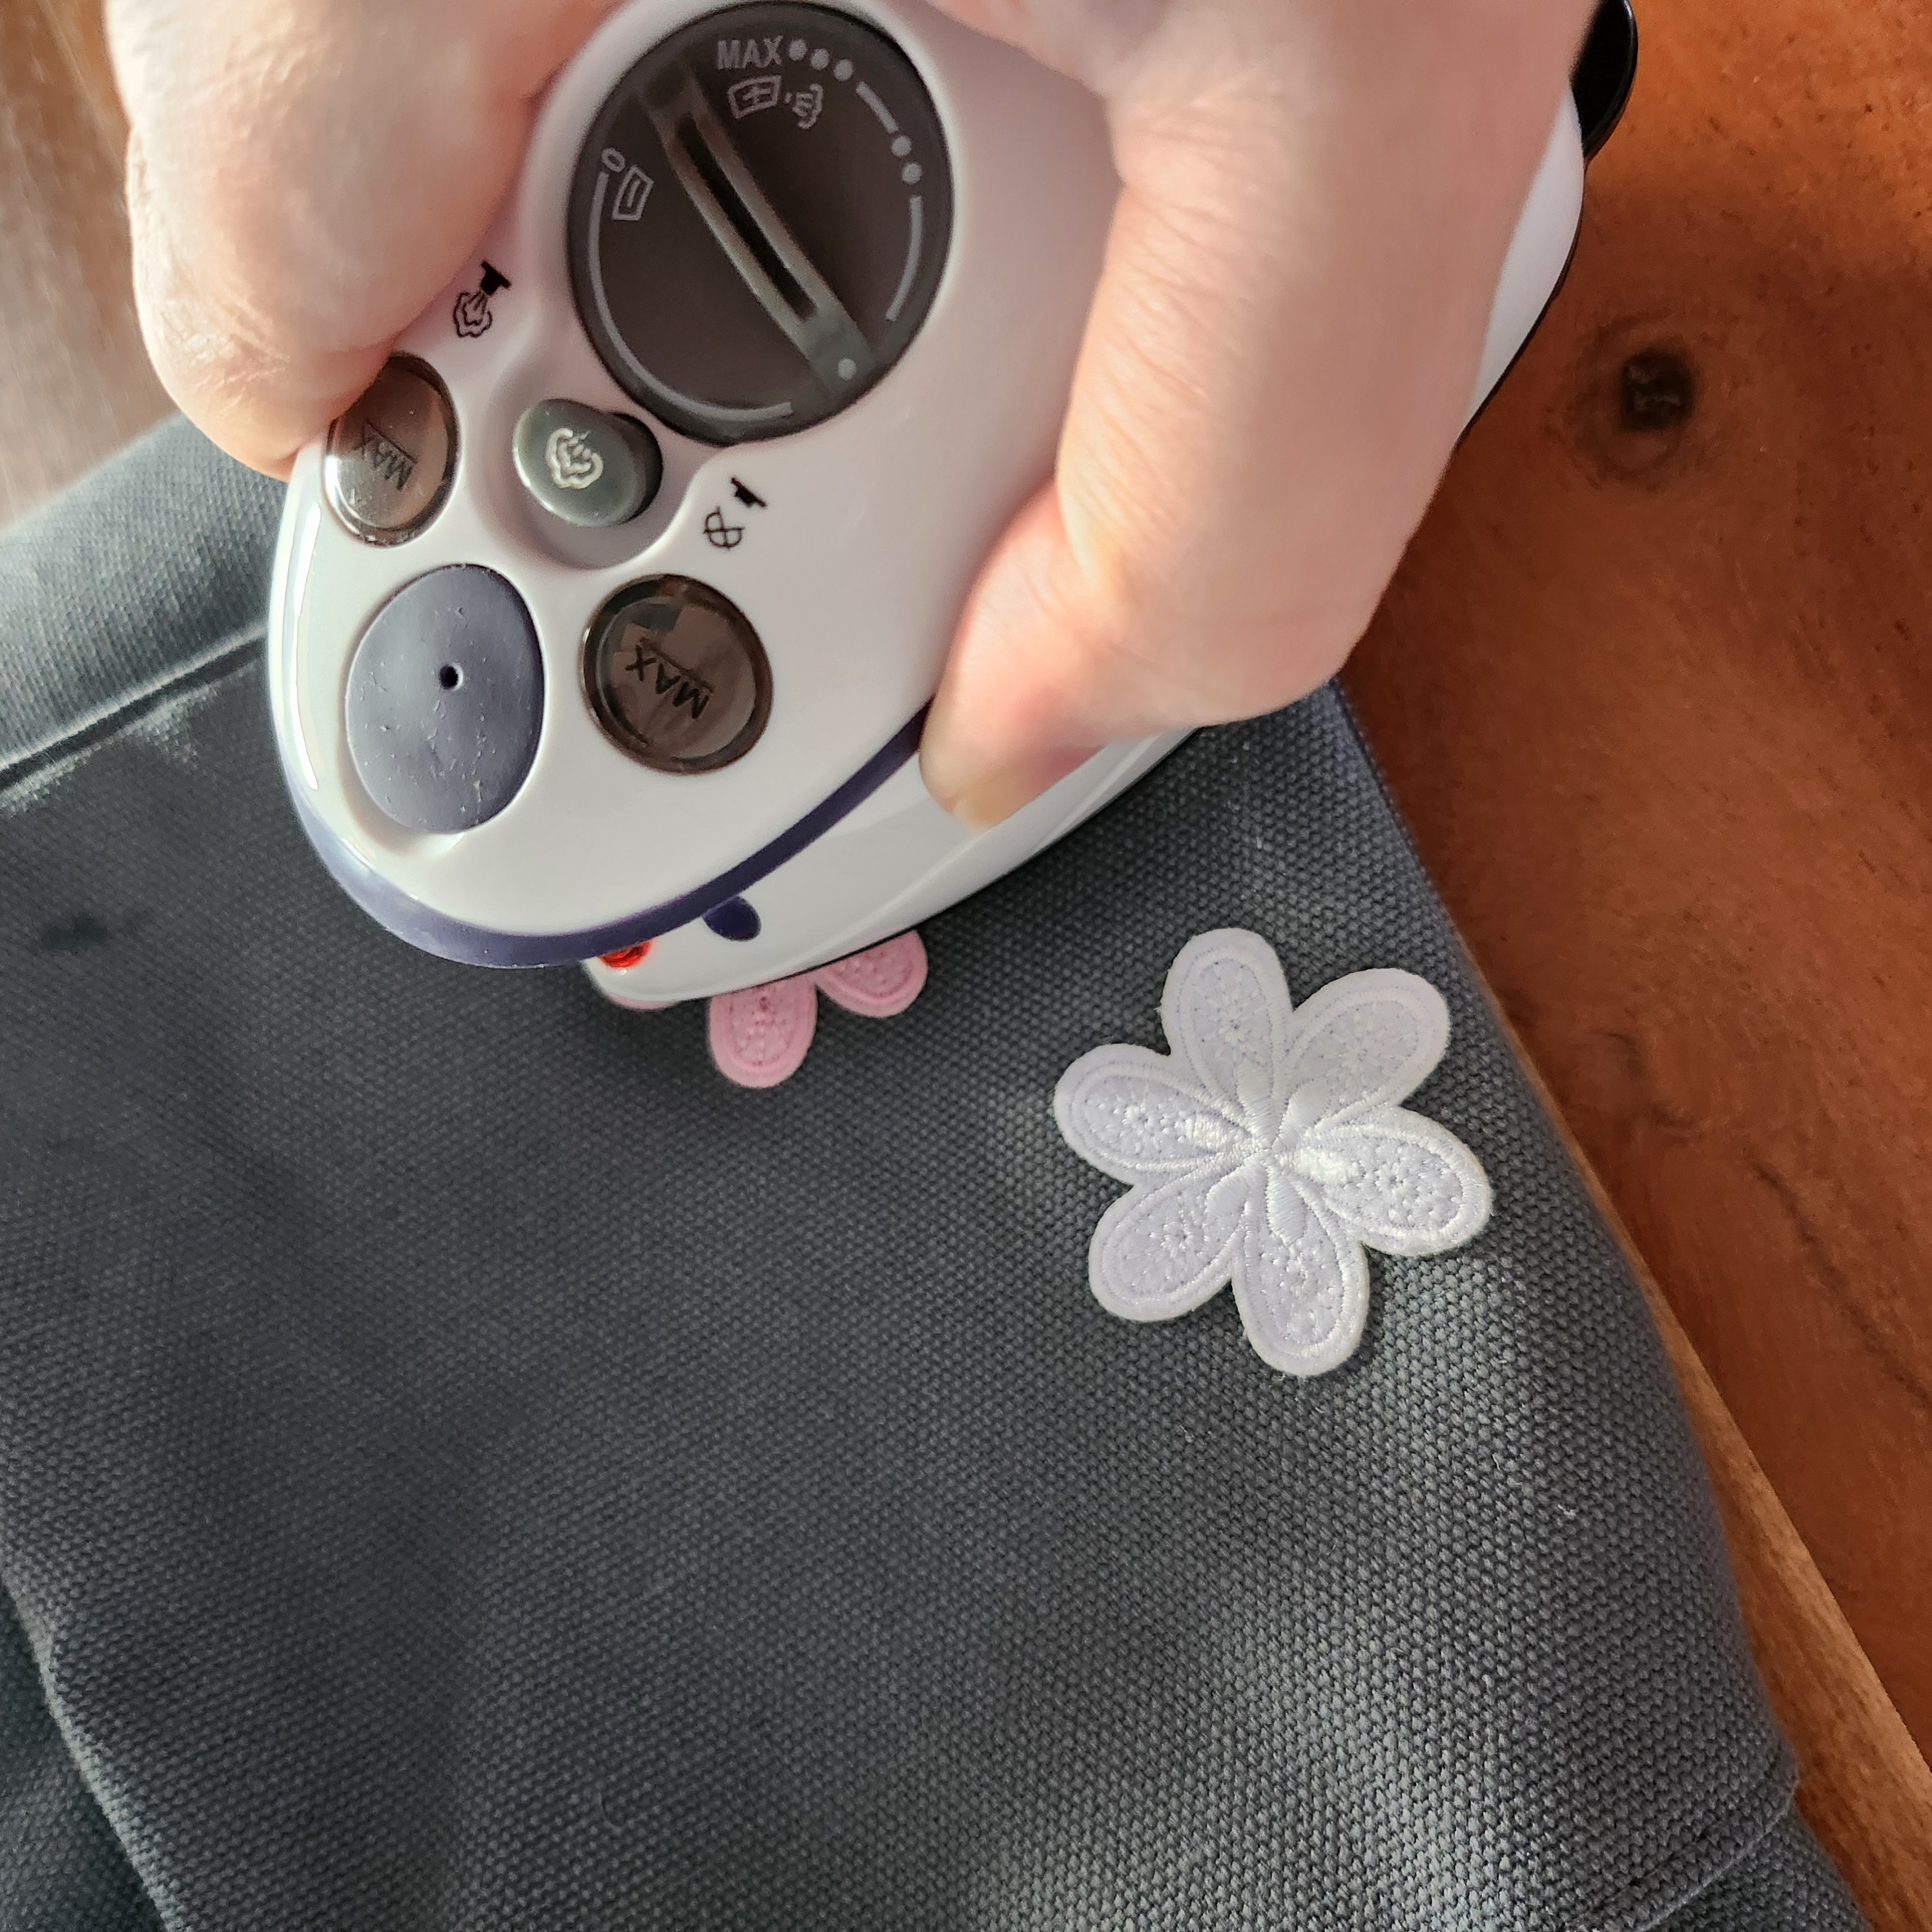
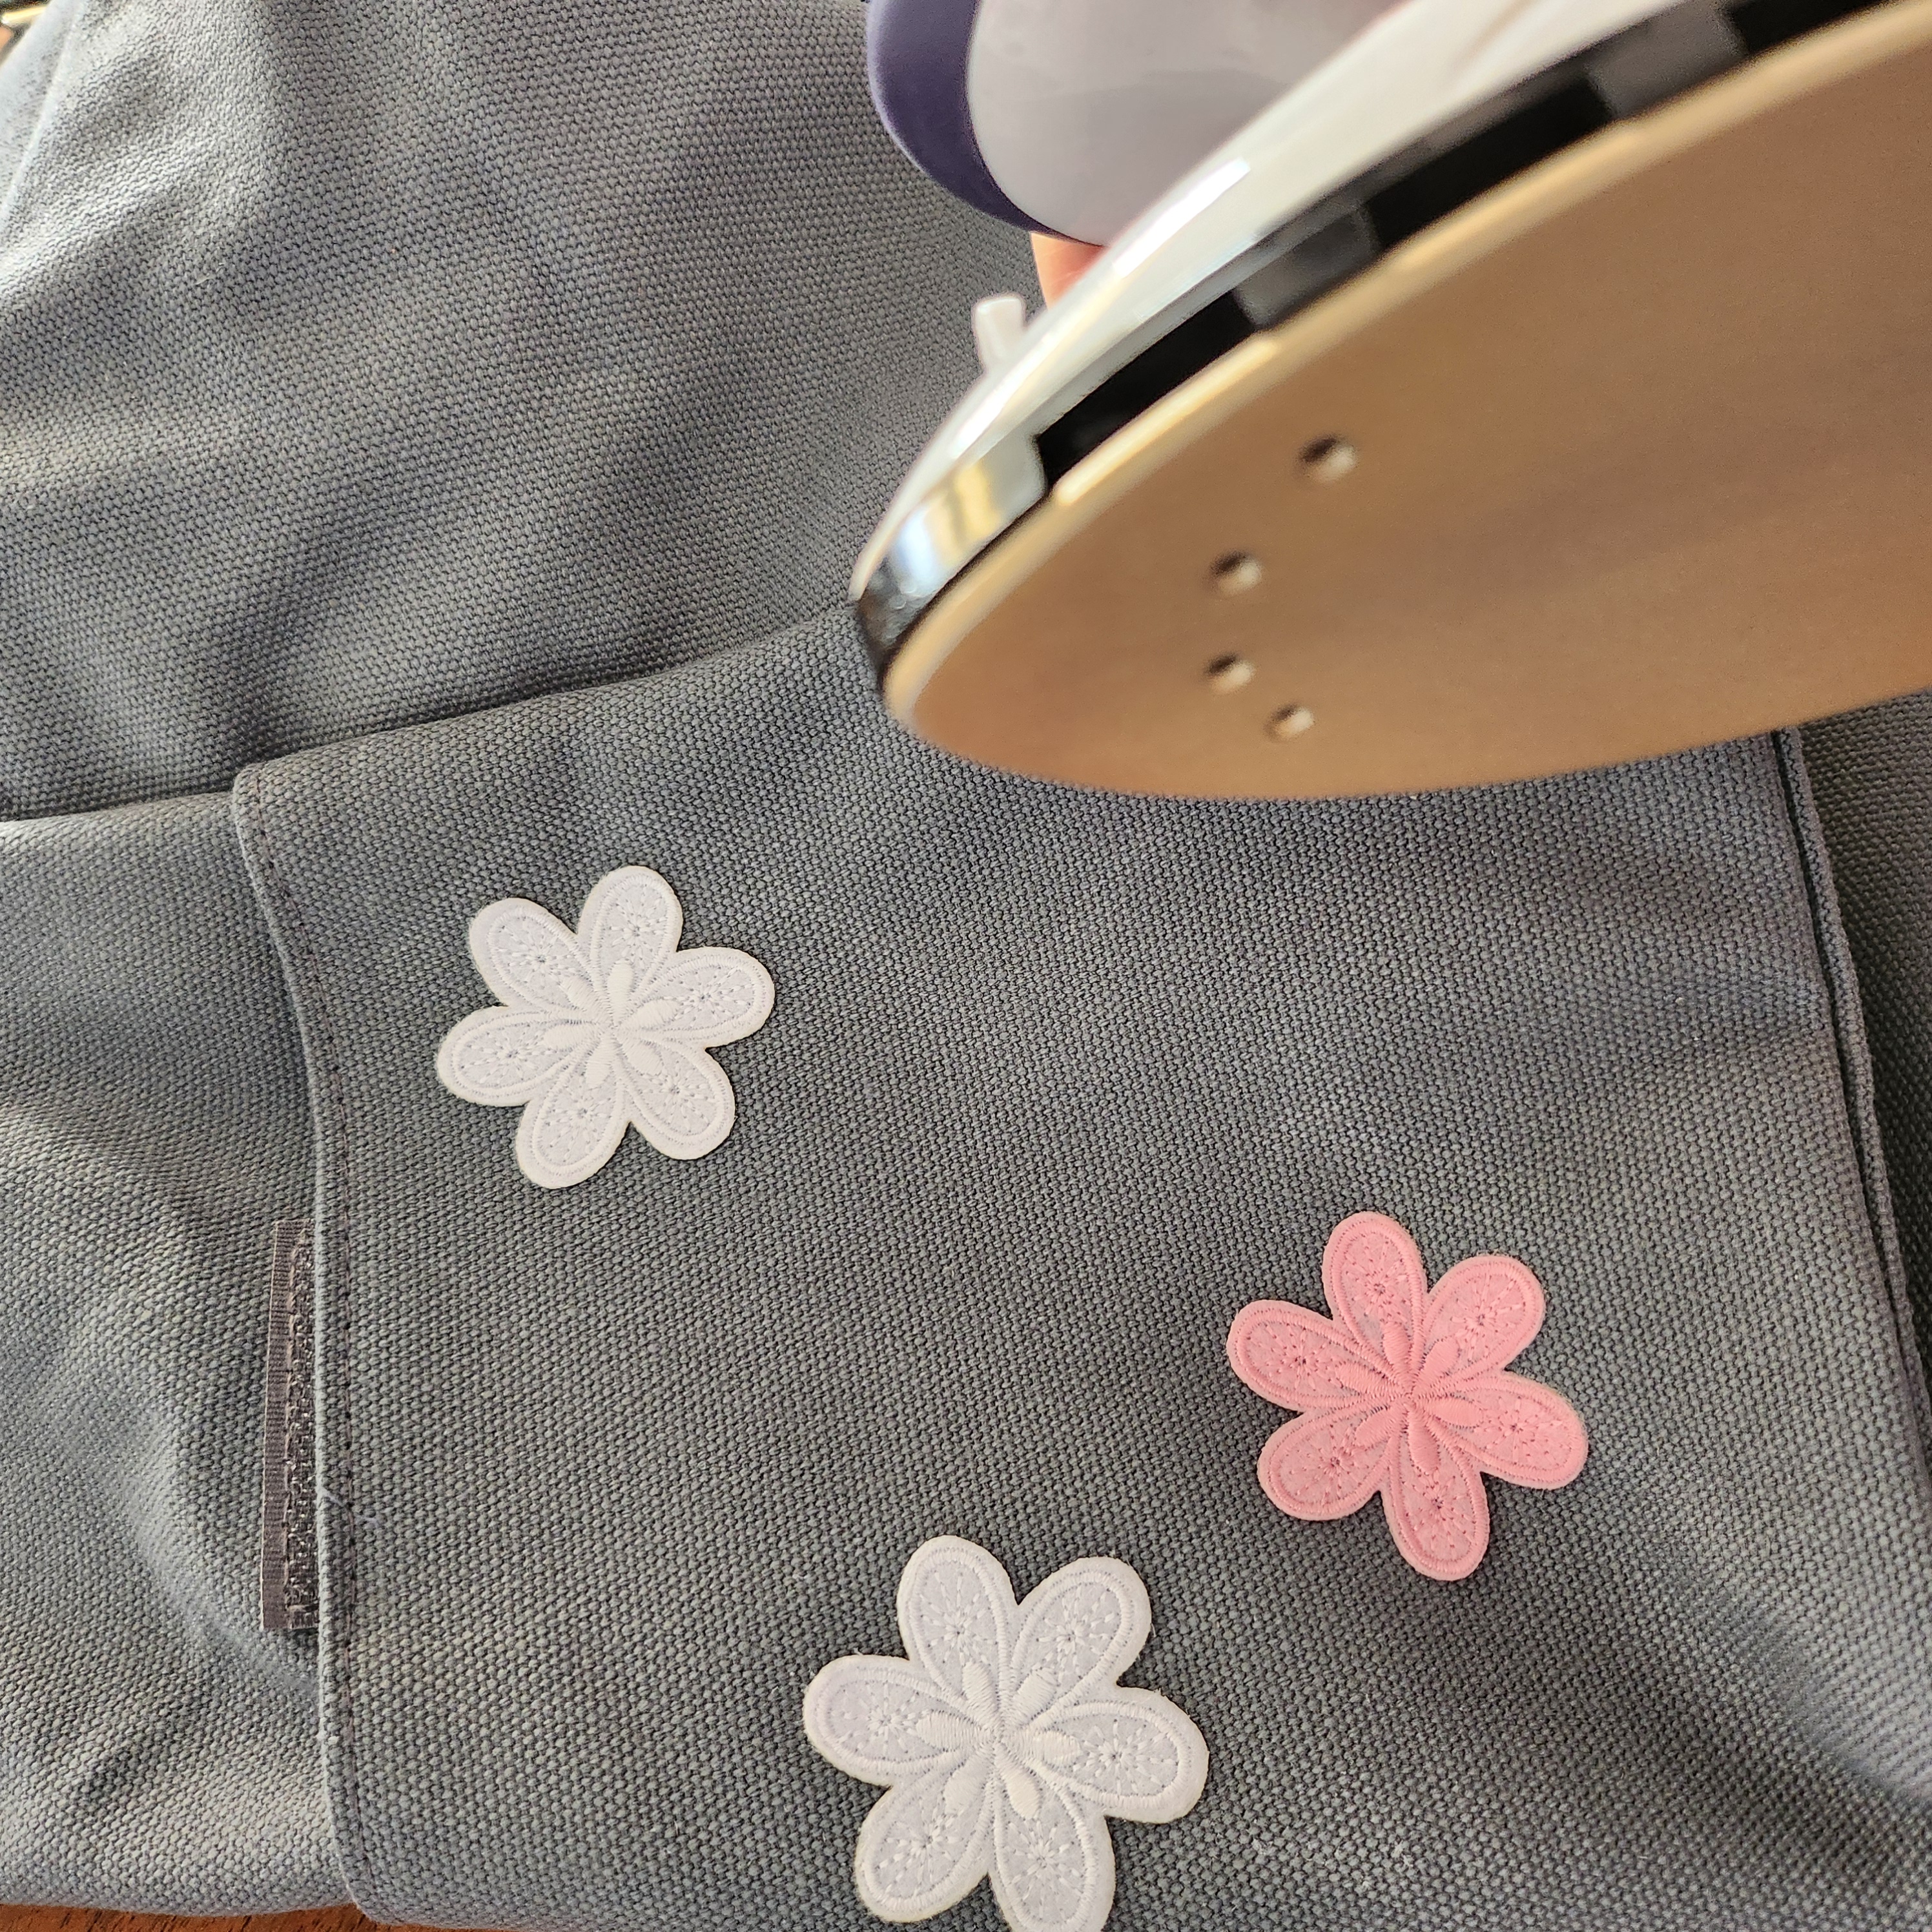
For this DIY, we’re using a gray canvas Shopper from Durable as the base, but you can choose any fabric bag you like. All you need are your favorite iron-on patches, an iron, and about 30 minutes of your time. Choose playful designs, floral motifs, or bold text patches to personalize your bag. ReStyle blogger Alexa used floral and insect patches for her shopper.
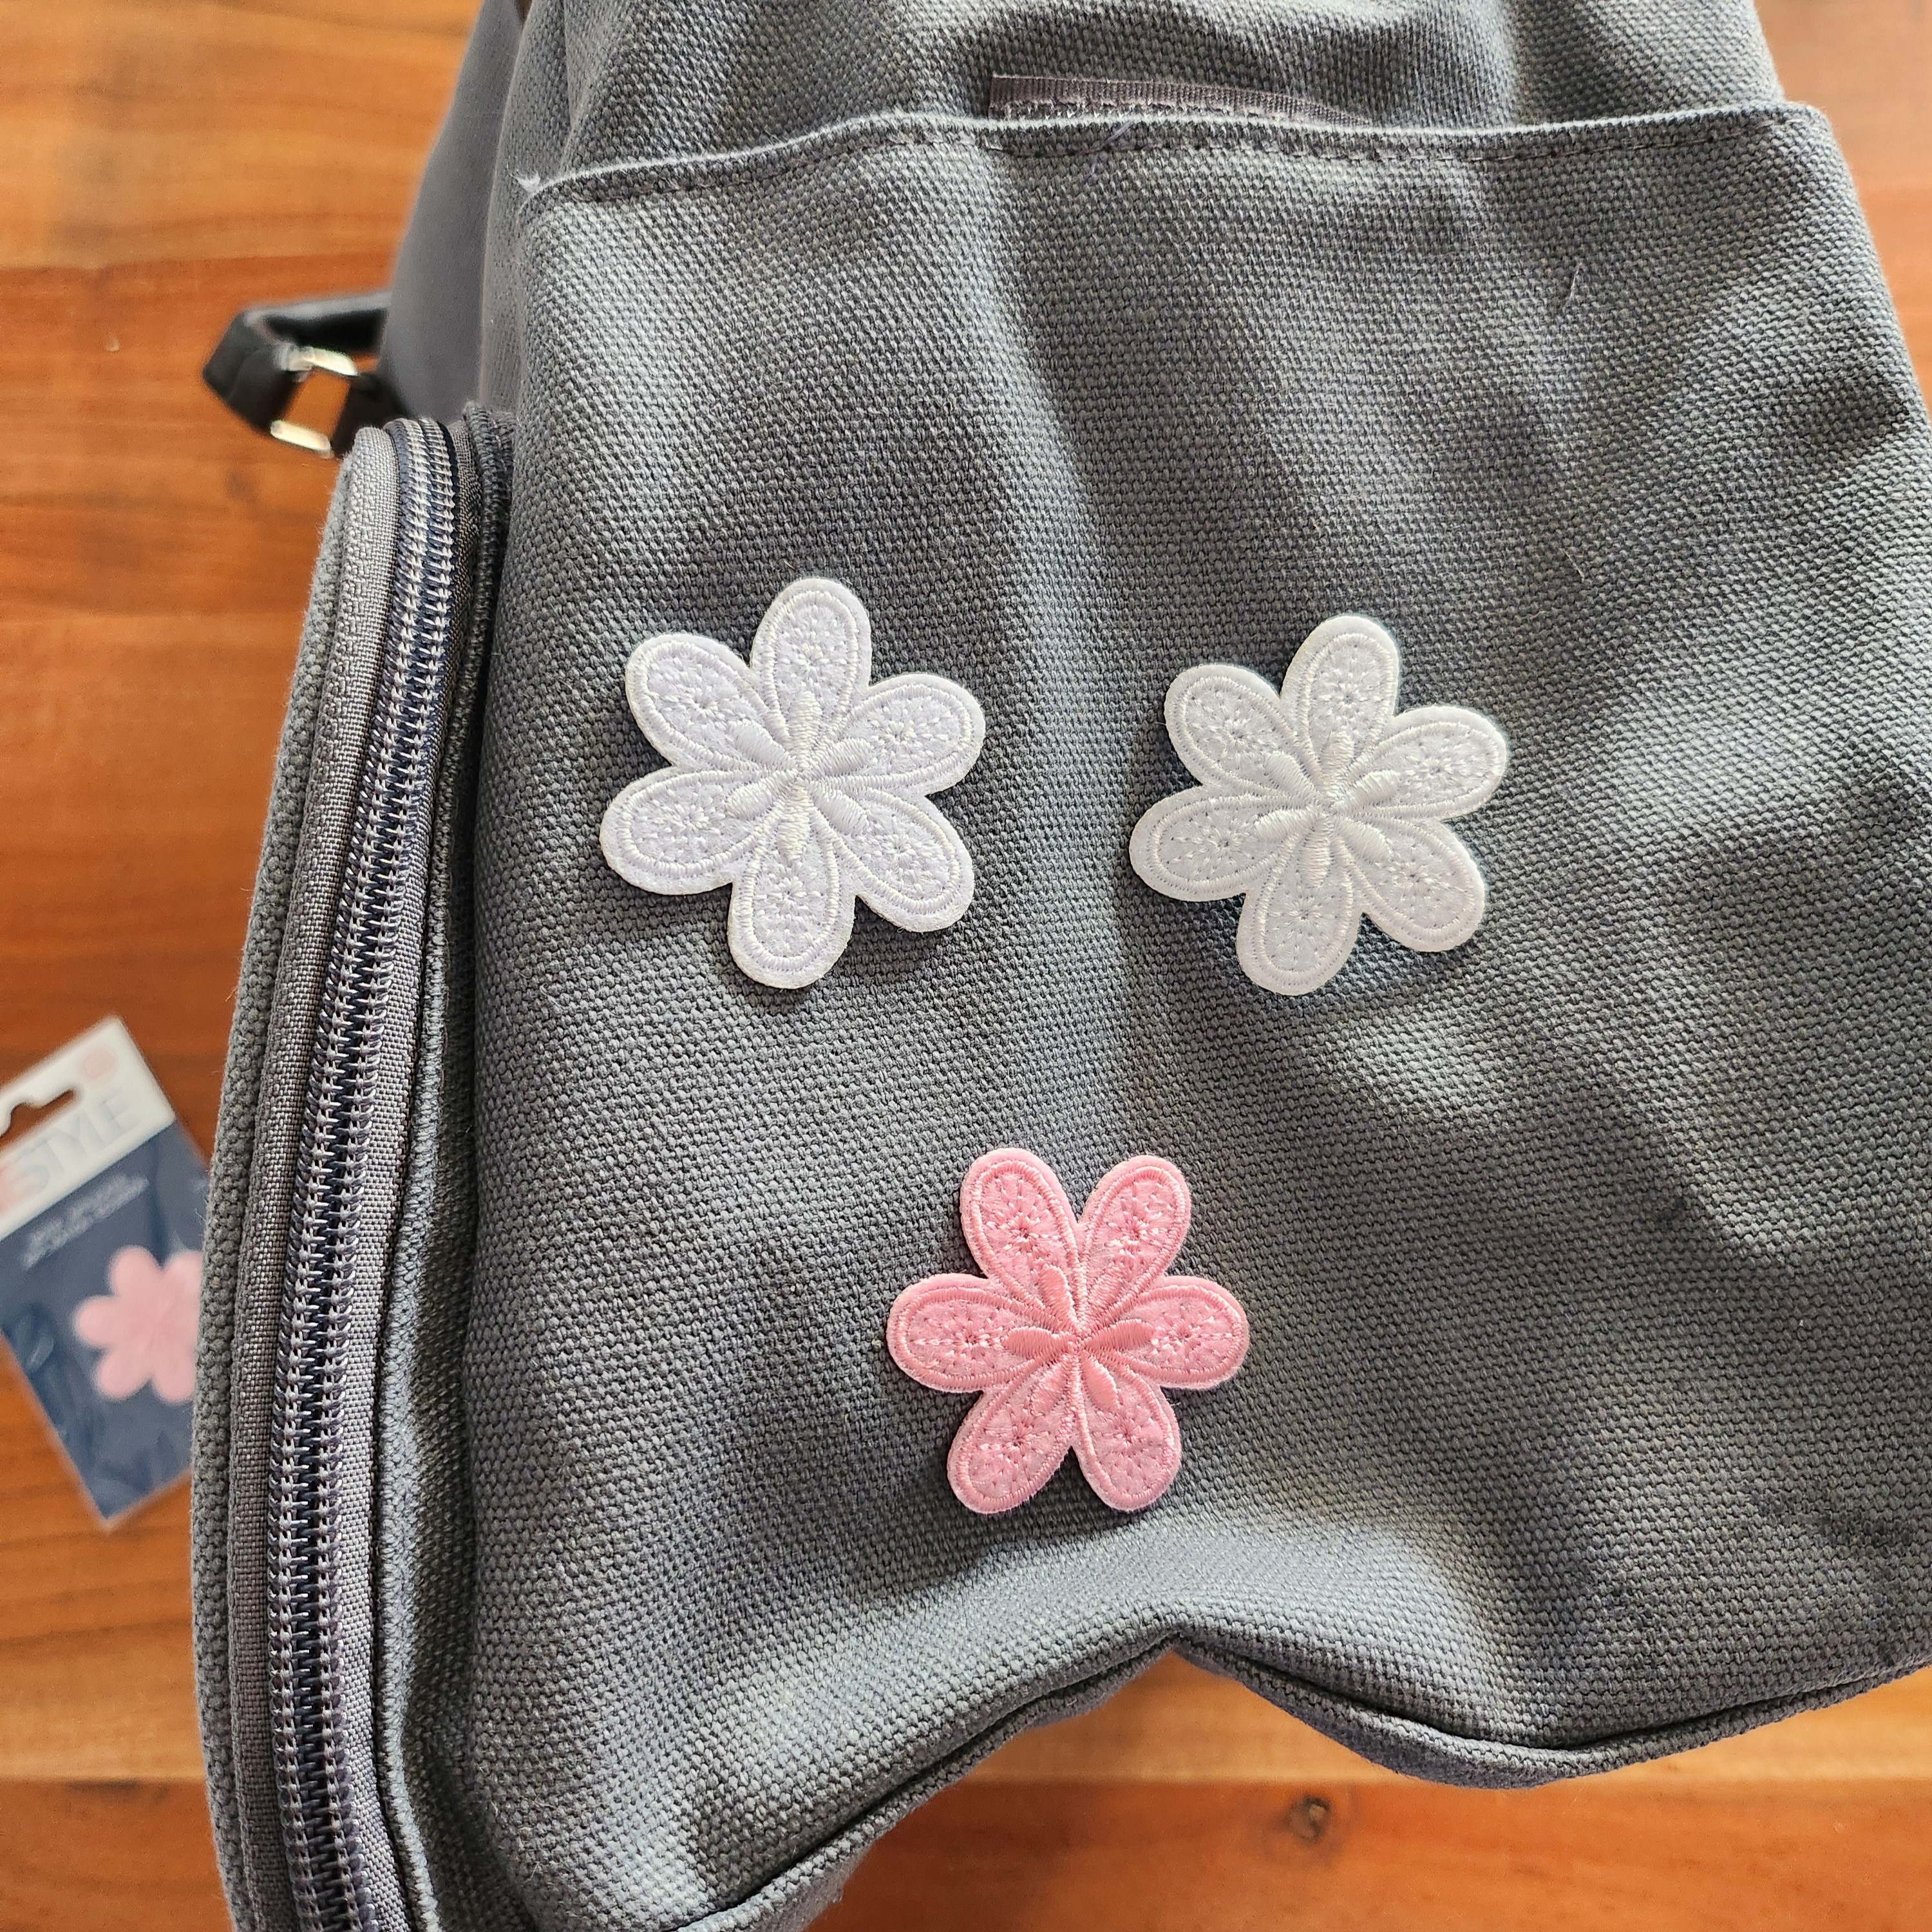
How does it work? Simply place the patches where you want them, iron them on following the instructions, and let them cool completely. Within minutes, you’ll have a refreshed bag that perfectly matches your style! You can even combine multiple patches for a fun and dynamic effect. Iron-on patches are an easy way to give any item a new look!
This DIY is perfect for anyone who loves quick and creative projects. And the best part? You’re personalizing an existing item to make it uniquely yours. Get started and create a bag that truly reflects your personality!
