DIY (Do It Yourself)

Sewing a women’s blouse – Step by step with Burda Style

Do you want to create a stylish and feminine blouse by yourself? With this Burda Style pattern and the clear instructions from our ReStyle blogger Renata, this project will be a success! This blouse is perfect for both beginners and experienced sewists, giving you the opportunity to create a unique garment that completely suits your style.

Do you want to create a stylish and feminine blouse by yourself? With this Burda Style pattern and the clear instructions from our ReStyle blogger Renata, this project will be a success! This blouse is perfect for both beginners and experienced sewists, giving you the opportunity to create a unique garment that completely suits your style.

The choice of fabric plays an important role: select a soft, flowing fabric that is not only easy to work with but also comfortable to wear. Additionally, this blouse perfectly aligns with current fashion trends, allowing you to create a contemporary and trendy look.

In this step-by-step guide, Renata takes you through the sewing process, from cutting the fabric to finishing the final details. You will learn how to transfer the pattern, assemble the blouse, and add professional finishes for a perfect end result.

With this DIY women’s blouse, you not only get a unique garment but also experience the joy of making your own clothing. Whether you choose a classic solid fabric or a trendy print, your creation will be a true eye-catcher!

Get started and create your own fashion with ReStyle! ✂️👚

Supplies

  • Cotton speckled fabric (or any fabric of your choice)
  • Burda pattern 6632 (art. 064.6632)
  • Gutermann sewing thread, color 223
  • Dill pearl buttons 11mm (art. 007.201257) color 11, 12 pieces
  • Vlieseline H180 interfacing

Dimensions

The dimensions of the blouse depend on the selected size from the pattern. The Burda pattern used is suitable for sizes 34-44.

Work description

Step 1: Before you begin

Start by measuring yourself to determine which size you need to make. Then take the Burda pattern and cut out the correct size from the paper. Pin the pattern pieces onto the fabric and cut them out.

Step 2: Pleats in the panels

We will start by creating pleats in the panels. Lay the pleats in the back panel in the direction of the arrow, pin them in place, and stitch them down. Repeat this for the front panels. See photo 1 in the Burda pattern and the images in this tutorial.

Step 3: Yoke (double finished)

Now we will work on the yoke (double finished). Pin one yoke piece onto the back panel (right sides together). Pin the other yoke piece with the right side against the wrong side of the back panel and then stitch.

Press the yoke pieces over the seam, with the wrong sides facing each other. Fold the front attachment edges of the inner yoke piece inward by 1 cm.

Pin the outer yoke piece to the front panels (right sides together) and stitch them. Press the seam towards the yoke. Pin the inner yoke piece along the front attachment seams. Topstitch the yoke attachment seams narrowly from the right side, securing the inner piece as well. See photos 2-5 in the Burda pattern and the images in this tutorial.

Step 4: Neckband

After the yoke, we move on to the neckband. Place the interfaced and non-interfaced neckband pieces together, right sides facing each other, stitch the center back seams, and press them open. Lay the interfaced and non-interfaced neckband together, right sides facing, pin, and stitch the neckline between the notches as indicated in the Burda pattern. Clip the seam at the notches, turn, and press. See illustration 8 in the Burda pattern.

Pin and stitch the interfaced neckband pieces together from the clip downwards. Repeat for the non-interfaced pieces. See illustrations 9, 9a in the Burda pattern and the images in this tutorial. Then baste/pin the outer edge together.

Pin the neckband along the front and back panel, stitch, serge, and press towards the front panels and yoke. See illustration 10 in the Burda pattern and the images in this tutorial. Topstitch the seam narrowly.

Stitch the side seams; pin the front and back panels together, right sides facing, stitch, serge, and press the seams towards the back panel.

Step 5: Hem

Press the hem, fold it inward, pin, and stitch. See illustration 11 in the Burda pattern and the images in this tutorial.

Step 6: Sleeves

Distribute the fabric at the sleeve cap between the notches by sewing two gathering stitches and gathering the fabric. See illustration 12 in the Burda pattern.

Step 7: Sleeve placket and cuff

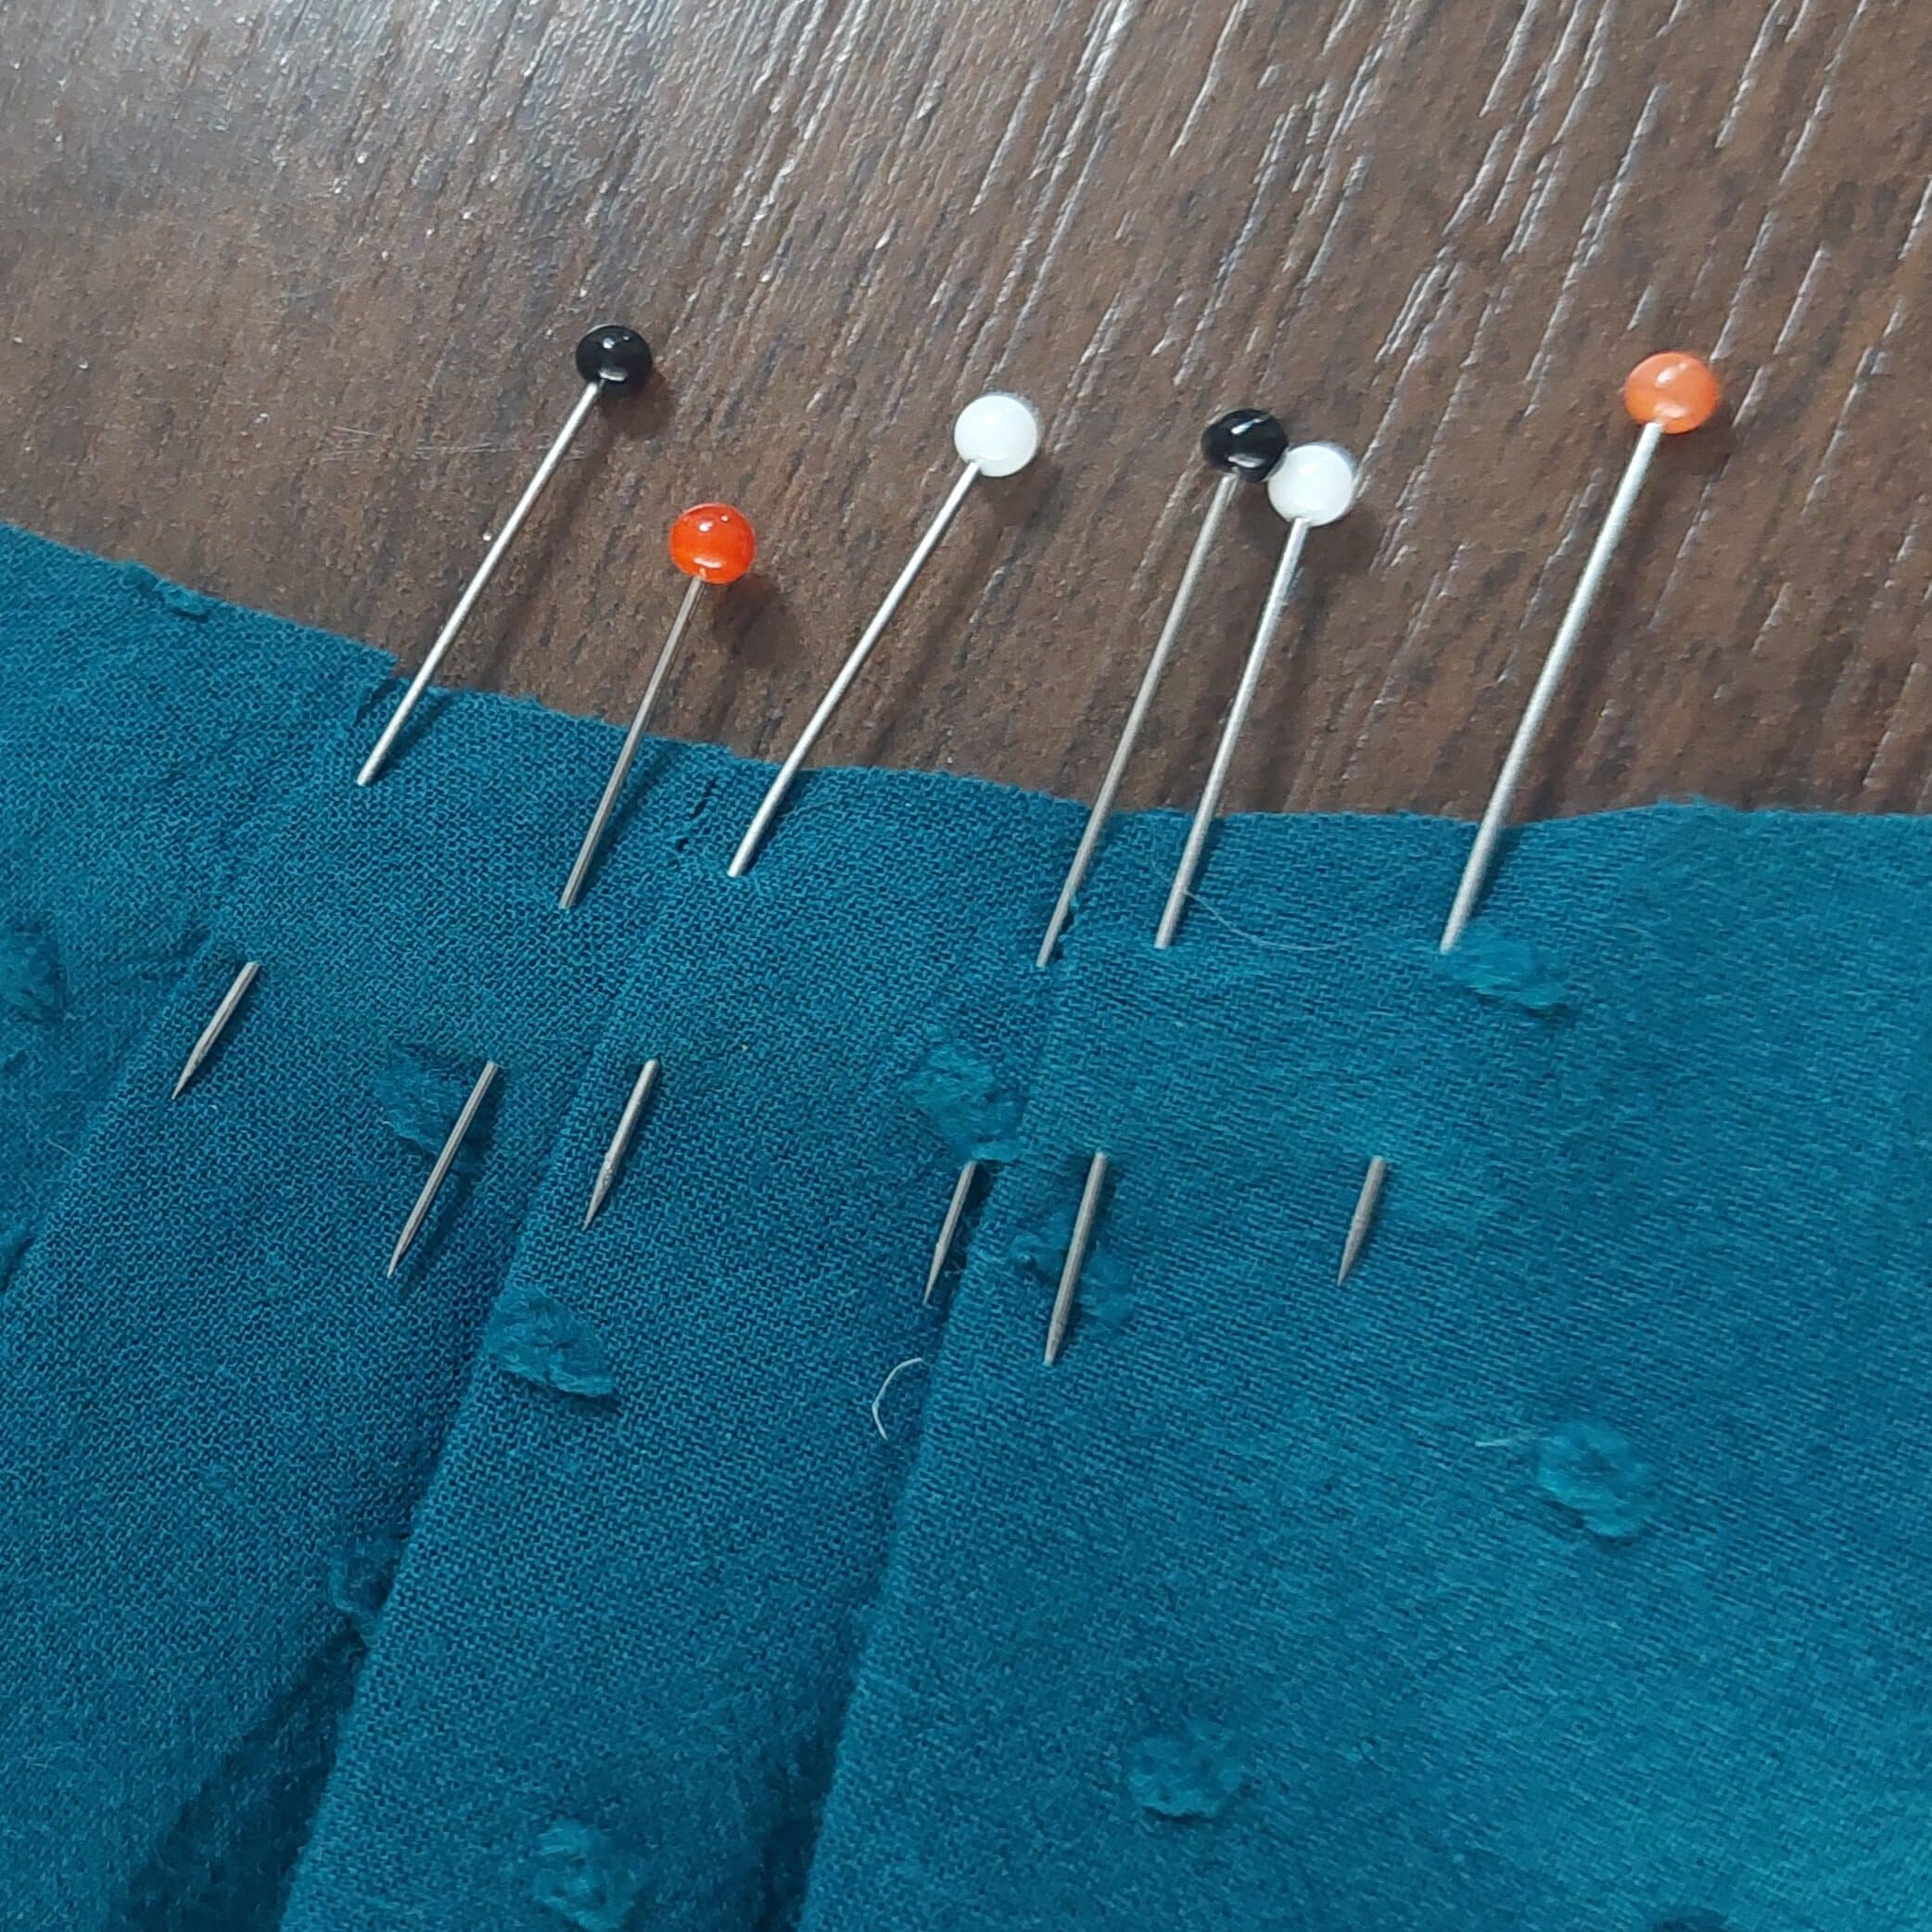
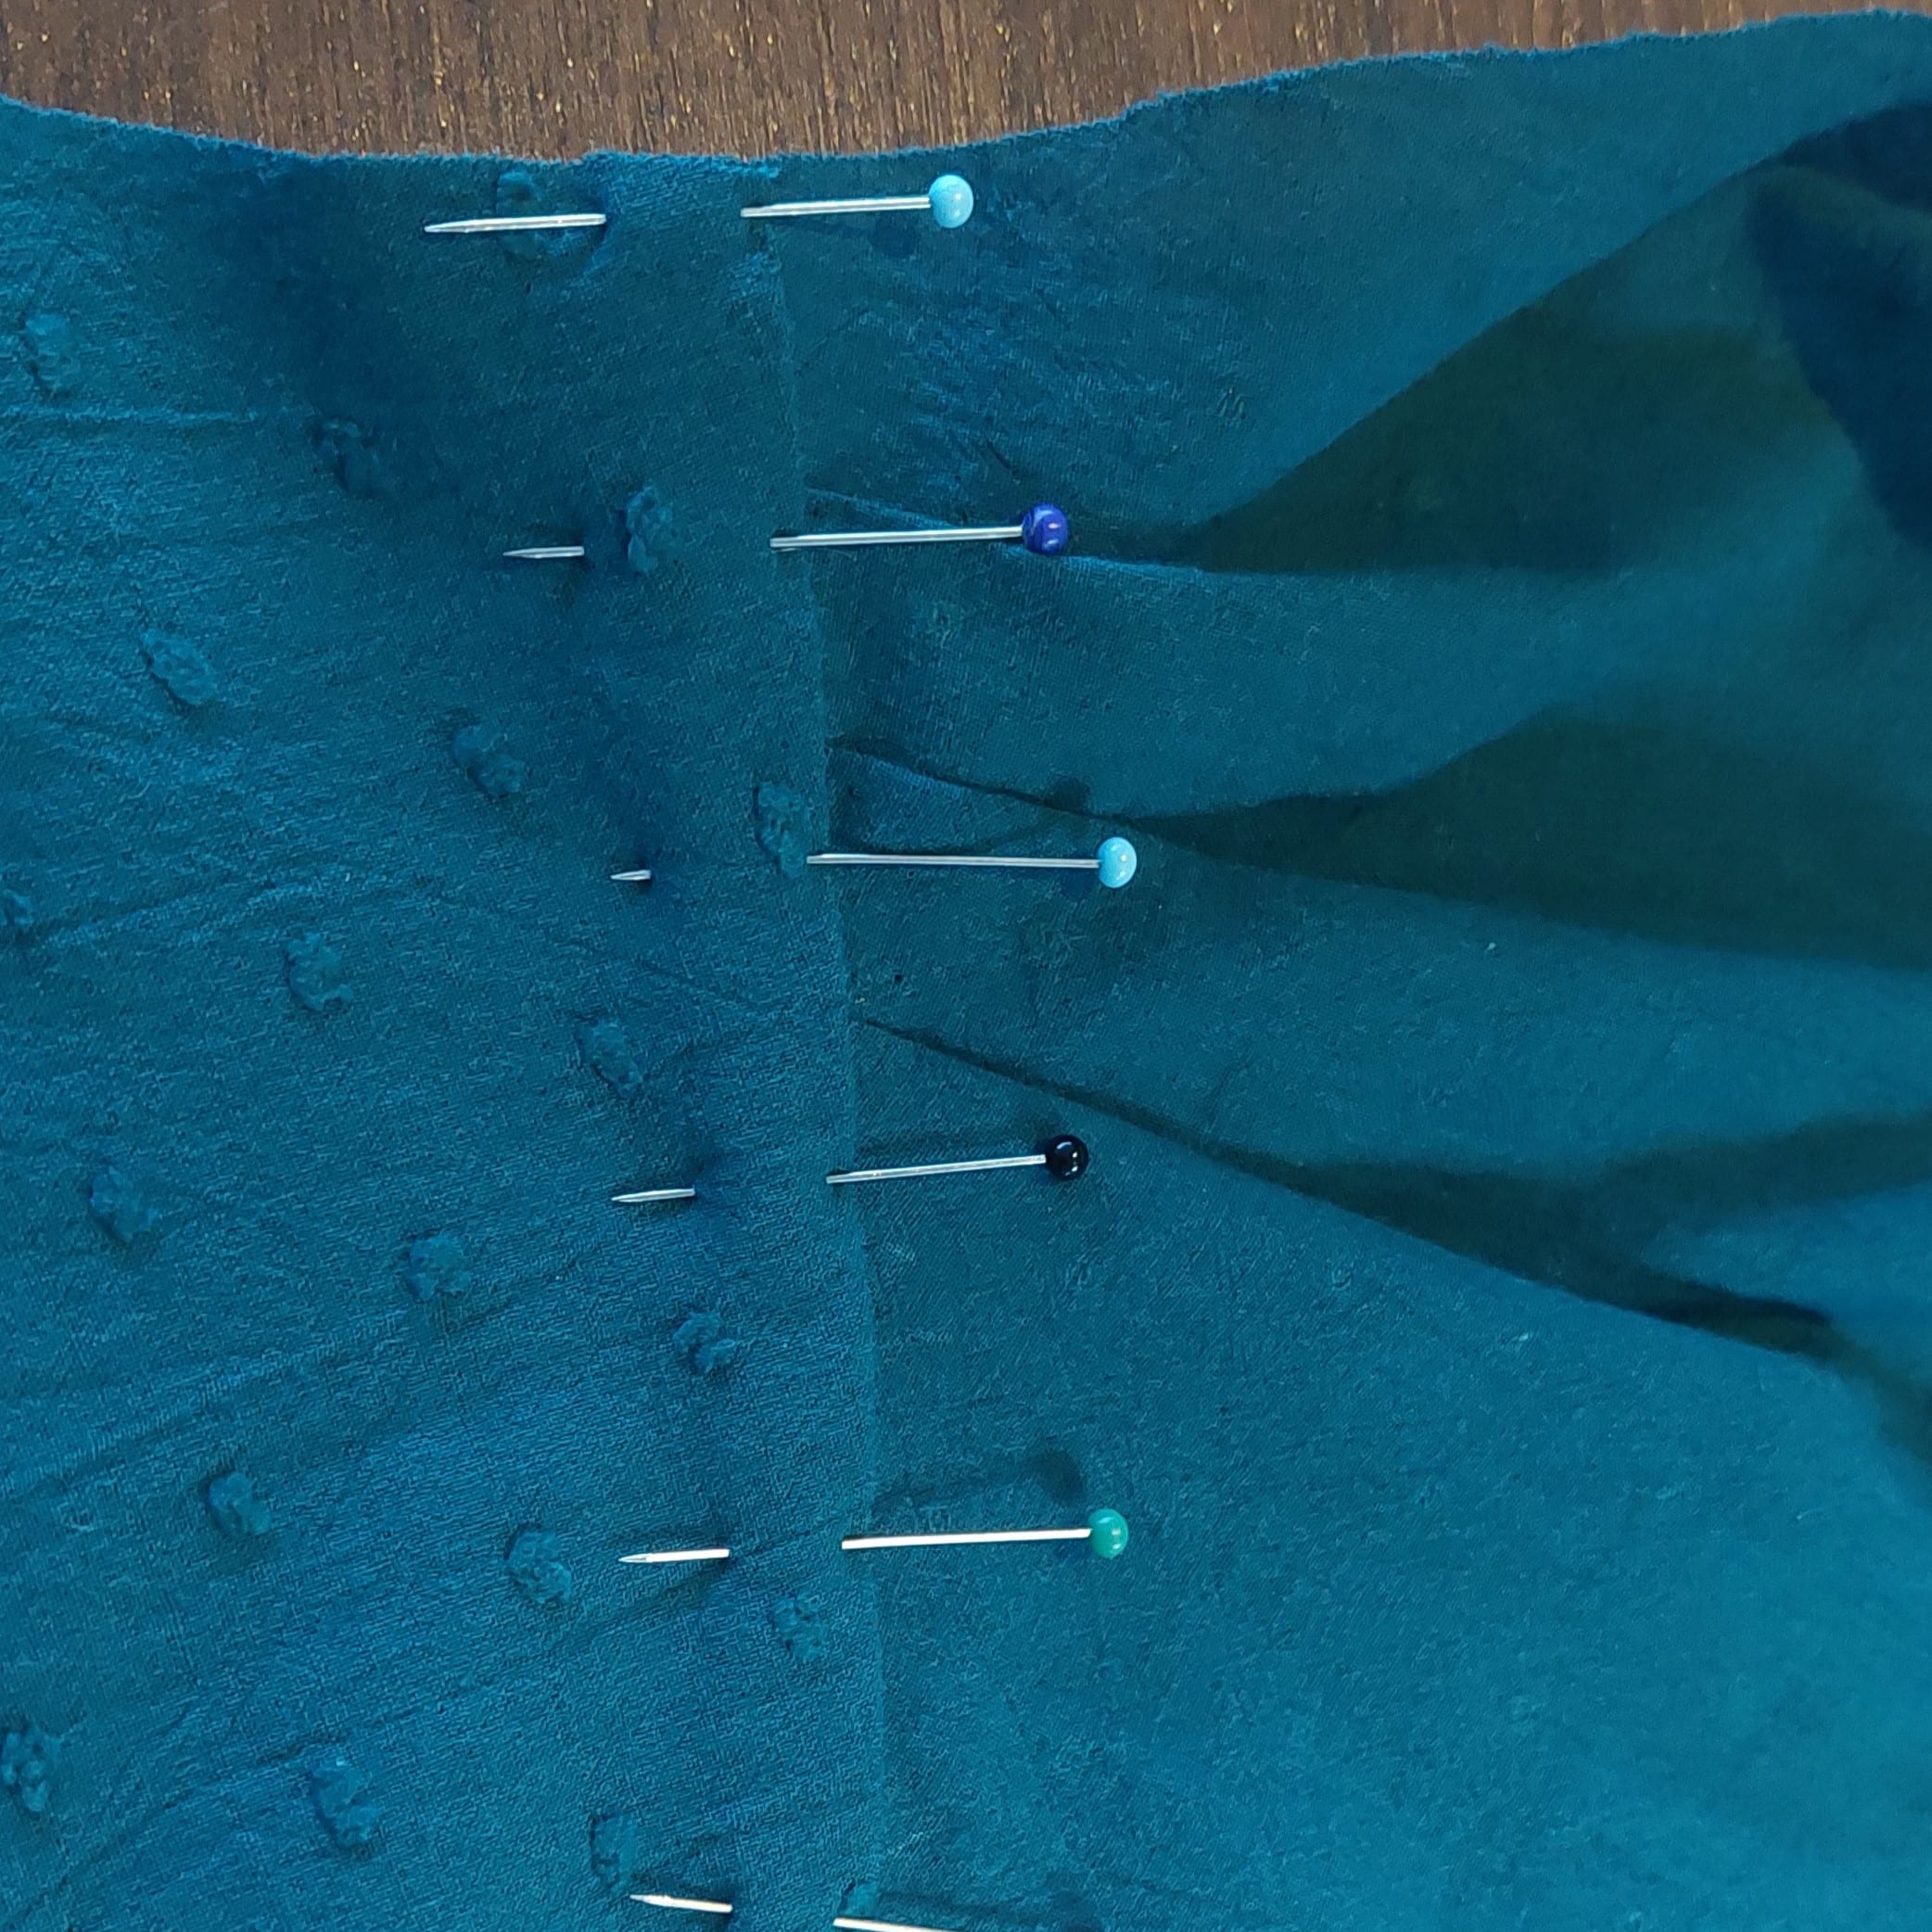
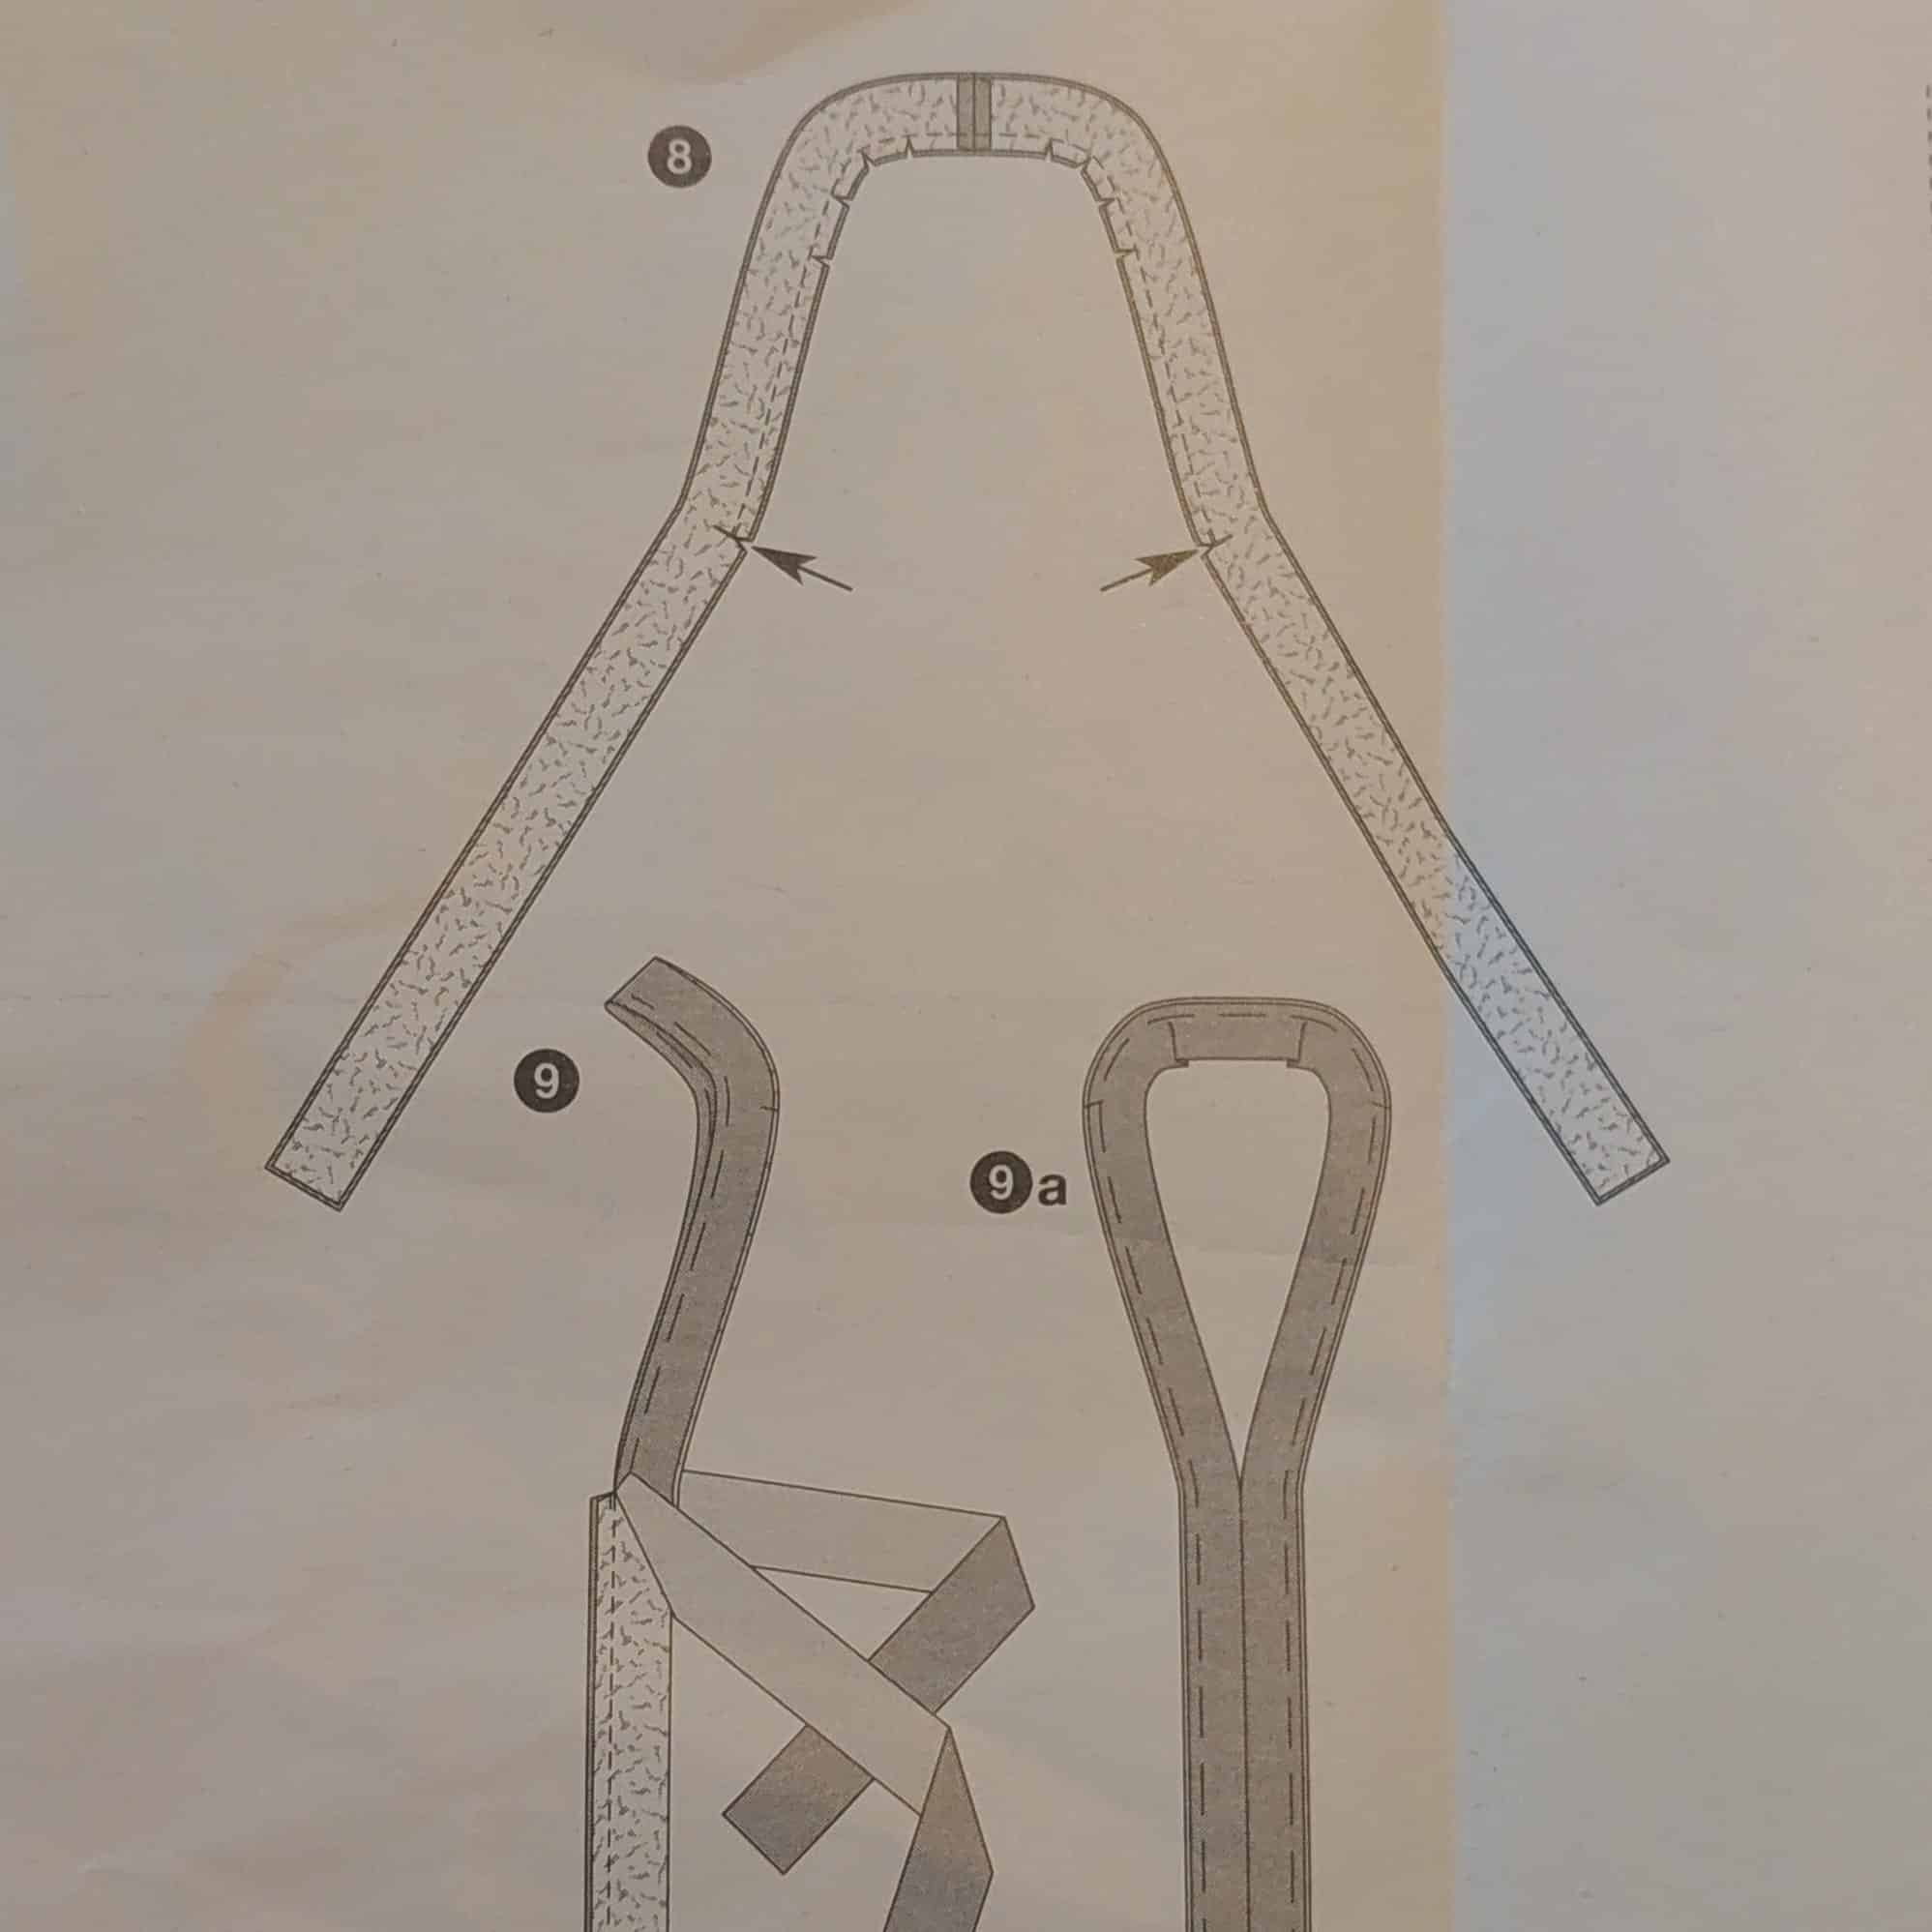
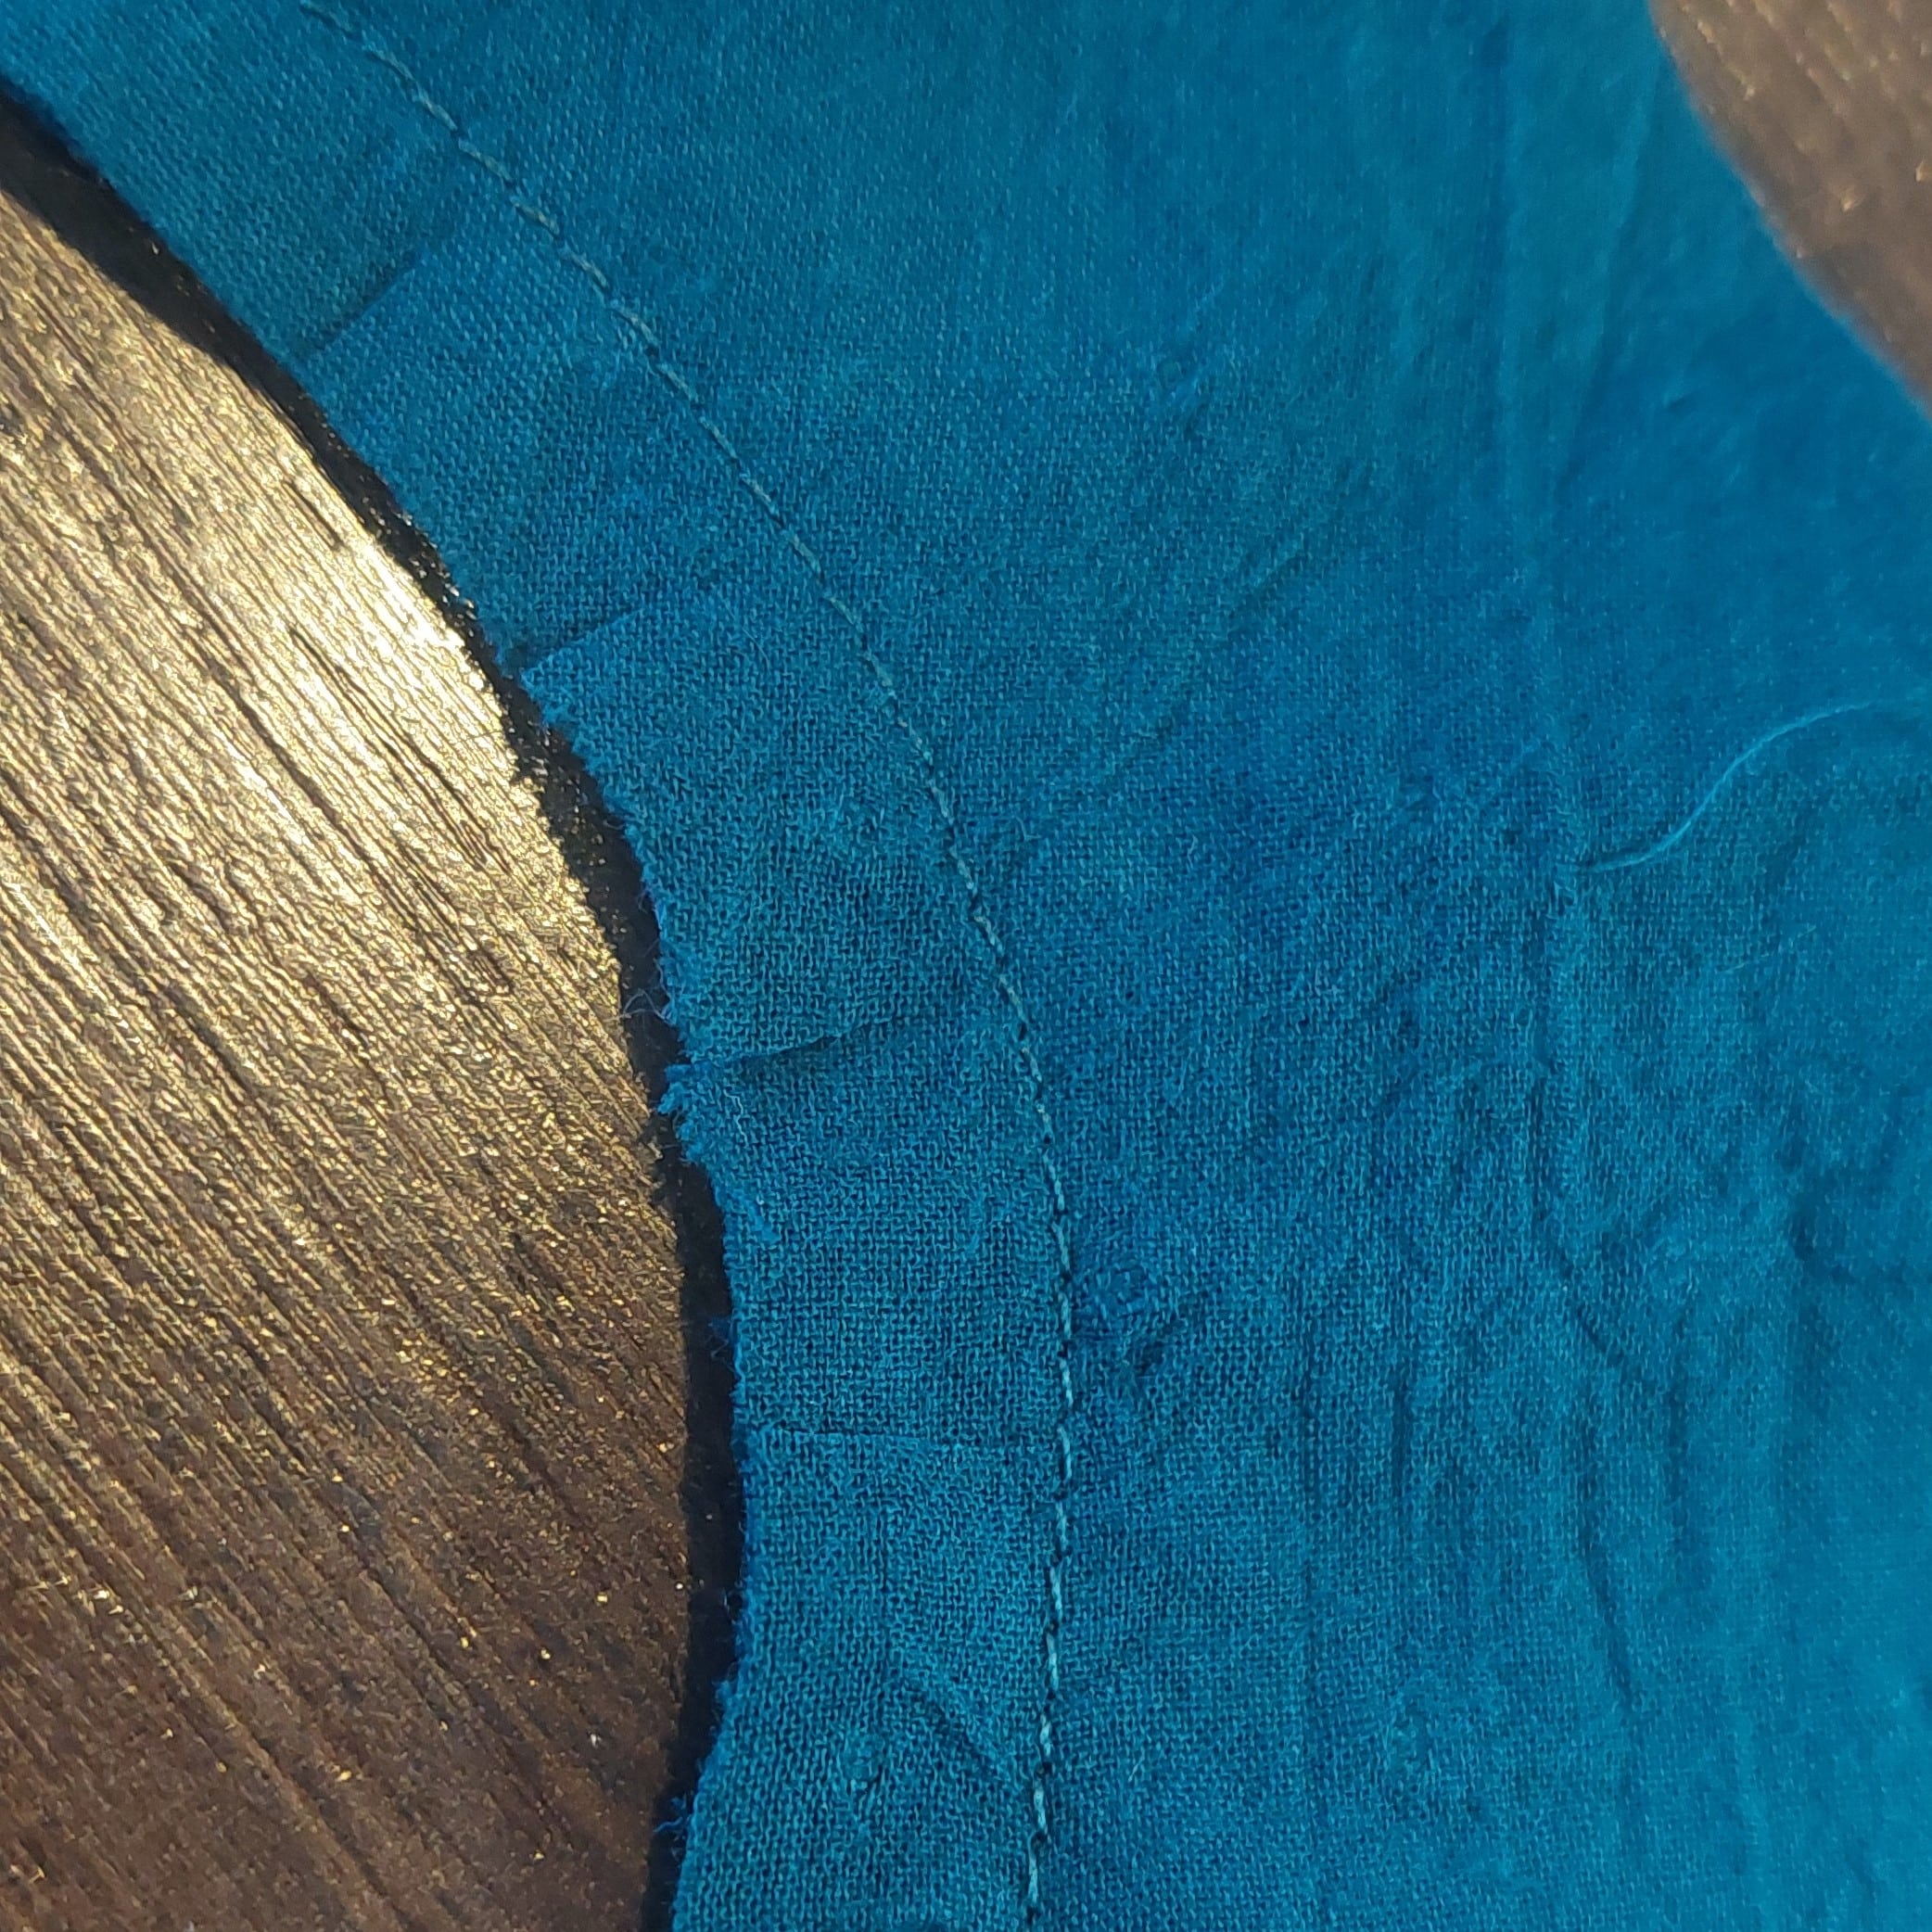
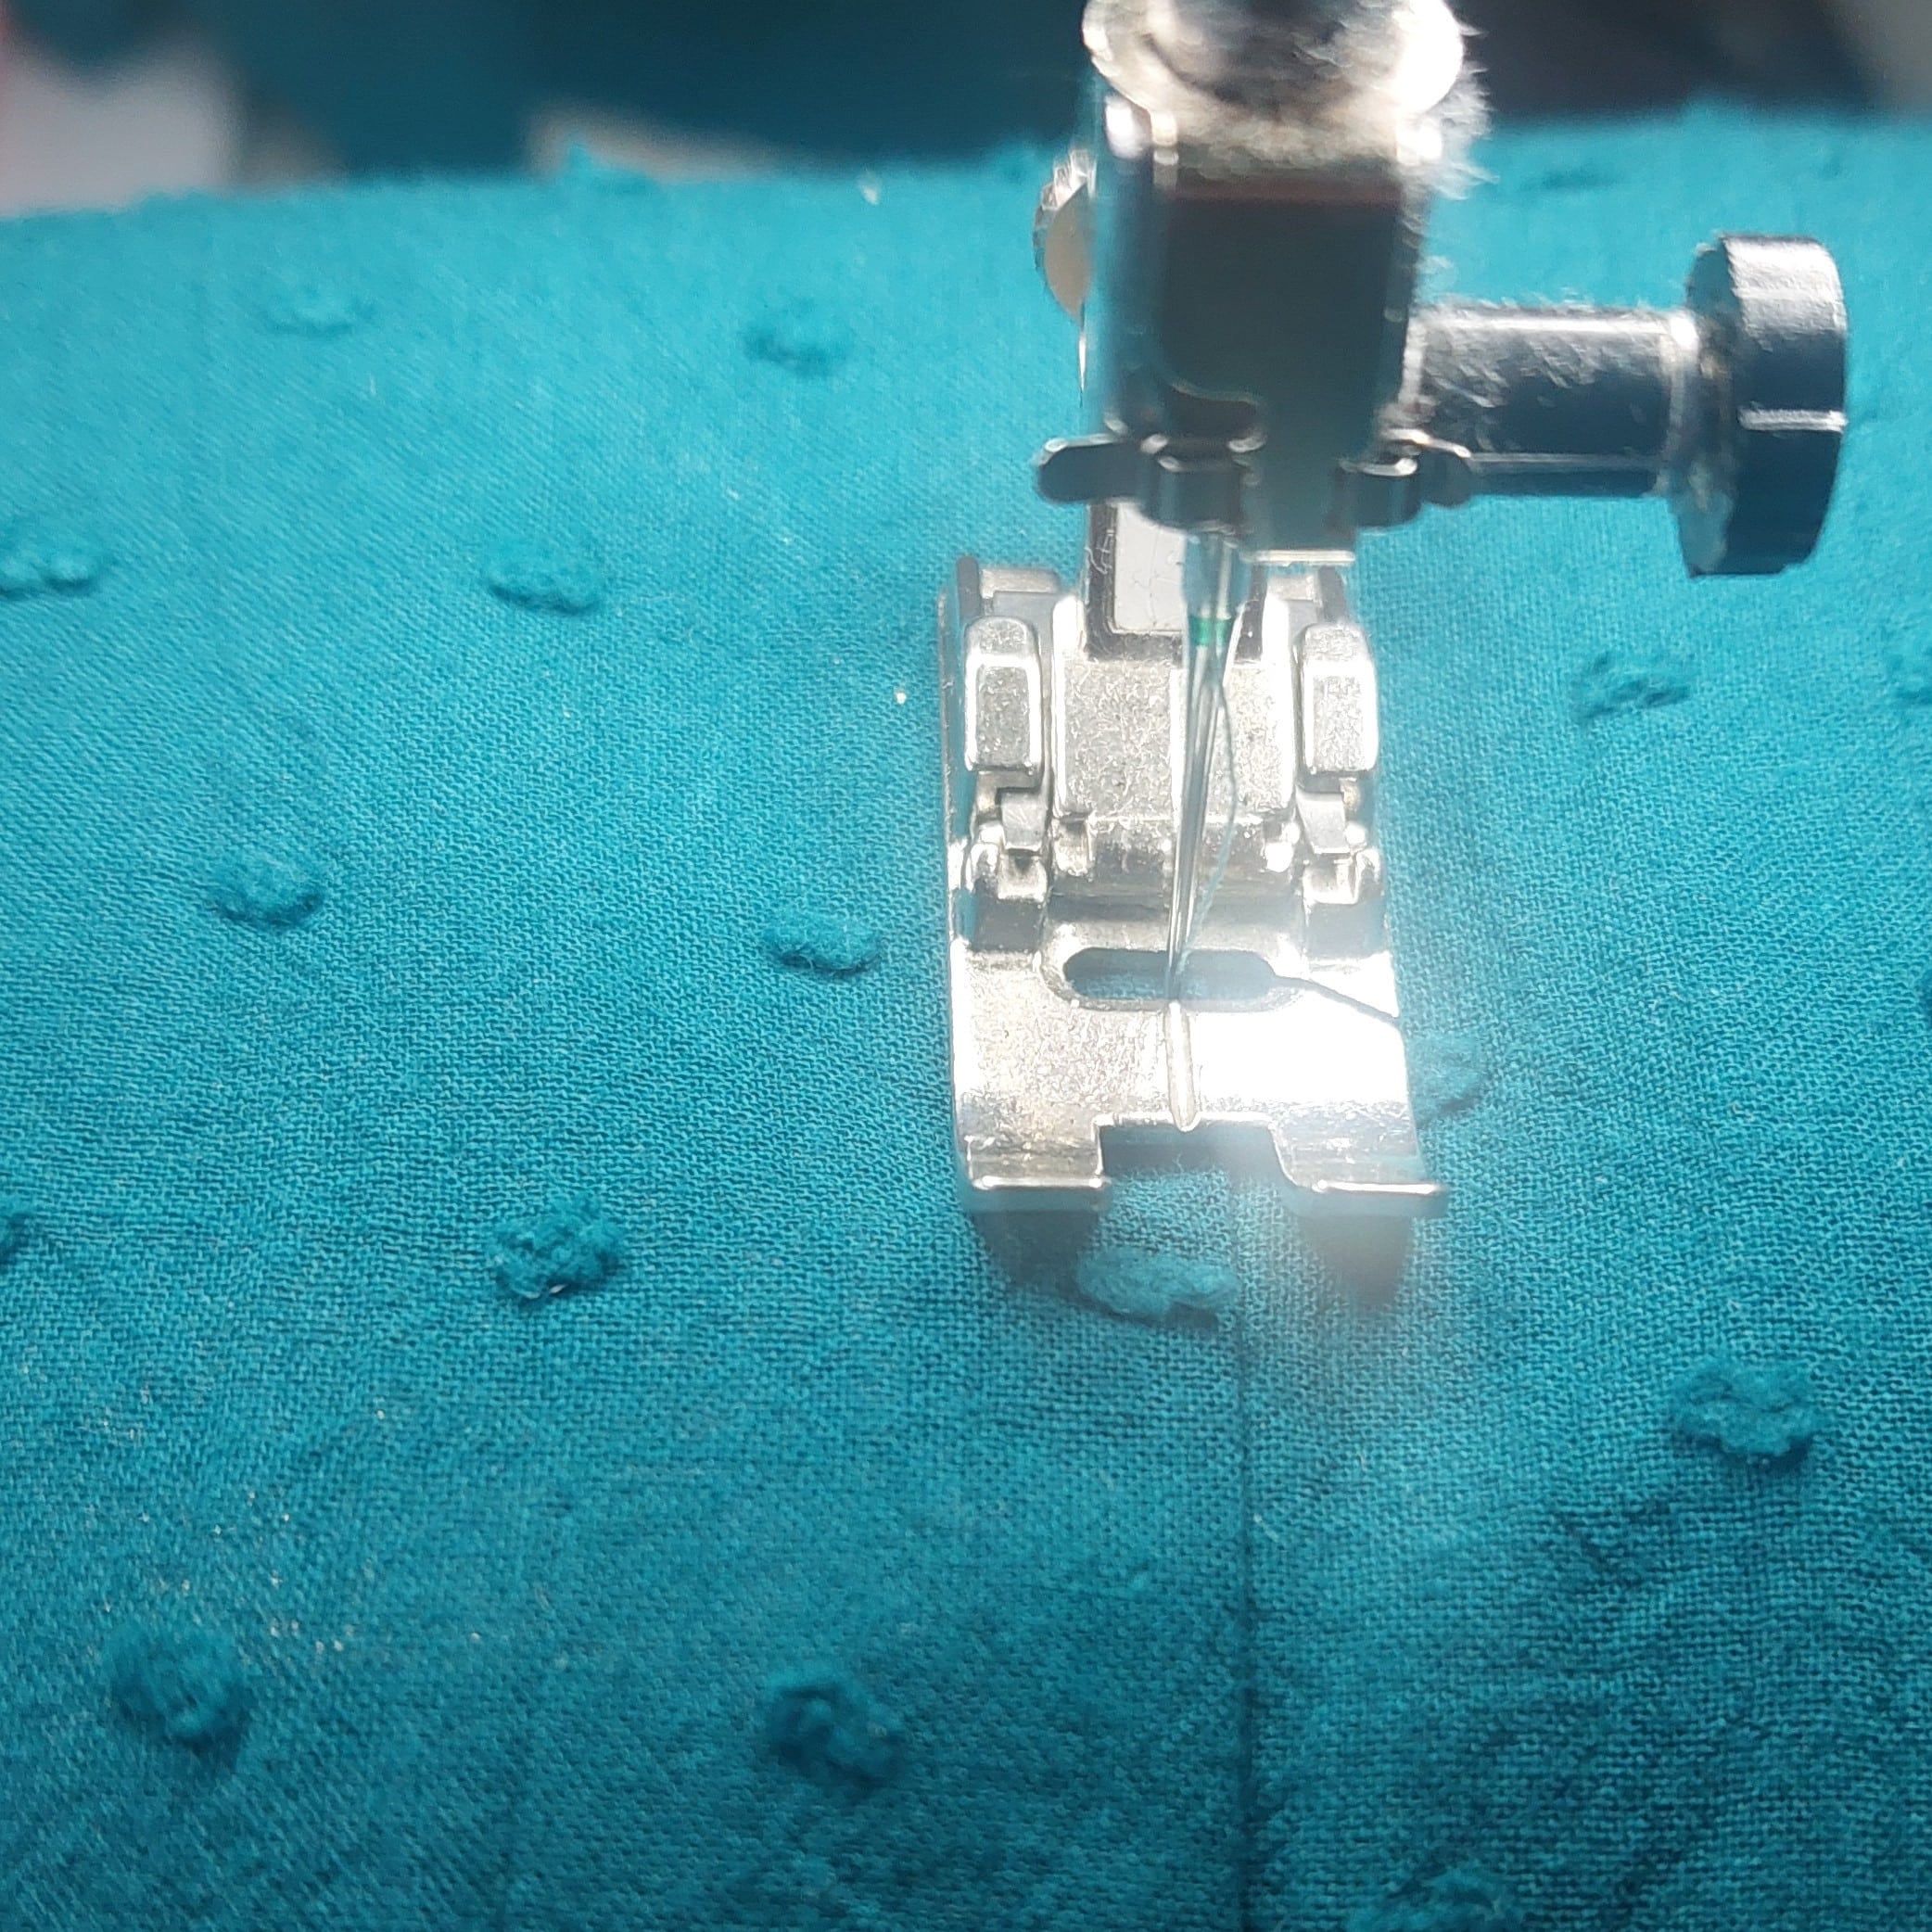
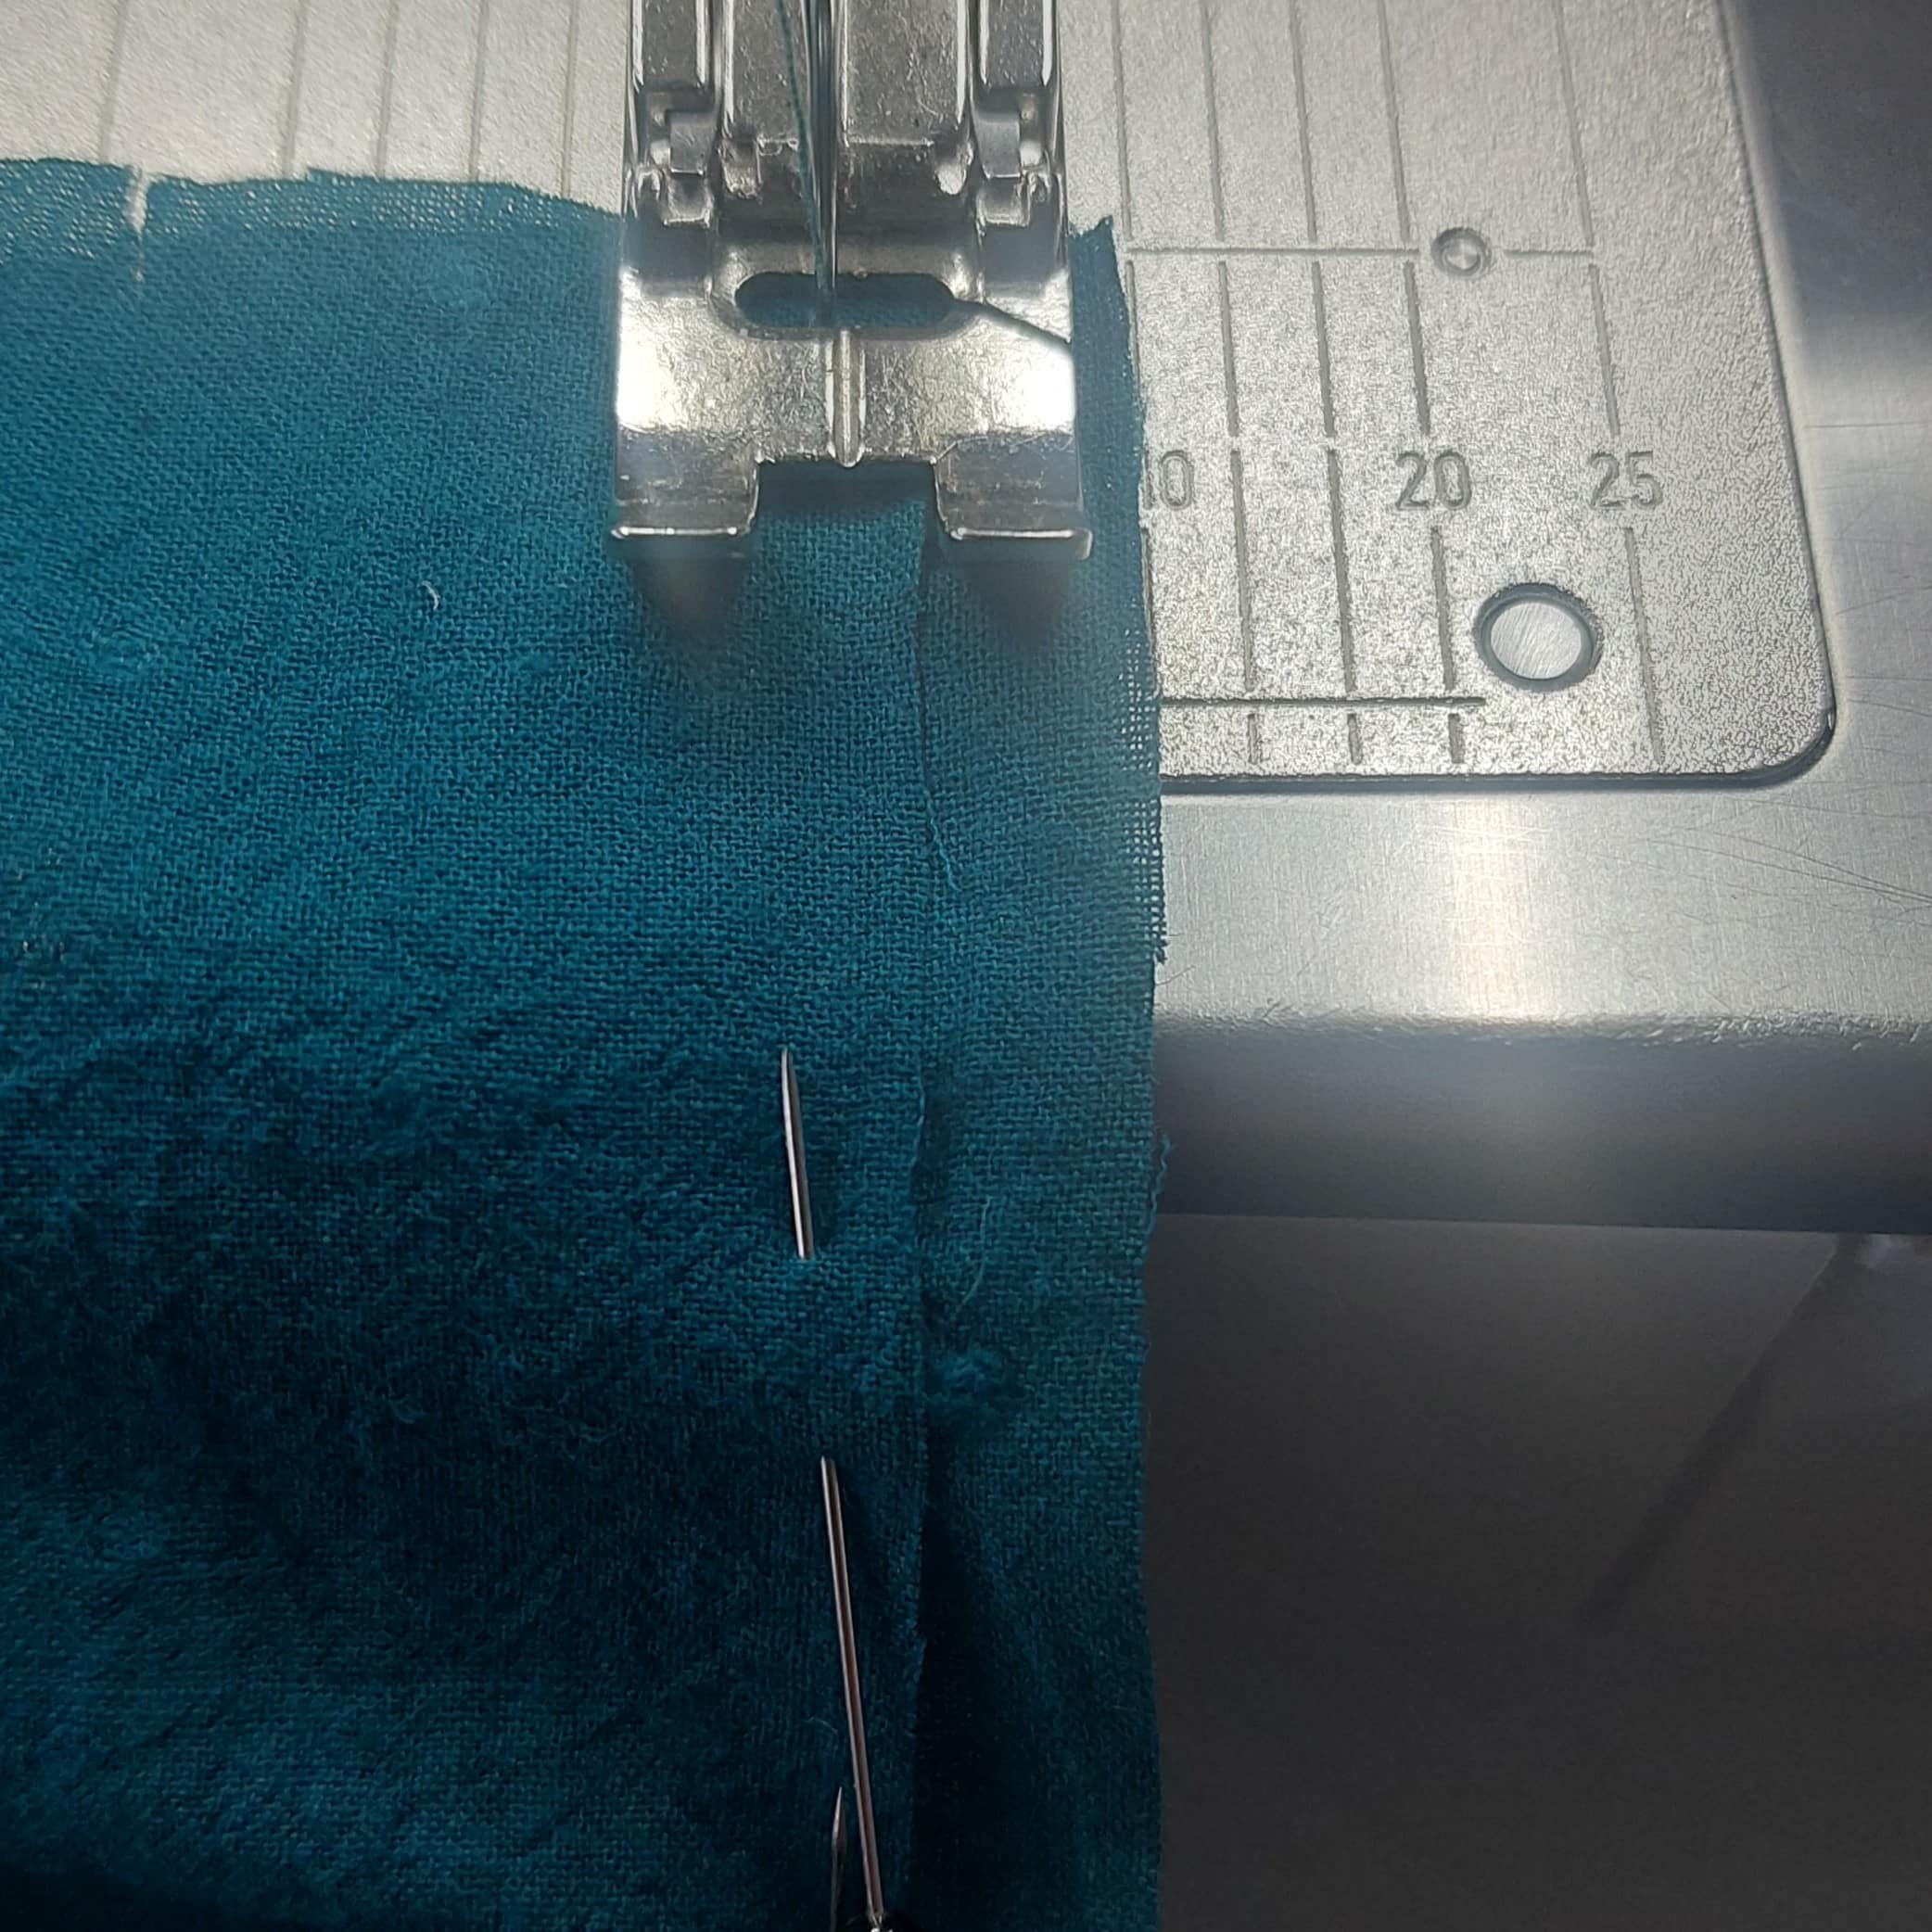
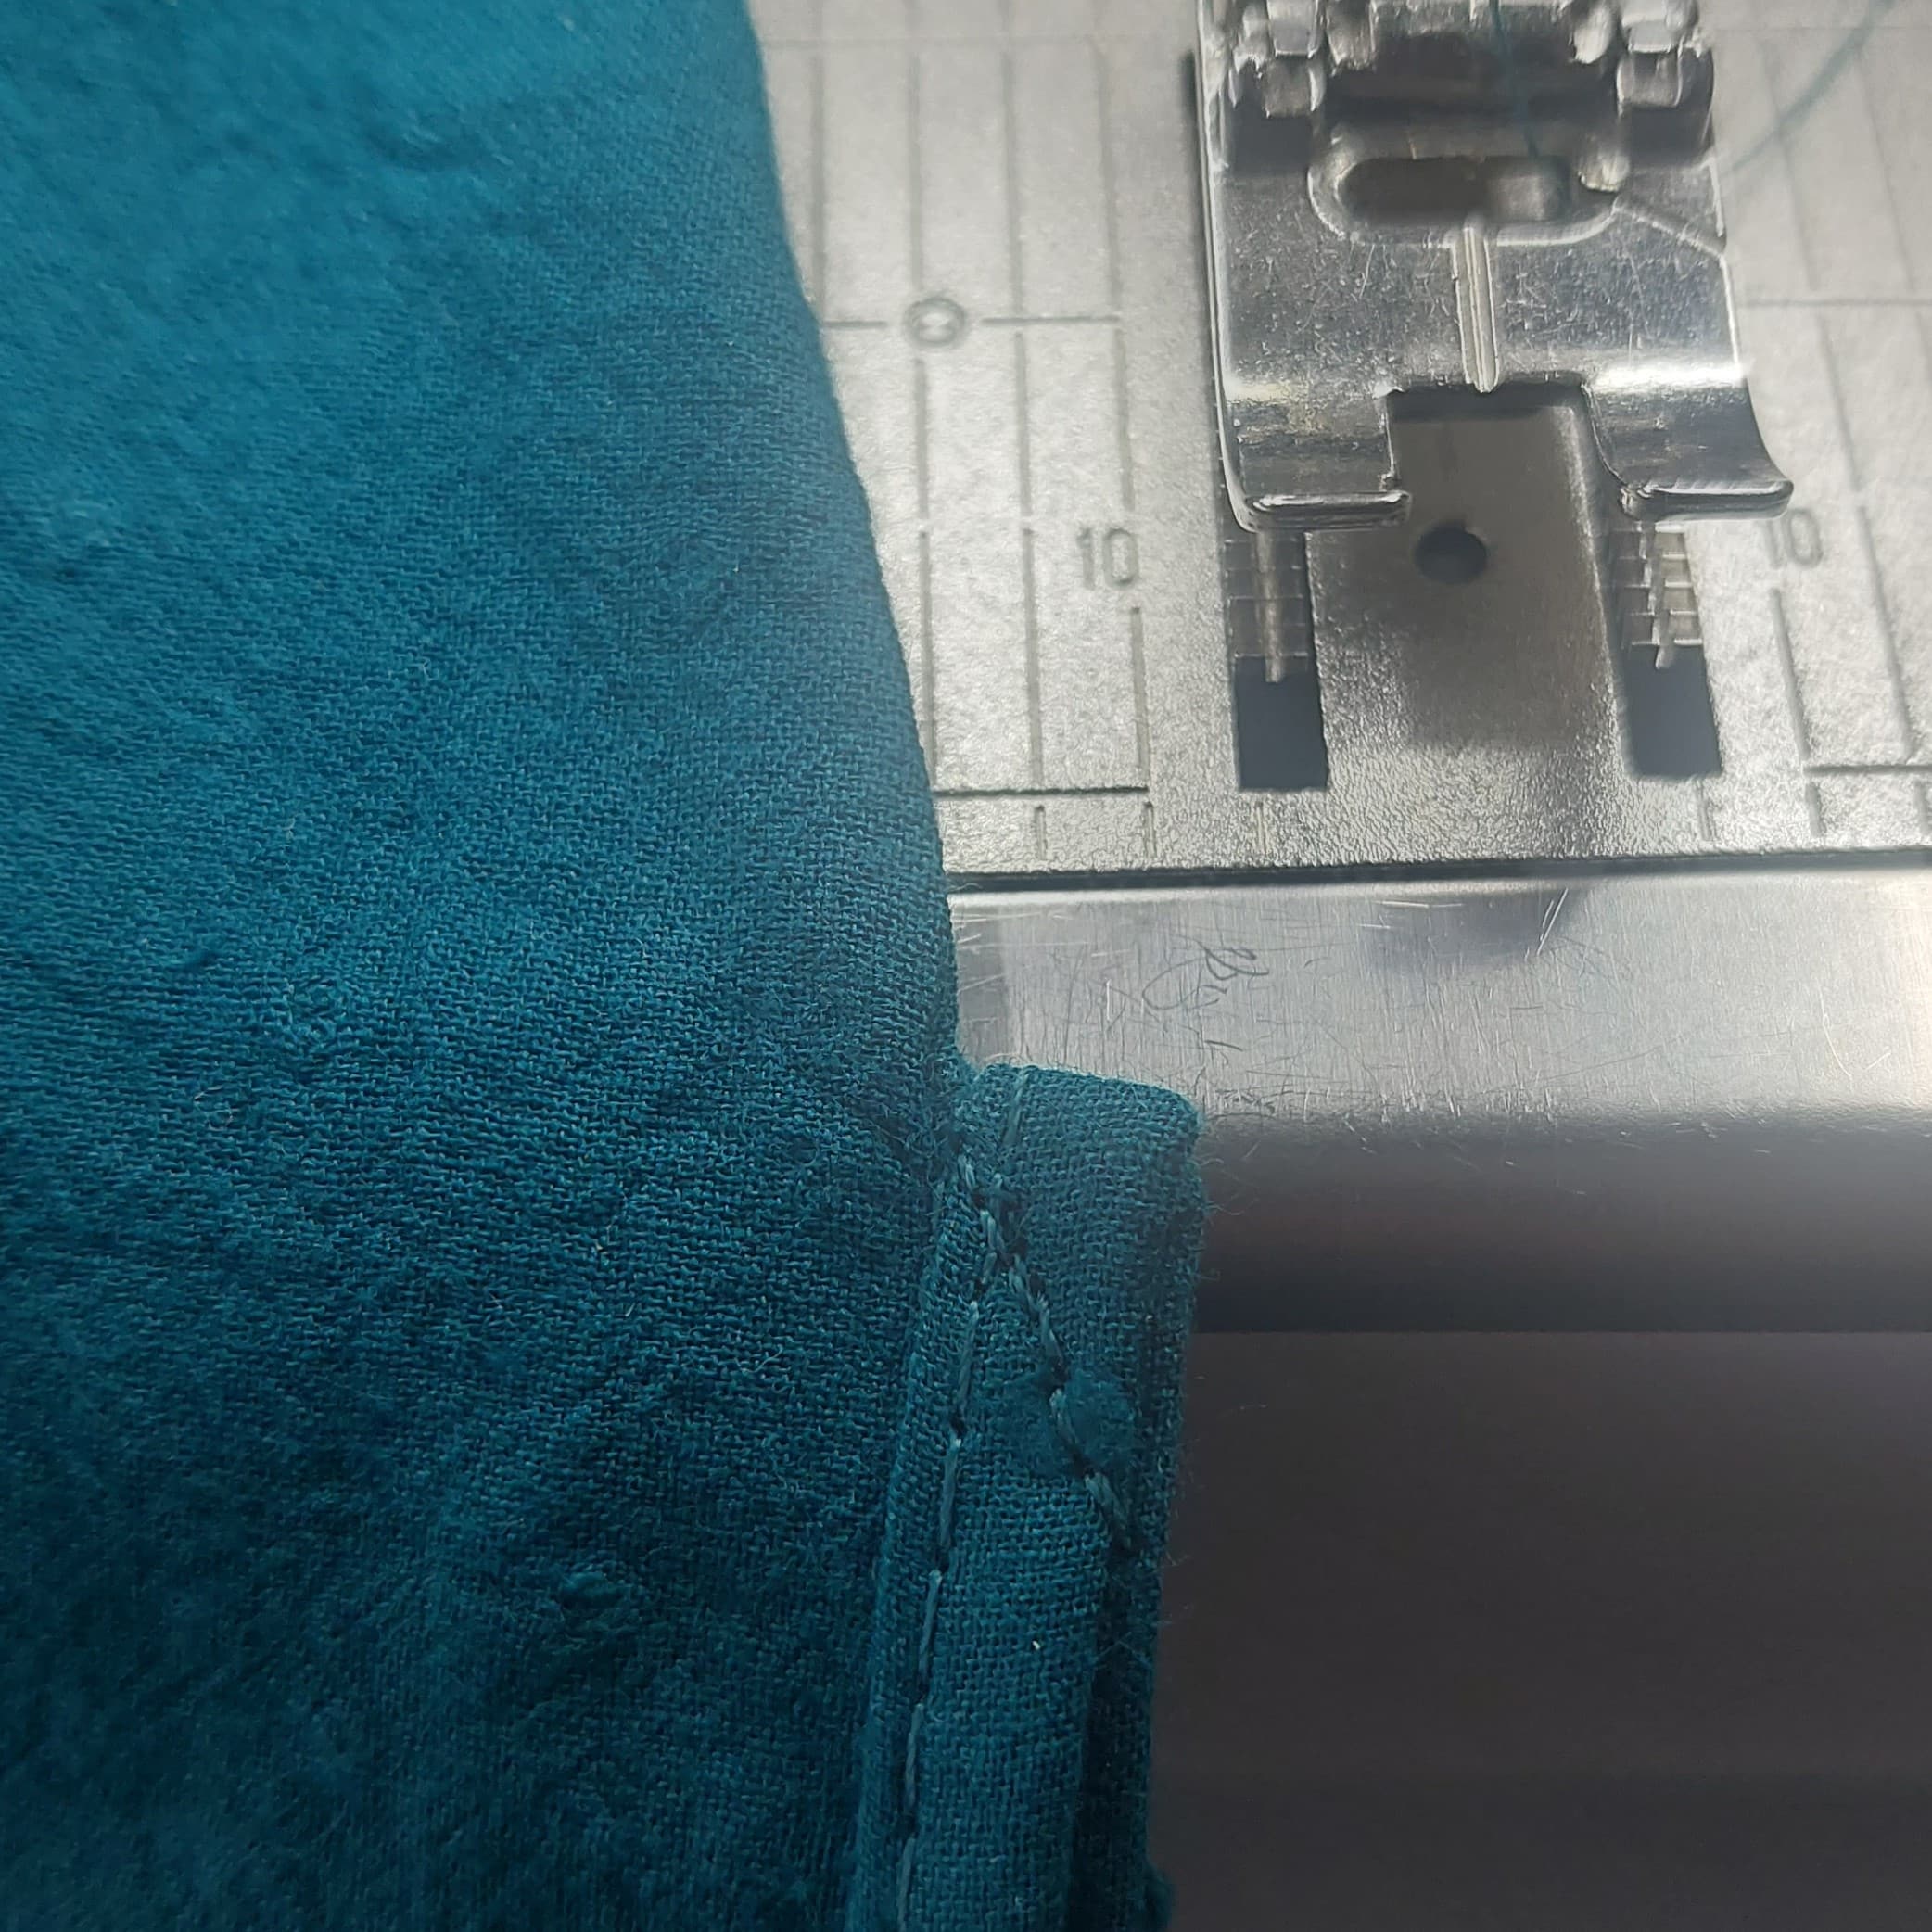
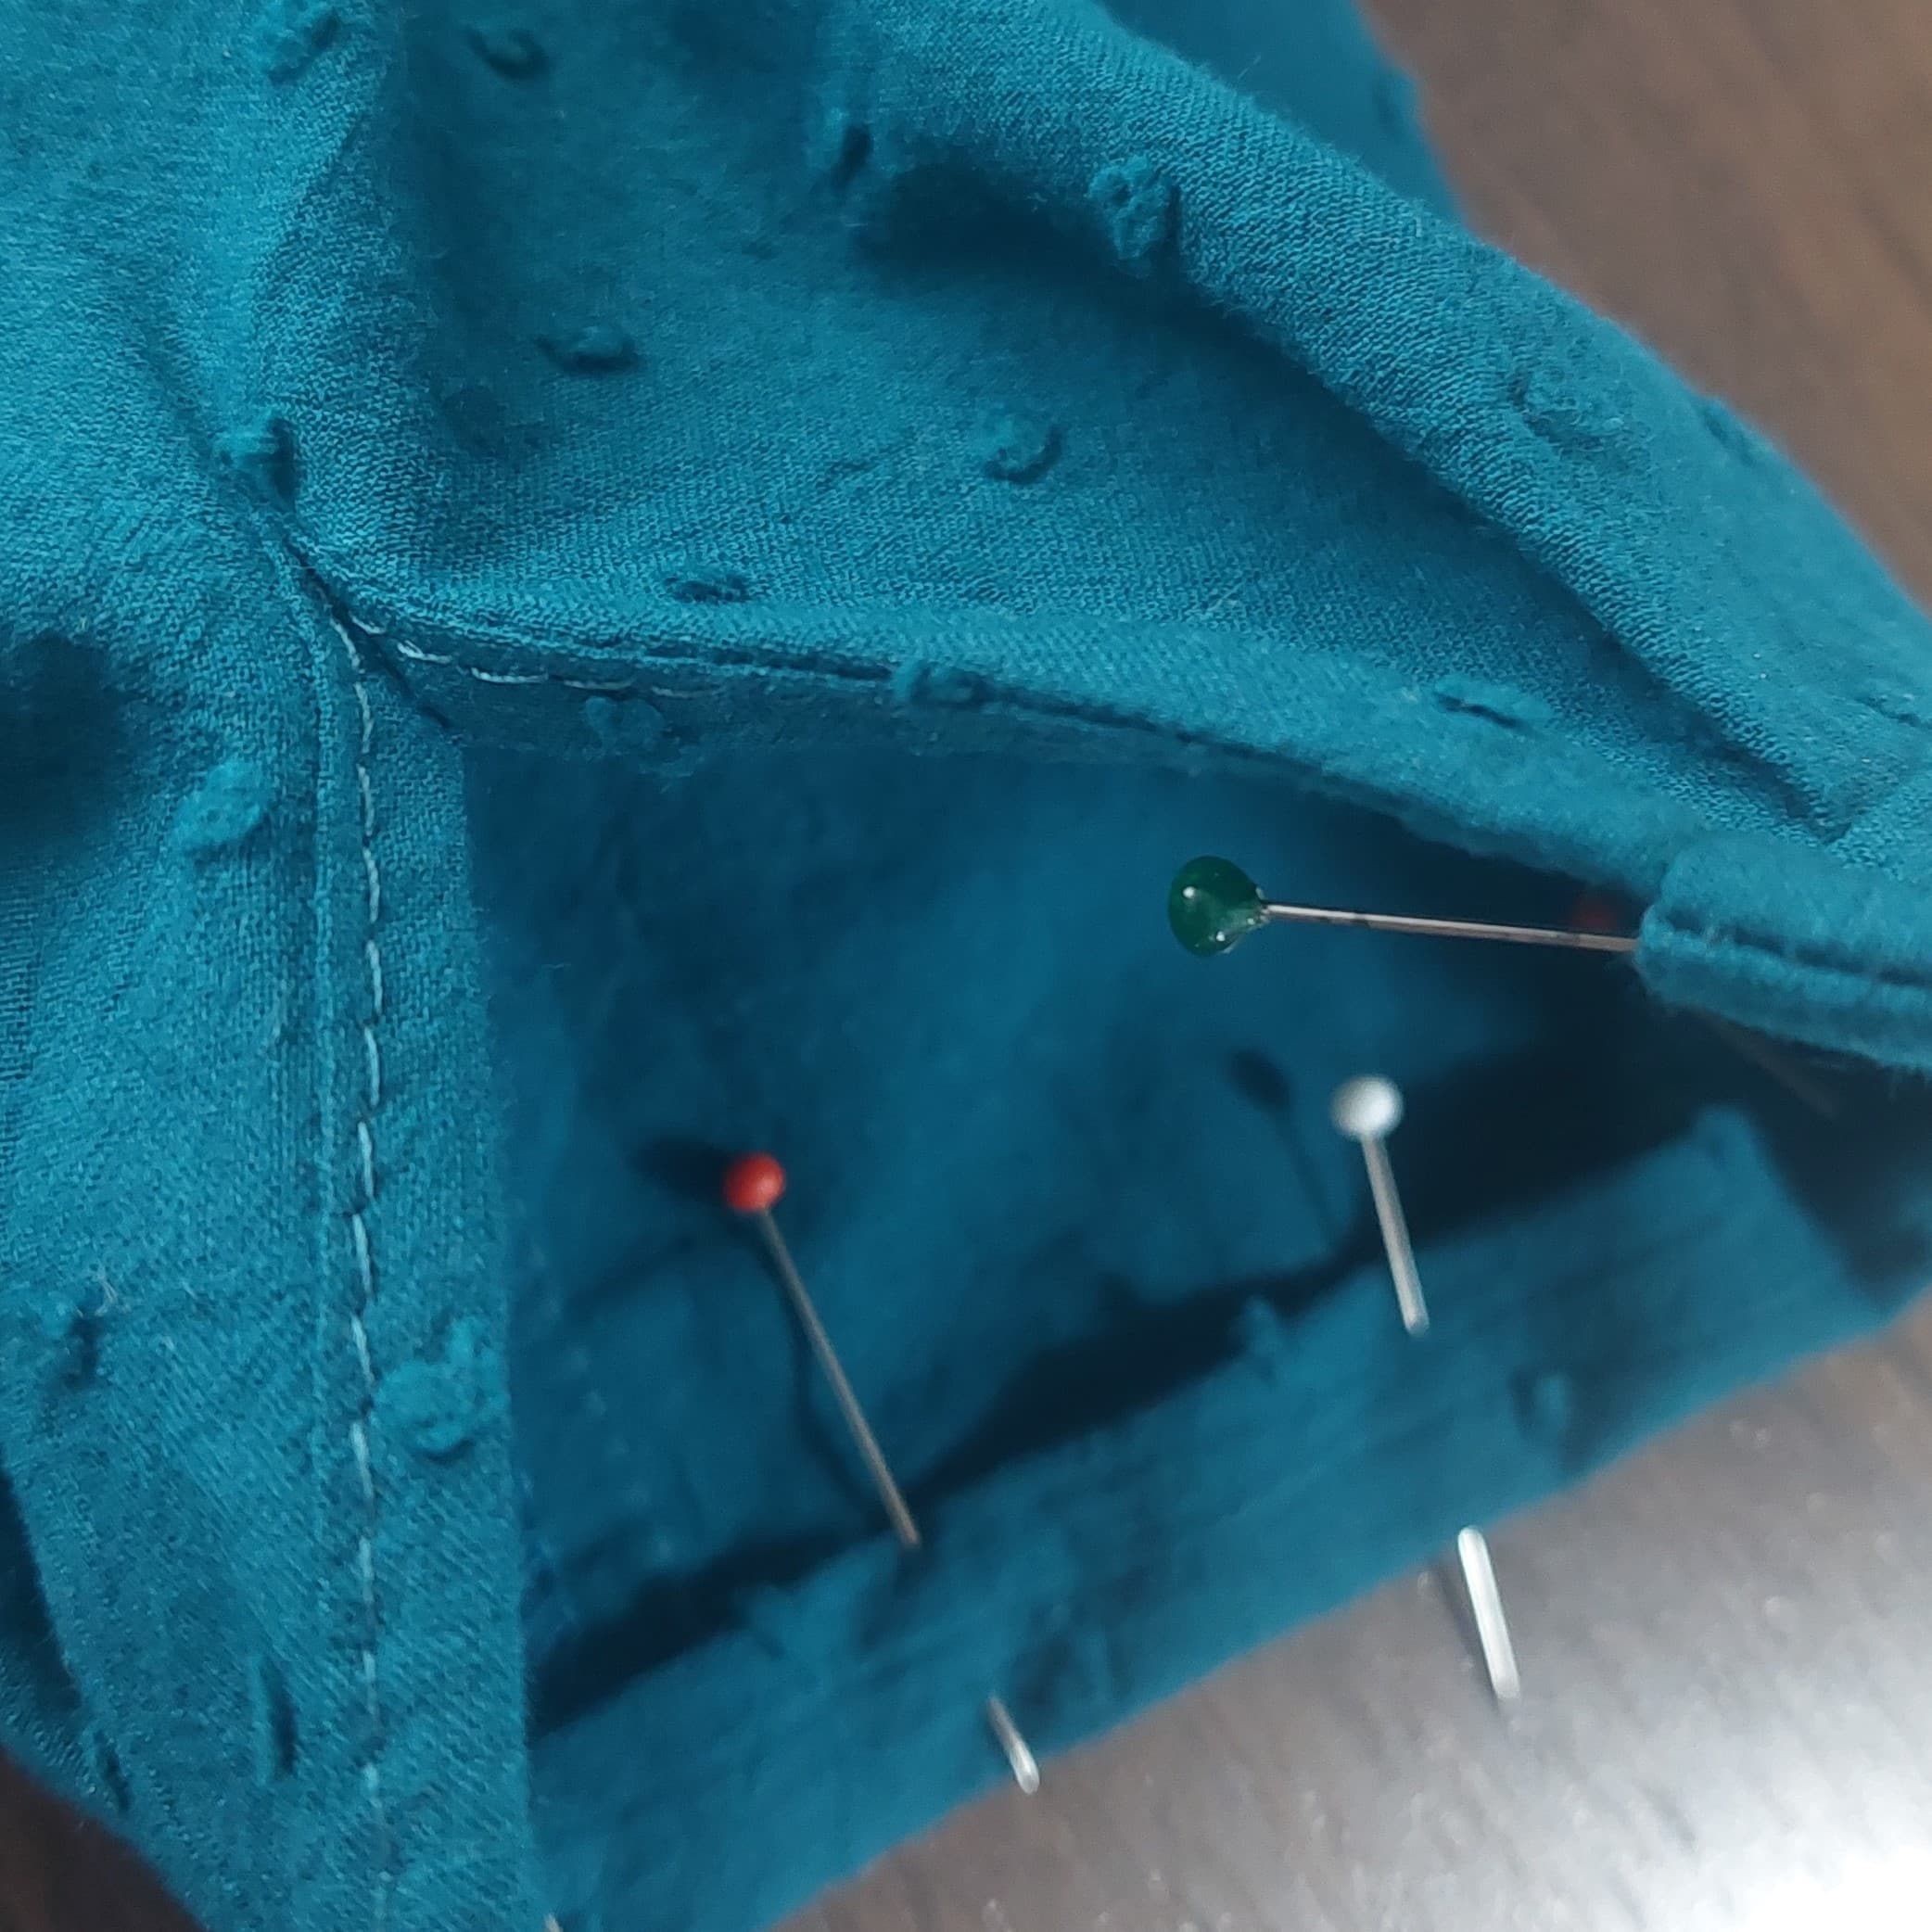
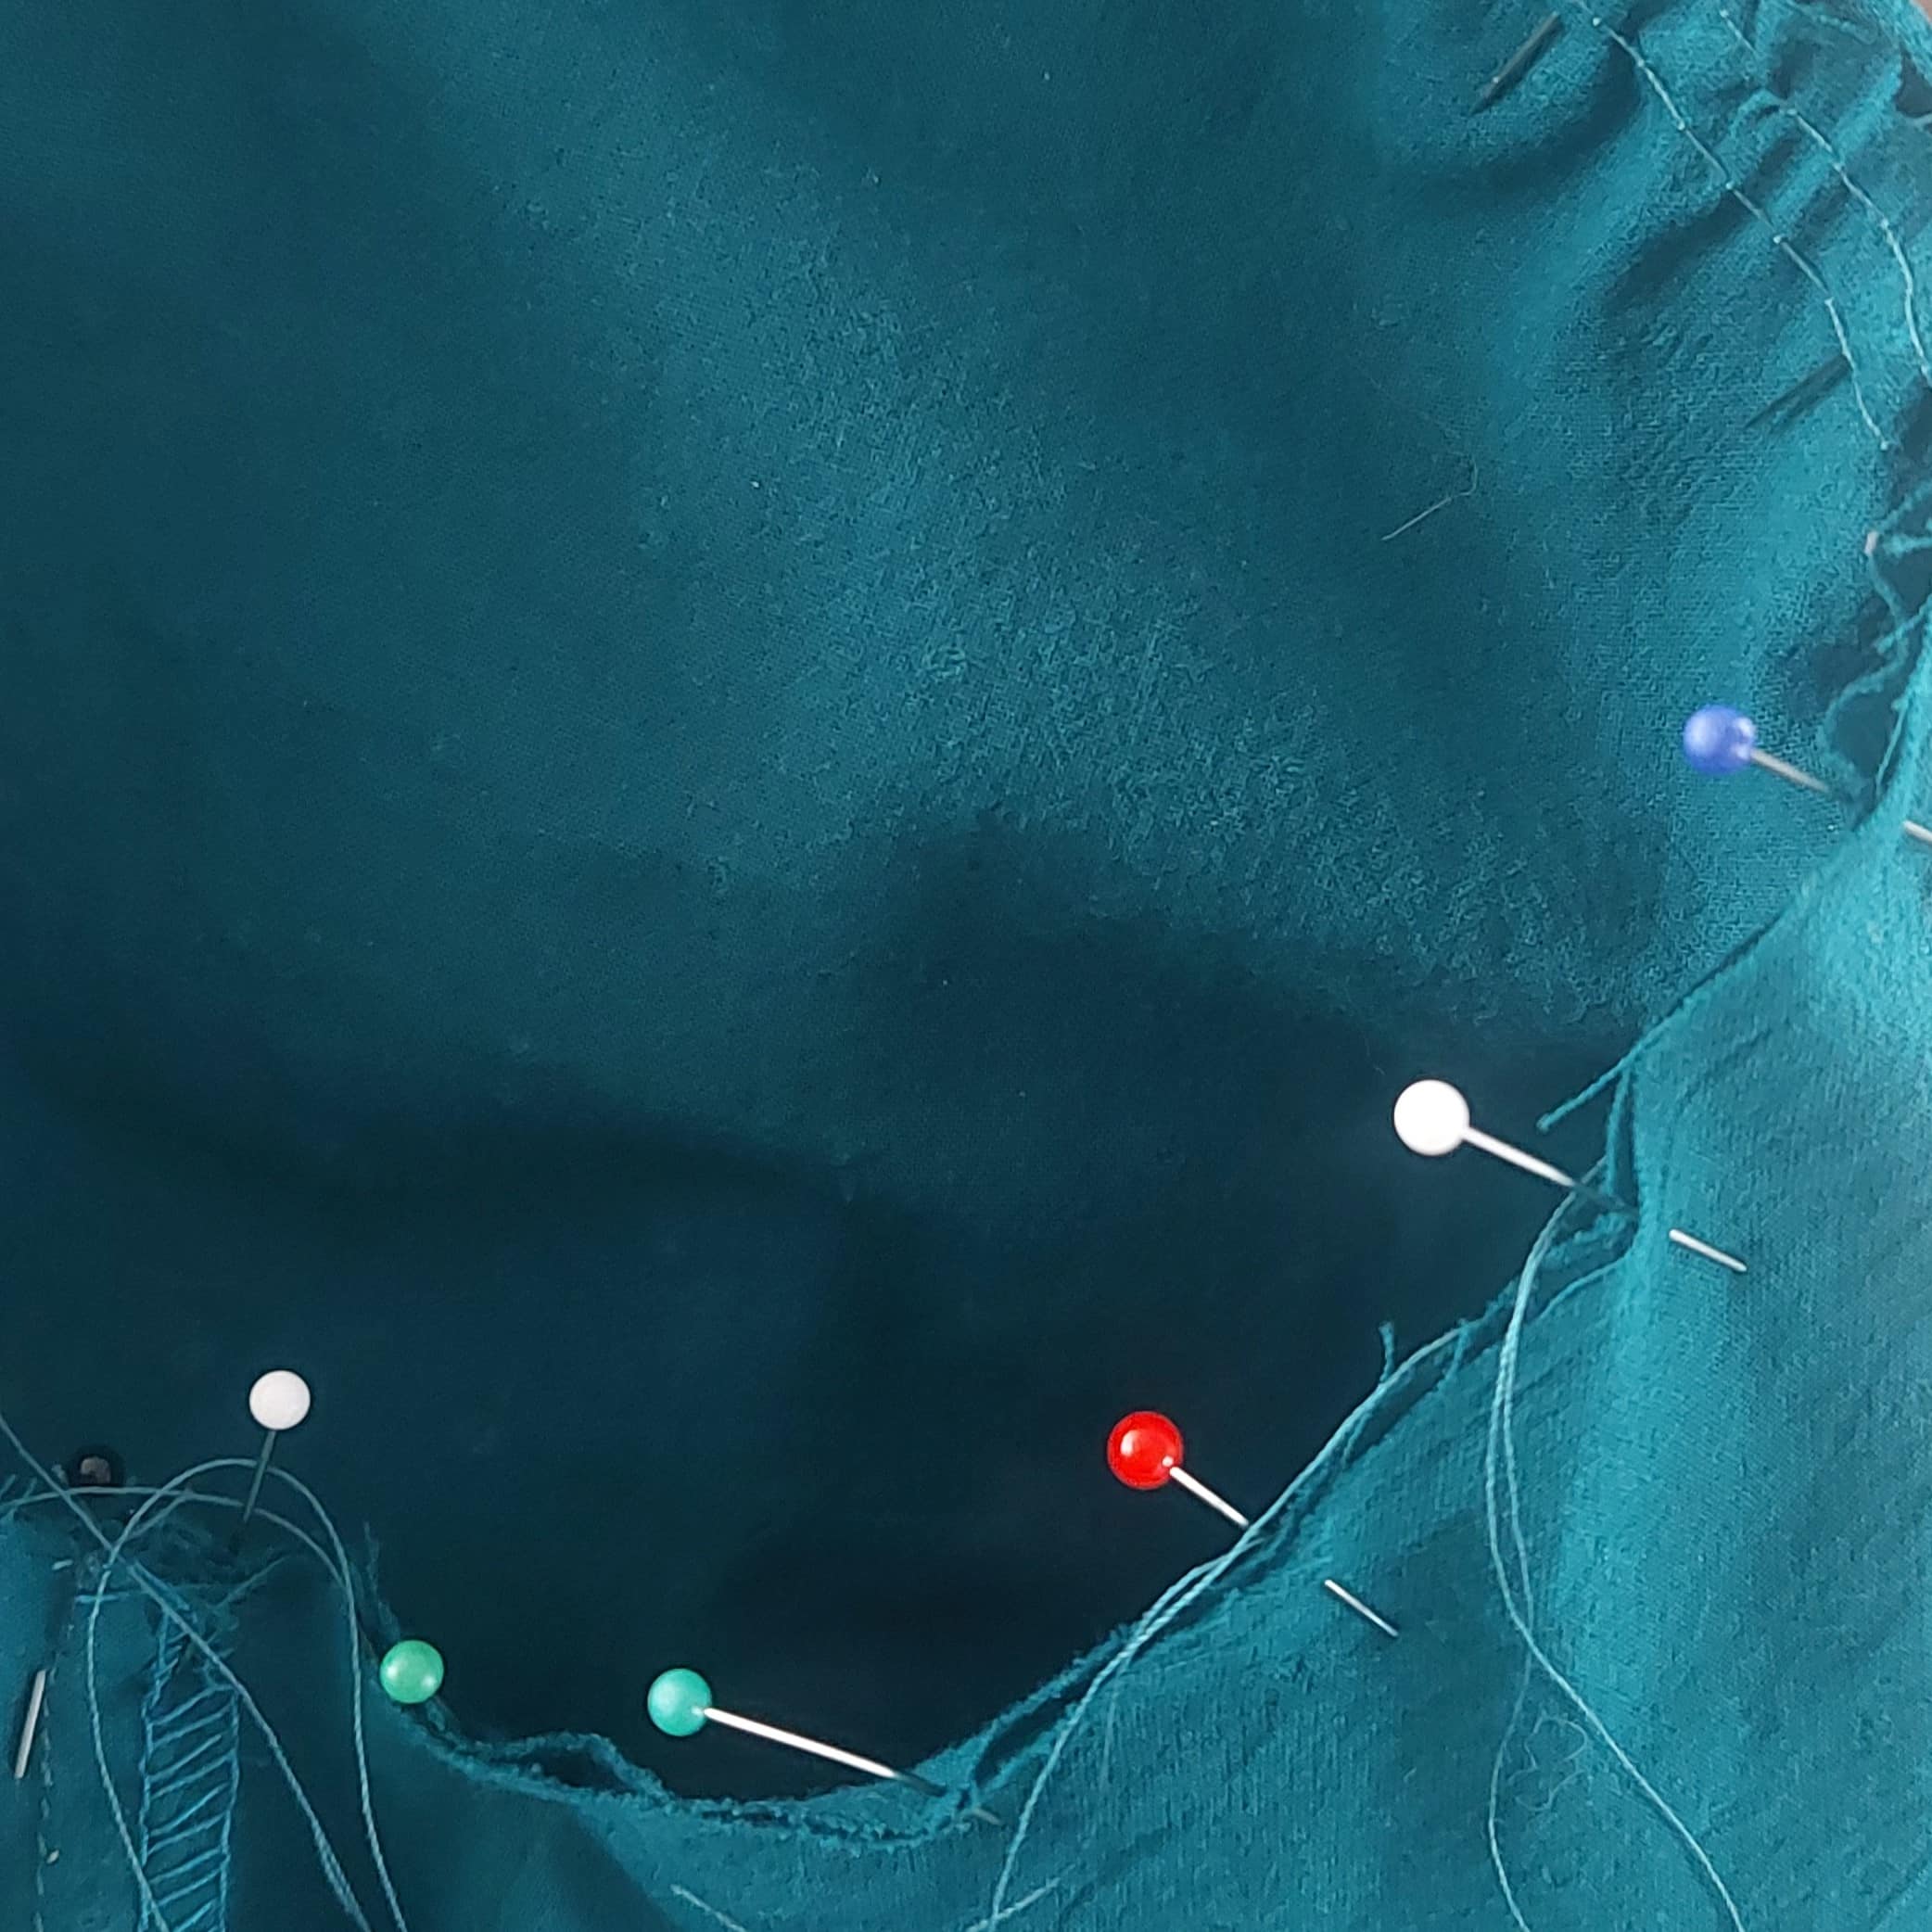
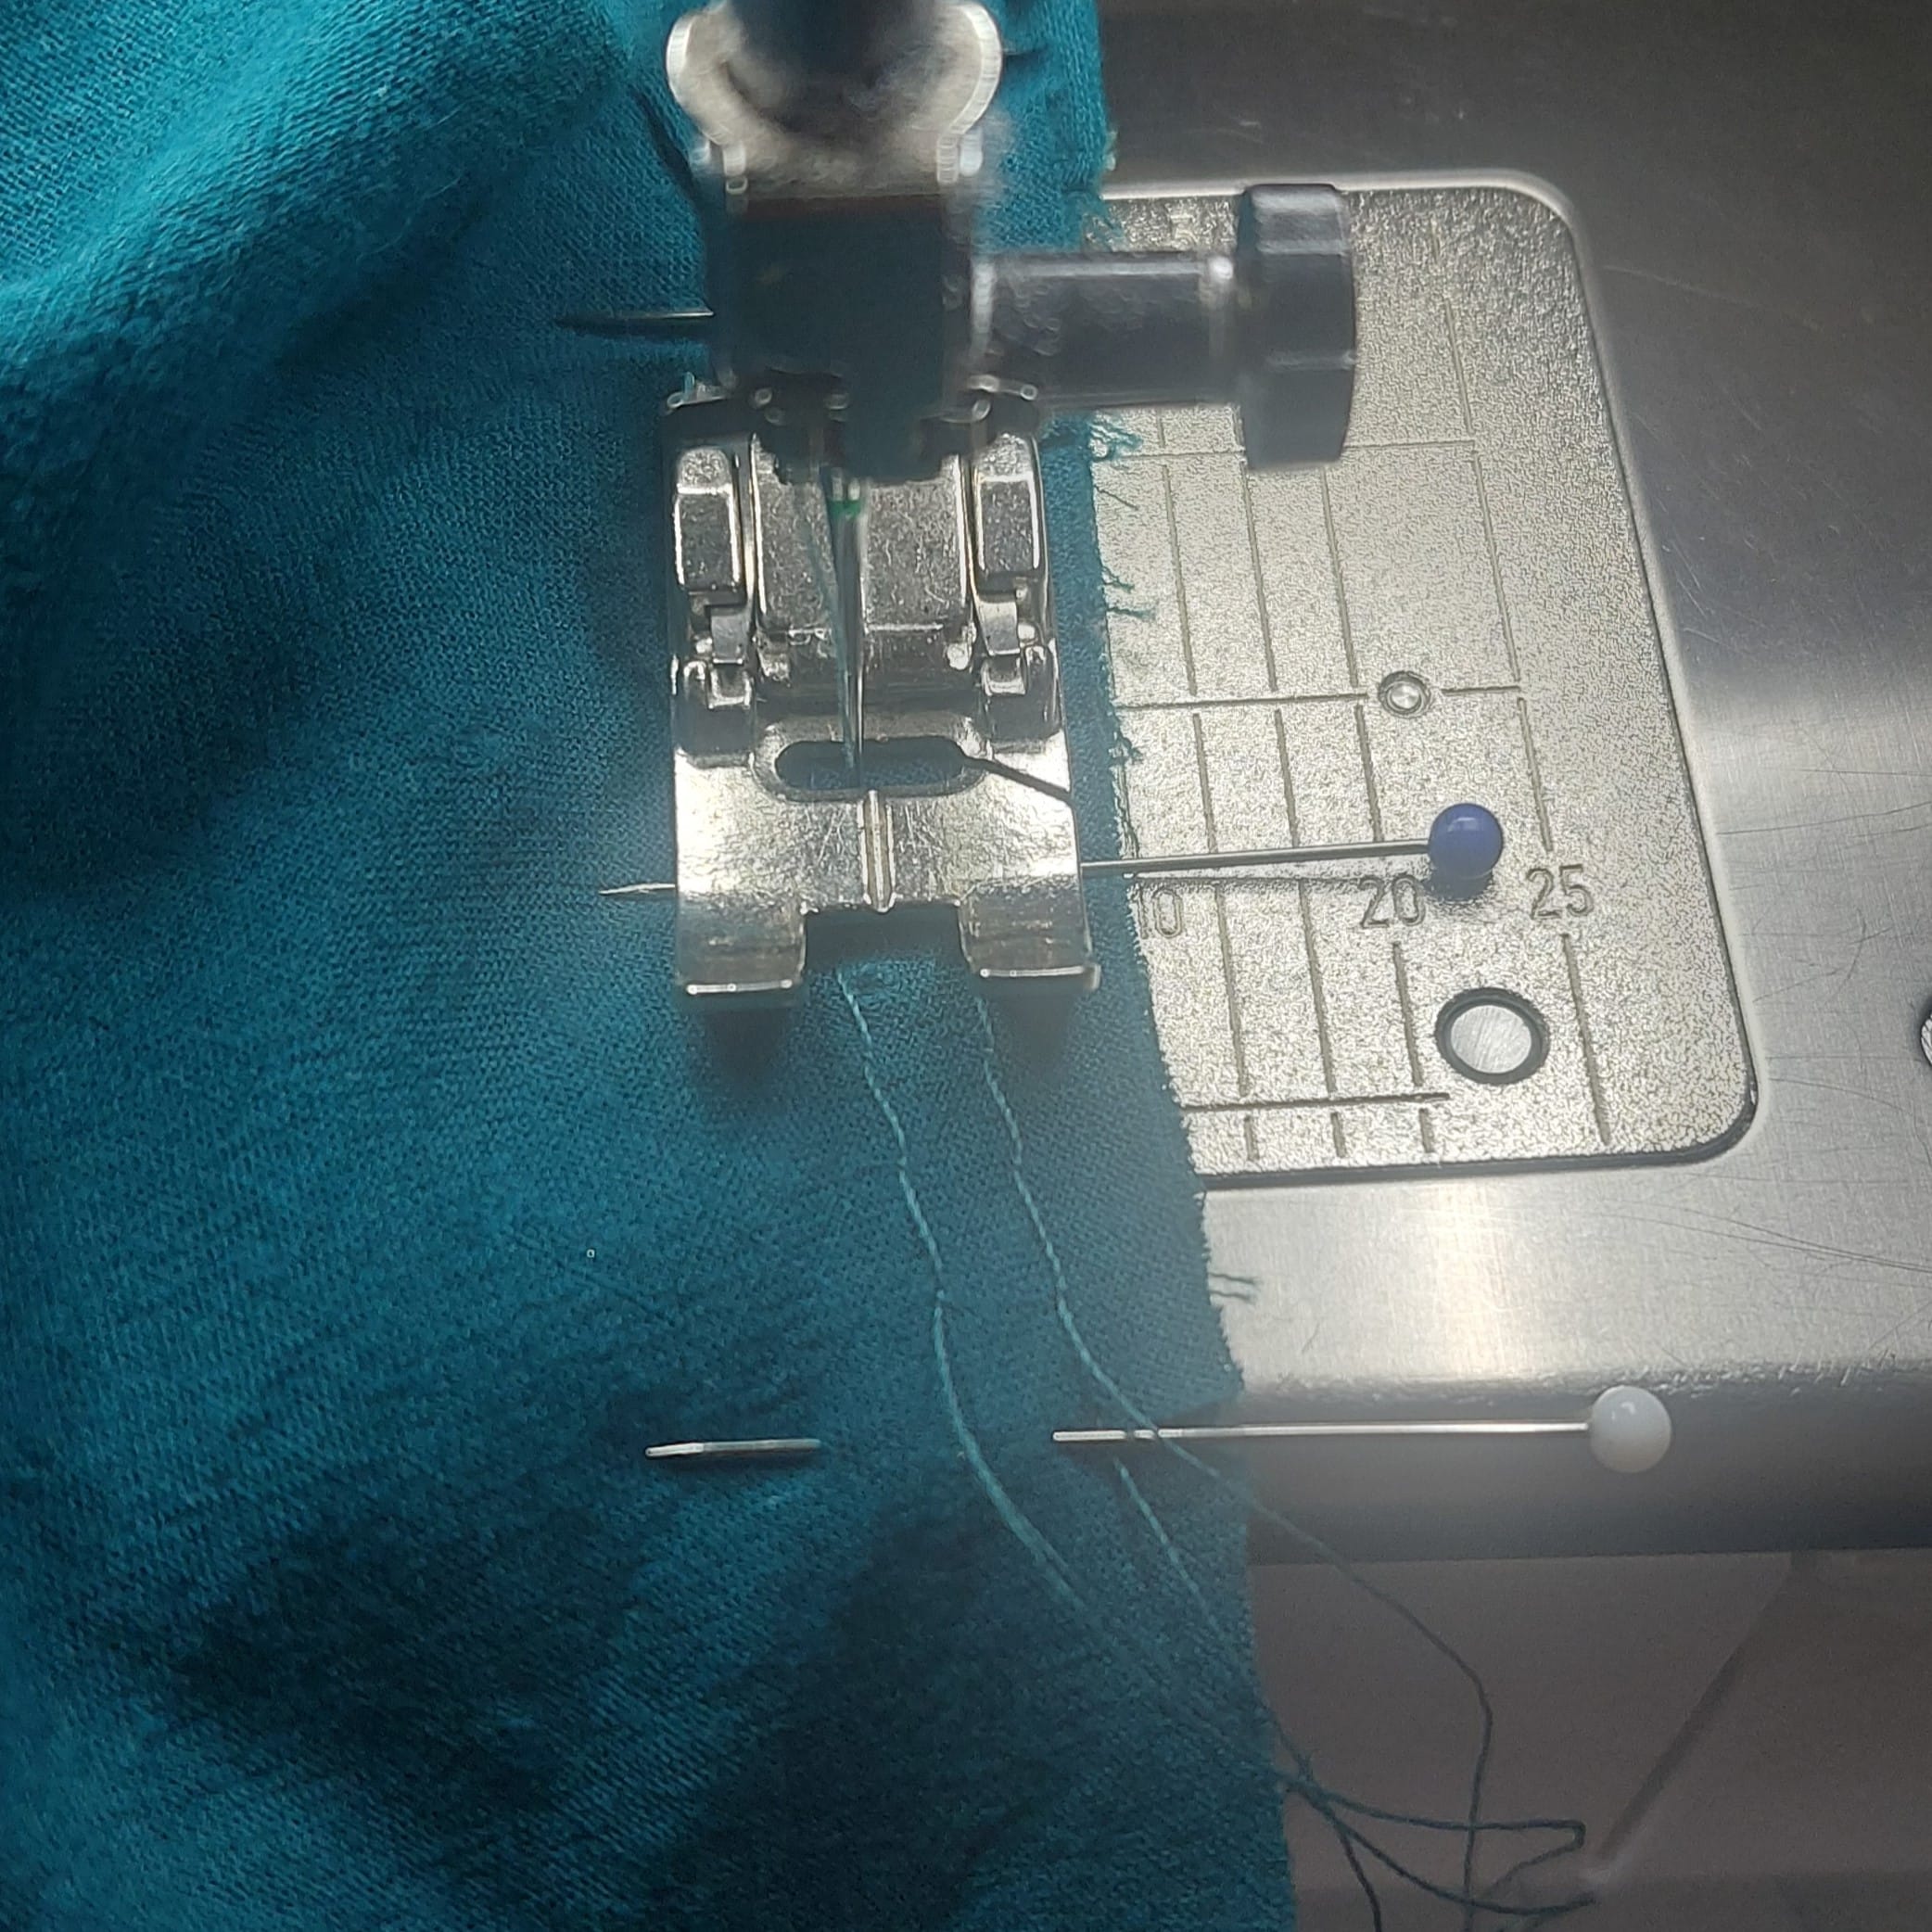
Cut the lower edge of the sleeve along the marked line. Lay the placket edges flat and pin and stitch them according to the illustration on the placket facing. See illustration 13 in the Burda pattern and the images in this tutorial.

Turn the facing inward, fold in, pin along the attachment seam, and stitch. Fold the placket in half with the right side inside, stitch diagonally at the end. See illustrations 14, 14a in the Burda pattern and the images in this tutorial.

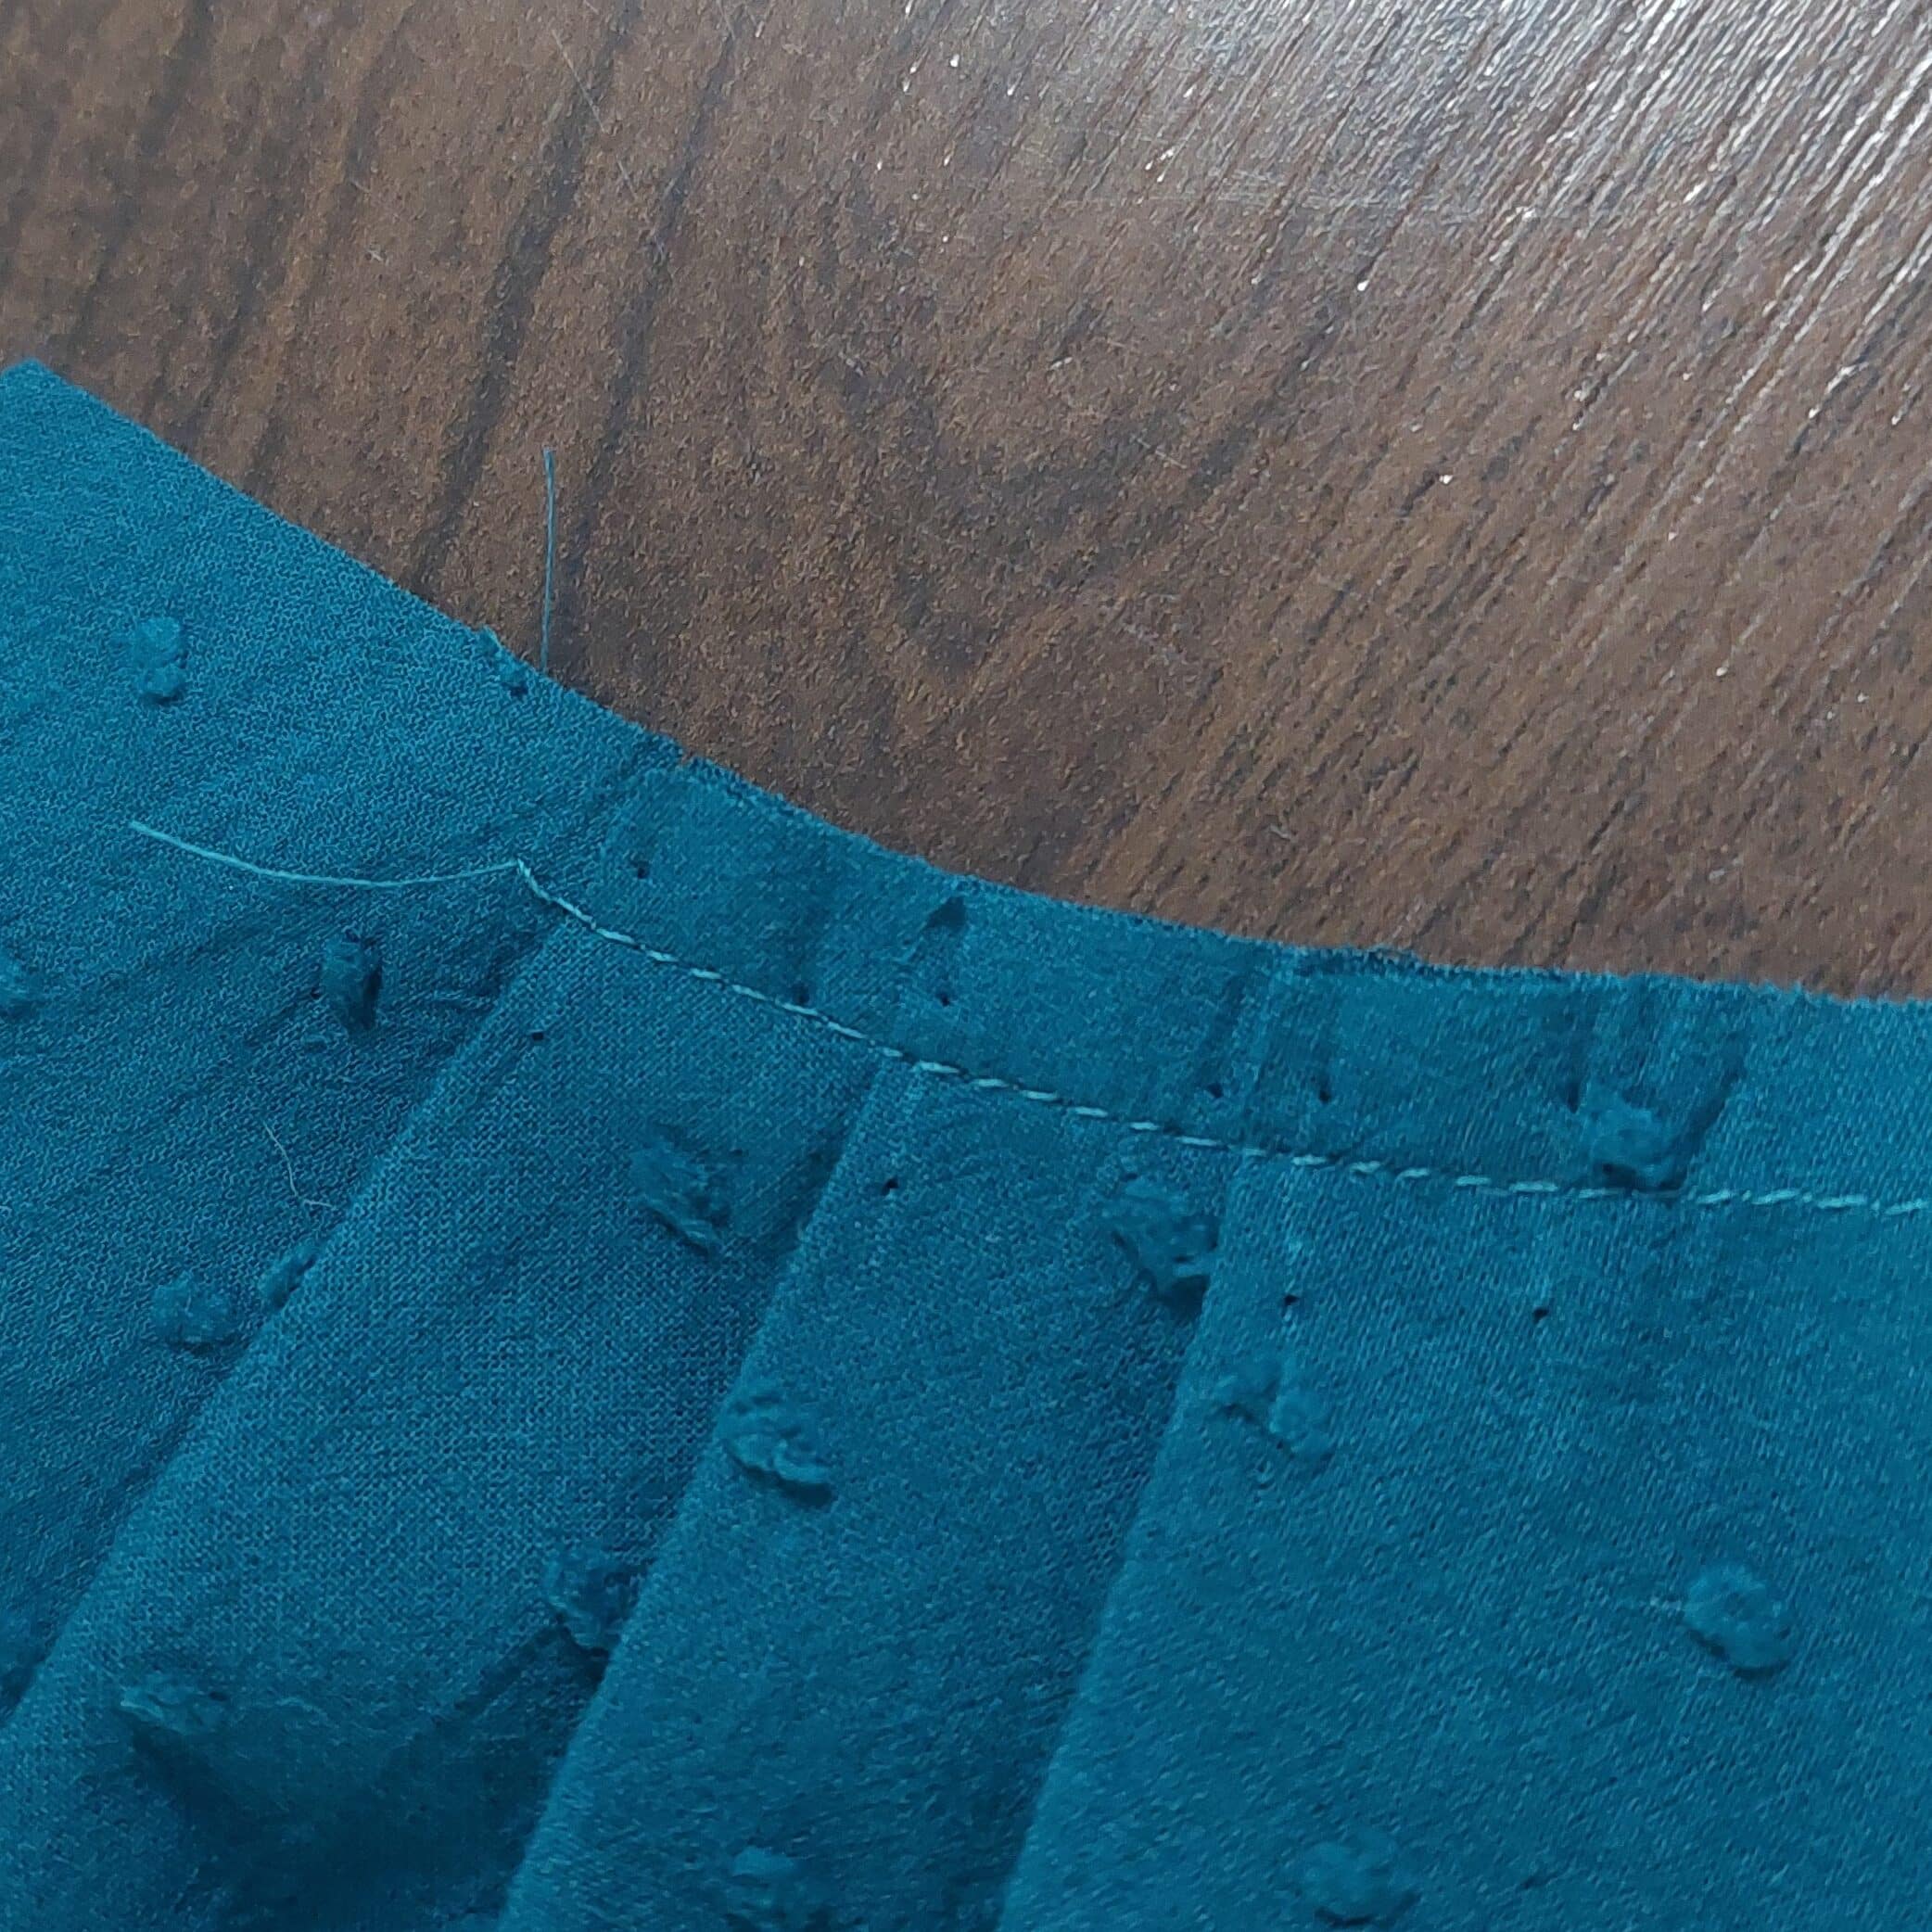
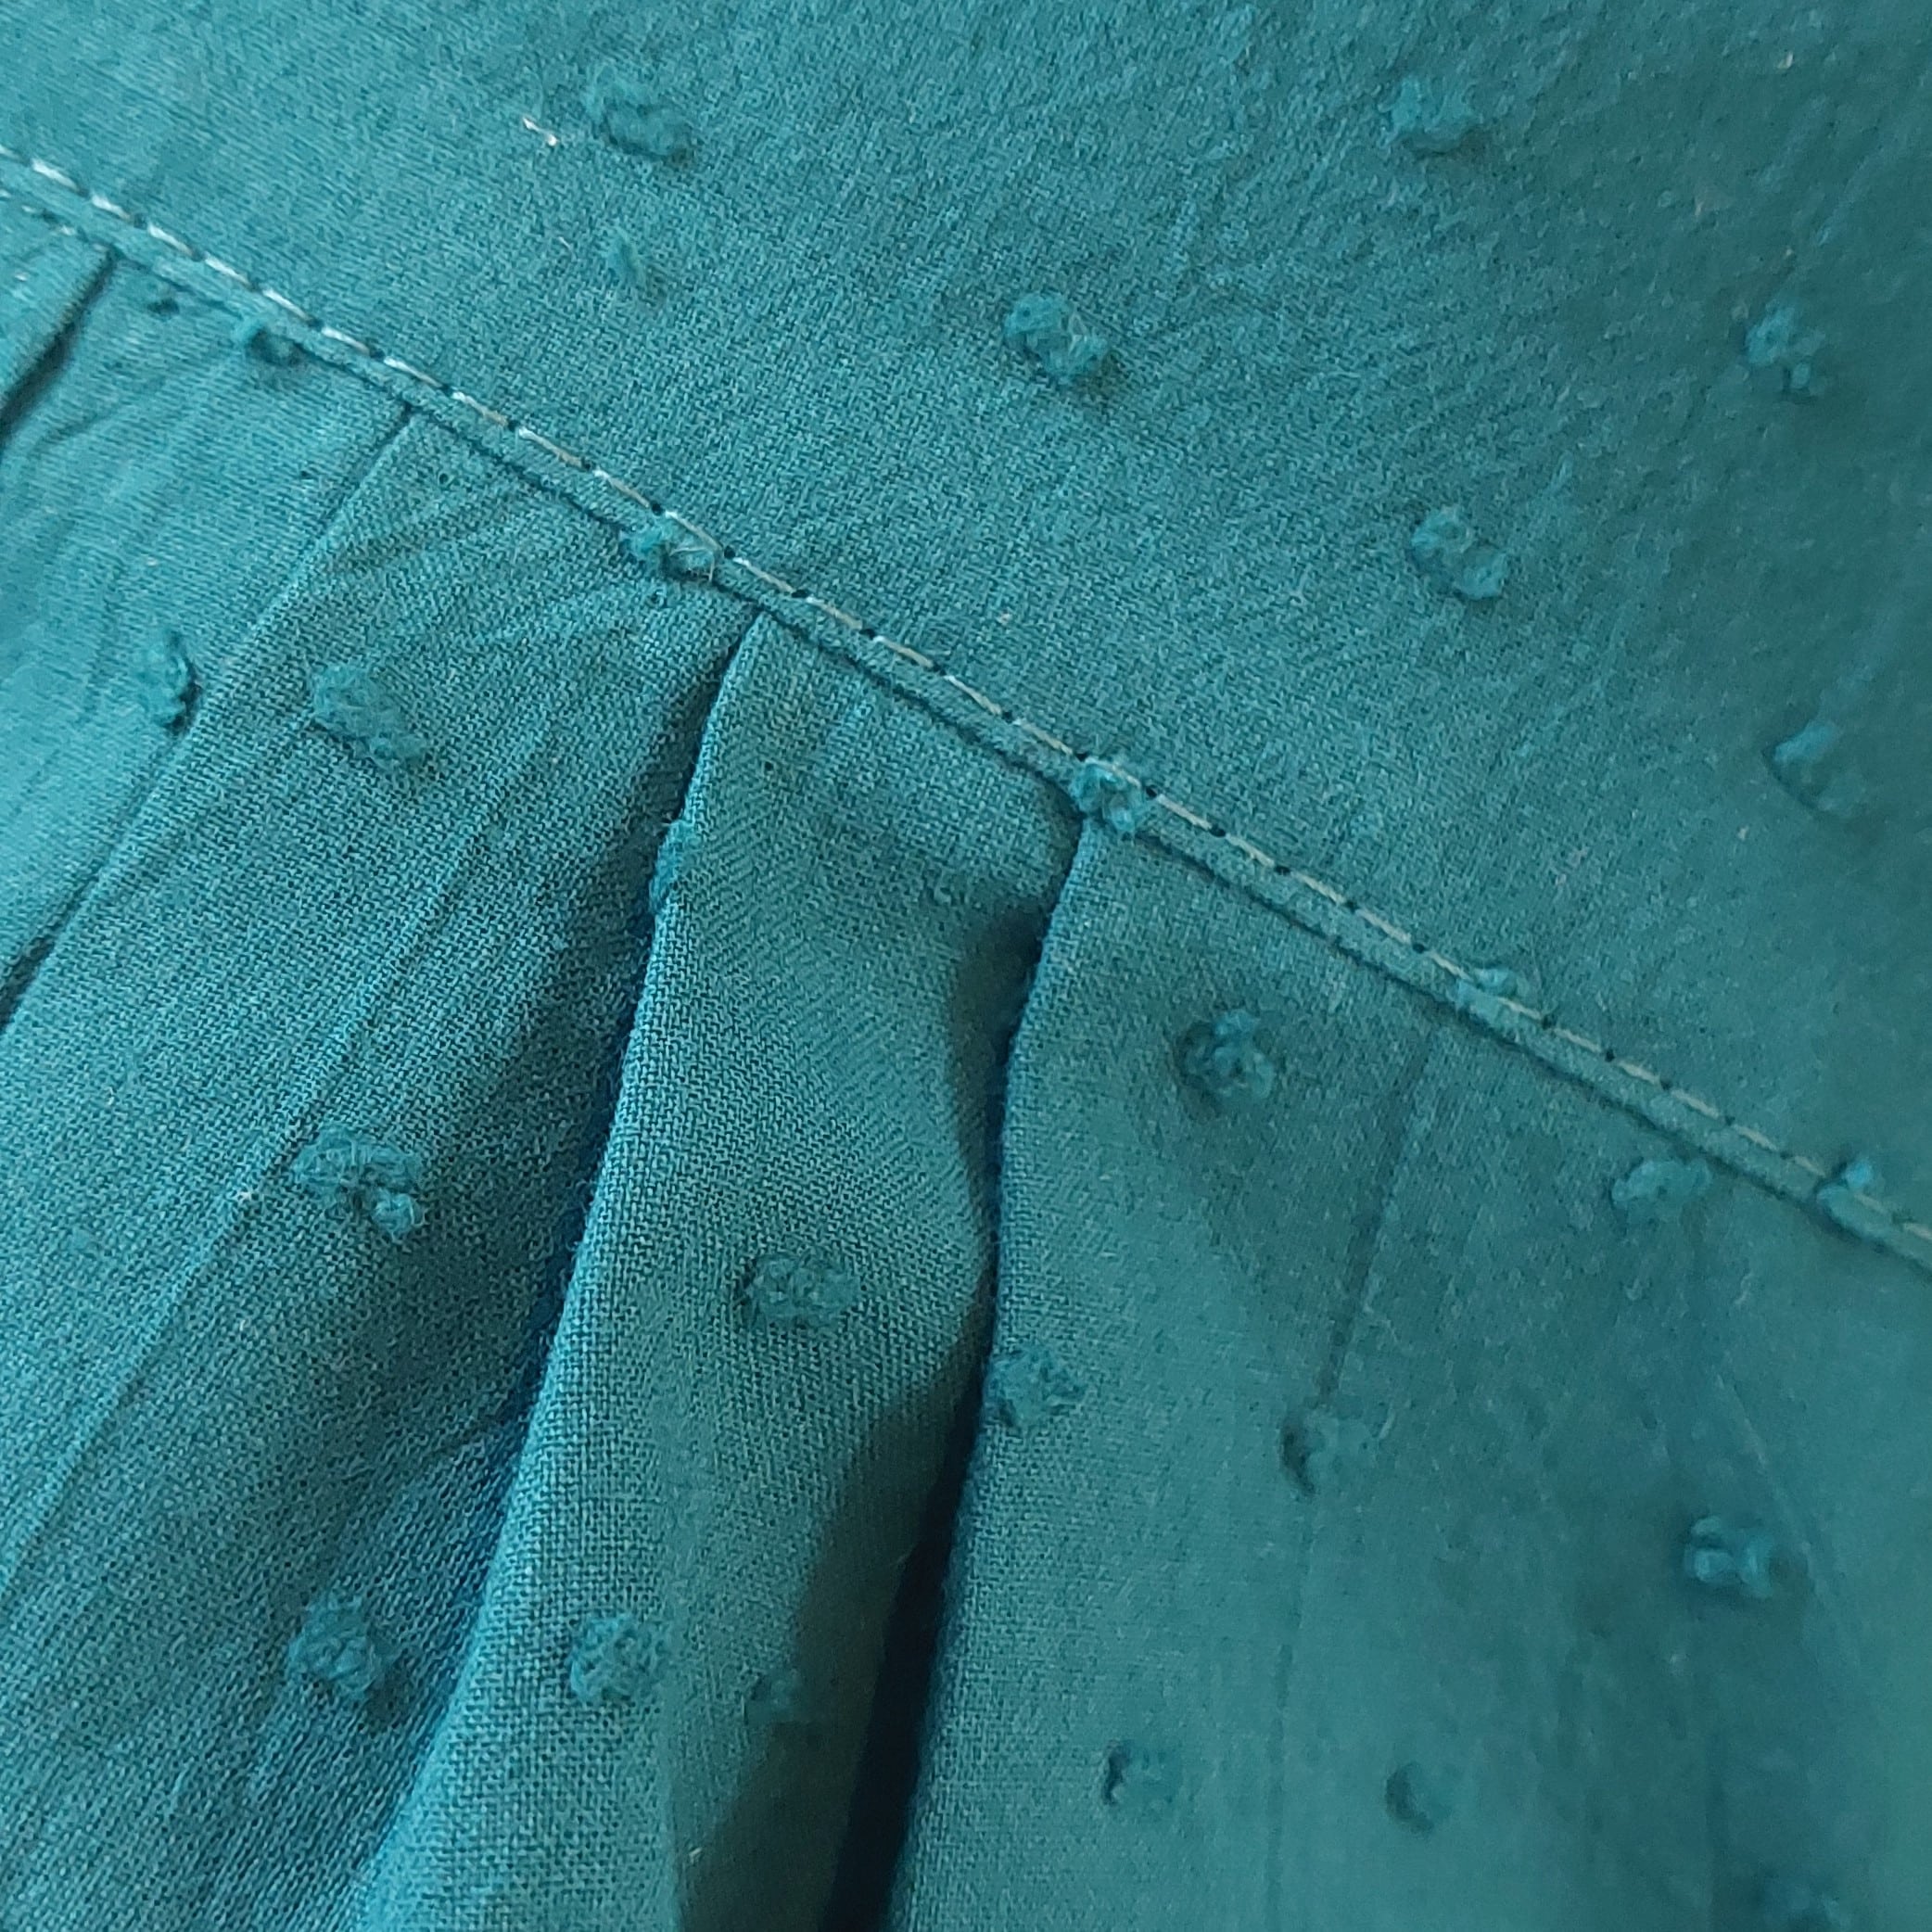
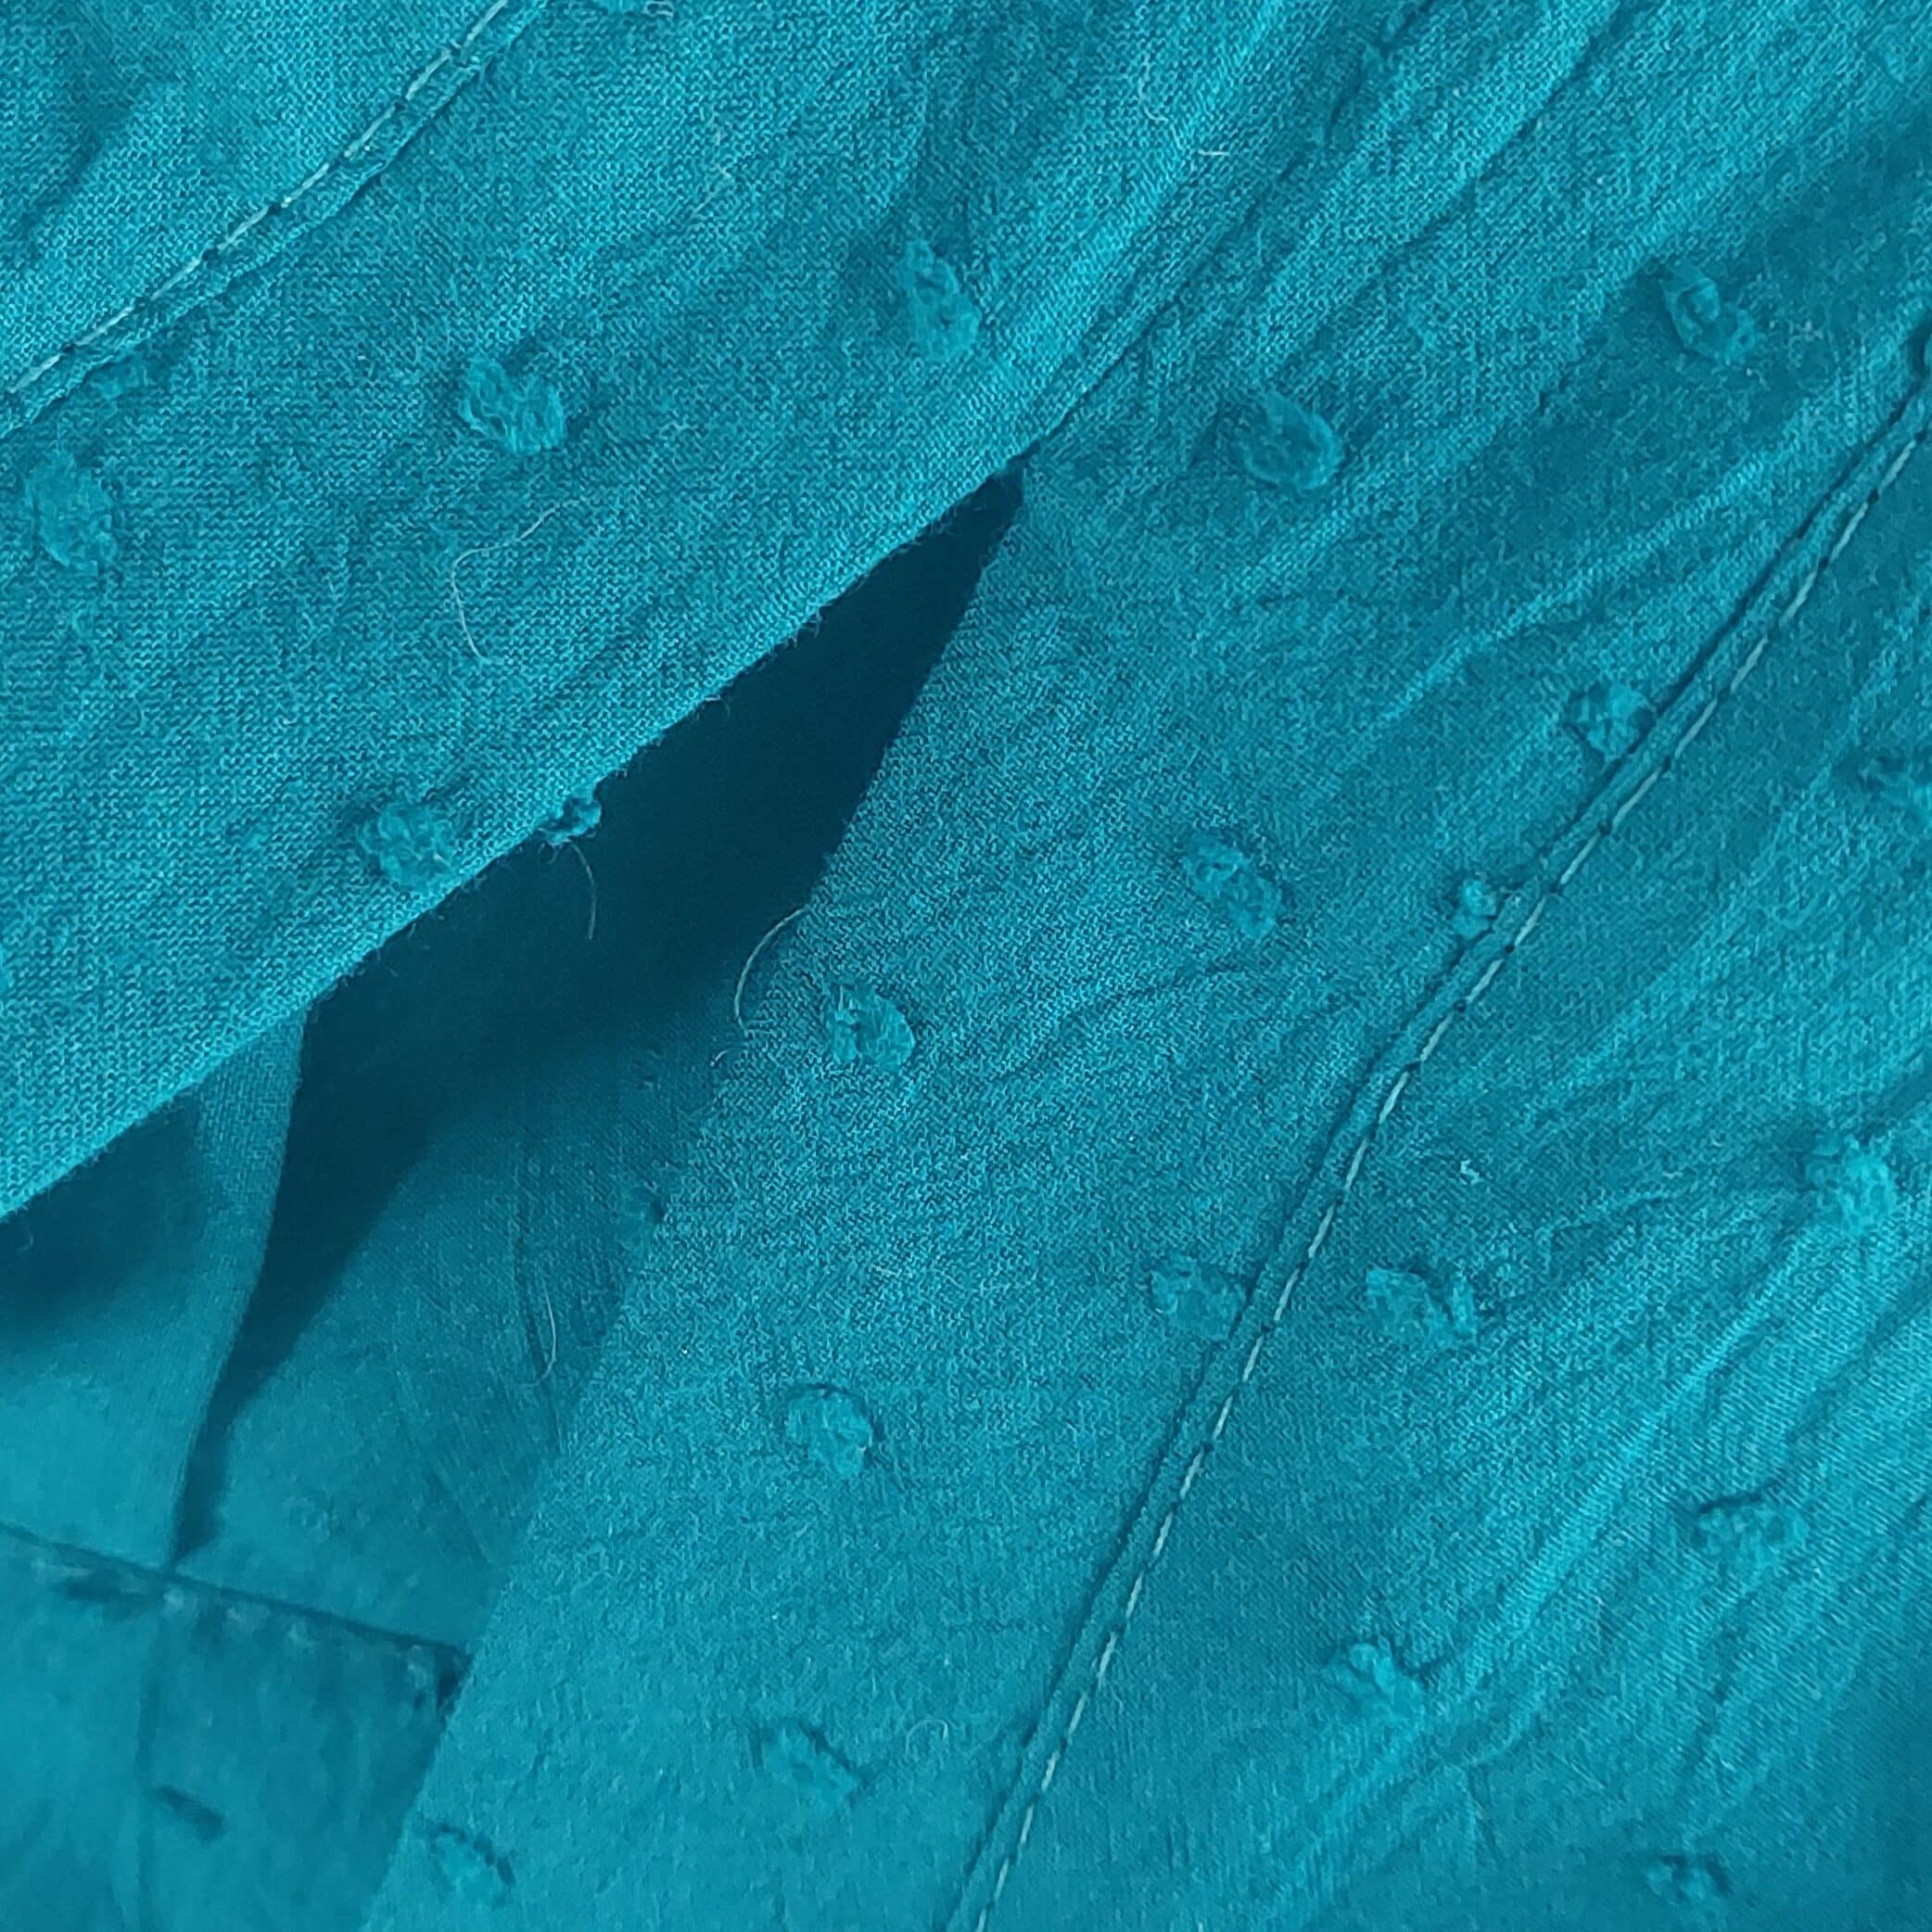
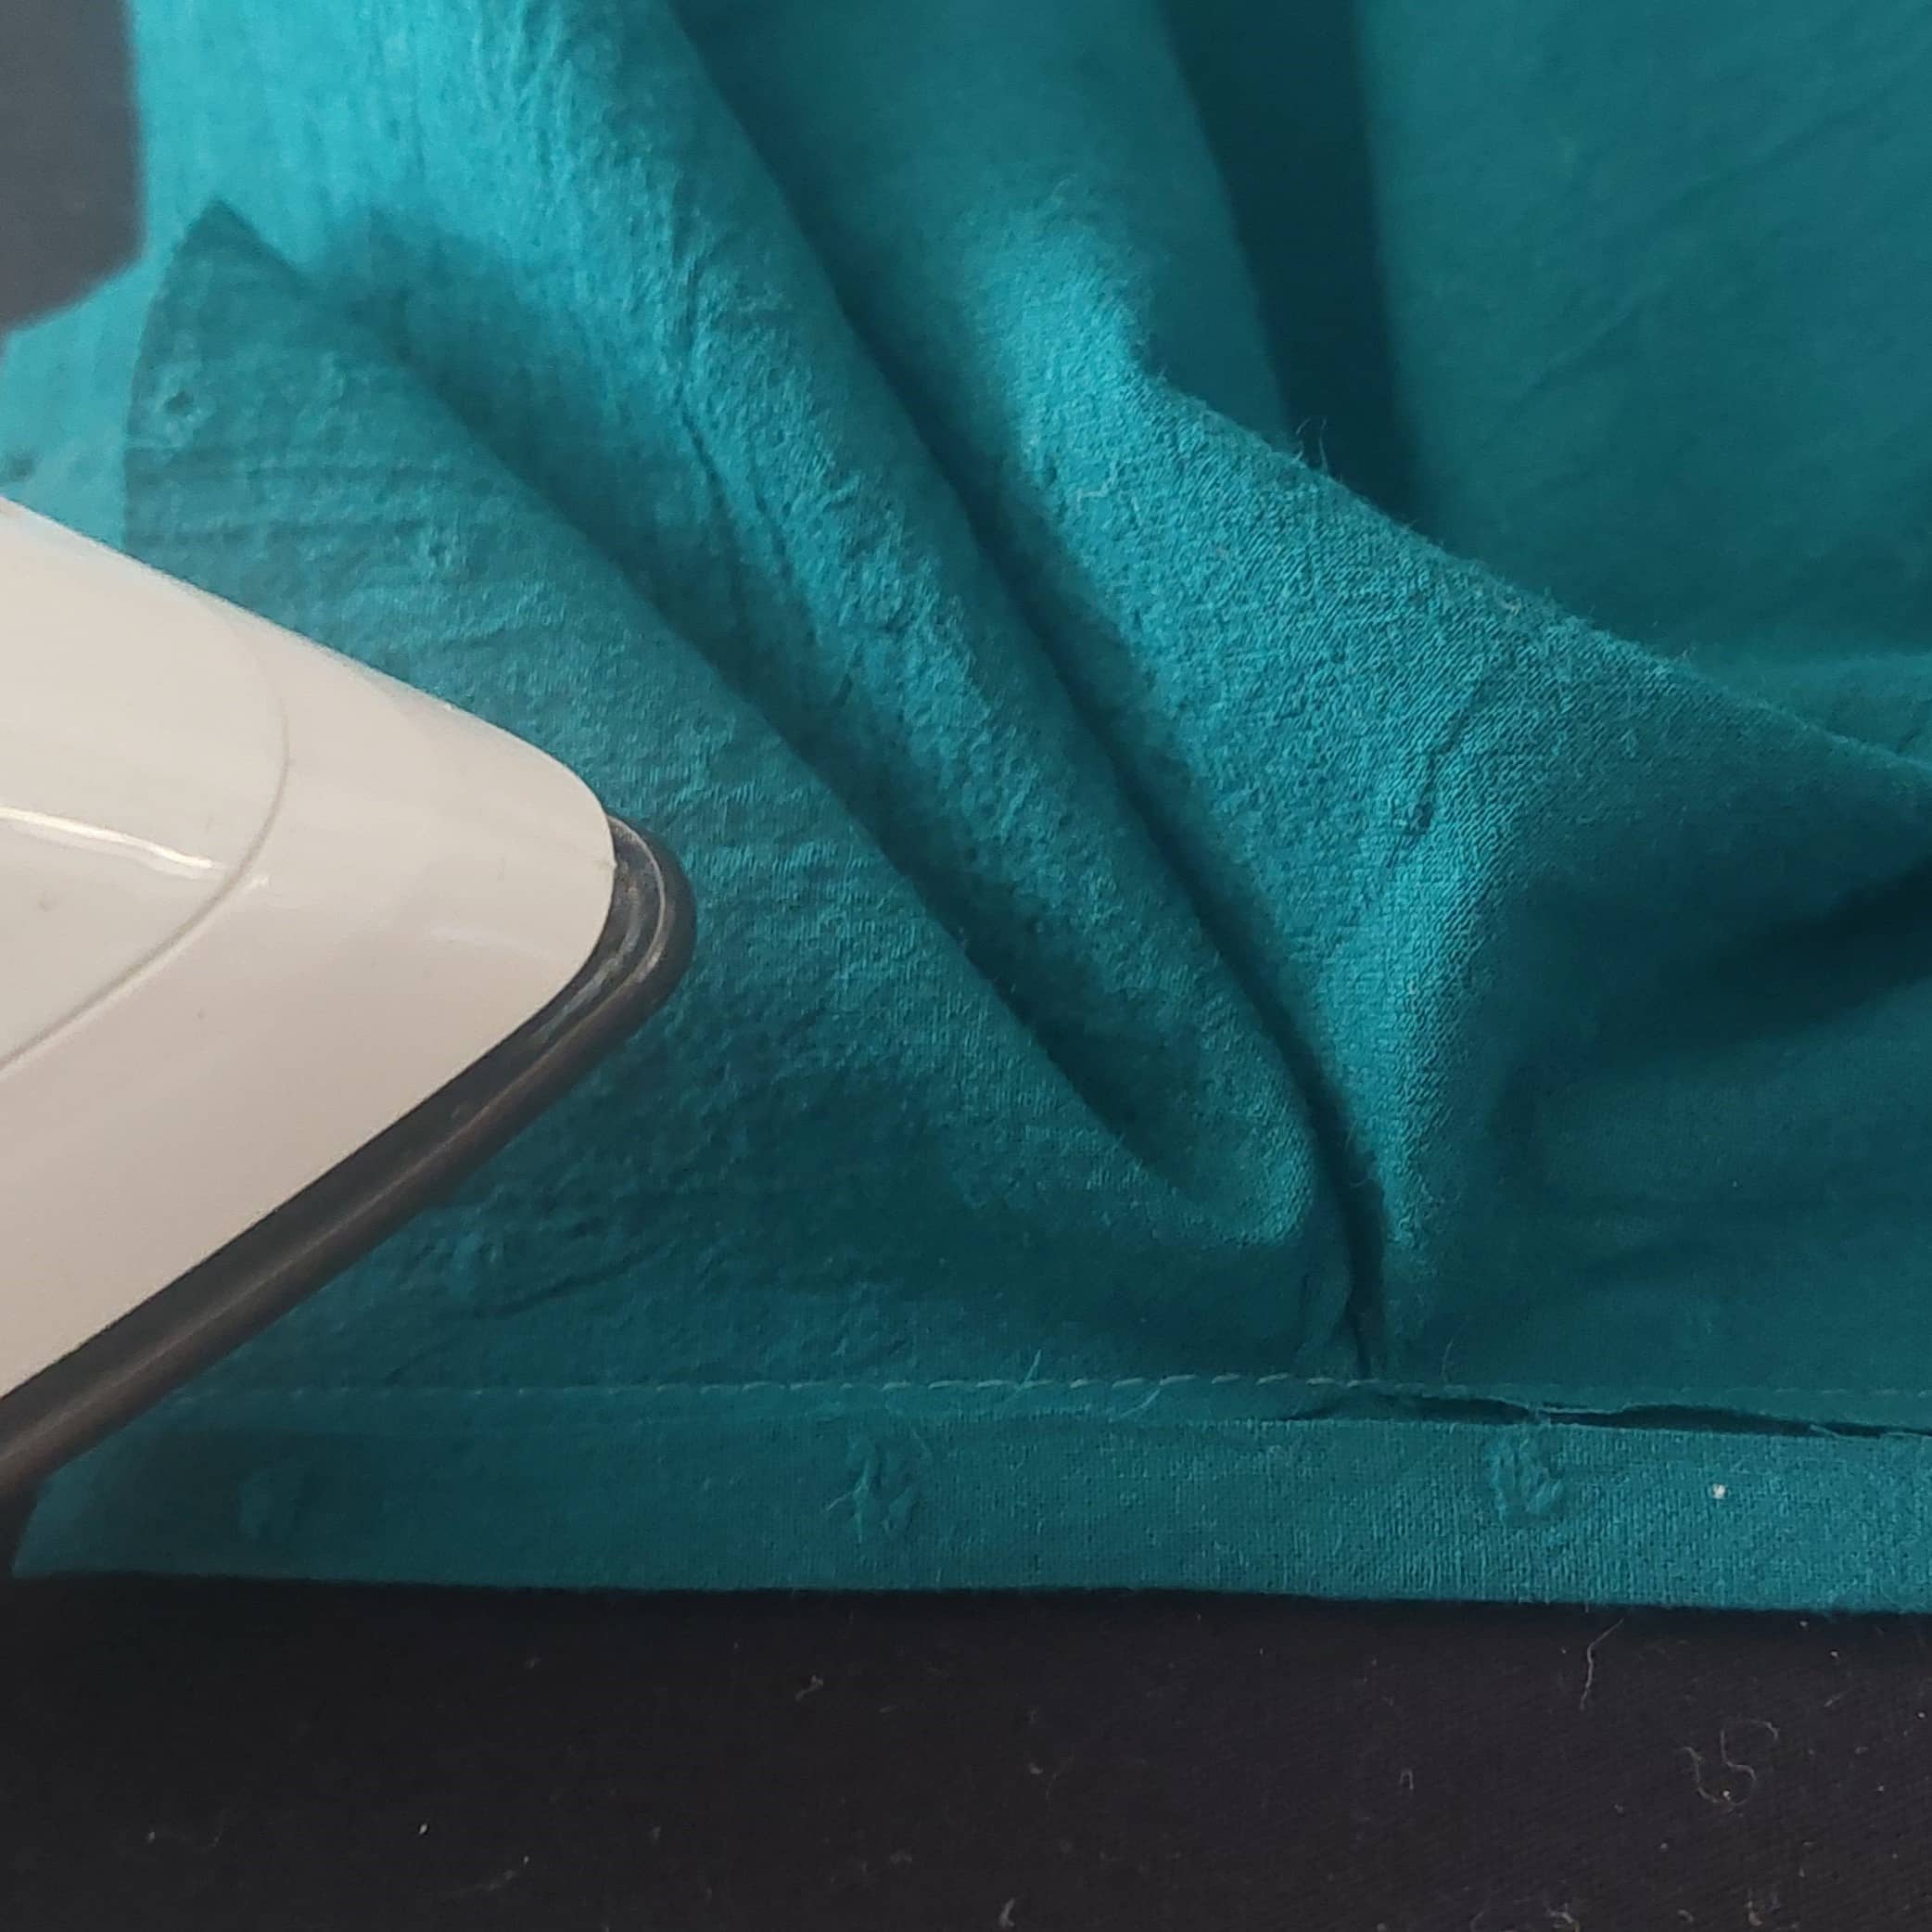
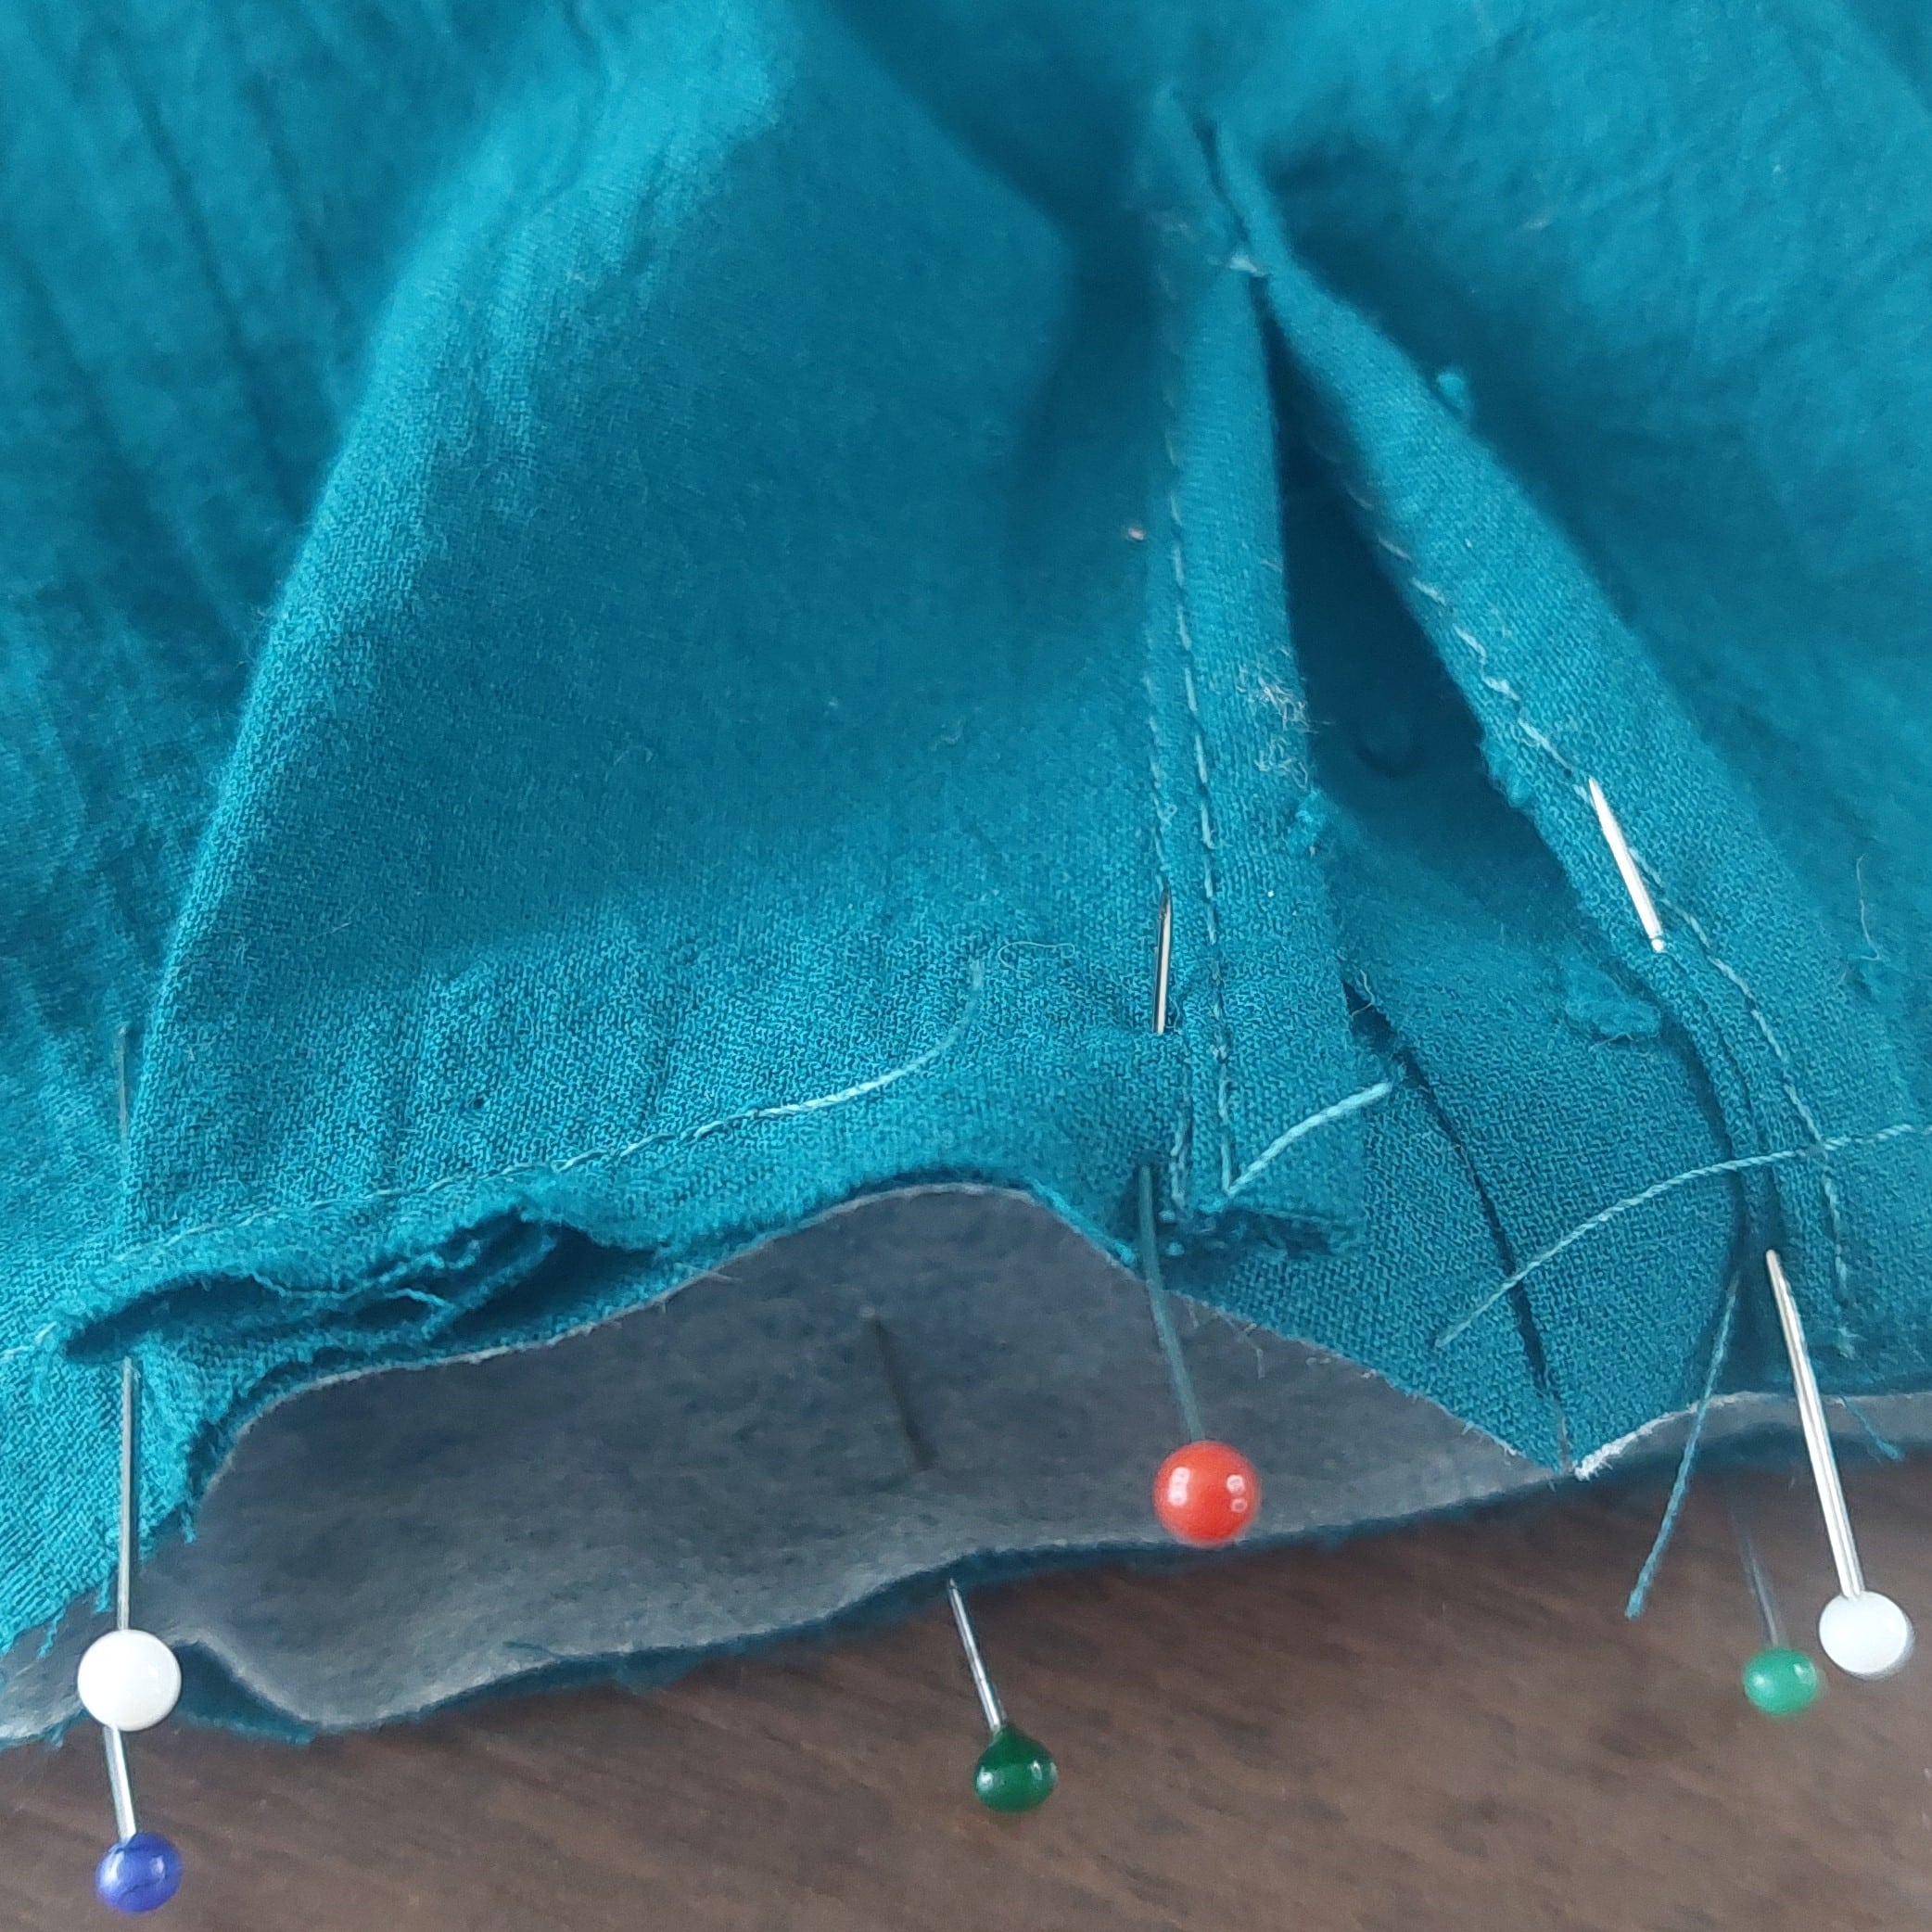
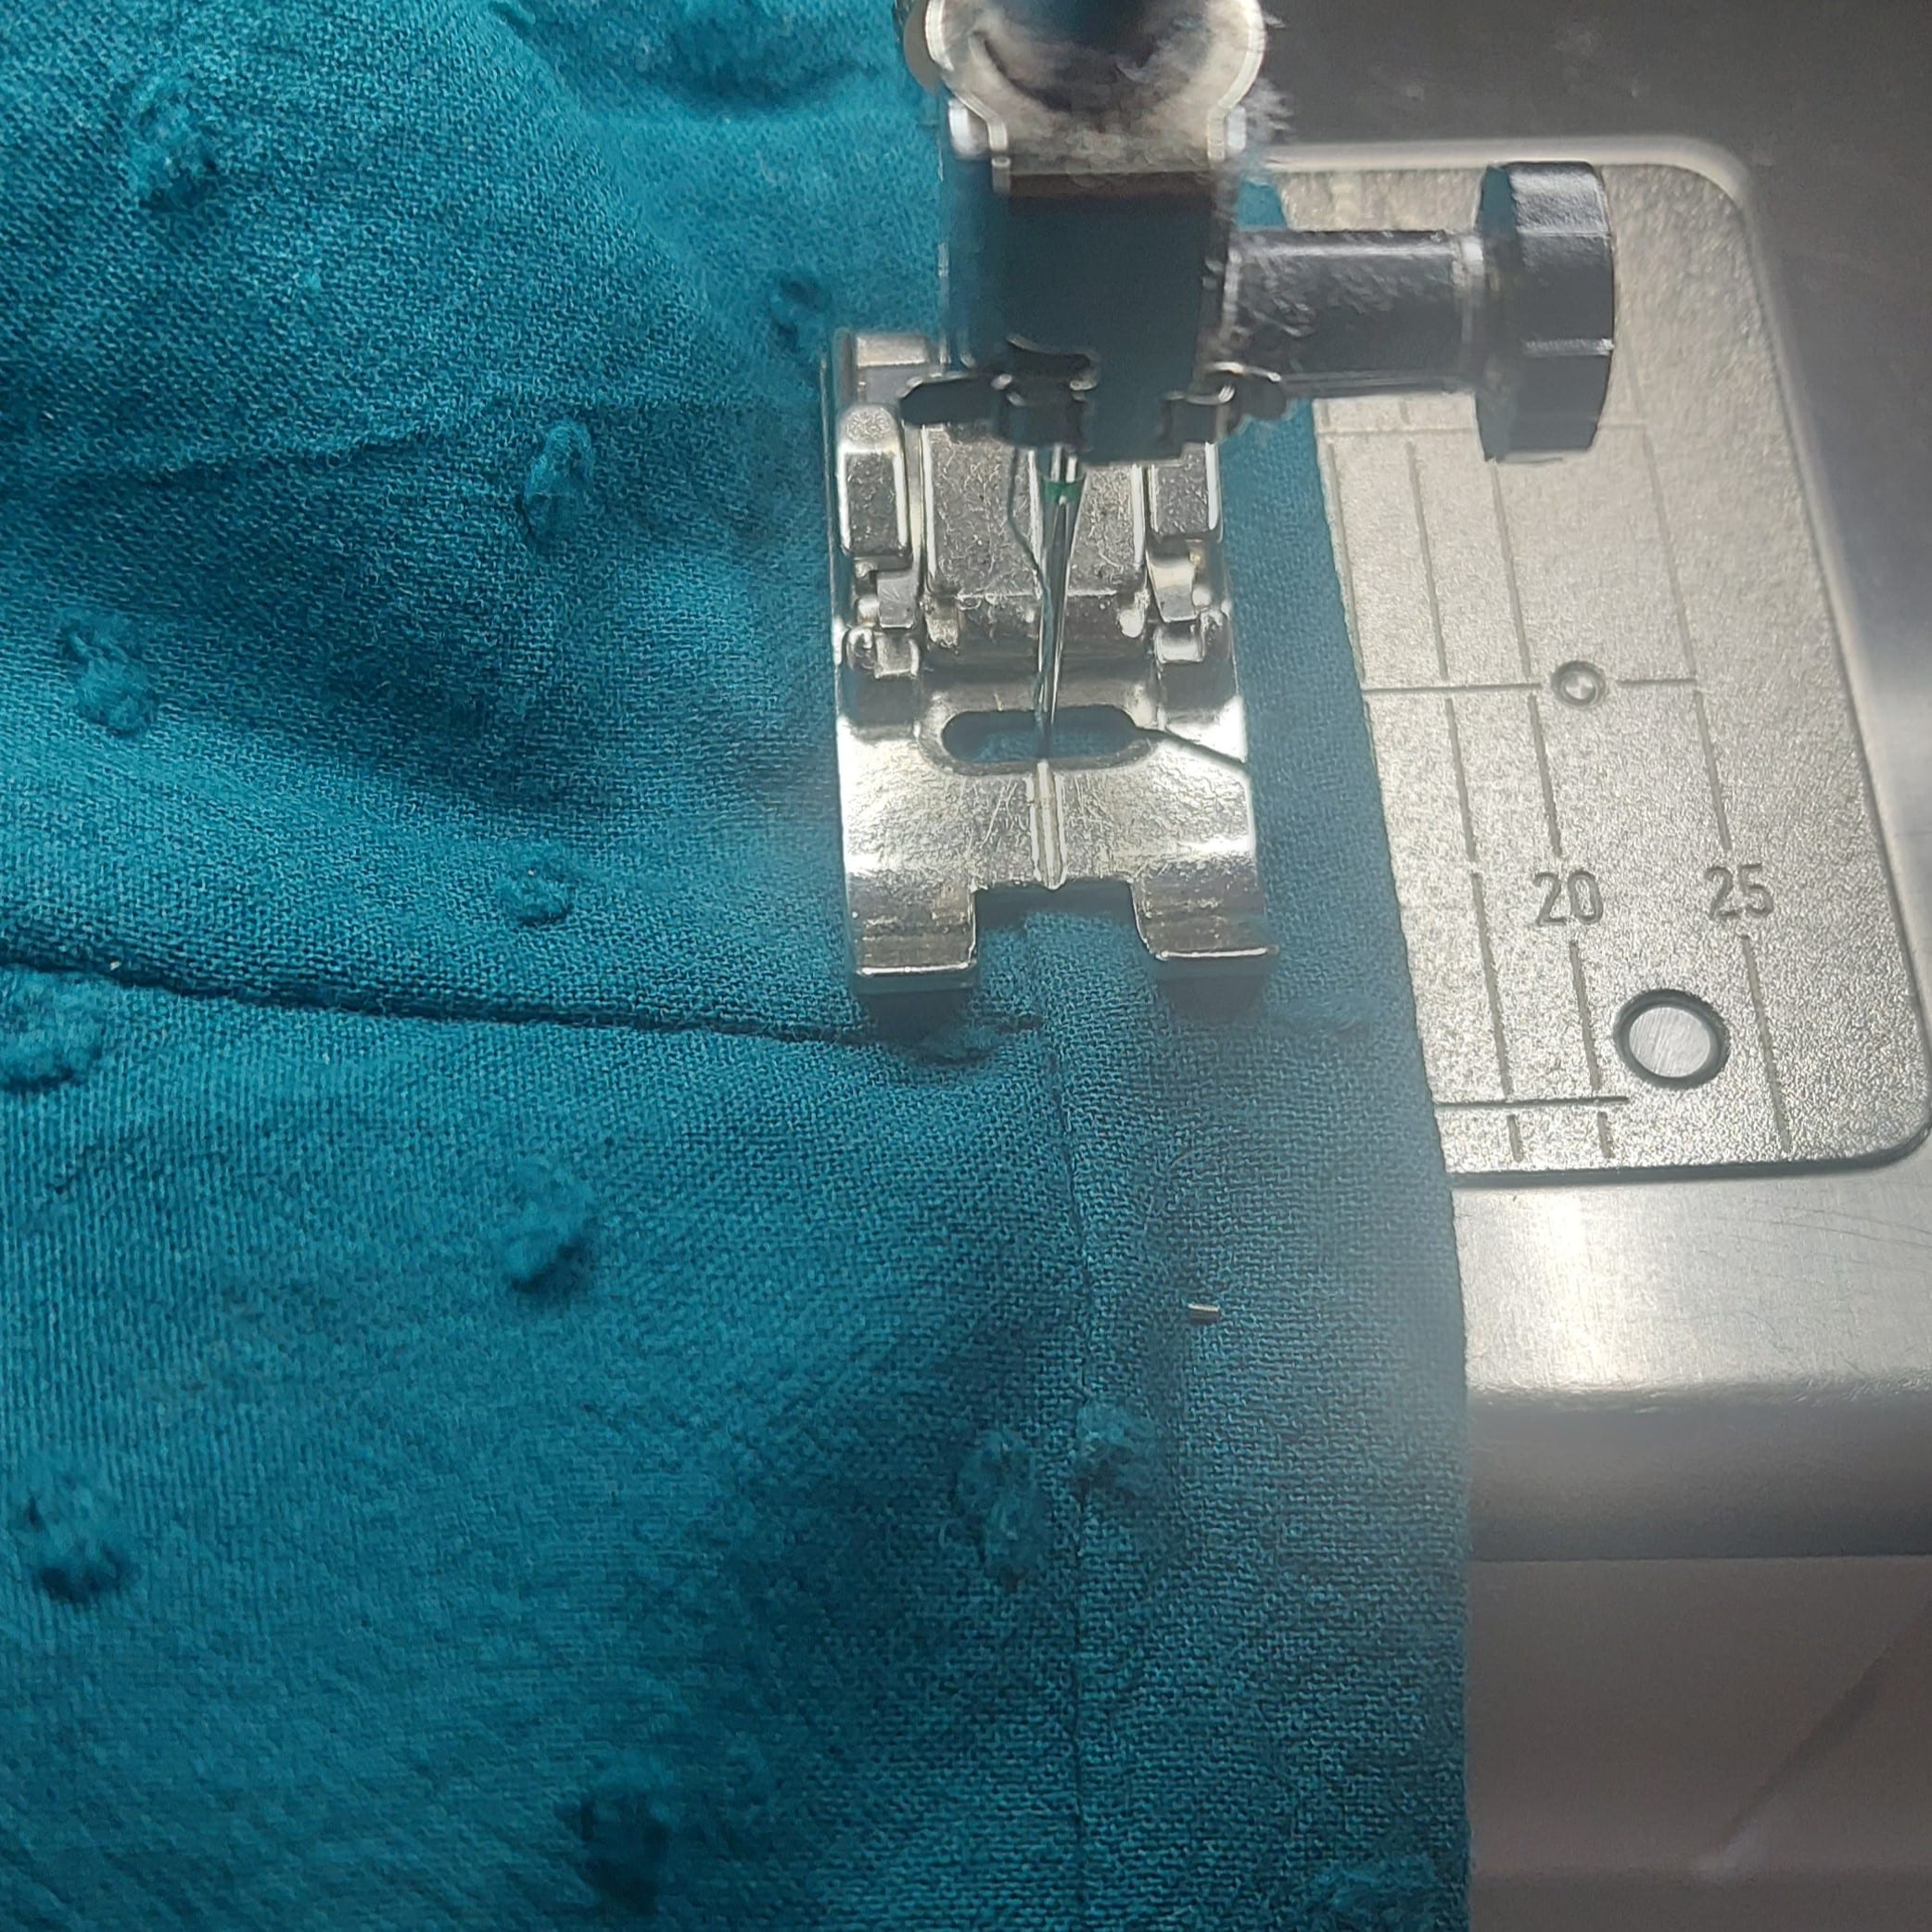
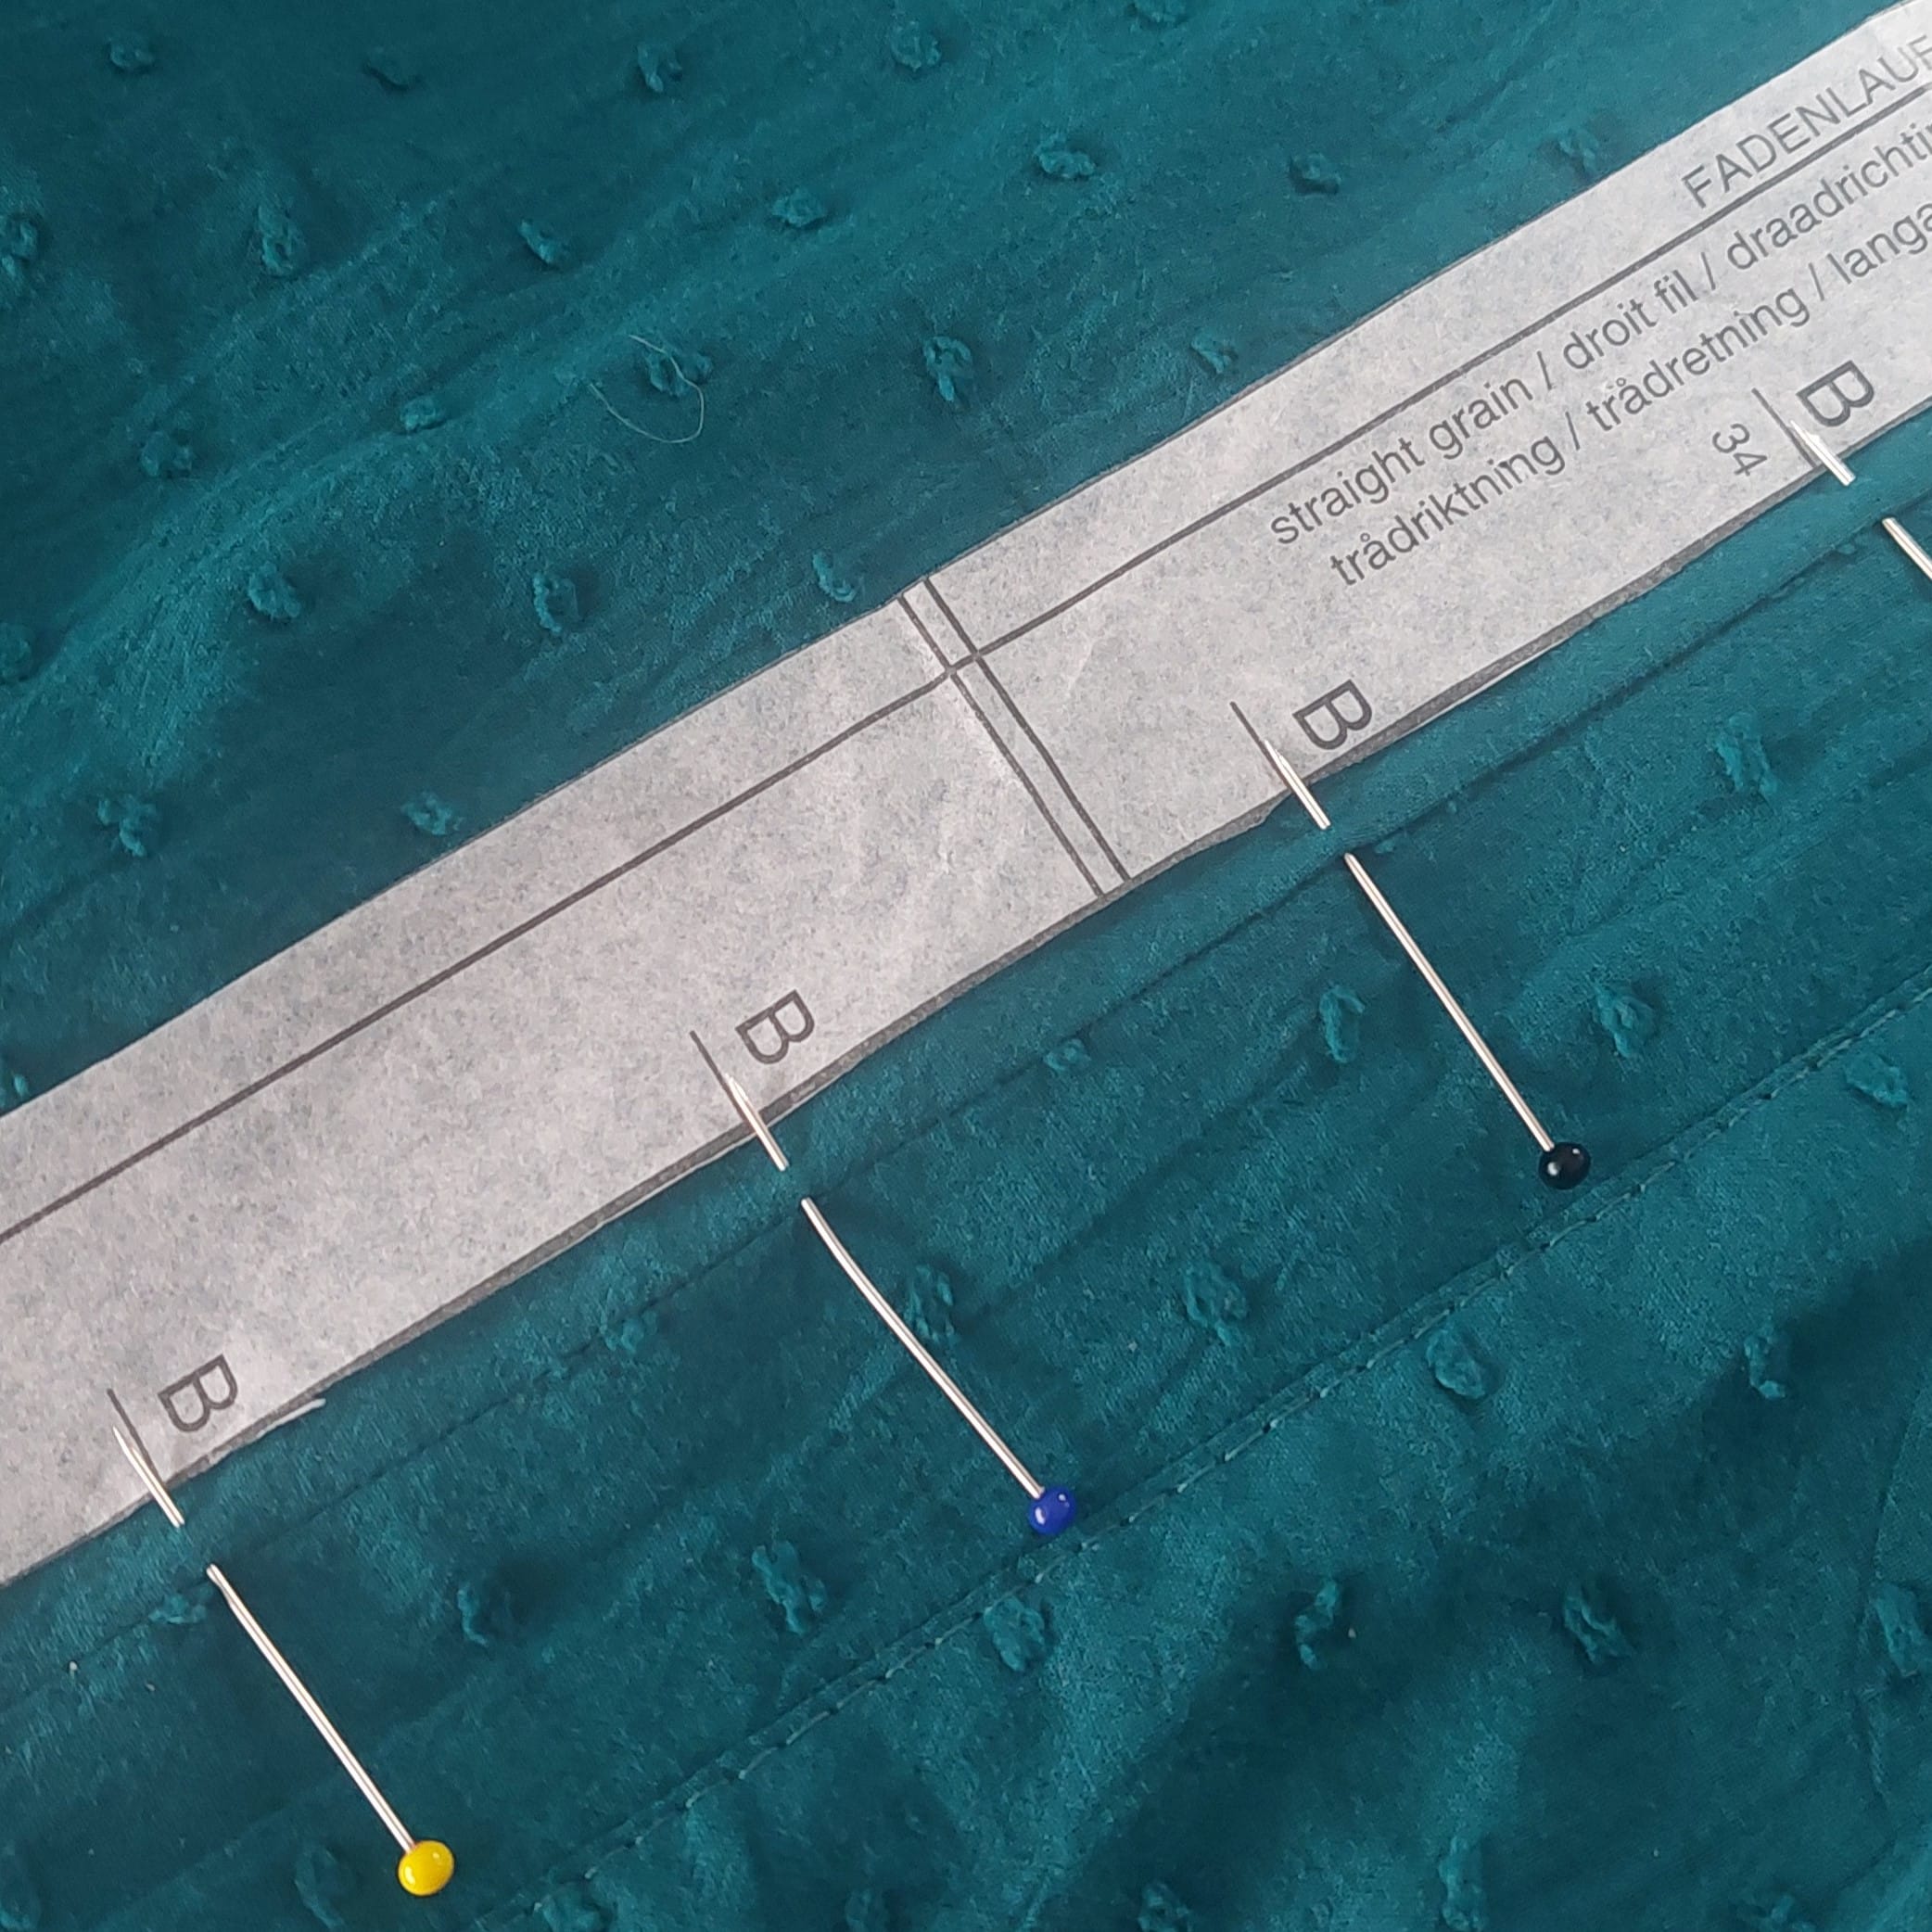
Fold the facing at the front placket edge inward and pin. Lay the pleats at the lower sleeve edge in the direction of the arrow, pin, and stitch. Use illustration 15 in the Burda pattern.

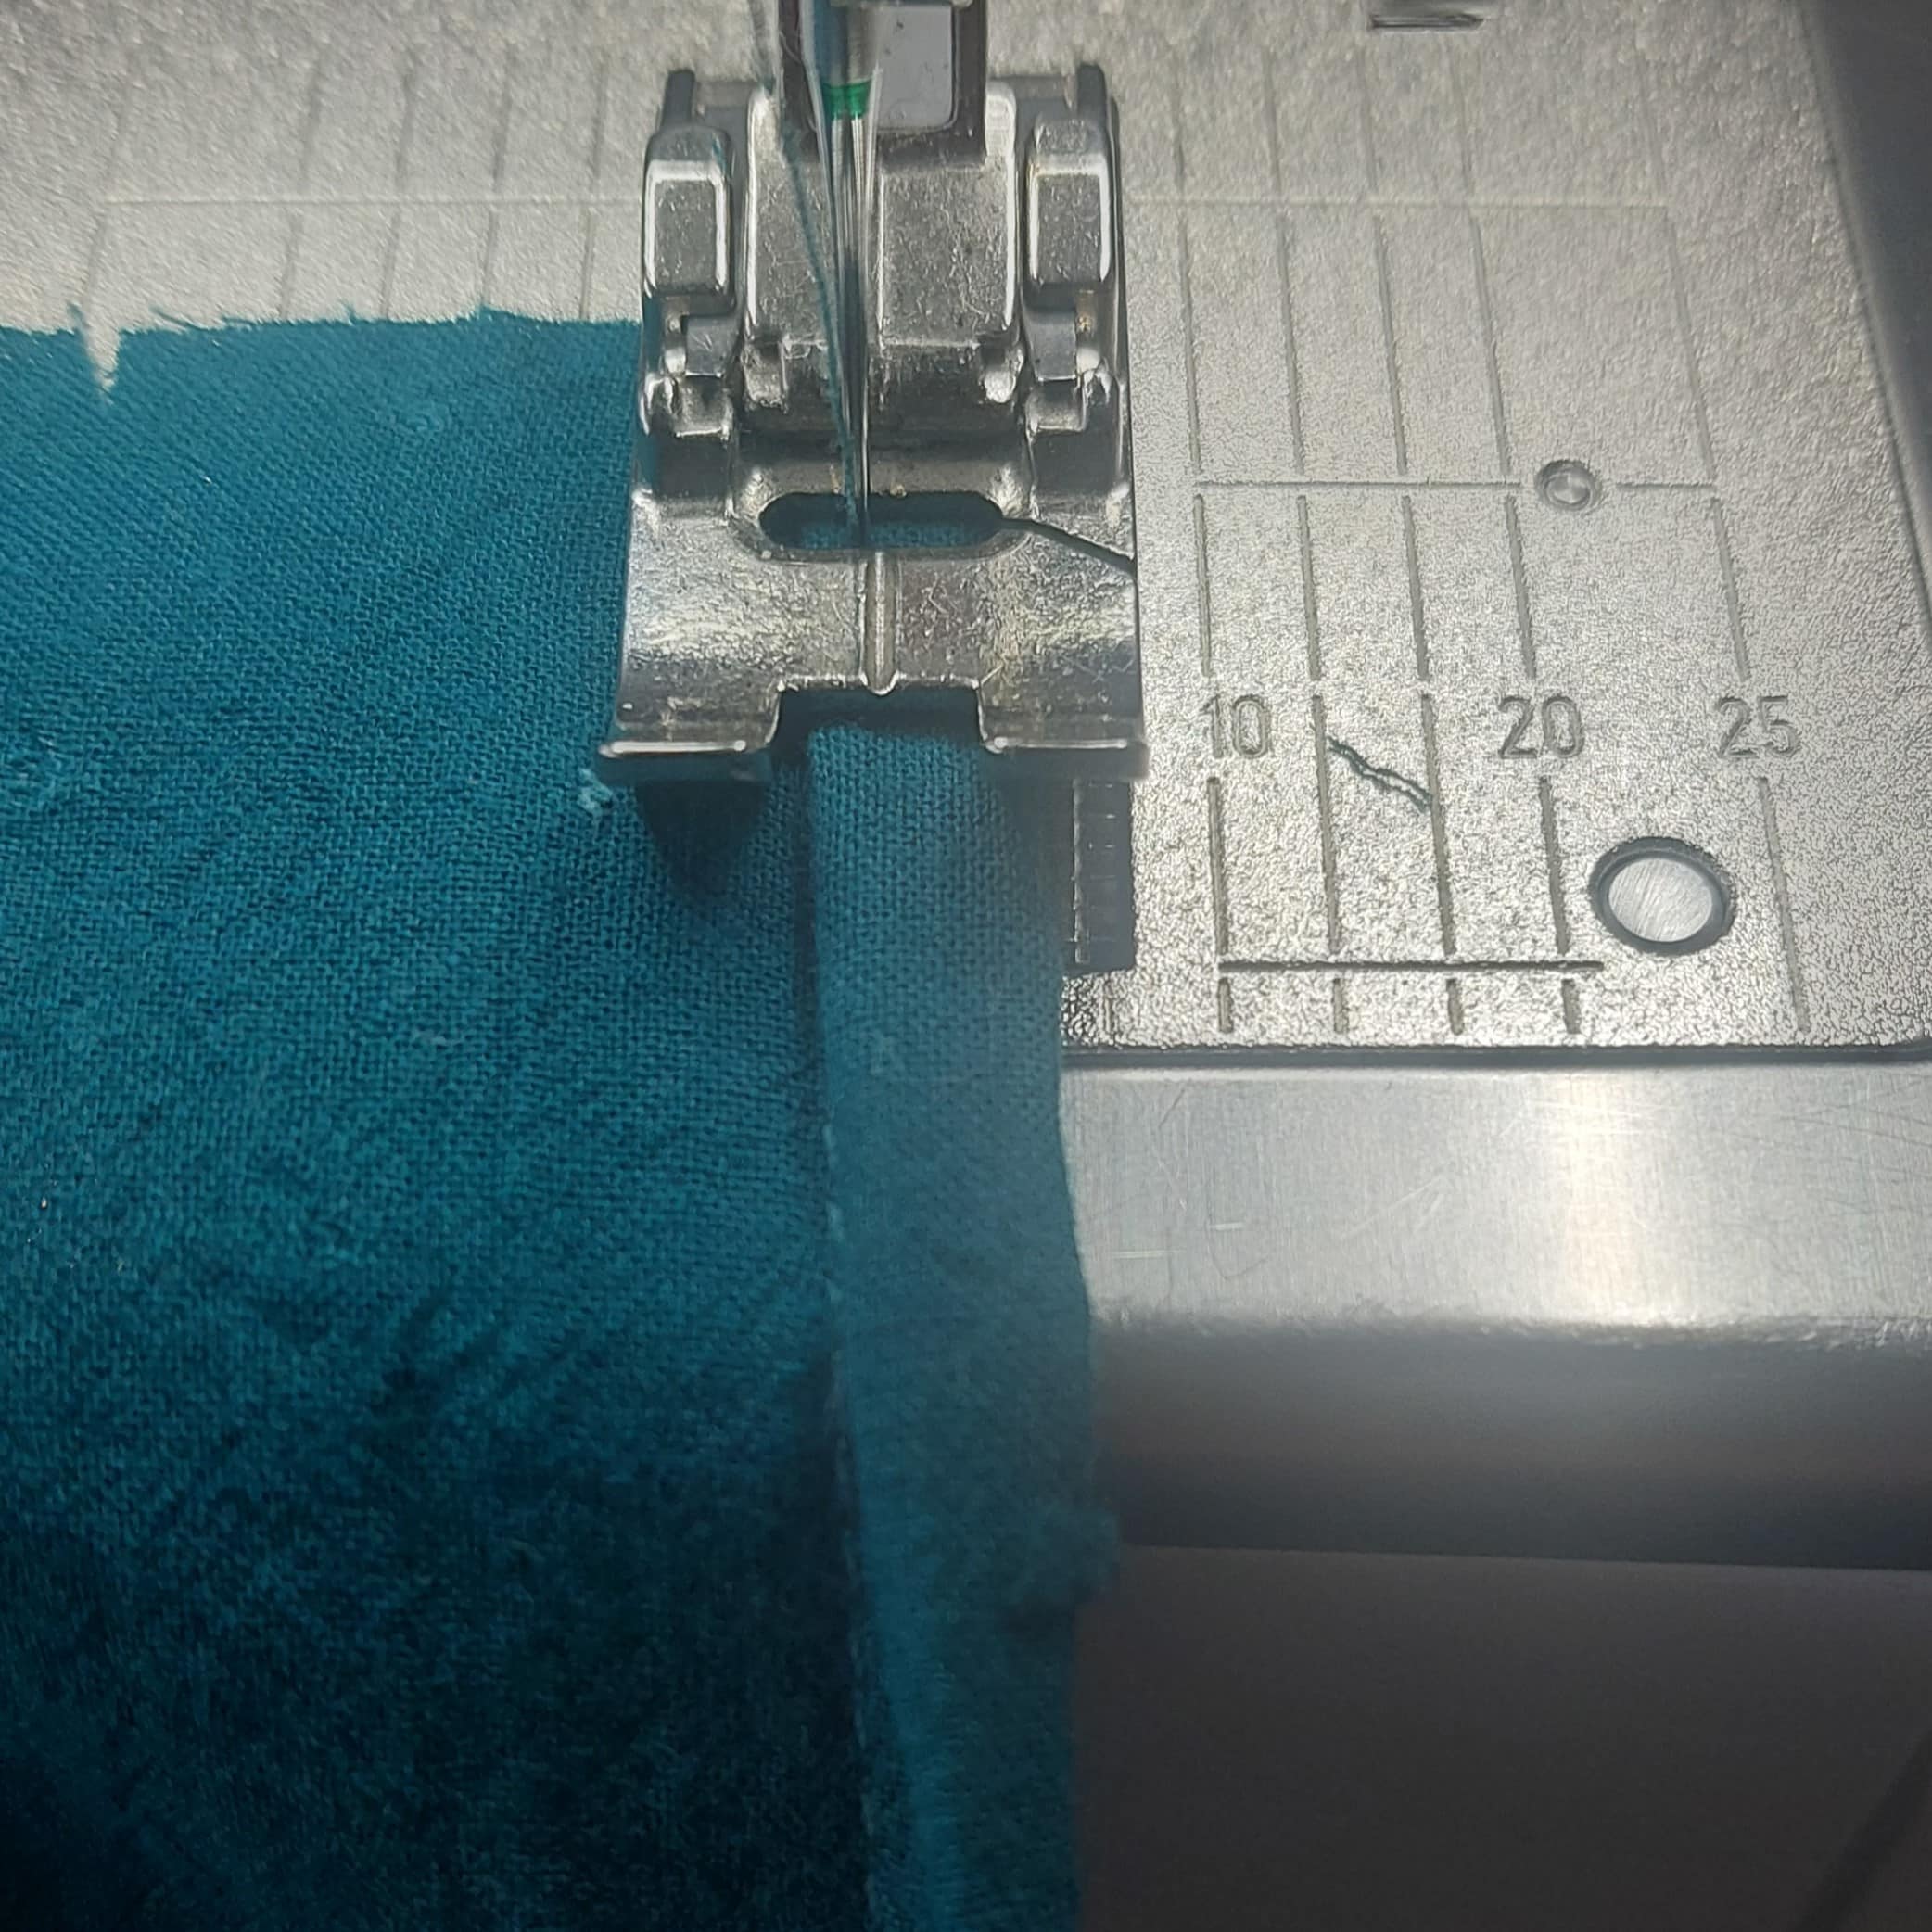
Fold the sleeves in half lengthwise, stitch, serge, and press the seam towards the back.

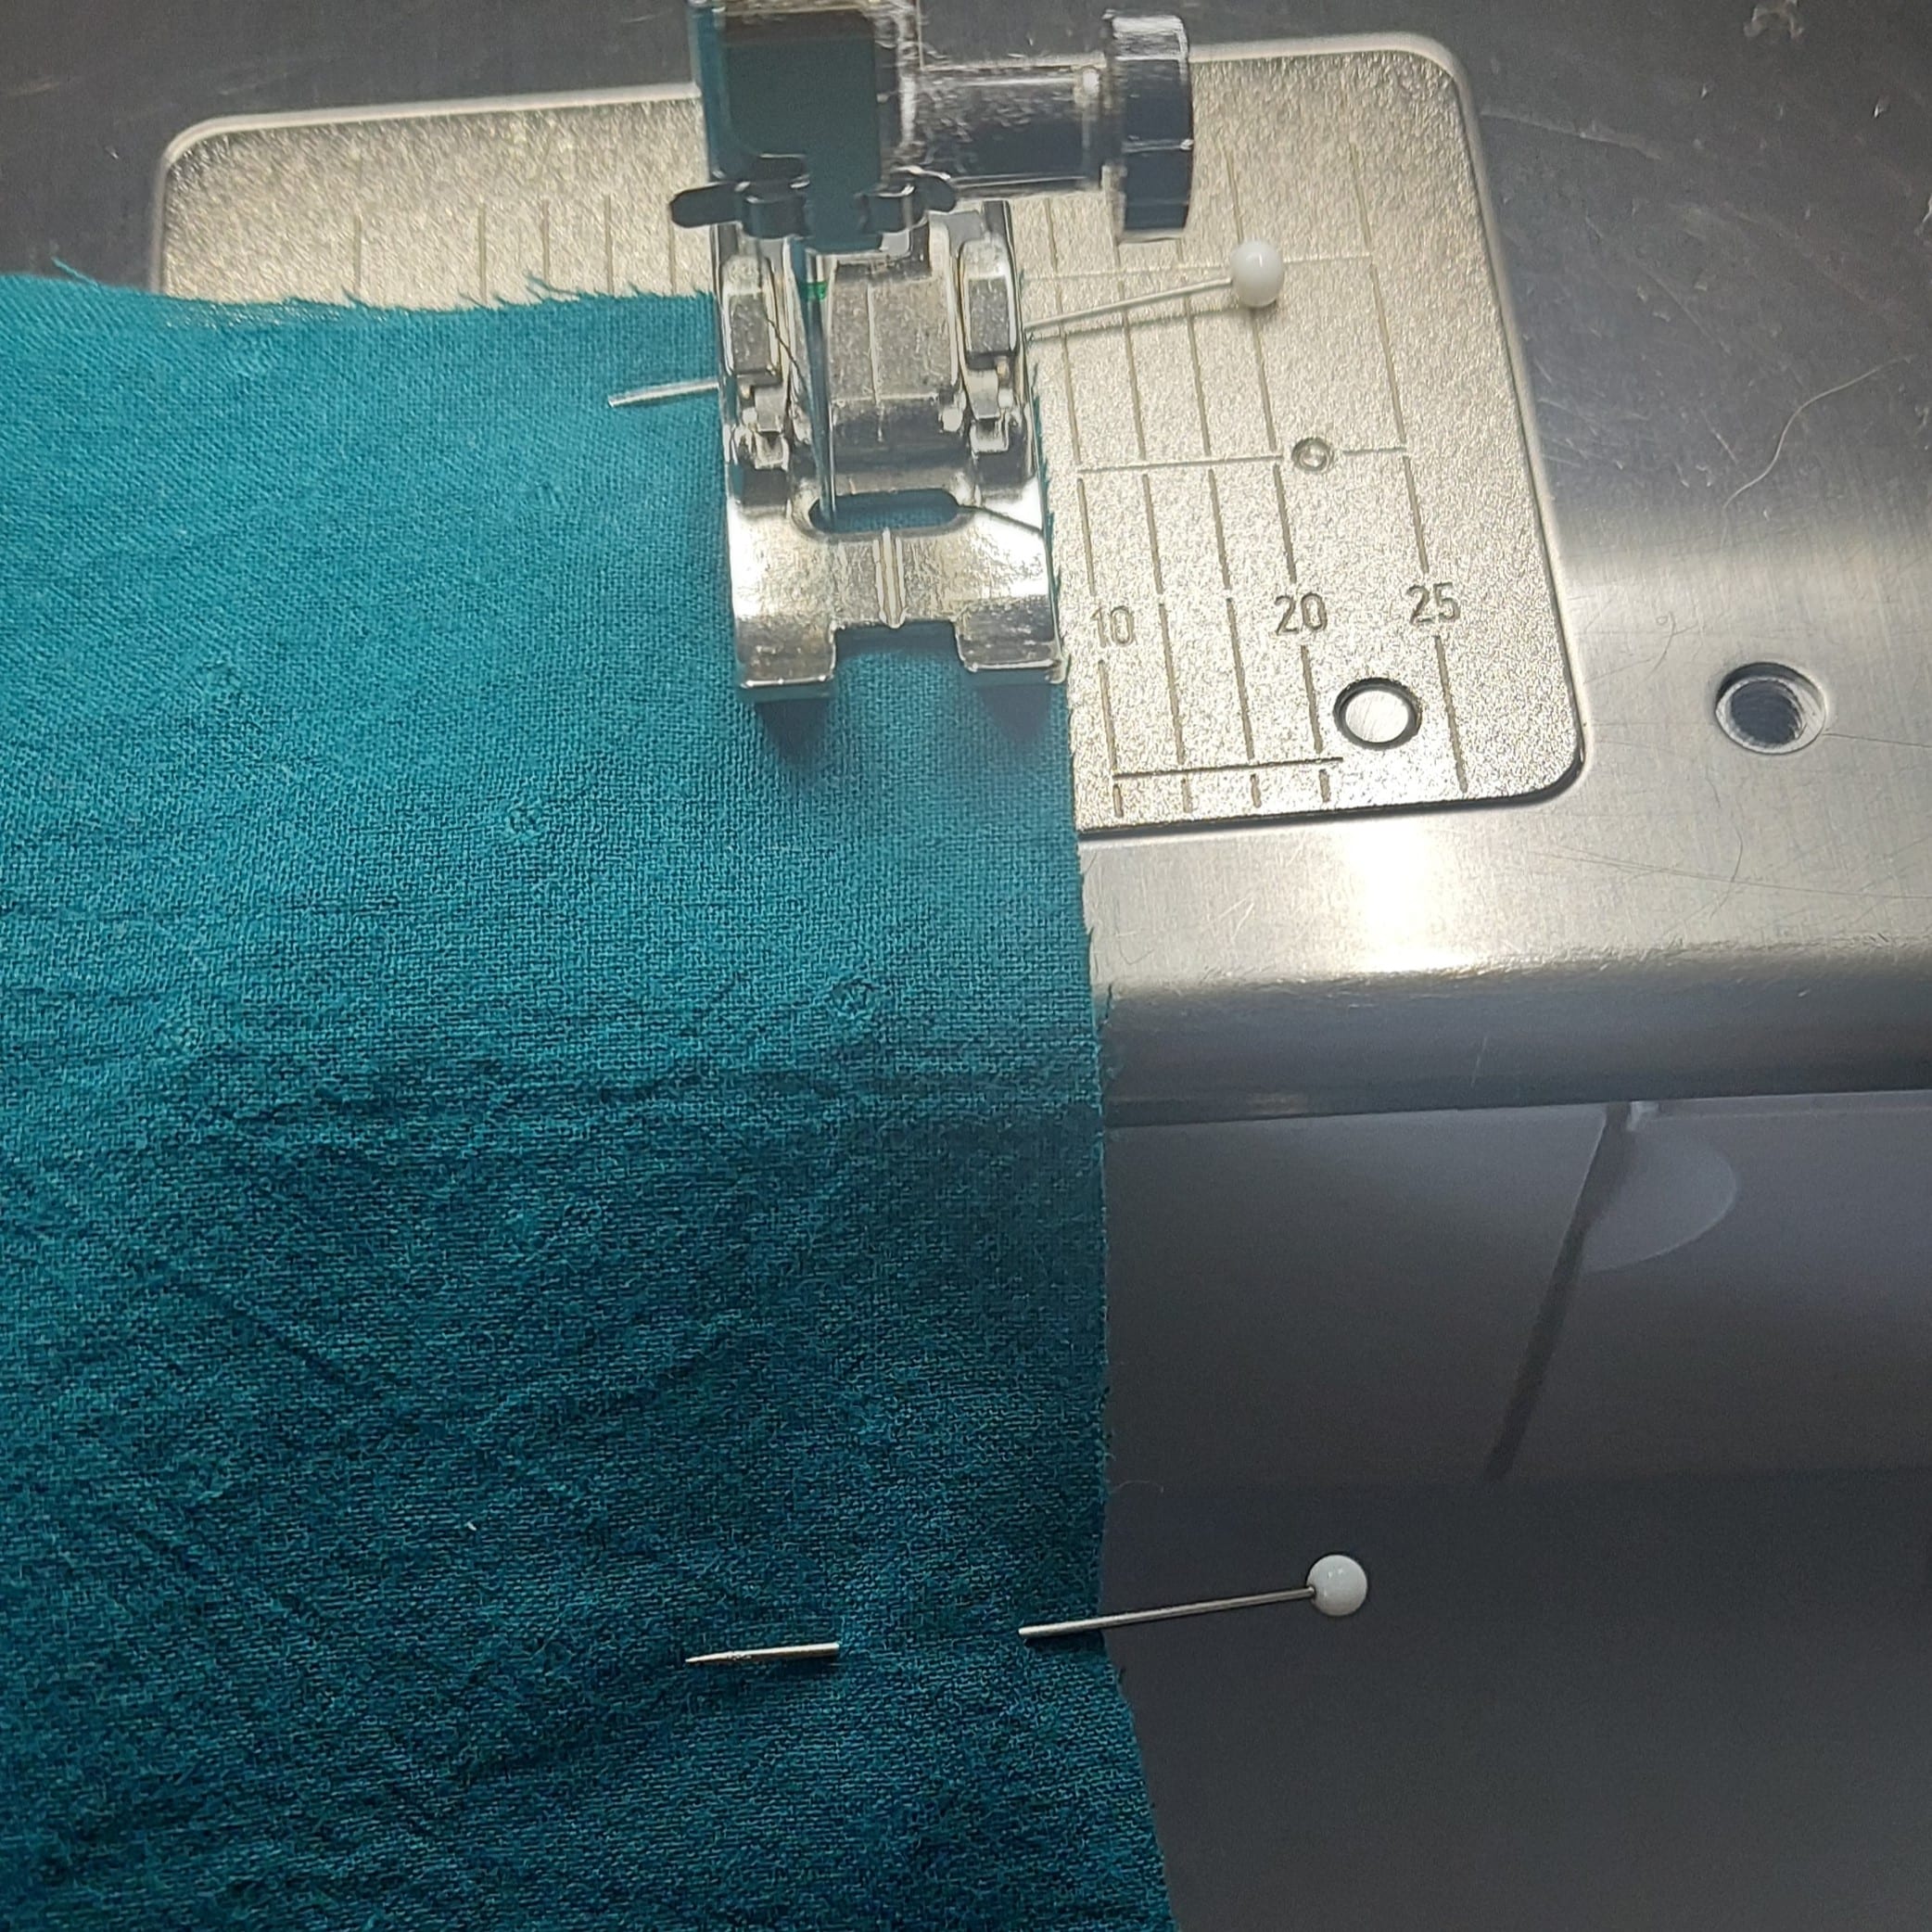
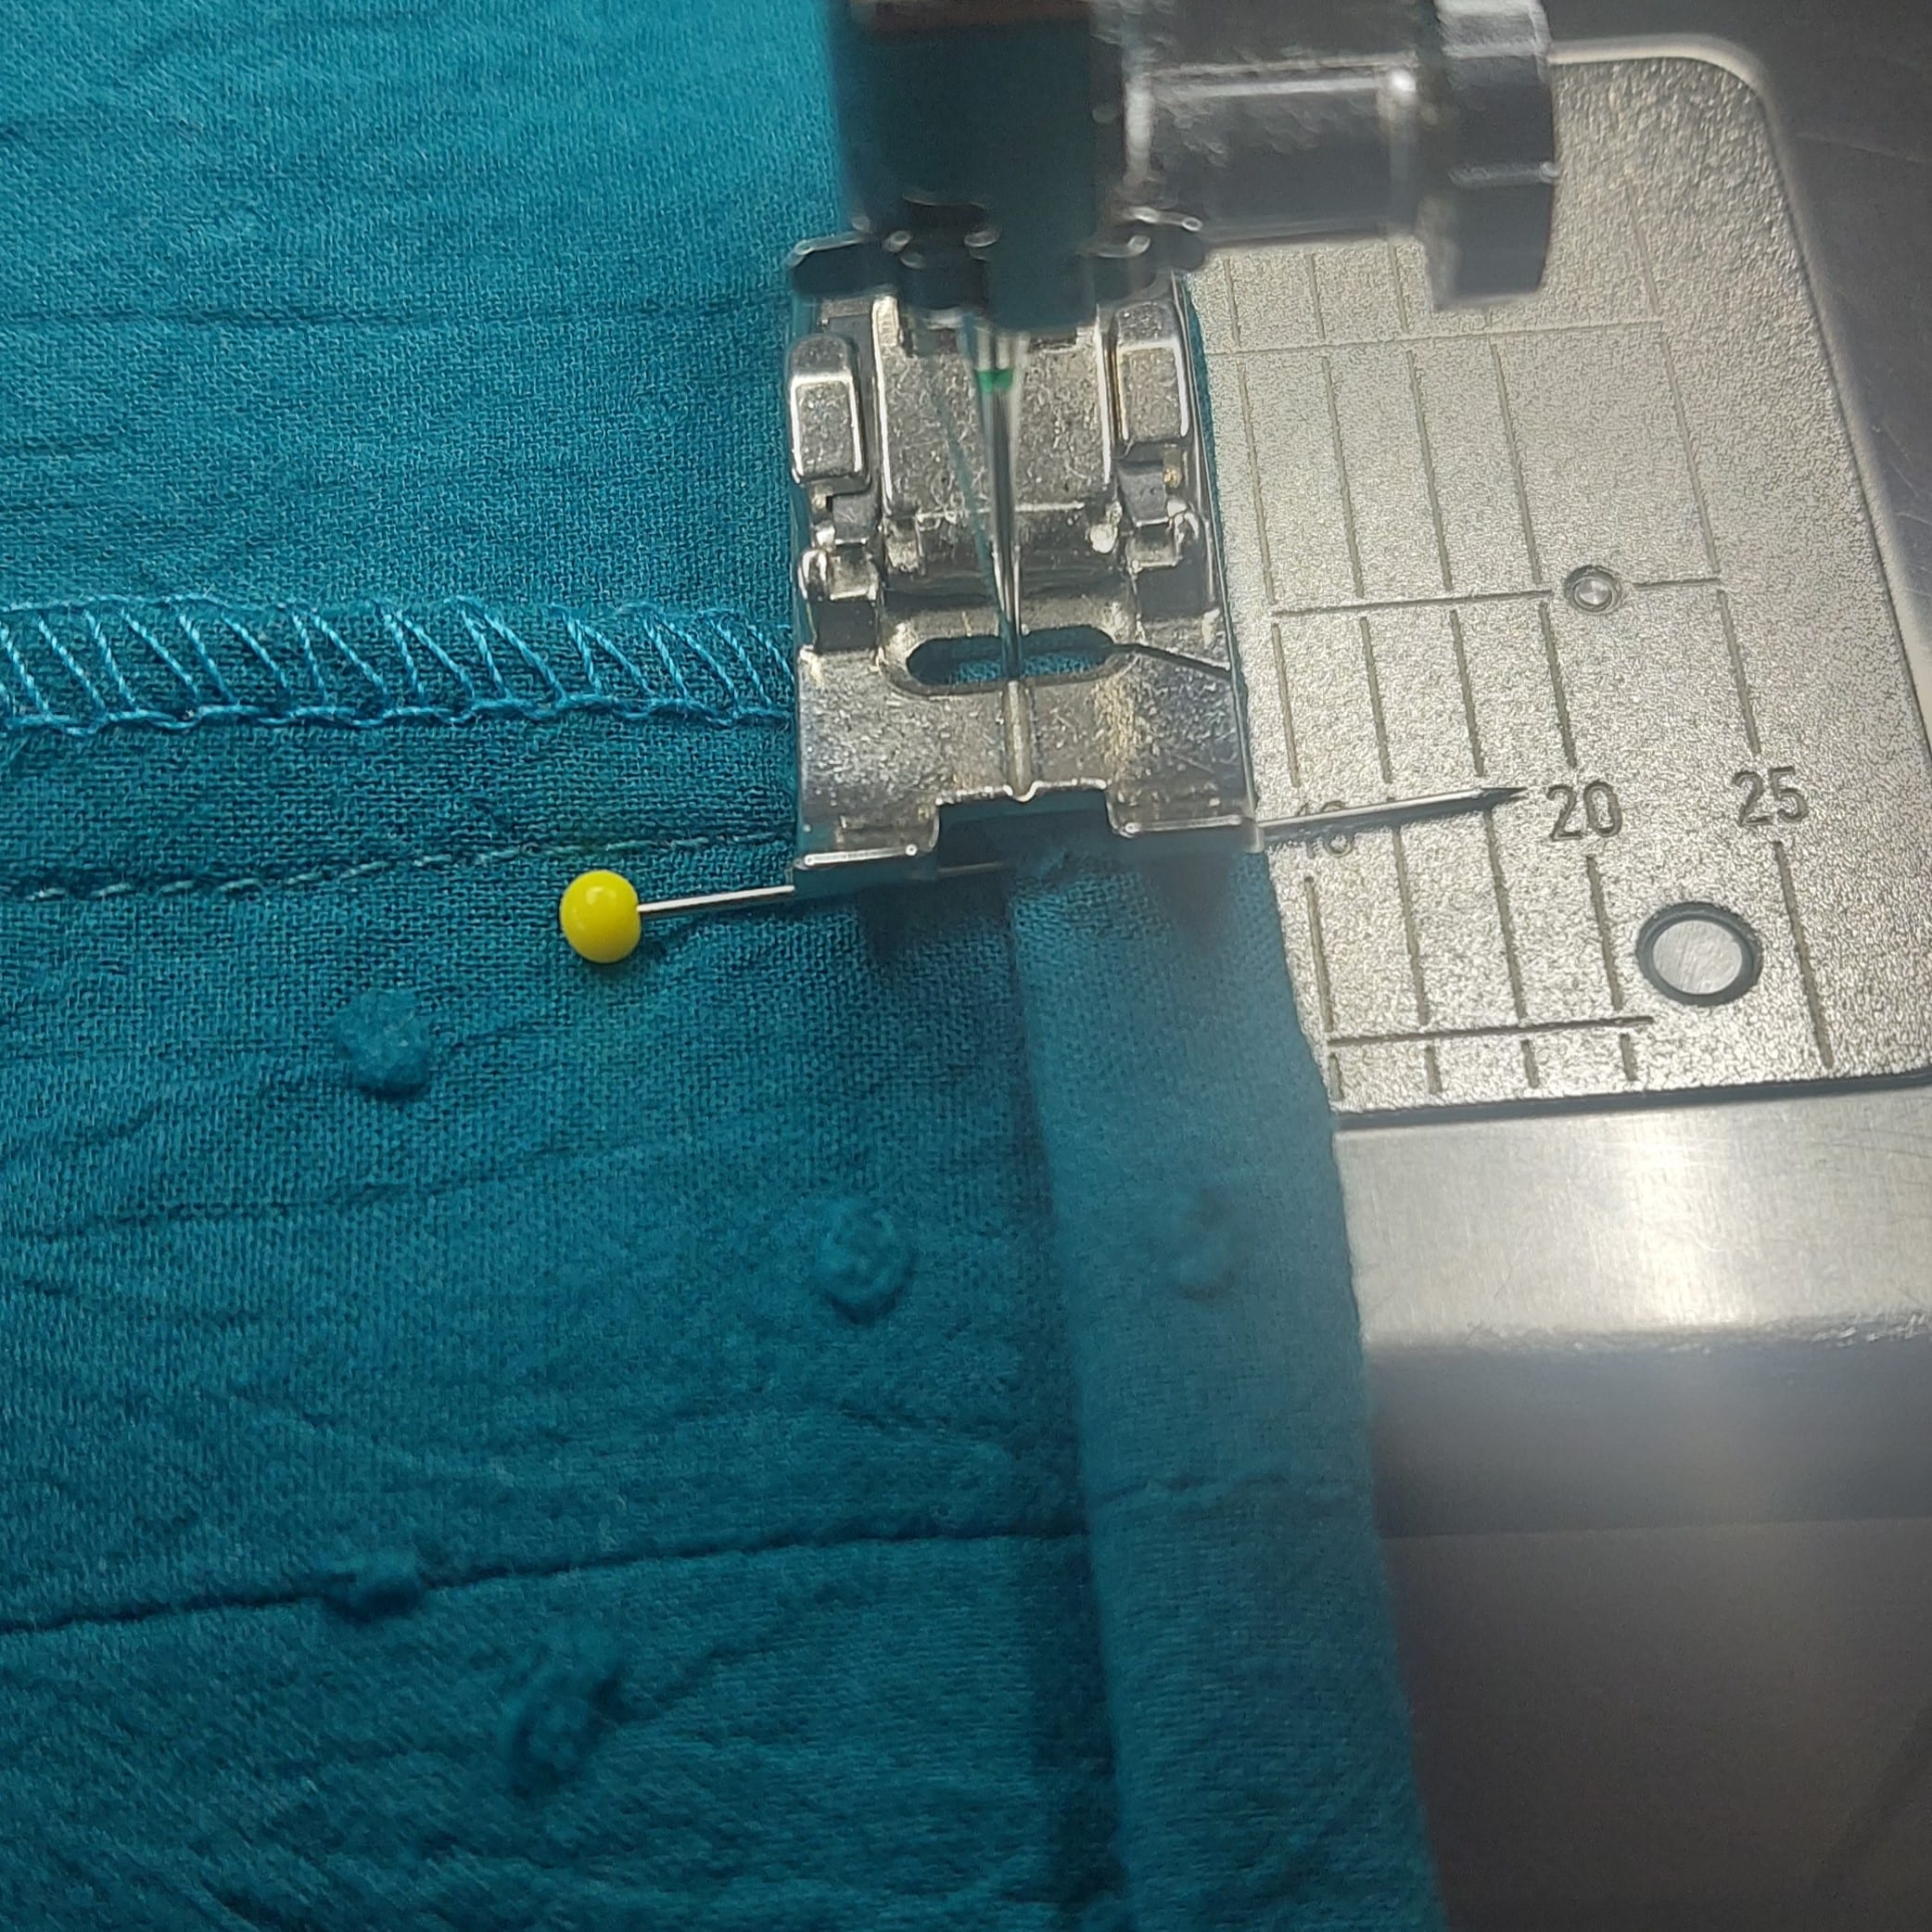
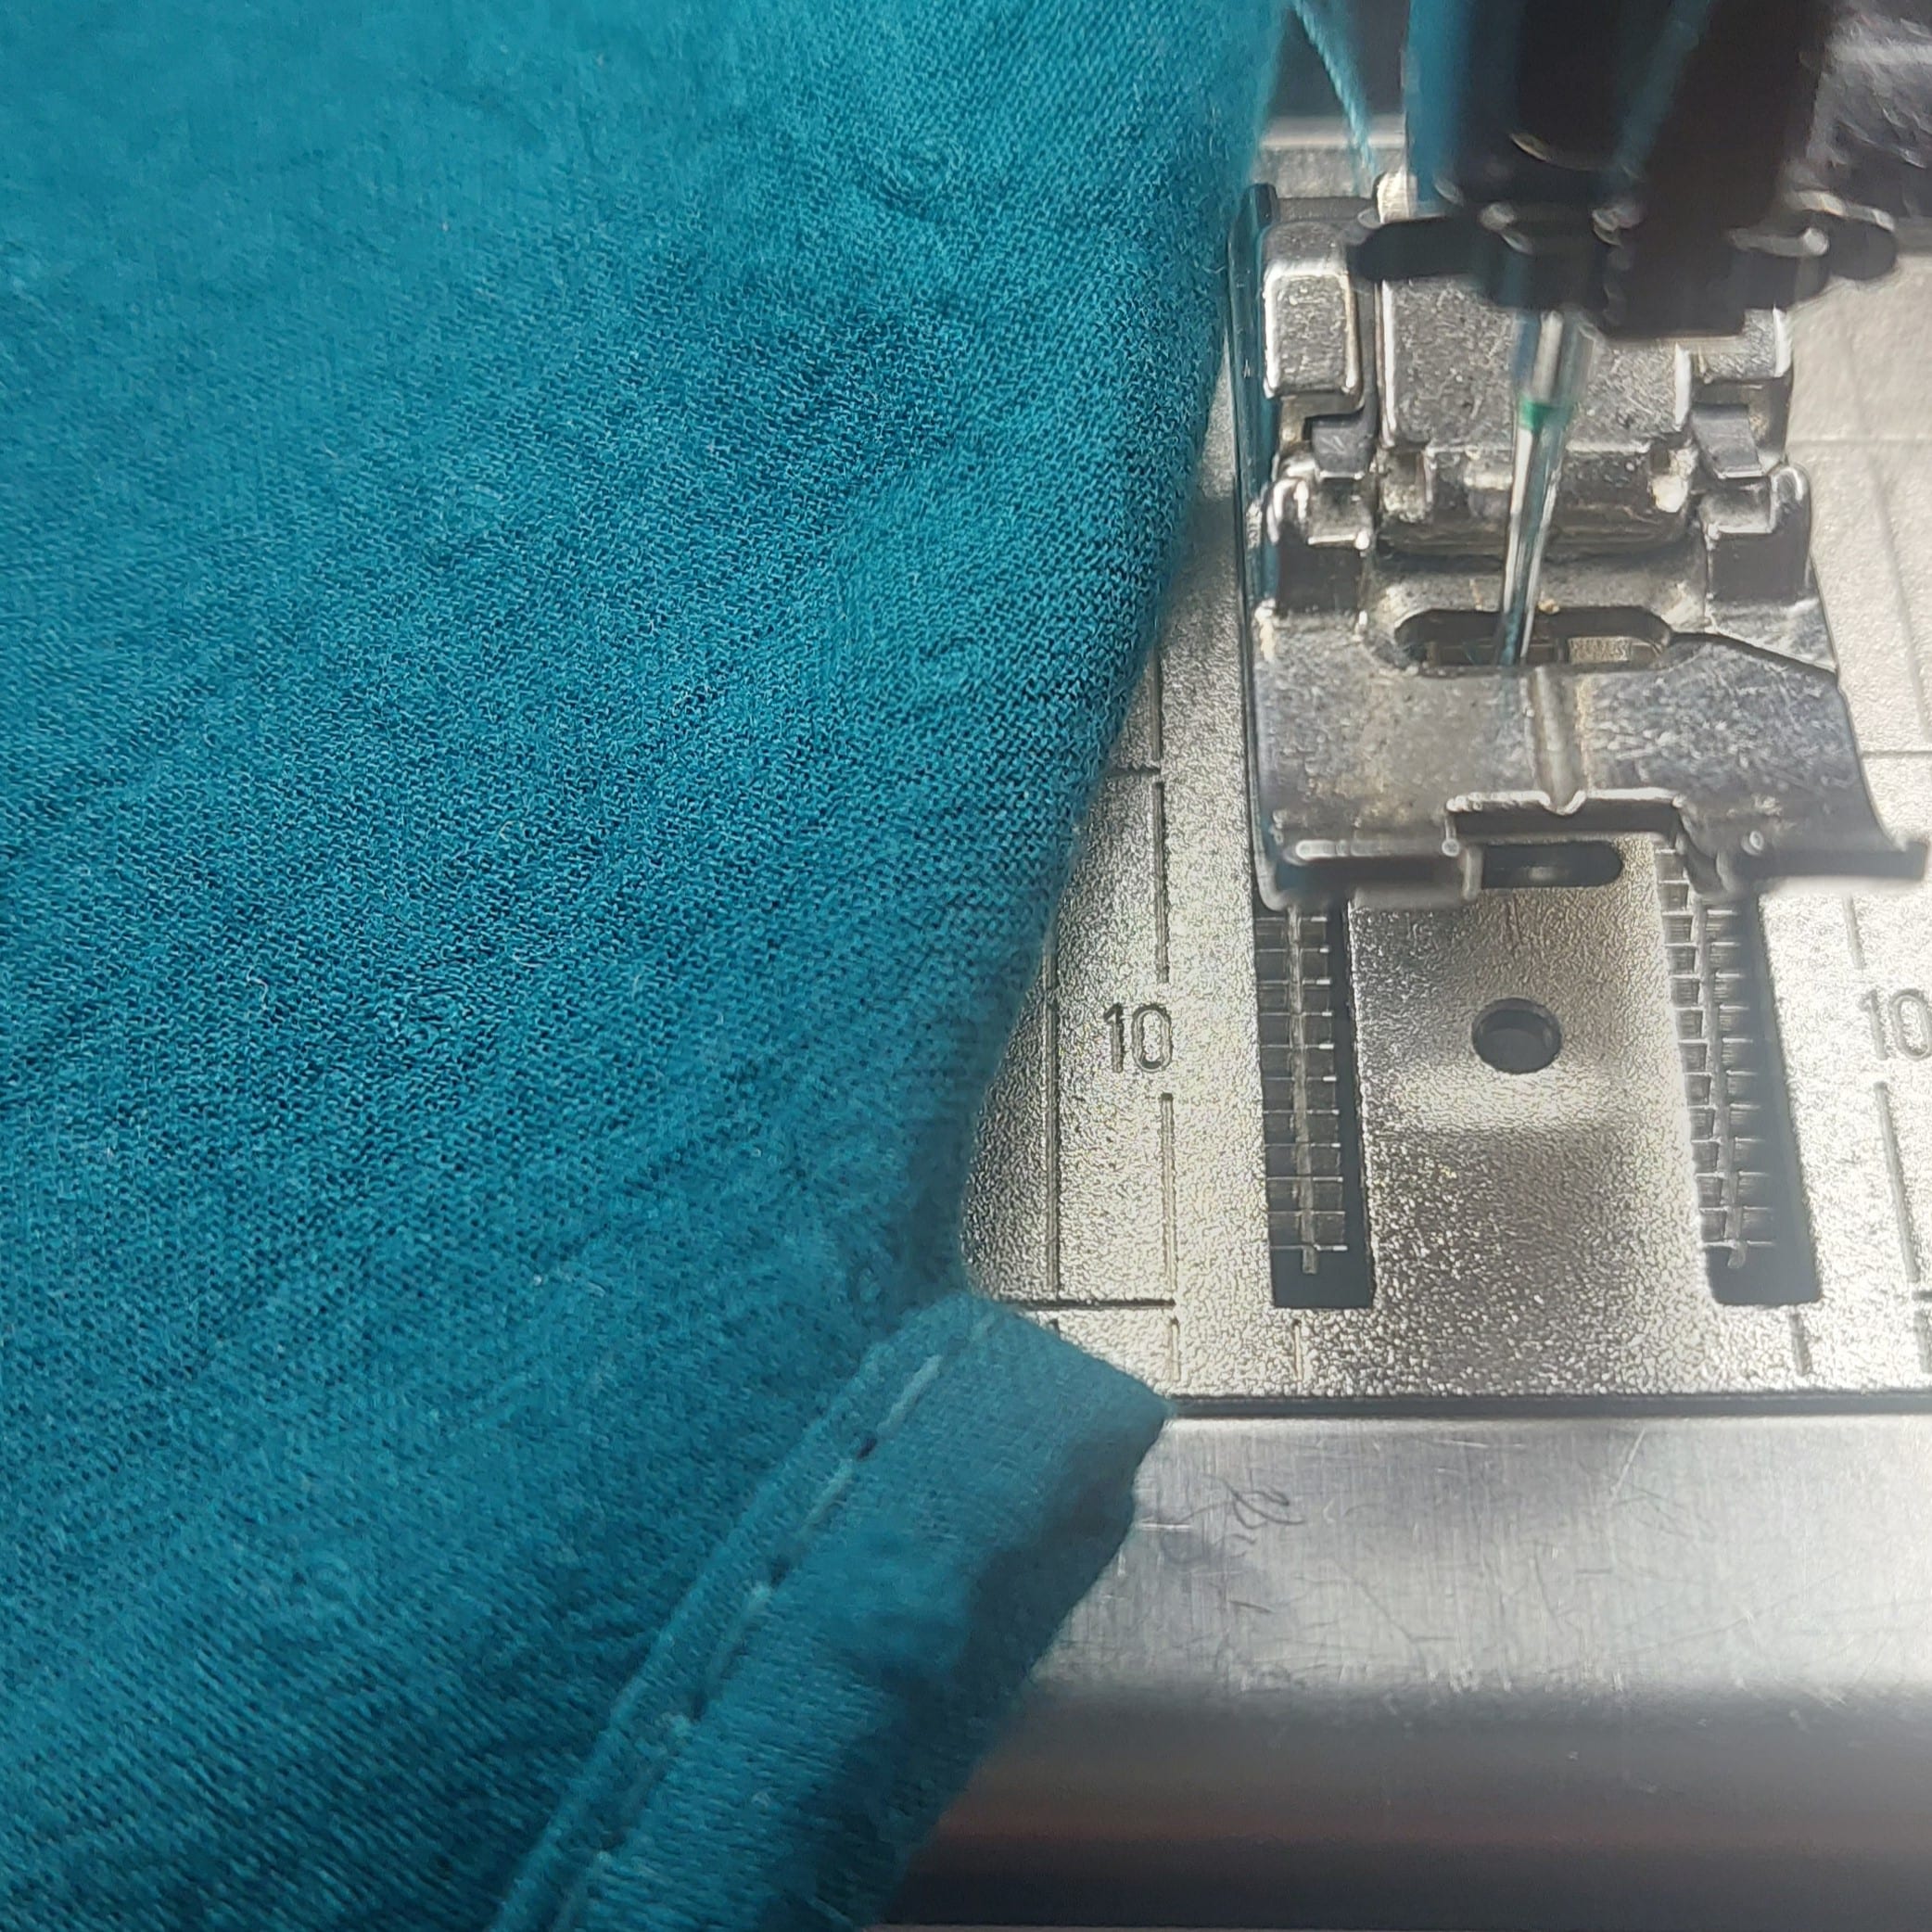
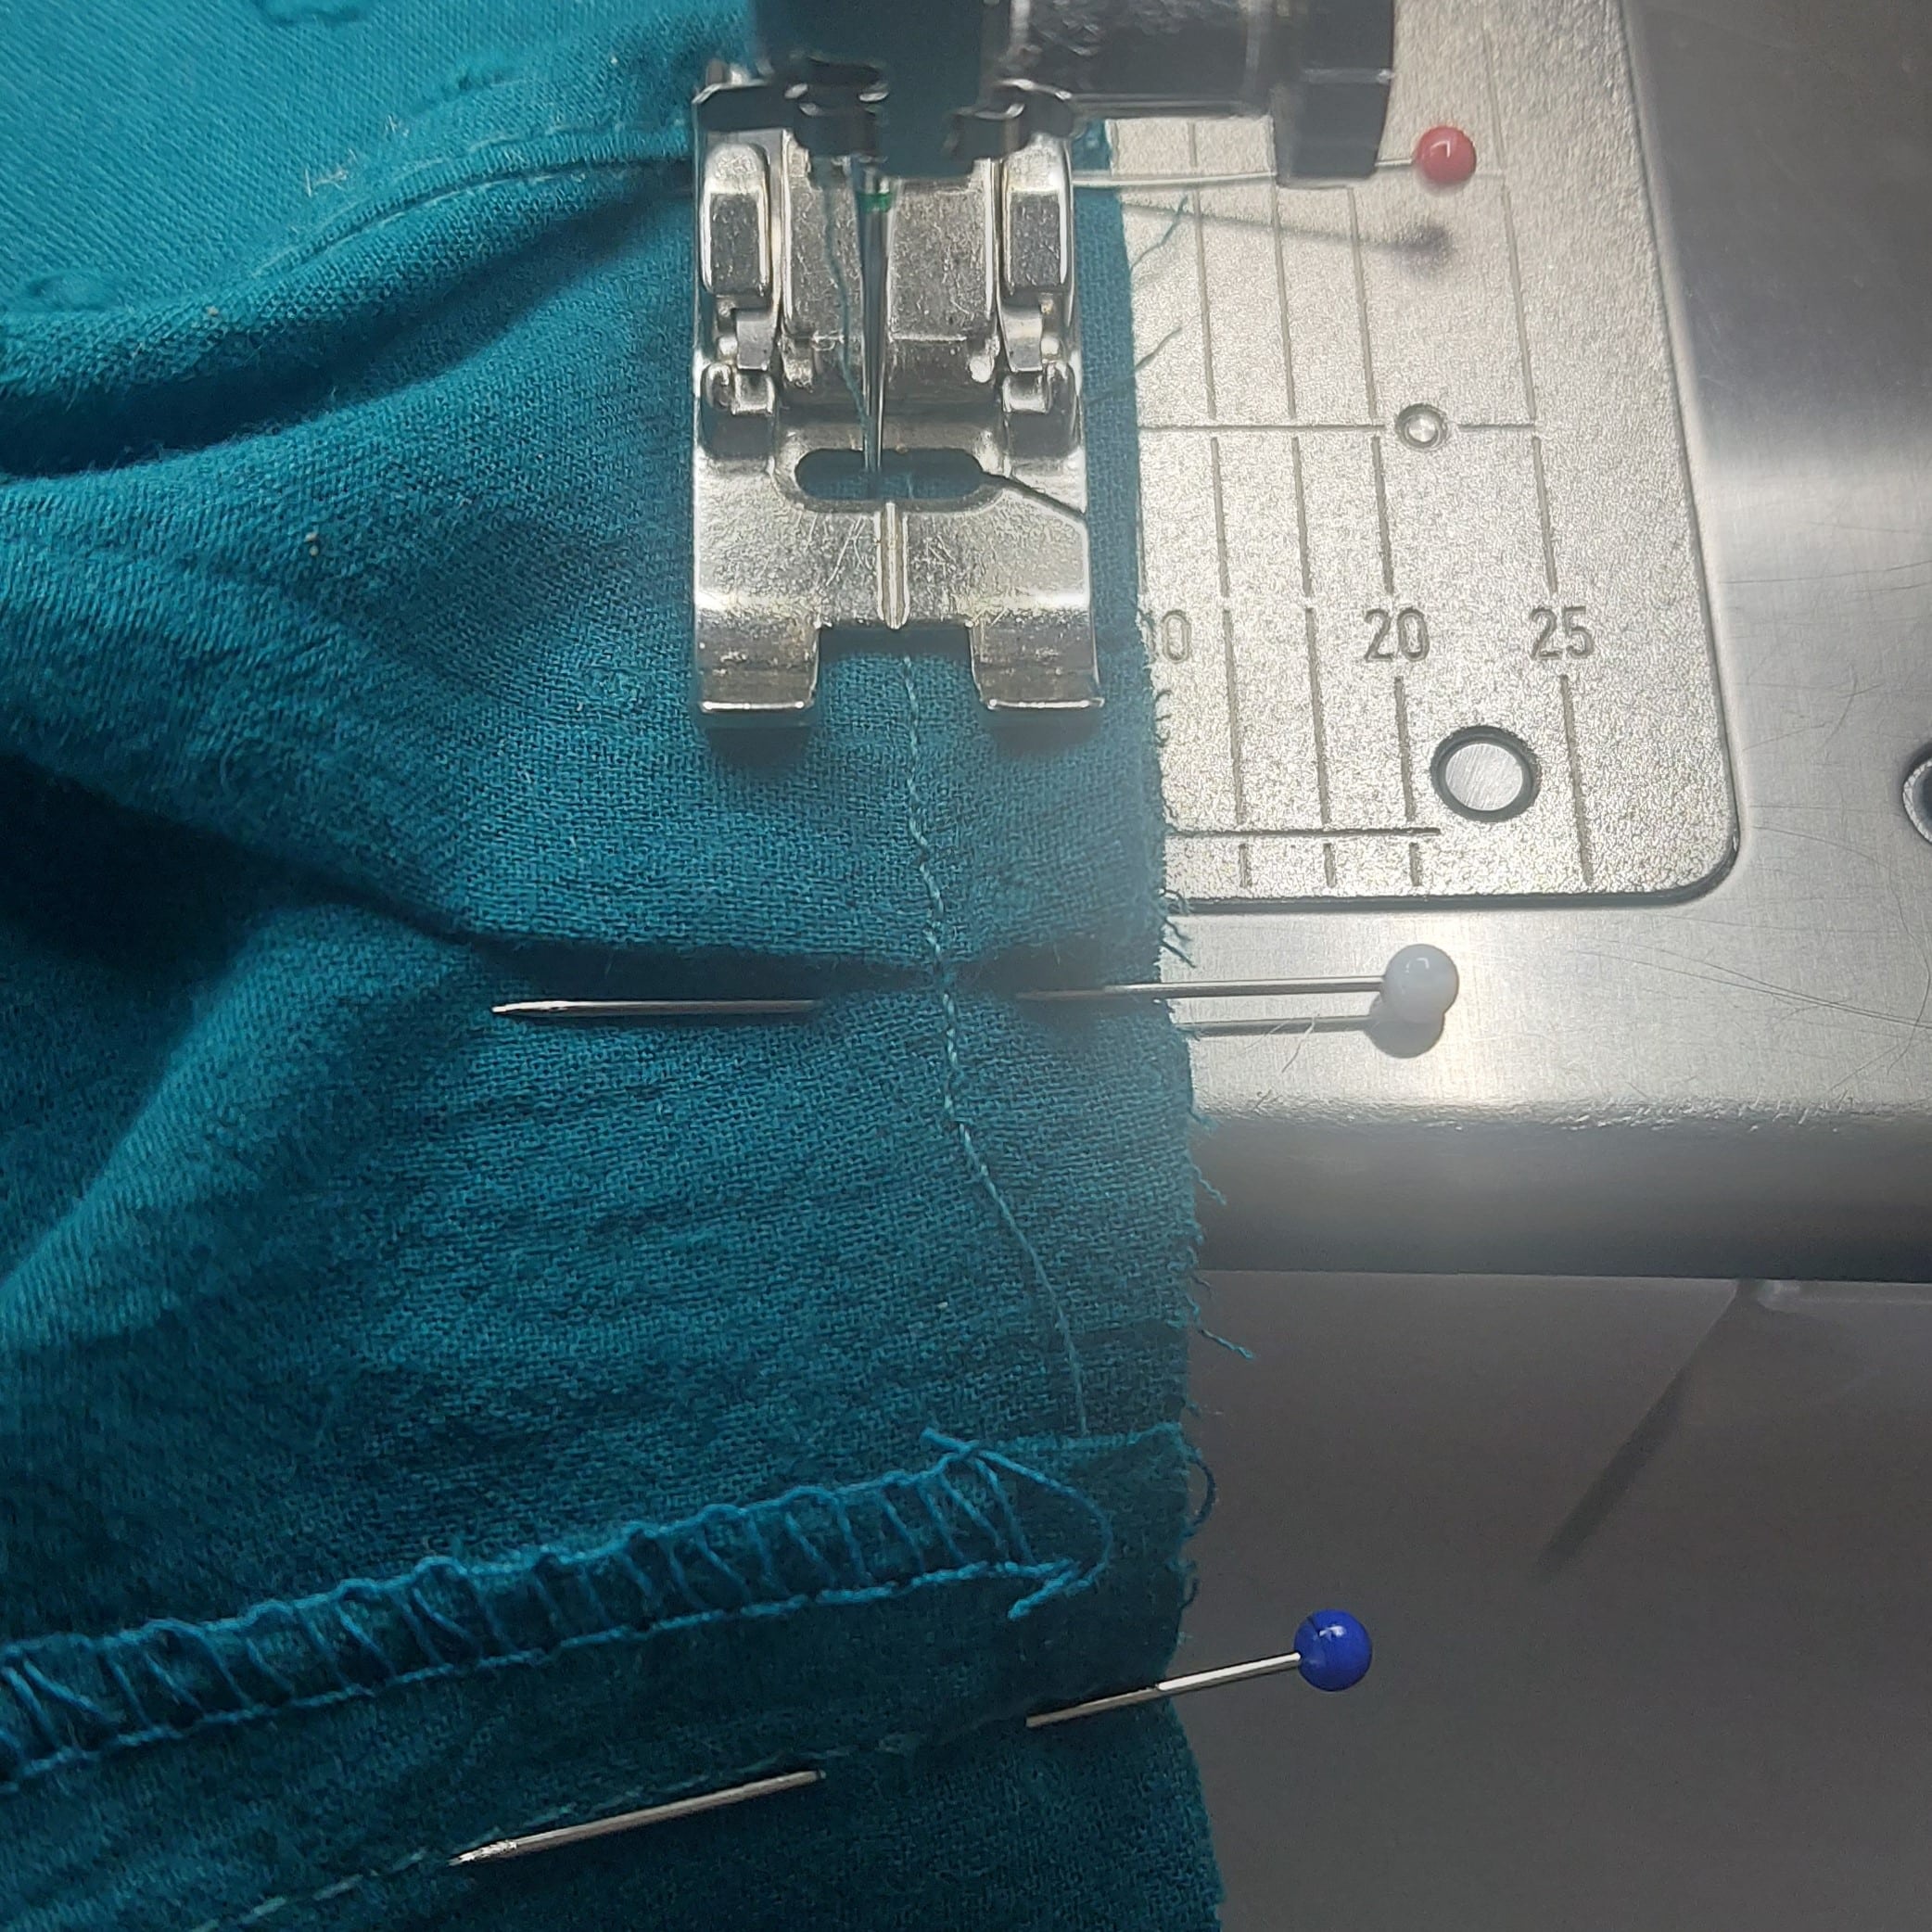
Pin the cuffs to the lower sleeve edge, right sides together, and stitch. Press the seam towards the cuff, fold the other long edge inward, and pin. See illustration 16 in the Burda pattern and the images in this tutorial.

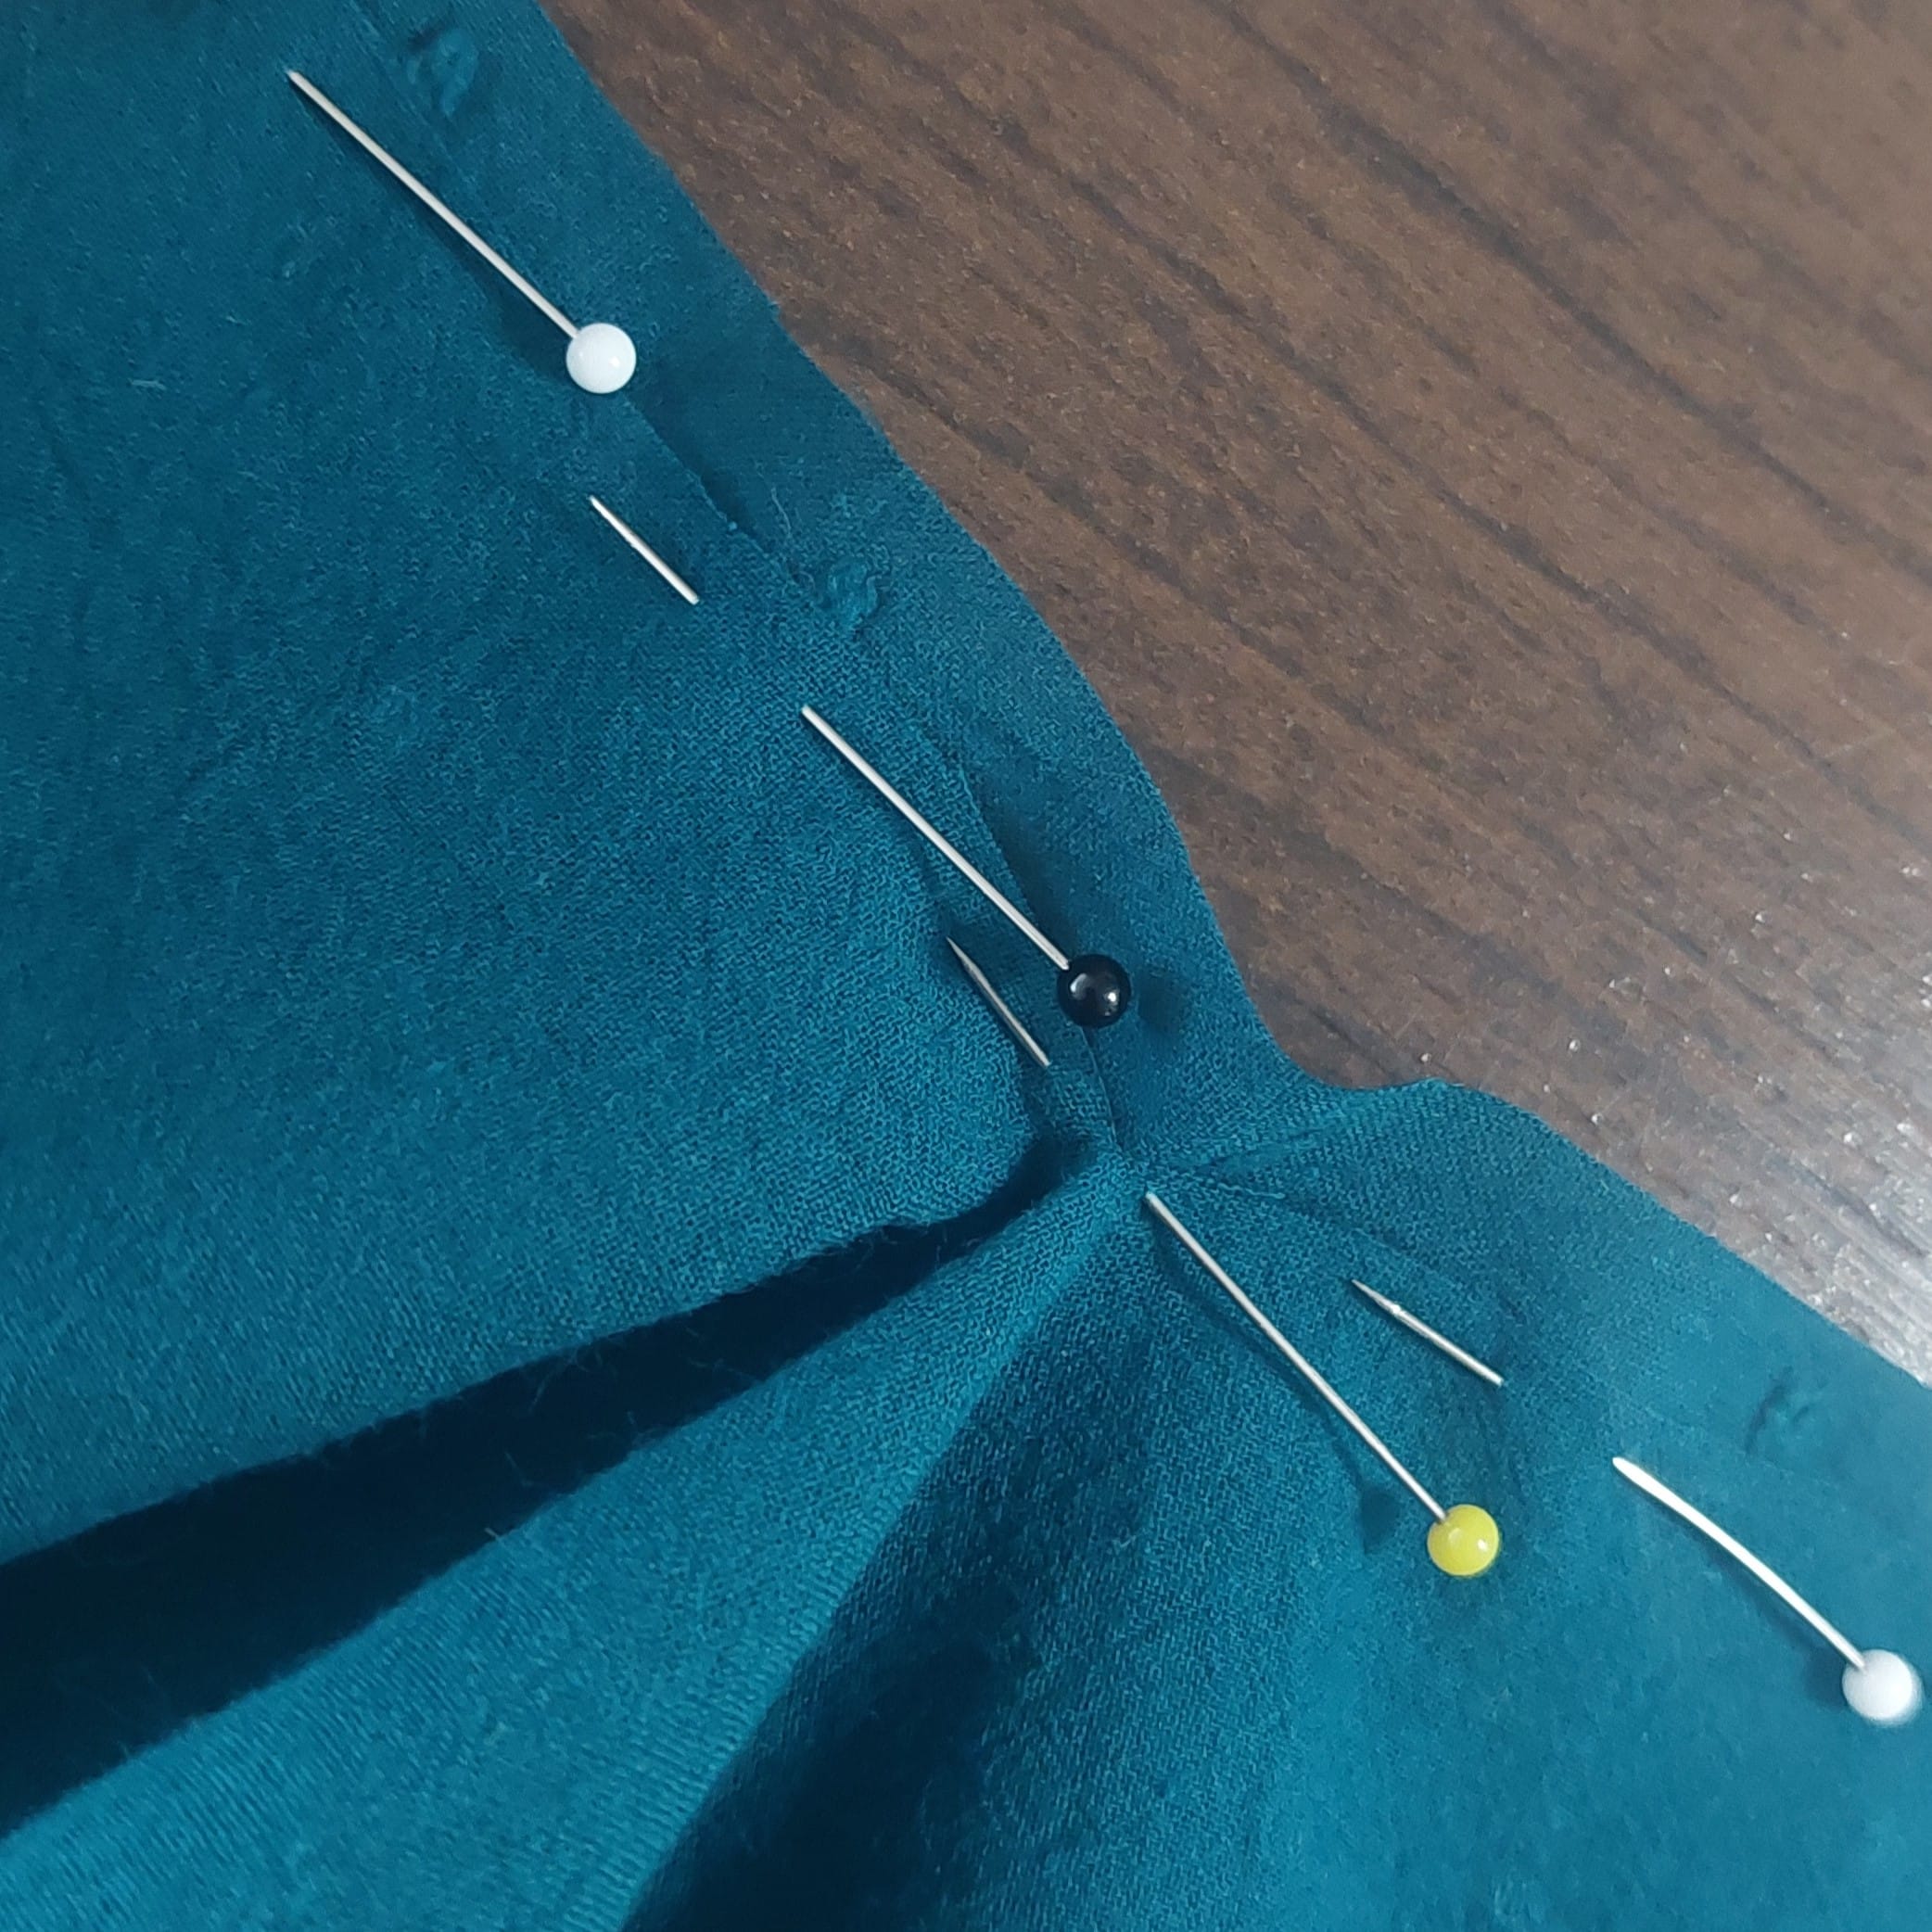
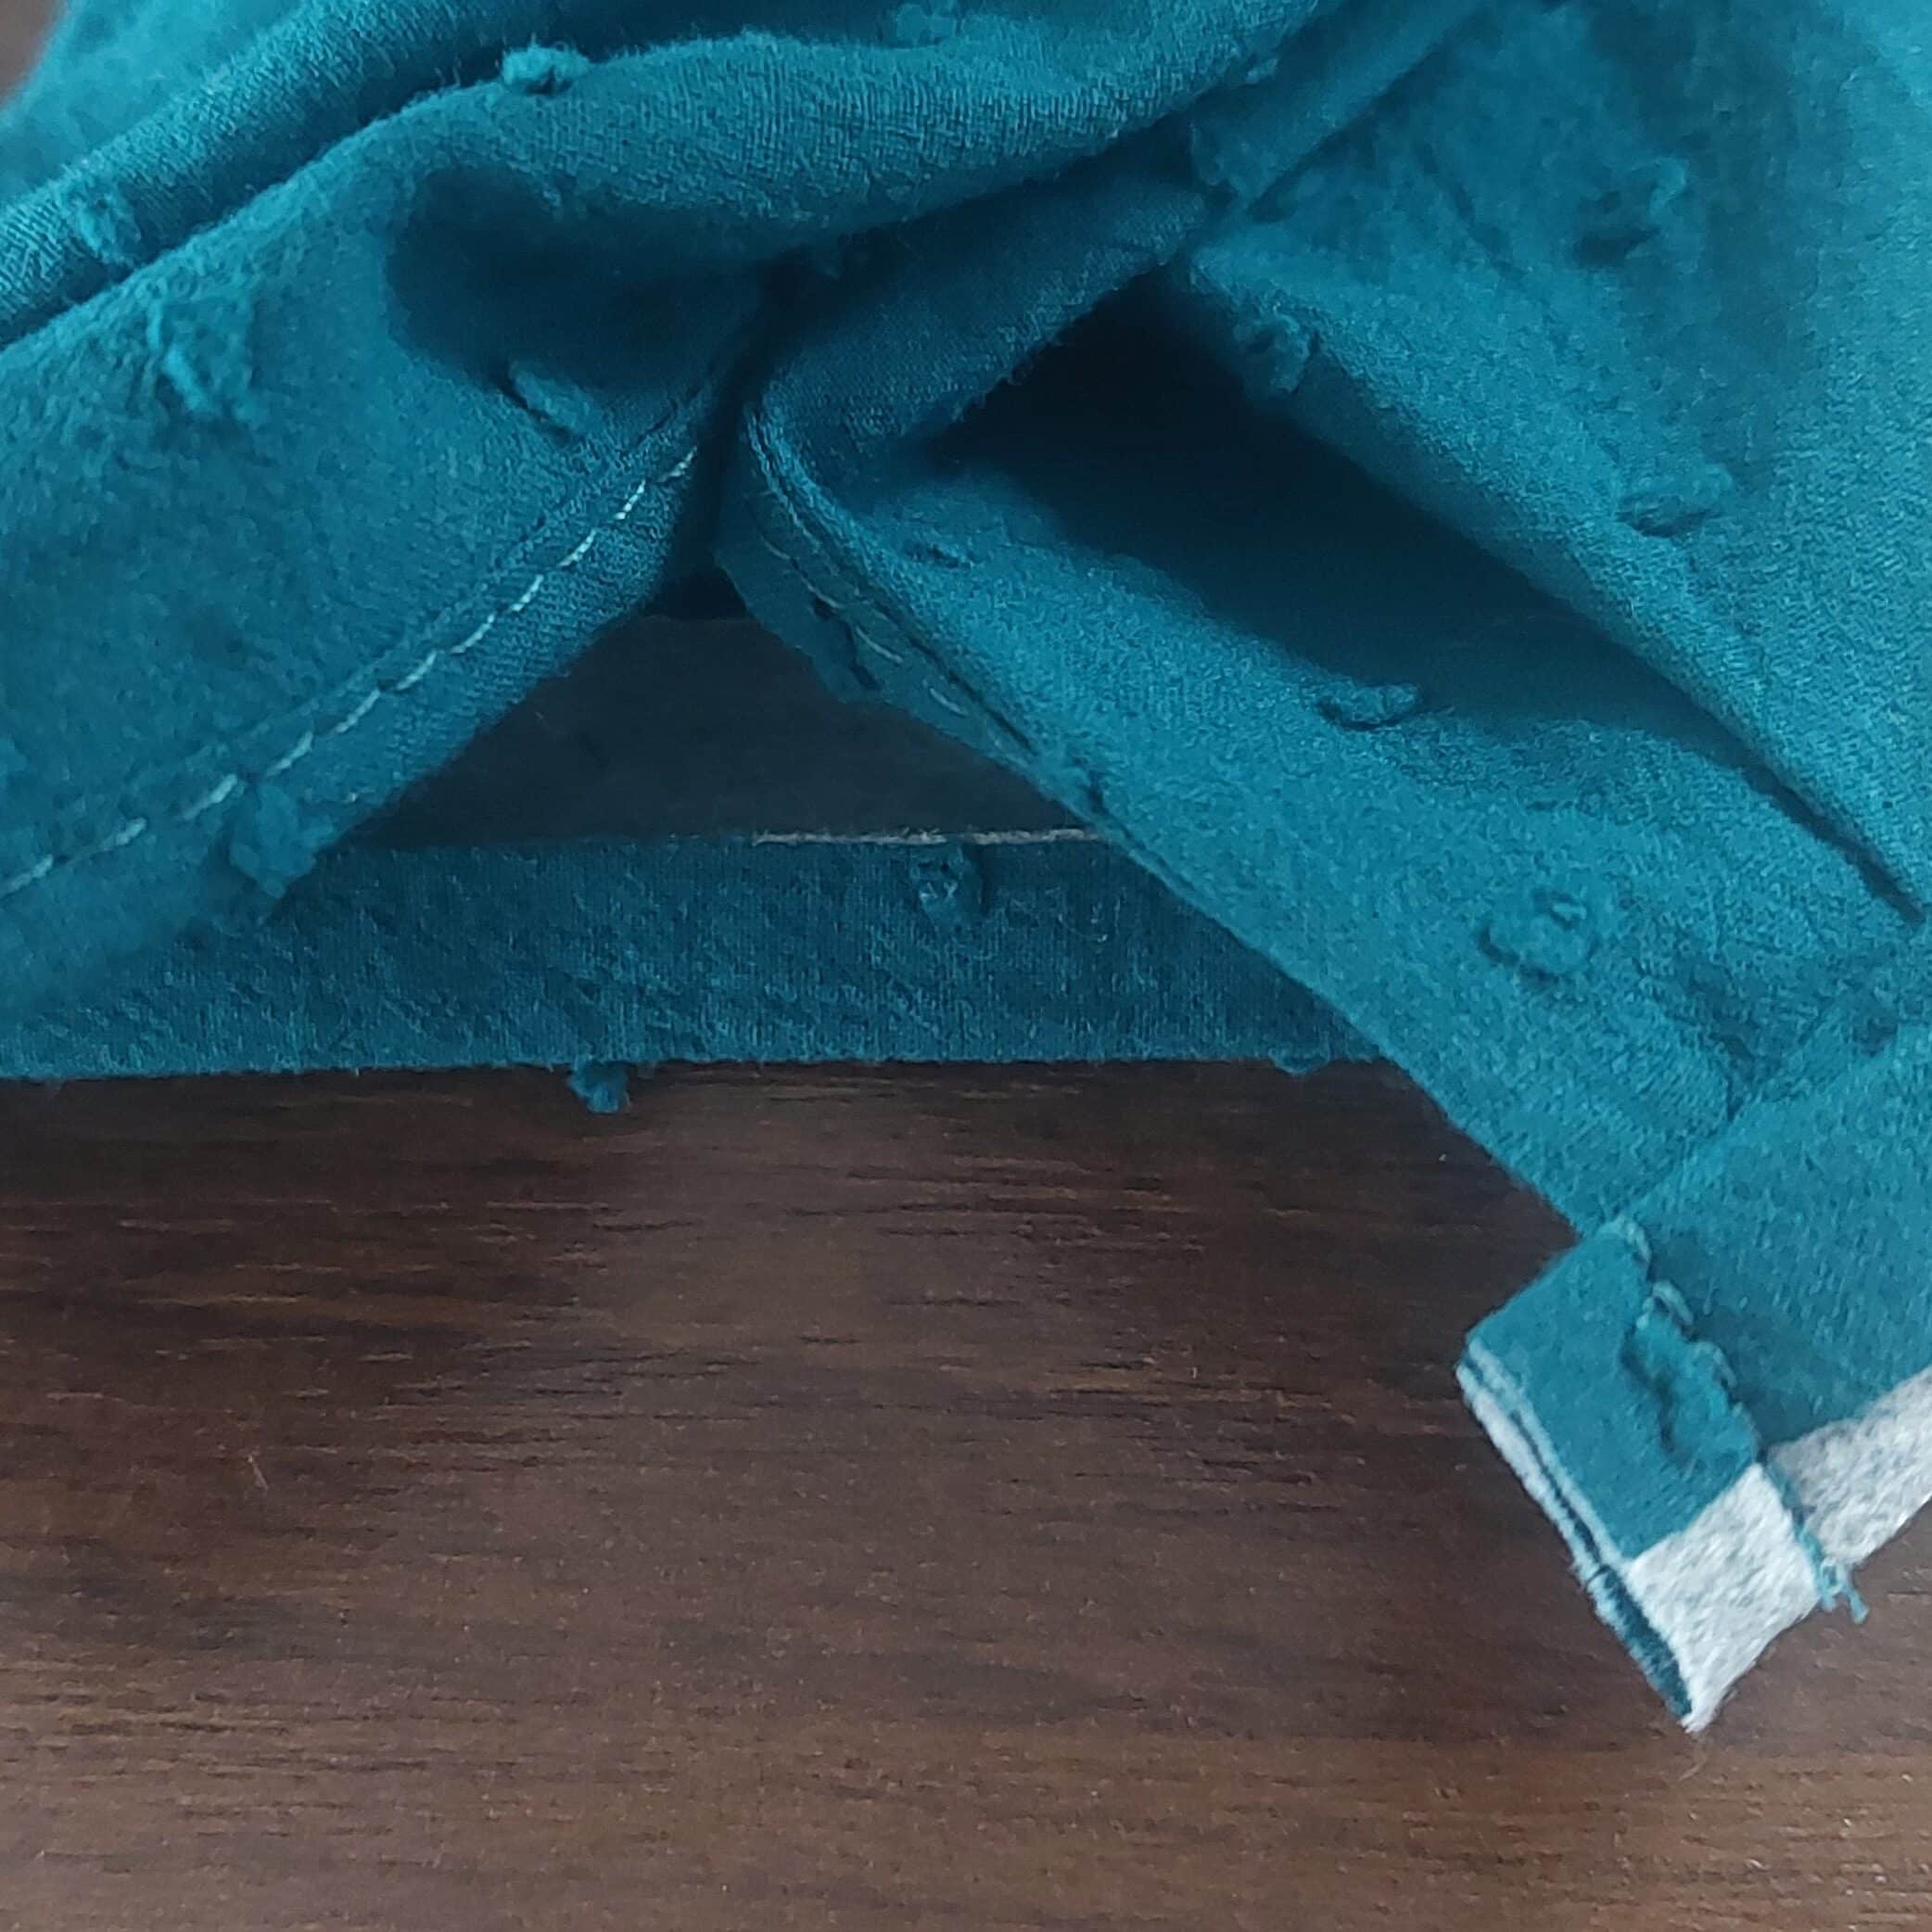
Fold the cuff in half along the fold line with the right sides together. Pin the short edges together and stitch. Trim the seams, turn the cuff inside out, pin along the attachment seam, and topstitch on the right side.

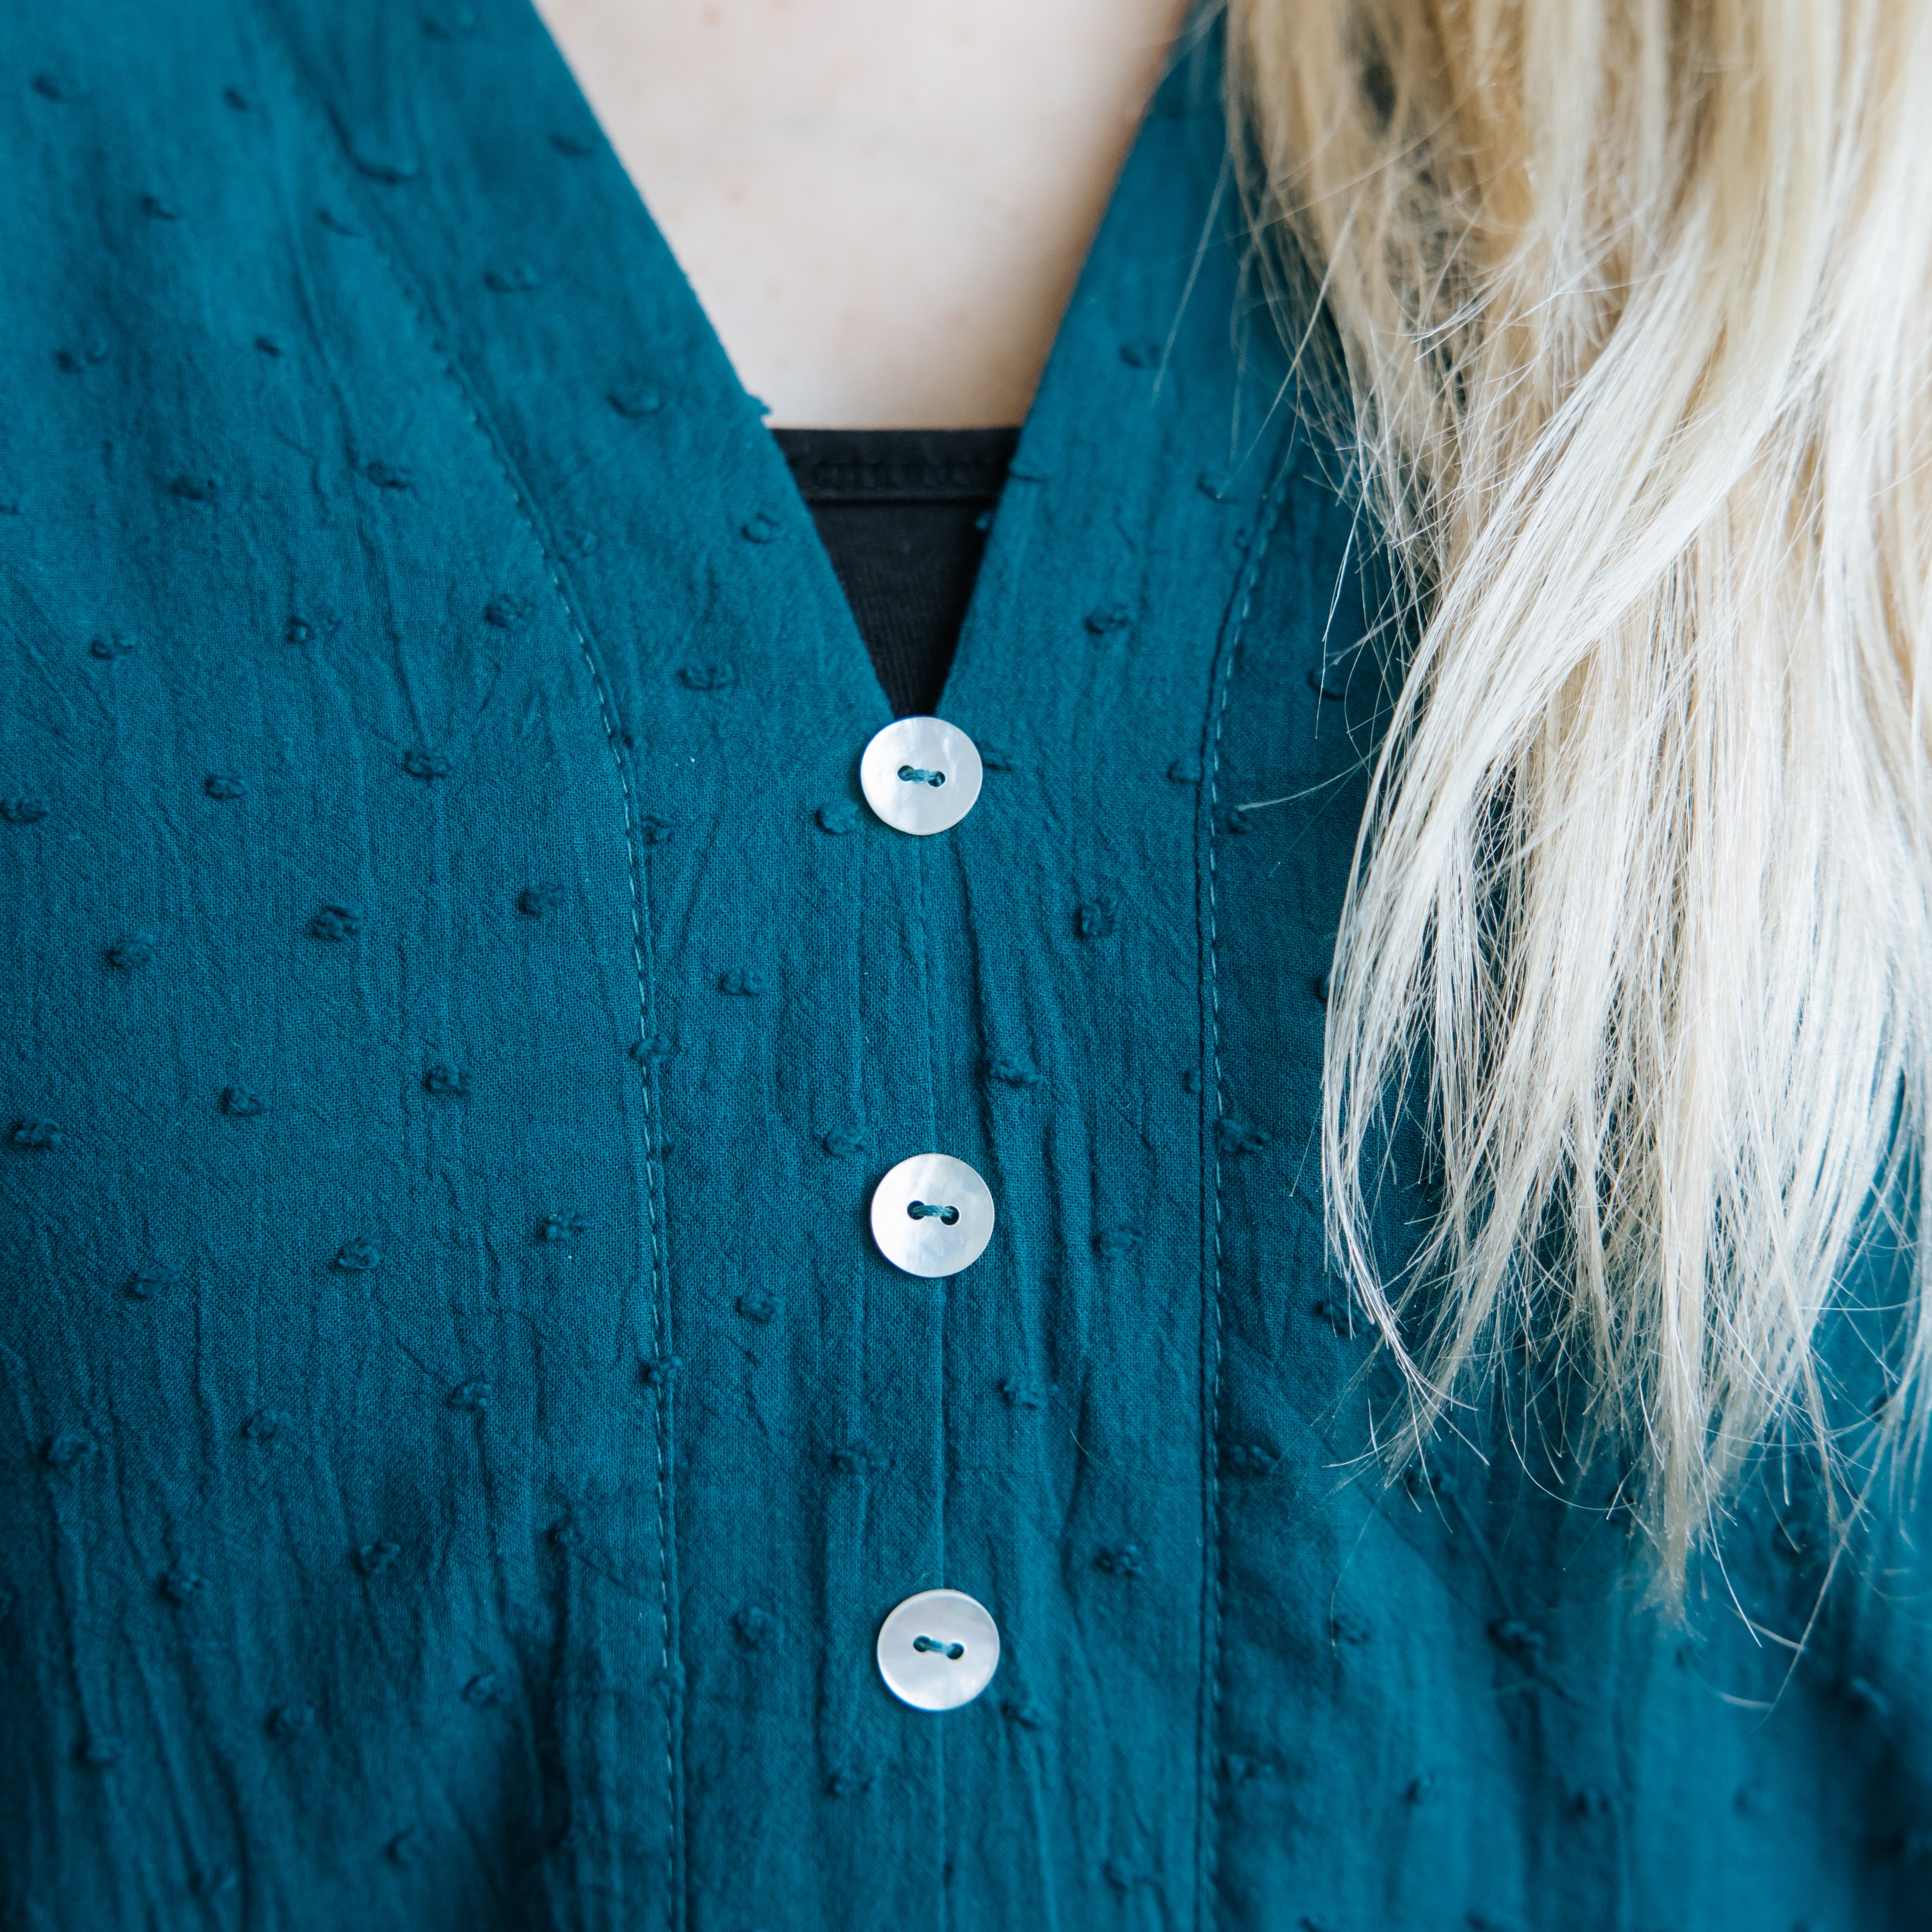
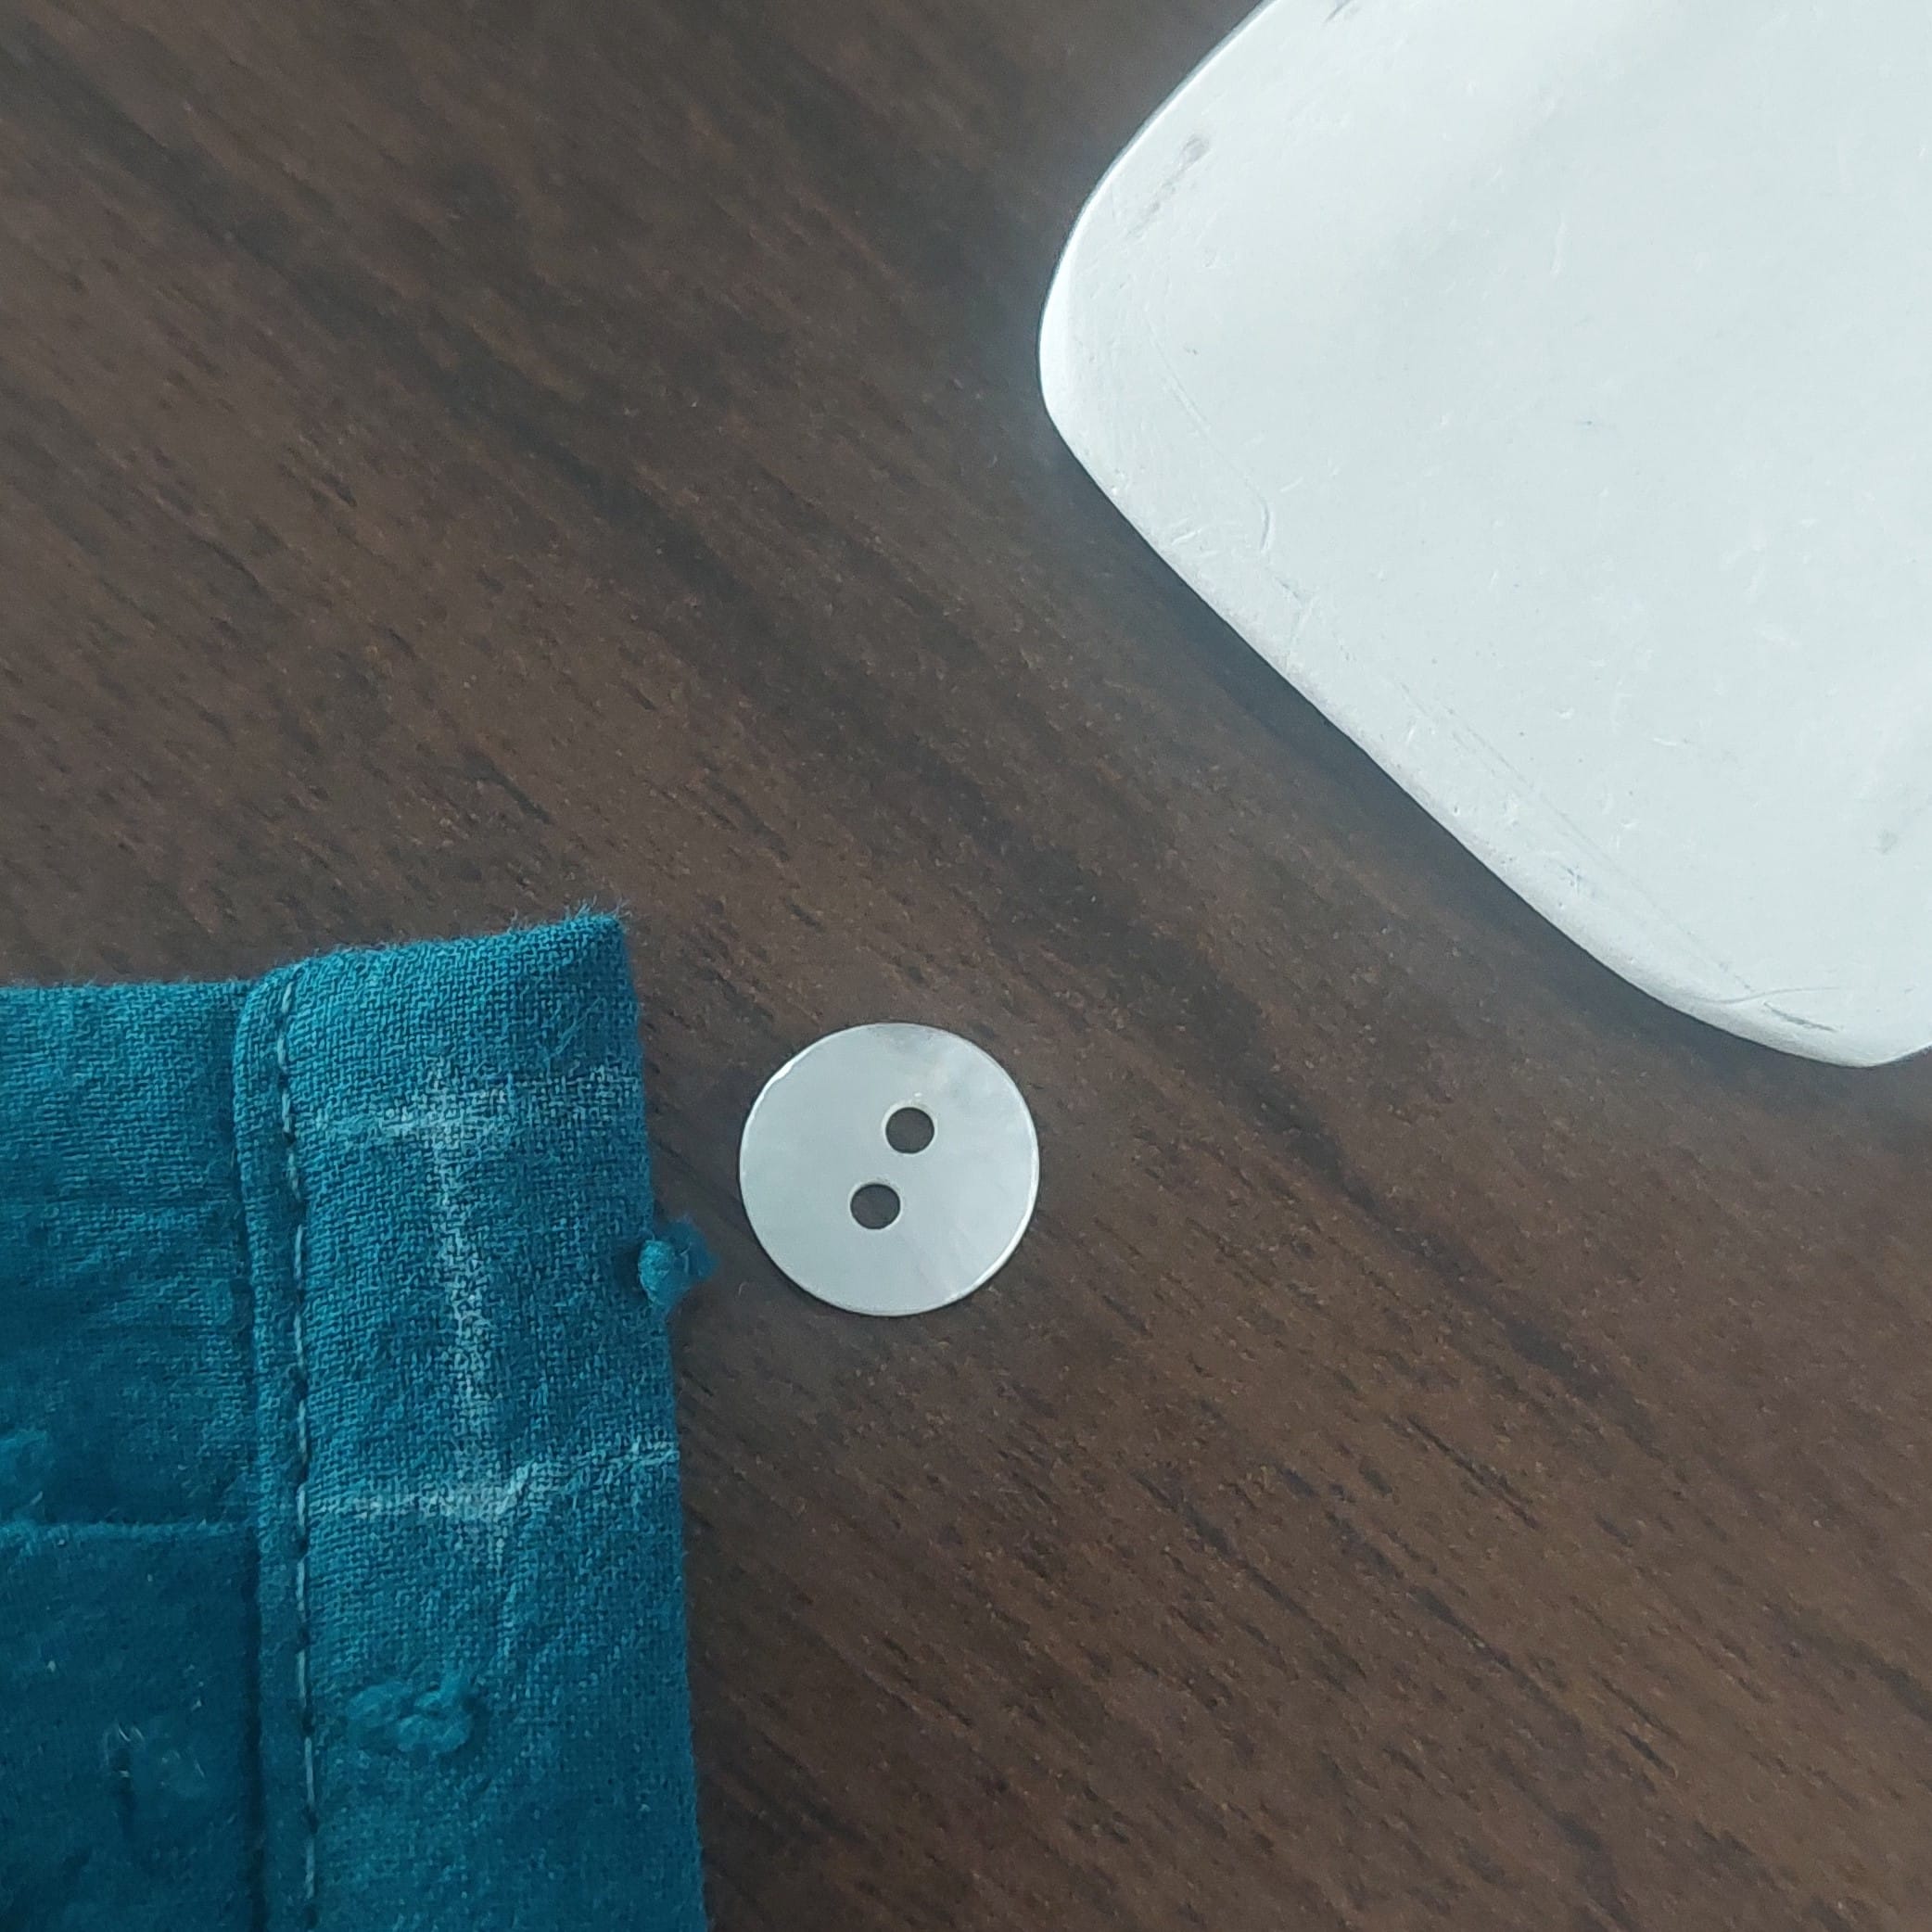
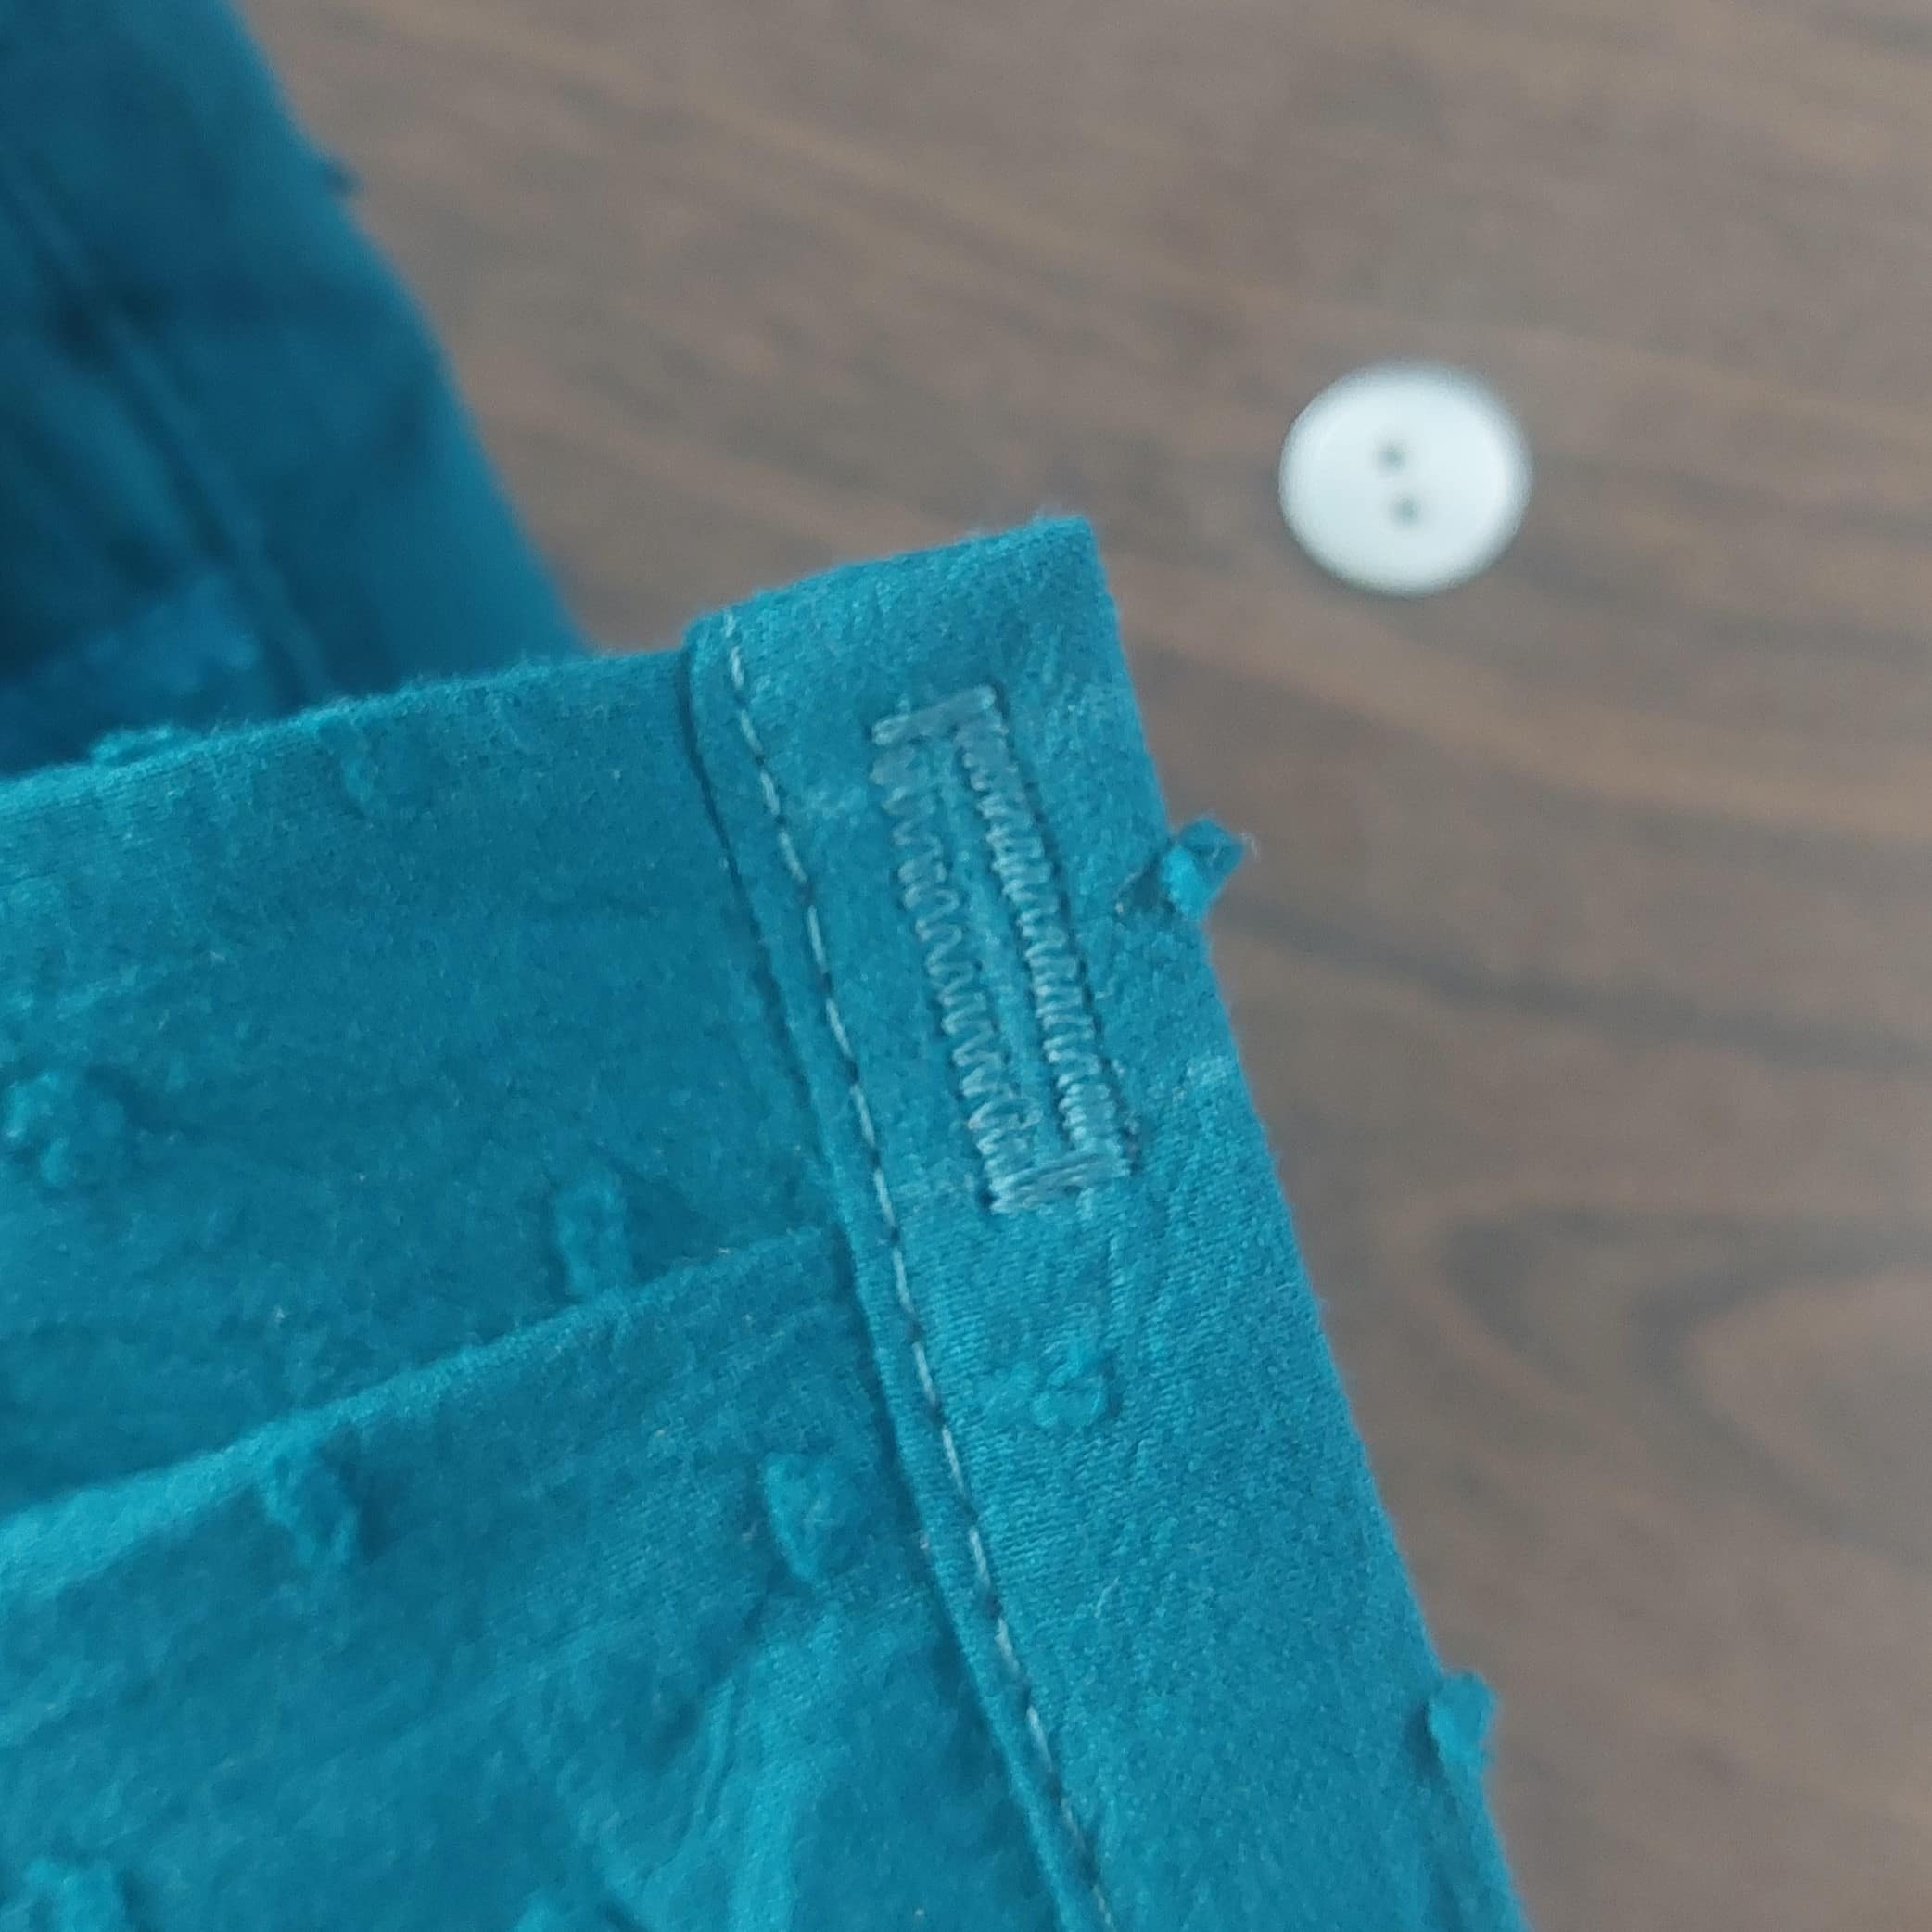
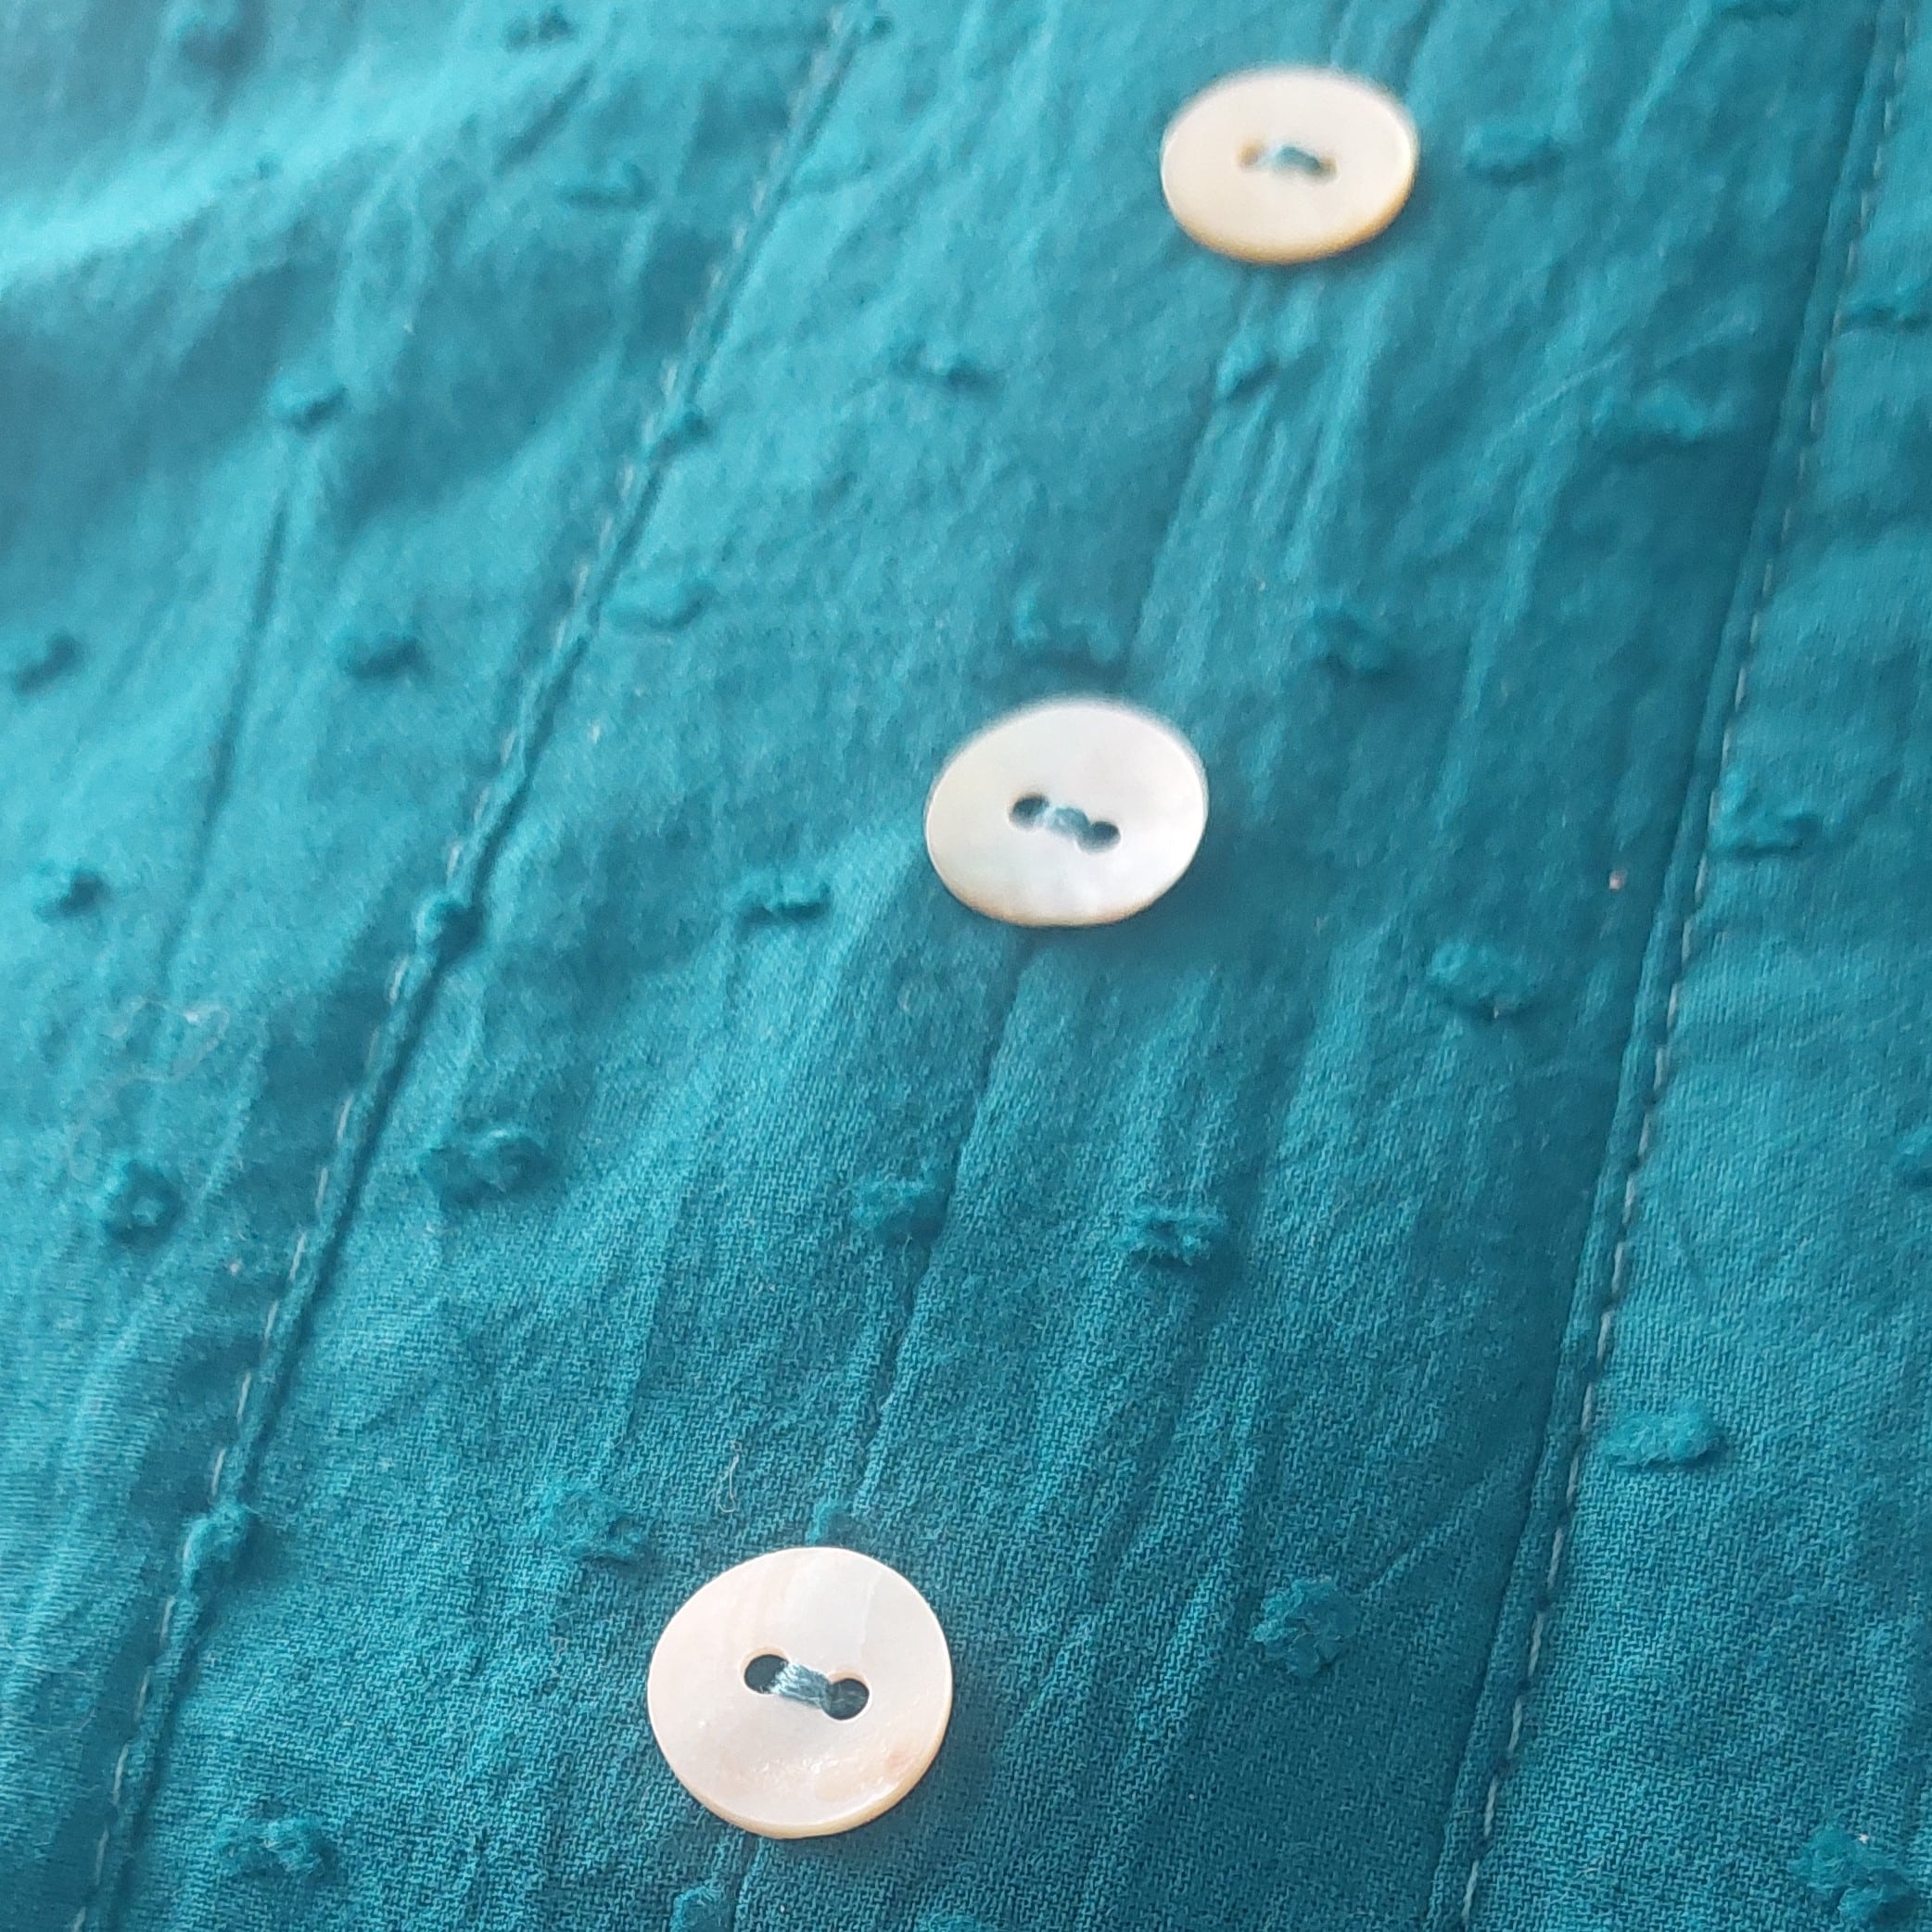
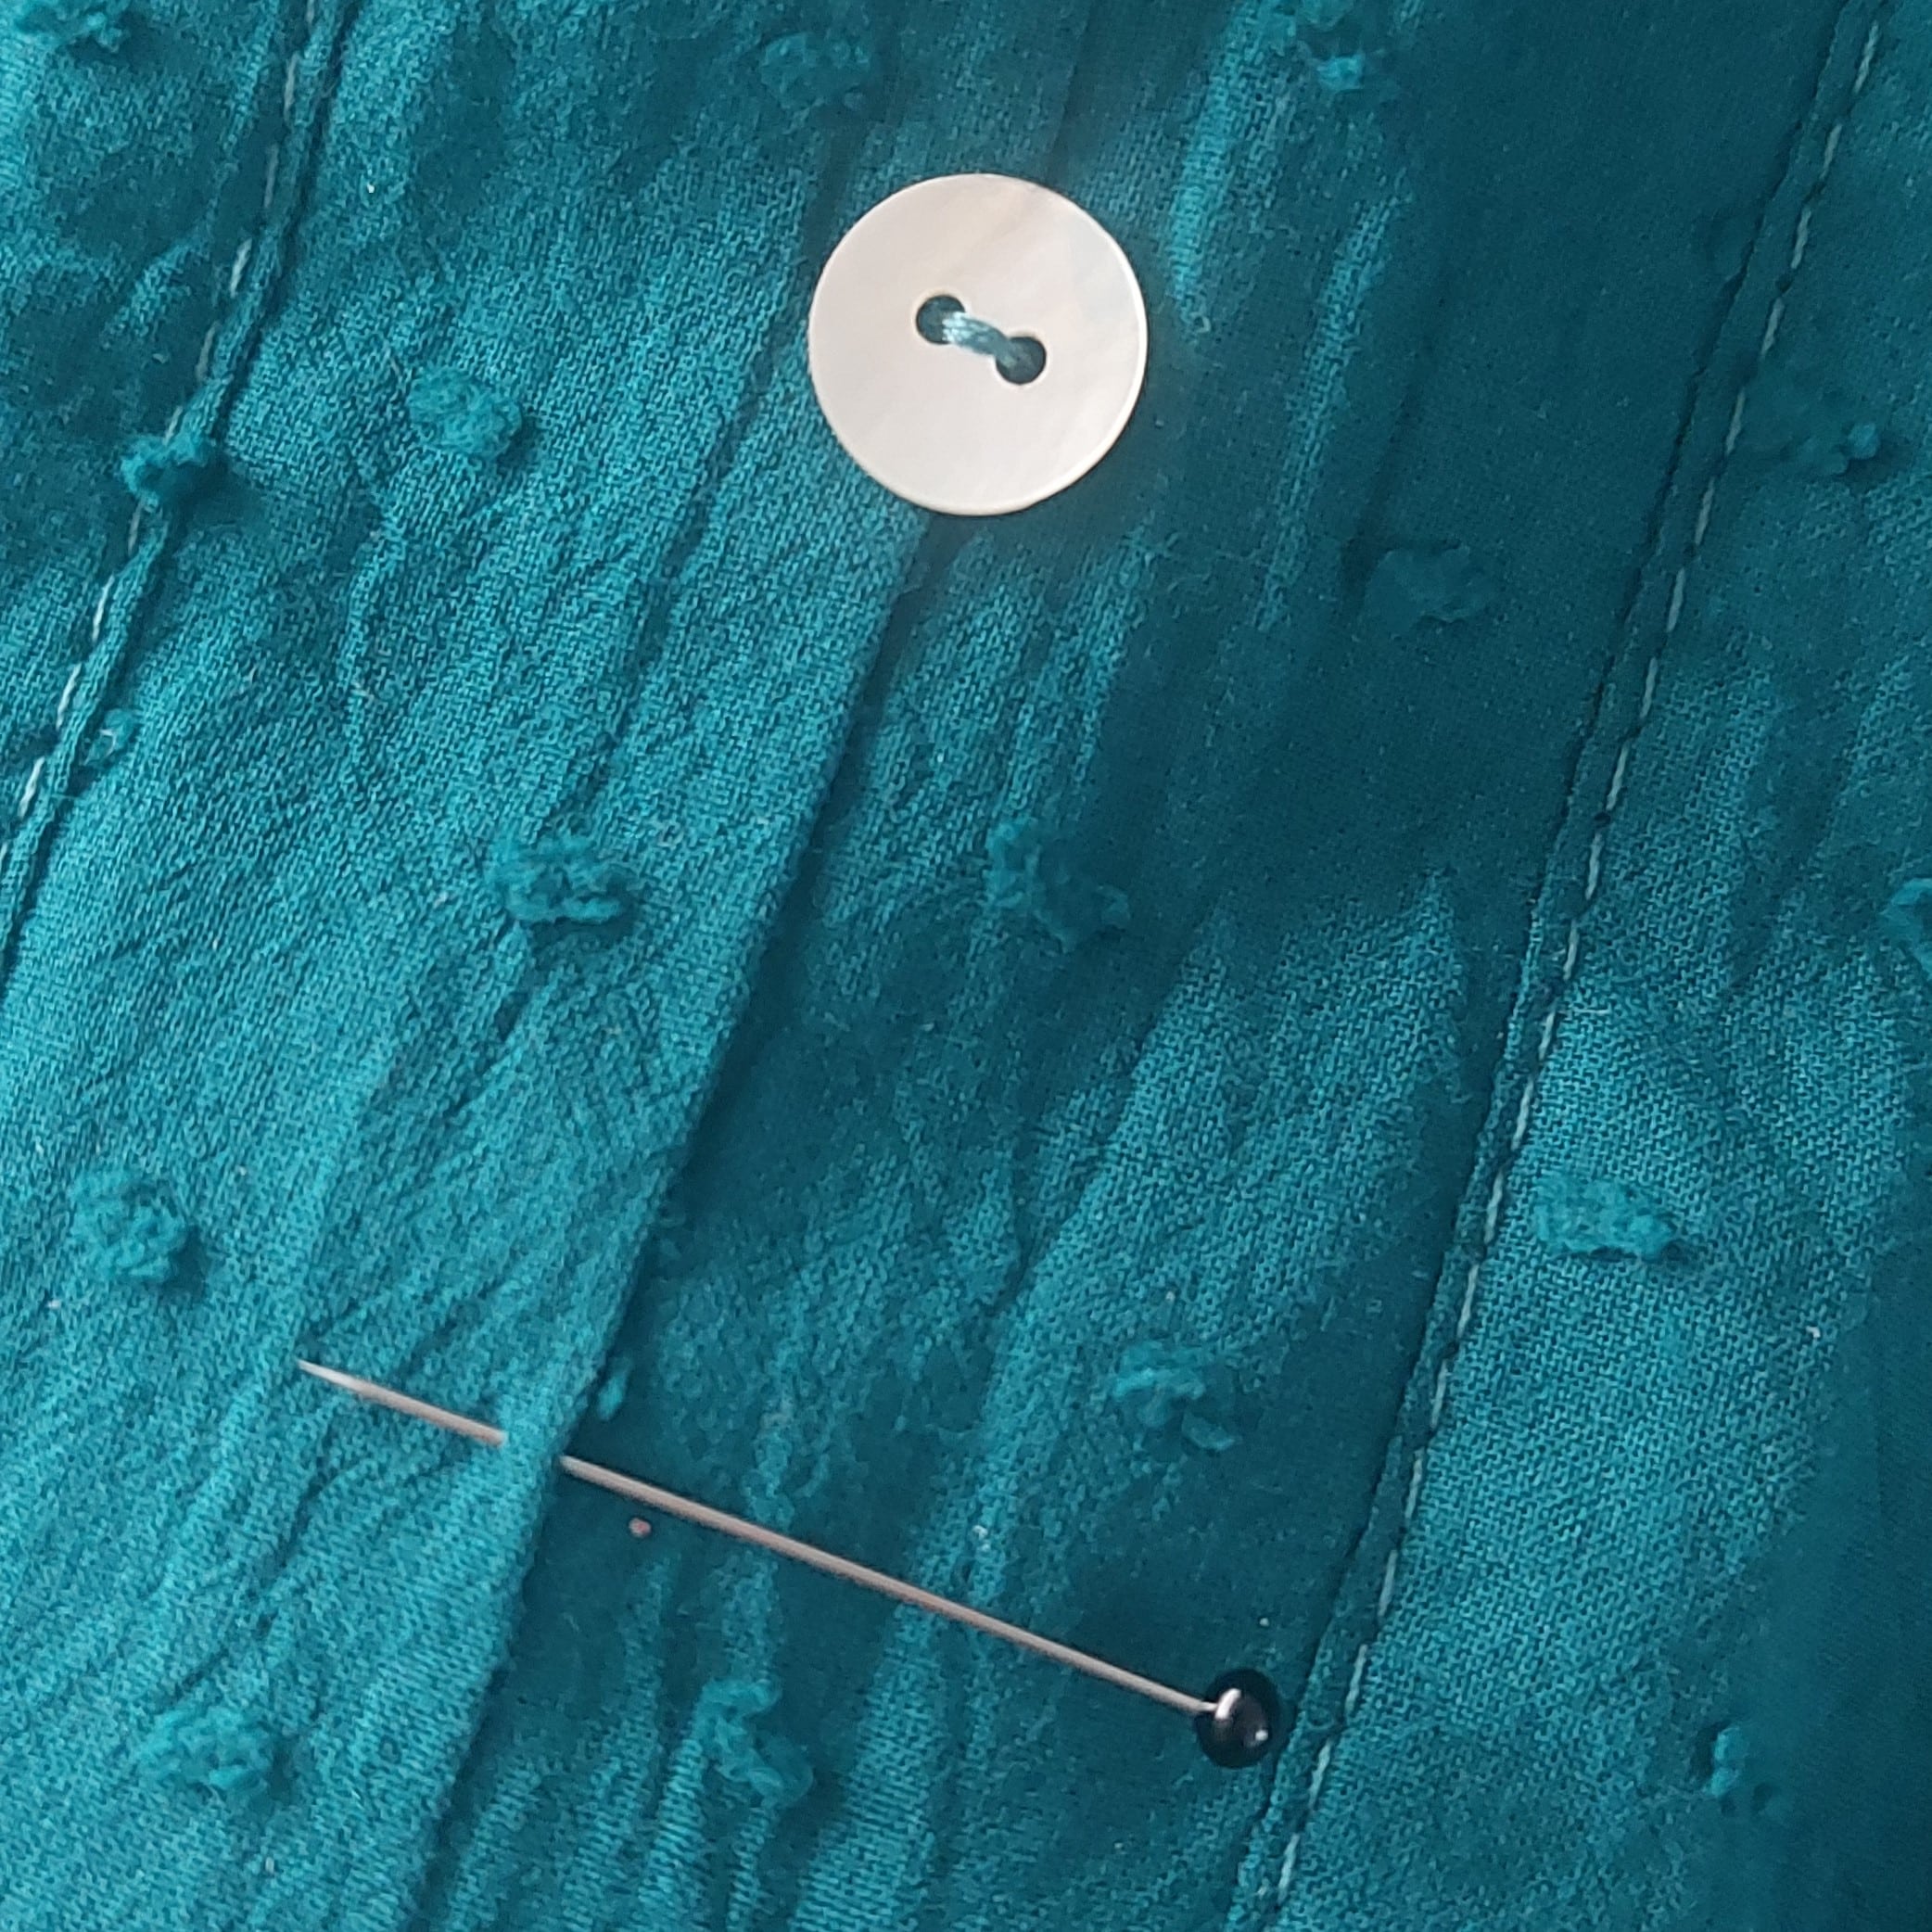
Finally, sew the buttonholes and attach the buttons, following illustration 17 in the Burda pattern and the images in this tutorial.

Step 8: Attaching the sleeves

We have now reached the final step. Pin the sleeves into the armholes, right sides together. Pay attention to the notches, making sure they align, and distribute the pleats in the sleeve cap evenly. Stitch the sleeves in place and serge the seams. See illustration 18 in the Burda pattern and the images in this tutorial.

Your blouse is finished—doesn’t it look beautiful? A lovely fabric to wear and a beautiful, feminine pattern. Enjoy making and wearing it!

Love, Renata

Info About the blogger

Renata de Rover
Hoi, Mijn naam is Renata de Rover. Mijn passie voor de naaimachine is voor mij al jong begonnen. Wanneer ik bij mijn oma kwam, die zelf coupeuse was, zette ze me al snel achter de naaimachine. Al jong ging ik op naailes in ons dorp en al snel was het duidelijk voor me….achter de naaimachine….dat deed ik het allerliefst! Ook vond ik het leuk om iedereen te motiveren en te inspireren om ook achter de naaimachine te kruipen en het gevoel dat naaien een beetje ouderwets is….weg te nemen. Dus naast mijn werk heb ik 9 jaar lang les gegeven, bij mij thuis. Nu werk ik alweer een aantal jaren met plezier op het atelier bij een groot modehuis, waar ik kleding vermaak en waar ik bij de klanten persoonlijk, de kleding op maat afspeld. En na mijn werk….heb ik altijd zo’n zin om thuis weer achter mijn naaimachine te kruipen….! Gekscherend zeg ik altijd: Een dag niet genaaid , is een dag niet geleefd! ;) Toen ik gevraagd werd voor ReStyle voelde ik me vereerd en was meteen enthousiast, natuurlijk ook spannend….want ik wil graag dat iedereen het leuk vindt…! En wat een gave projecten heb ik al mogen maken….het interieurconcept, het babyconcept en laatst ook het kussenconcept! Valt jullie op dat ik dol ben op pipingband? Love it…..het is zo leuk om mee te werken en echt niet zo heel moeilijk. Maar geldt voor alles…….gewoon proberen! Ook ik vind het leuk om via deze weg jullie te inspireren met wat je allemaal kan op creatief gebied. Ik zeg…blijf ReStyle Studio volgen met alles wat we met elkaar maken….en maak tijd voor jezelf vrij! Want geloof mij….je zal tijd te kort hebben… Vinden jullie het leuk om mijn passie te volgen op Insta en Facebook? Neem gerust een kijkje: Instagram: renatasfashionsewing Facebook: Renatas Fashion Een lieve groet van mij, Renata de Rover