Felt storage bag
This sturdy felt bag is ideal for carrying your crochet or knitting project. Because the handles can hang along the sides when not in use, the bag with the project inside can easily be used as storage in the closet.
This sturdy felt bag is ideal for carrying your crochet or knitting project. Because the handles can hang along the sides when not in use, the bag with the project inside can easily be used as storage in the closet.
70 x 58 cm
Cut the bias tape into 2 strips of 100cm. Take 1 strip of bias tape and place it wrong side together (nice side on the outside) to create a handle 50cm long. Place 1 strip of deco interfacing between the bias tape in the middle and carefully iron into place. Sew both long sides closed 0.2cm from the side. Repeat with the other handle. Set both handles aside and continue with the felt.
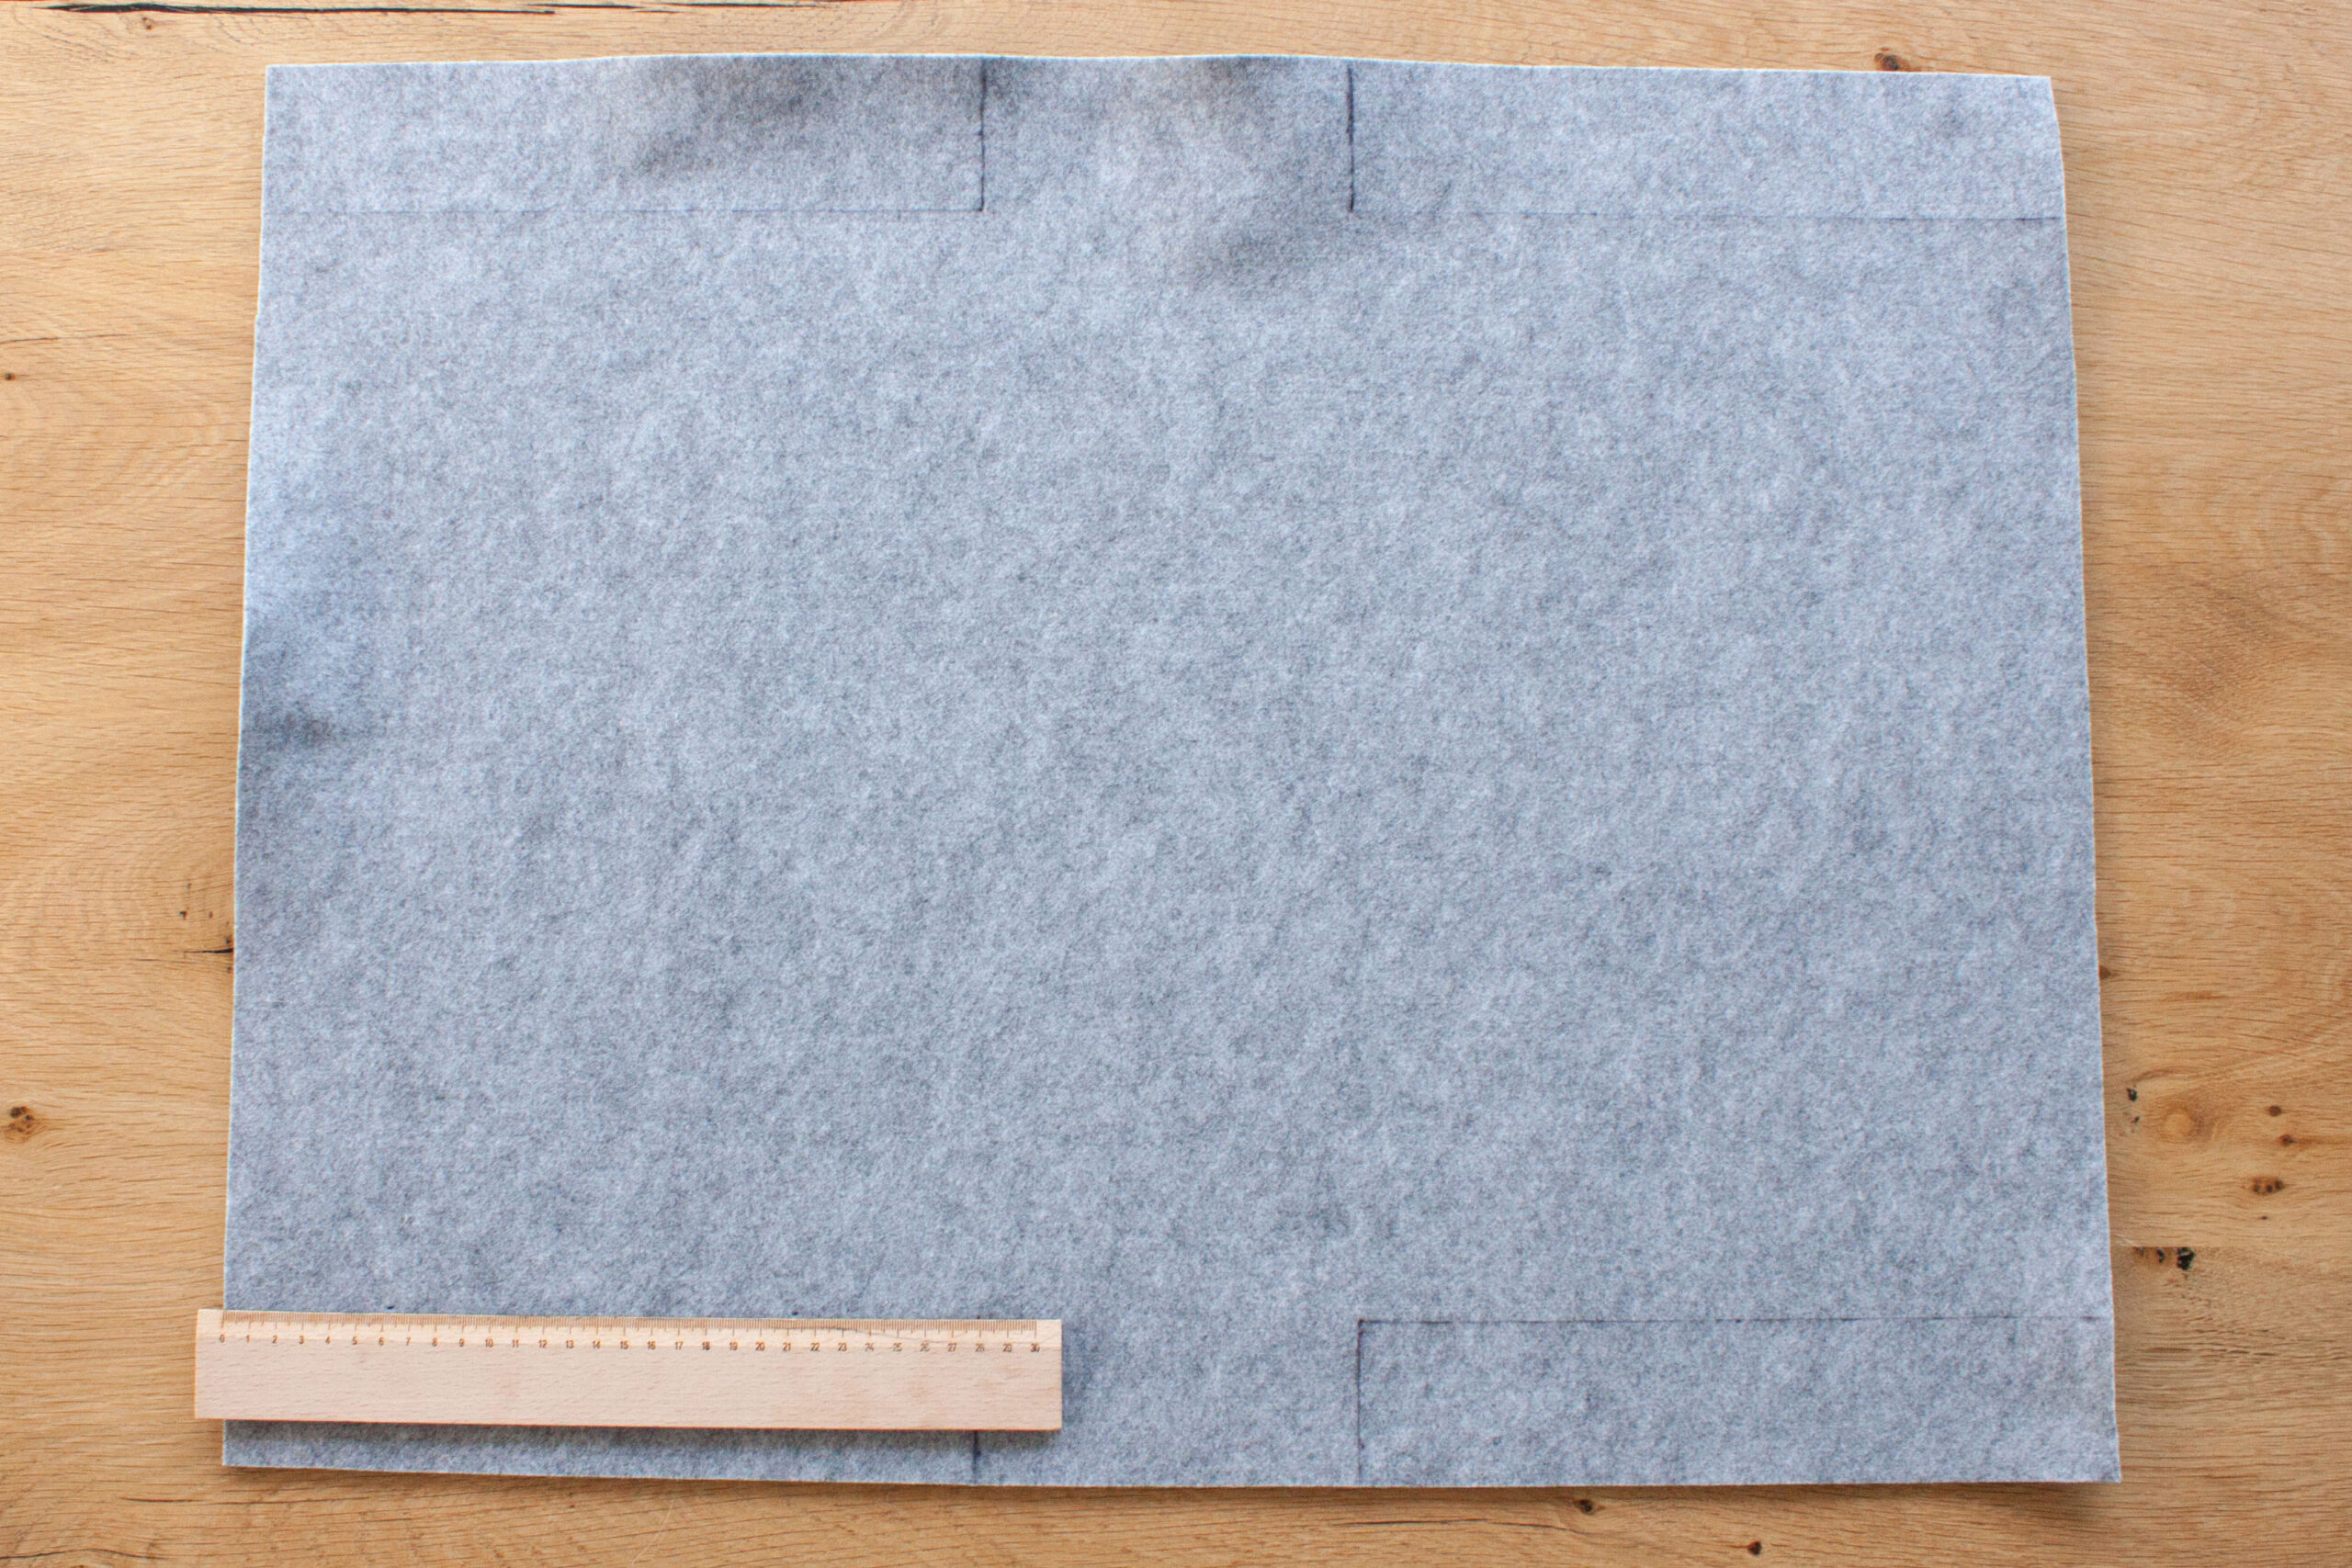
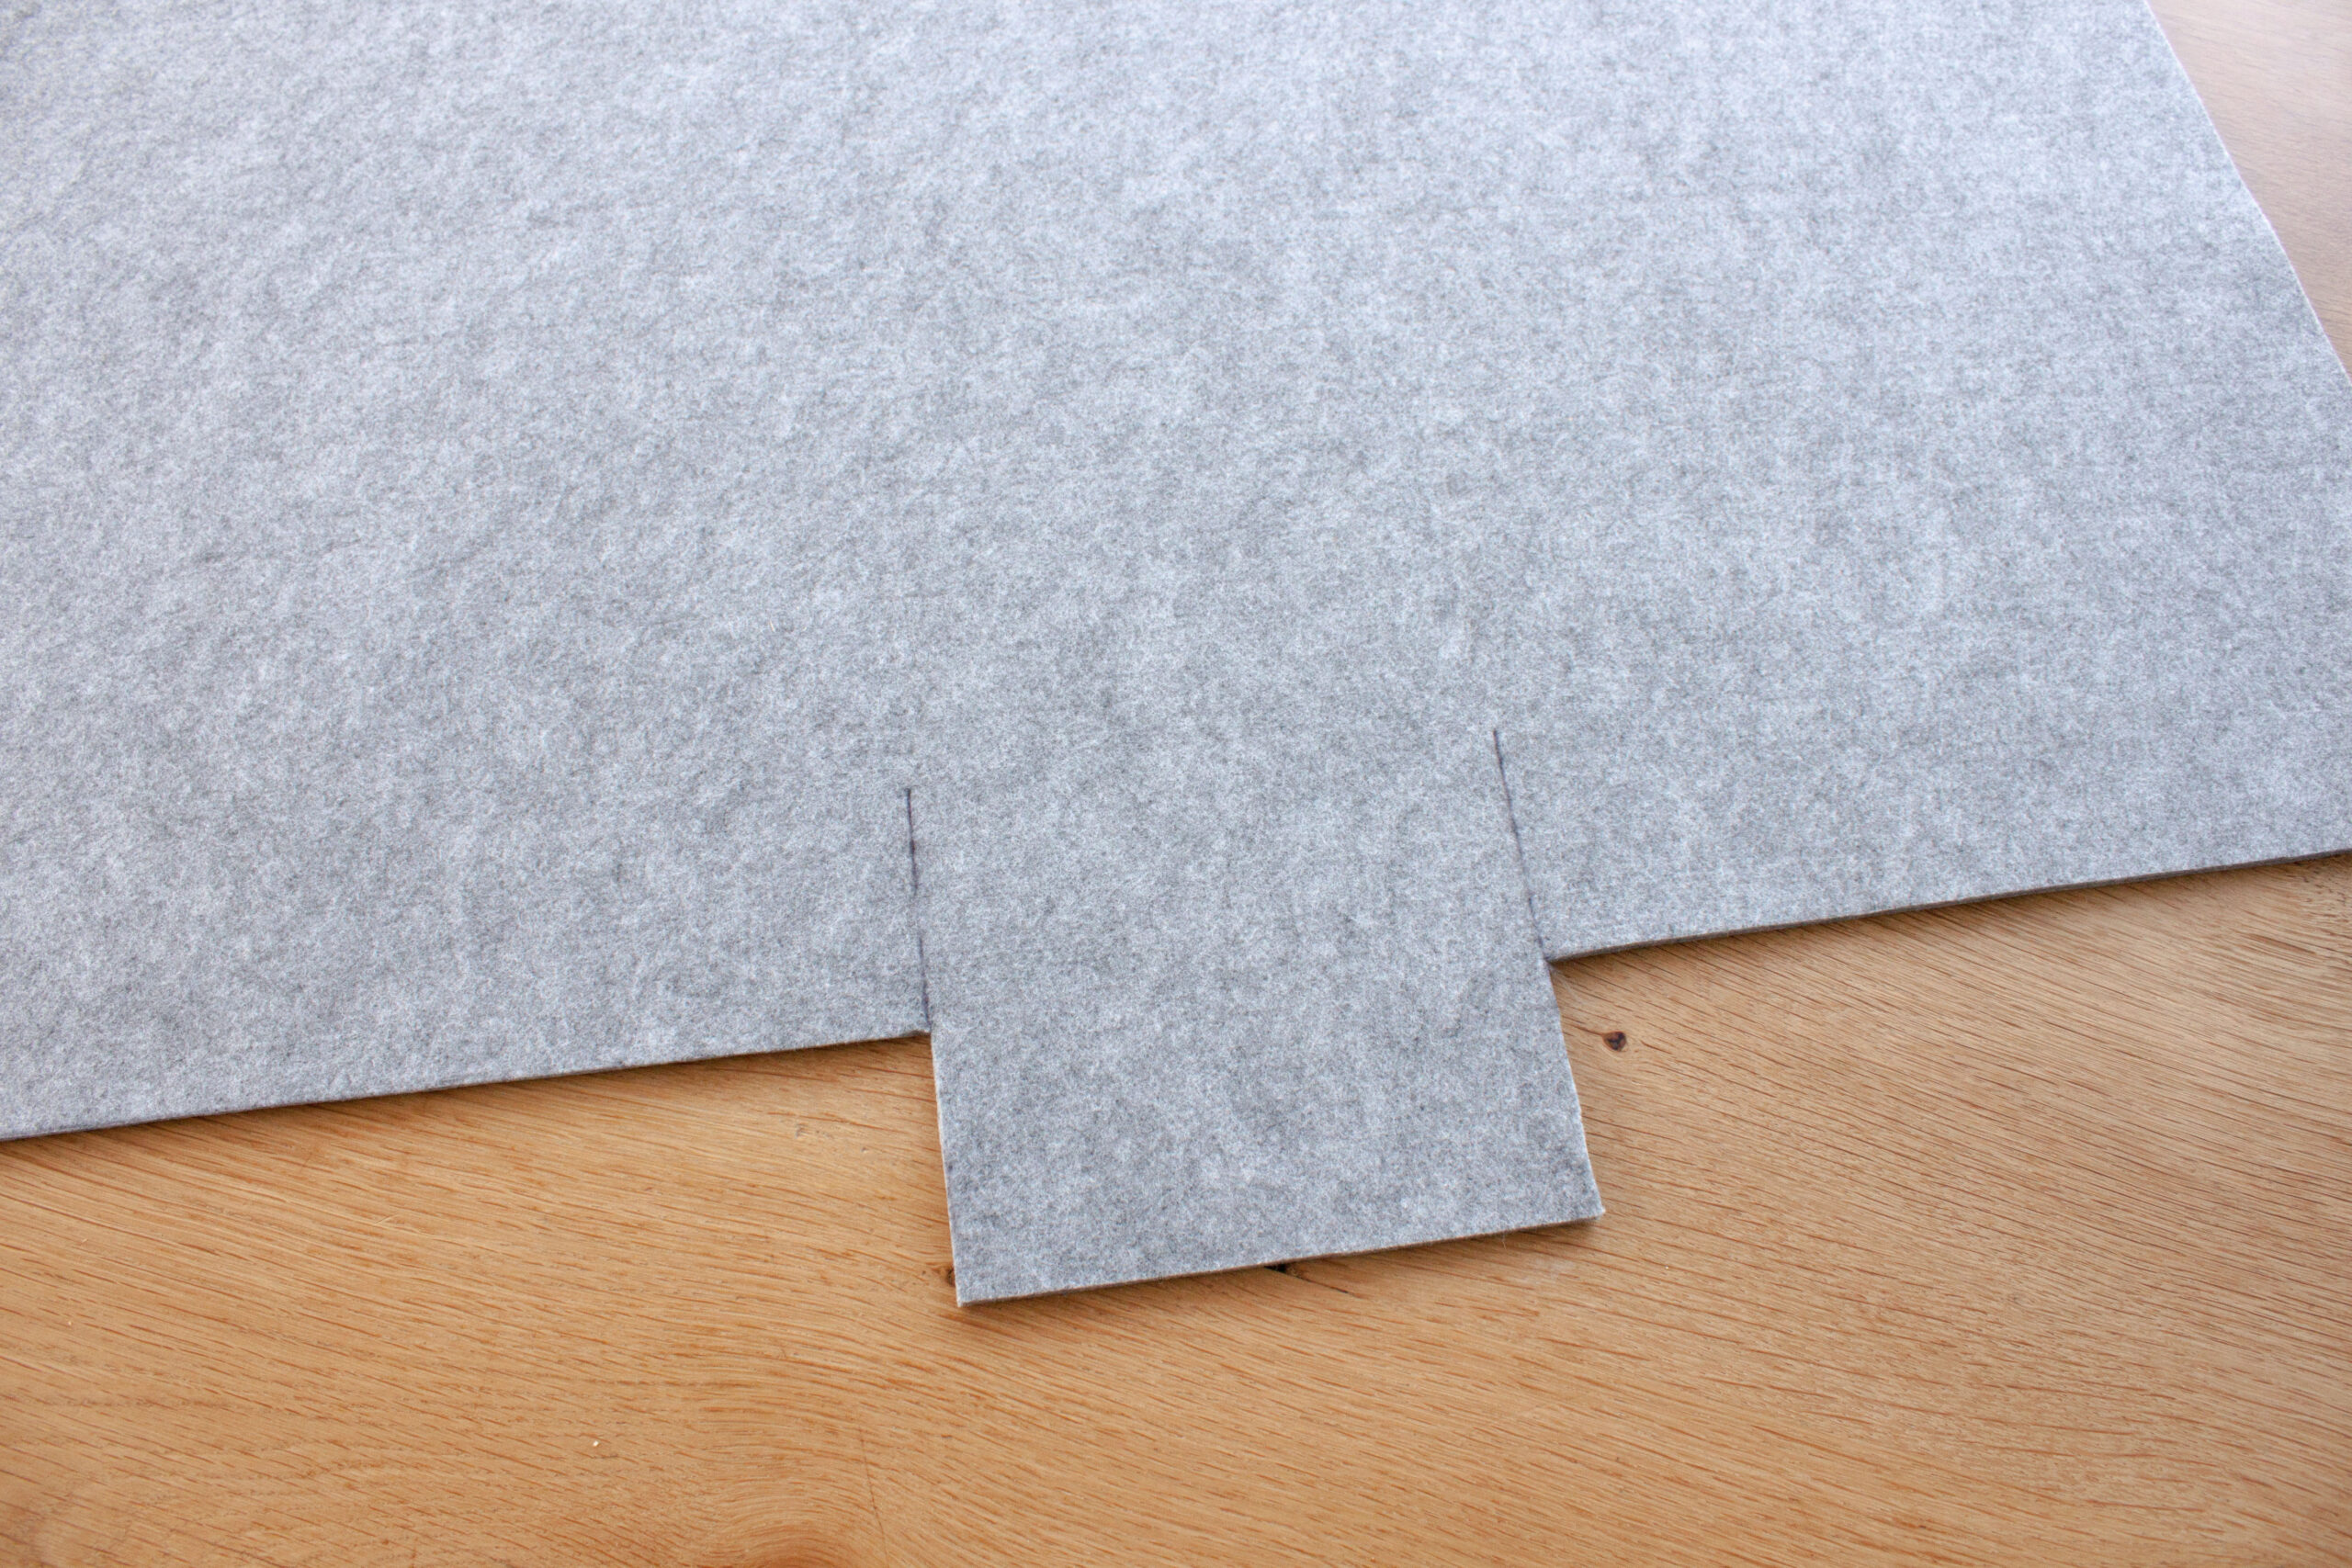
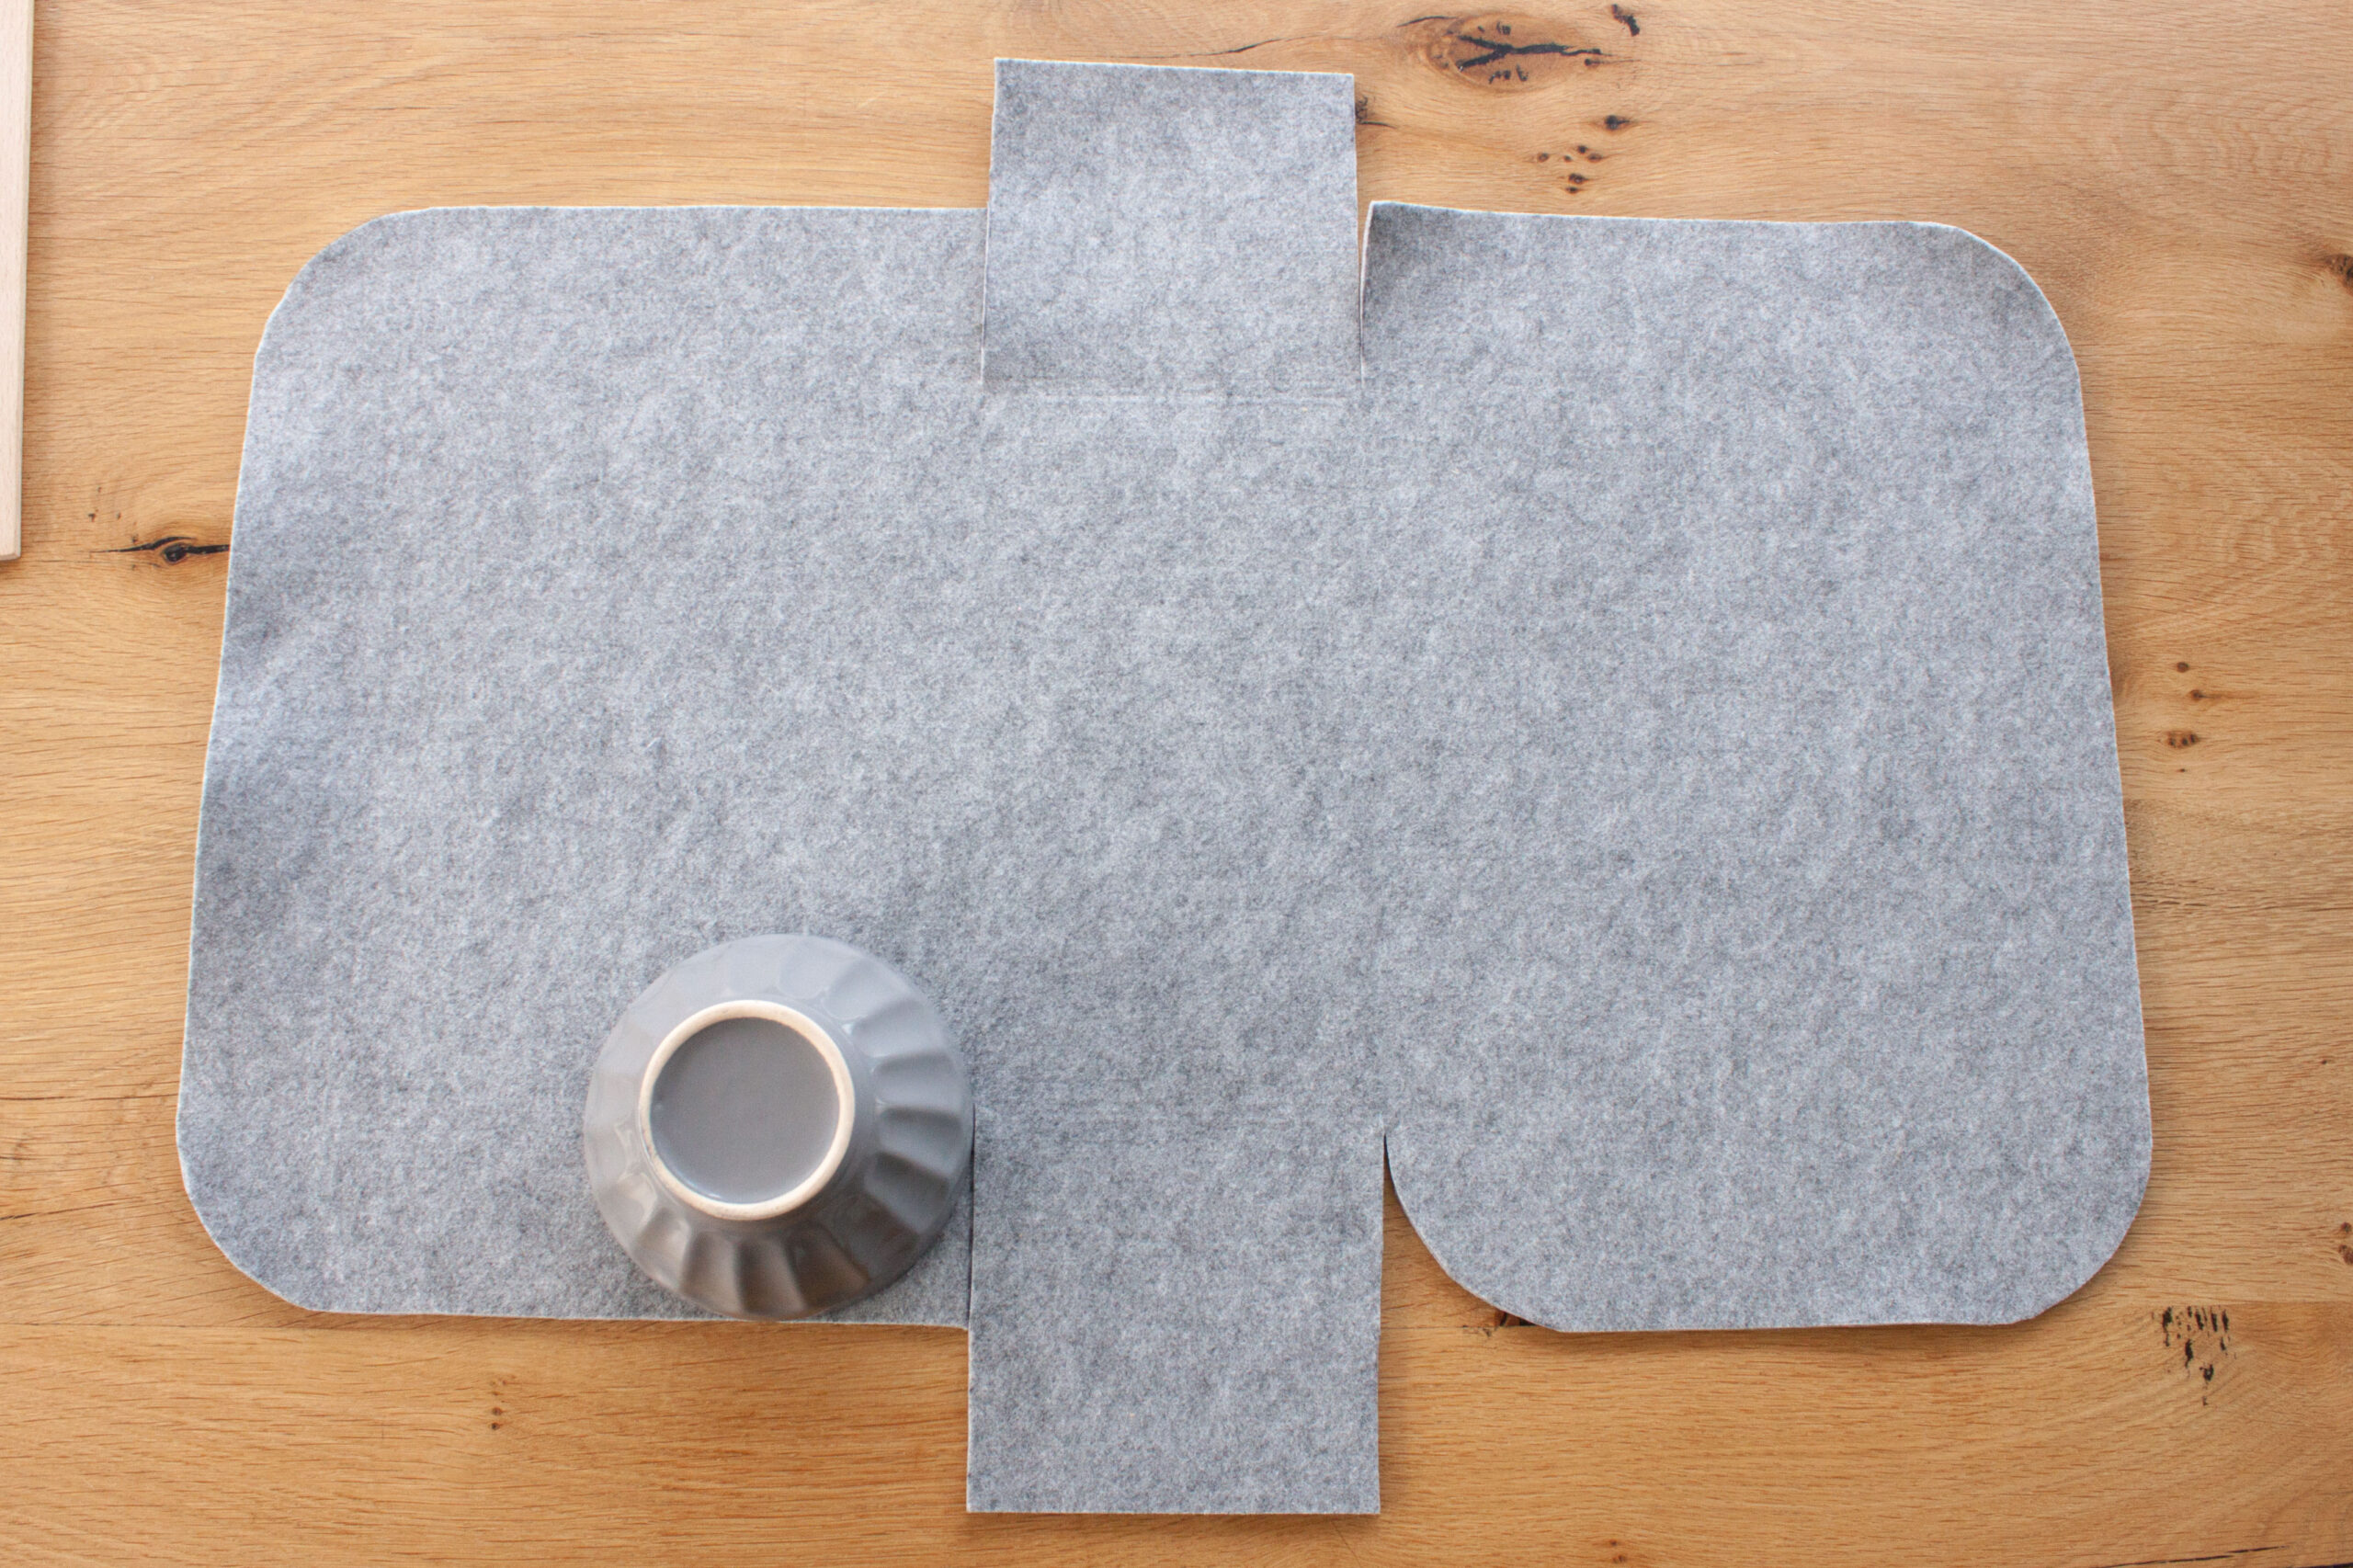
Cut two parts of 70cmx54cm from the felt. Take 1 of the parts. Using a ruler and pencil, draw a rectangle measuring 28cmx6cm in all four corners and cut it out
In the middle, immediately above the cut-out rectangles, draw a line of 8 cm towards the center with a pencil (photo). Cut this line.
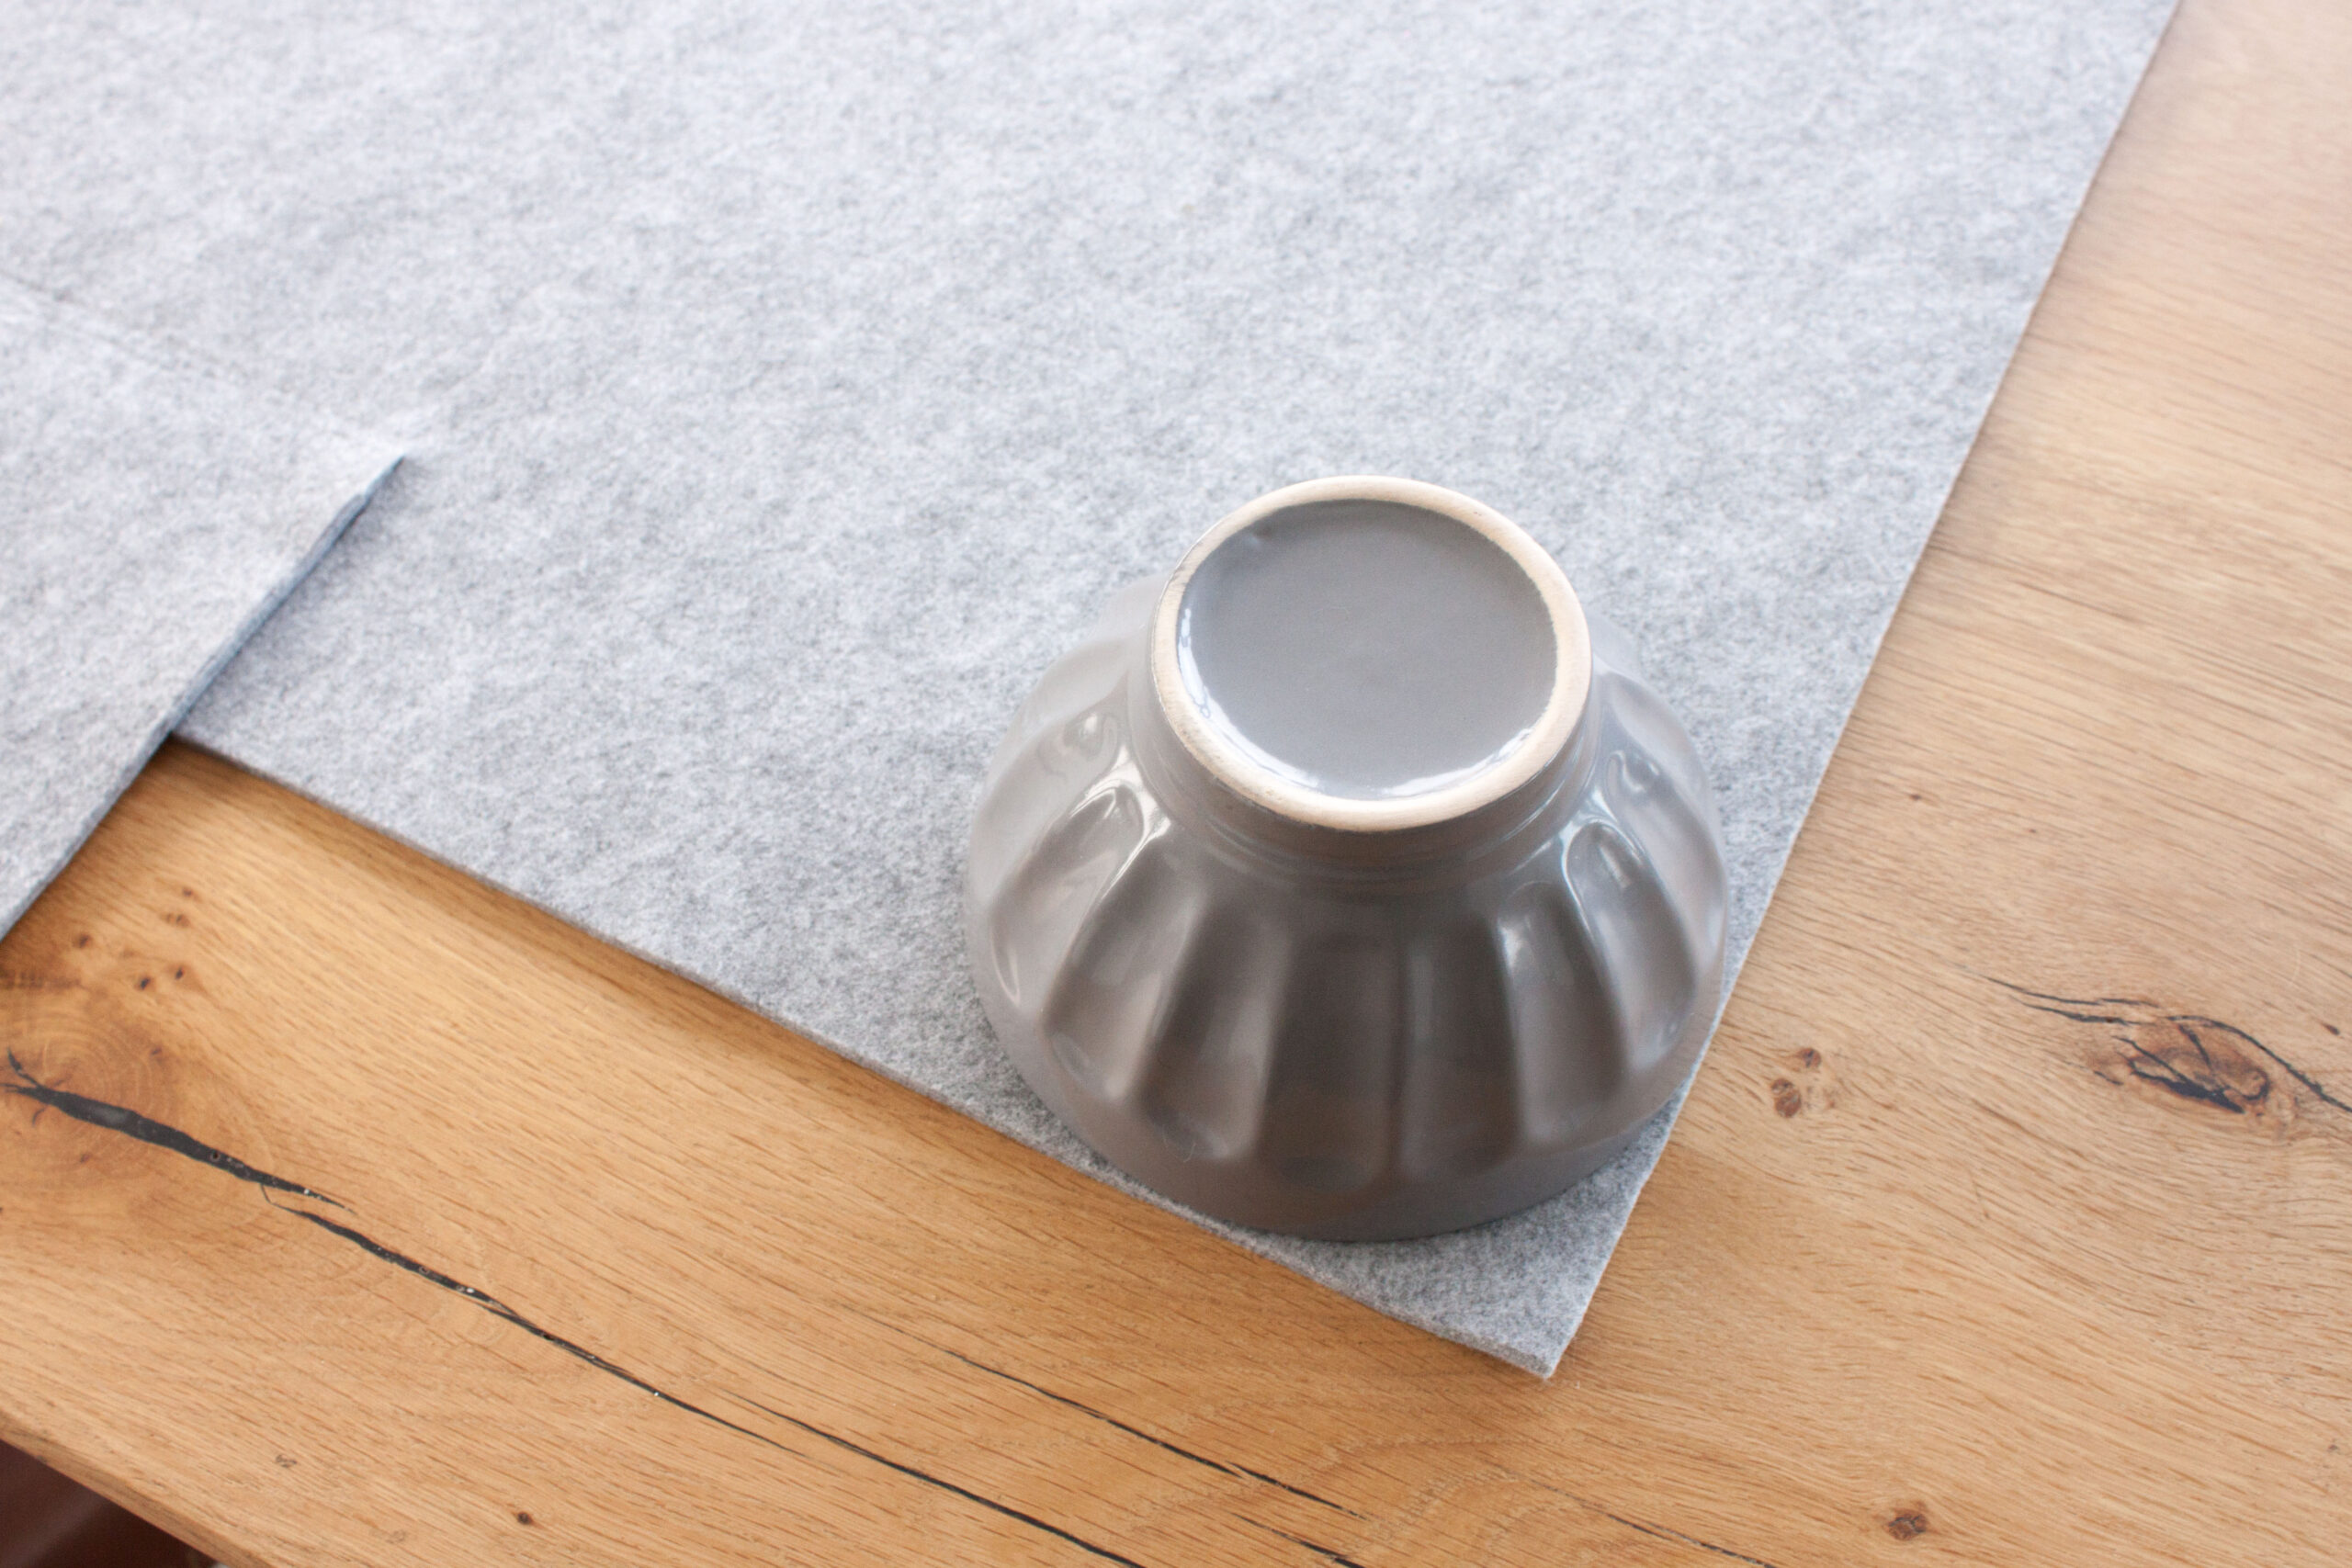
Place the dish in the 4 corners and mark the corners rounded. Cut out.
Repeat this with the 4 corners next to the center
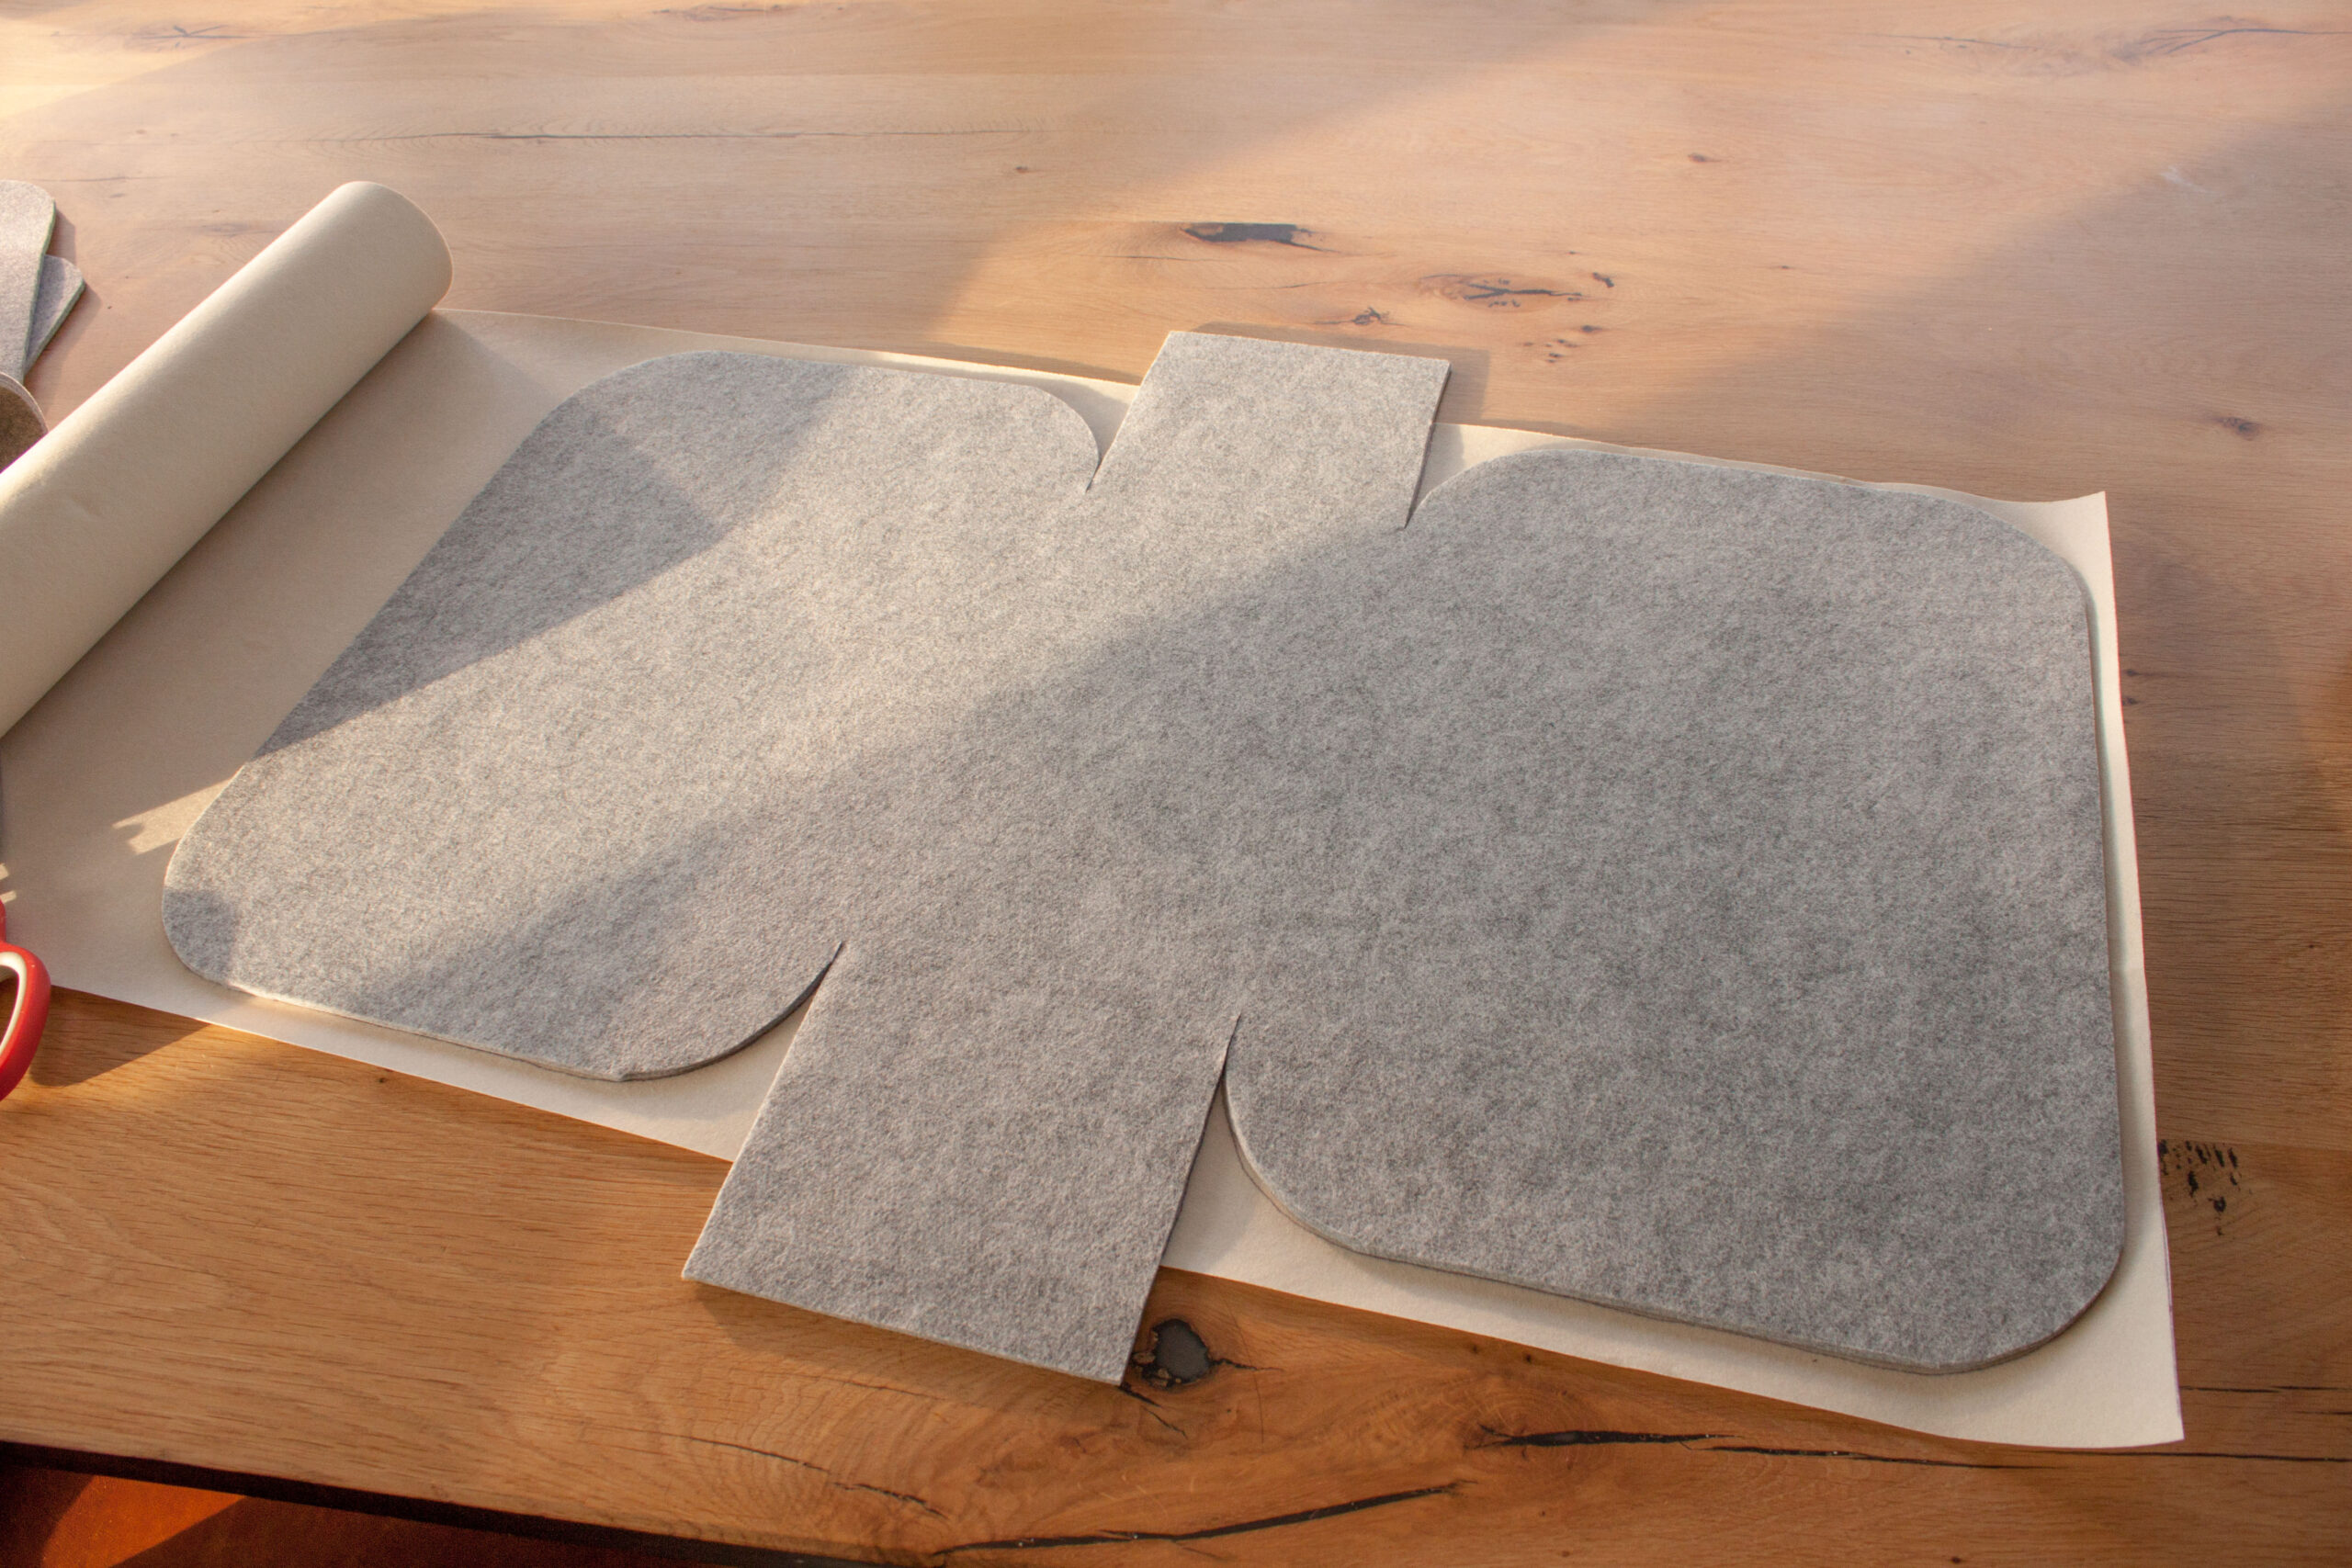
Take the other felt piece and place it under the cut-out felt piece. Trace and cut out this bottom felt part.
Draw the felt part again, but now on the interfacing (the interfacing is shorter on the two sides of the bag, this doesn’t matter), draw another line 0.5 cm from this line on the inside (photo). Cut out along this last drawn line (the interfacing is 0.5cm narrower than the felt). Iron the interfacing onto one of the felt parts with the iron.
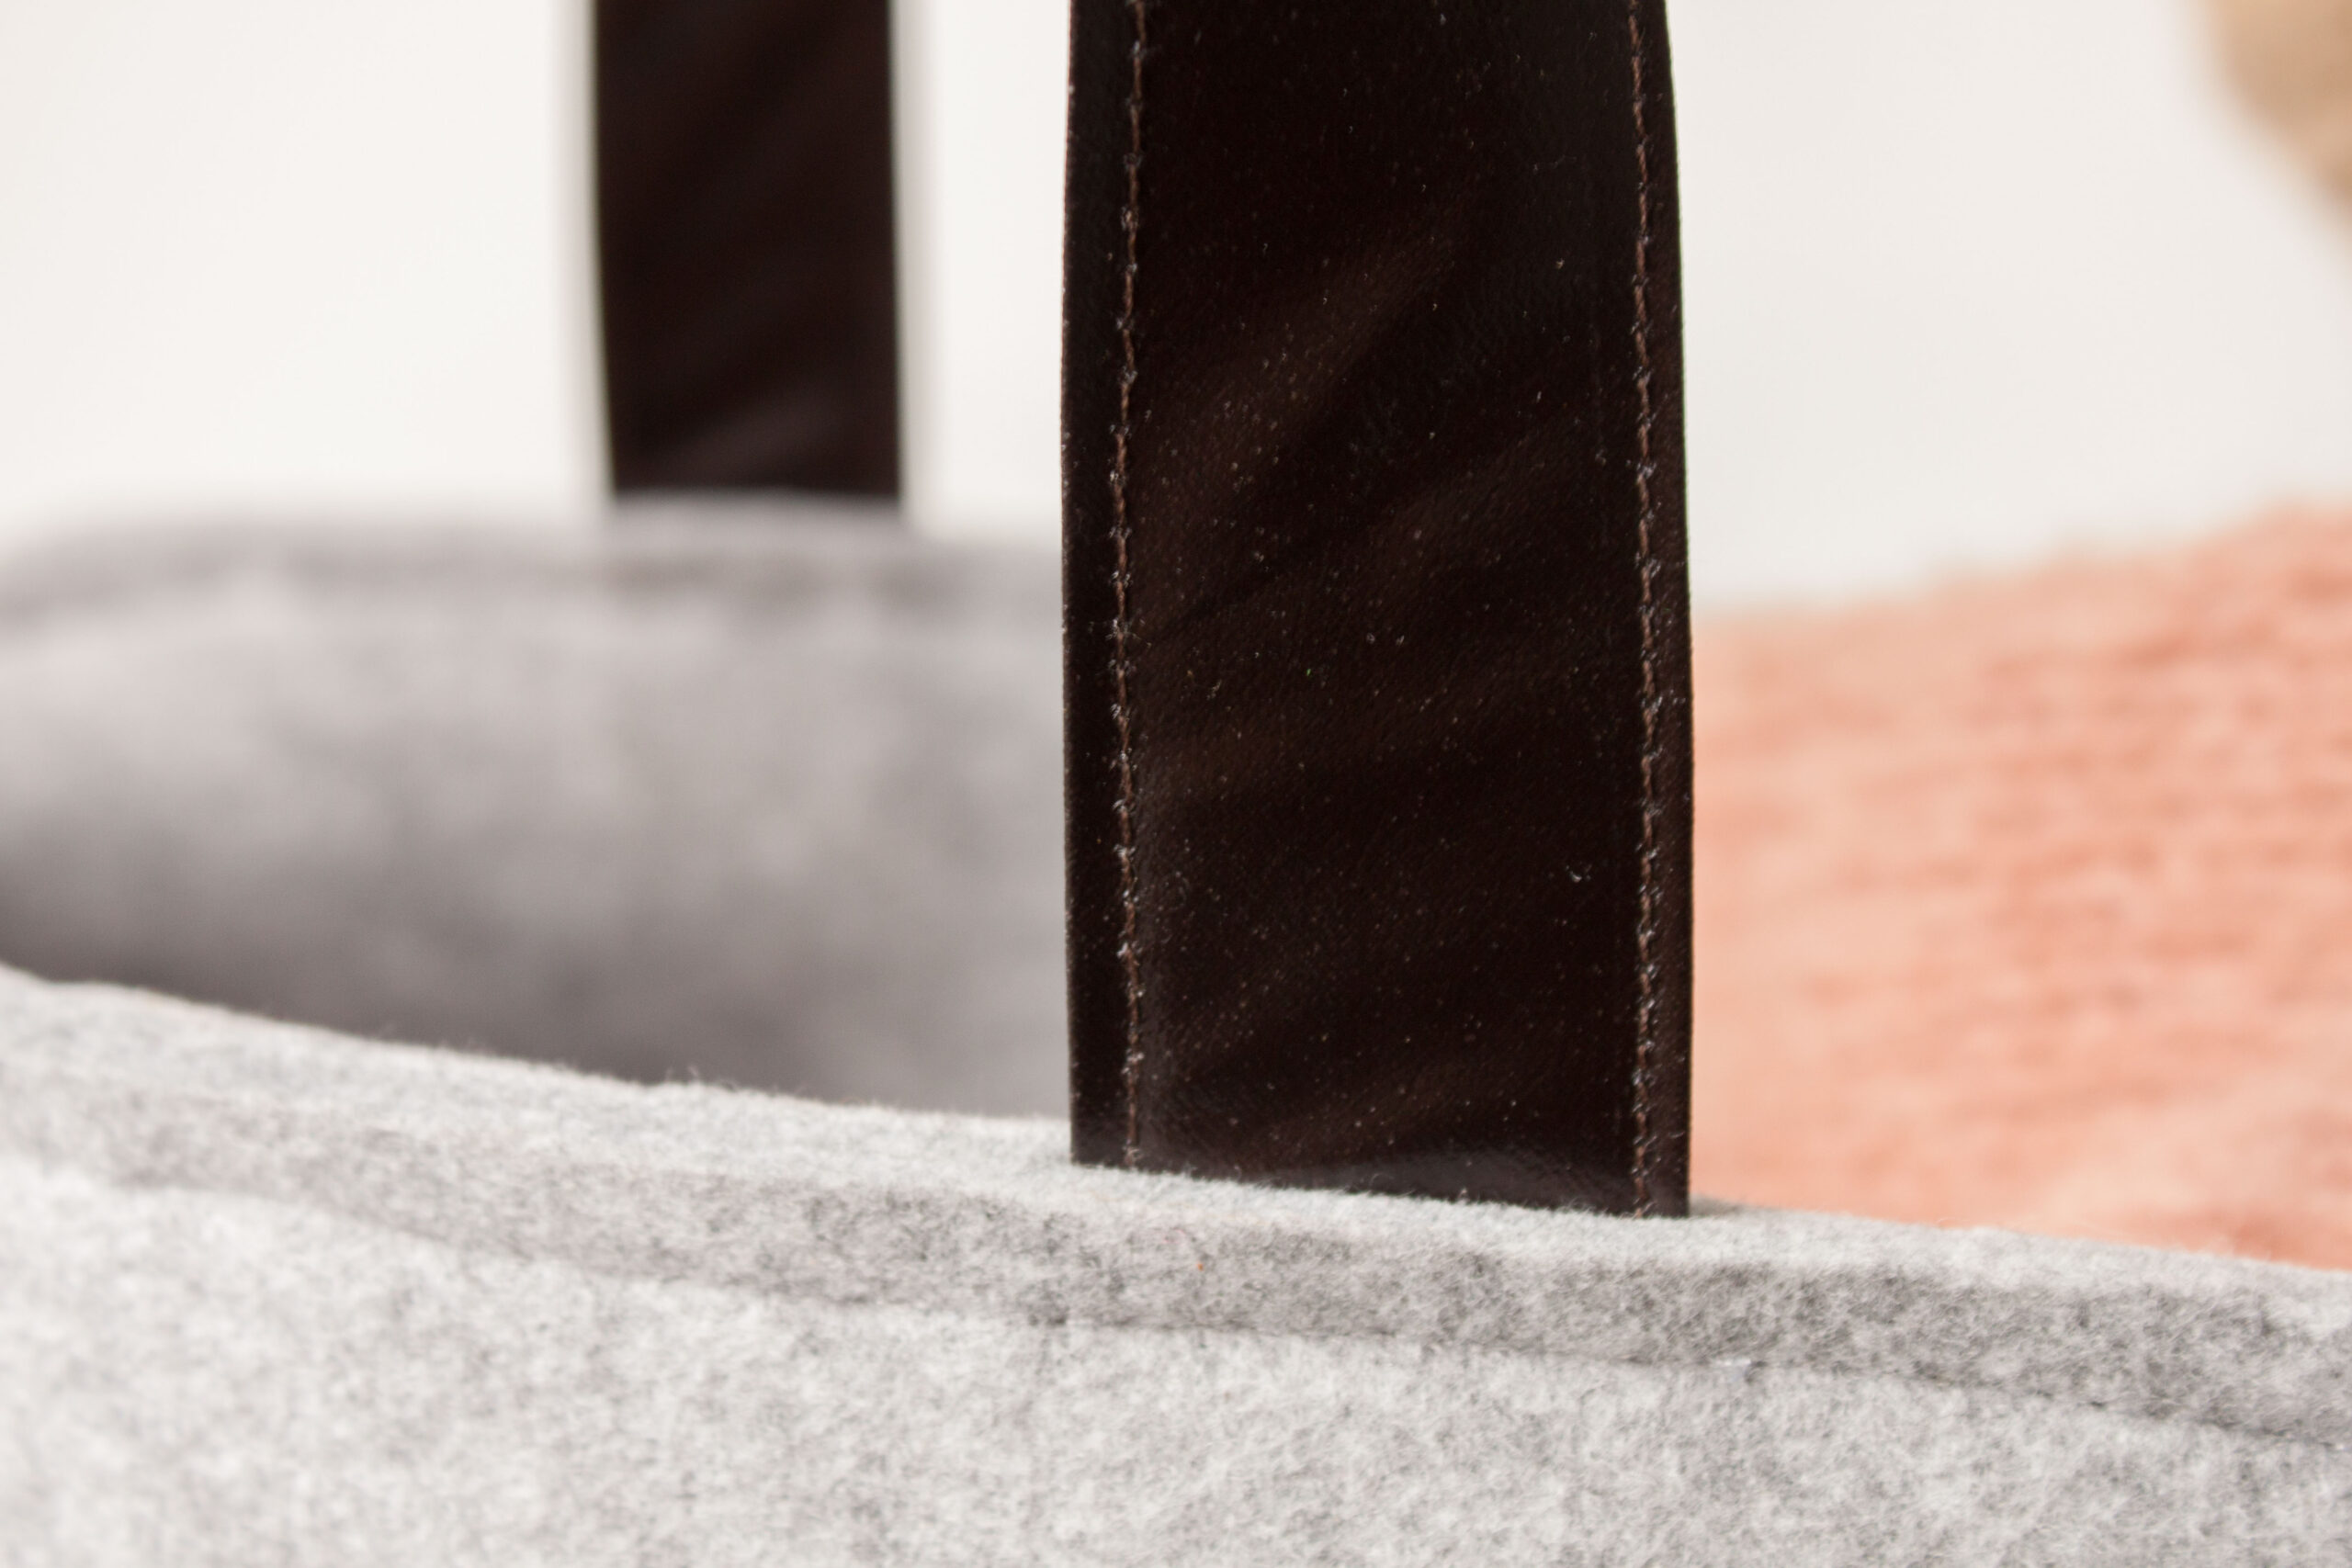
Then place the other felt piece against the interfacing so that the felt is on the outside and the interfacing is in between. Take the 2 handles and place them at the top of the felt between both felt parts. Place the ends of the handles 4cm deep between both felt parts. Place the handles approximately 6cm from the sides of the bag and sew both felt parts (including the handles) together at 0.5cm from the edge.
Measure the buttonholes on the four sides, 9cm from the top or bottom and 4cm from the side of the felt. Use the largest hole on the hole punch. Make 8 buttonholes like this
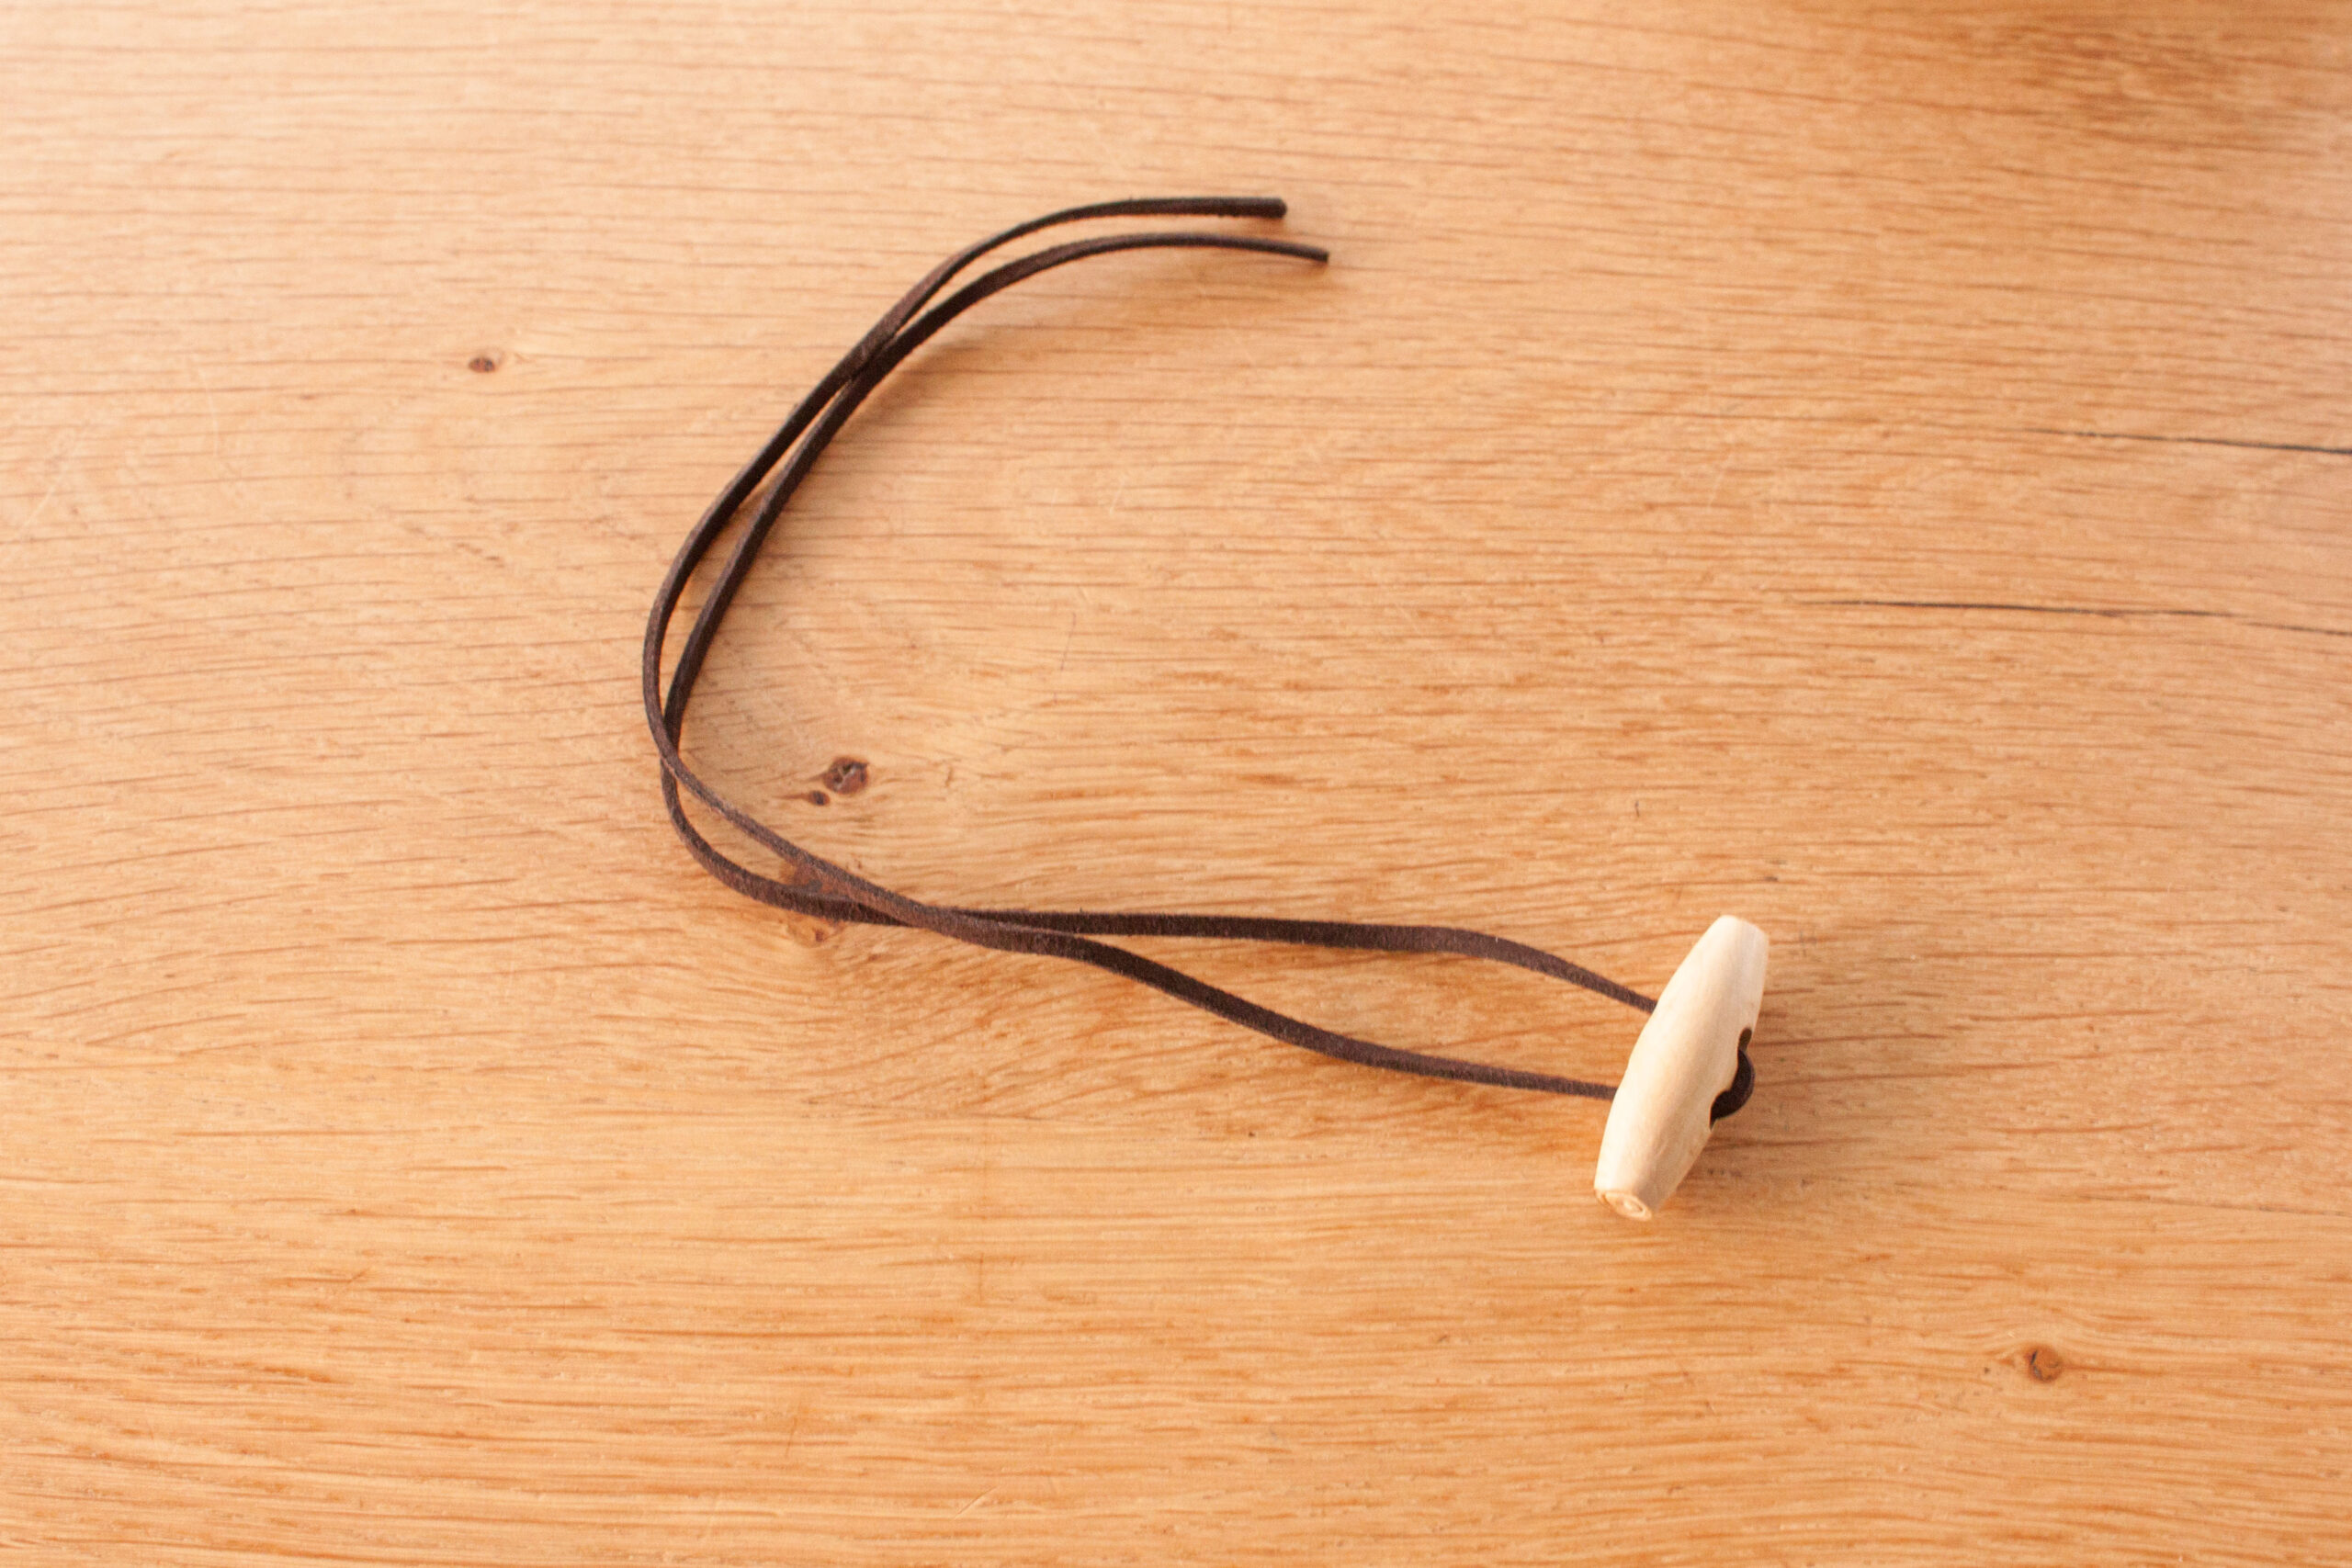
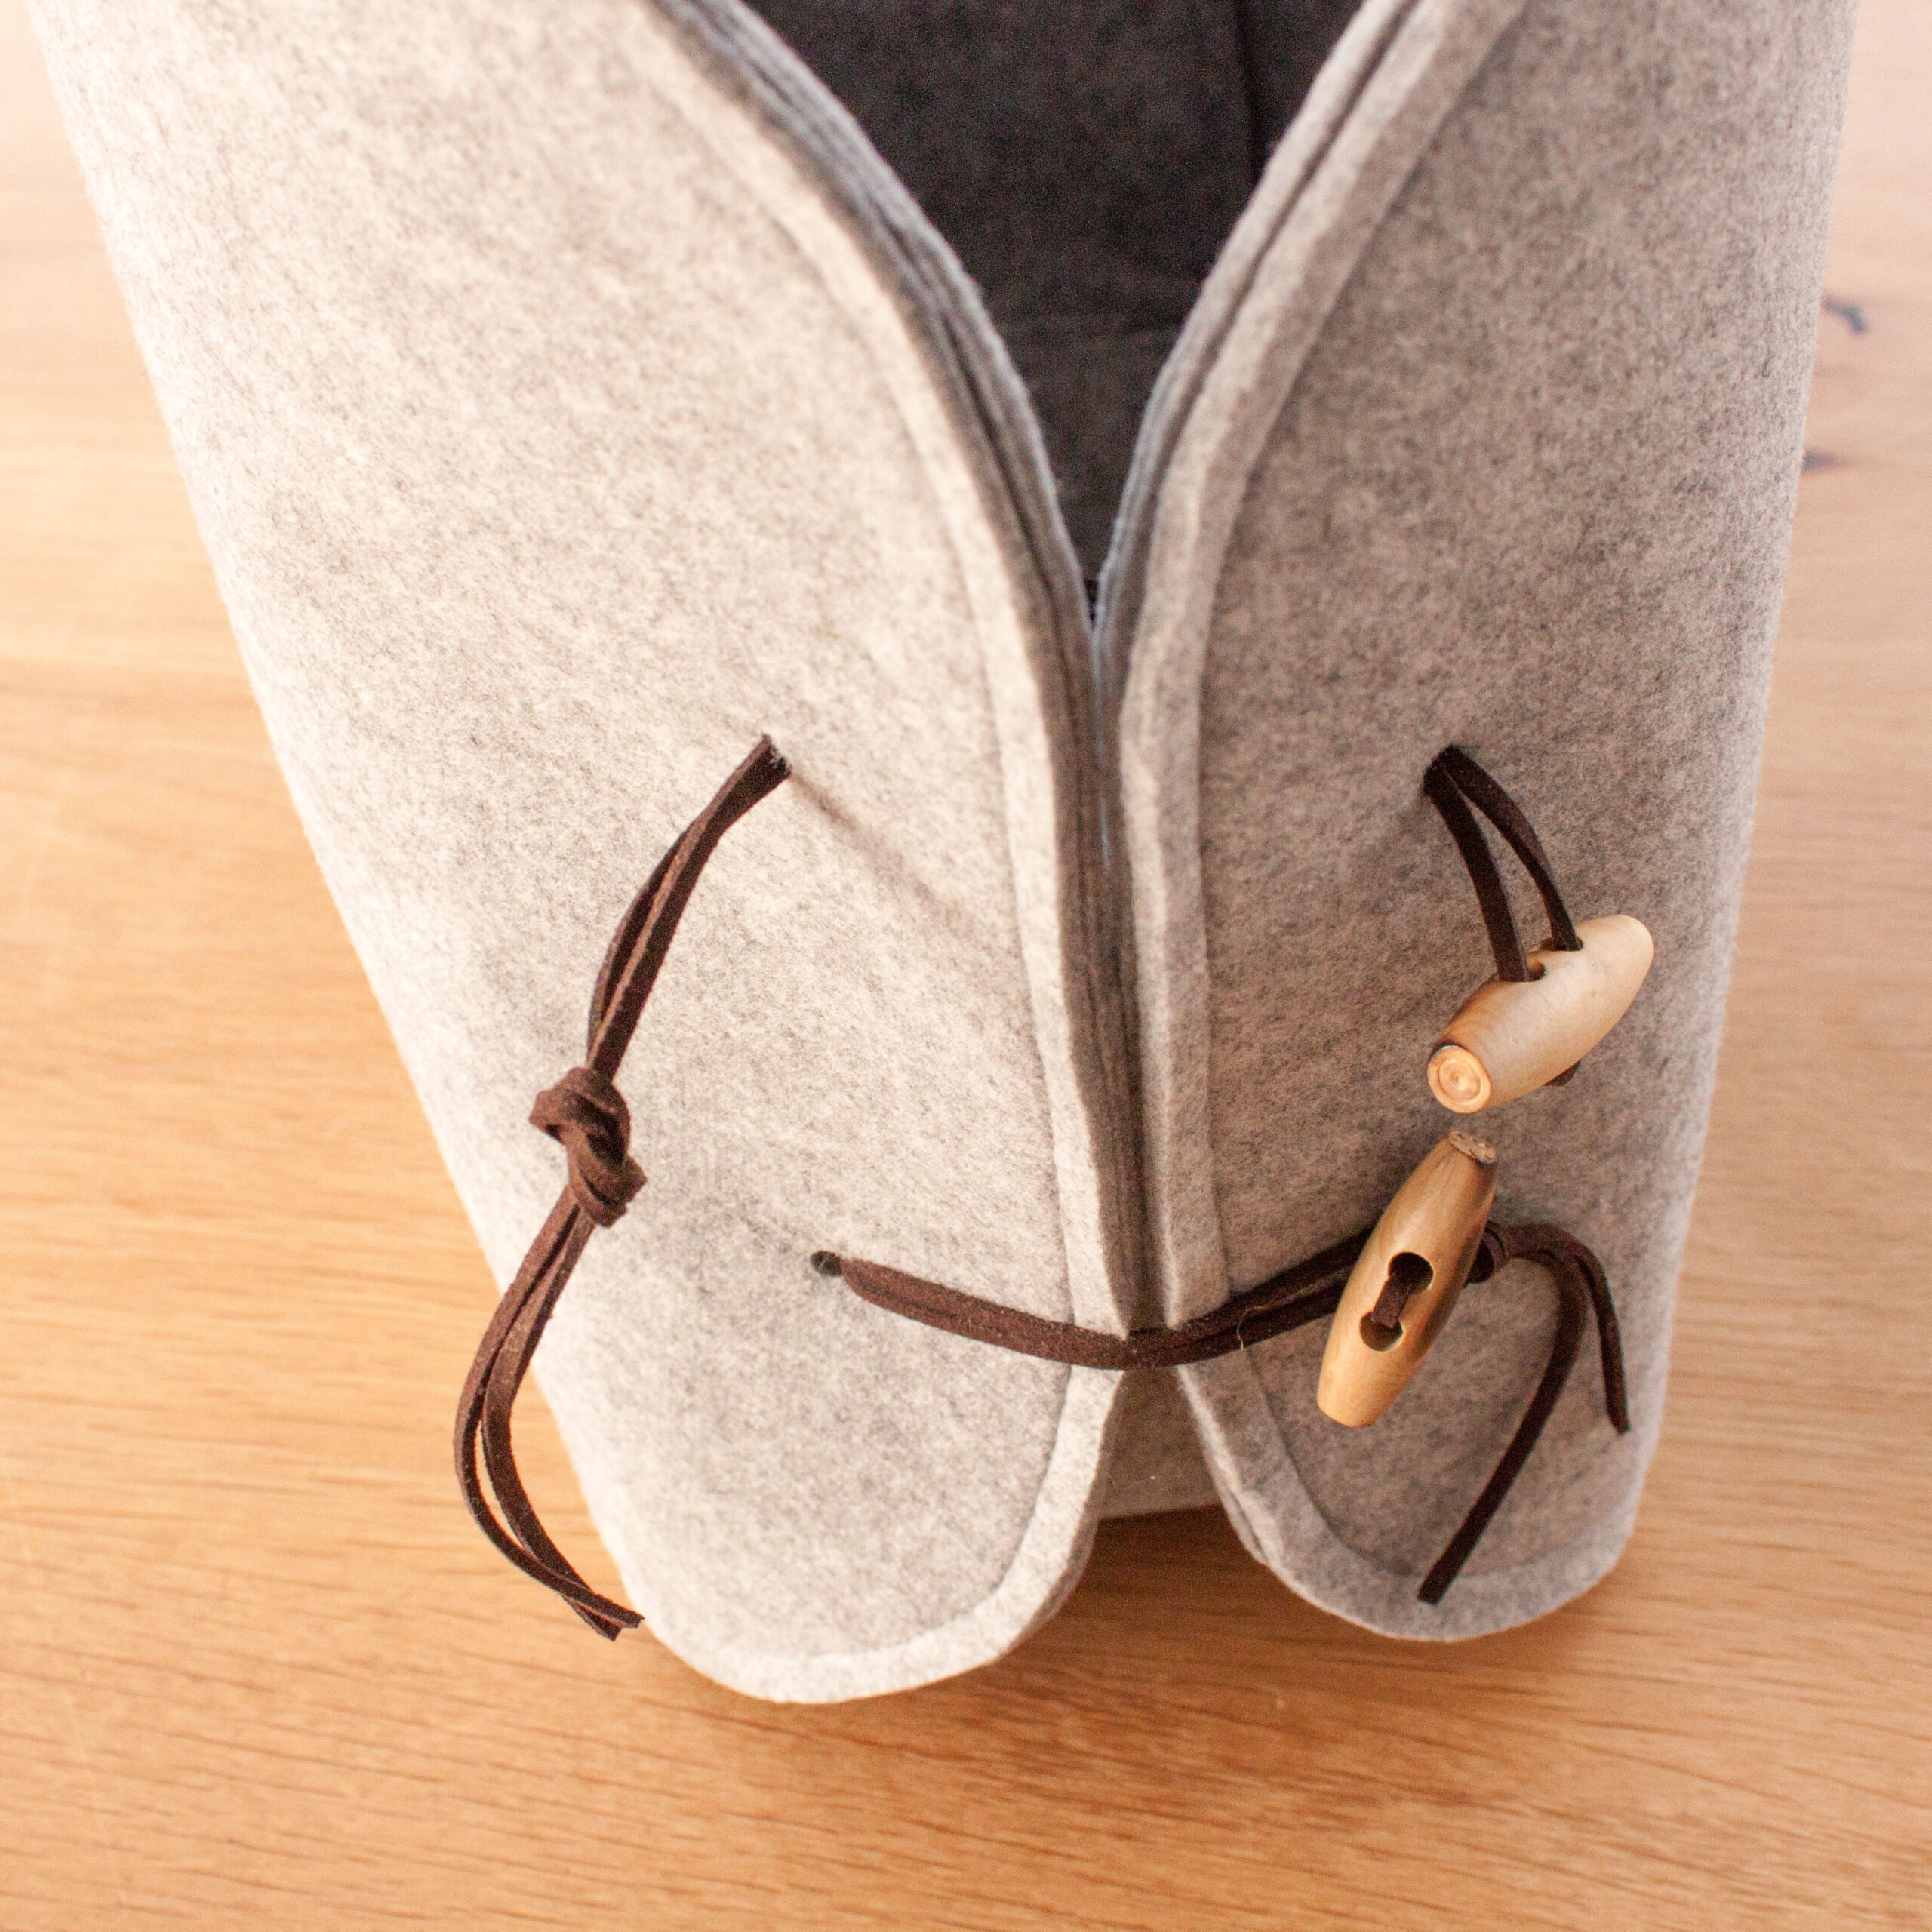
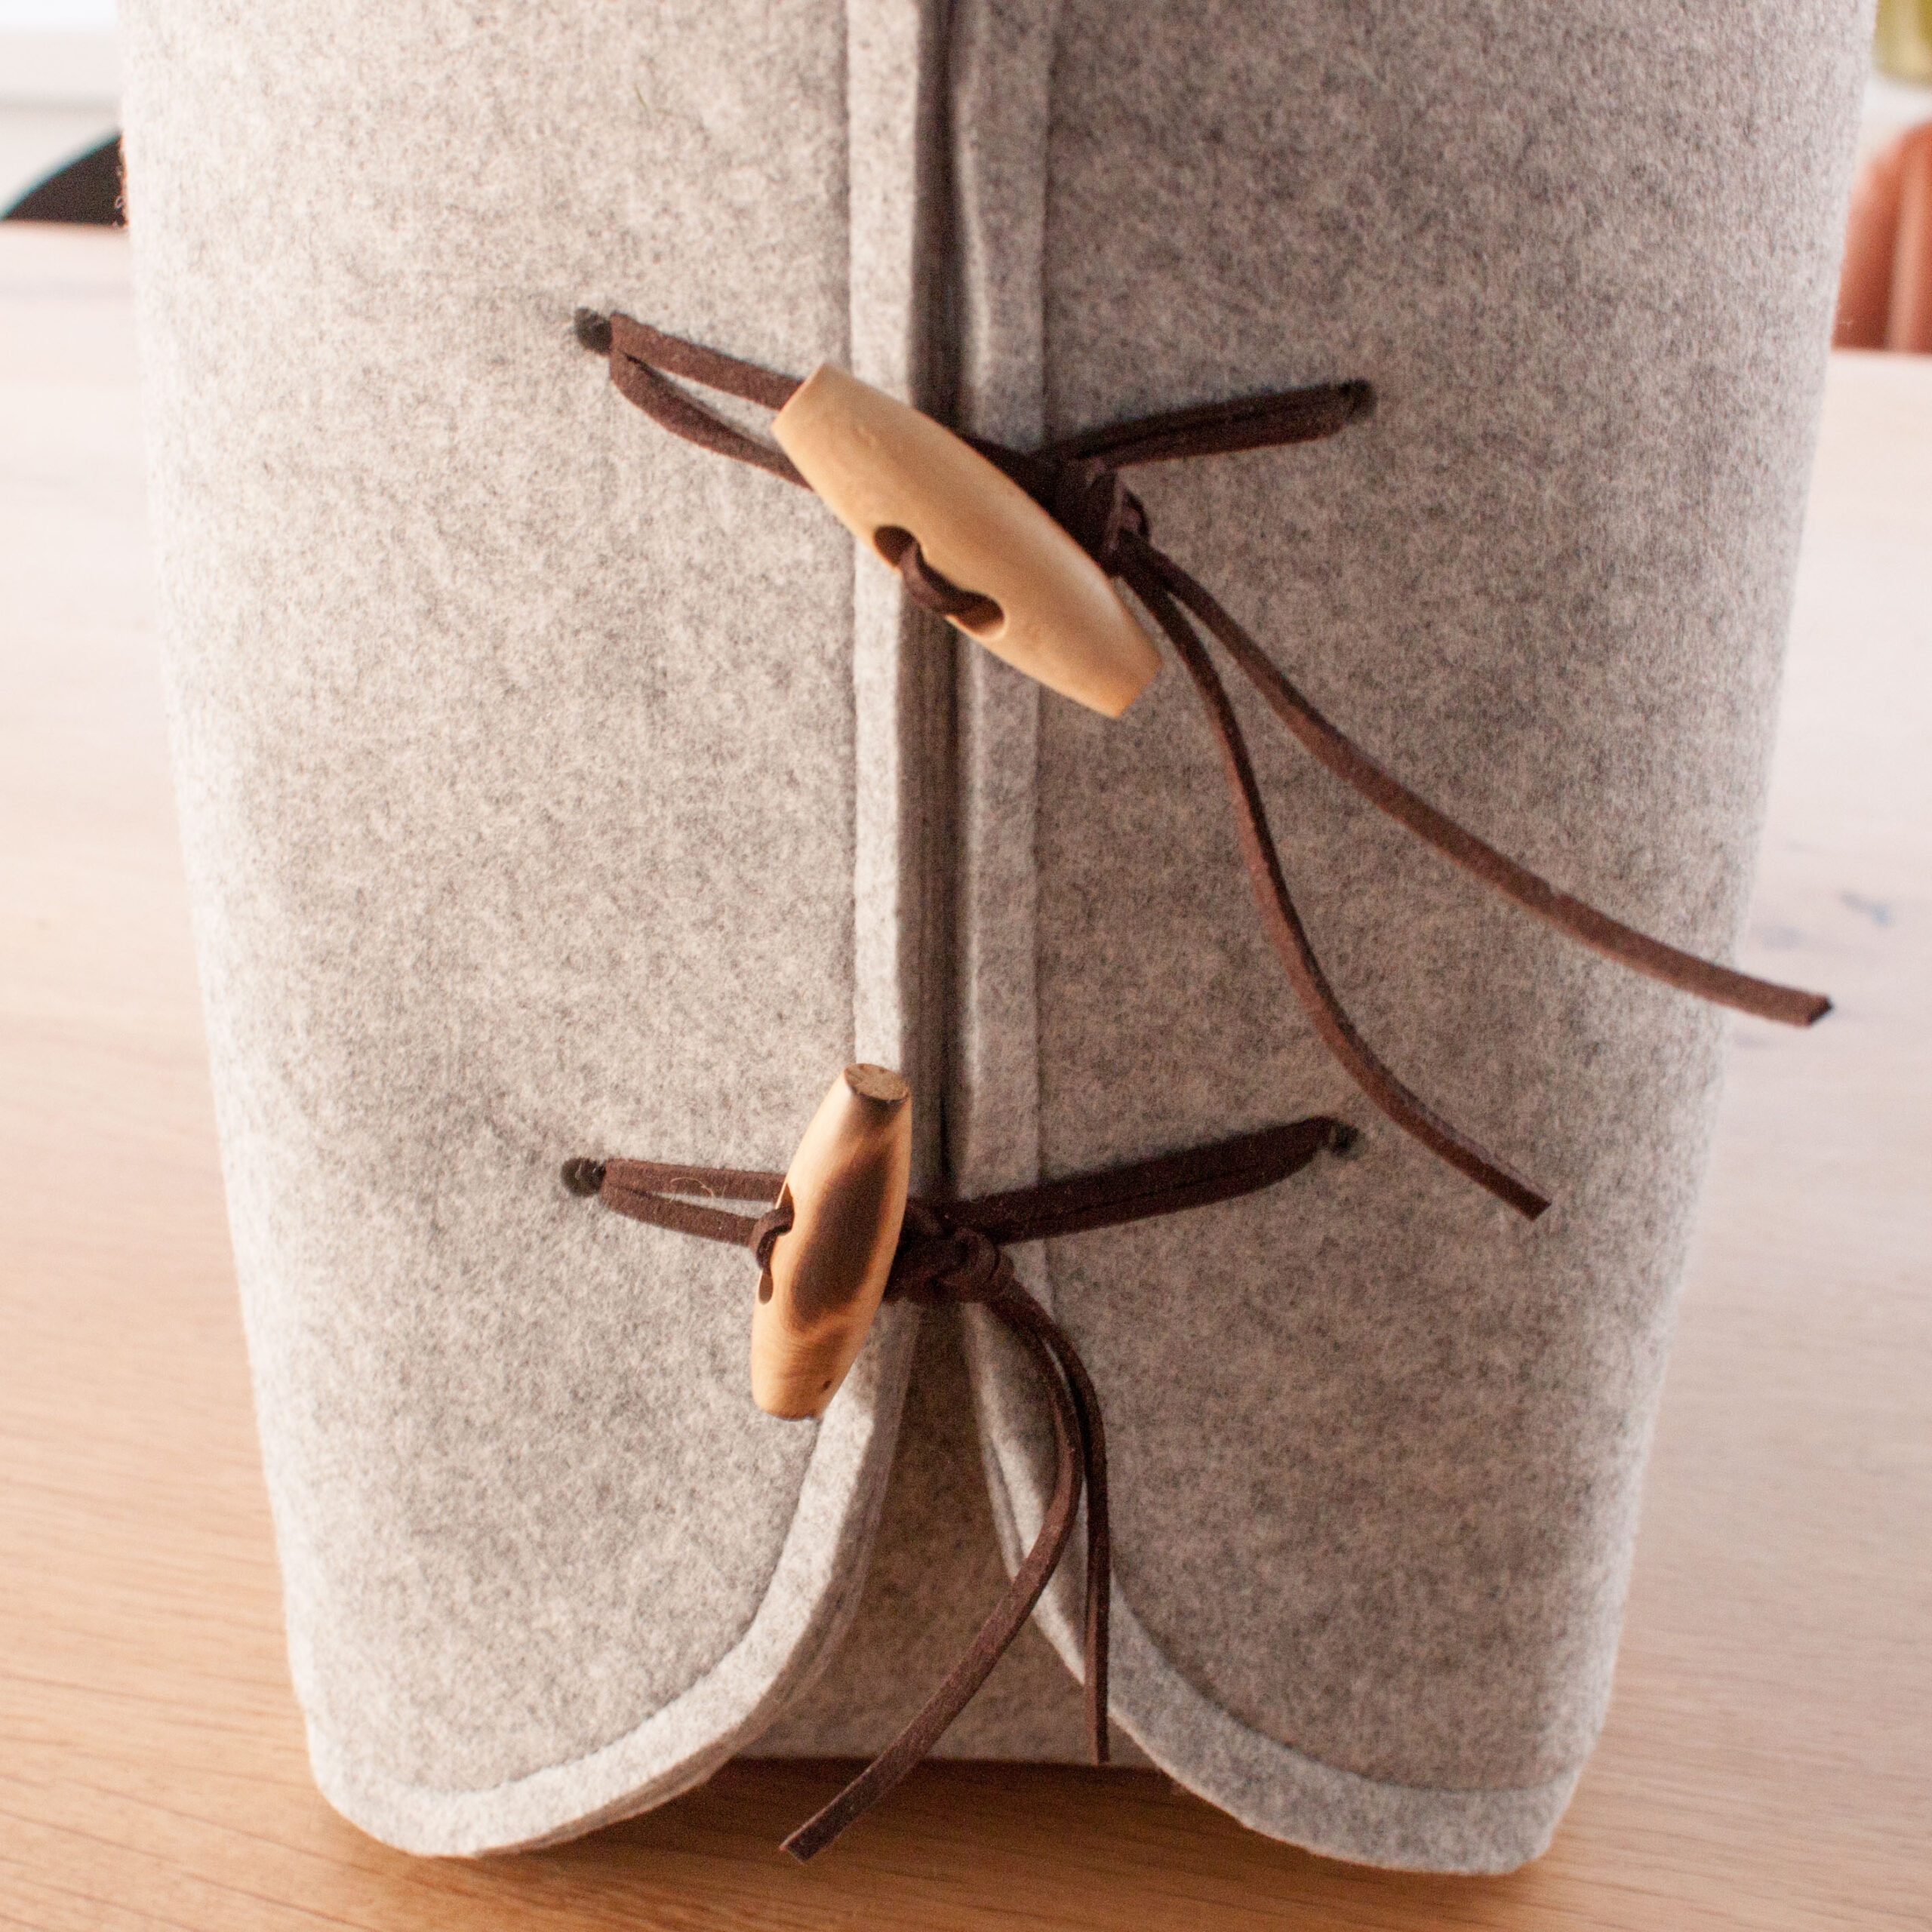
Cut the cord (leather) into 4 pieces of 60cm. Thread the wooden button through it. Place the wooden knot in the middle of the ribbon (leather) and fold both wire ends towards each other (photo 8). Pass the thread ends from the outside in through a buttonhole
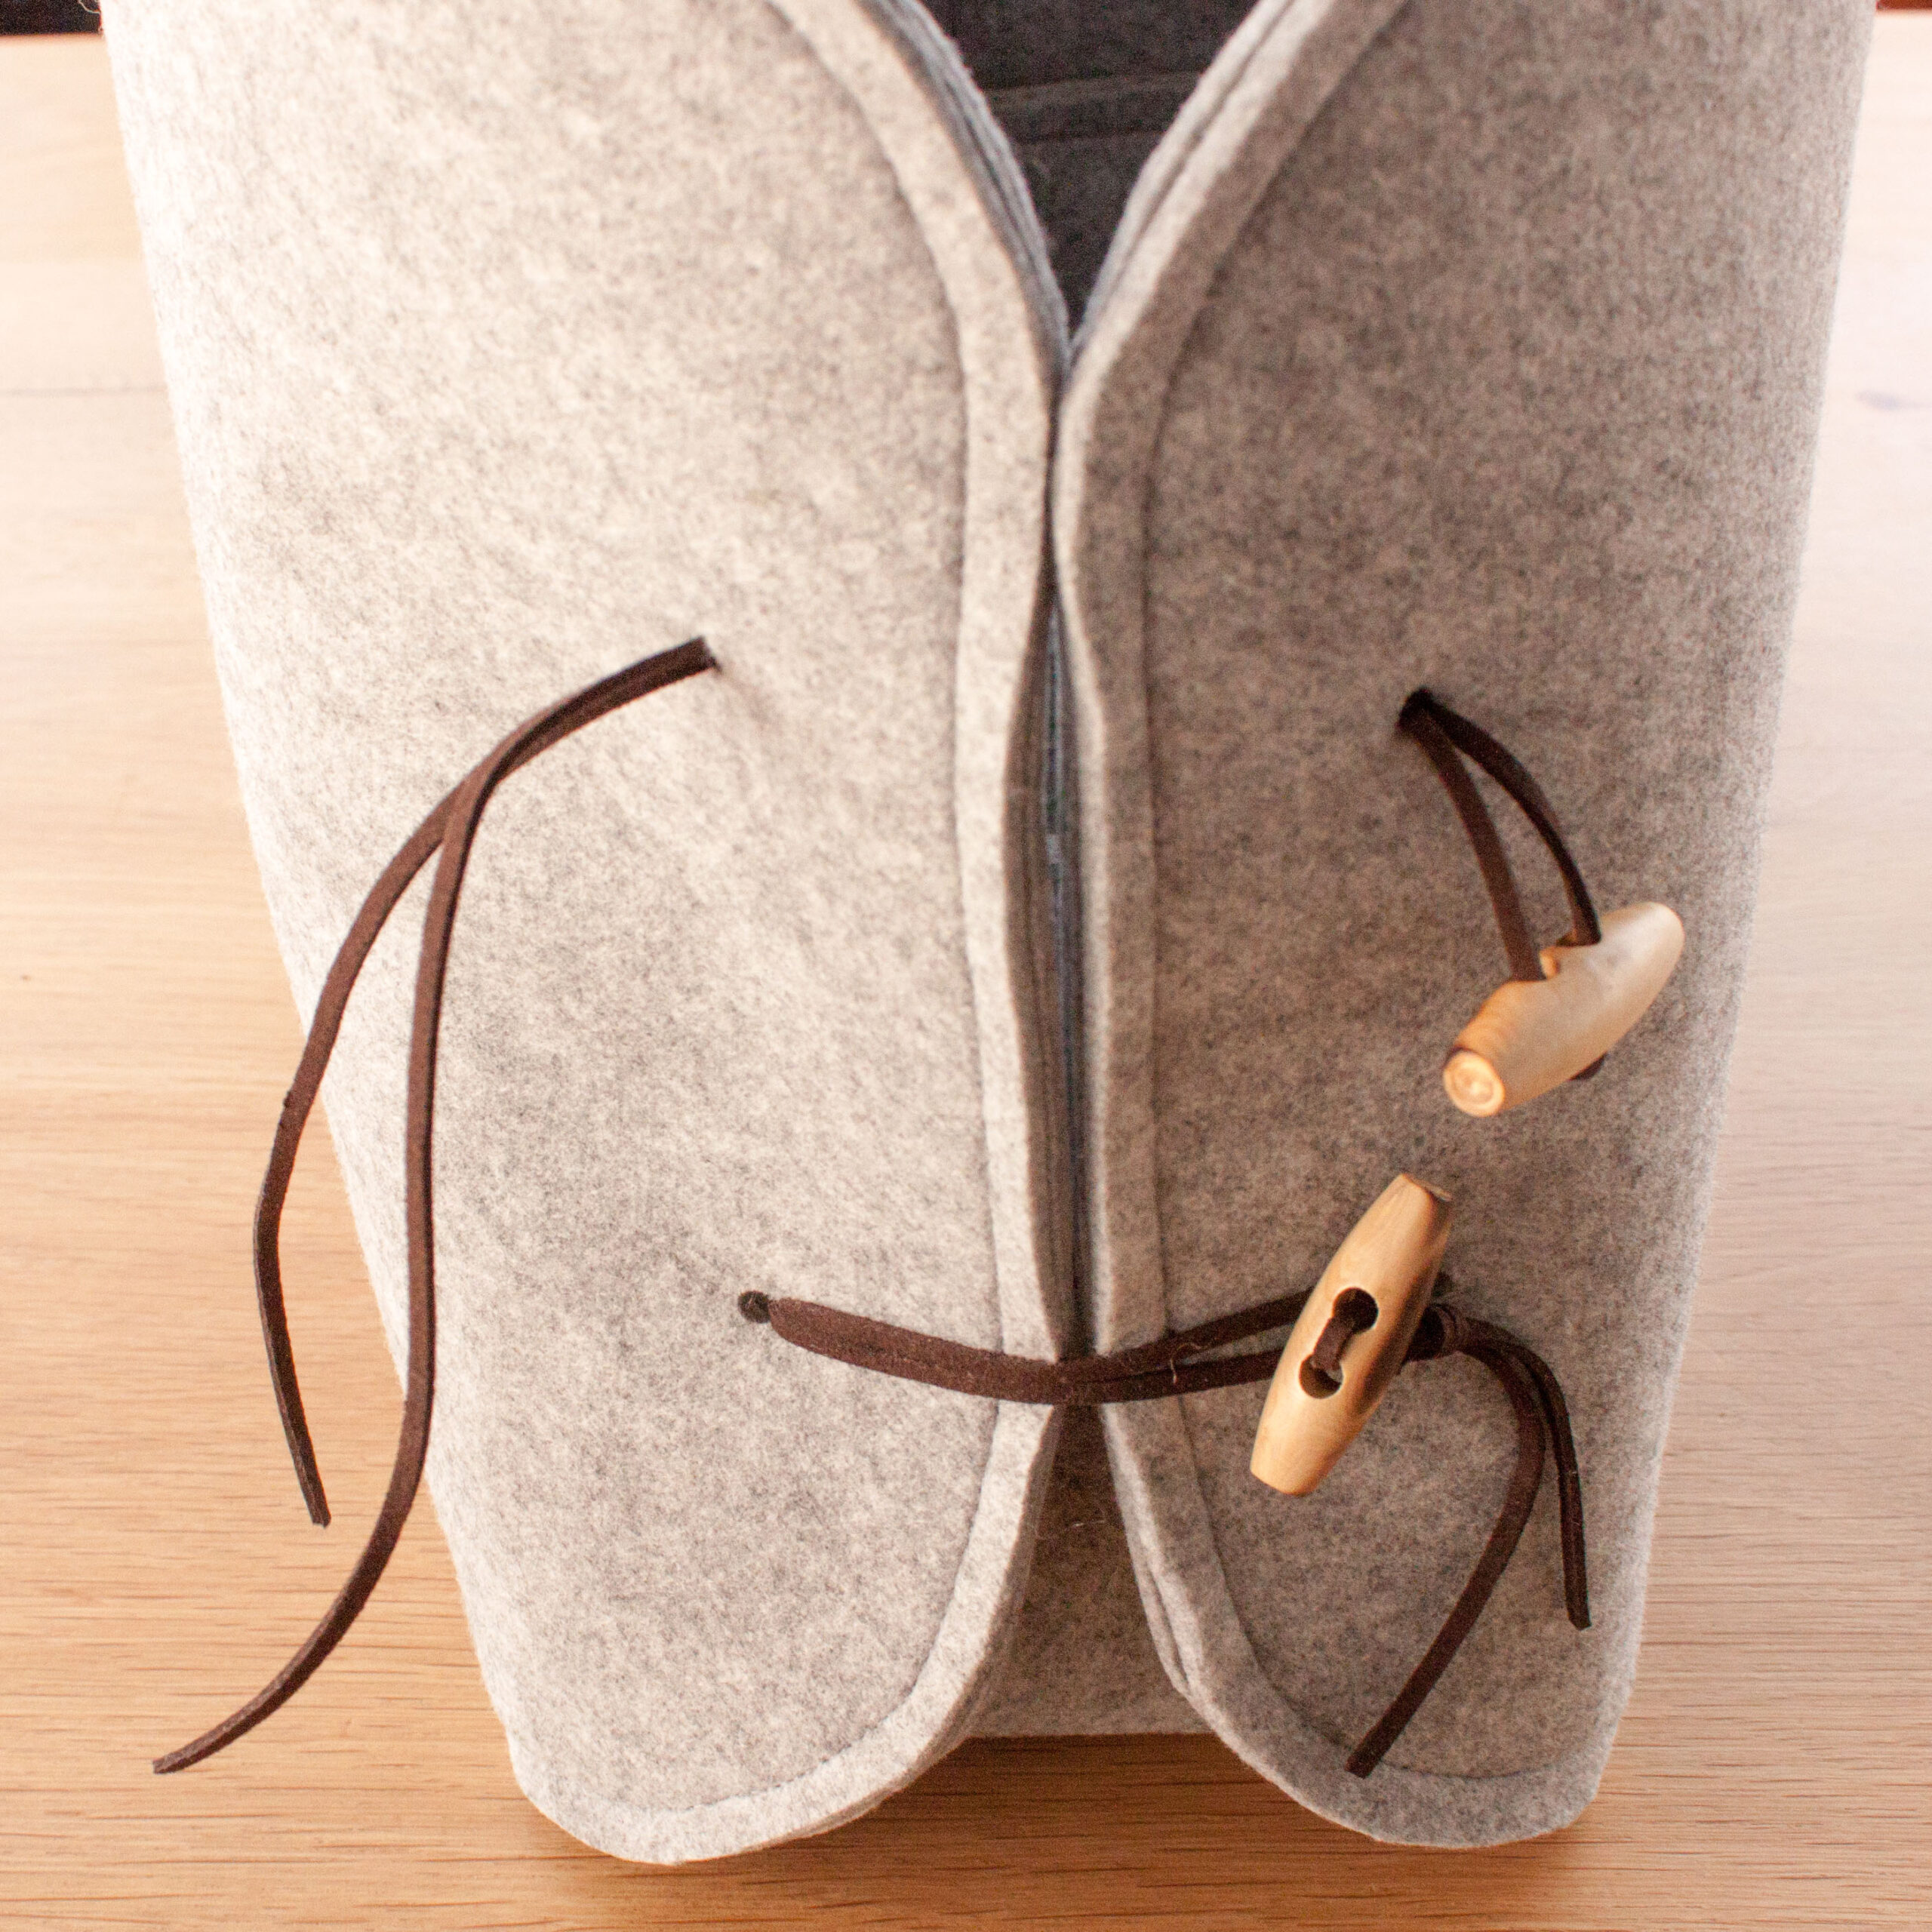
Bring the thread ends forward again at the buttonhole immediately adjacent to it.
Measure where you need to make the double knot in the ribbon (leather).
Once the double knot is in the middle around the wooden knot and both sides of the felt are against each other, the double knot is secure