Ice Cream Cone Punch Needle Necklace

This cheerful necklace is a delightful accessory for the spring/summer wardrobe. Once you understand how to make this necklace, it’s also fun to create it in other variations. Such as fruit, vegetables, or a cute symbol.

Supplies

  • Durable Cozy, art. 010.65
  • Colors: 326 Ivory, 2192 Pale Pink, 343 Warm Taupe
  • Durable Coral, art. 010.6 color 326 Ivory
  • Restyle Weaving Frame 56x54cm, art. 082.37


Other supplies

  • Embroidery needle
  • Scissors
  • Pencil

Dimensions

6 centimeters long x 3 centimeters wide

Work description

Step 1

Clamp the embroidery fabric in the embroidery hoop. Draw two ice cream cones in the center of the embroidery hoop on the fabric with a marker. Make sure there is 2cm distance between both ice creams.

Adjust the punch needle for medium-sized loops.

Step 2

Ice cream 1

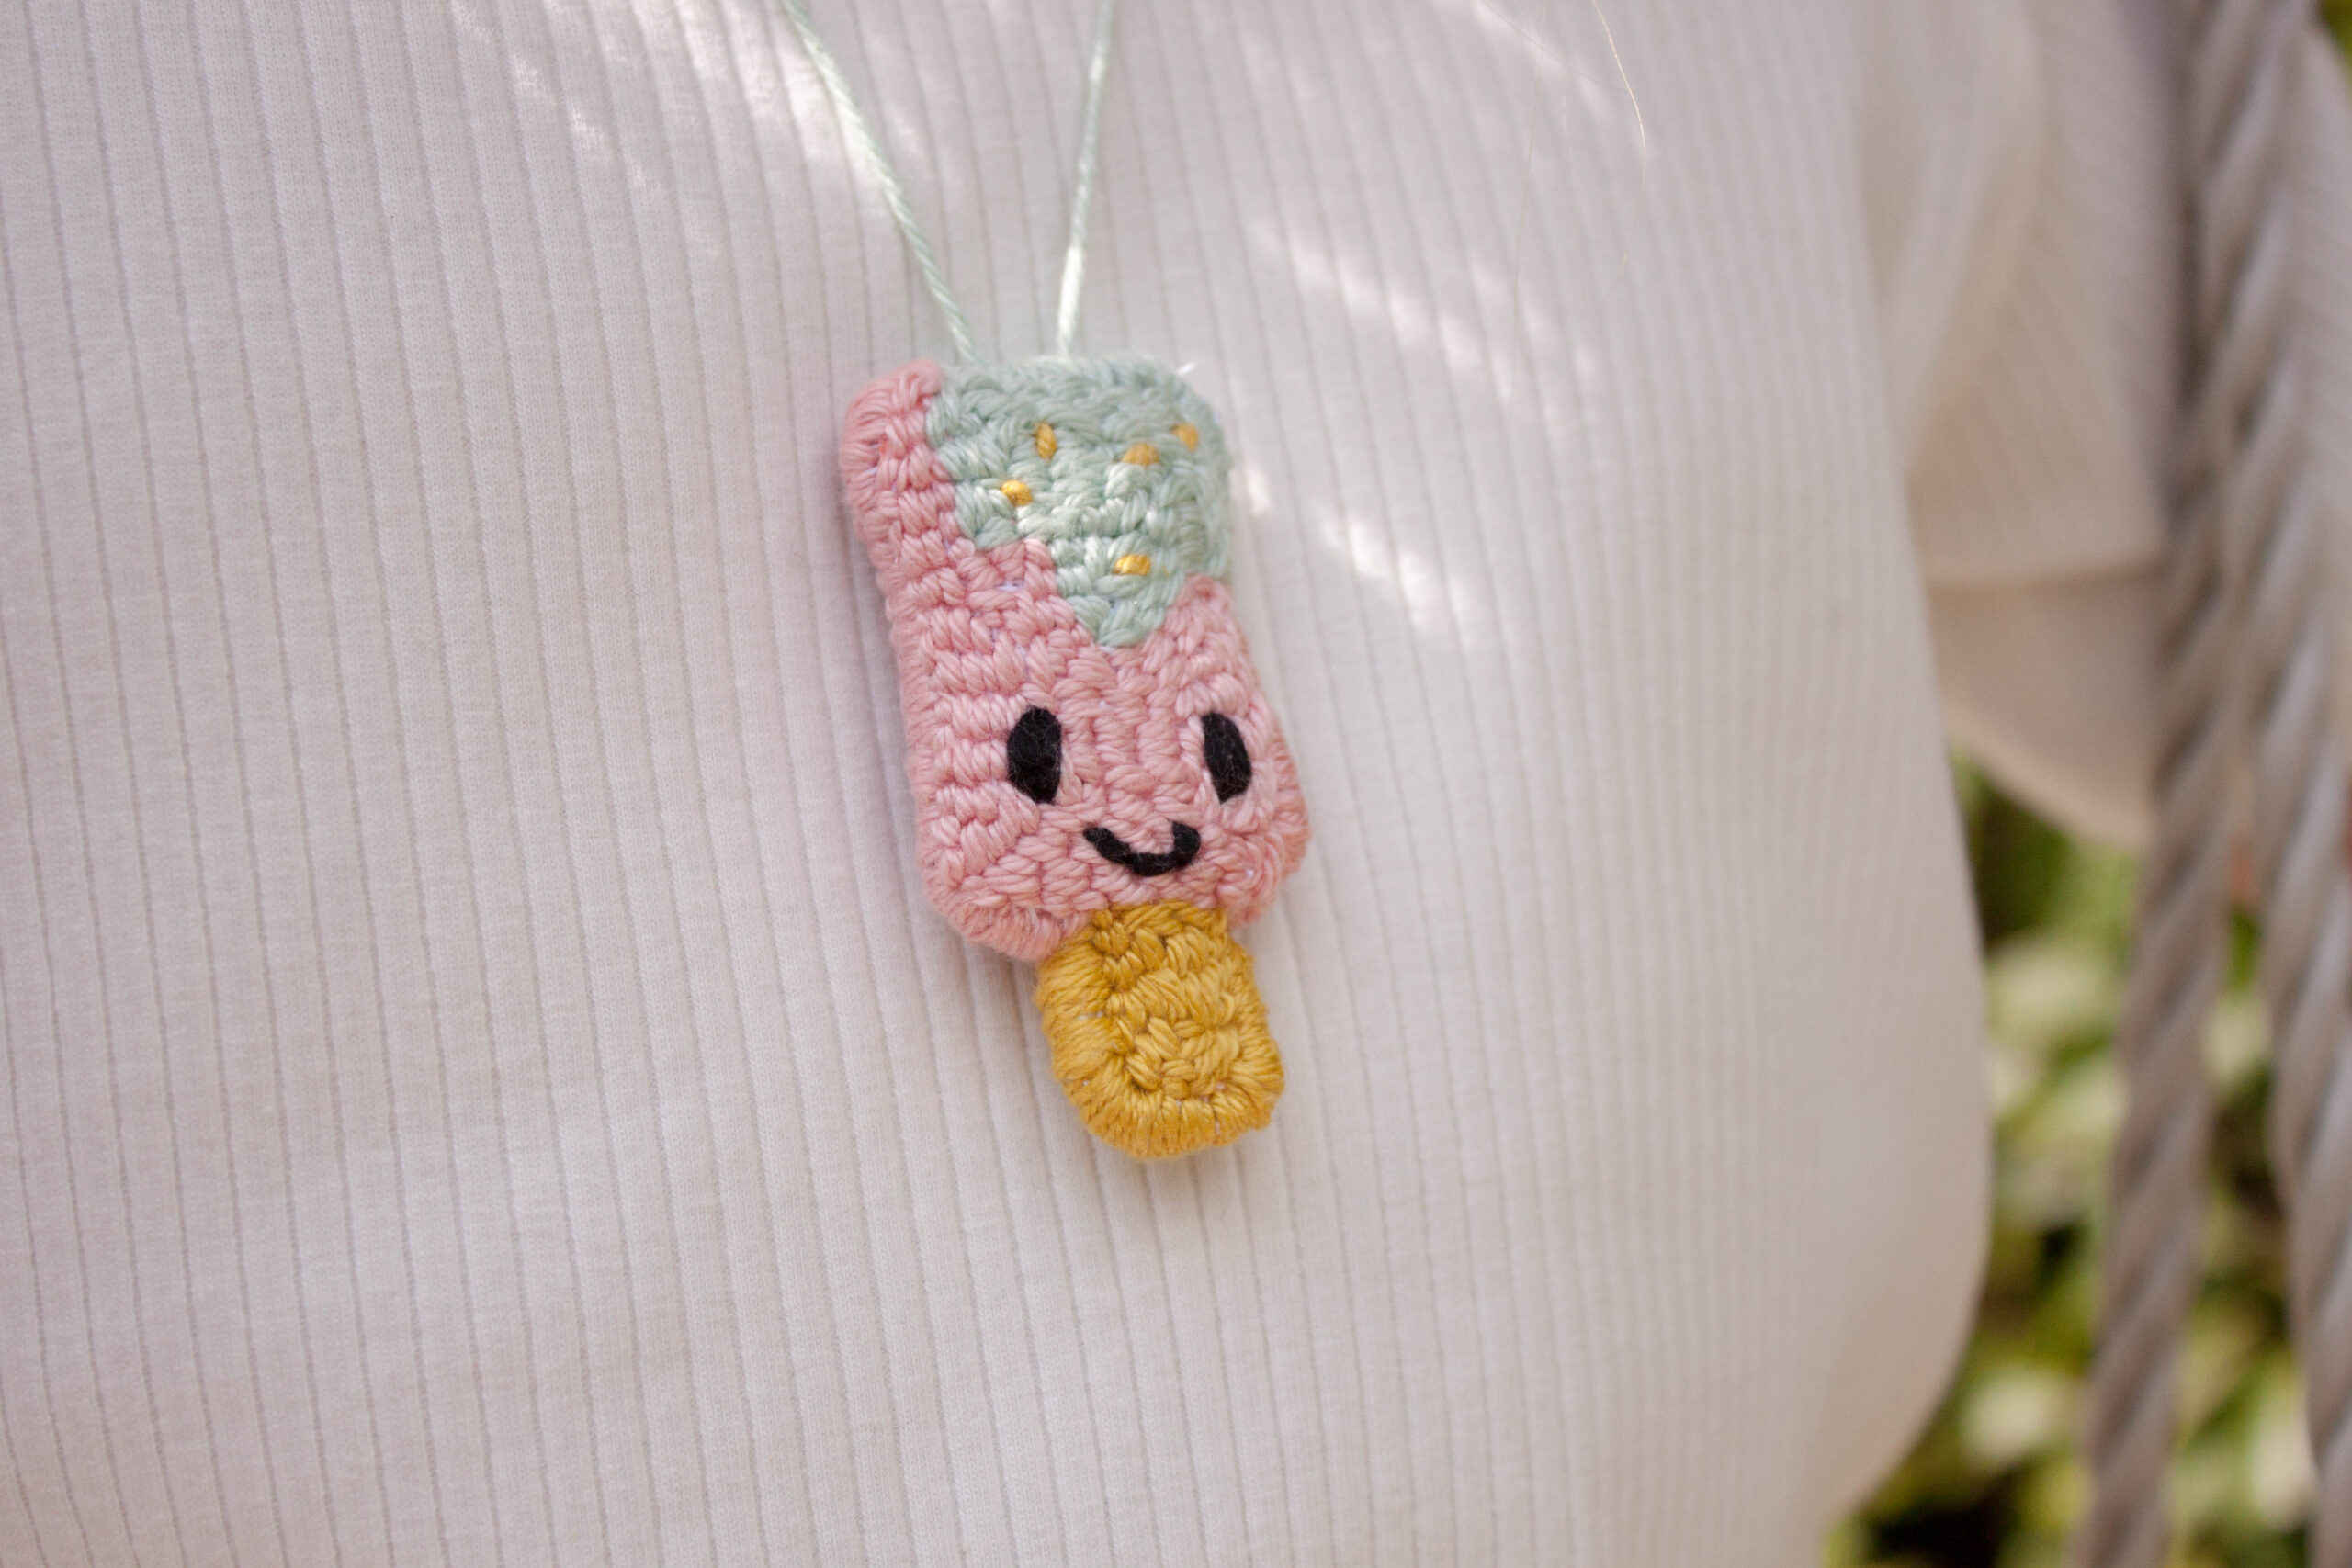
Step 1: Punch on the front of the fabric. This is the front of the work.

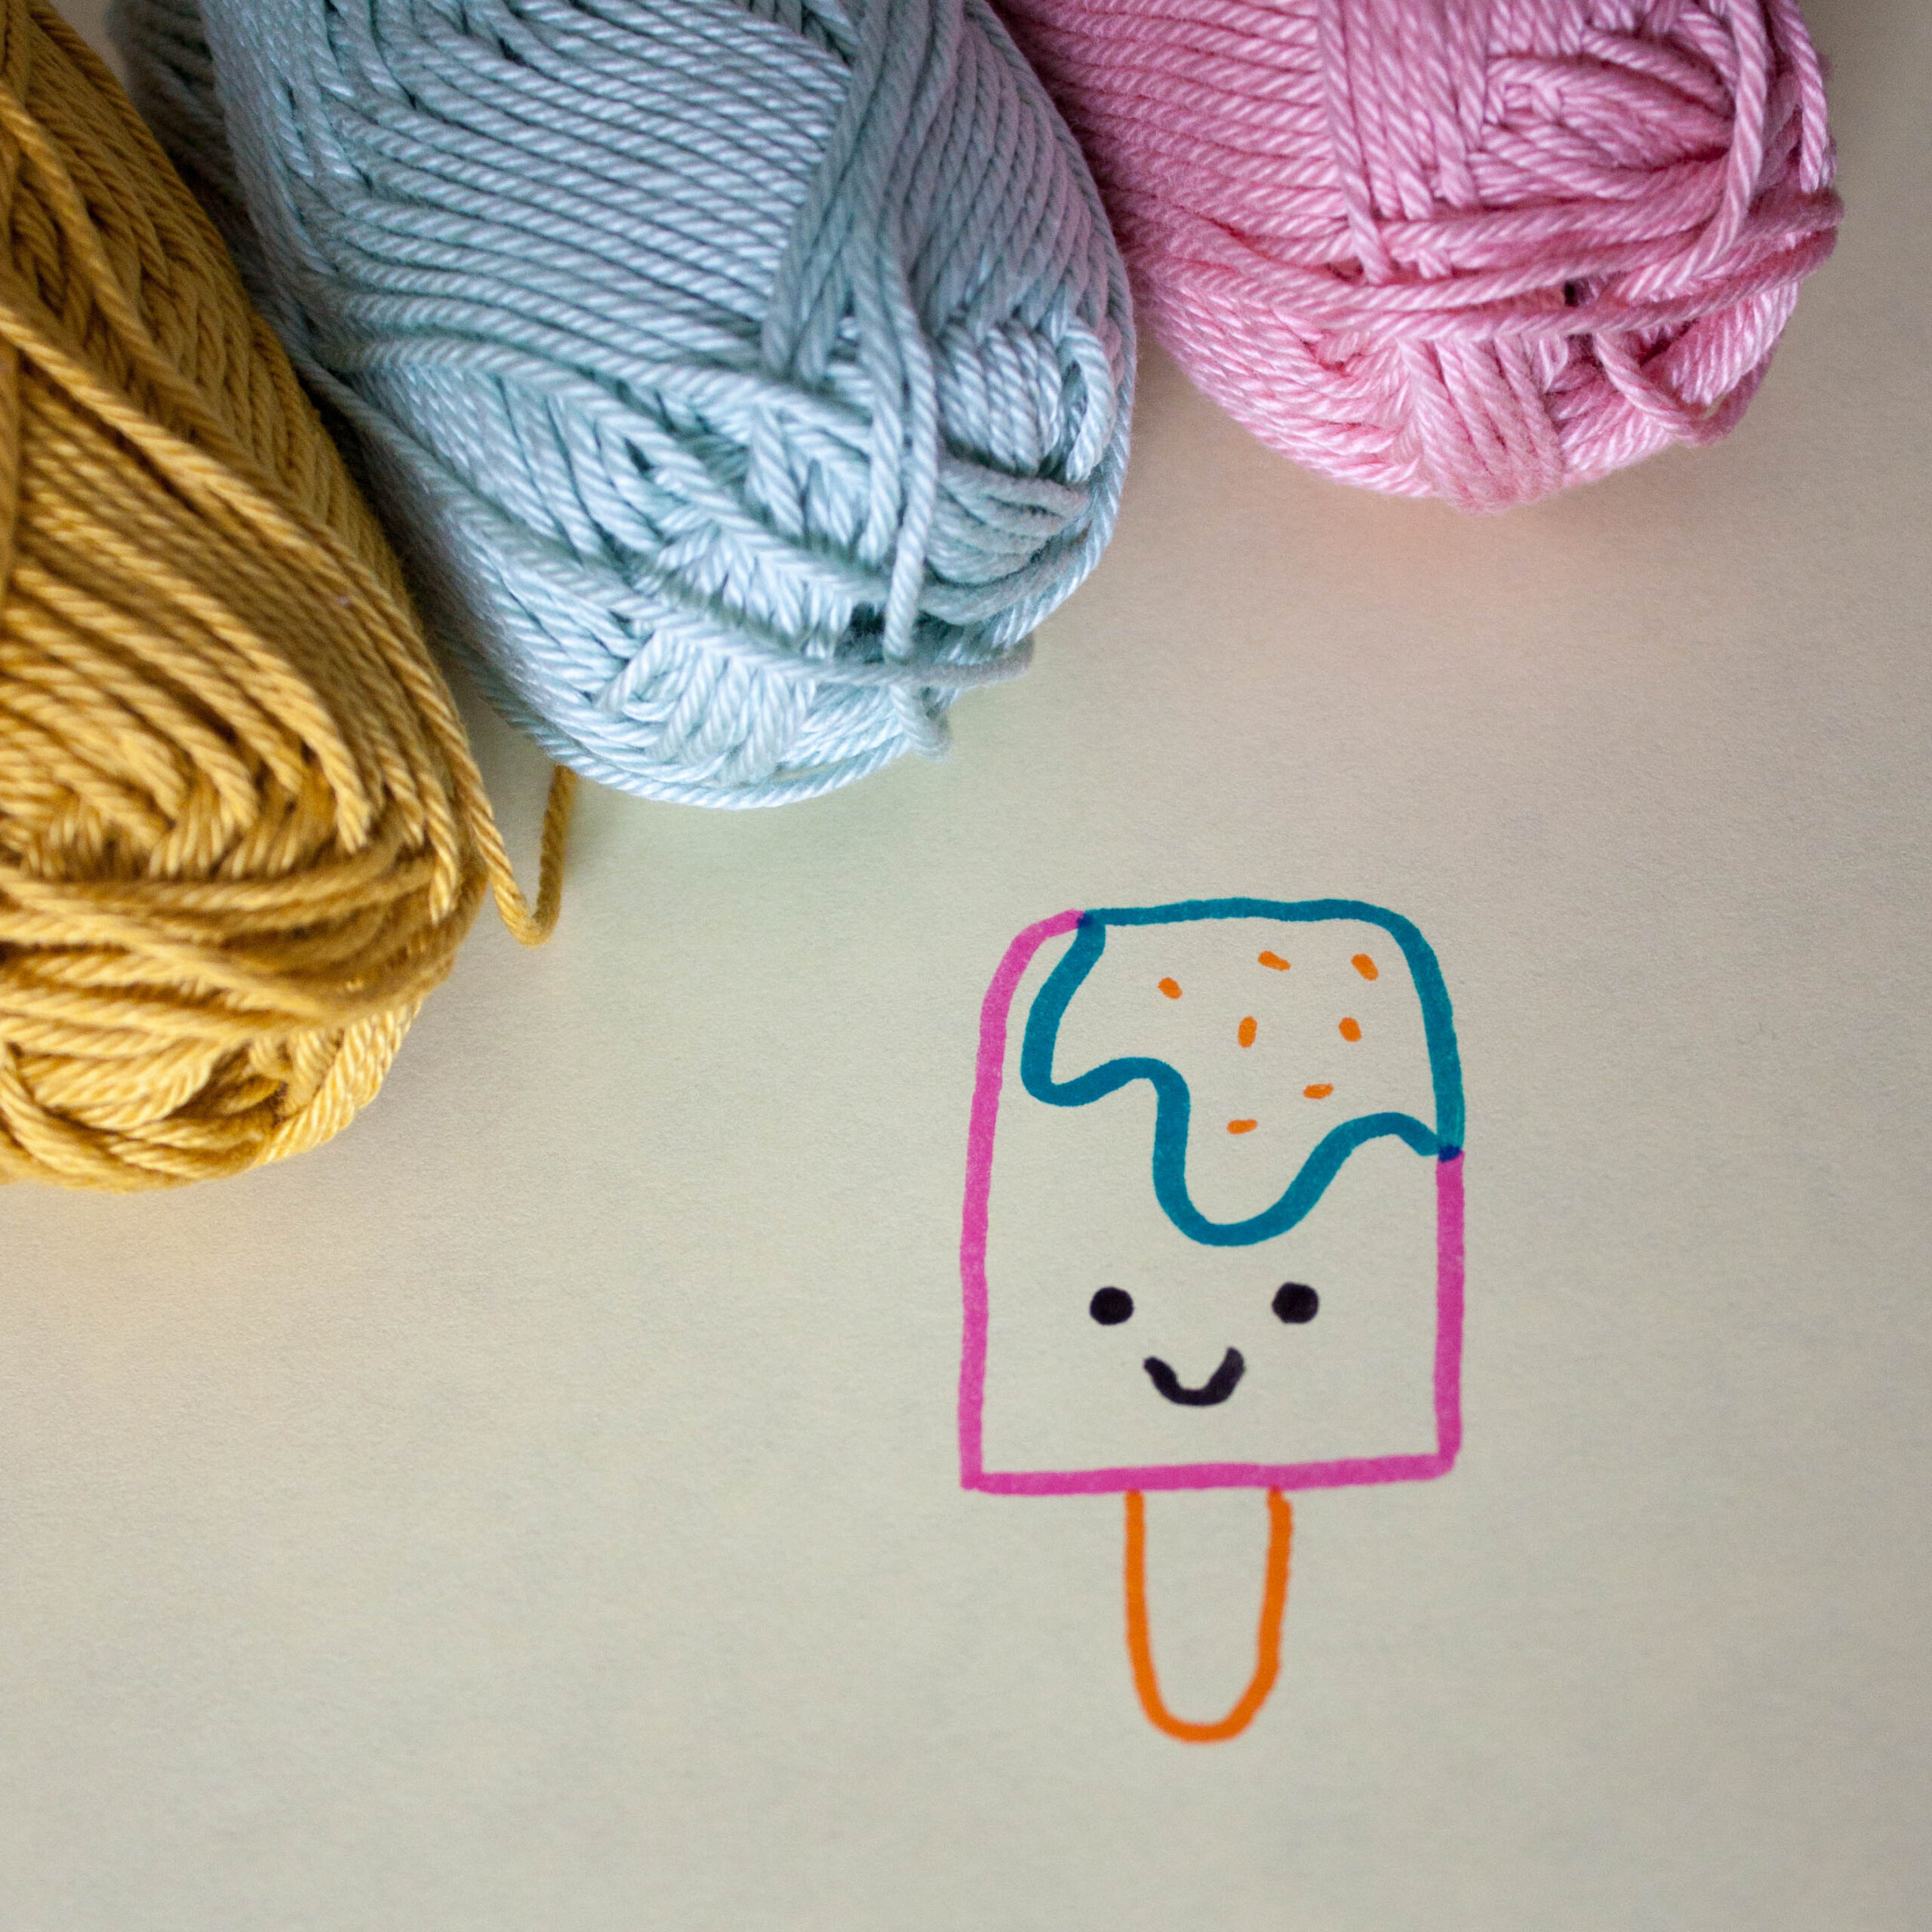
Step 2: Fill the ice cream in the colors according to the example. Start with the popsicle stick in

Lemon Curry, then the bottom of the ice cream with Rose Blush and the top of

the ice cream with Mint.

Step 3: Embroider some specks on the top of the ice cream with the embroidery needle and color Lemon curry. Embroider with

Black the eyes and mouth at the bottom of the ice cream.

Jsje 2

Punch this ice cream onto the back of the fabric. This is the front of the work.

Punch this ice cream in the same way as ice cream 1.

Step 3

Remove the hoop.

Cut the embroidery fabric around the ice creams at 1cm from the ice creams. Fold this 1cm edge towards the back of the piece. Cut a diagonal notch towards the punch work in the edge in the places that cannot be folded in properly.

Info About the blogger

admin

Newsletter

Stay up to date with the latest products and projects by subscribing to our newsletter.