Natural Weaving

Dried flowers have been a popular interior decoration for a while now. I thought it would be fun to combine dried flowers with crafting to create a cool accessory for the home. I started with a weaving frame, yarns in neutral tones, and a bunch of mixed dried flowers. This DIY project is also a

Supplies

  • Durable Cosy, art. 010.65
  • Colors: 326 Ivory, 2192 Pale Pink, 343 Warm Taupe
  • Durable Coral, art. 010.6 color 326 Ivory
  • Restyle Weaving Frame 56x54cm, art. 082.37

Other supplies

  • Branch or stick about 35 cm long and 1 centimeter thick
  • Dried flowers (or other natural materials)
  • Large-eyed needle
  • Scissors

Dimensions

50 x 40 centimeters (including dried flowers and fringes)

Work description

Step 1

Start by tensioning your weaving frame. These threads are referred to as the warp threads in the description. Use Durable Coral, in the color Ivory, for this purpose.

Make a slip loop and slide it around the first tooth at the bottom left. Bring the thread up to the top left and stretch it around the tooth, then go back up and stretch it around the tooth next to where you started. Continue in this manner until your weaving frame is full (or until you have reached the desired width). Finish at the bottom right and wrap your thread a few times around the frame in the corner, make a small knot. Ensure that your warp threads are nicely tight, as this makes weaving easiest. Your weaving frame is ready to use.

Step 2

To ensure that your weaving does not slip off the warp threads, start by making a twine thread. Use the same yarn as the warp threads for this.

Cut a generous piece of yarn. Place it around the first warp thread on the left, so that you have 2 equal threads moving towards the right. Twist these 2 threads around each other, letting one thread pass over the next warp thread and the other thread pass underneath it, twist again, and now let the other thread pass over and the other underneath, continue this way until you reach the right side. Now do the same thing in the opposite direction. Create a few rows of twine thread for the strength of your weaving. Leave the ends hanging; you will tidy them up later. Using the comb that comes with the weaving frame, comb the twine thread neatly to the bottom of your weaving frame.

Step 3

I always like to start the weaving with fringes. For this, cut a considerable number of threads (slightly longer than double the length of your desired fringes). You can make the fringes as thick as you like. For the fringes, I used 2 threads per fringe, each 30 centimeters long.

Wrap one end of your threads around the left warp thread from front to back (counterclockwise), wrap the other end around the warp thread next to it from front to back (clockwise). Then gently pull all the threads together to create a knot. Repeat this process for the entire row. In the row above, skip the first and last warp threads, causing the fringes to stagger with the fringes of the bottom row. For these fringes, I cut threads of 20 centimeters. Trim the fringes neatly.

Step 4

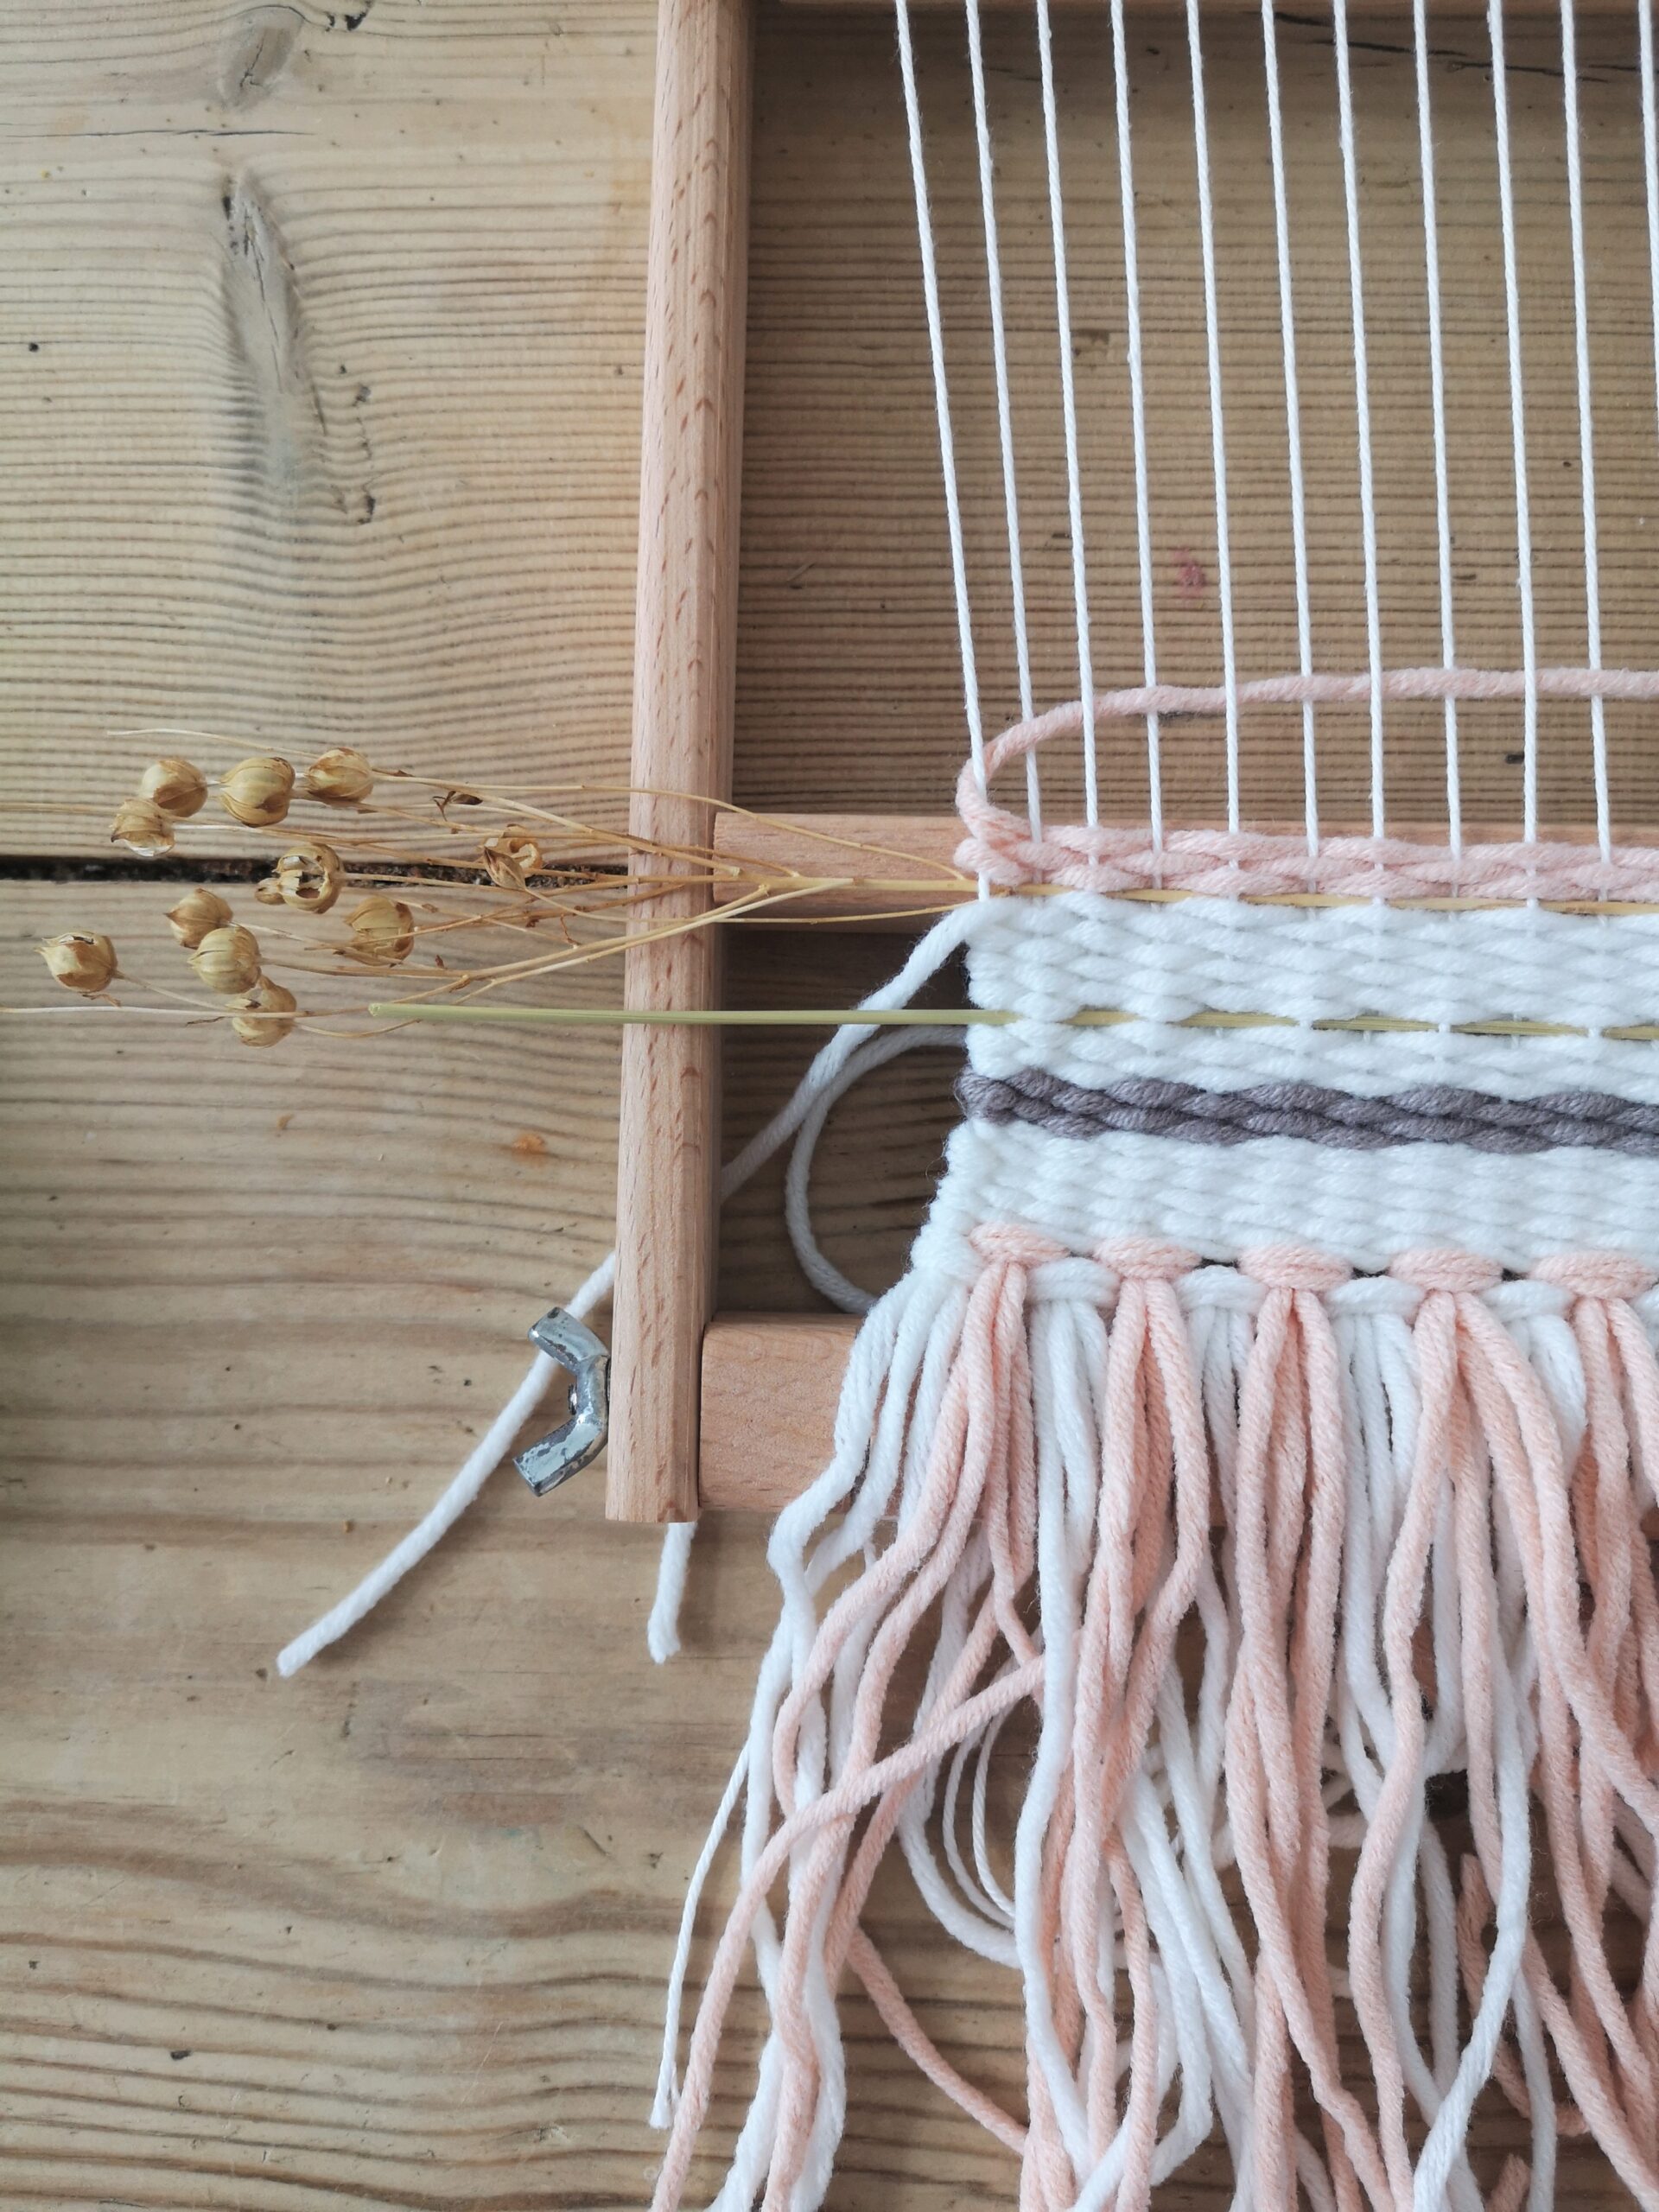
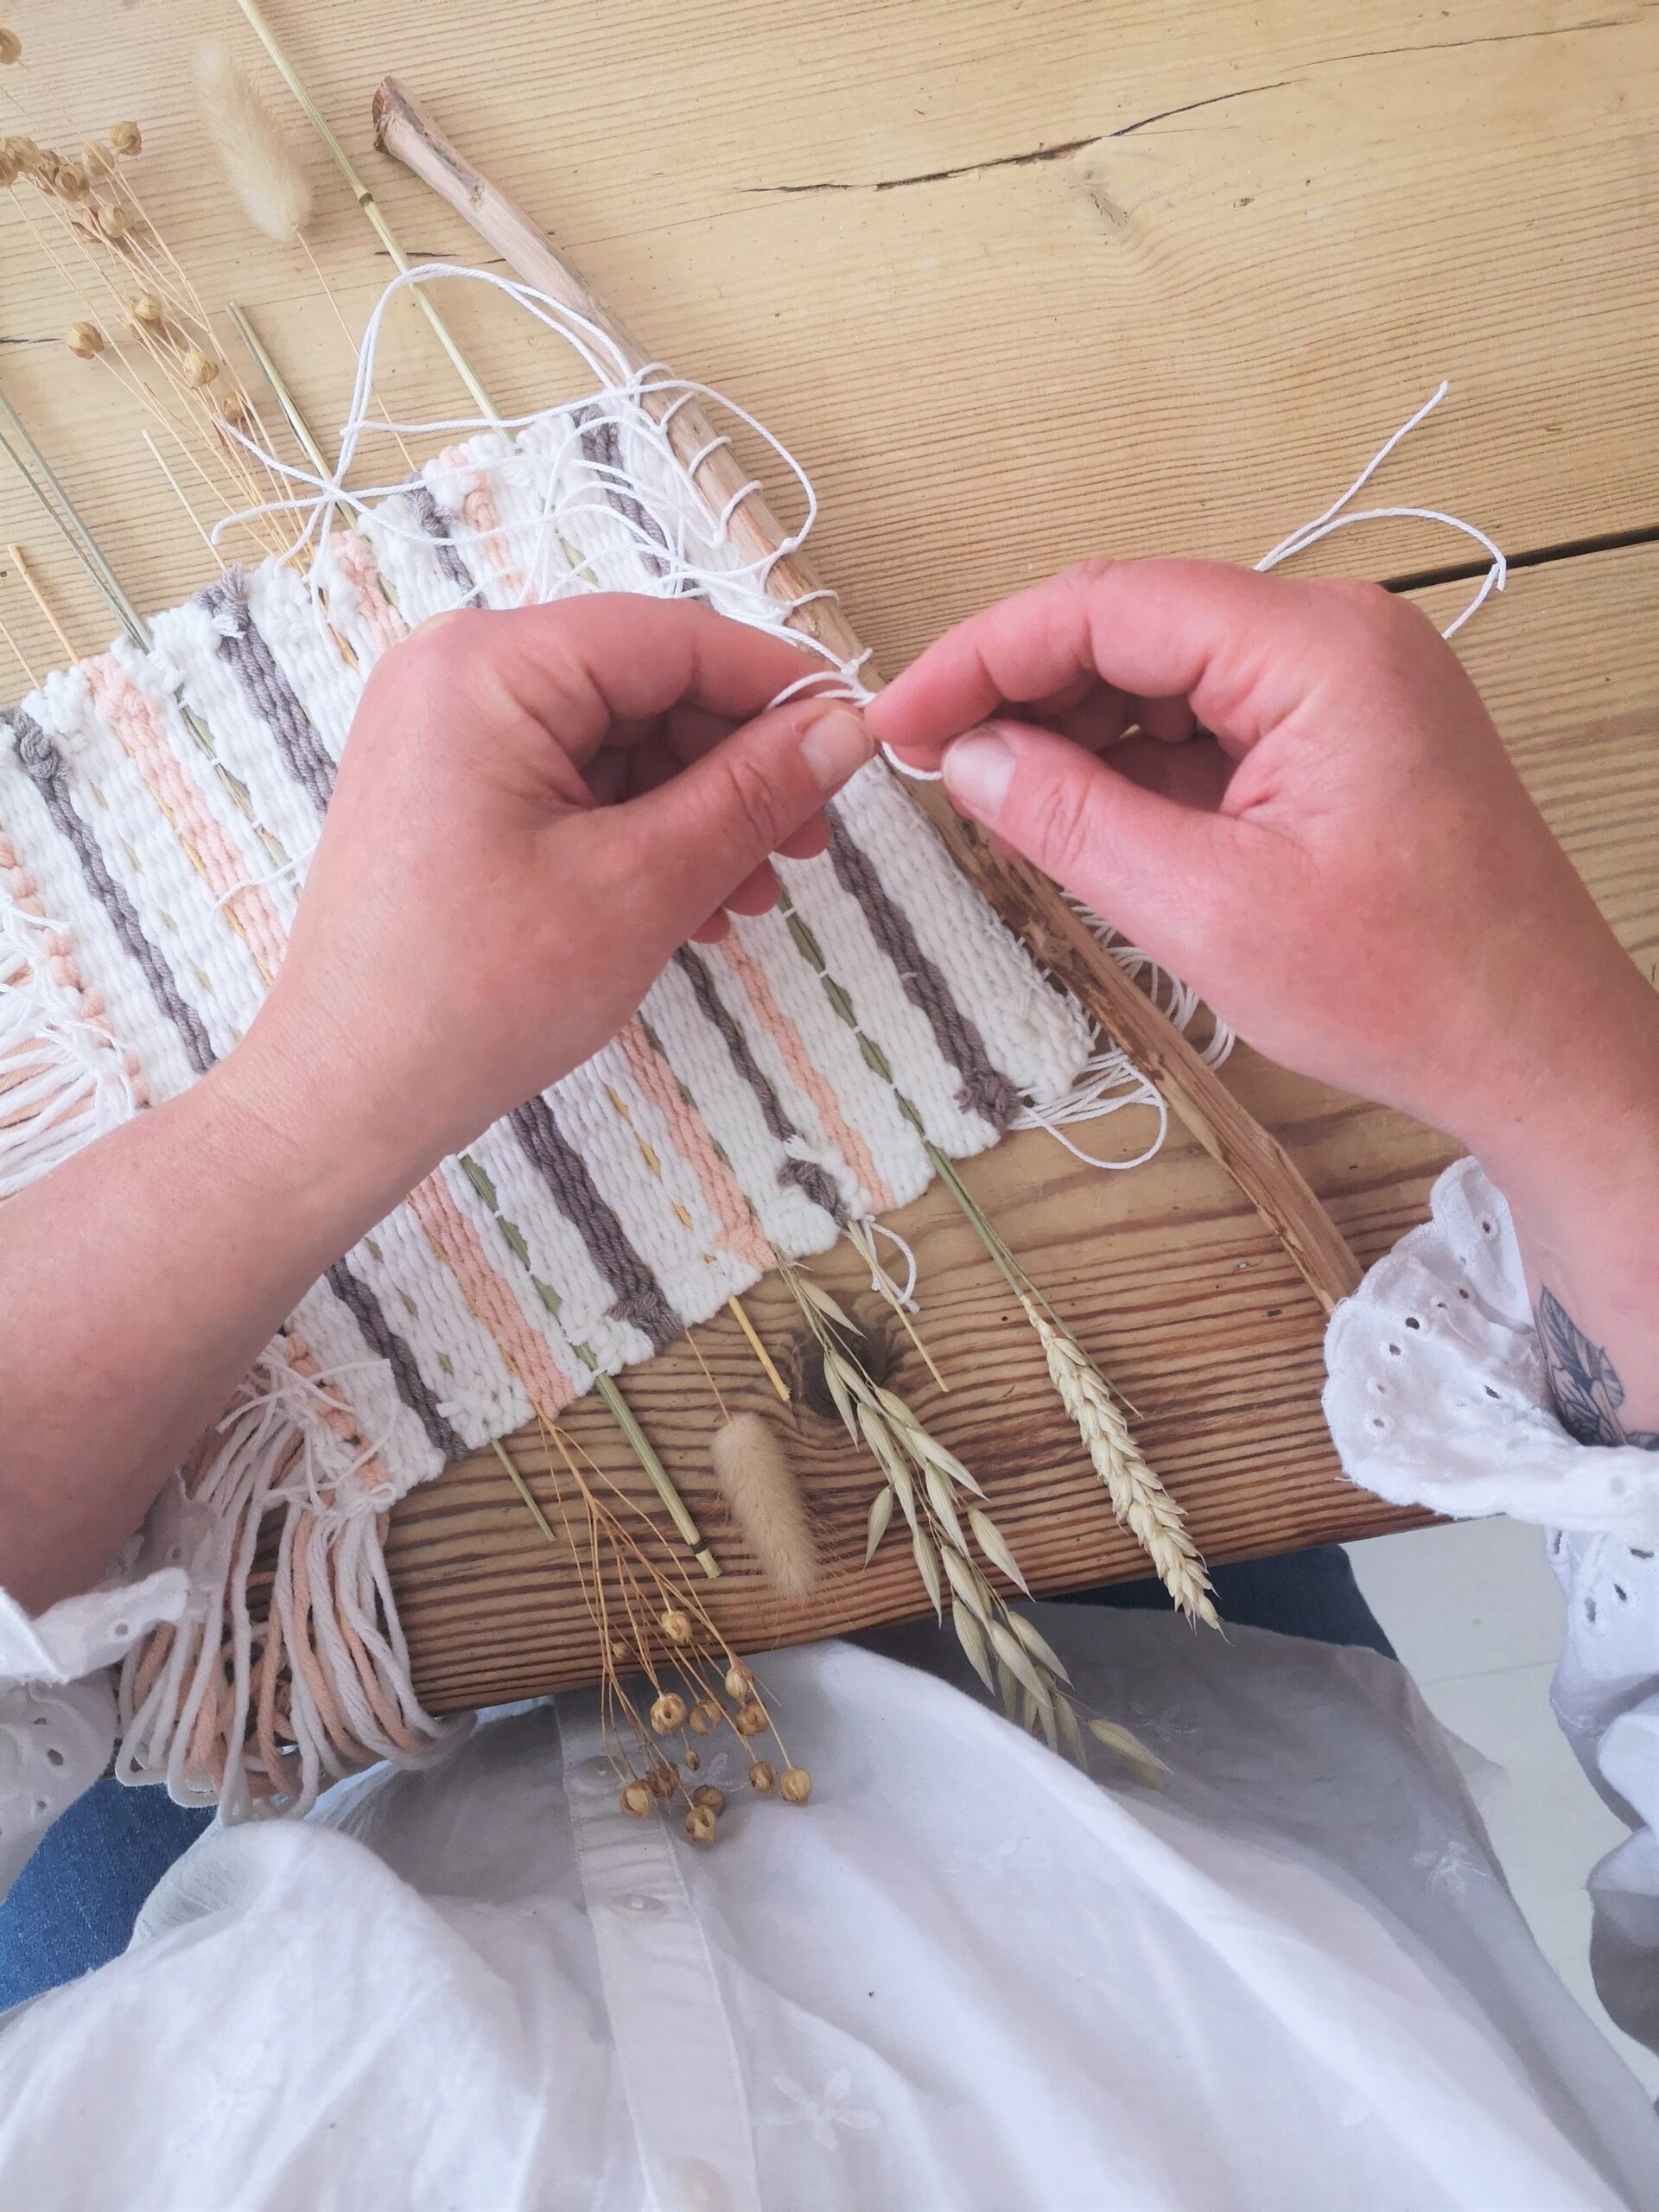
Now begins the actual weaving part. Thread a piece of yarn through the weaving needle. Start at either the right or left side of your weaving frame. Now, it’s simply a matter of weaving your thread over, under, over, under through your warp threads. For your next row, do the opposite. So where your thread went over in the previous row, it will go under this row.

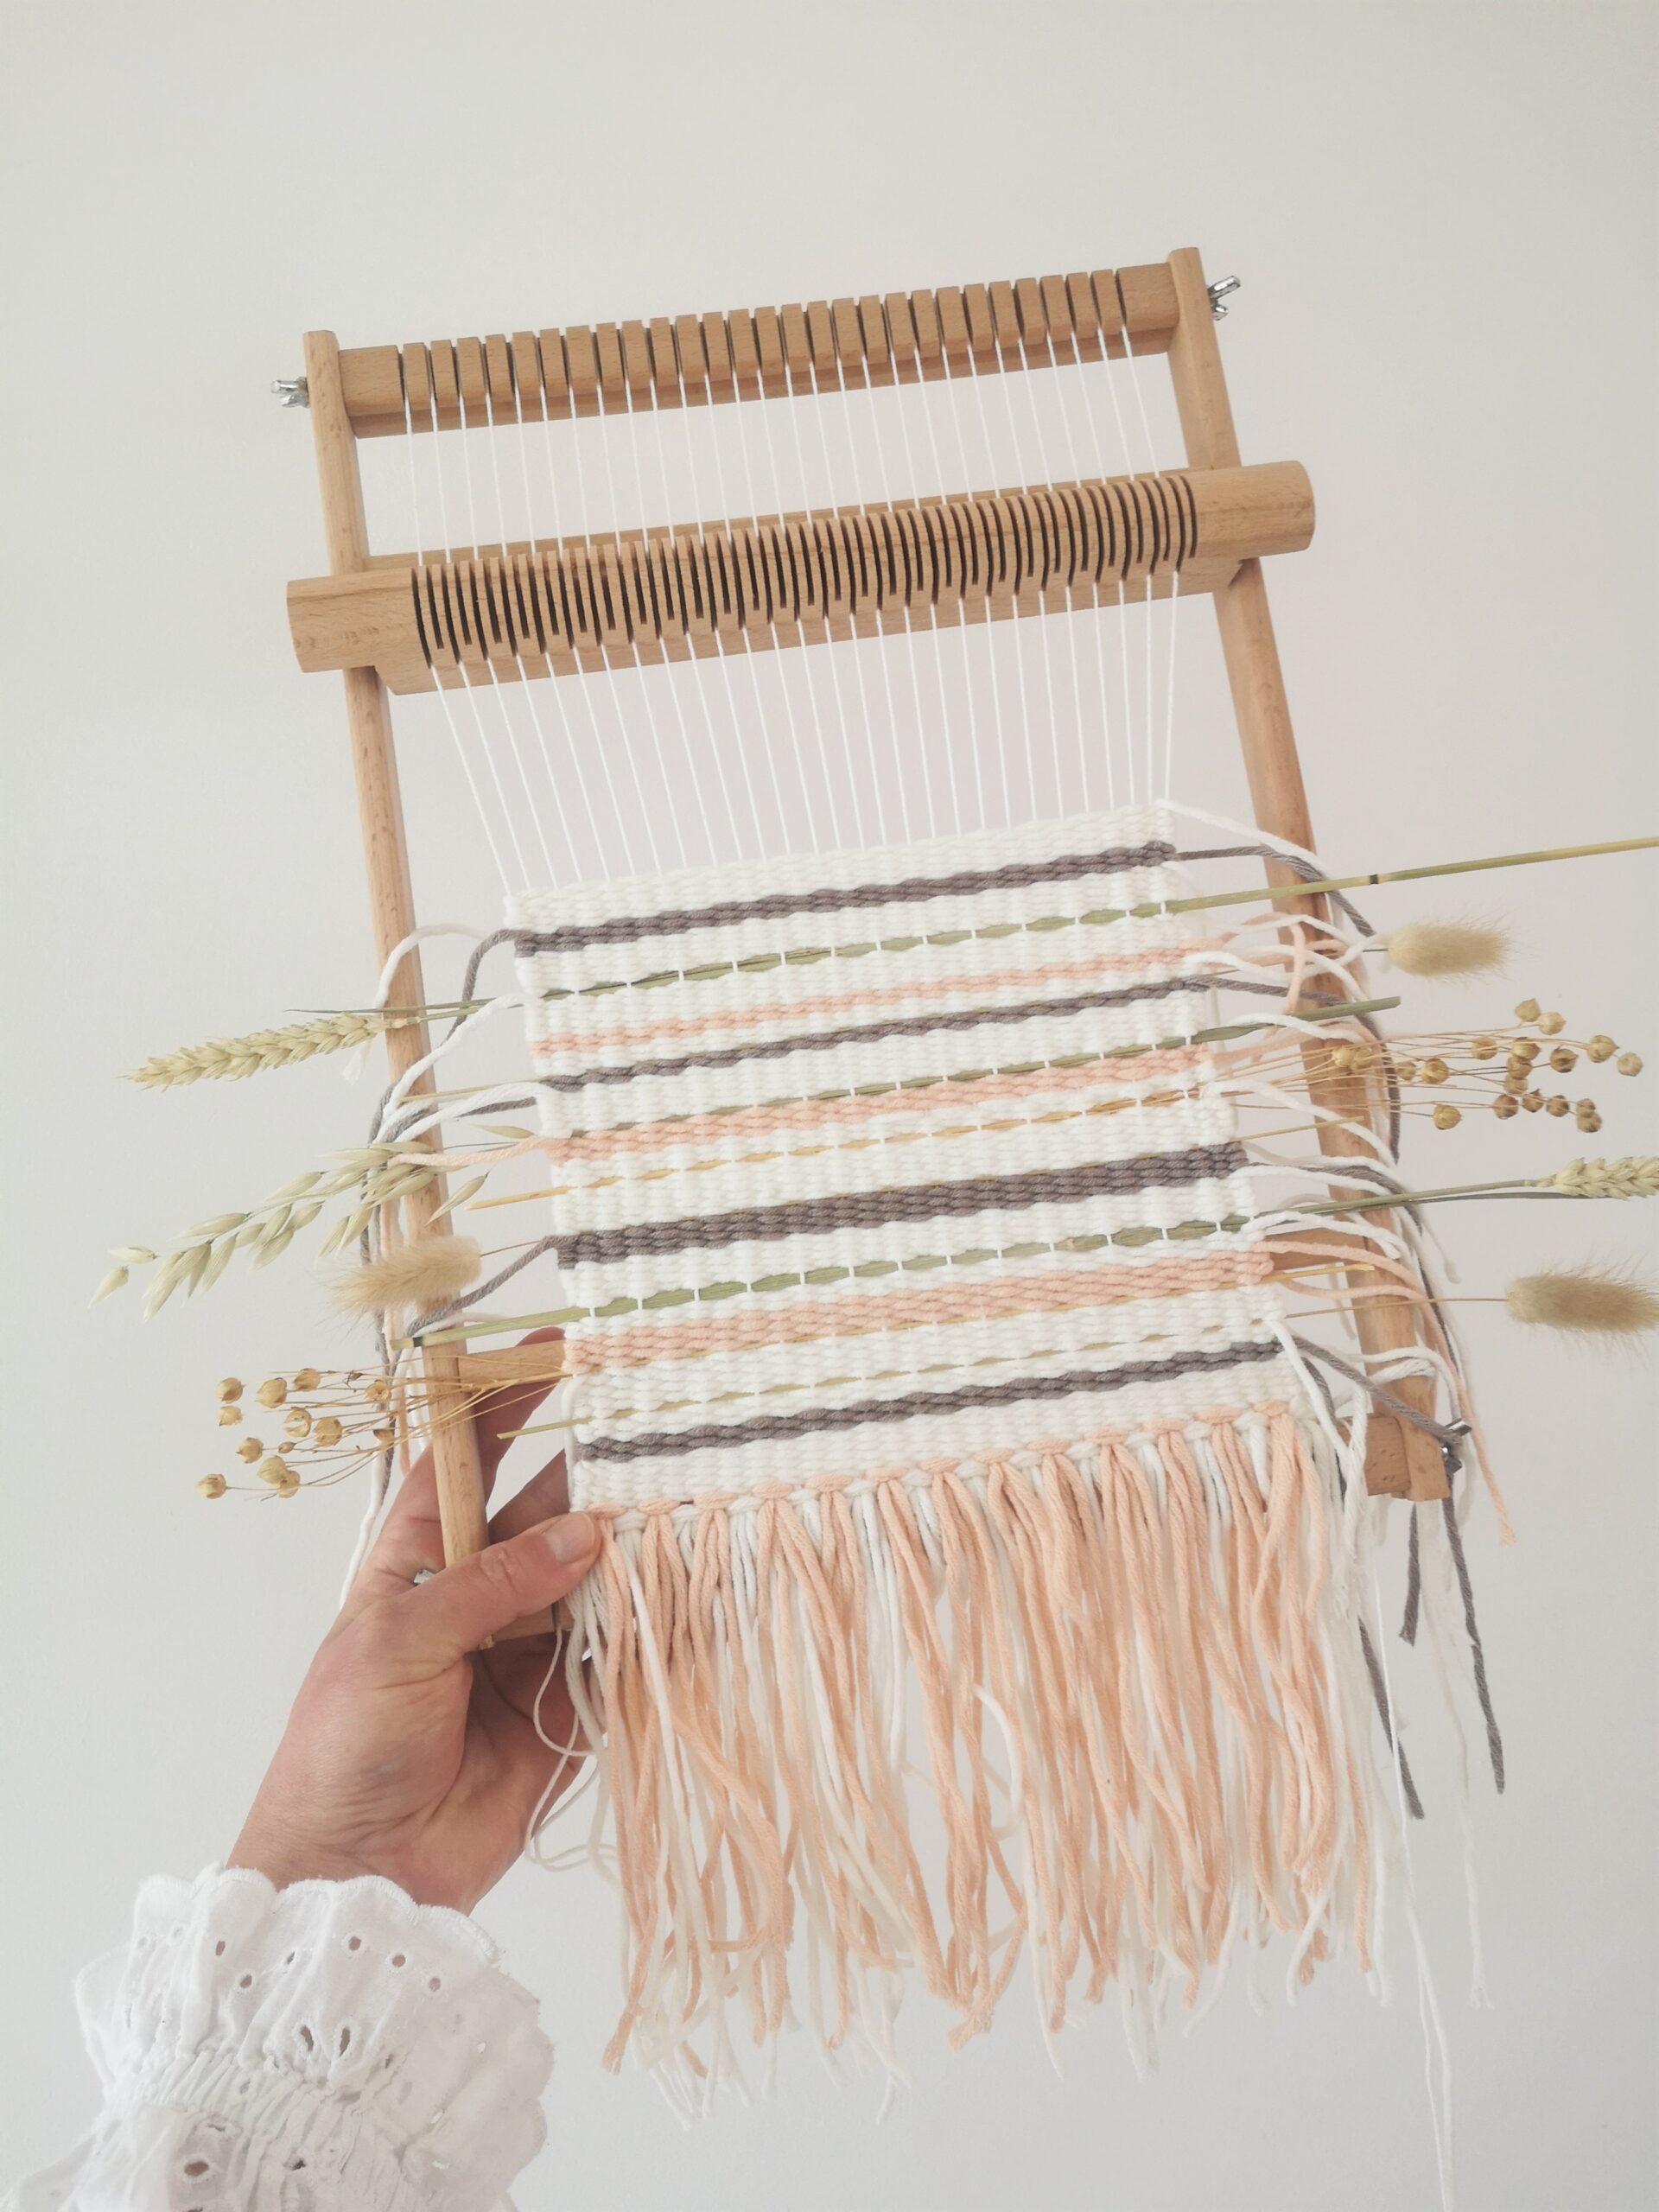
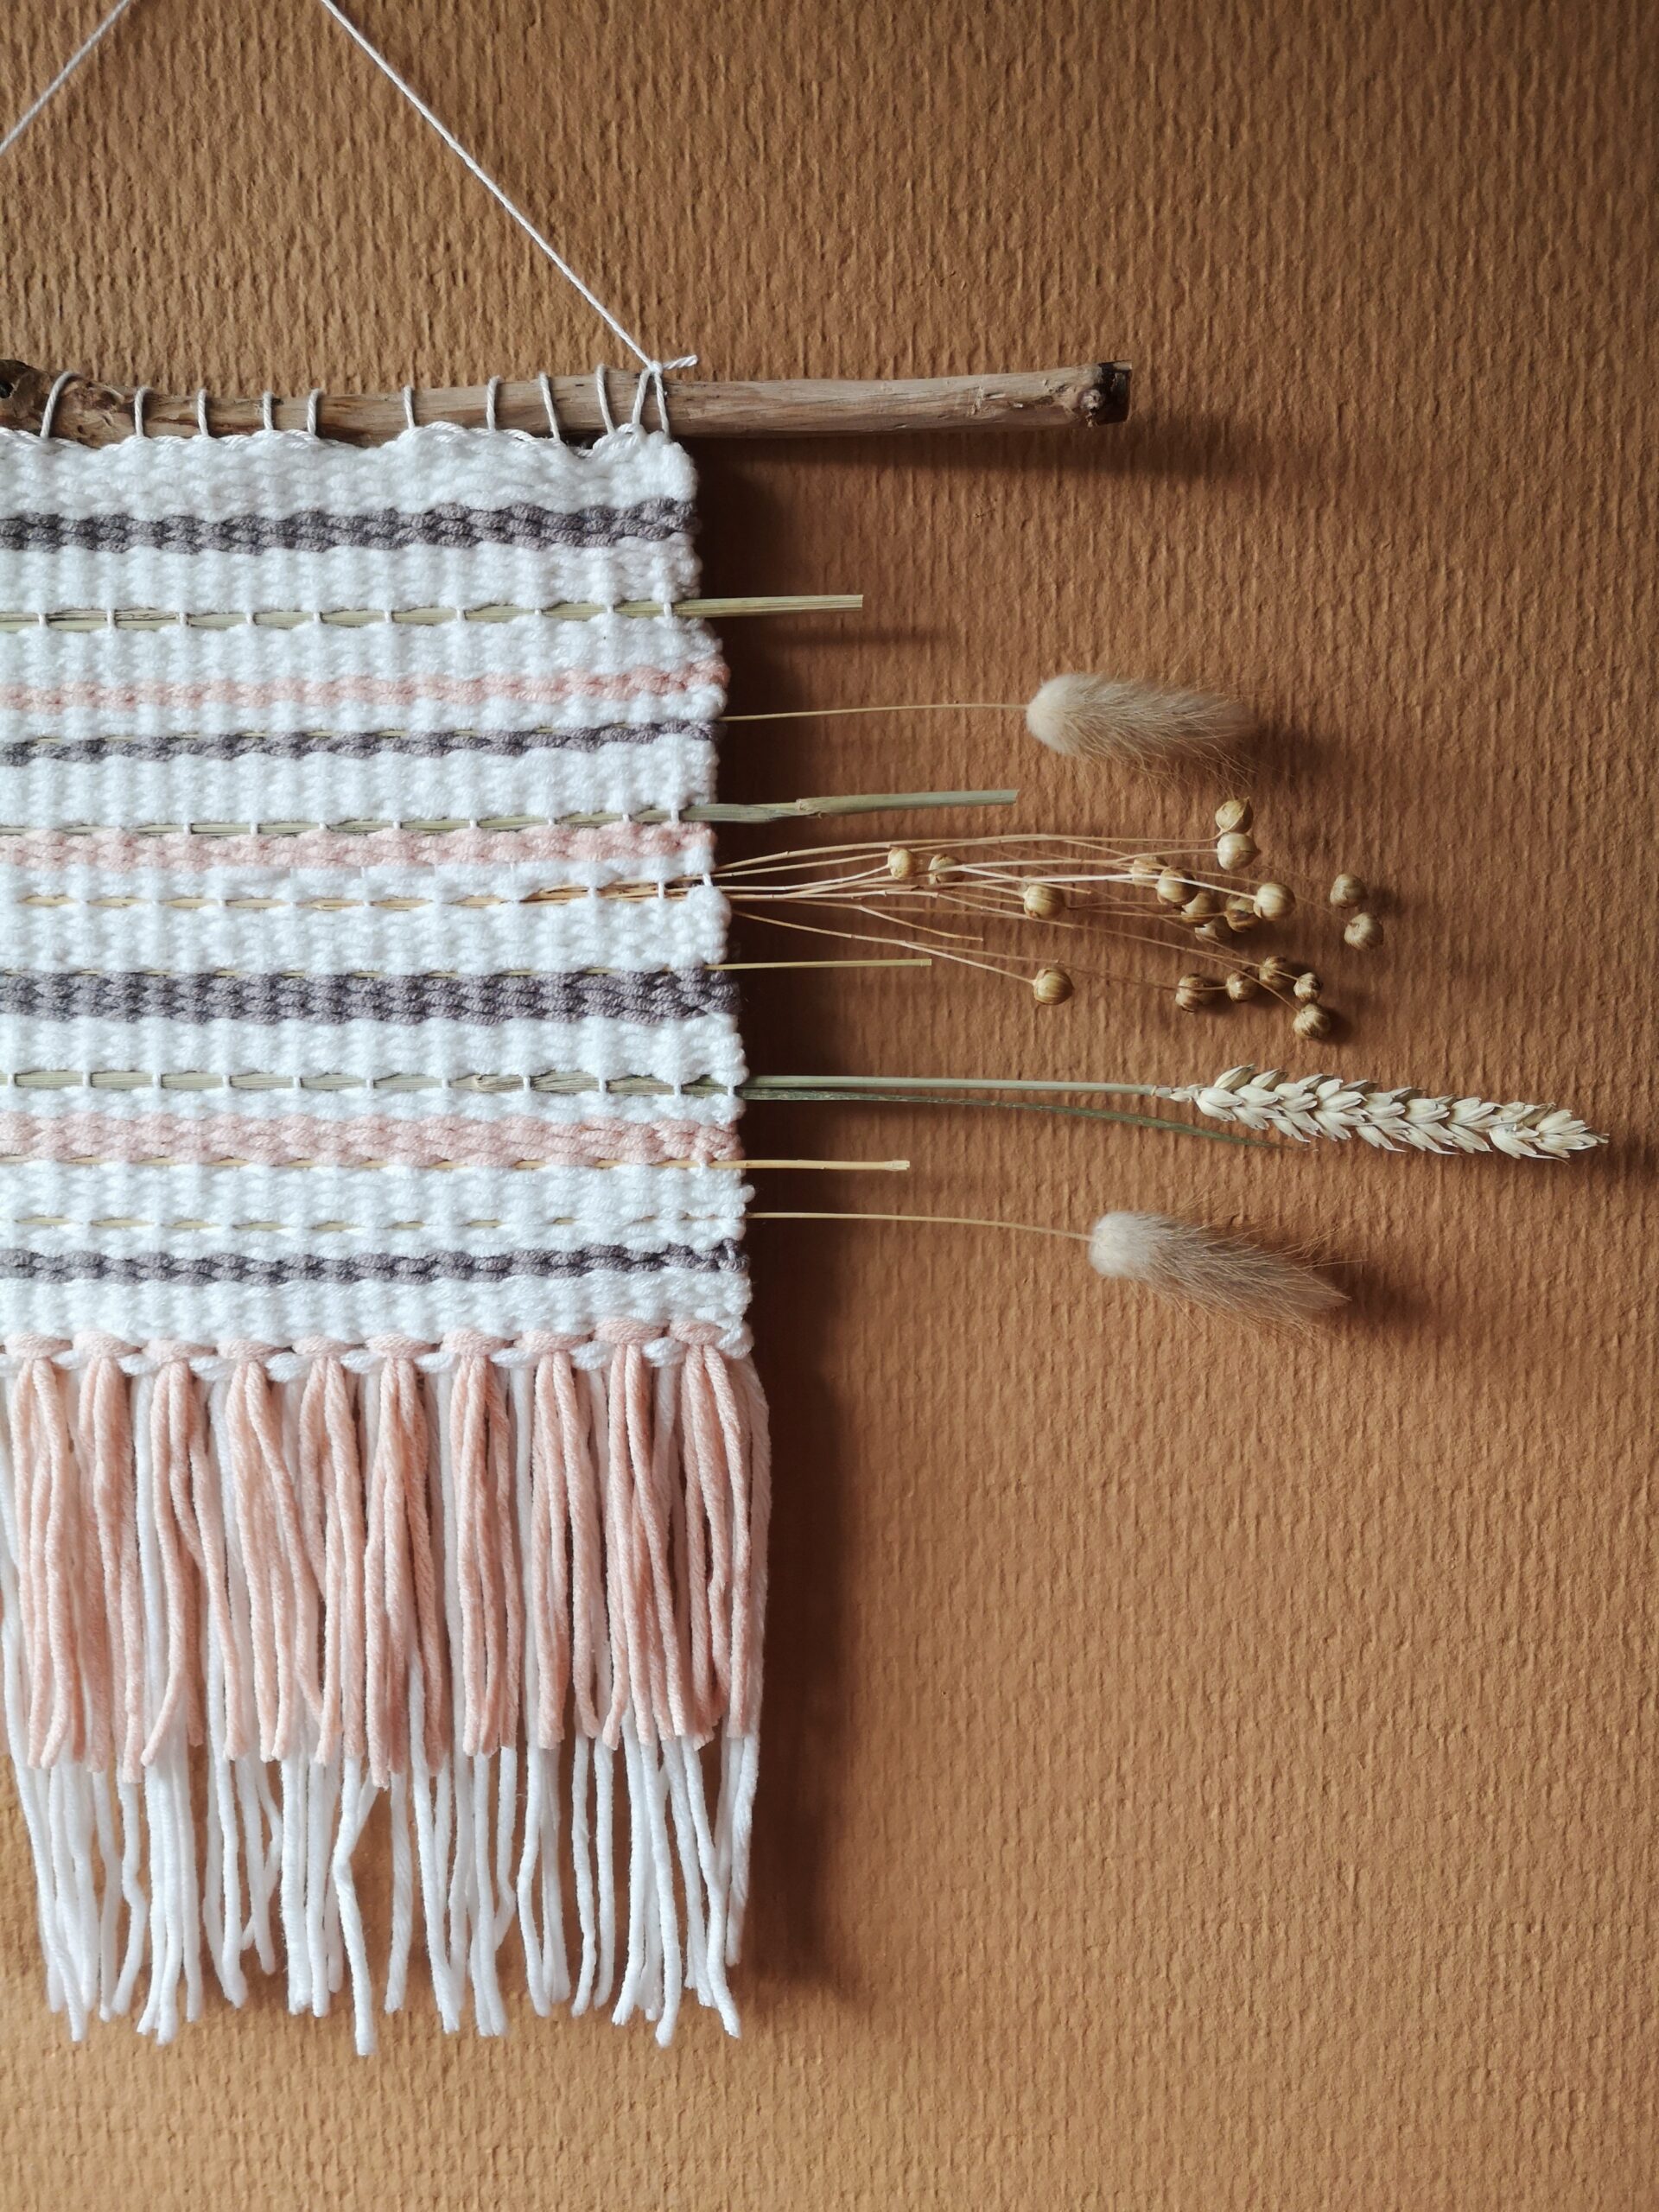
Change colors after a few rows. And weave a dried flower in between. Sometimes I let the flower stick out to the left and other times to the right. Let the stems playfully peek out; do not cut them too short. Leave all threads hanging; you will tidy them up at the end. Make sure not to pull your thread too tightly, or your edges won’t be nice and straight. After each row, comb the threads neatly straight down.

Step 5

Once you’re satisfied with the length of your weaving, it’s time for finishing. End just as you began, with a few rows of twine thread. Comb your work neatly tight downwards (make sure it’s all the way at the bottom of the weaving frame).

Now for the most exciting part: remove your weaving from the weaving frame. Do this by undoing the thread that you wrapped and knotted around your weaving frame as the last step of tensioning. Carefully take it off the weaving frame. If necessary, slide the weaving threads slightly downwards to ensure it’s nice and tight. (Or if there are long warp threads left at the bottom, you can also choose to cut them and tie a double knot for every 2 threads) To secure your work, cut the warp threads at the top and tie a double knot for every 2 threads.

Step 6

Neatly tuck away all your threads at the back of your weaving using a large-eyed needle. Use the warp threads at the top of your work to attach the weaving to the branch. Tie them securely to the branch with a double knot. Make sure the knots are at the back of your work.

Tie a thread to the branch on both sides of your work, and your weaving is ready for a beautiful spot.

Info About the blogger

admin

Newsletter

Stay up to date with the latest products and projects by subscribing to our newsletter.