Renata de Rover
Hoi,
Mijn naam is Renata de Rover. Mijn passie voor de naaimachine is voor mij al jong begonnen. Wanneer ik bij mijn oma kwam, die zelf coupeuse was, zette ze me al snel achter de naaimachine. Al jong ging ik op naailes in ons dorp en al snel was het duidelijk voor me….achter de naaimachine….dat deed ik het allerliefst!
Ook vond ik het leuk om iedereen te motiveren en te inspireren om ook achter de naaimachine te kruipen en het gevoel dat naaien een beetje ouderwets is….weg te nemen. Dus naast mijn werk heb ik 9 jaar lang les gegeven, bij mij thuis.
Nu werk ik alweer een aantal jaren met plezier op het atelier bij een groot modehuis, waar ik kleding vermaak en waar ik bij de klanten persoonlijk, de kleding op maat afspeld. En na mijn werk….heb ik altijd zo’n zin om thuis weer achter mijn naaimachine te kruipen….! Gekscherend zeg ik altijd: Een dag niet genaaid , is een dag niet geleefd! ;)
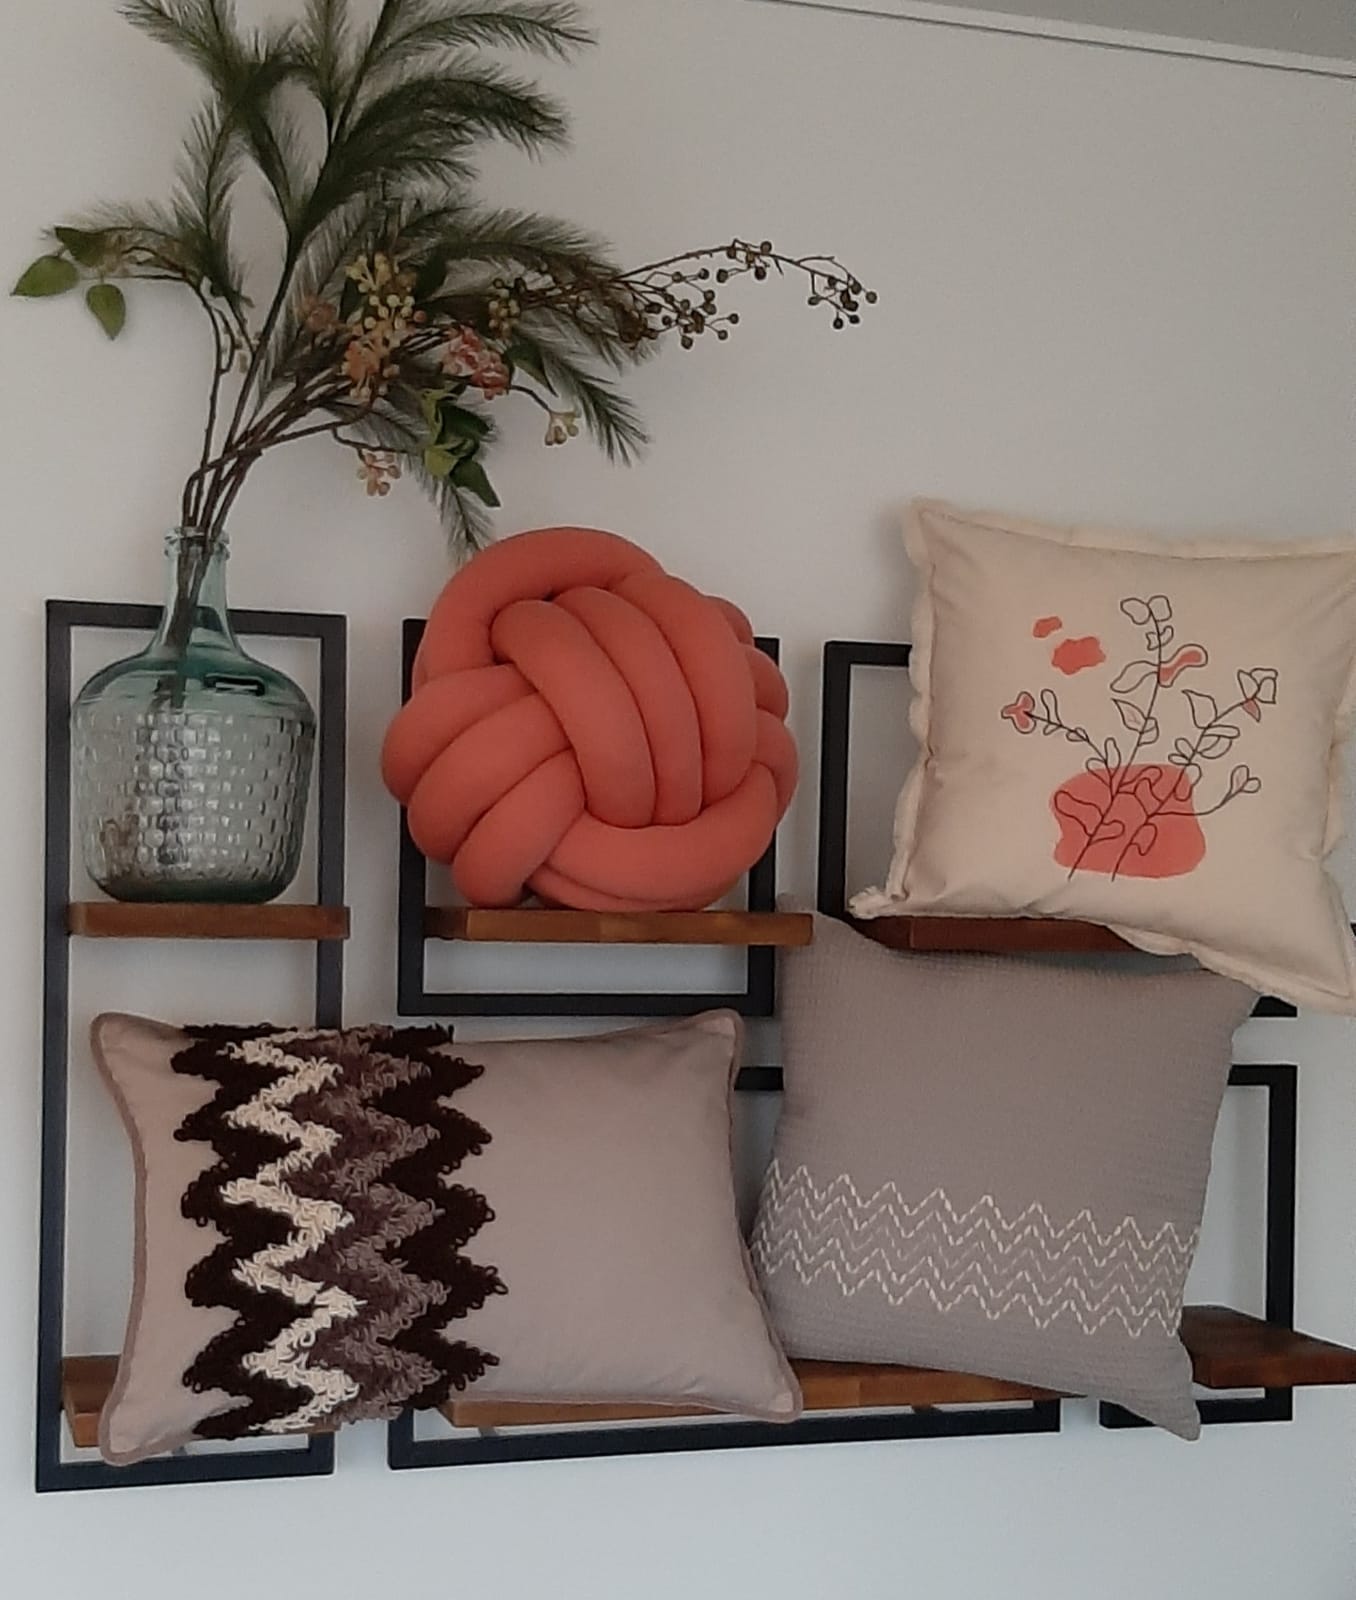
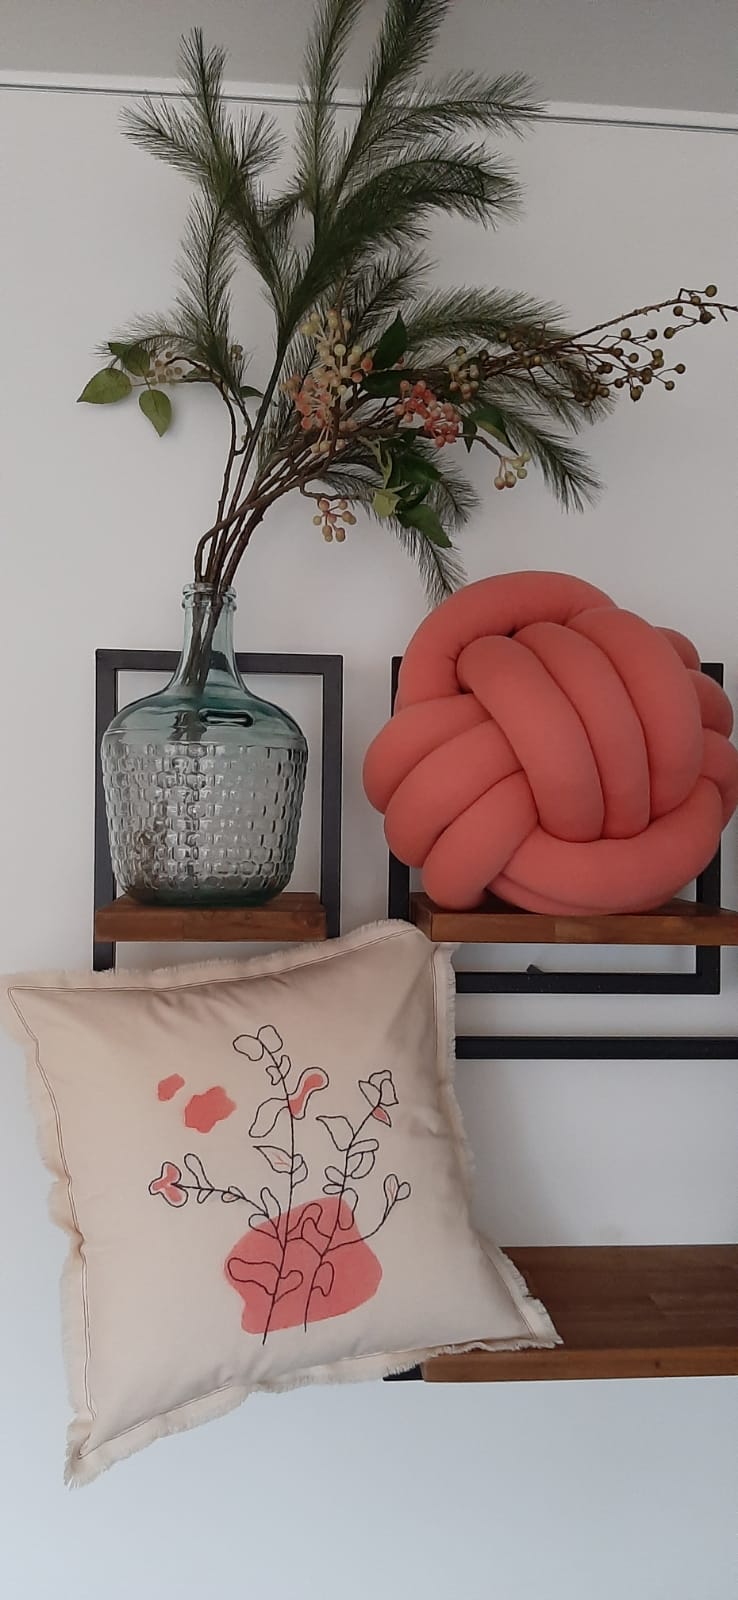
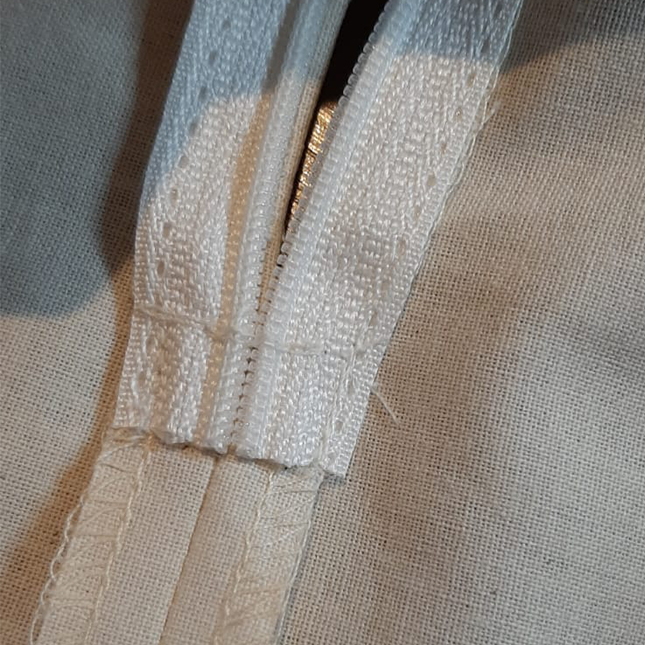
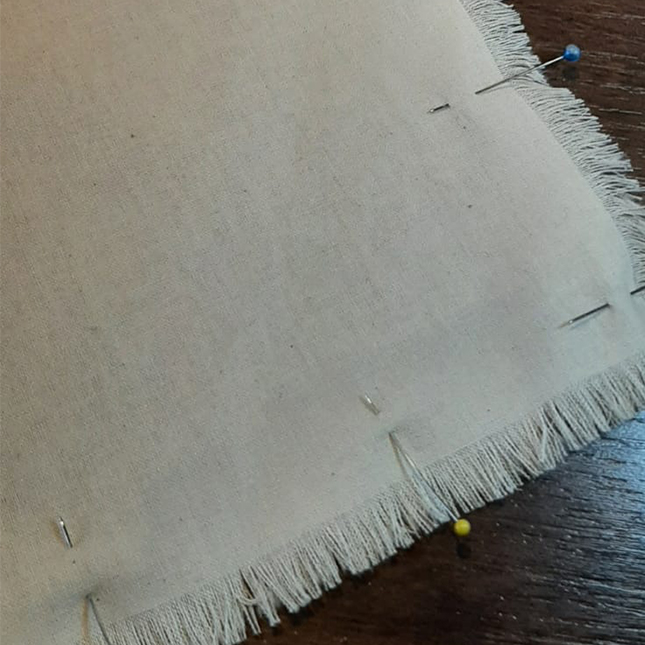
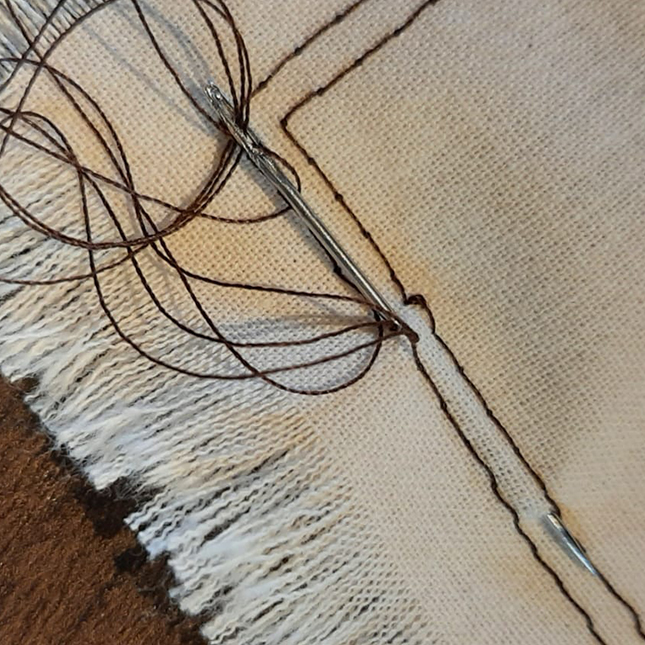
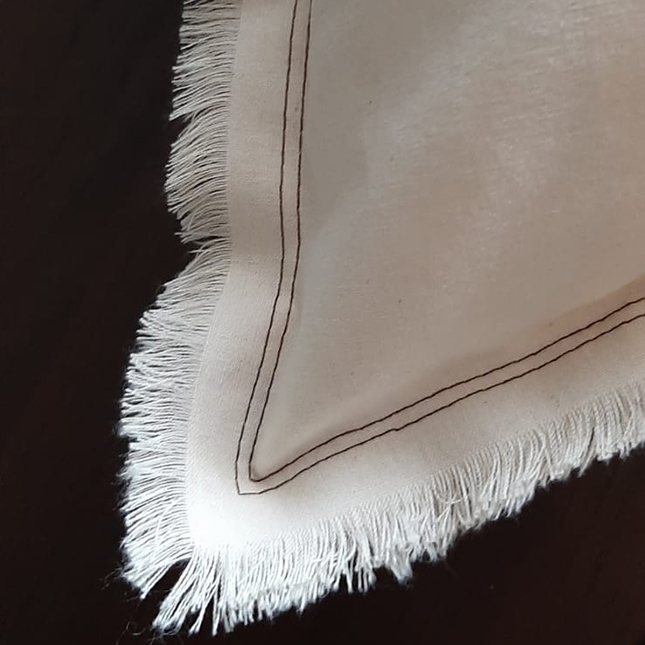
Toen ik gevraagd werd voor ReStyle voelde ik me vereerd en was meteen enthousiast, natuurlijk ook spannend….want ik wil graag dat iedereen het leuk vindt…! En wat een gave projecten heb ik al mogen maken….het interieurconcept, het babyconcept en laatst ook het kussenconcept! Valt jullie op dat ik dol ben op pipingband? Love it…..het is zo leuk om mee te werken en echt niet zo heel moeilijk. Maar geldt voor alles…….gewoon proberen!
Ook ik vind het leuk om via deze weg jullie te inspireren met wat je allemaal kan op creatief gebied. Ik zeg…blijf ReStyle Studio volgen met alles wat we met elkaar maken….en maak tijd voor jezelf vrij!
Want geloof mij….je zal tijd te kort hebben…
Vinden jullie het leuk om mijn passie te volgen op Insta en Facebook?
Neem gerust een kijkje:
Instagram: renatasfashionsewing
Facebook: Renatas Fashion
Een lieve groet van mij,
Renata de Rover
