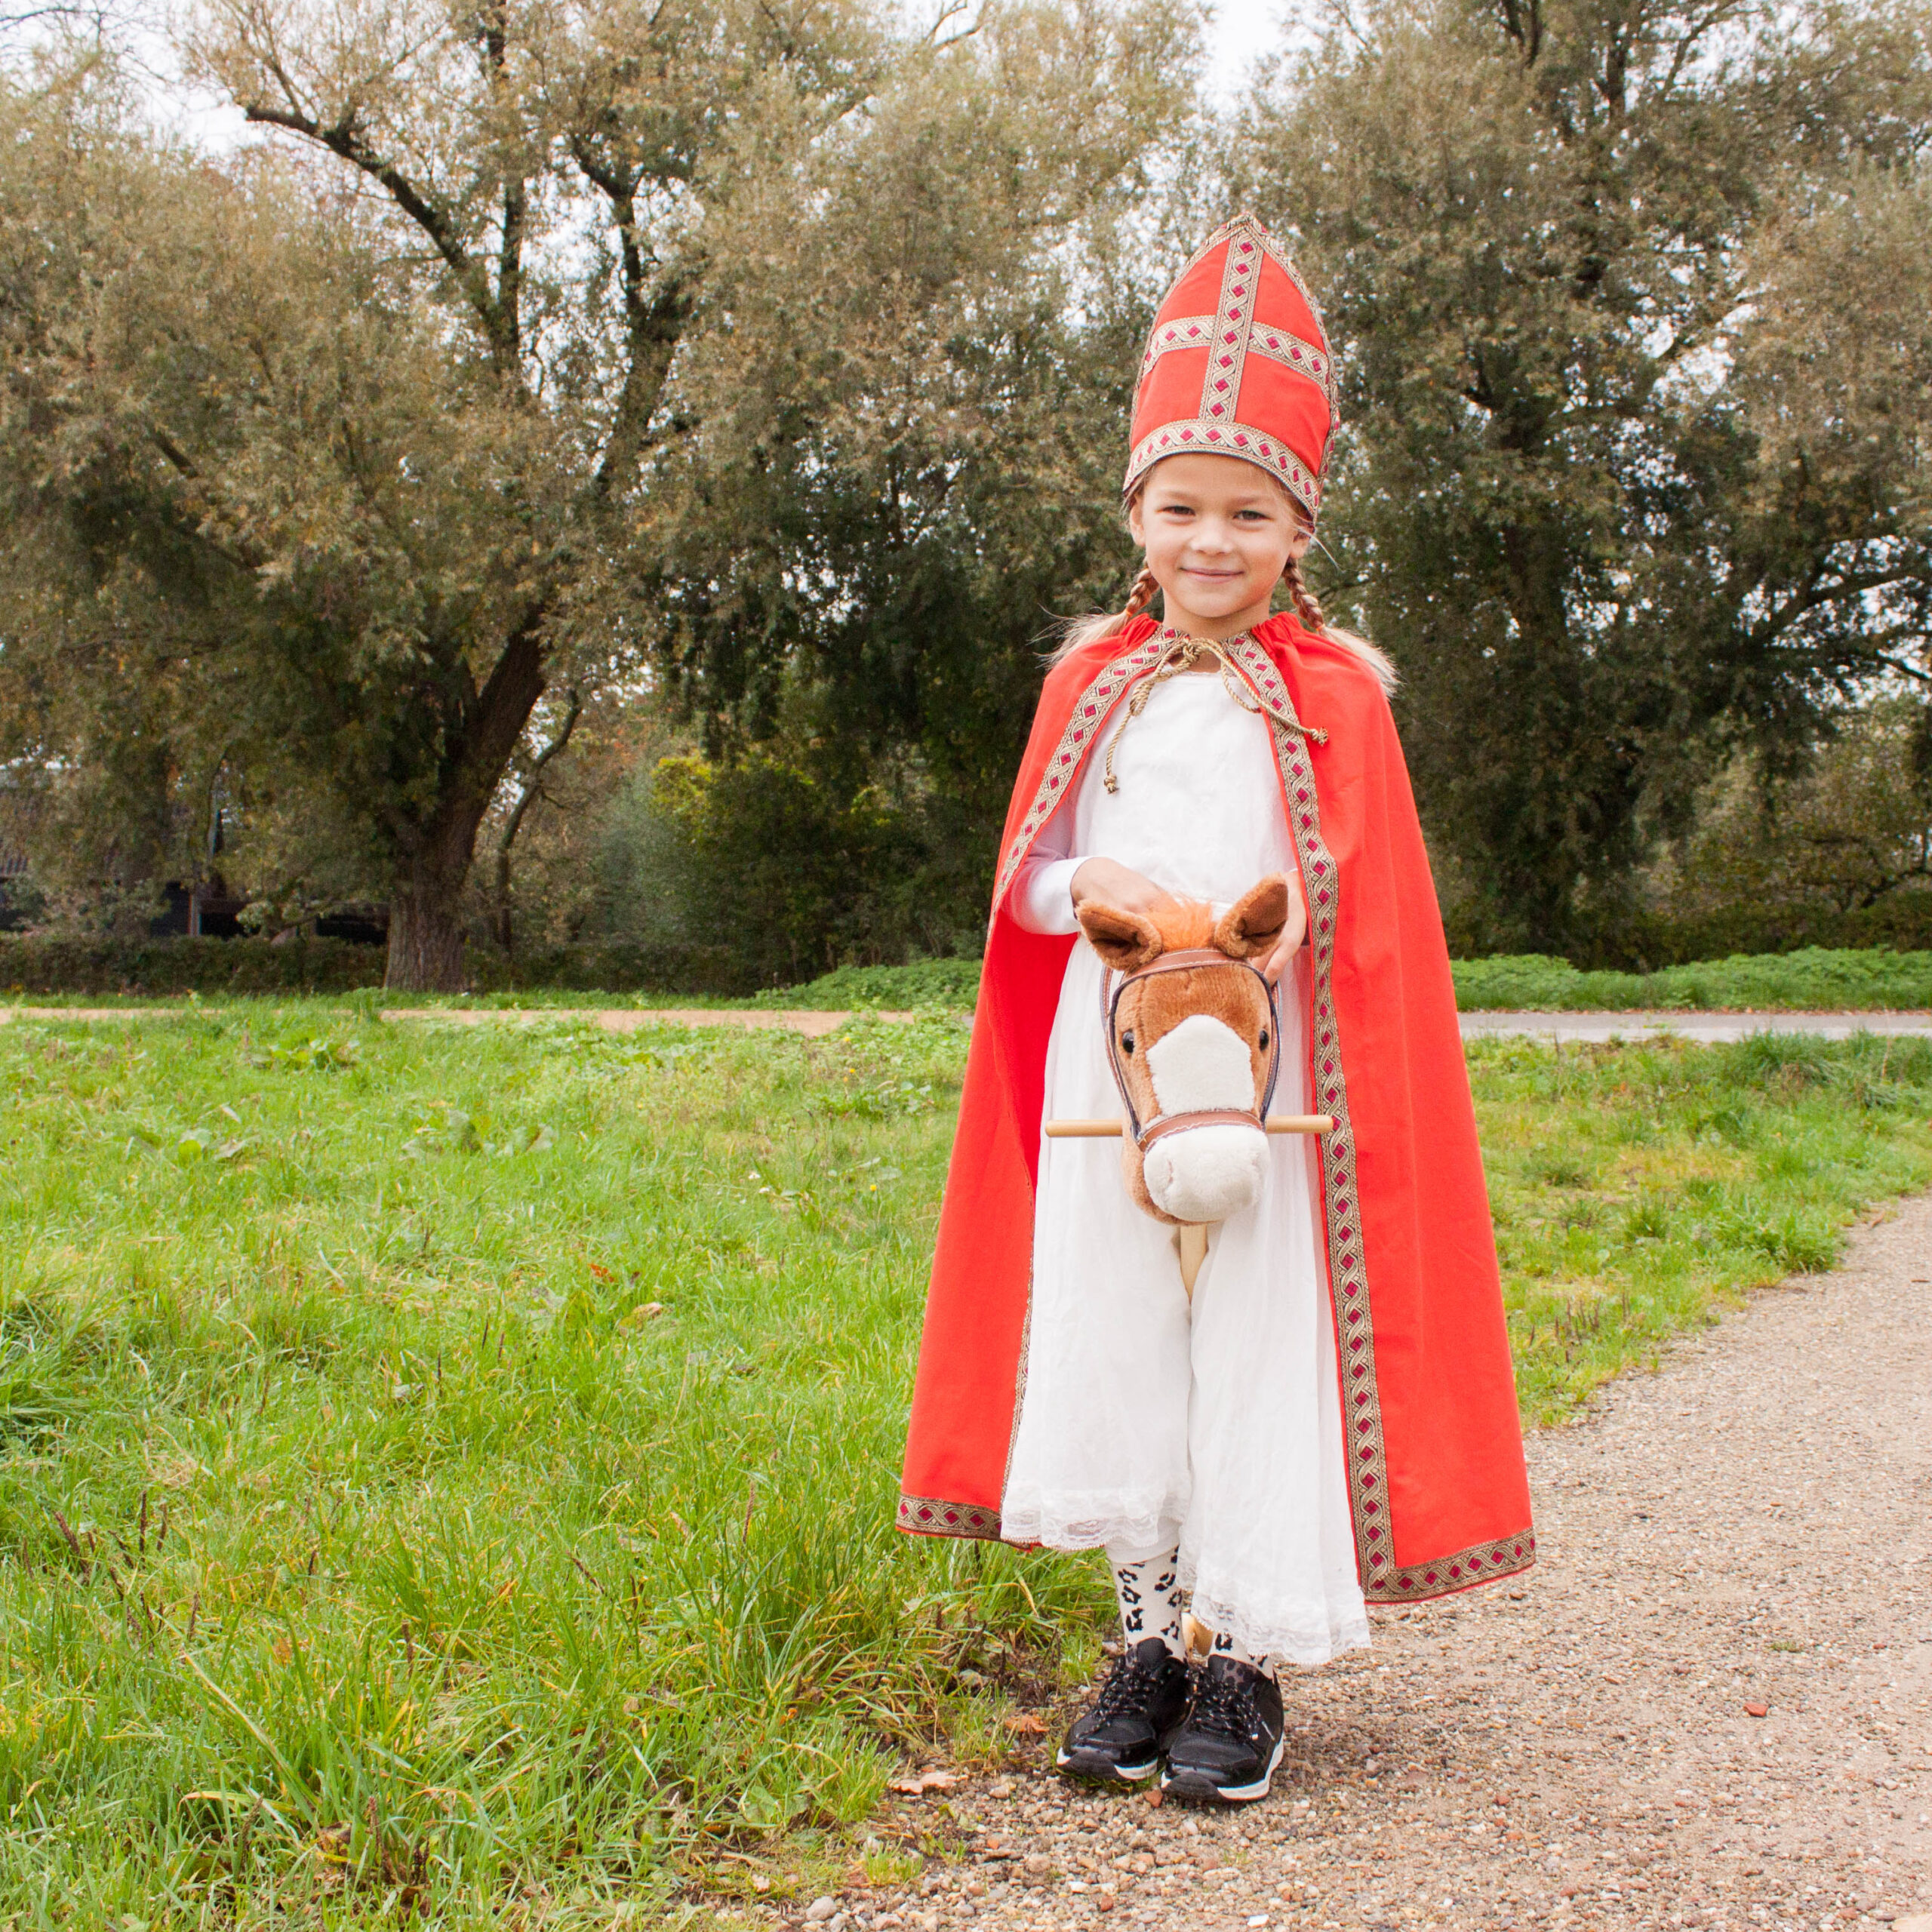
Sewing a Santa outfit

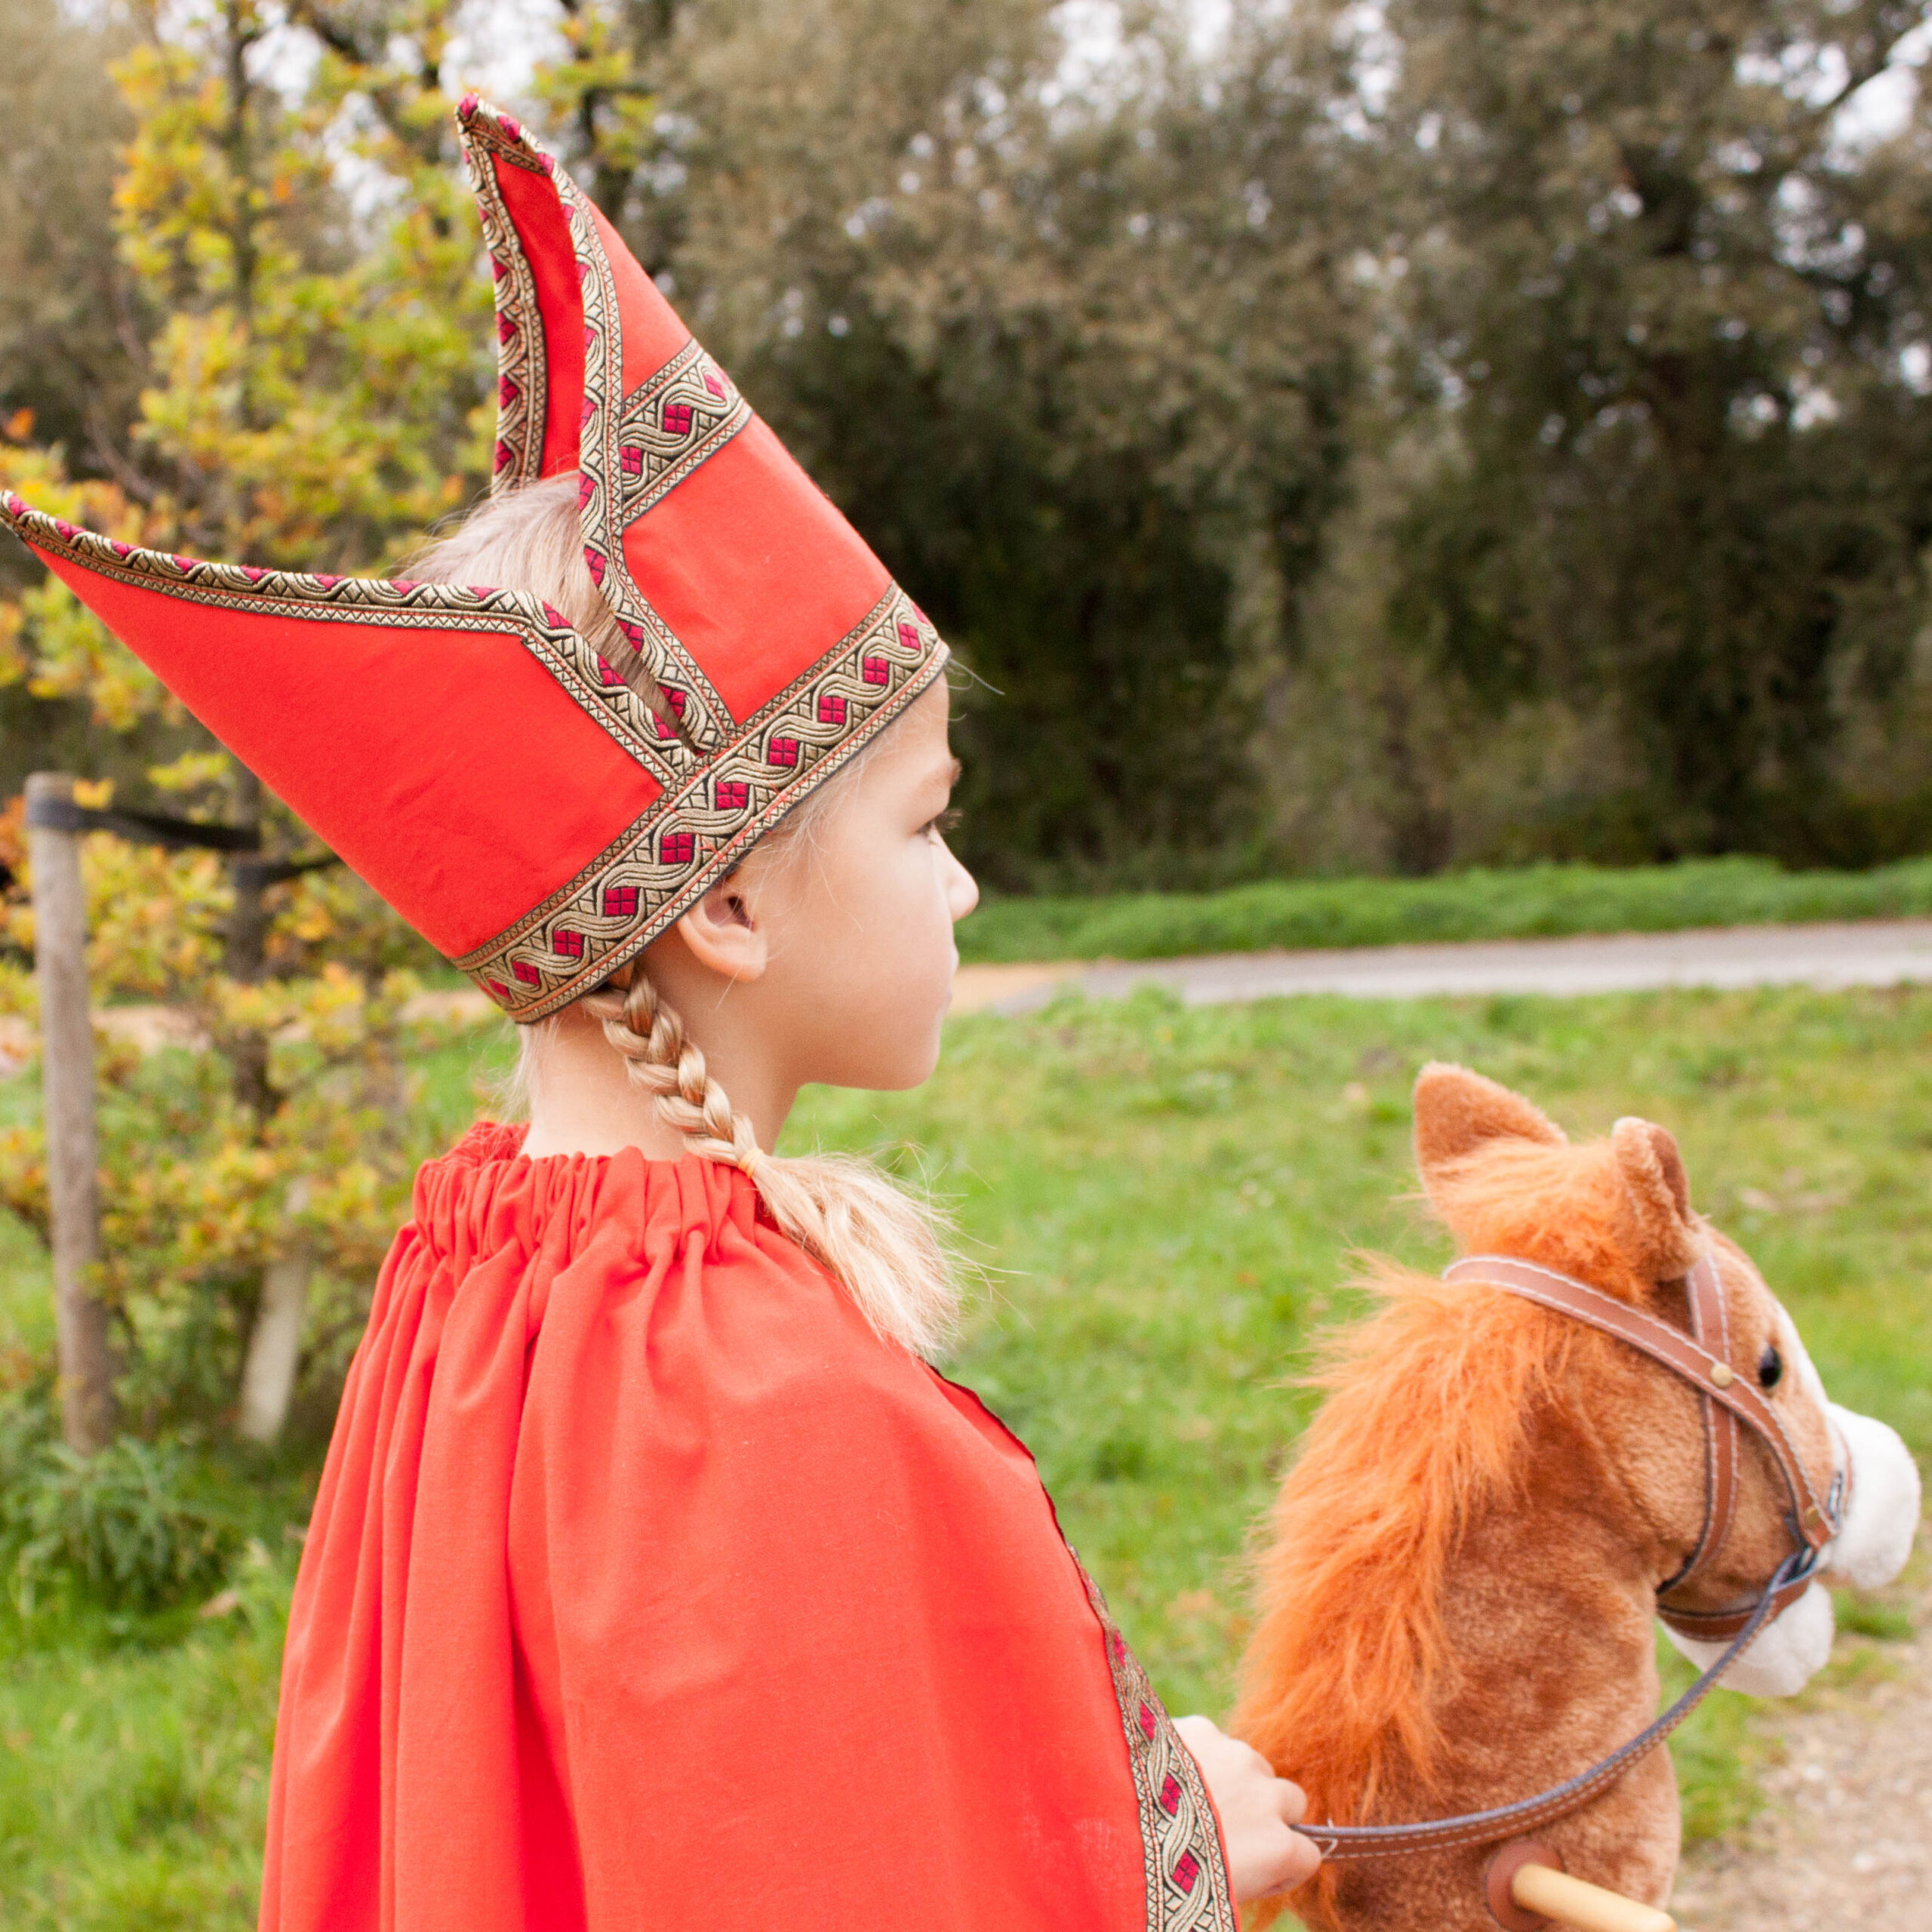
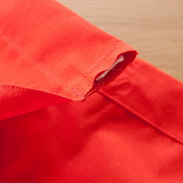
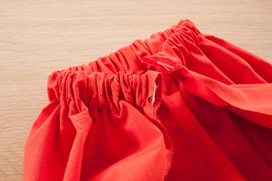
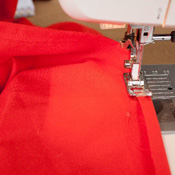
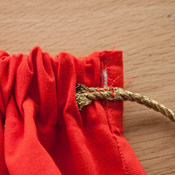
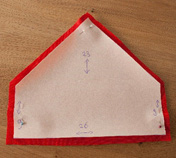
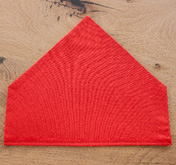
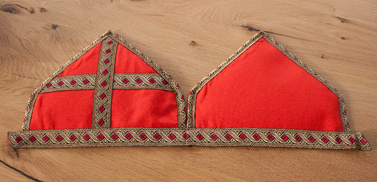
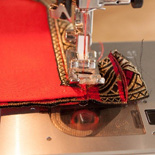
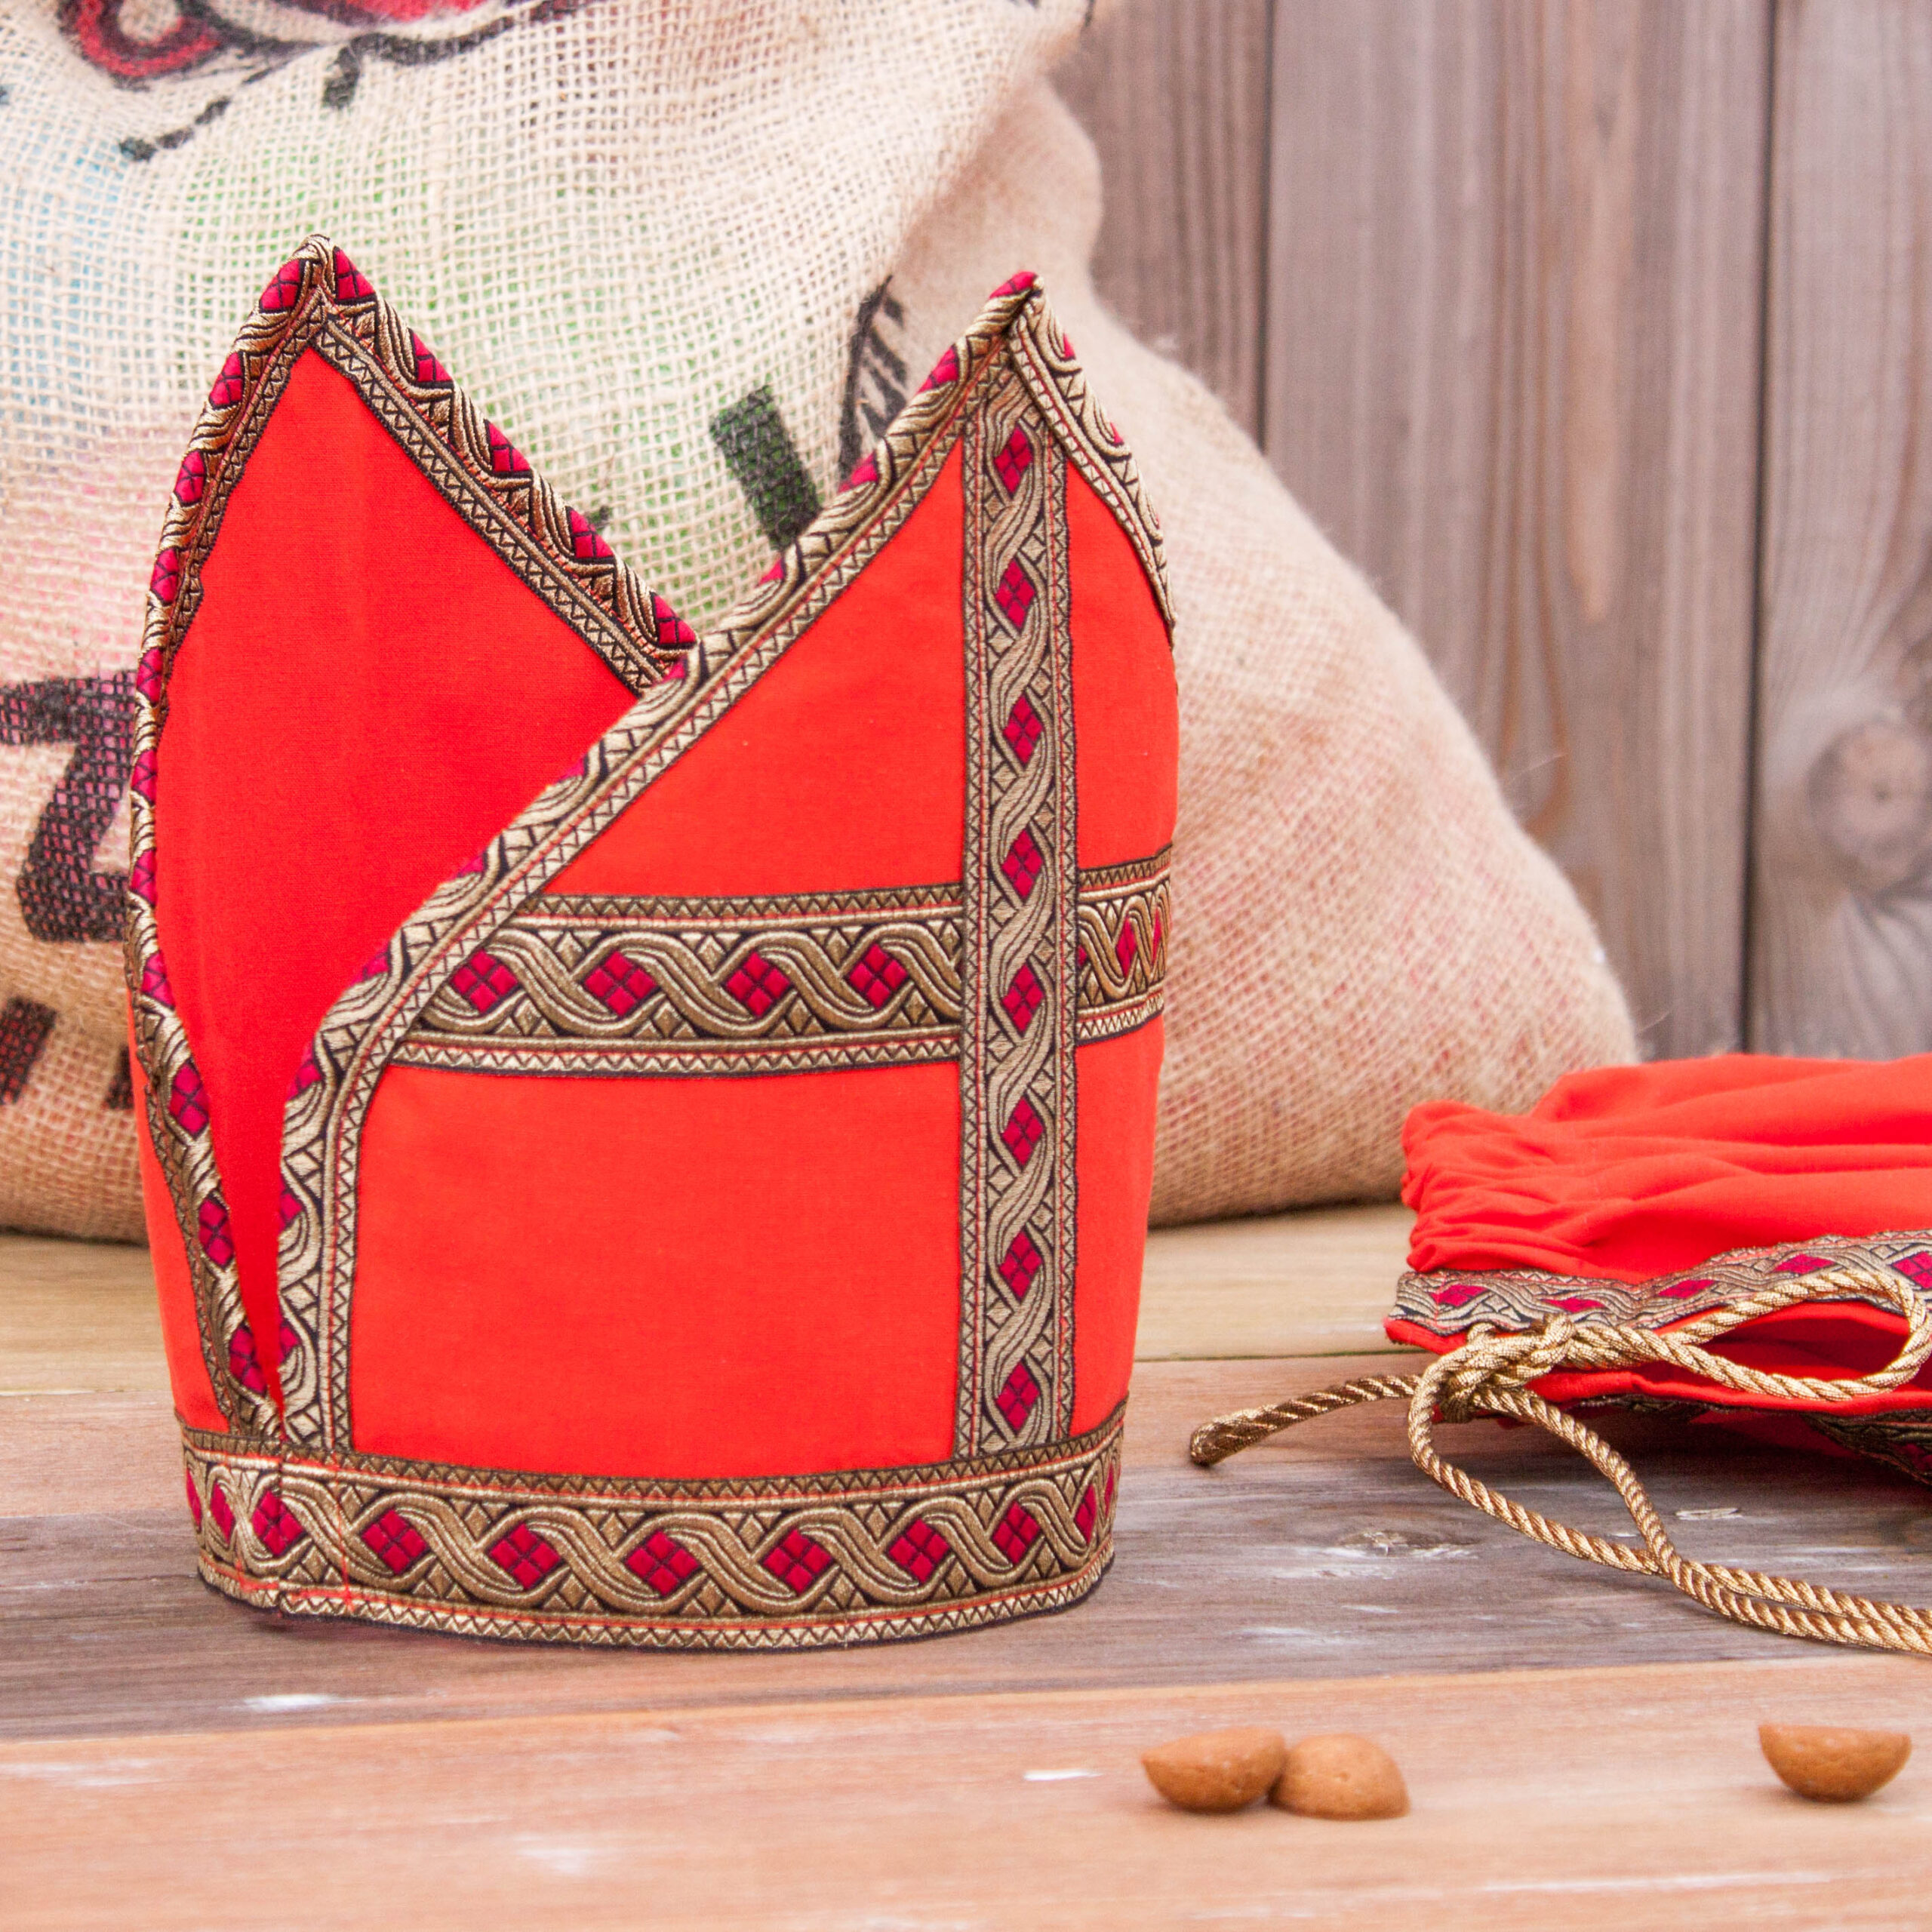
Just a few more weeks and then he will be back in the country, that good Sinterklaas. Because he is immediately very busy, helpers are of course very useful. This Saint Nicholas outfit is made of a beautiful red cotton fabric. The decorative band with gold thread completes the look. Both the miter and the

Supplies

  • 35 cm elastic, approximately 2cm wide
  • Red ReStyle cotton fabric, 1.40 x 1 meter long, article 069.9050, color 722 (can be shorter/longer for other sizes as desired)
  • Sinterklaas decorative ribbon: 017.1081.30, 30mm wide, 520 cm long
  • Gold-colored cord: 100 cm, article 019.6117, color 050
  • Red Gütermann thread, 002.748277, color 156
  • Vlieseline: 2 pieces, 23 cm x 26 cm (depends on head circumference), 025.240131 decovil 1-light-decoration fleece

Other supplies

  • Sewing machine
  • Scissors
  • Pins
  • Measuring tape
  • Pencil
  • Safety pin

Dimensions

Dimensions of the cloak: 91 cm long by 110 cm wide (narrower at the top due to pleating)

Dimensions of the mitre: head circumference 51 cm x 23 cm high

The cloak and mitre can easily be adjusted to be smaller or larger. However, please note that for a larger size, more fabric and decorative ribbon will be needed.

Work description

Step 1

Measure the length for the cloak from the child’s neck to the desired length. You’ll need this length of fabric plus an extra 9 cm for the hem at the top and bottom (in my case, 1 meter).

Measure the circumference of the head (over the forehead, above the ears, and around the back). Cut the fabric to 1.10 m x 1 meter (or shorter/longer for other sizes). The remaining fabric: 30 cm x 1 m is for the mitre.

Pin a tunnel at the top of the fabric as follows: fold 4 cm inward, and then fold another 4 cm inward and pin it.

Sew along the double-folded edge to close the tunnel.

Step 2

Attach the safety pin to one end of the elastic. Push the safety pin through the tunnel to the other side. Once it reaches the other end of the tunnel and the other end of the elastic is also just inside, sew this end to the red fabric, 1 cm from the edge. Sew back and forth a few times to secure the elastic firmly. Push the other end of the elastic with the safety pin to the other side of the tunnel and sew it there in the same way.

Step 3

Fold the red fabric 1 cm to the front on the sides and bottom, and stitch it in place (this won’t look neatly finished, but the decorative ribbon will cover this).

Step 4

Cut the gold-colored cord in half and stitch it firmly to the front, on each side of the tunnel. Tie a knot at both ends of the gold thread.

Pin the decorative ribbon around the sides and bottom, 3 mm from the edge. Stitch the decorative ribbon along both long sides (both the left and right sides of the ribbon).

Step 5

Mitre:

Divide the head circumference by 2 (in my case, it was 52 cm, so it becomes 26 cm). Mark 26 cm (or more/less) on the vlieseline with a pencil. Then mark a halfway point at 26 cm, at 13 cm, and draw a straight line upward from there, 23 cm high. Draw a line of 9 cm upward from both ends of the 26 cm line. From these 9 cm points, draw lines towards the midpoint, reaching the 23 cm line. Cut around these lines. This is the front of the mitre.

Step 6

Repeat this process by placing the front piece on the vlieseline, tracing around it, and cutting it out for the back of the mitre. Place the vlieseline front piece on the red fabric, pin it down, and cut the red fabric 1 cm away from the vlieseline all around. Repeat this 3 times. Place two of these red fabric pieces with right sides together. Stitch around them 1 cm from the edge, leaving the bottom open; this is the front. Repeat this with the other 2 fabric pieces for the back.

Step 7

Turn the fabric pieces inside out and place the vlieseline between them at the front. Iron the vlieseline in place. Repeat this with the other fabric pieces and the back vlieseline. Fold the bottom of the front piece 1 cm towards the front, pin it, and stitch it in place. Repeat with the back piece. Pin the decorative ribbon on the front as follows: from the 23 cm point straight down. Stitch the decorative ribbon along both long sides. Now pin the decorative ribbon from left to right at the point where the mitre starts to slope. Stitch the decorative ribbon along both long sides. Pin the decorative ribbon around the sides by folding it in half and letting one half run along the front and the other half along the back. Stitch in place. Proceed with the back of the mitre. Pin the decorative ribbon around the sides by folding it in half and letting one half run along the front and the other half along the back. Stitch in place.

Step 8

Pin the decorative ribbon along the bottom of the front as follows: let 4 cm of decorative ribbon protrude on one side, and pin the back immediately behind the front on the other side. Leave 4 cm of decorative ribbon protruding at the end of the back as well. Stitch the decorative ribbon along both long sides. Place the front and back together with right sides facing each other.

Step 9

Now stitch the short 4 cm side of the decorative ribbon close to the front edge. Fold the 4 cm in half and stitch it in place. This can optionally be used to make the mitre slightly larger as the head grows.

Now you’re ready to welcome Sinterklaas!

Info About the blogger

admin

Newsletter

Stay up to date with the latest products and projects by subscribing to our newsletter.