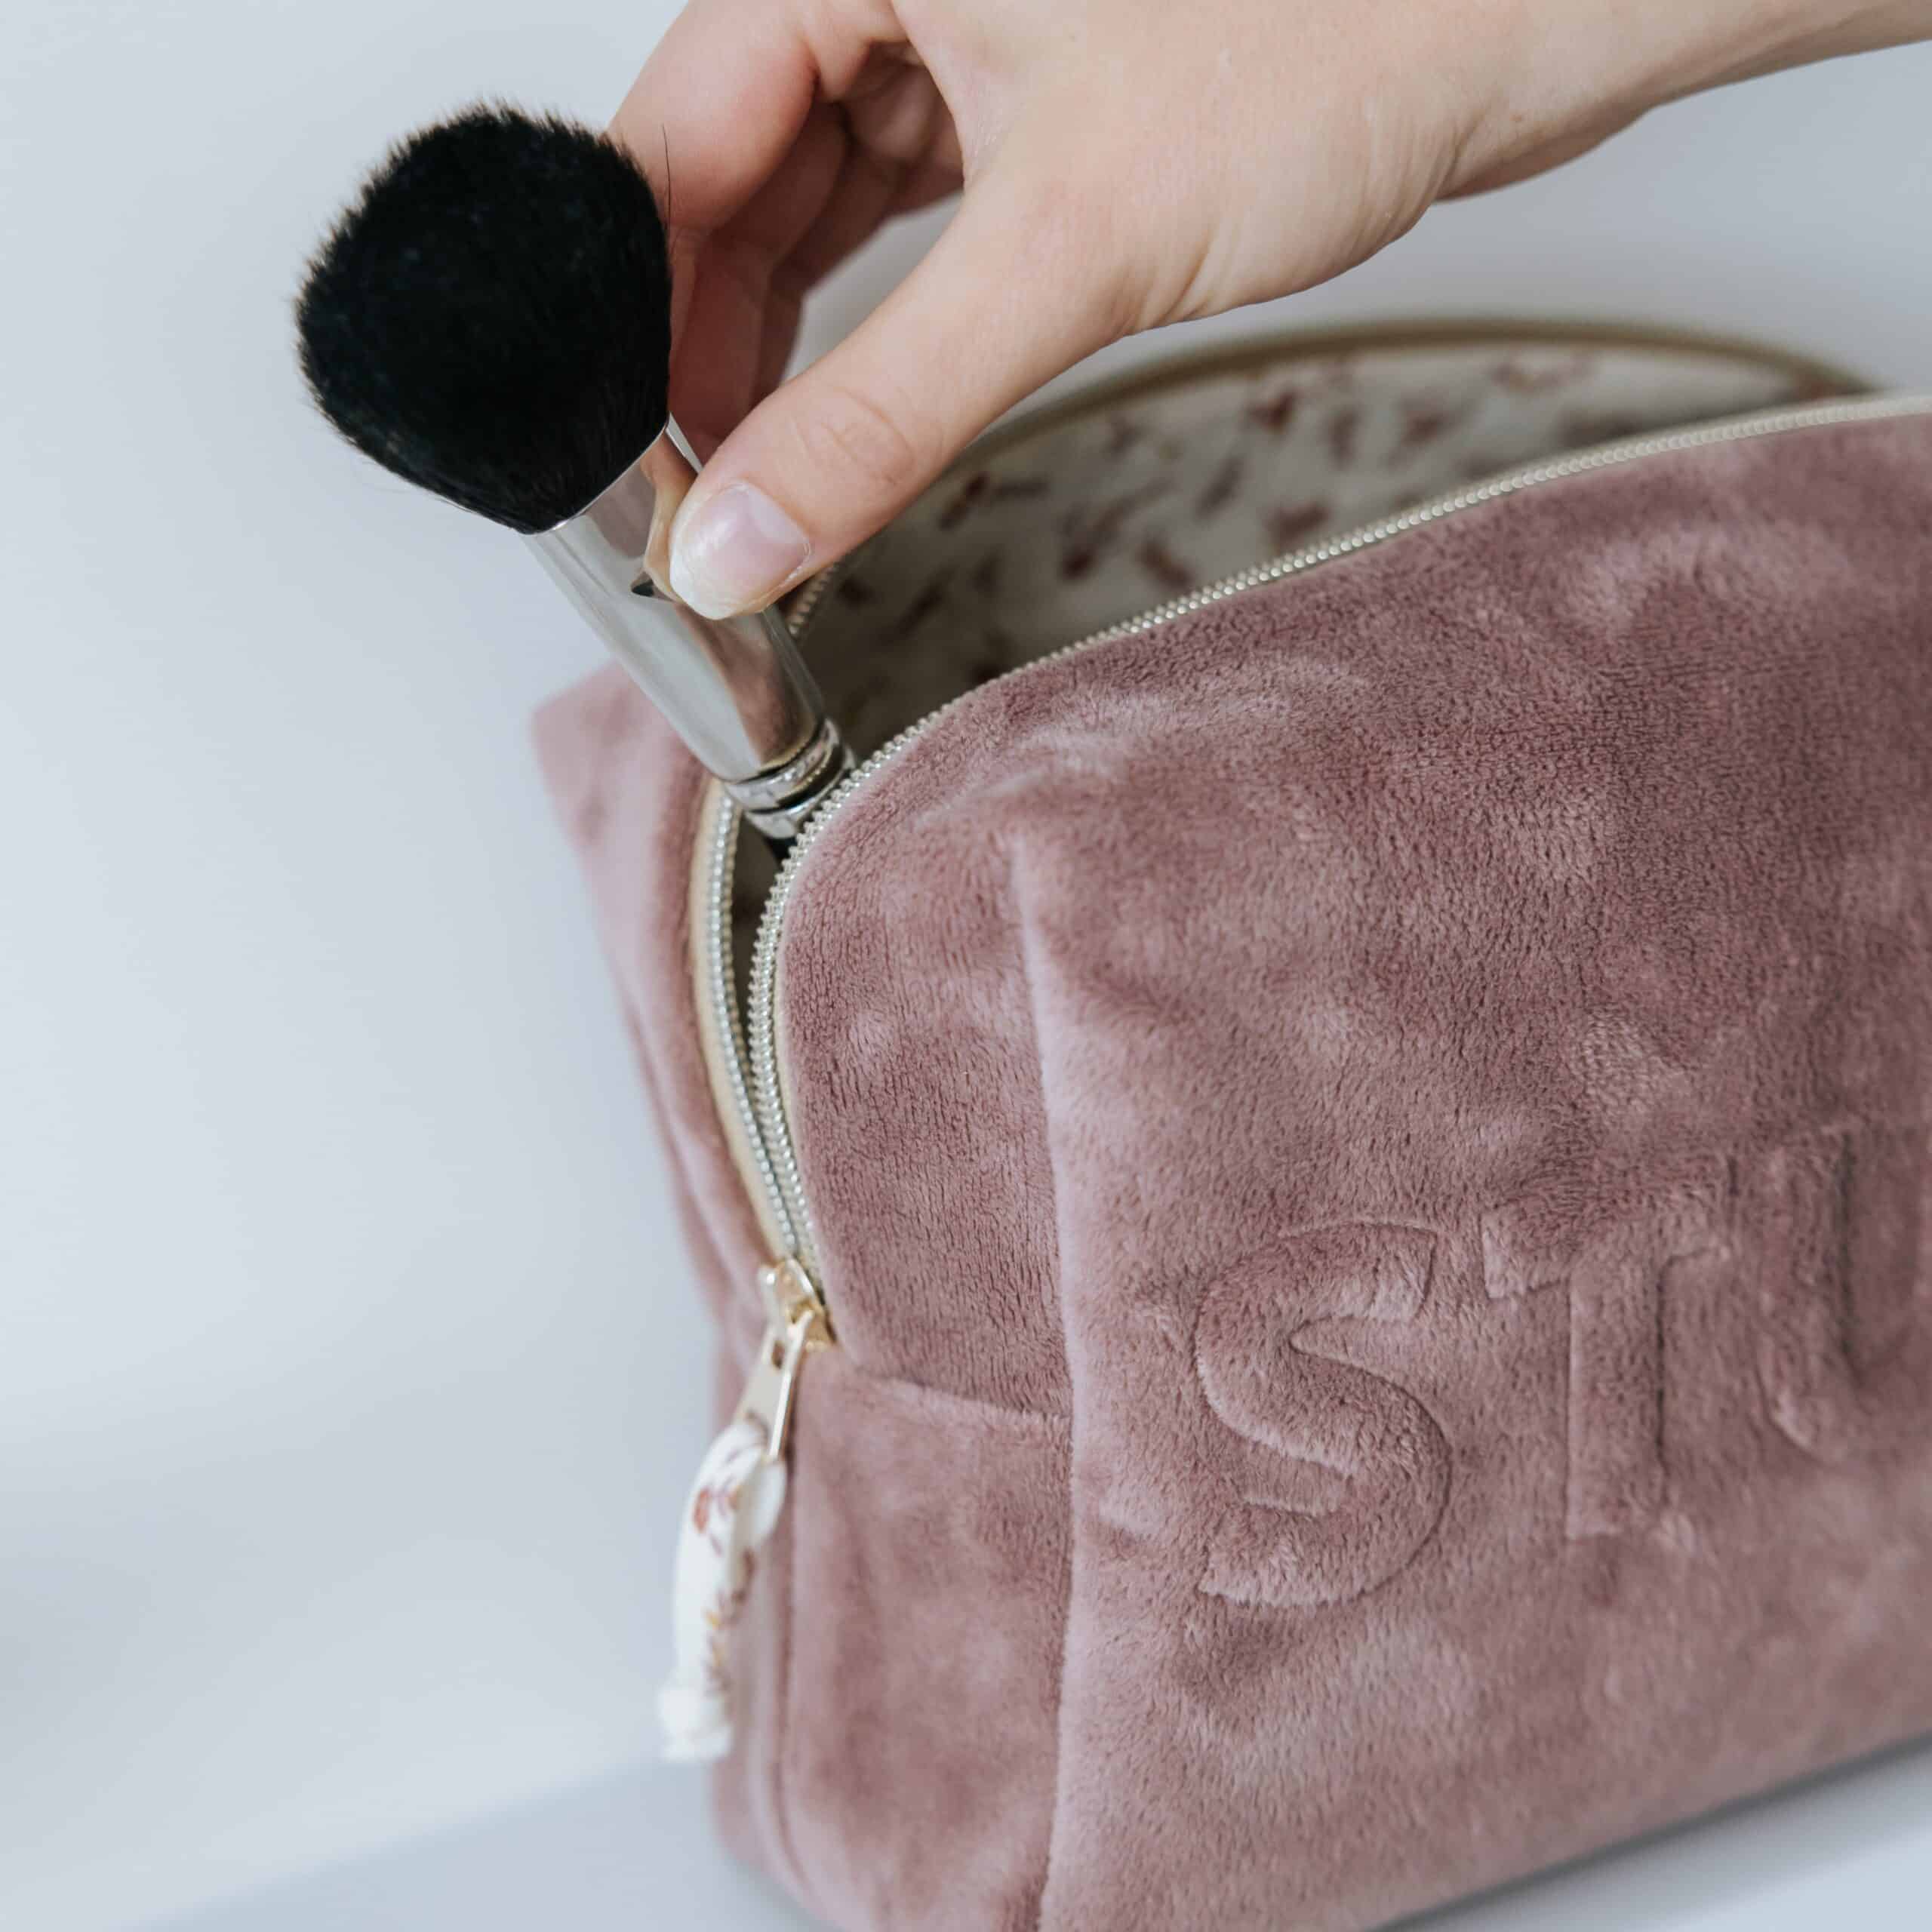
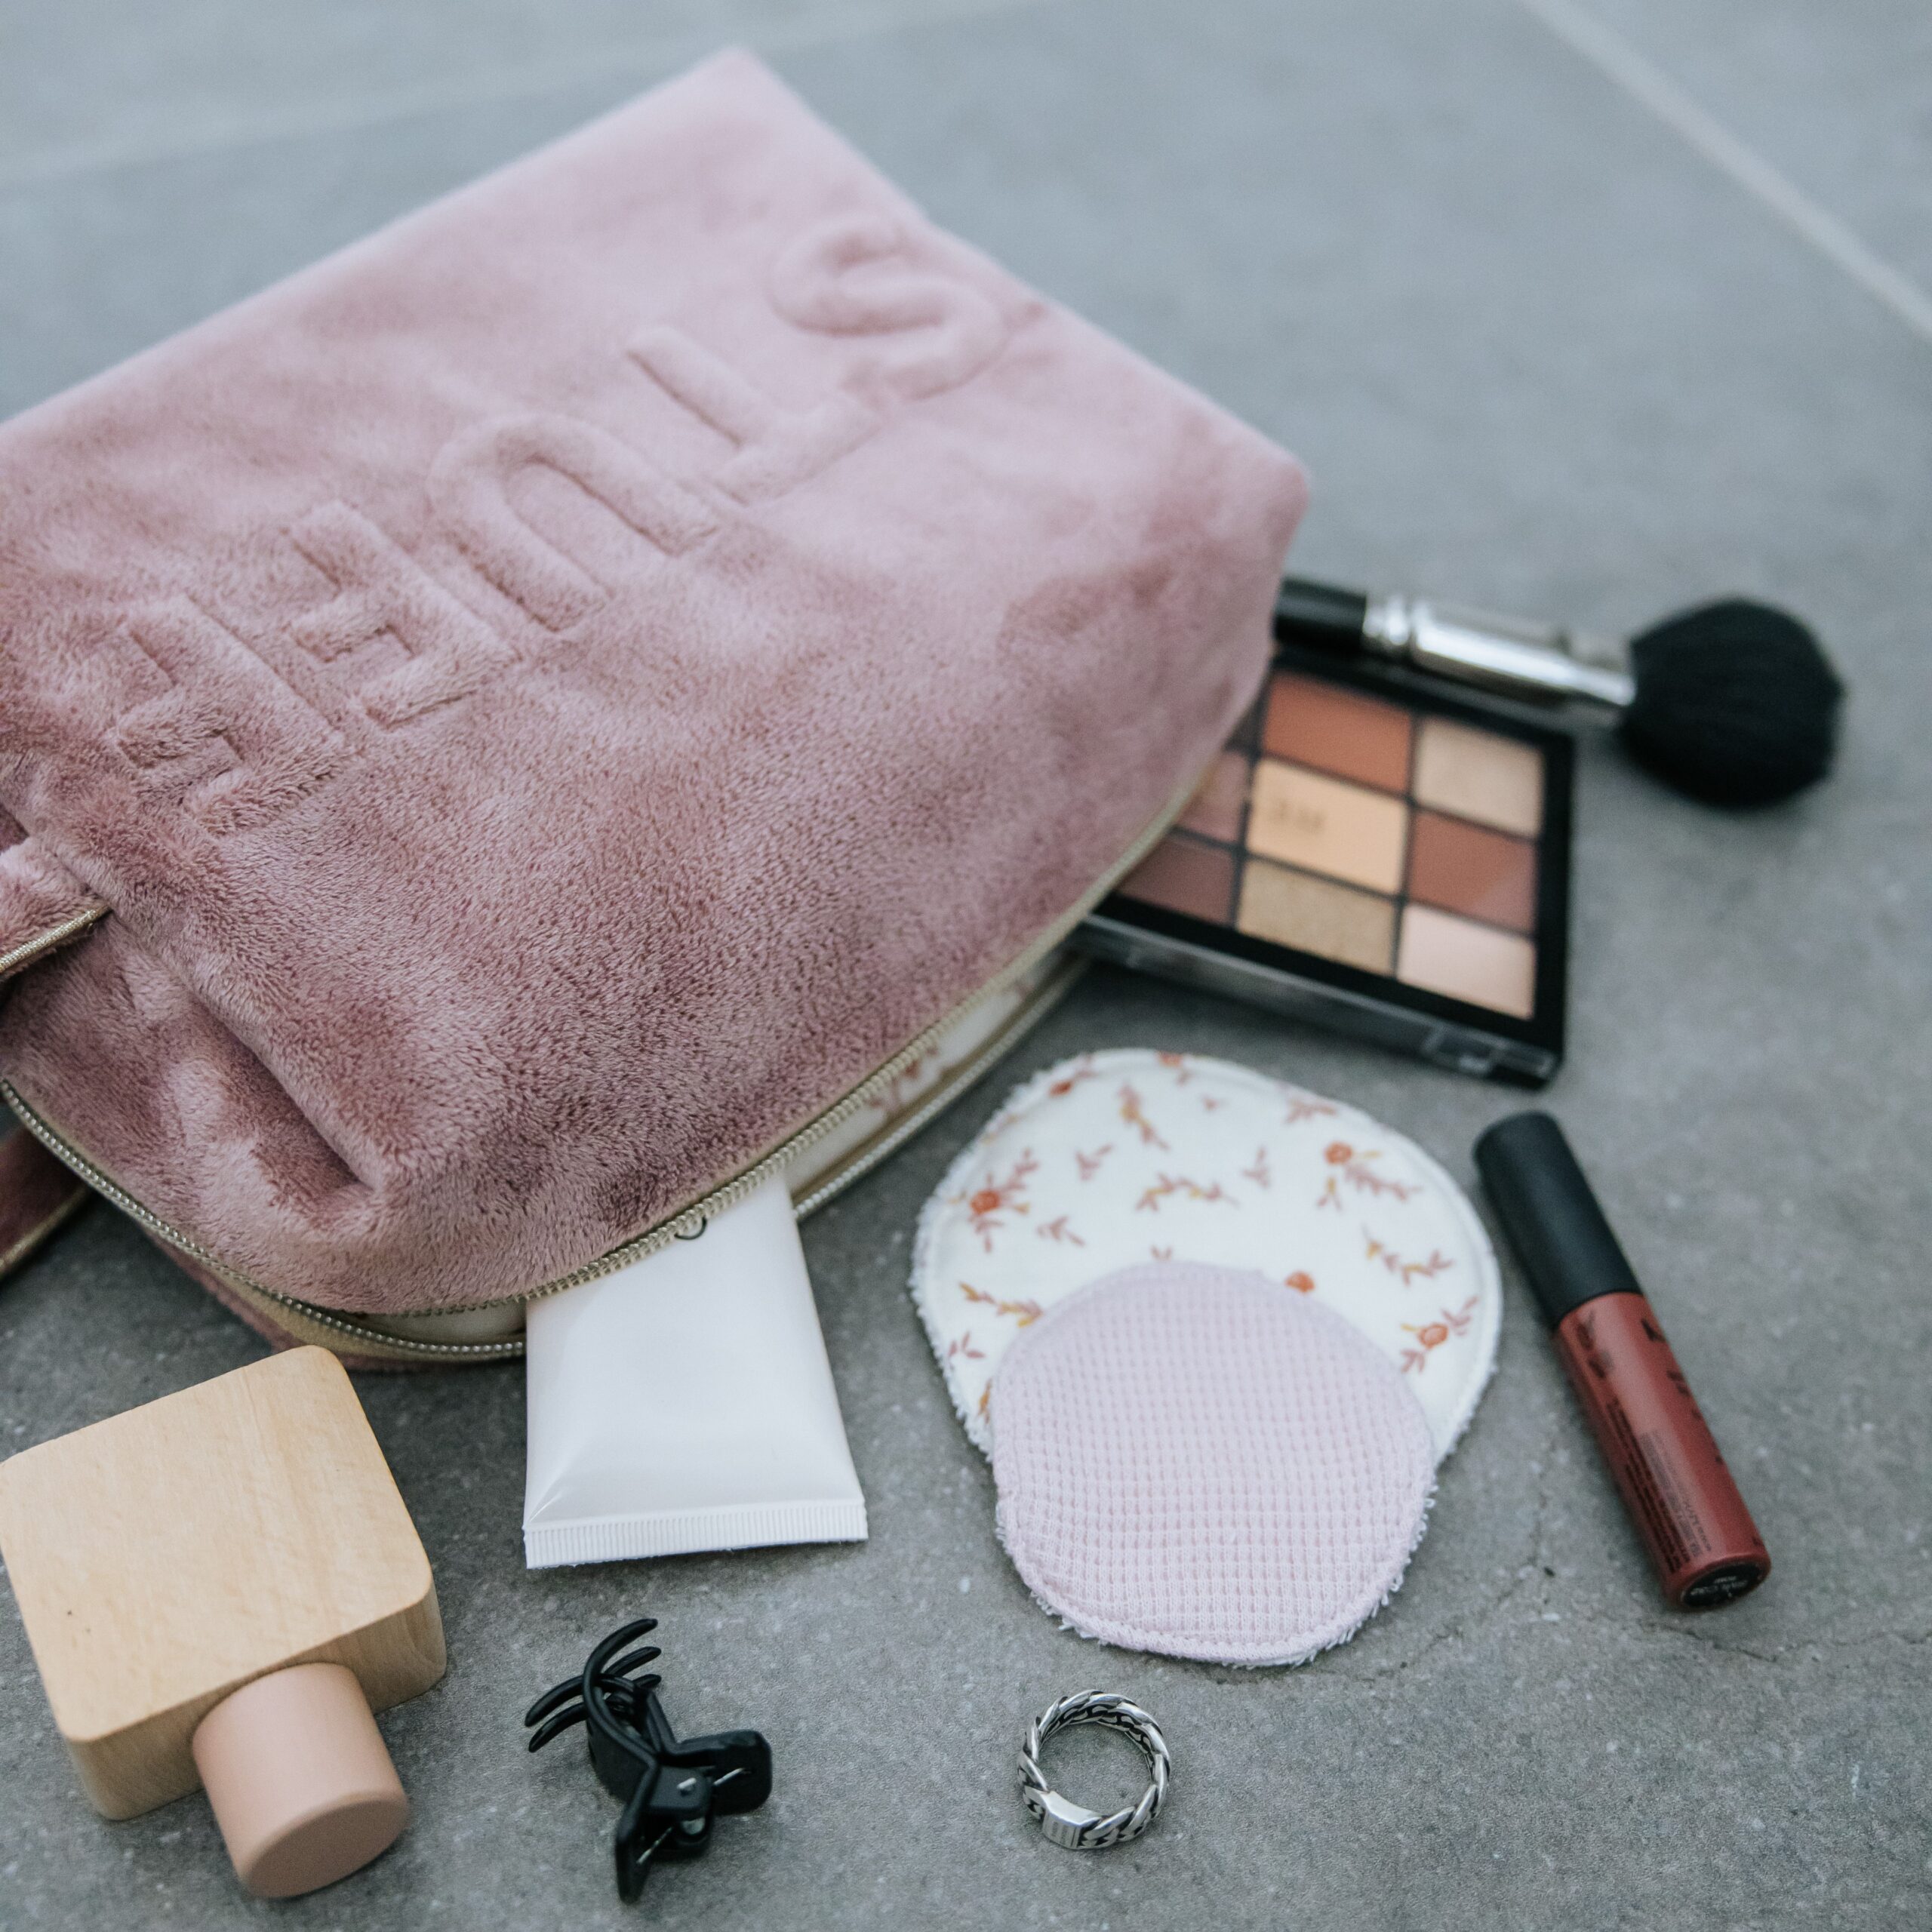
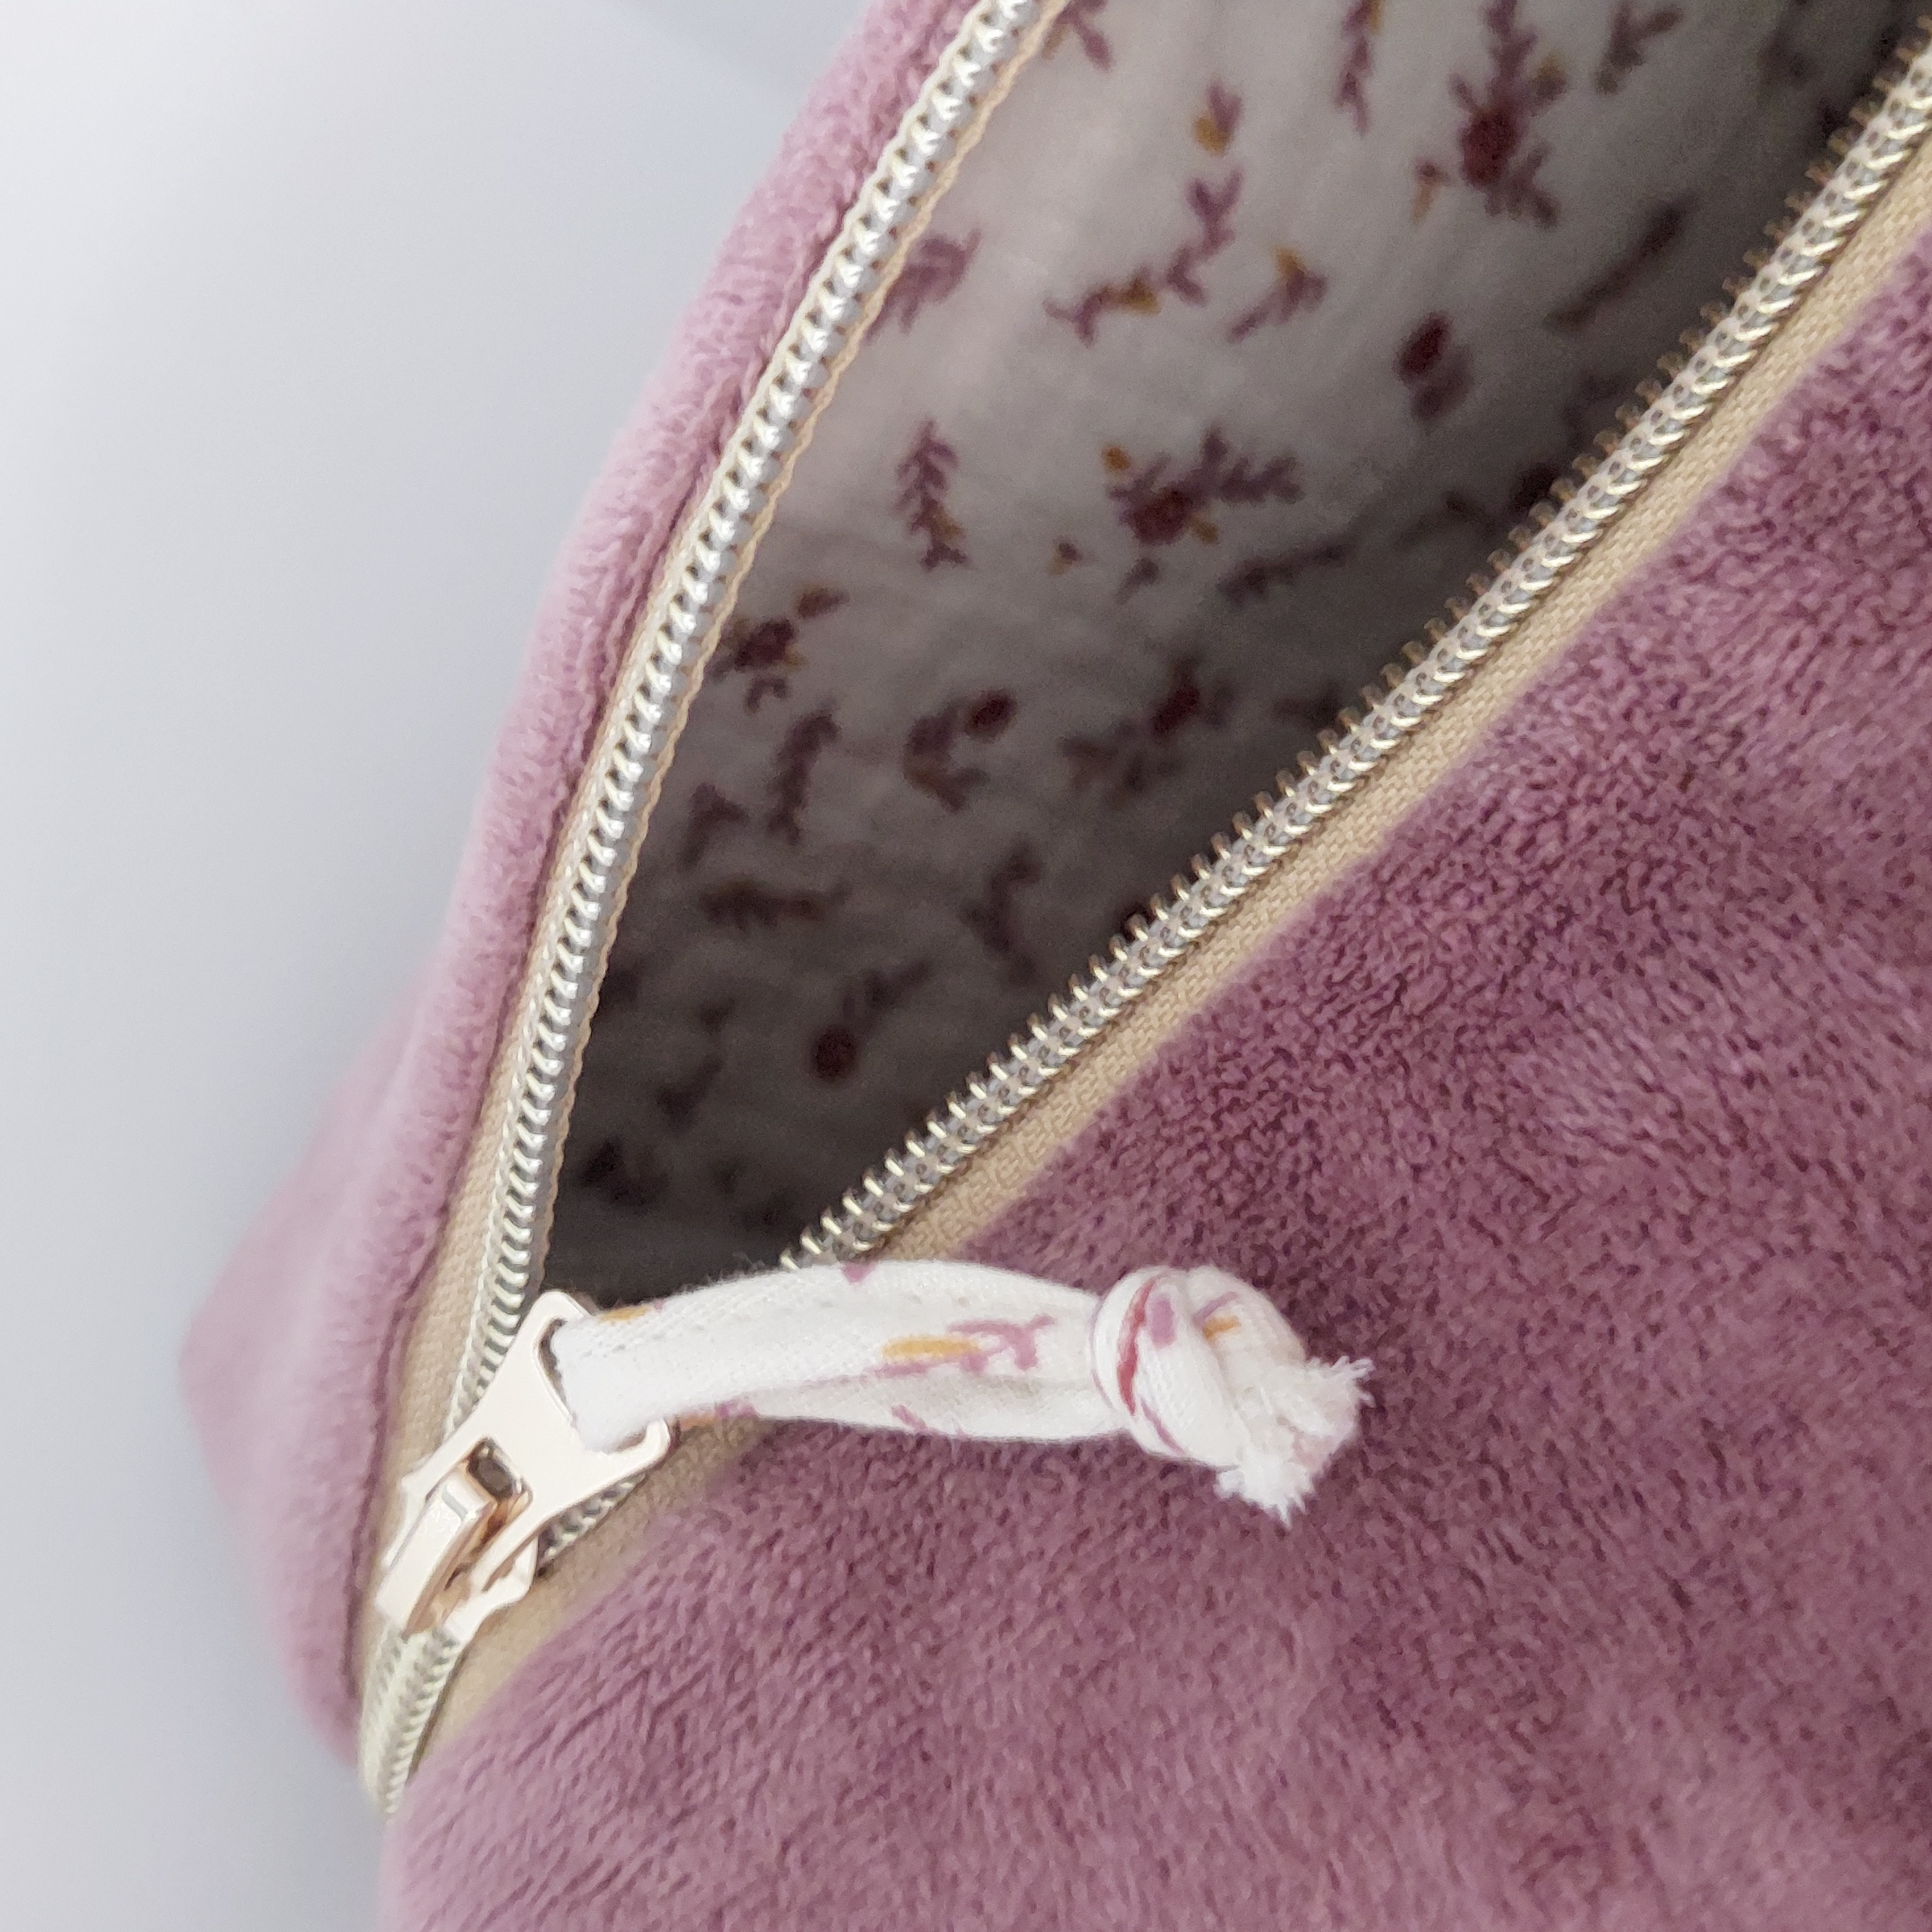
Looking for a fun and stylish sewing challenge? This DIY toiletry bag with 3D text is a real eye-catcher—and super useful too! Whether you’re traveling, organizing your makeup, or just want a cool pouch for all your stuff, this project is perfect for creating something truly unique.
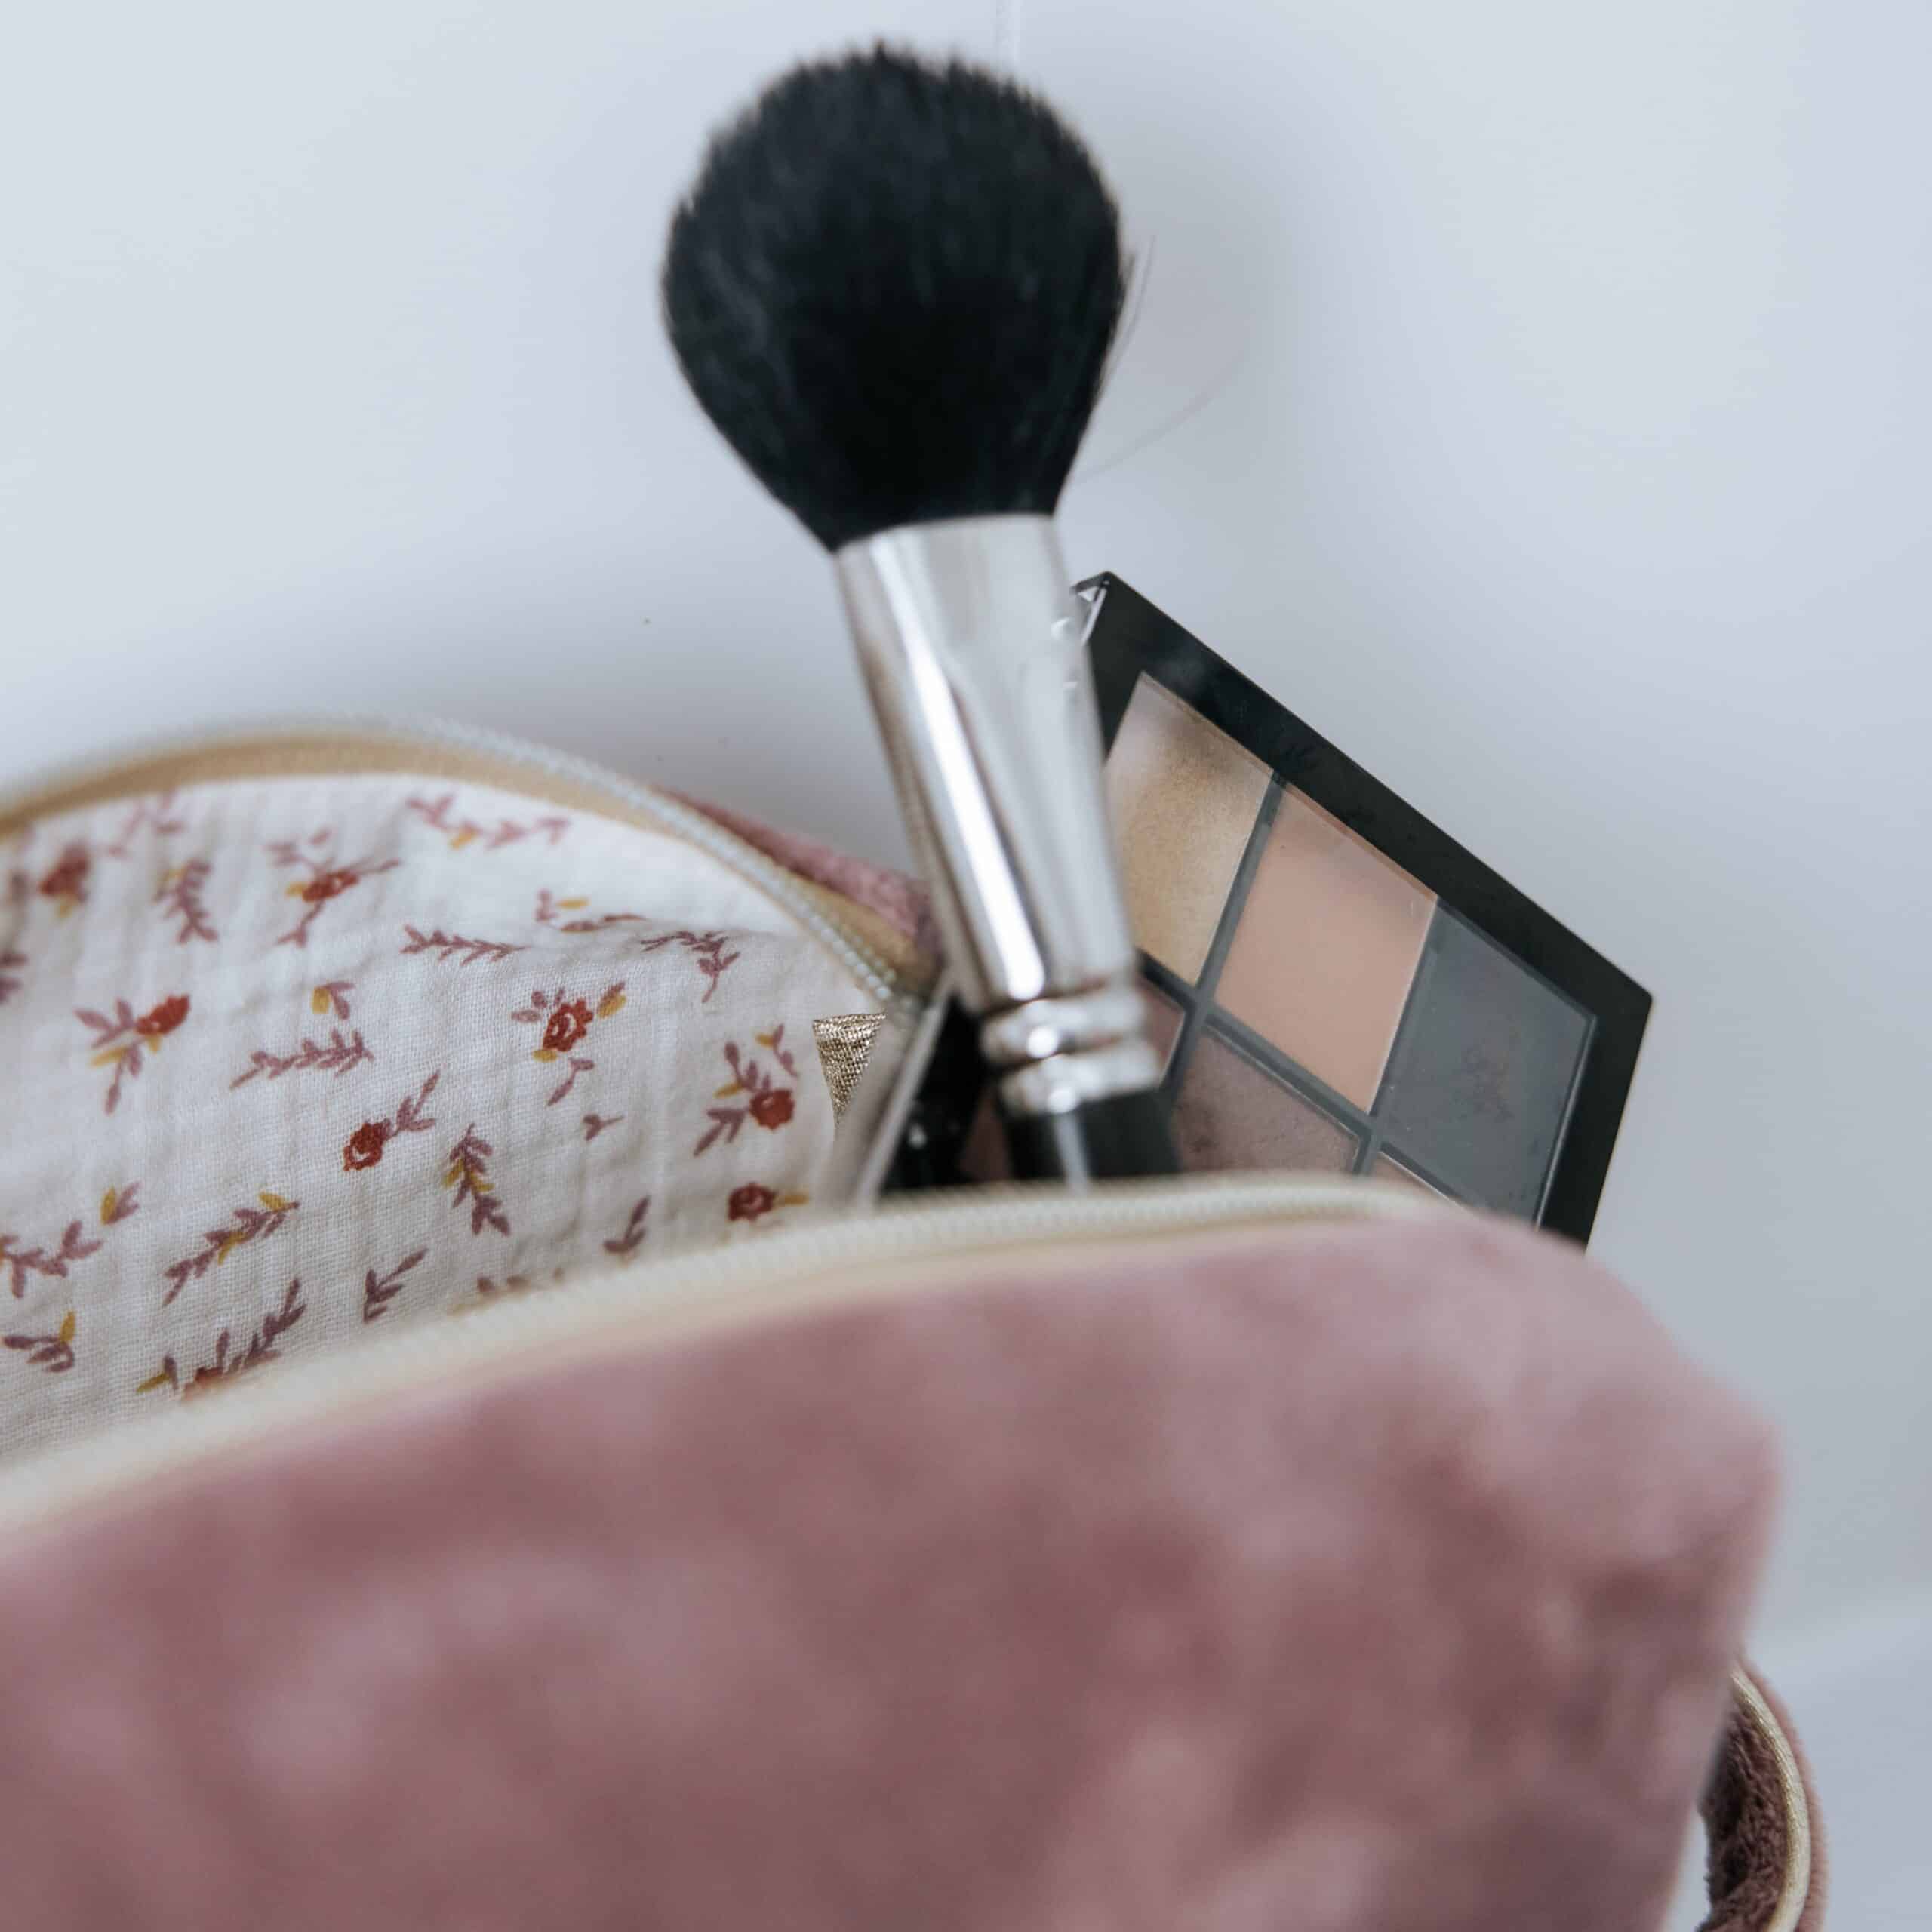
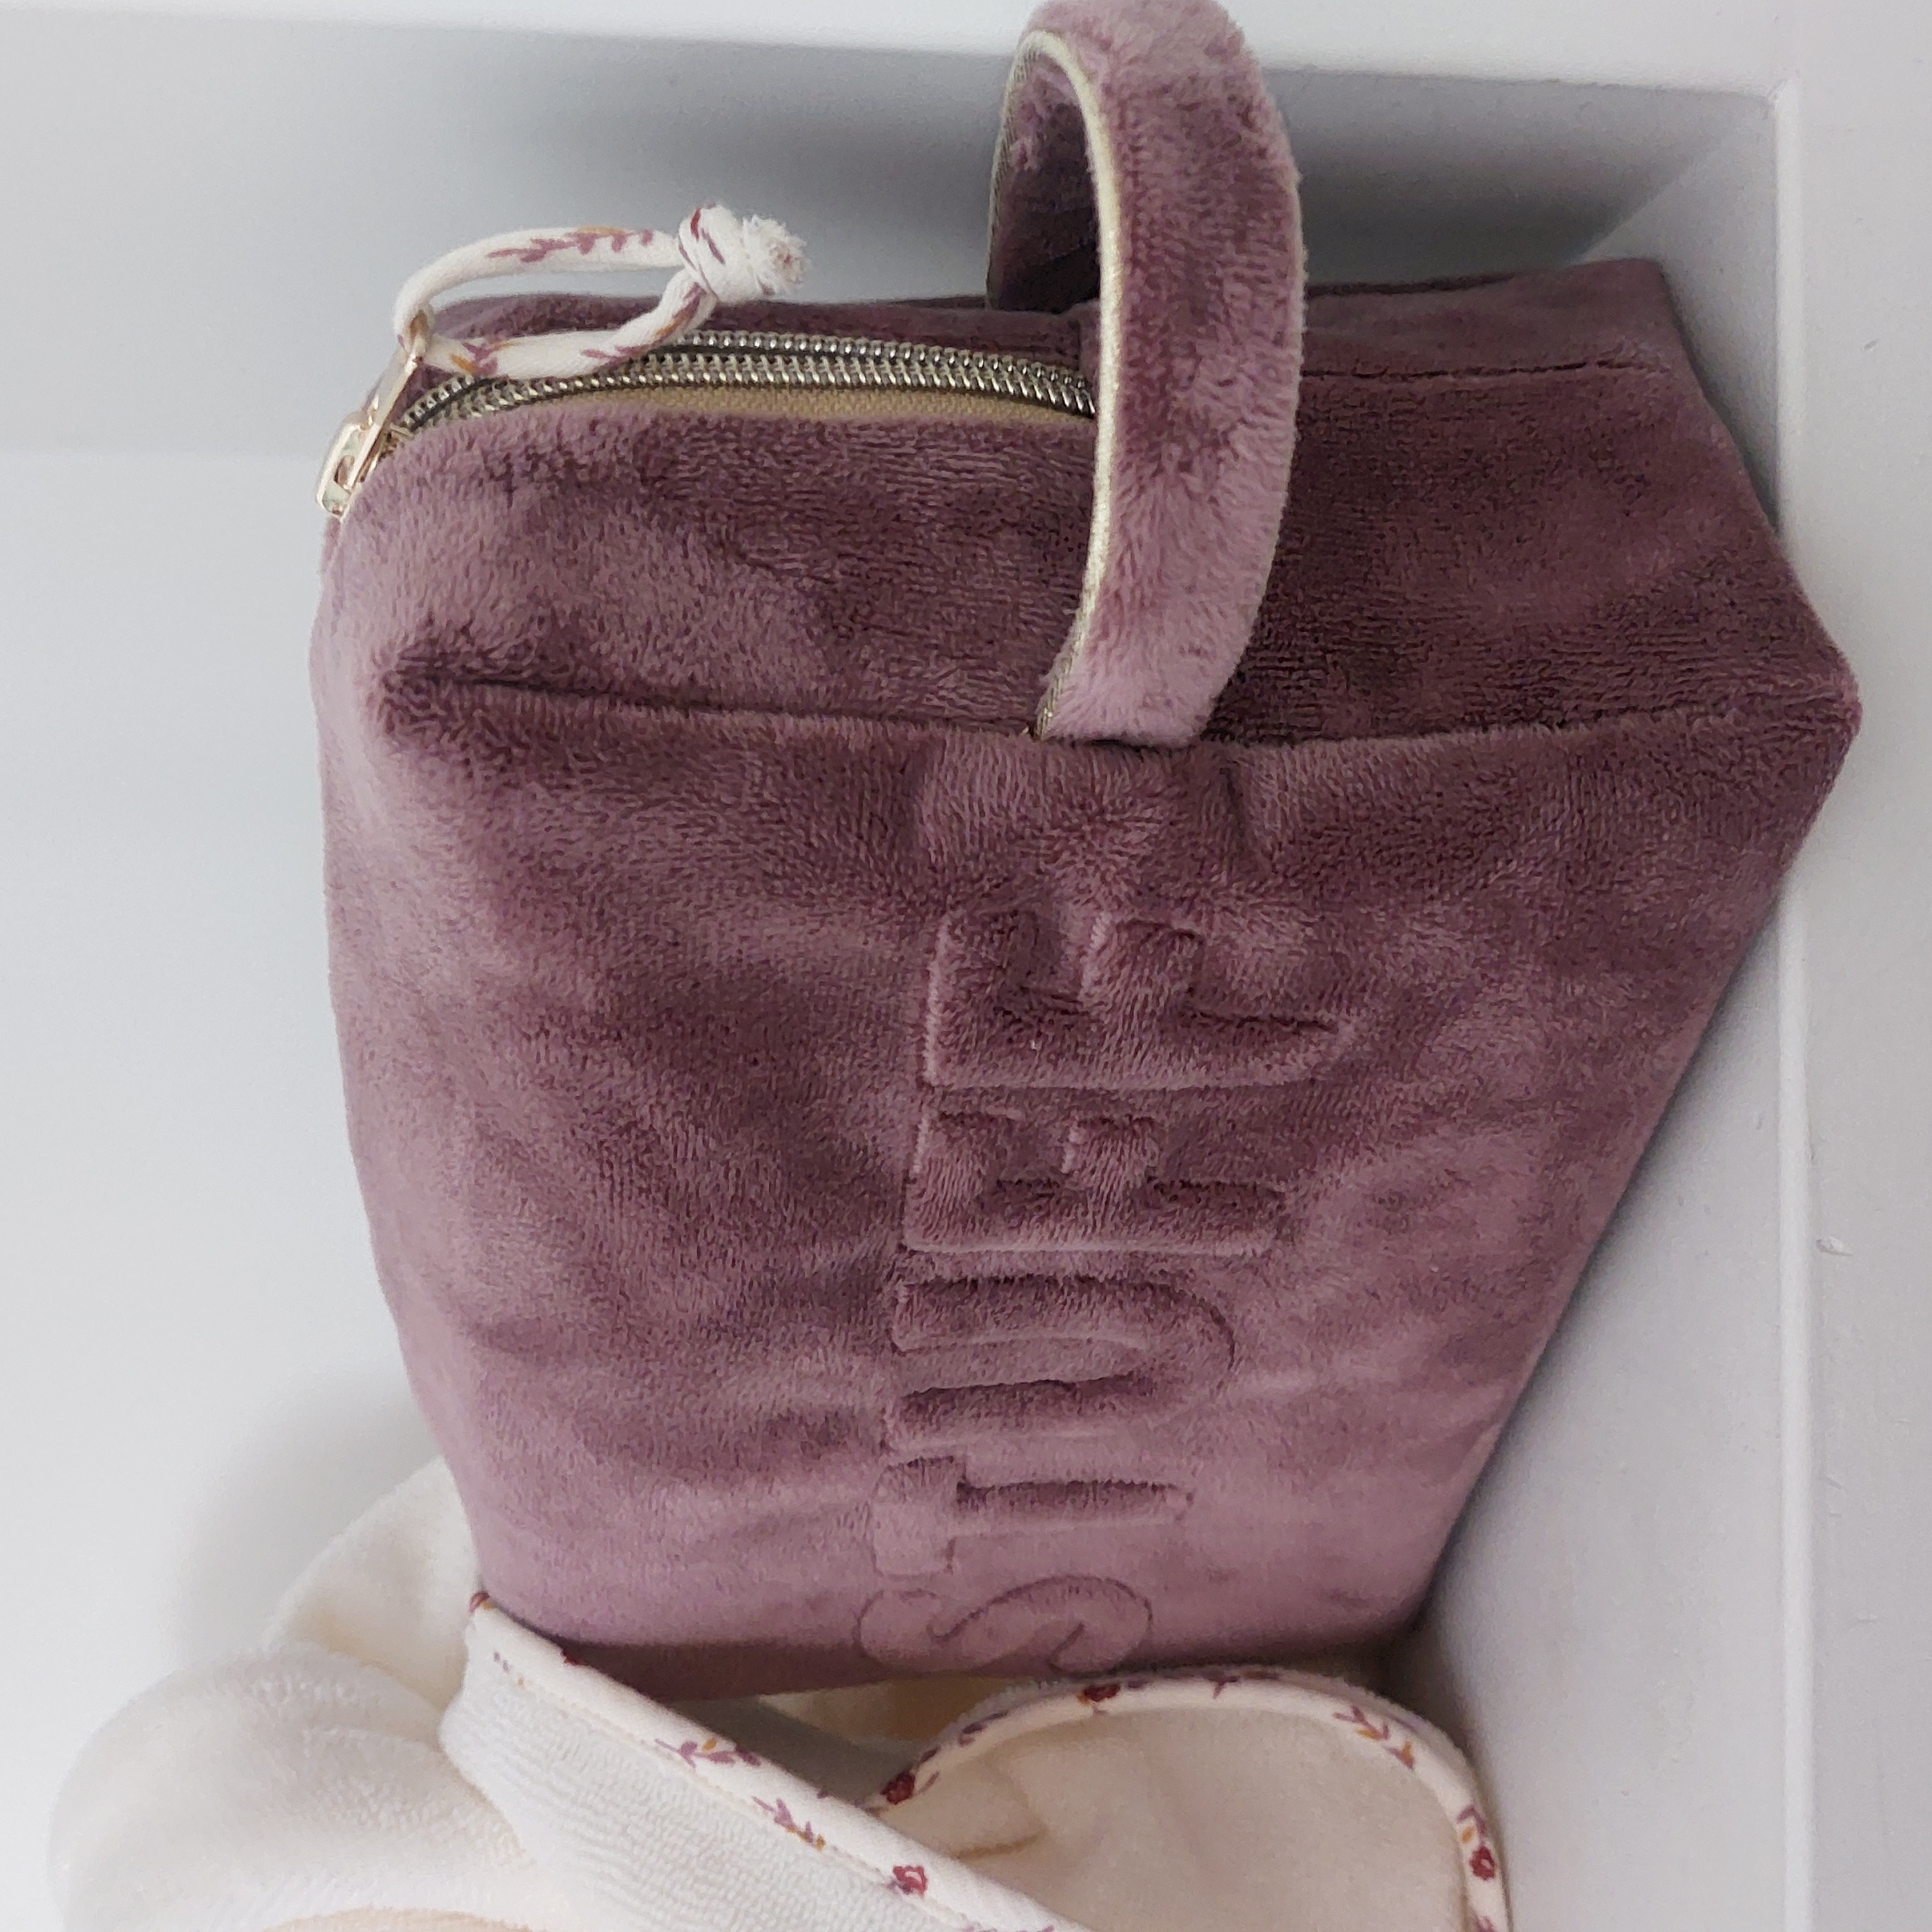
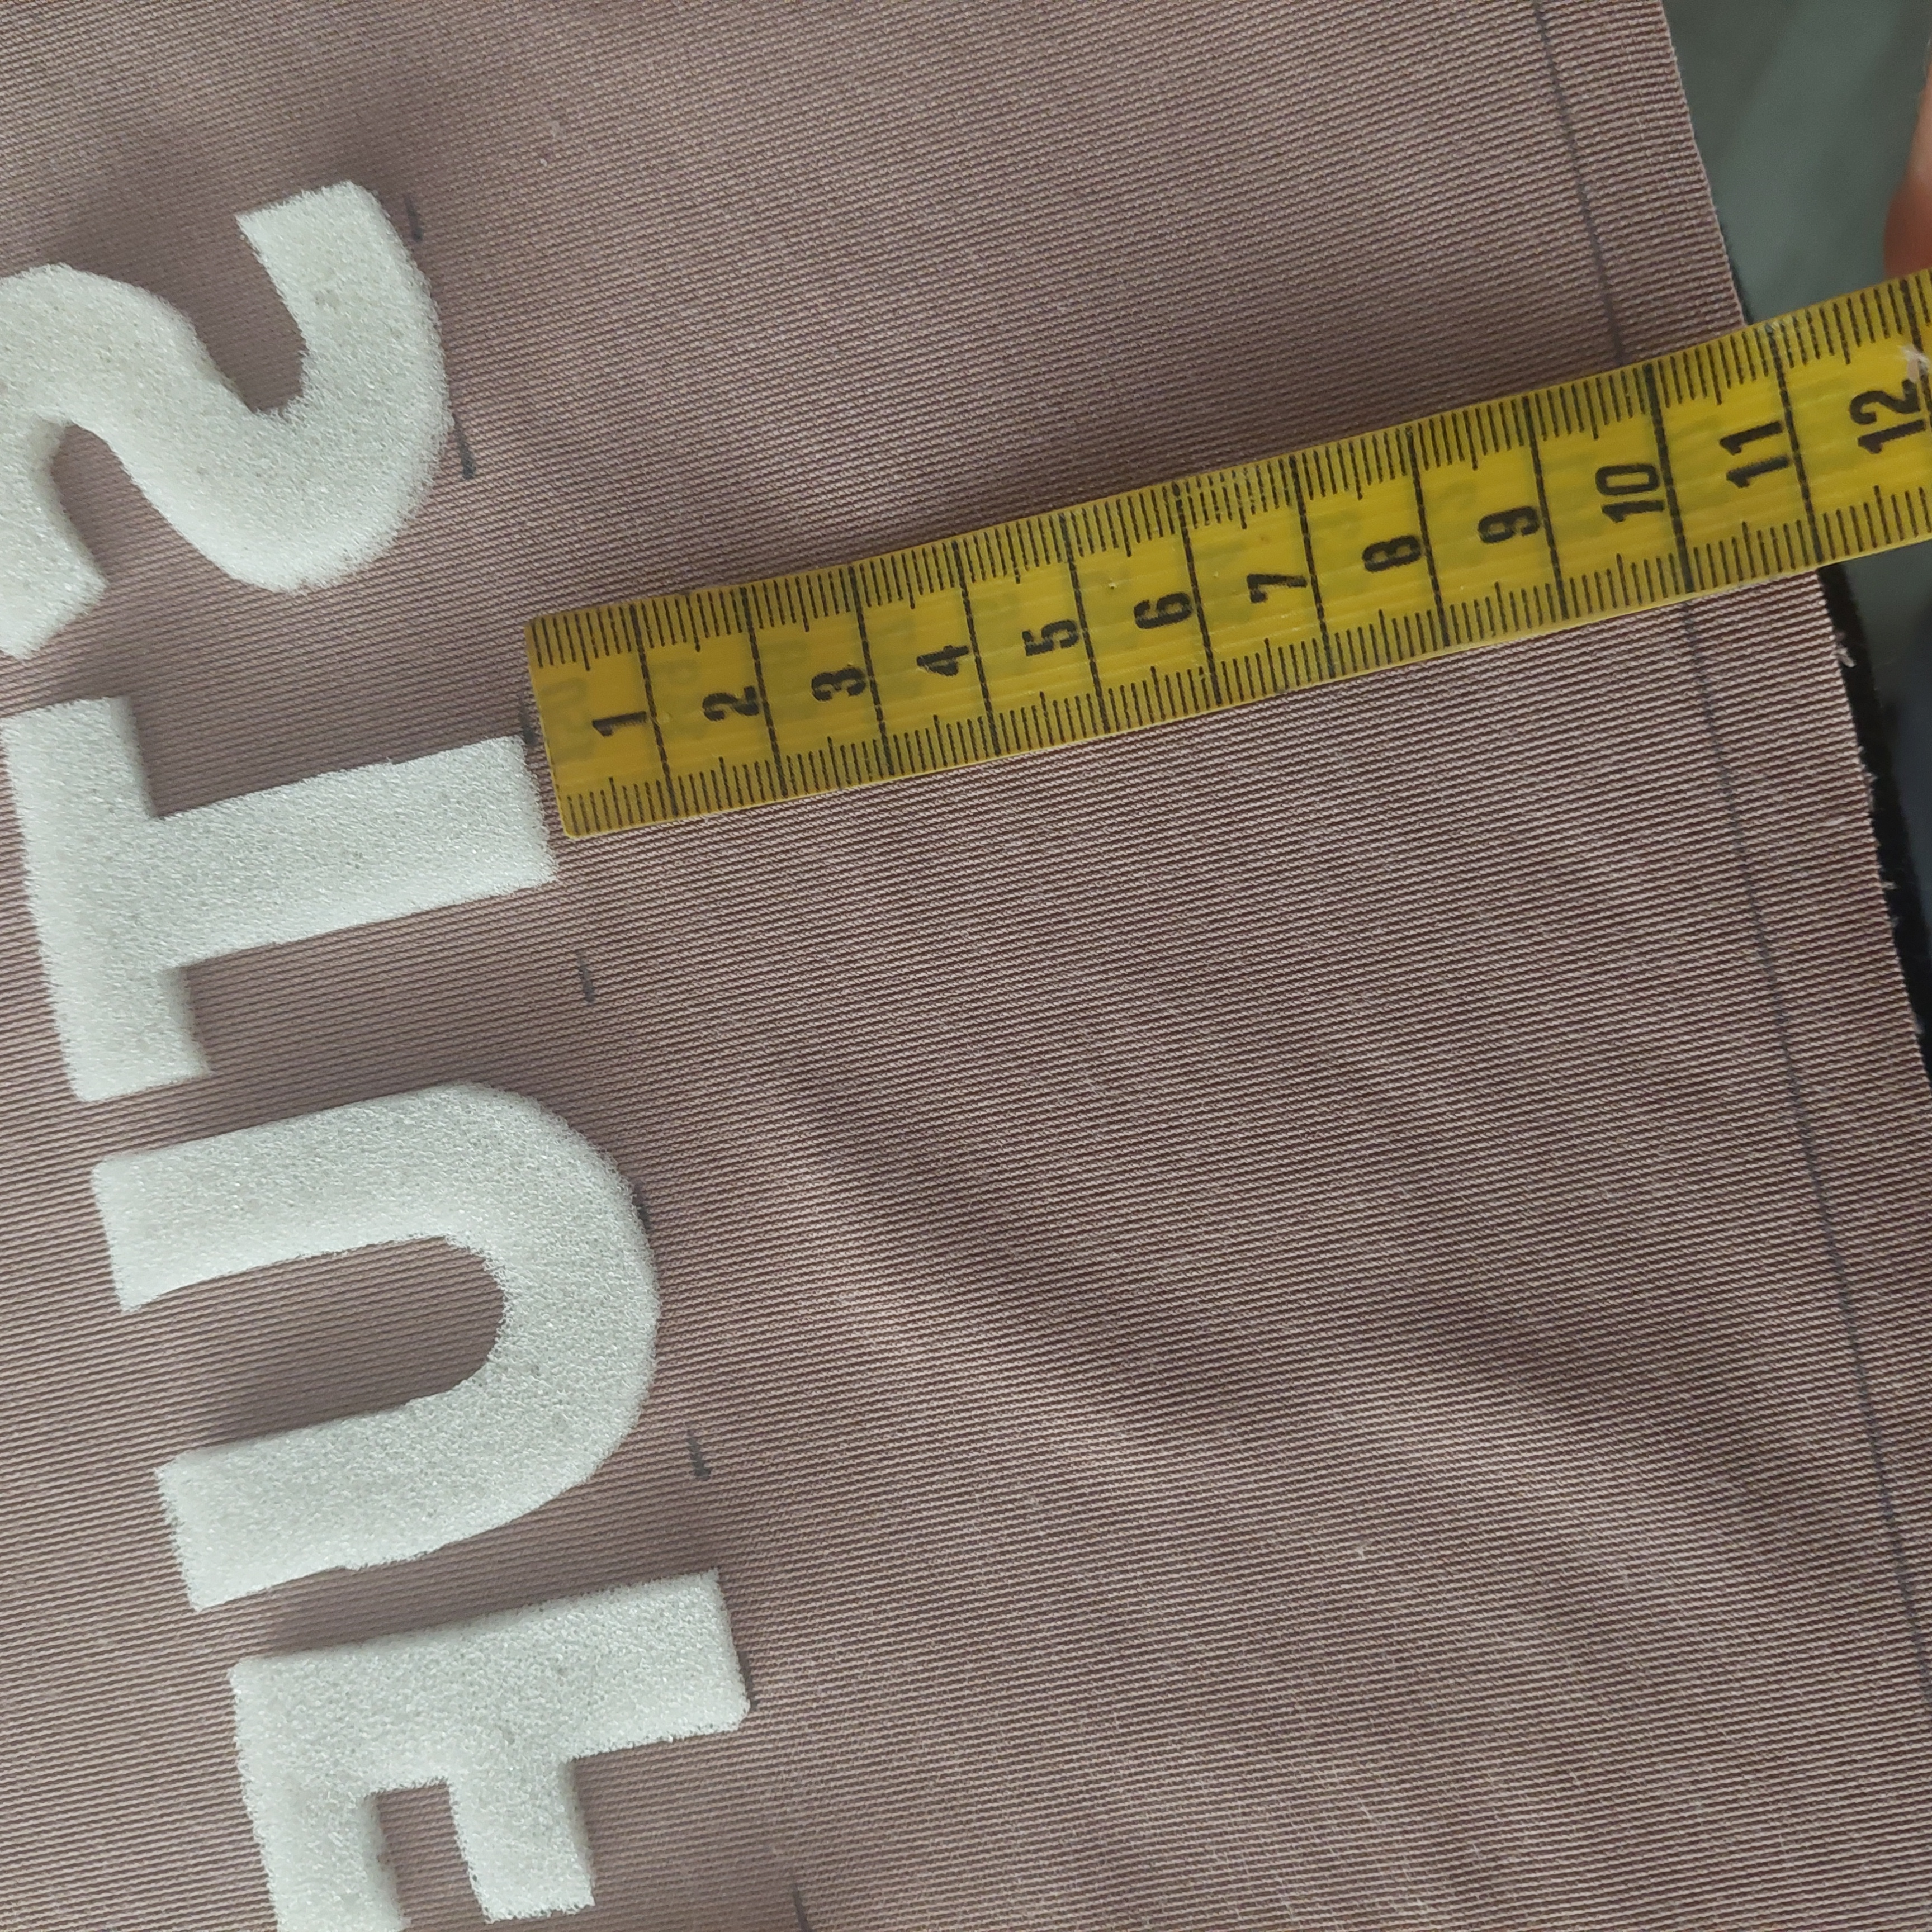
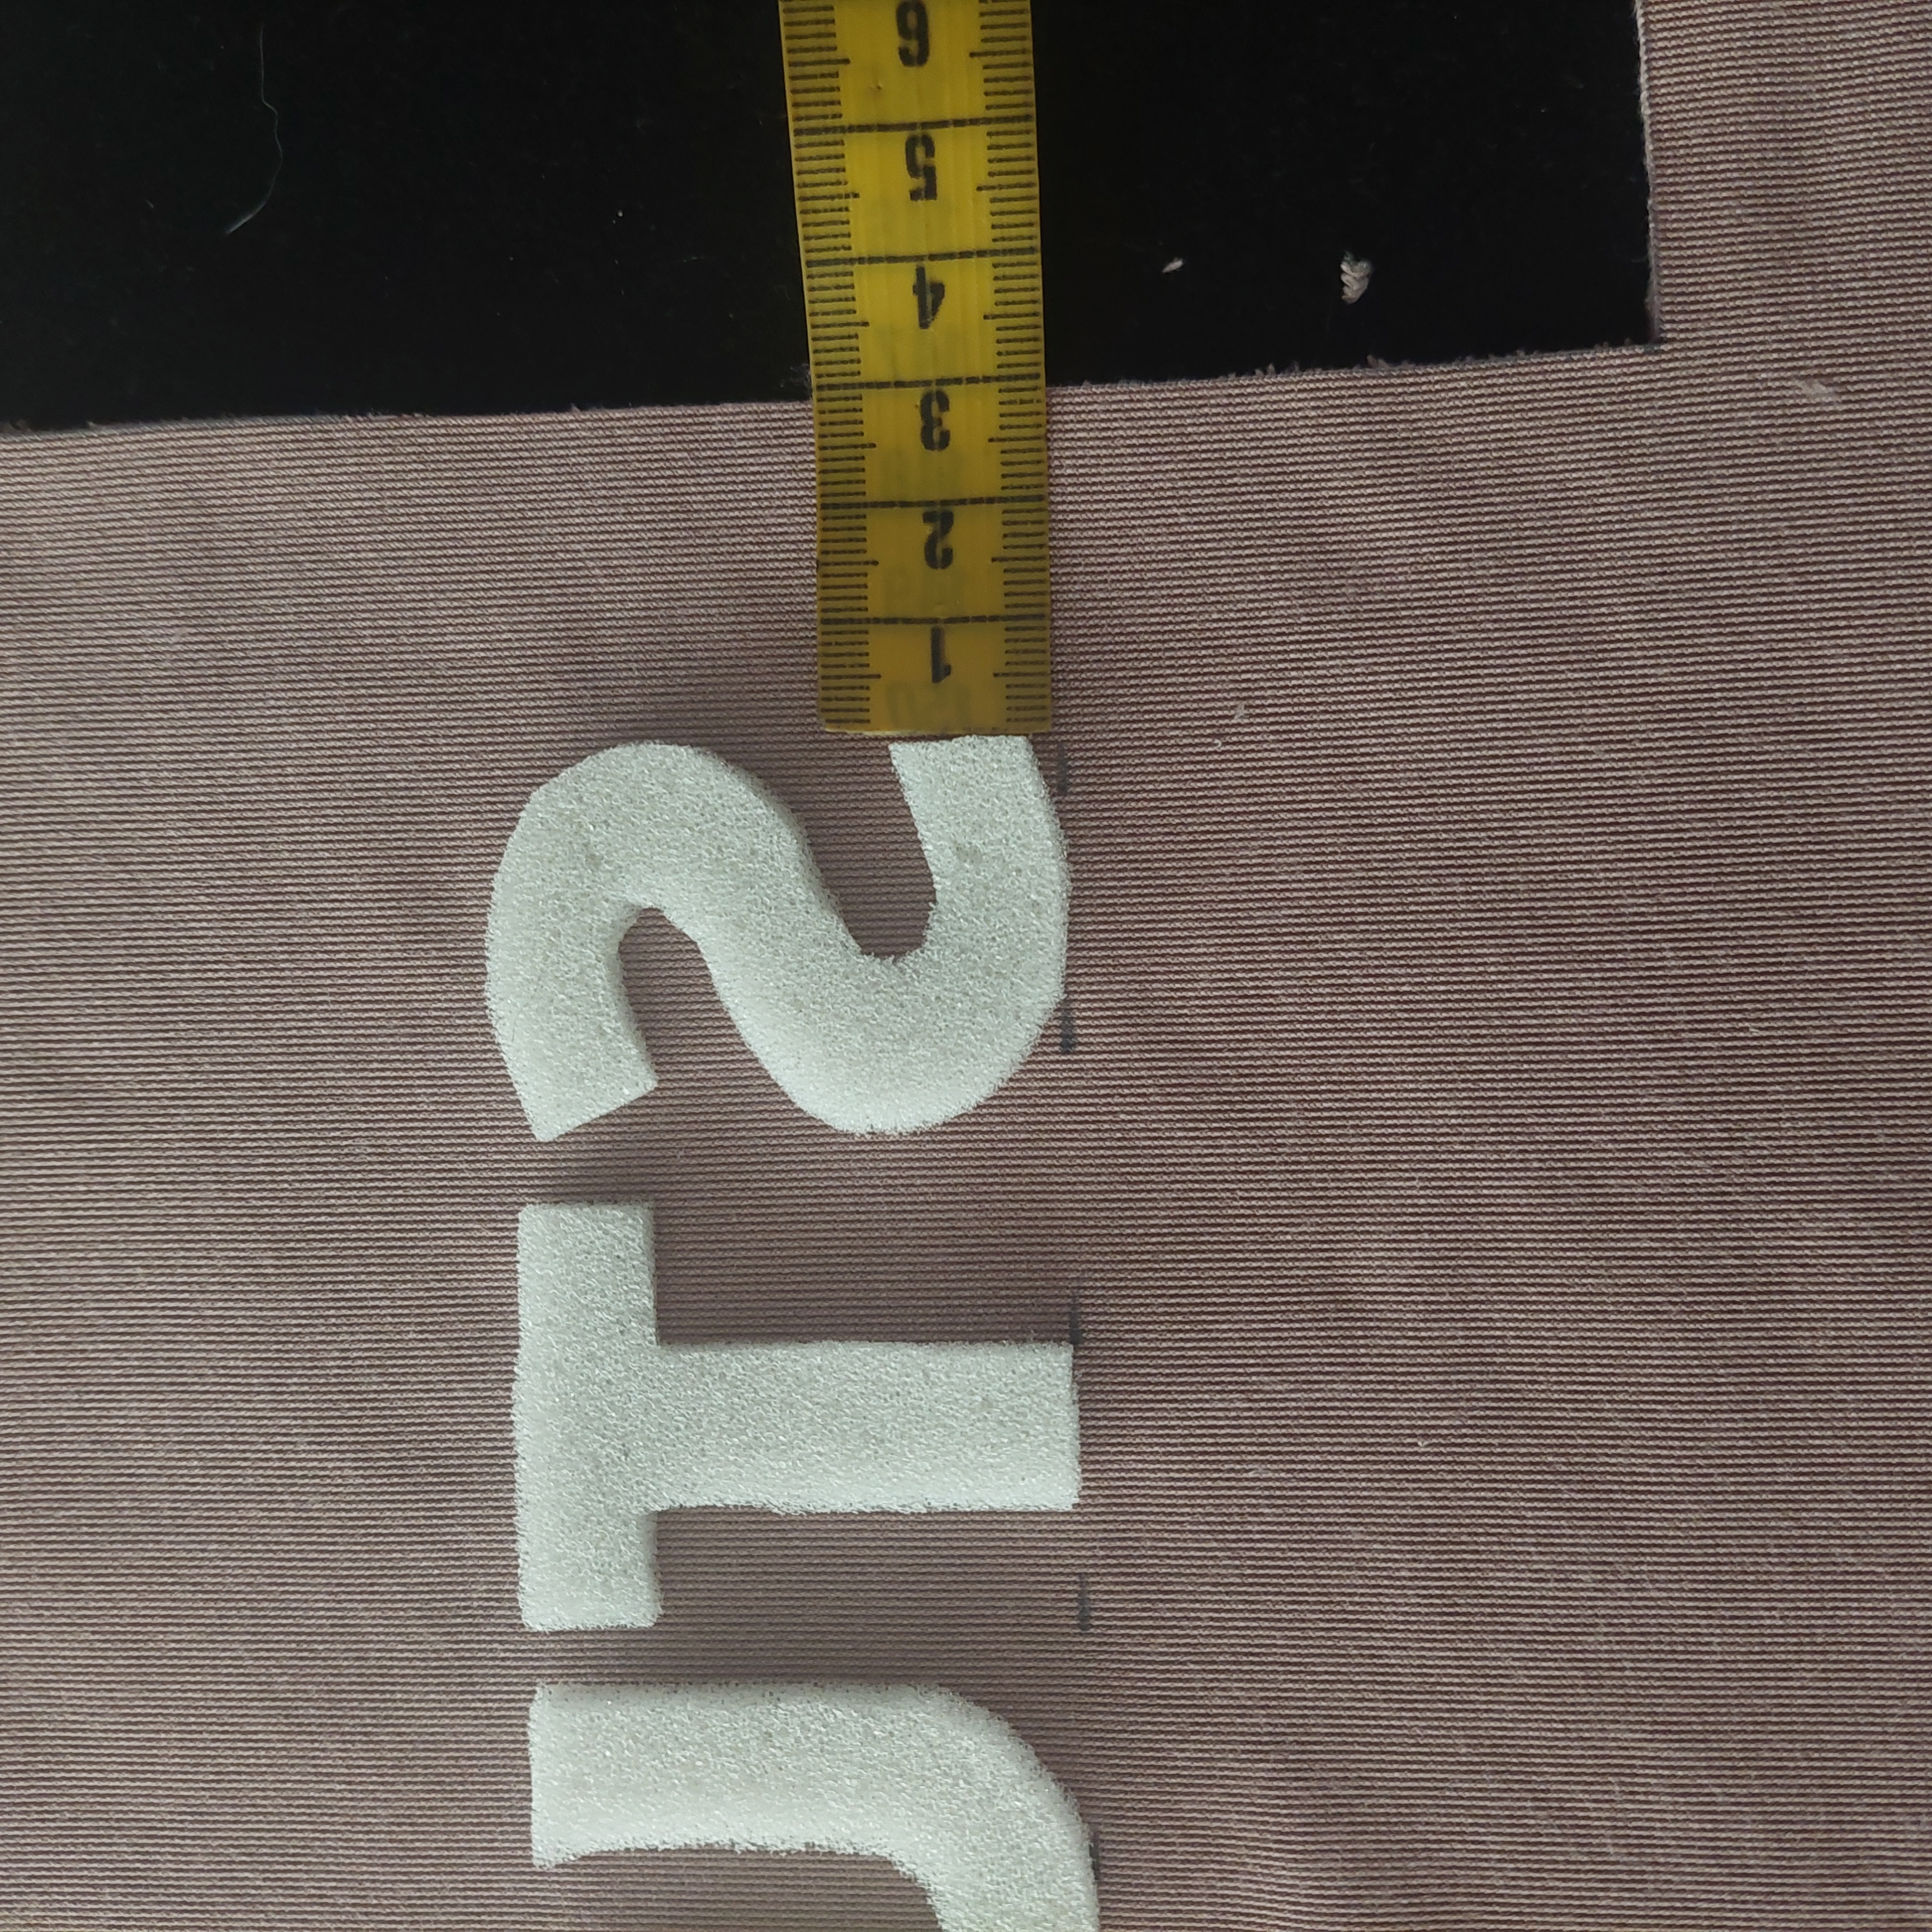
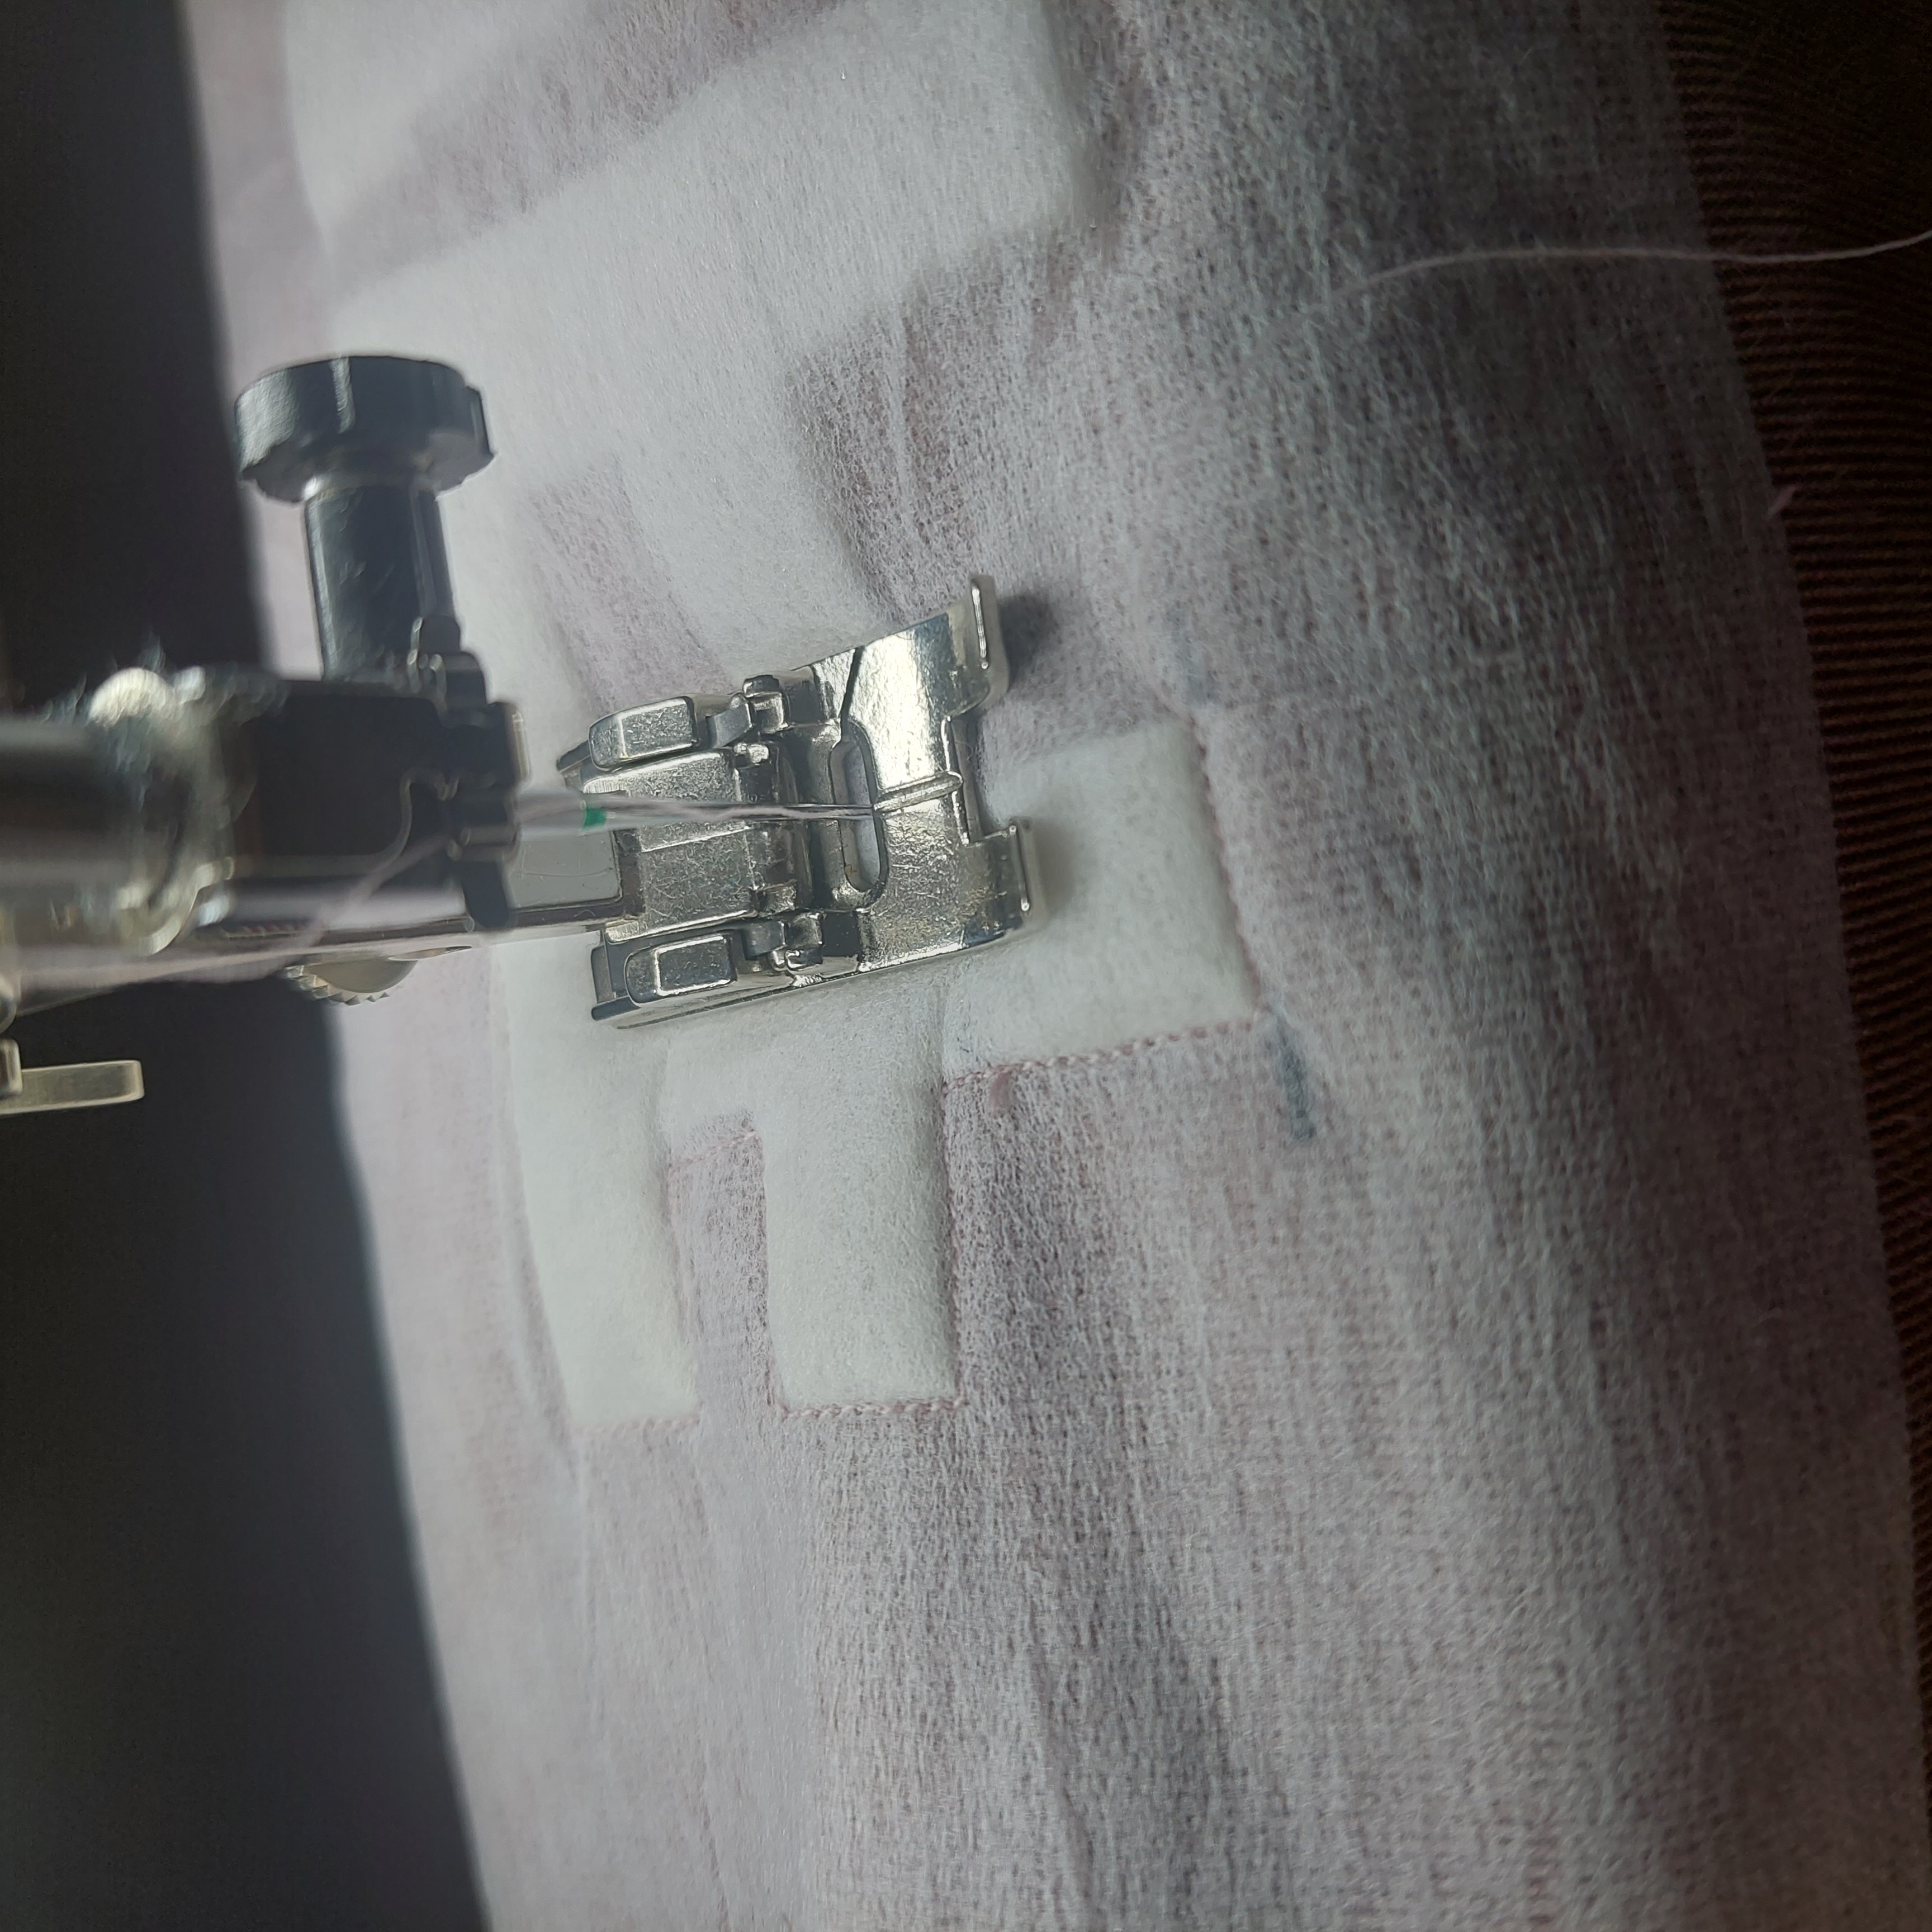
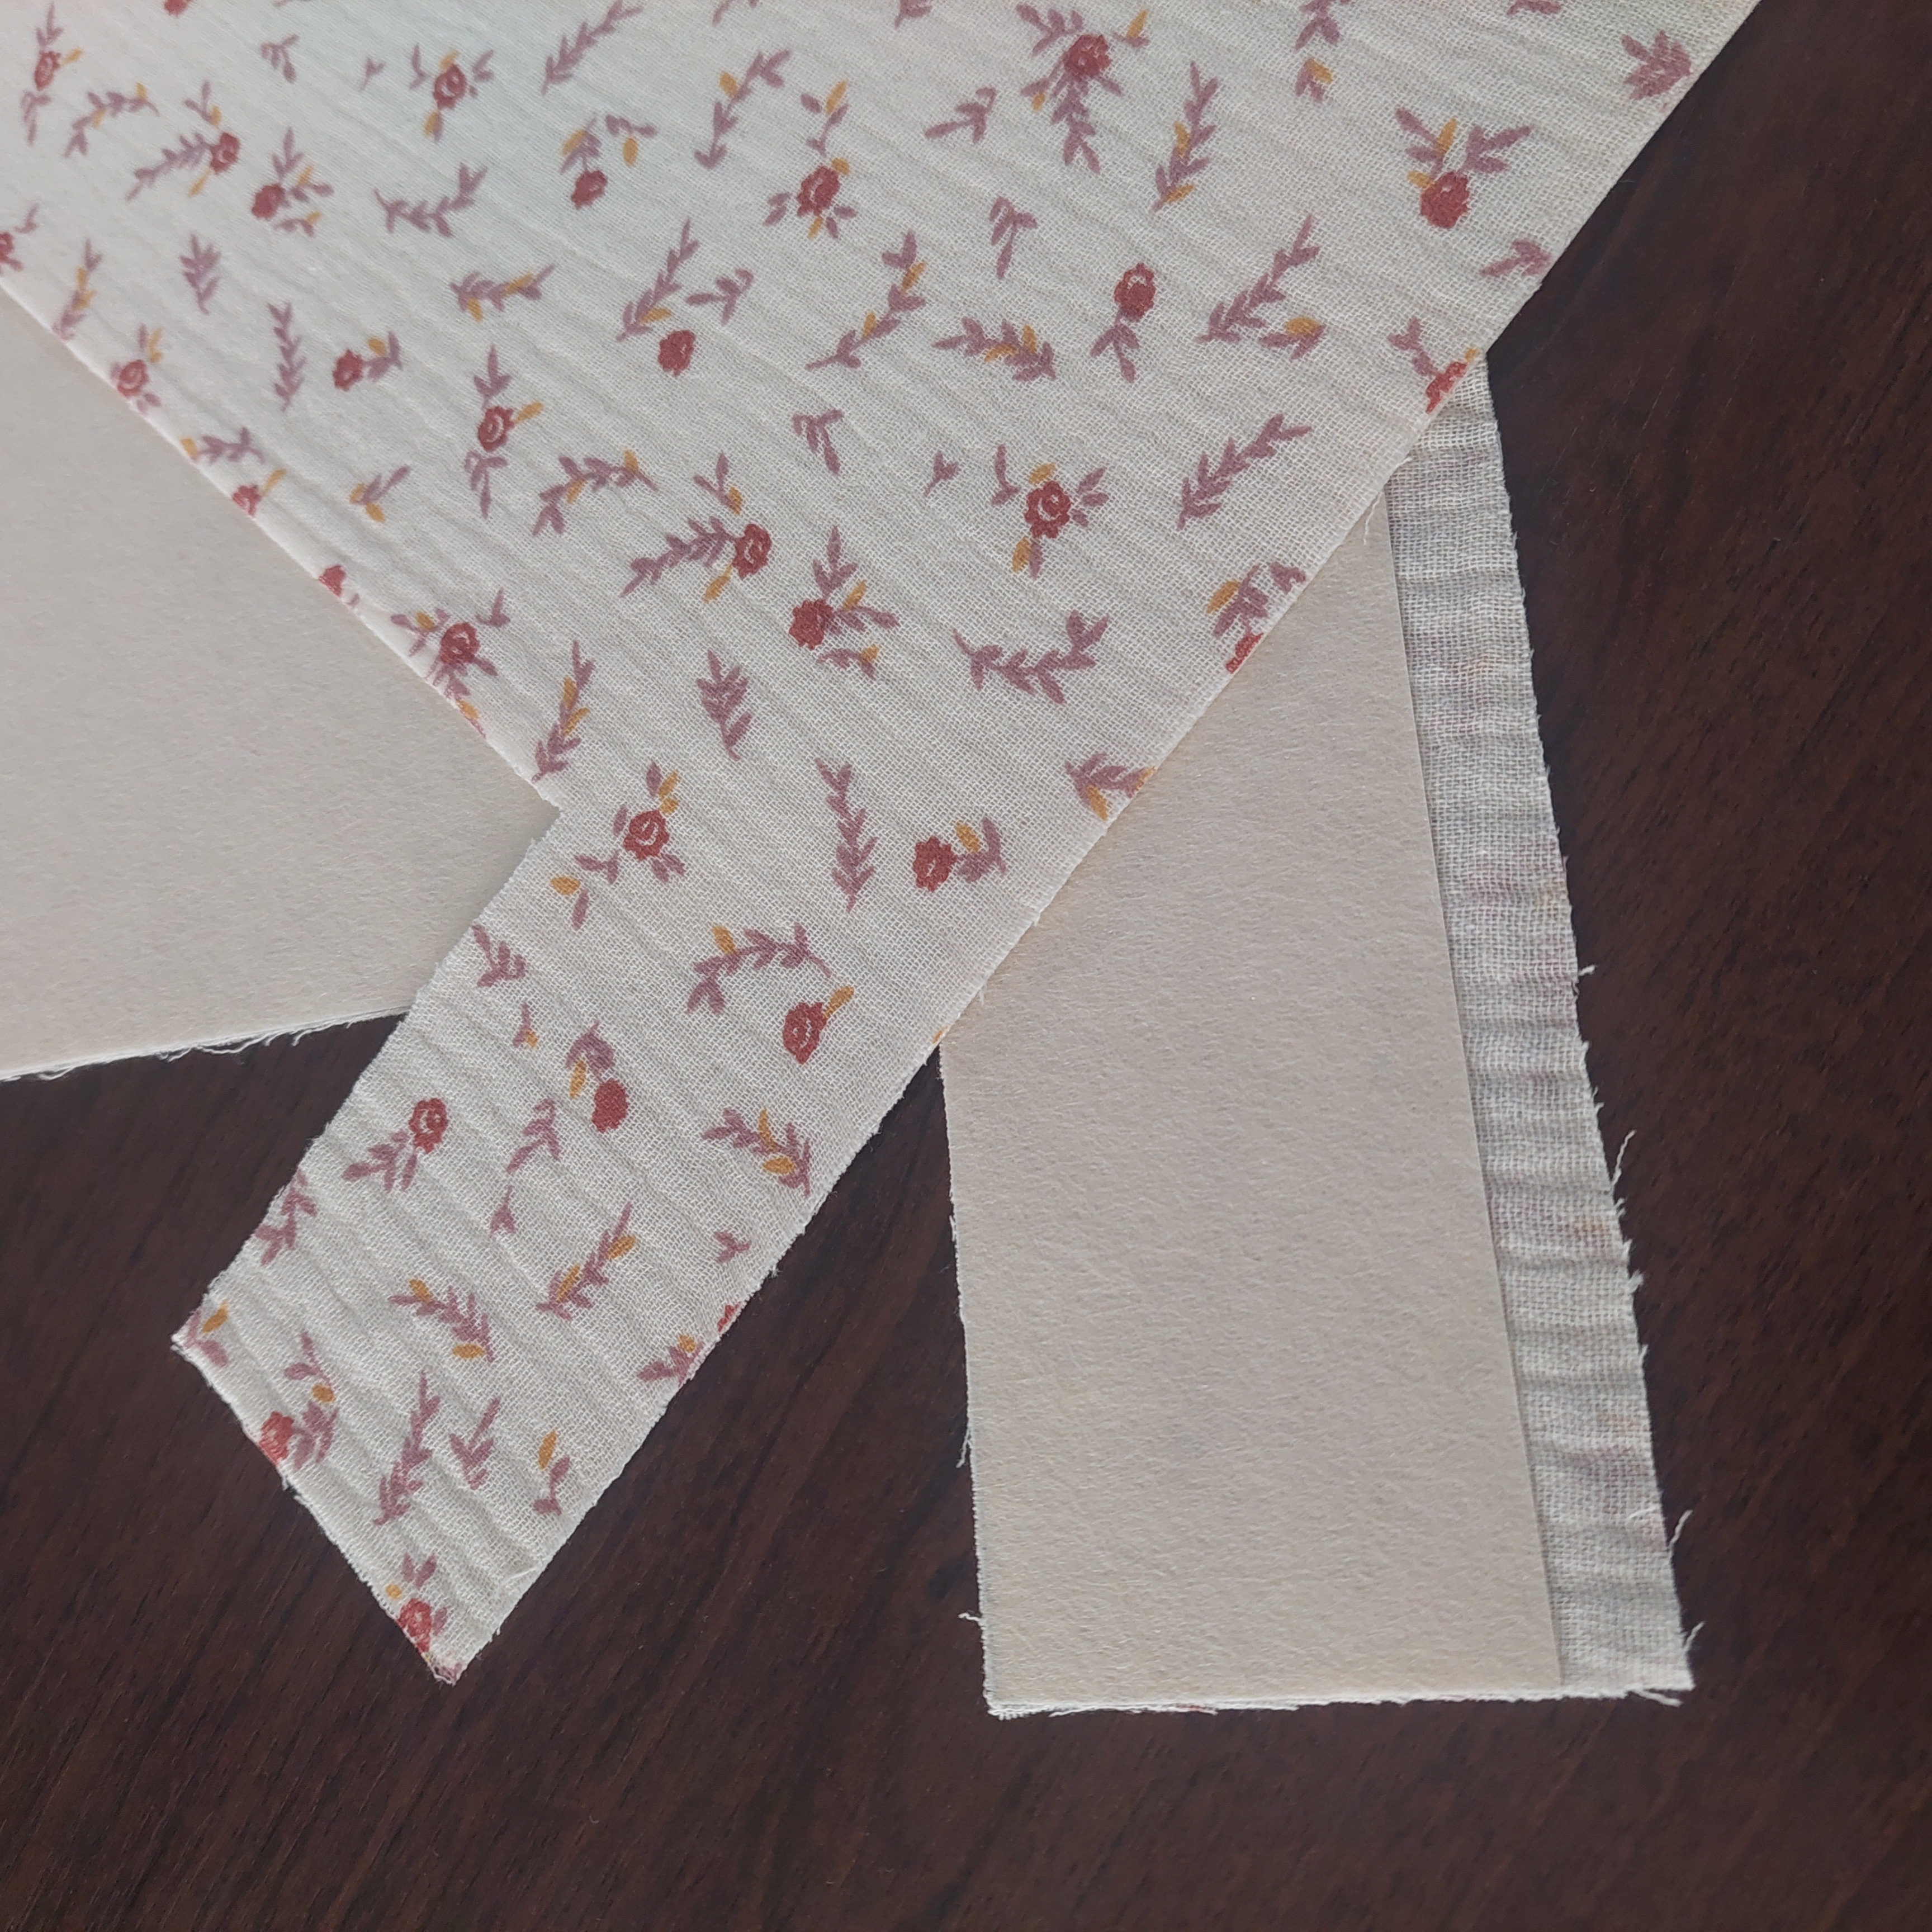
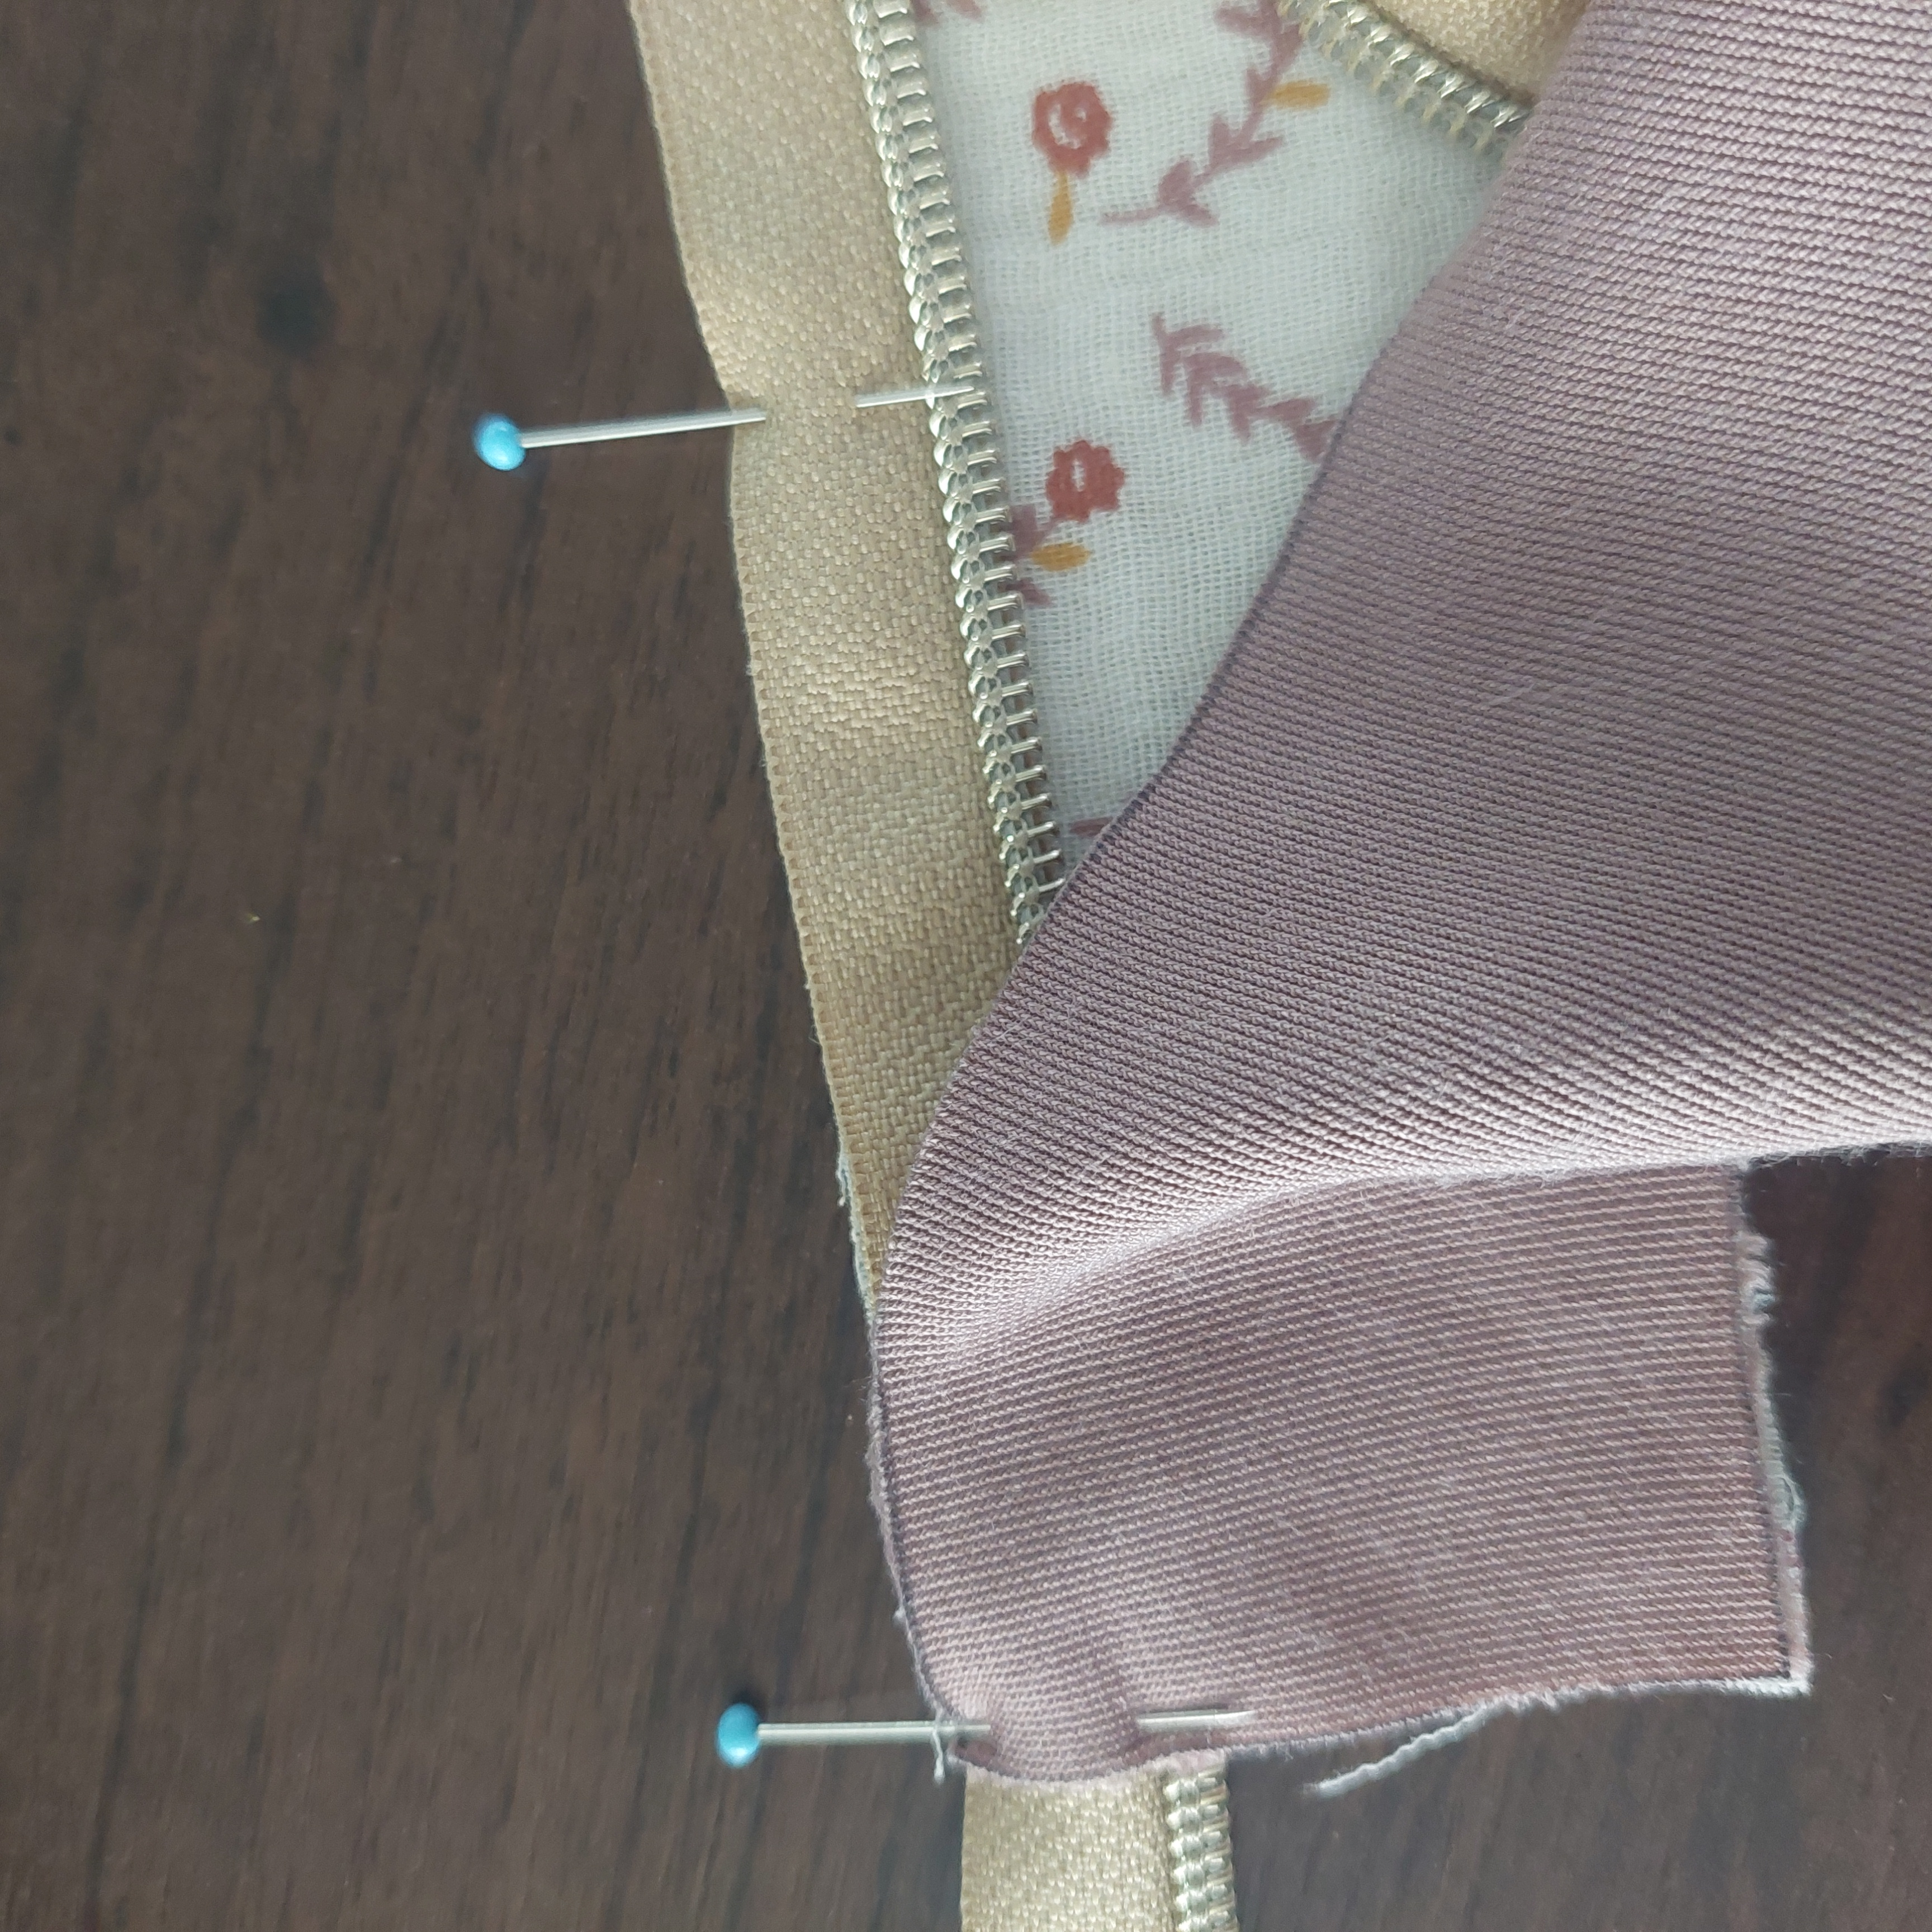
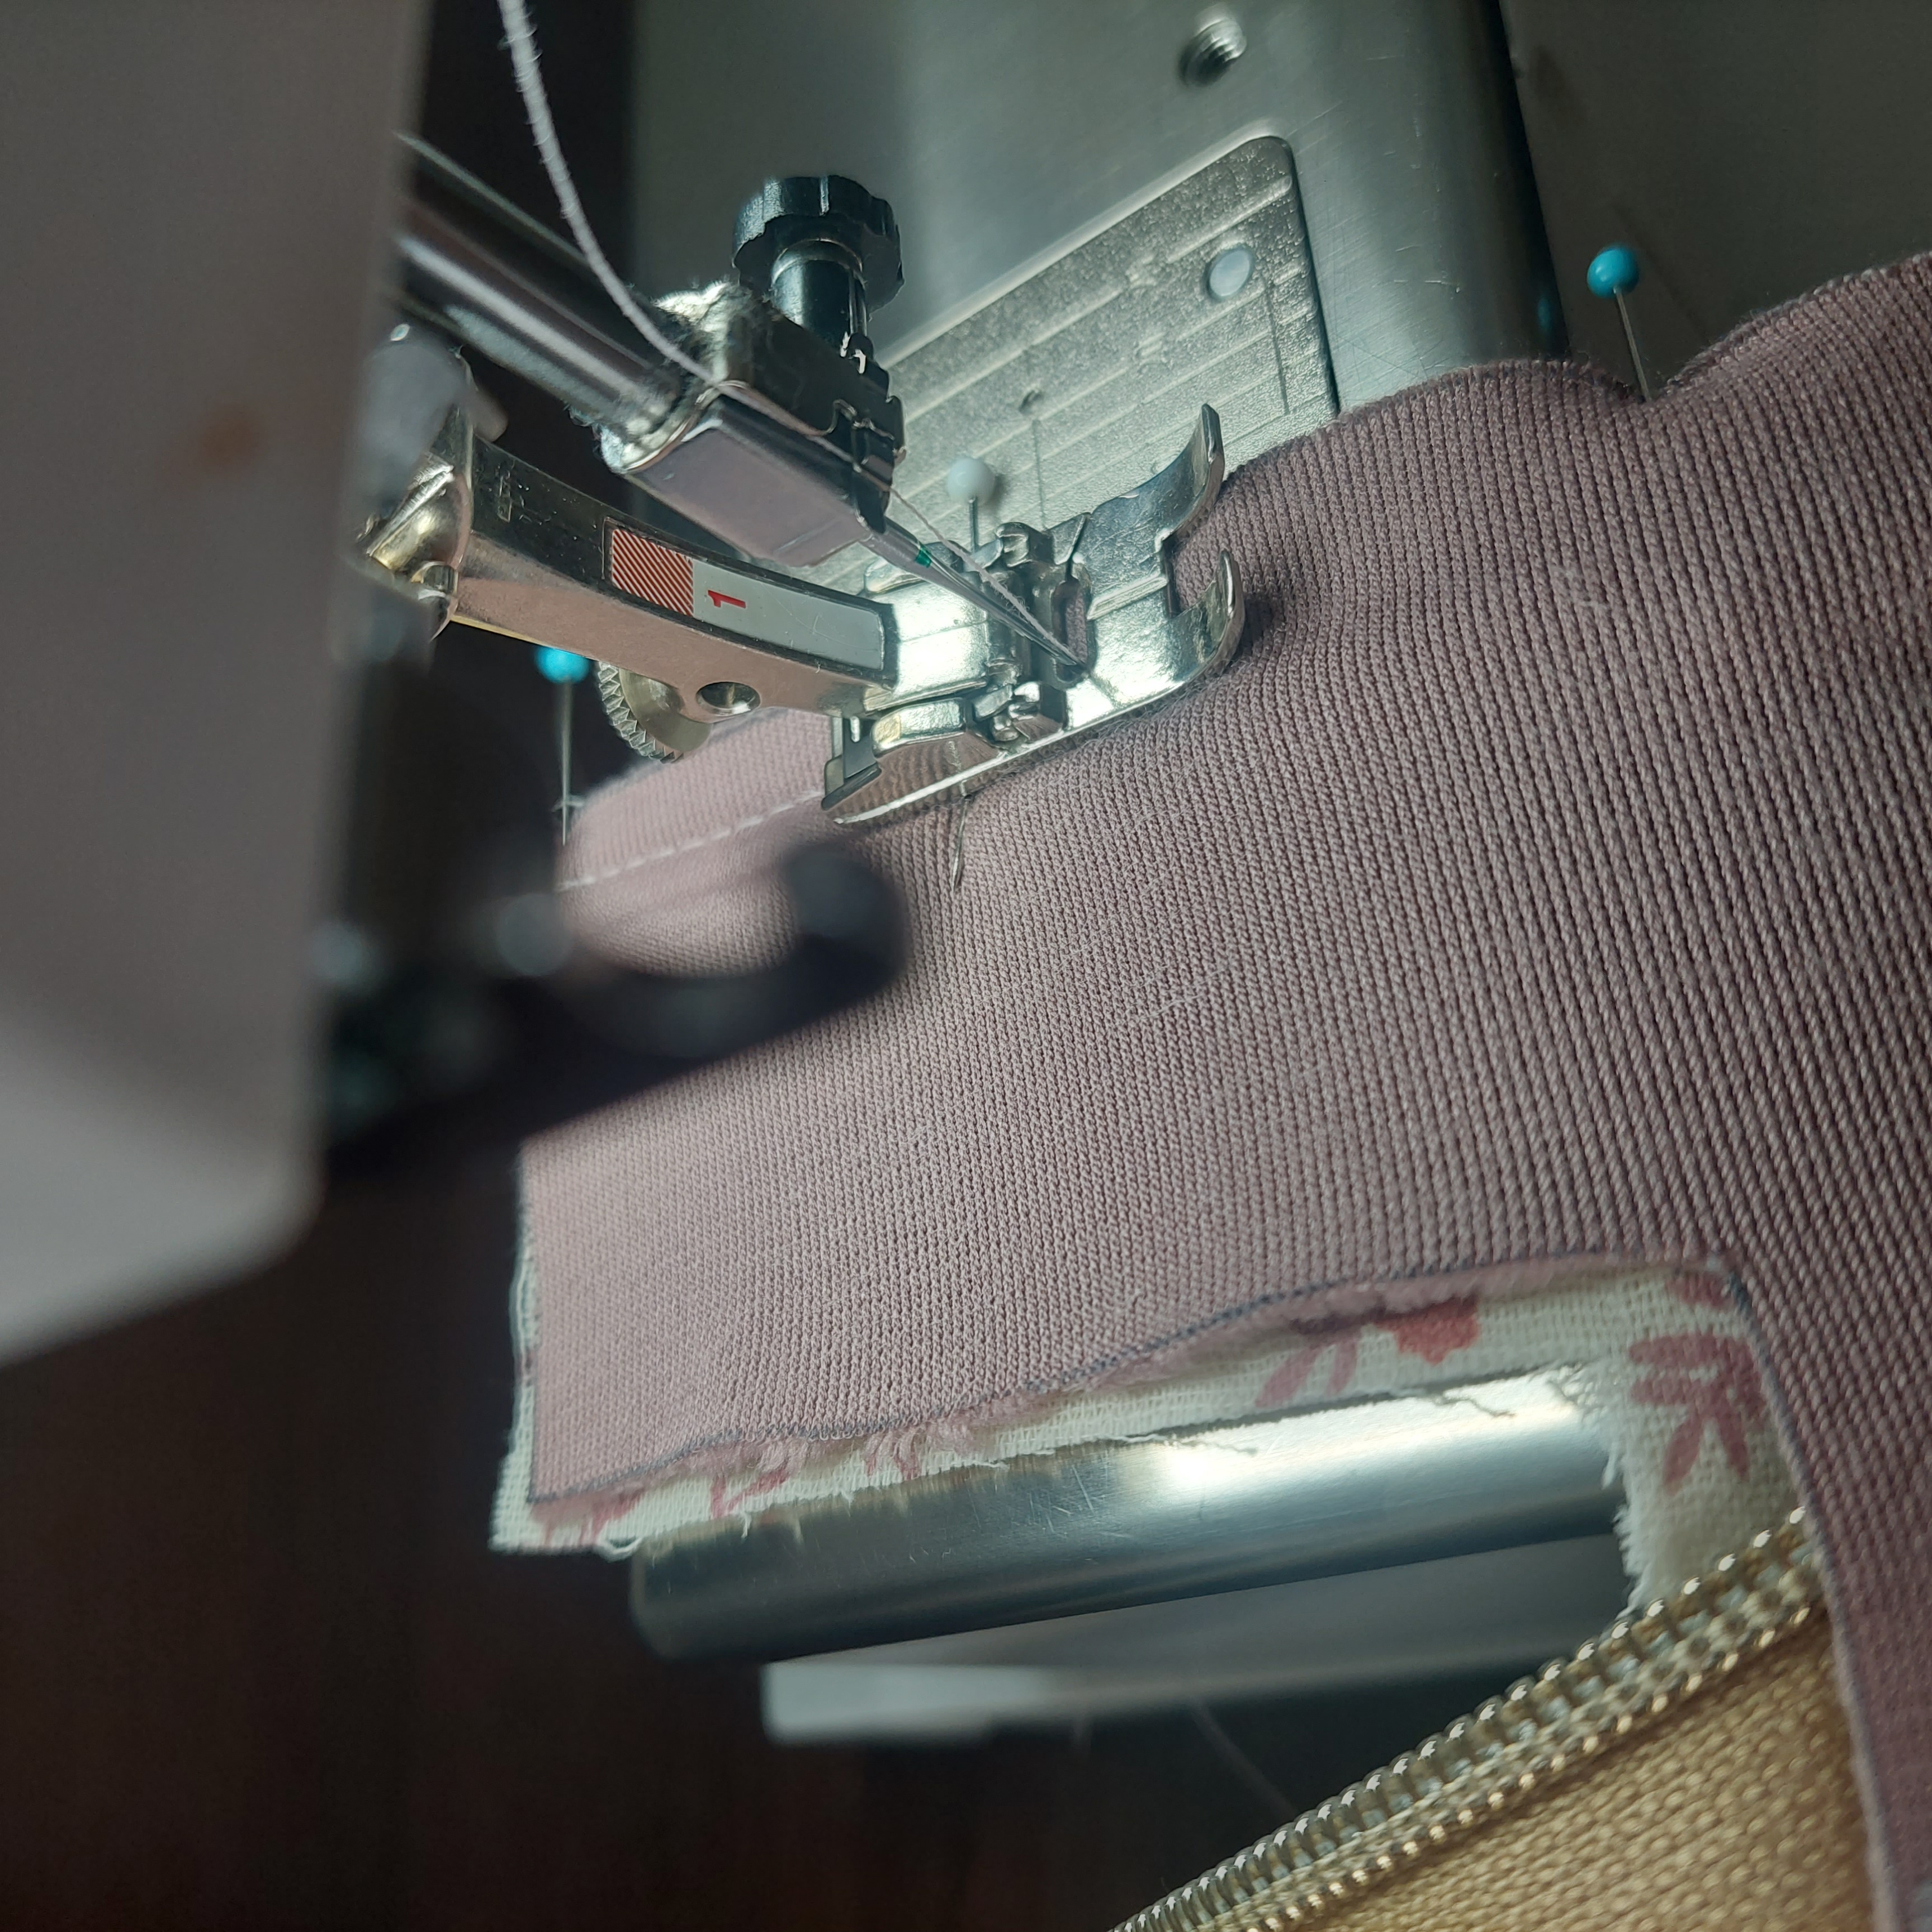
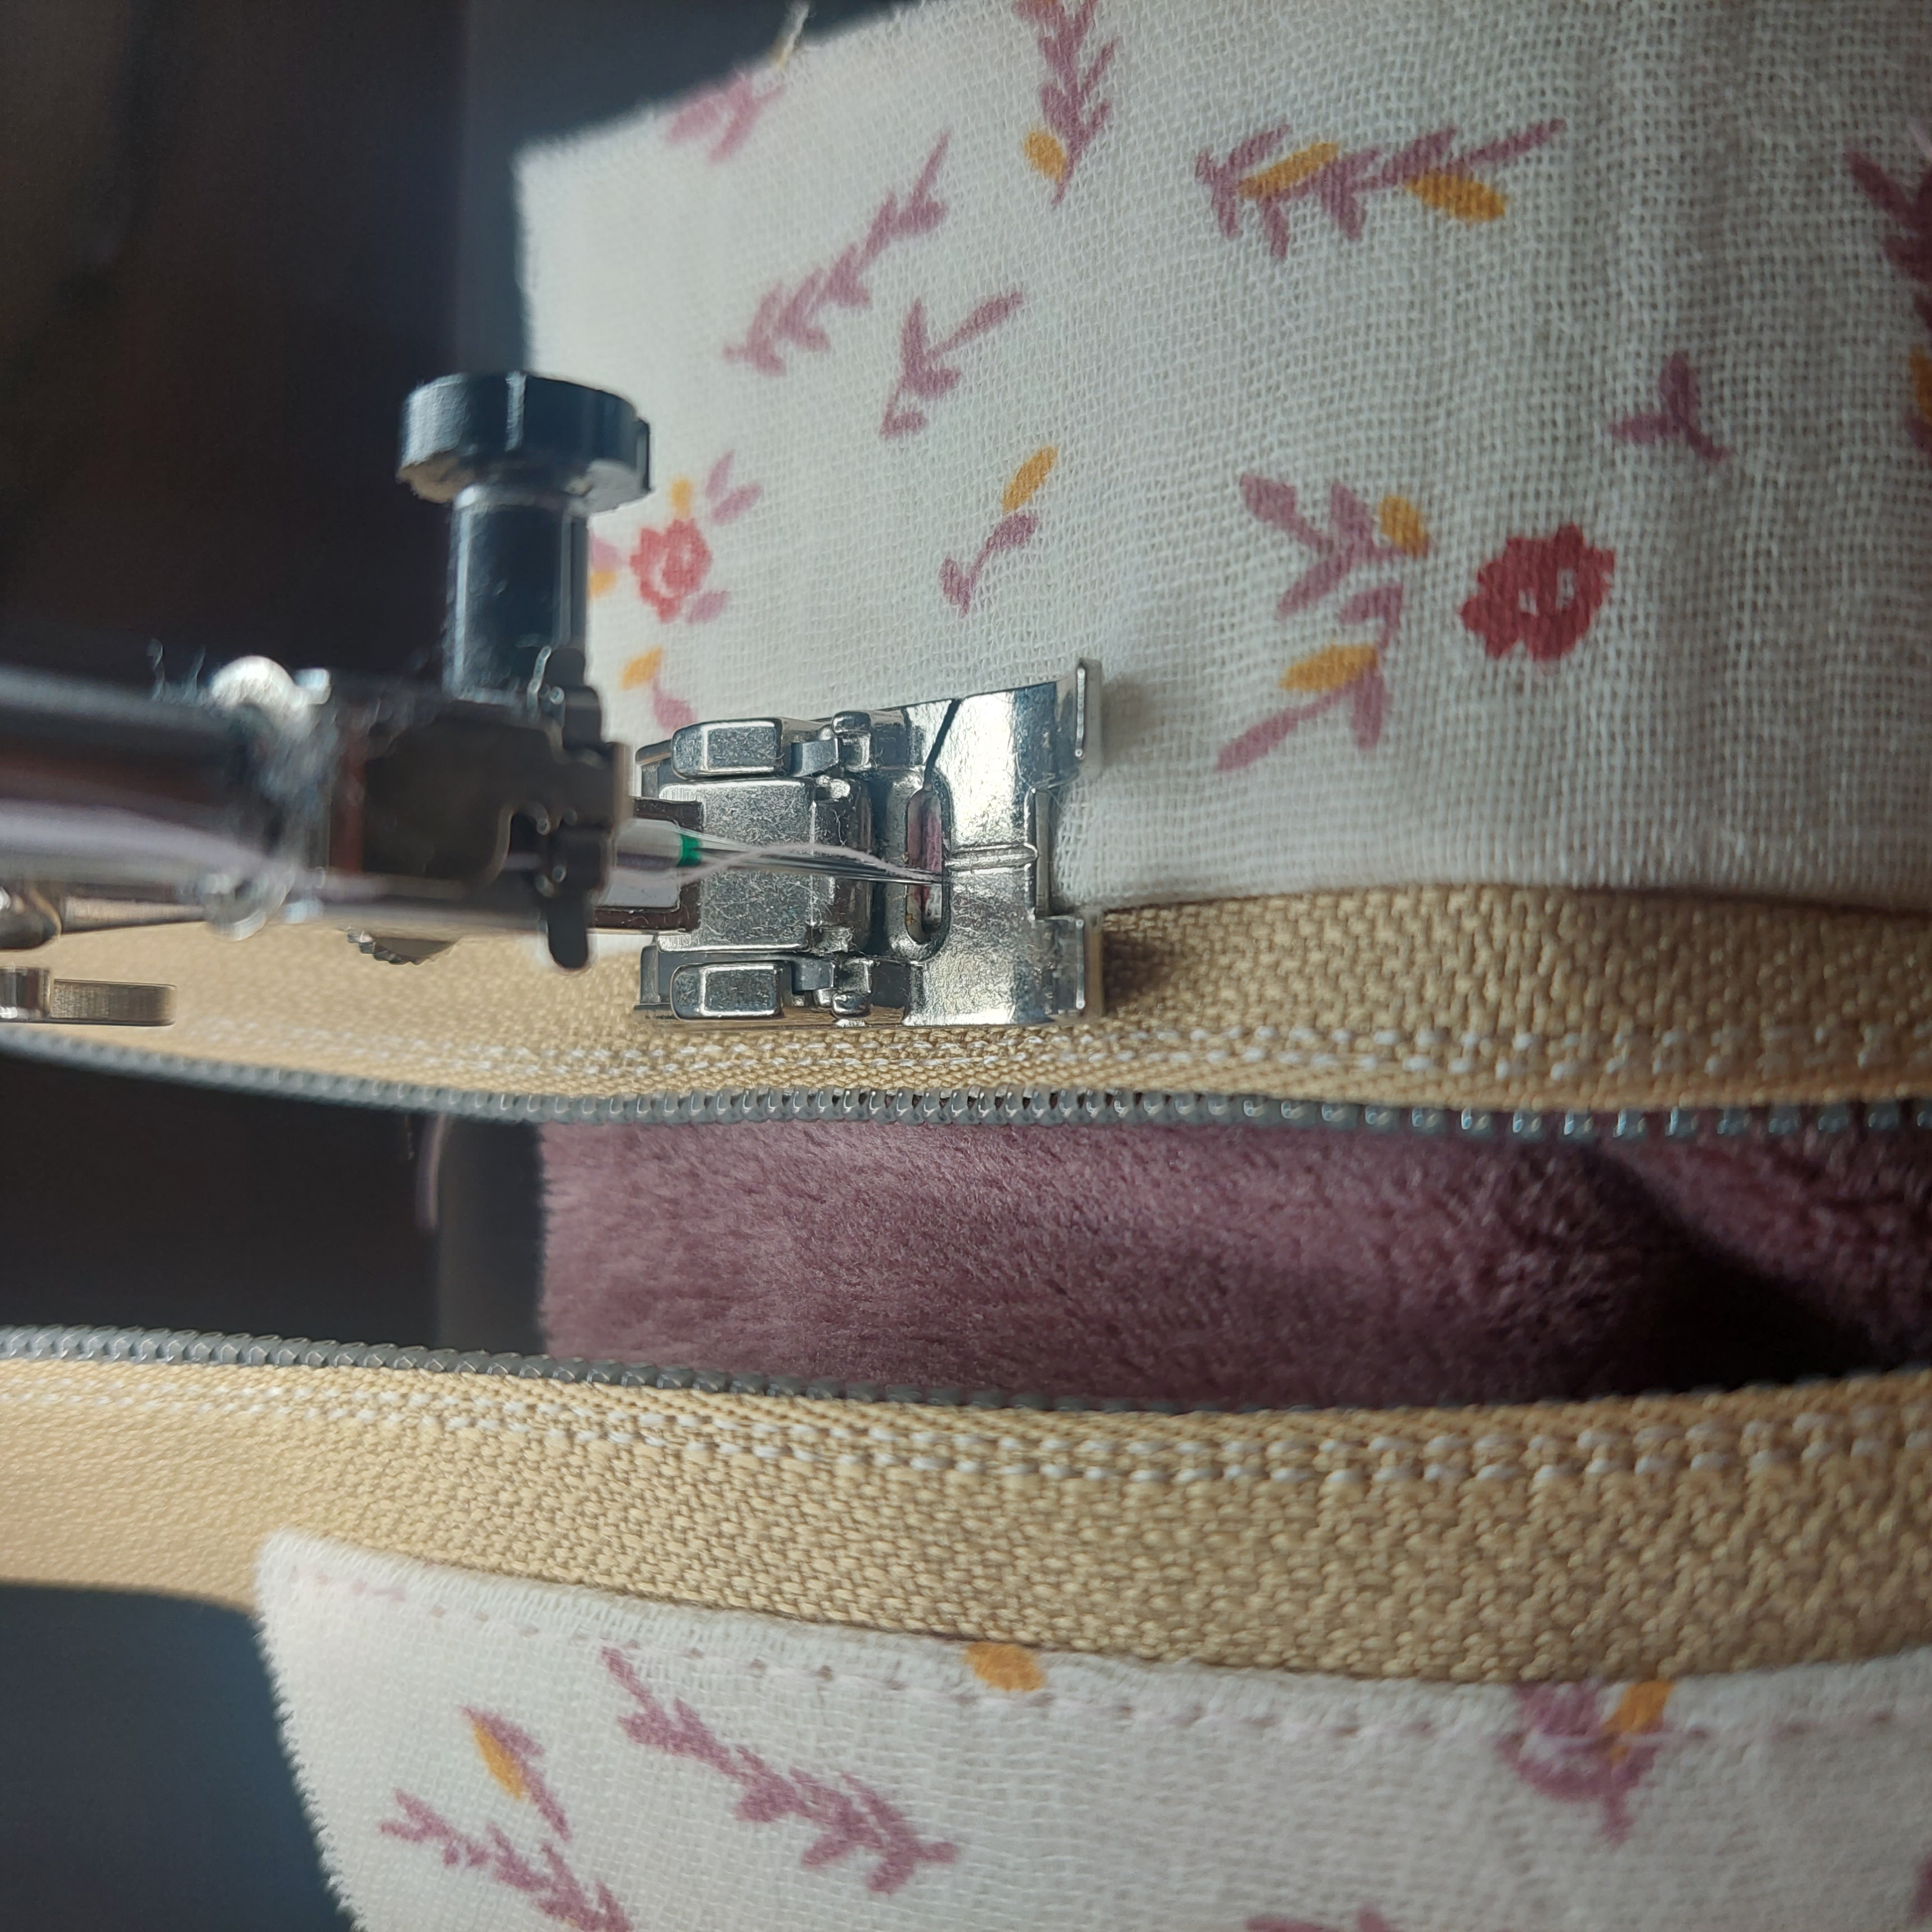
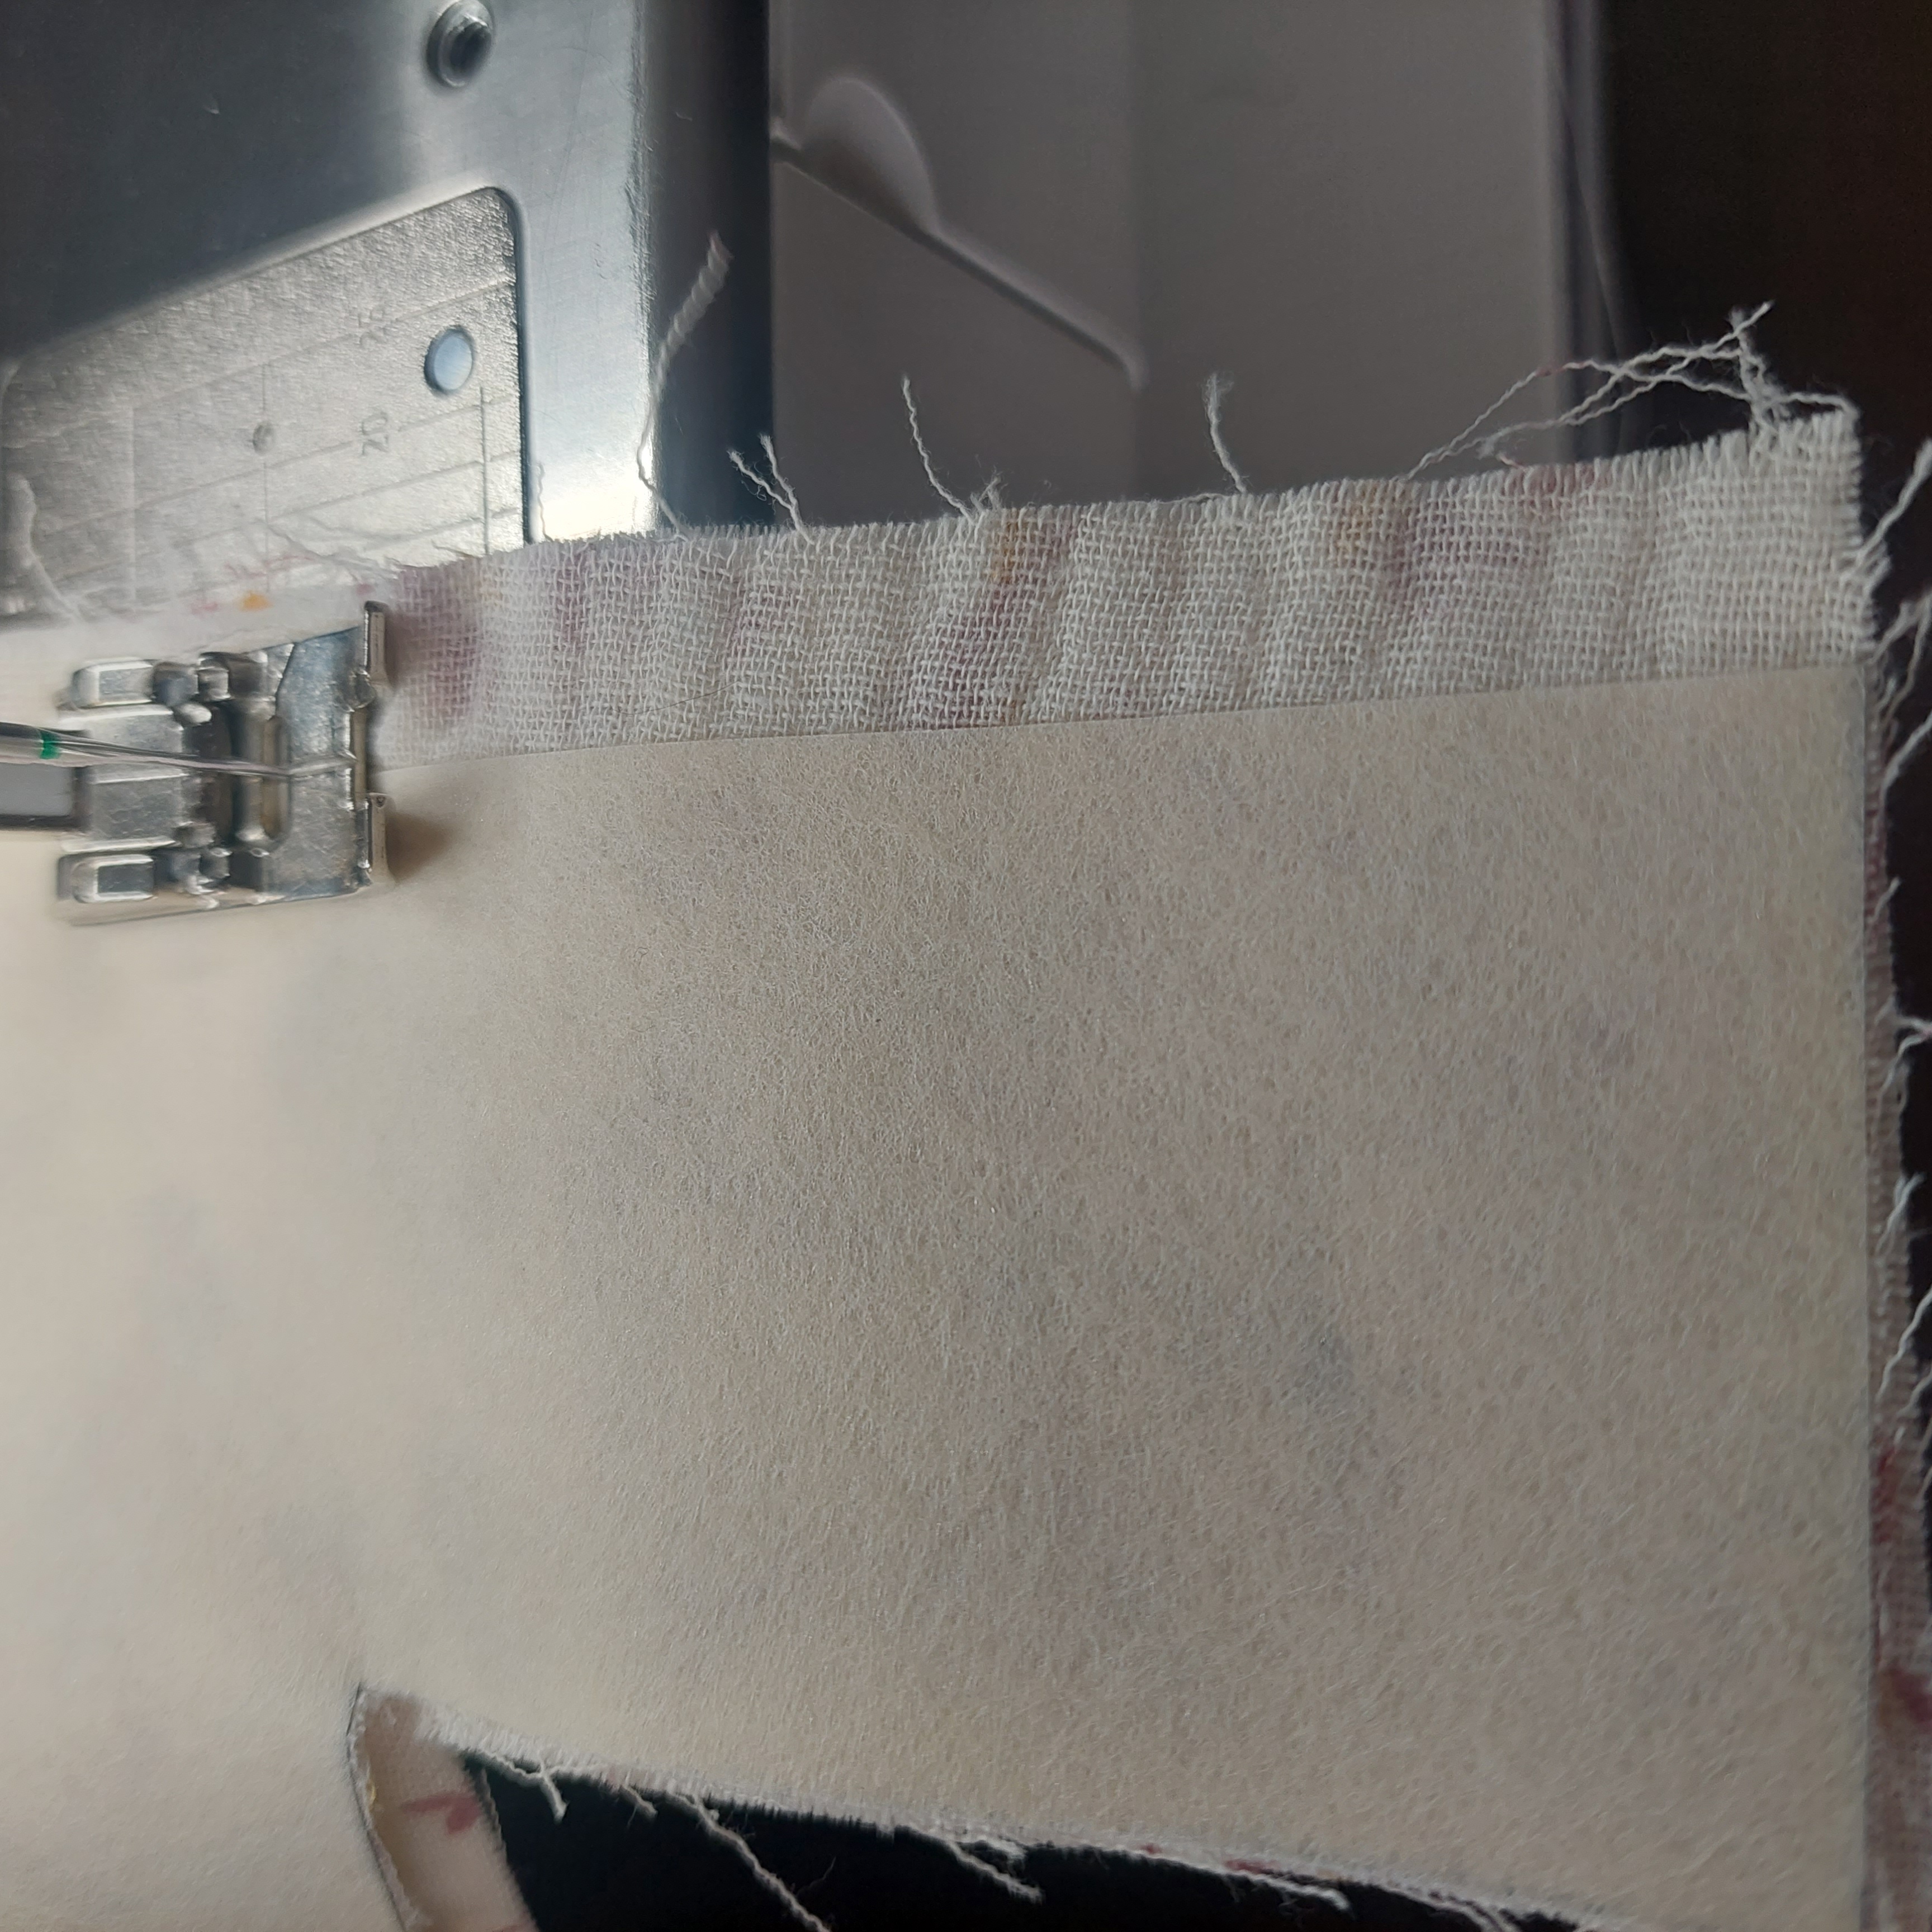
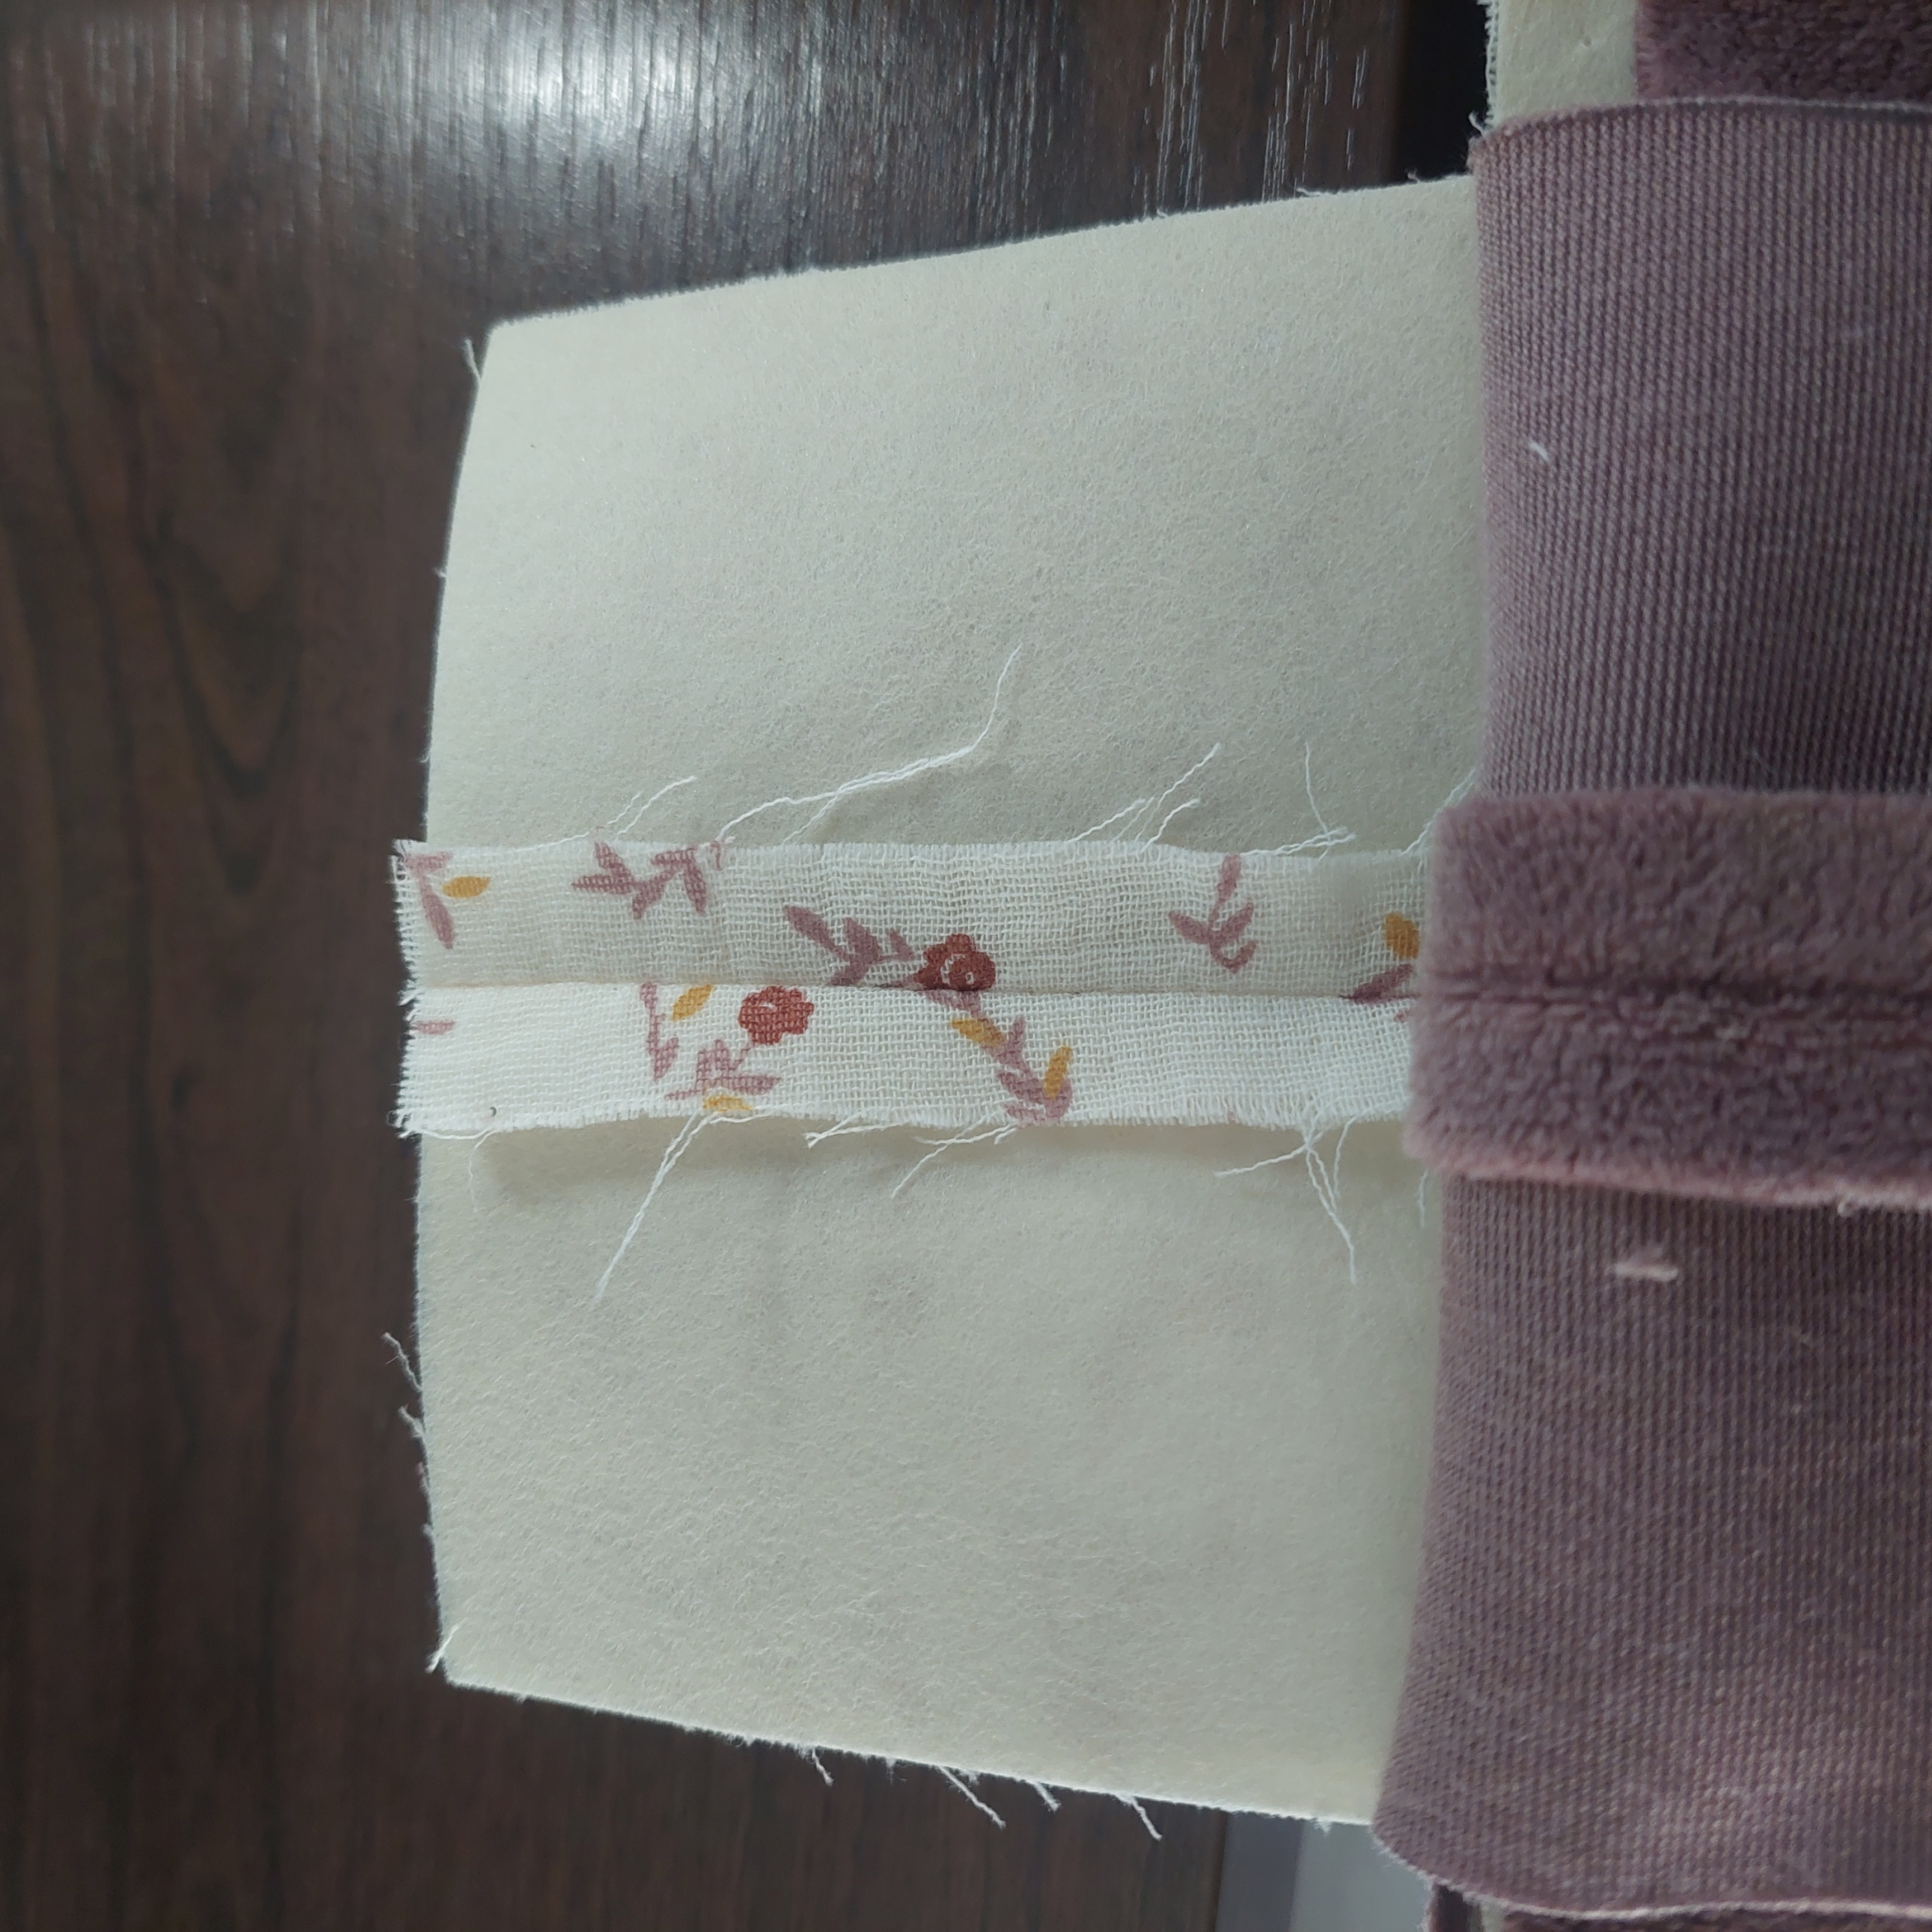
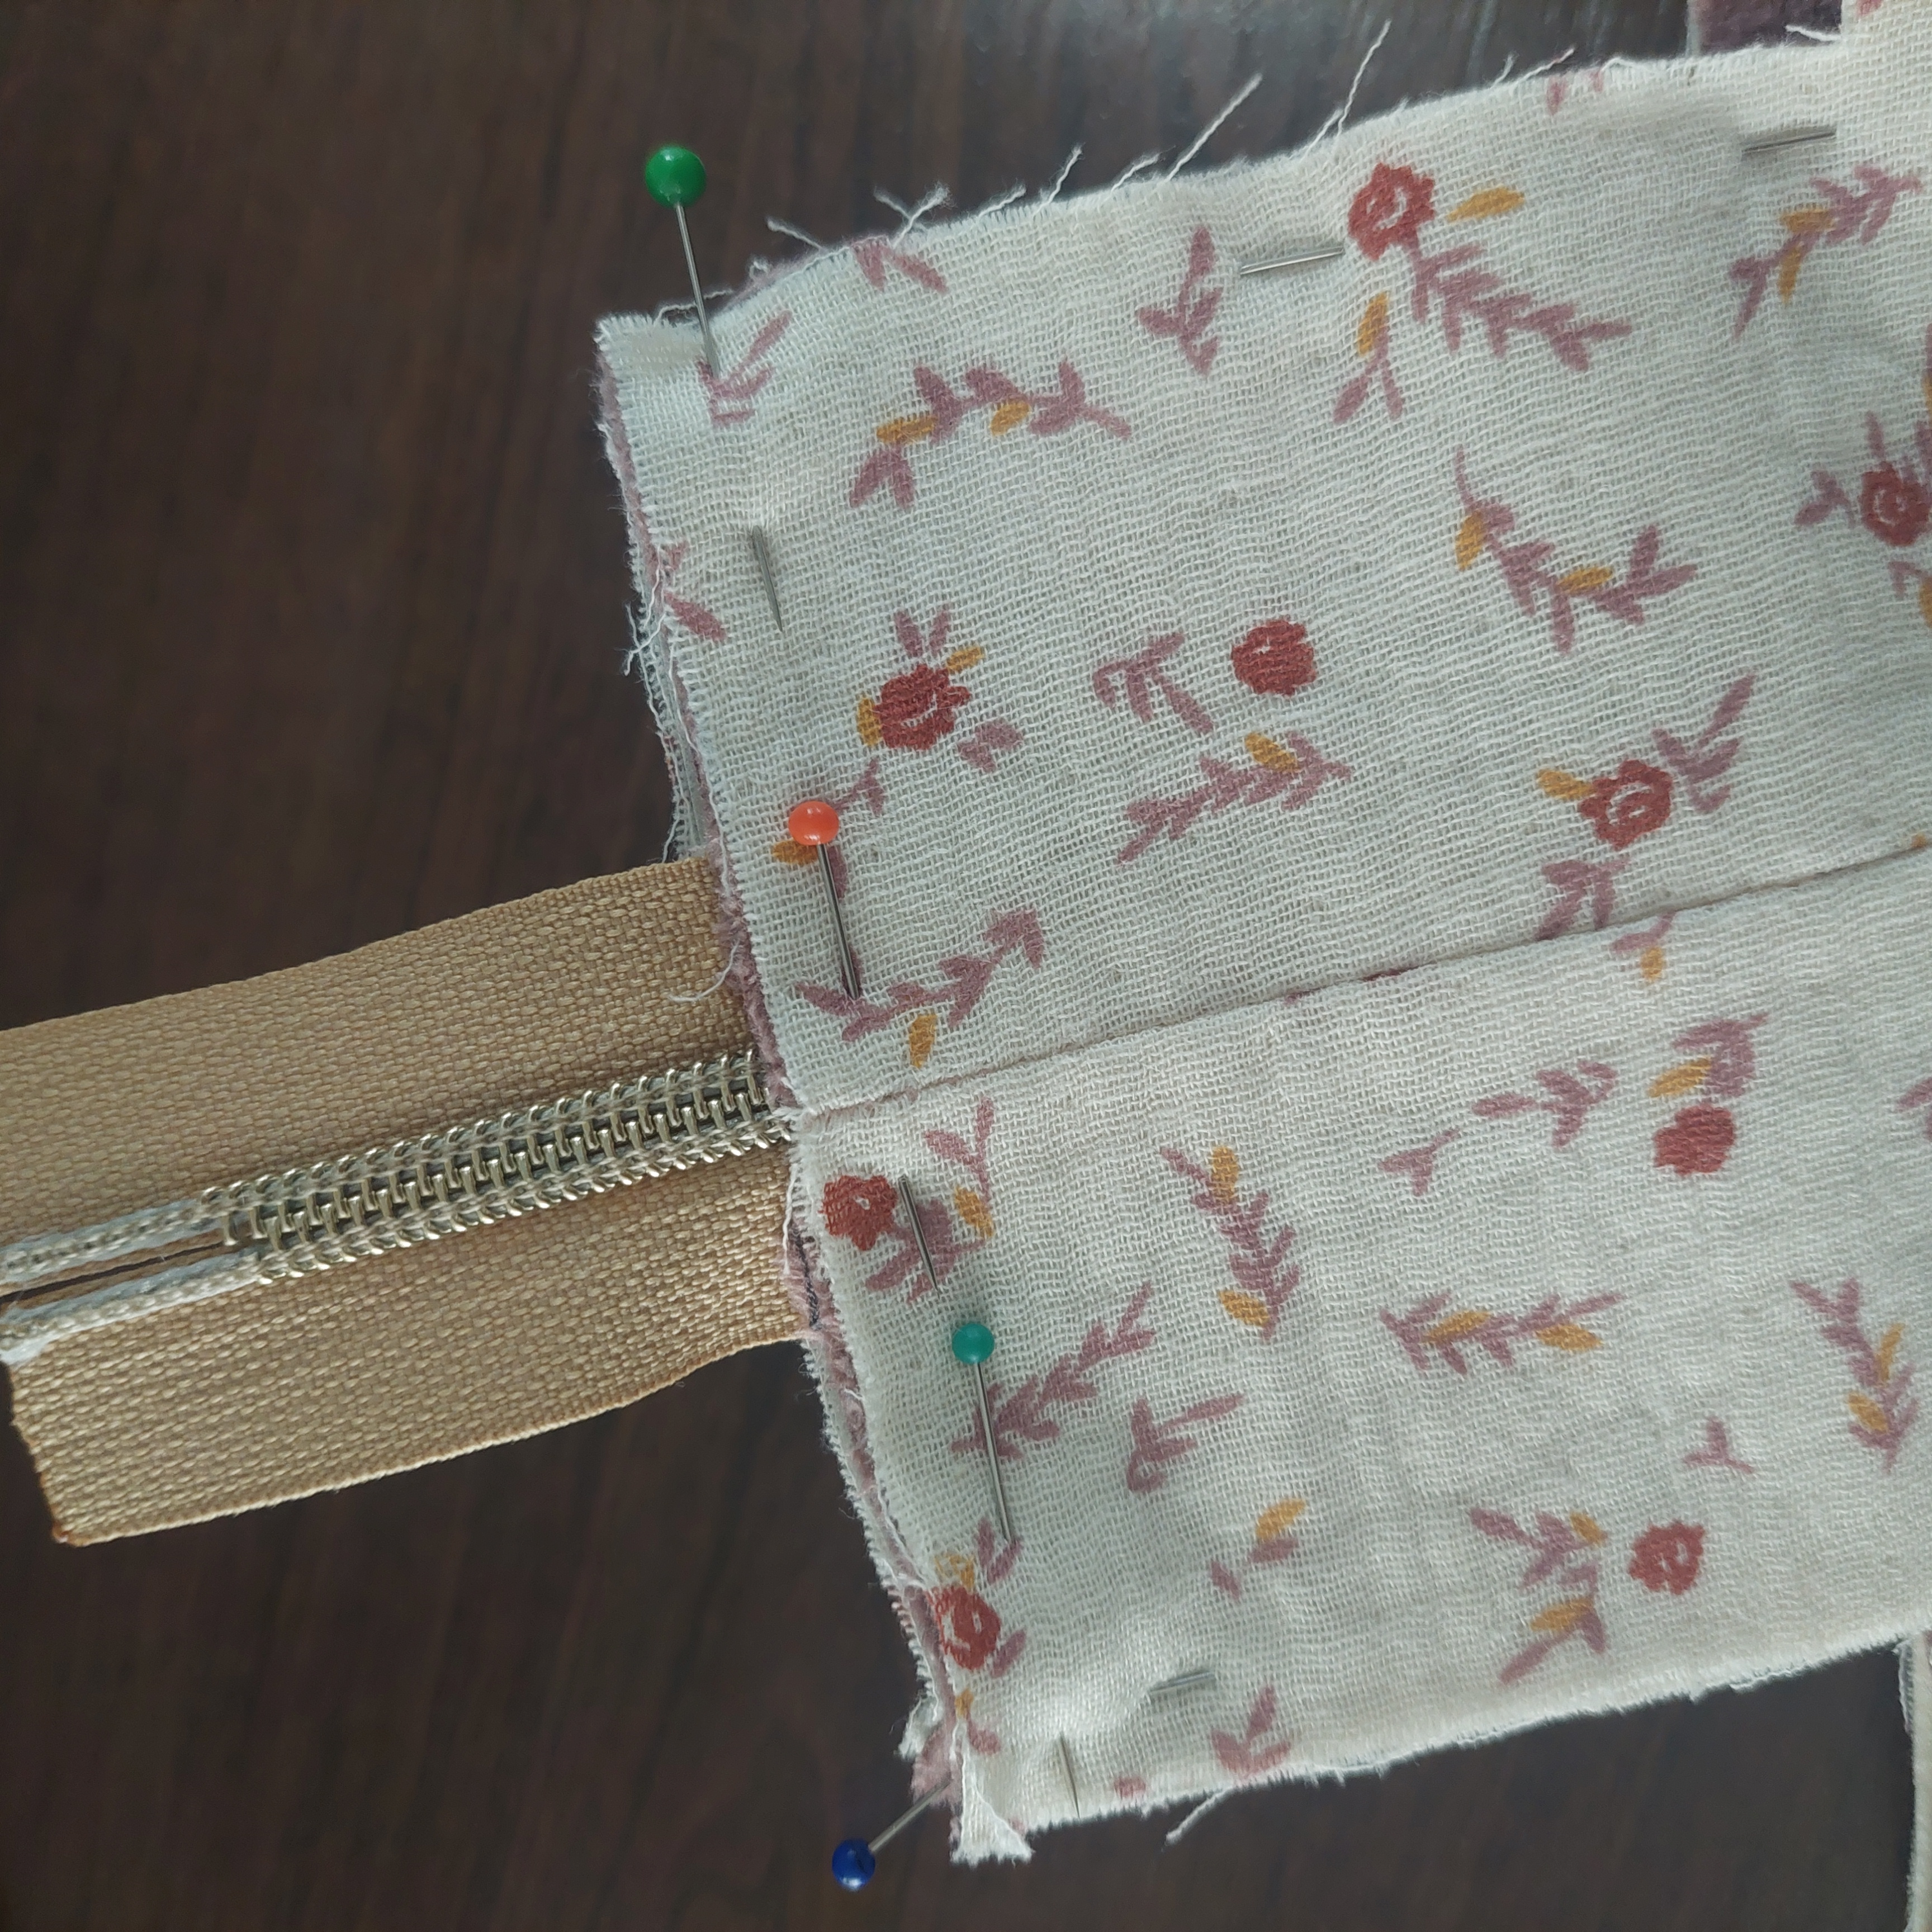
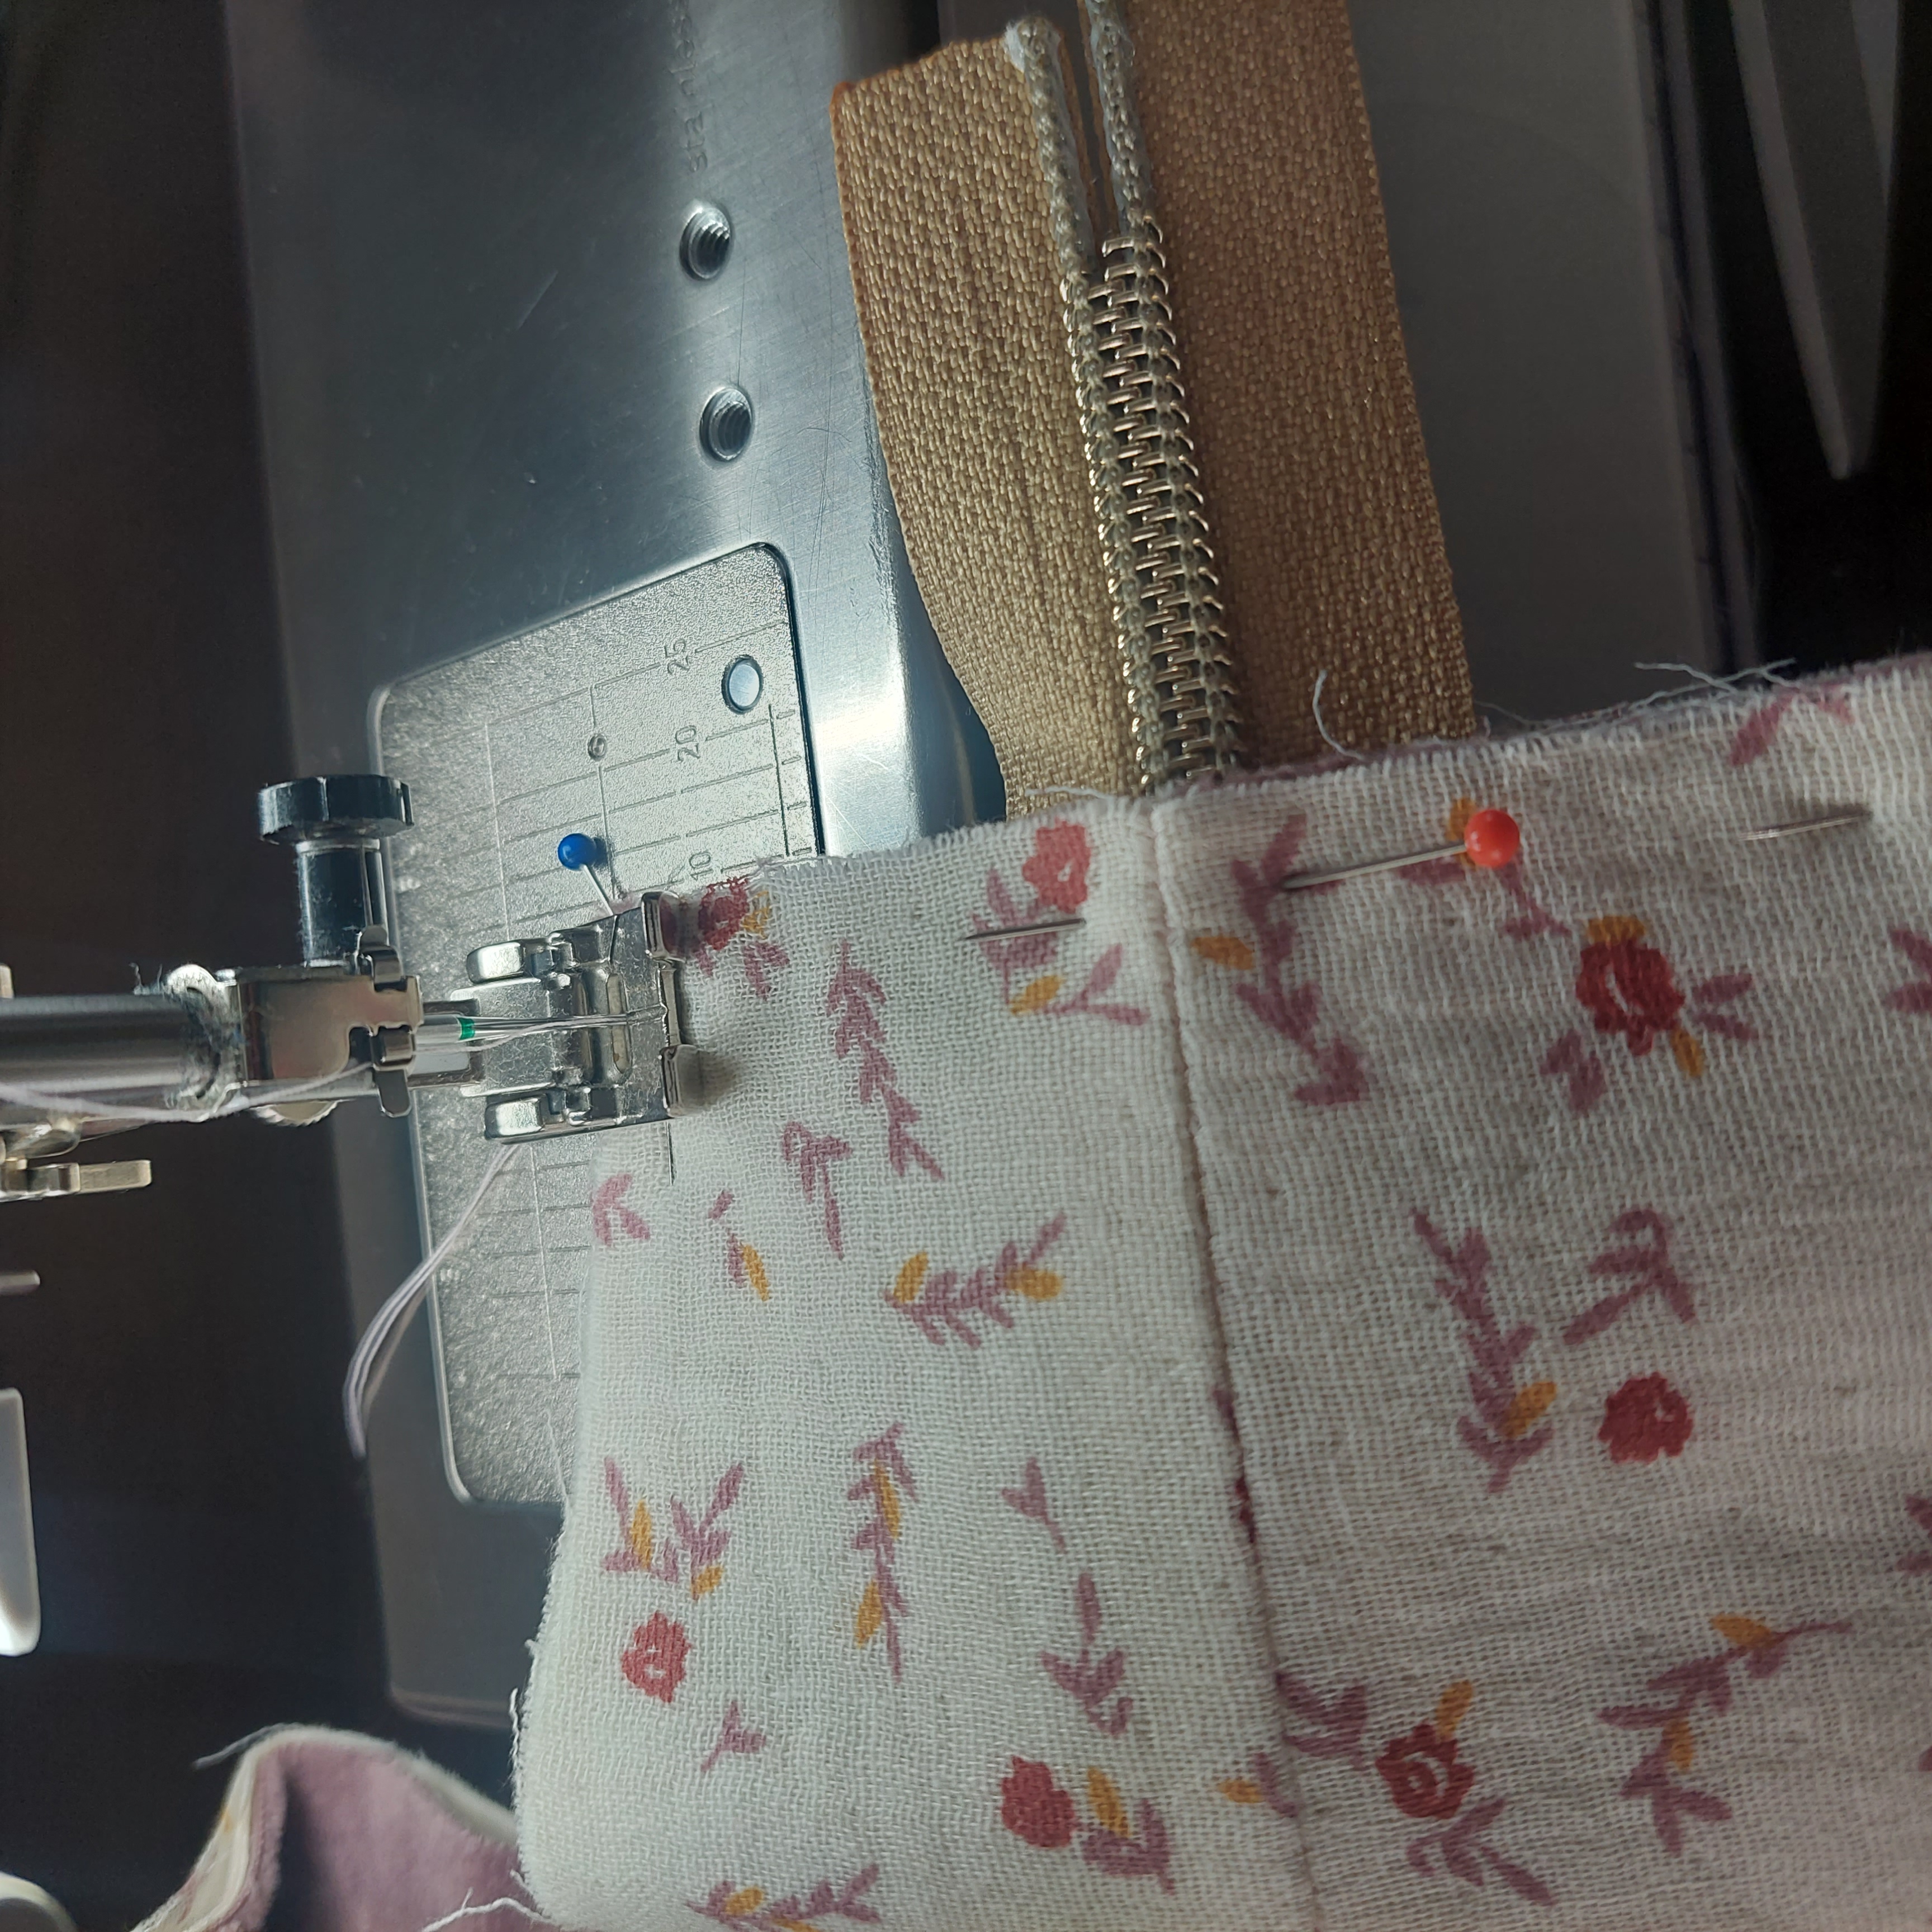
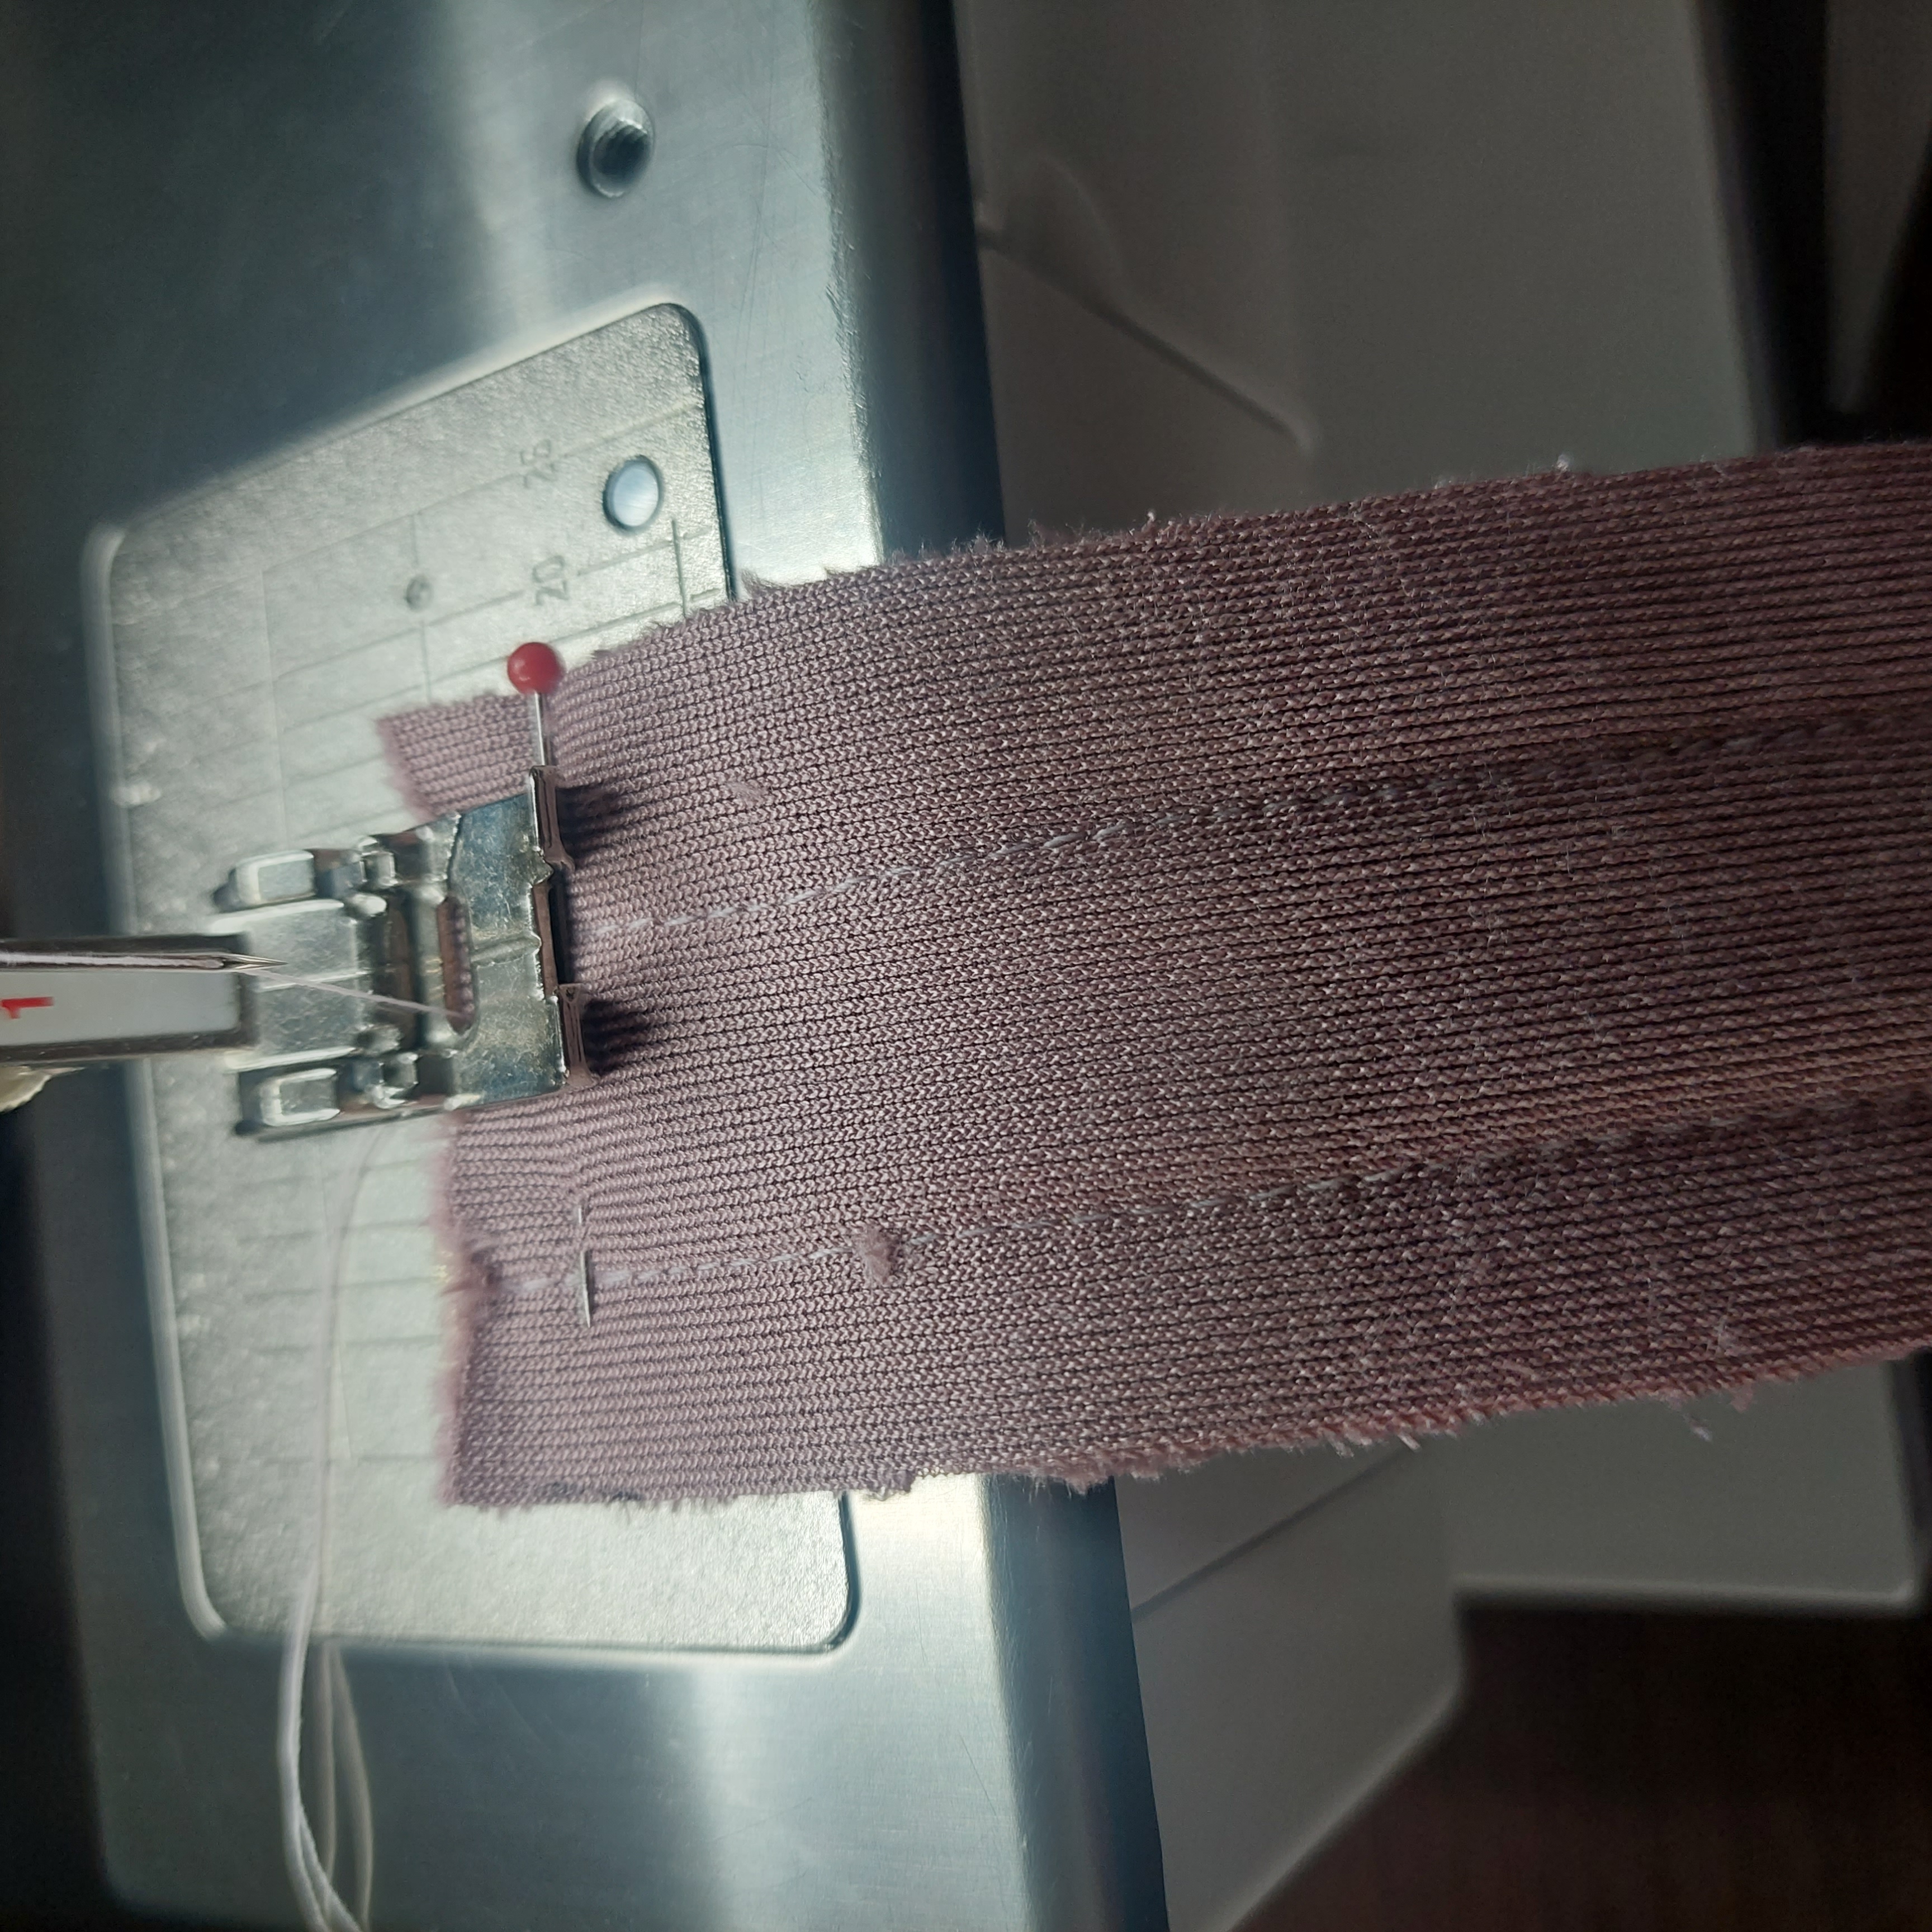
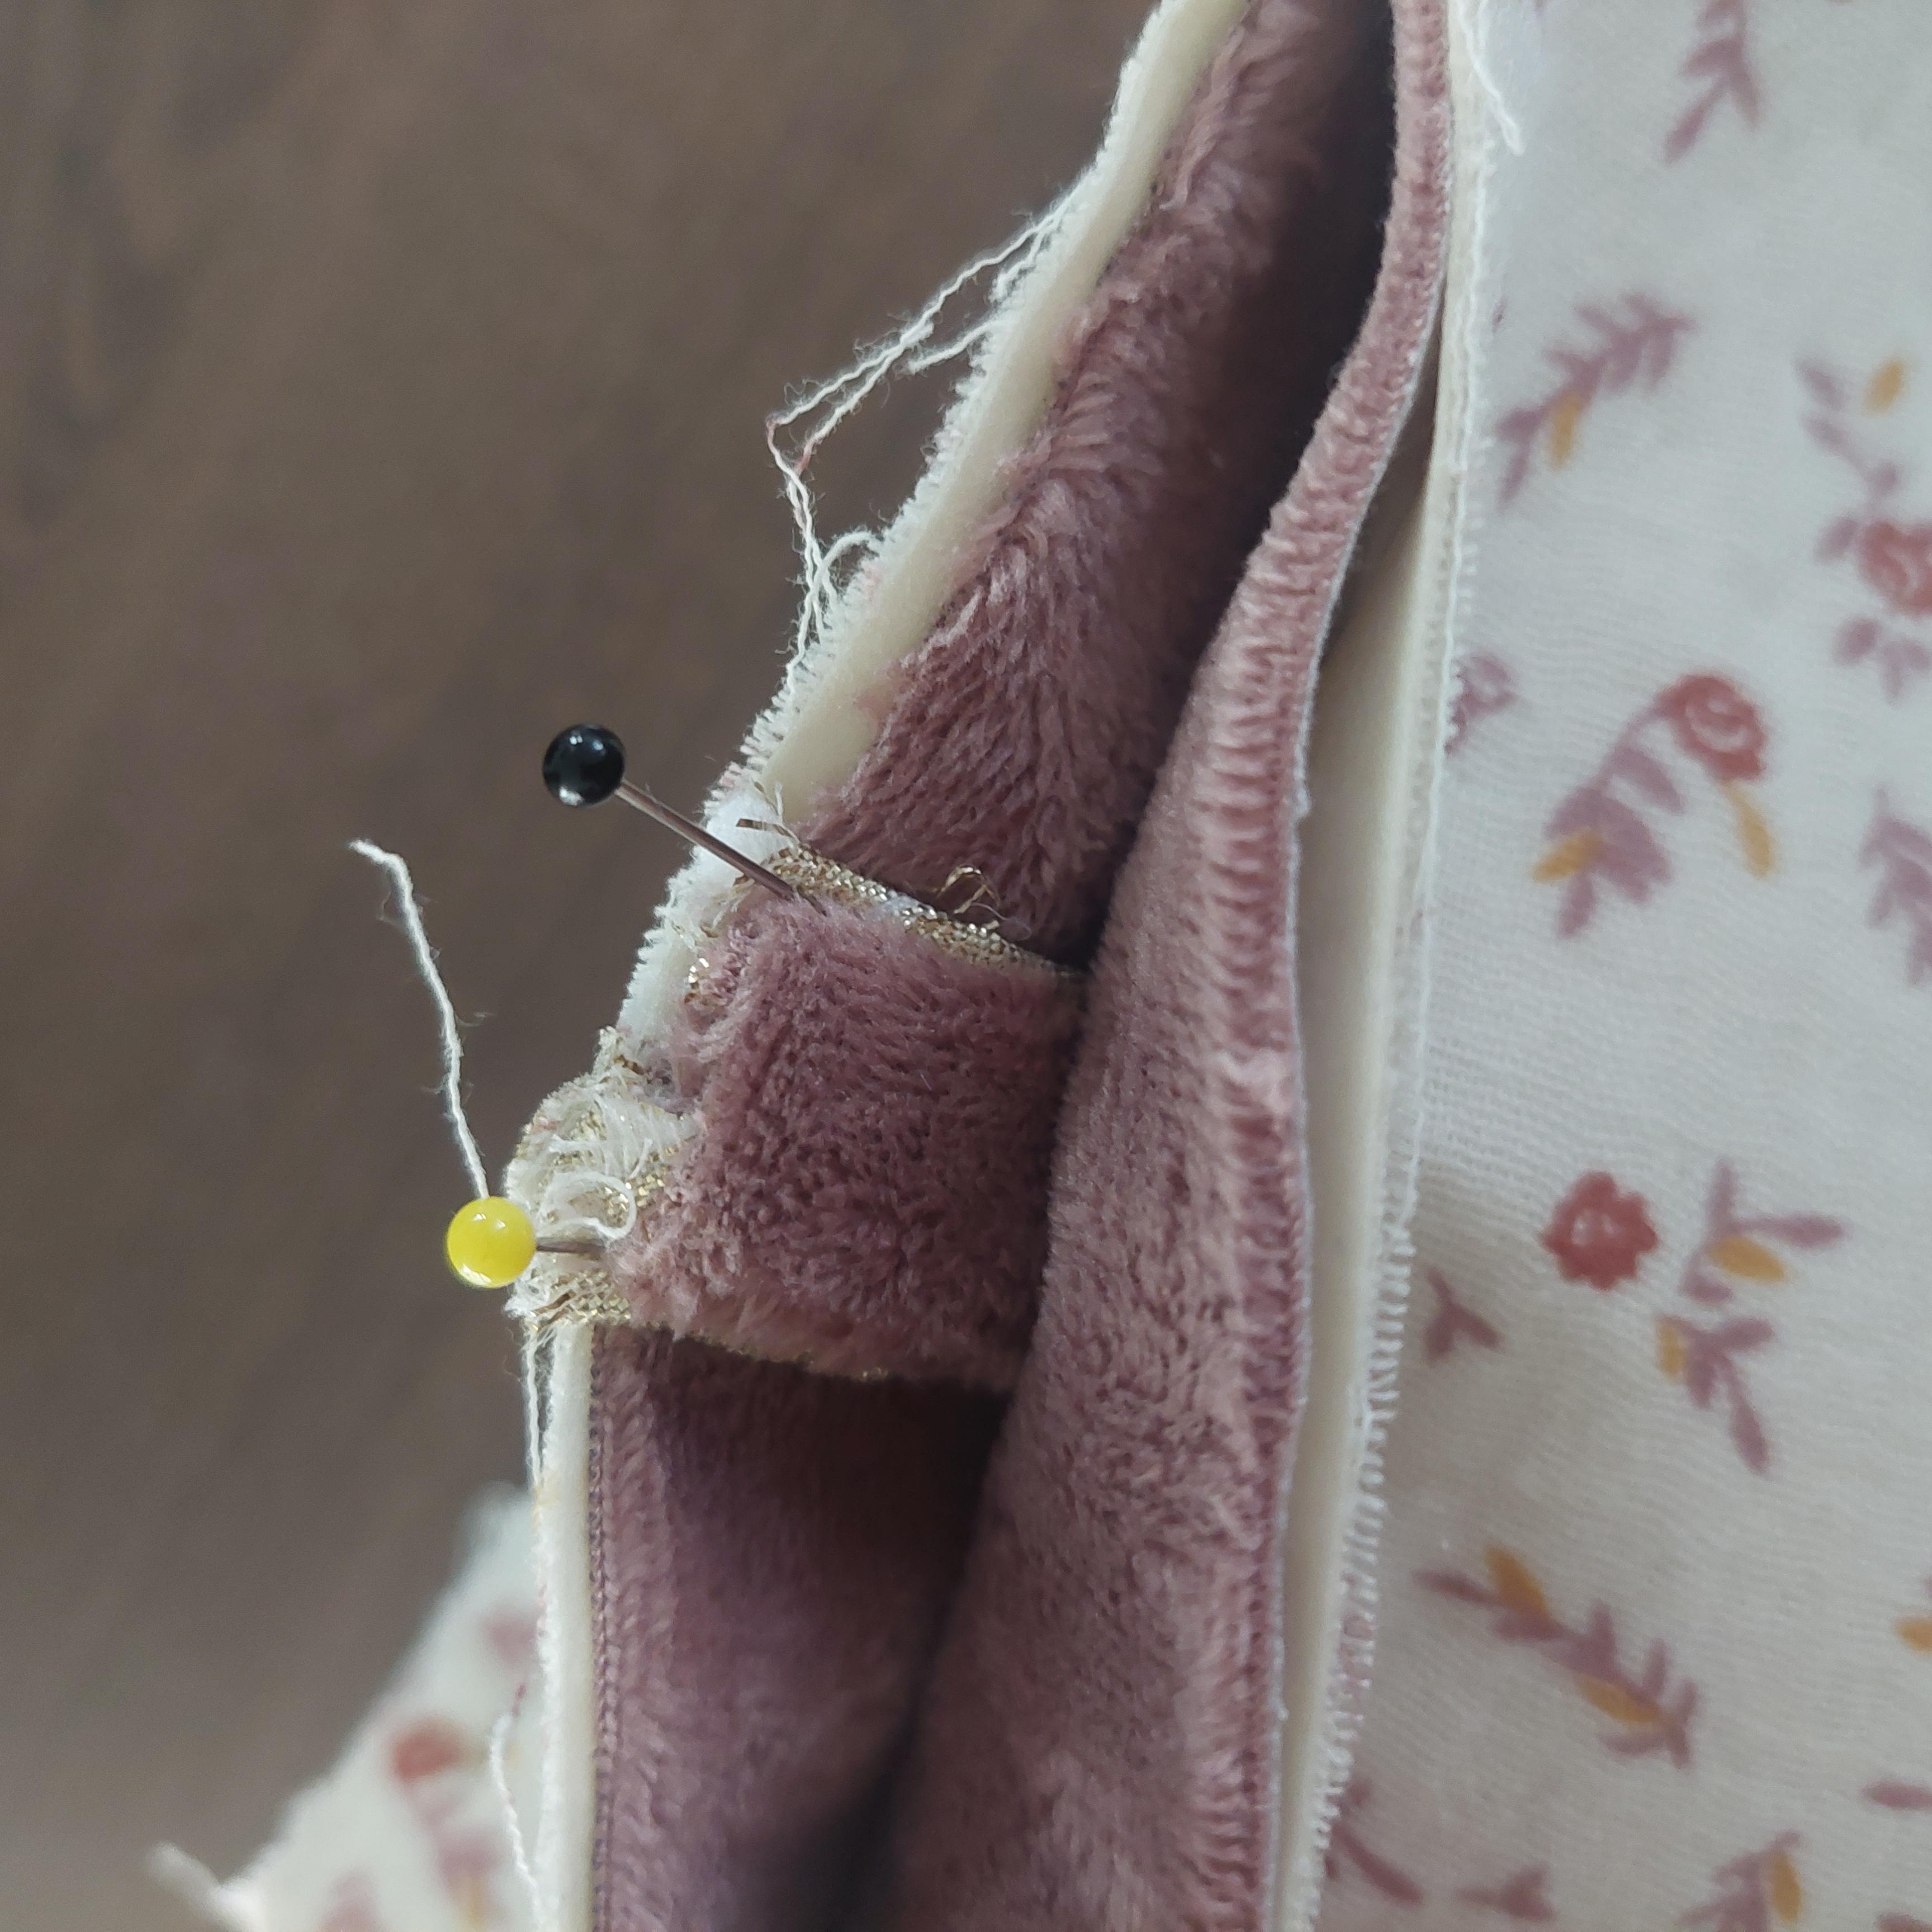
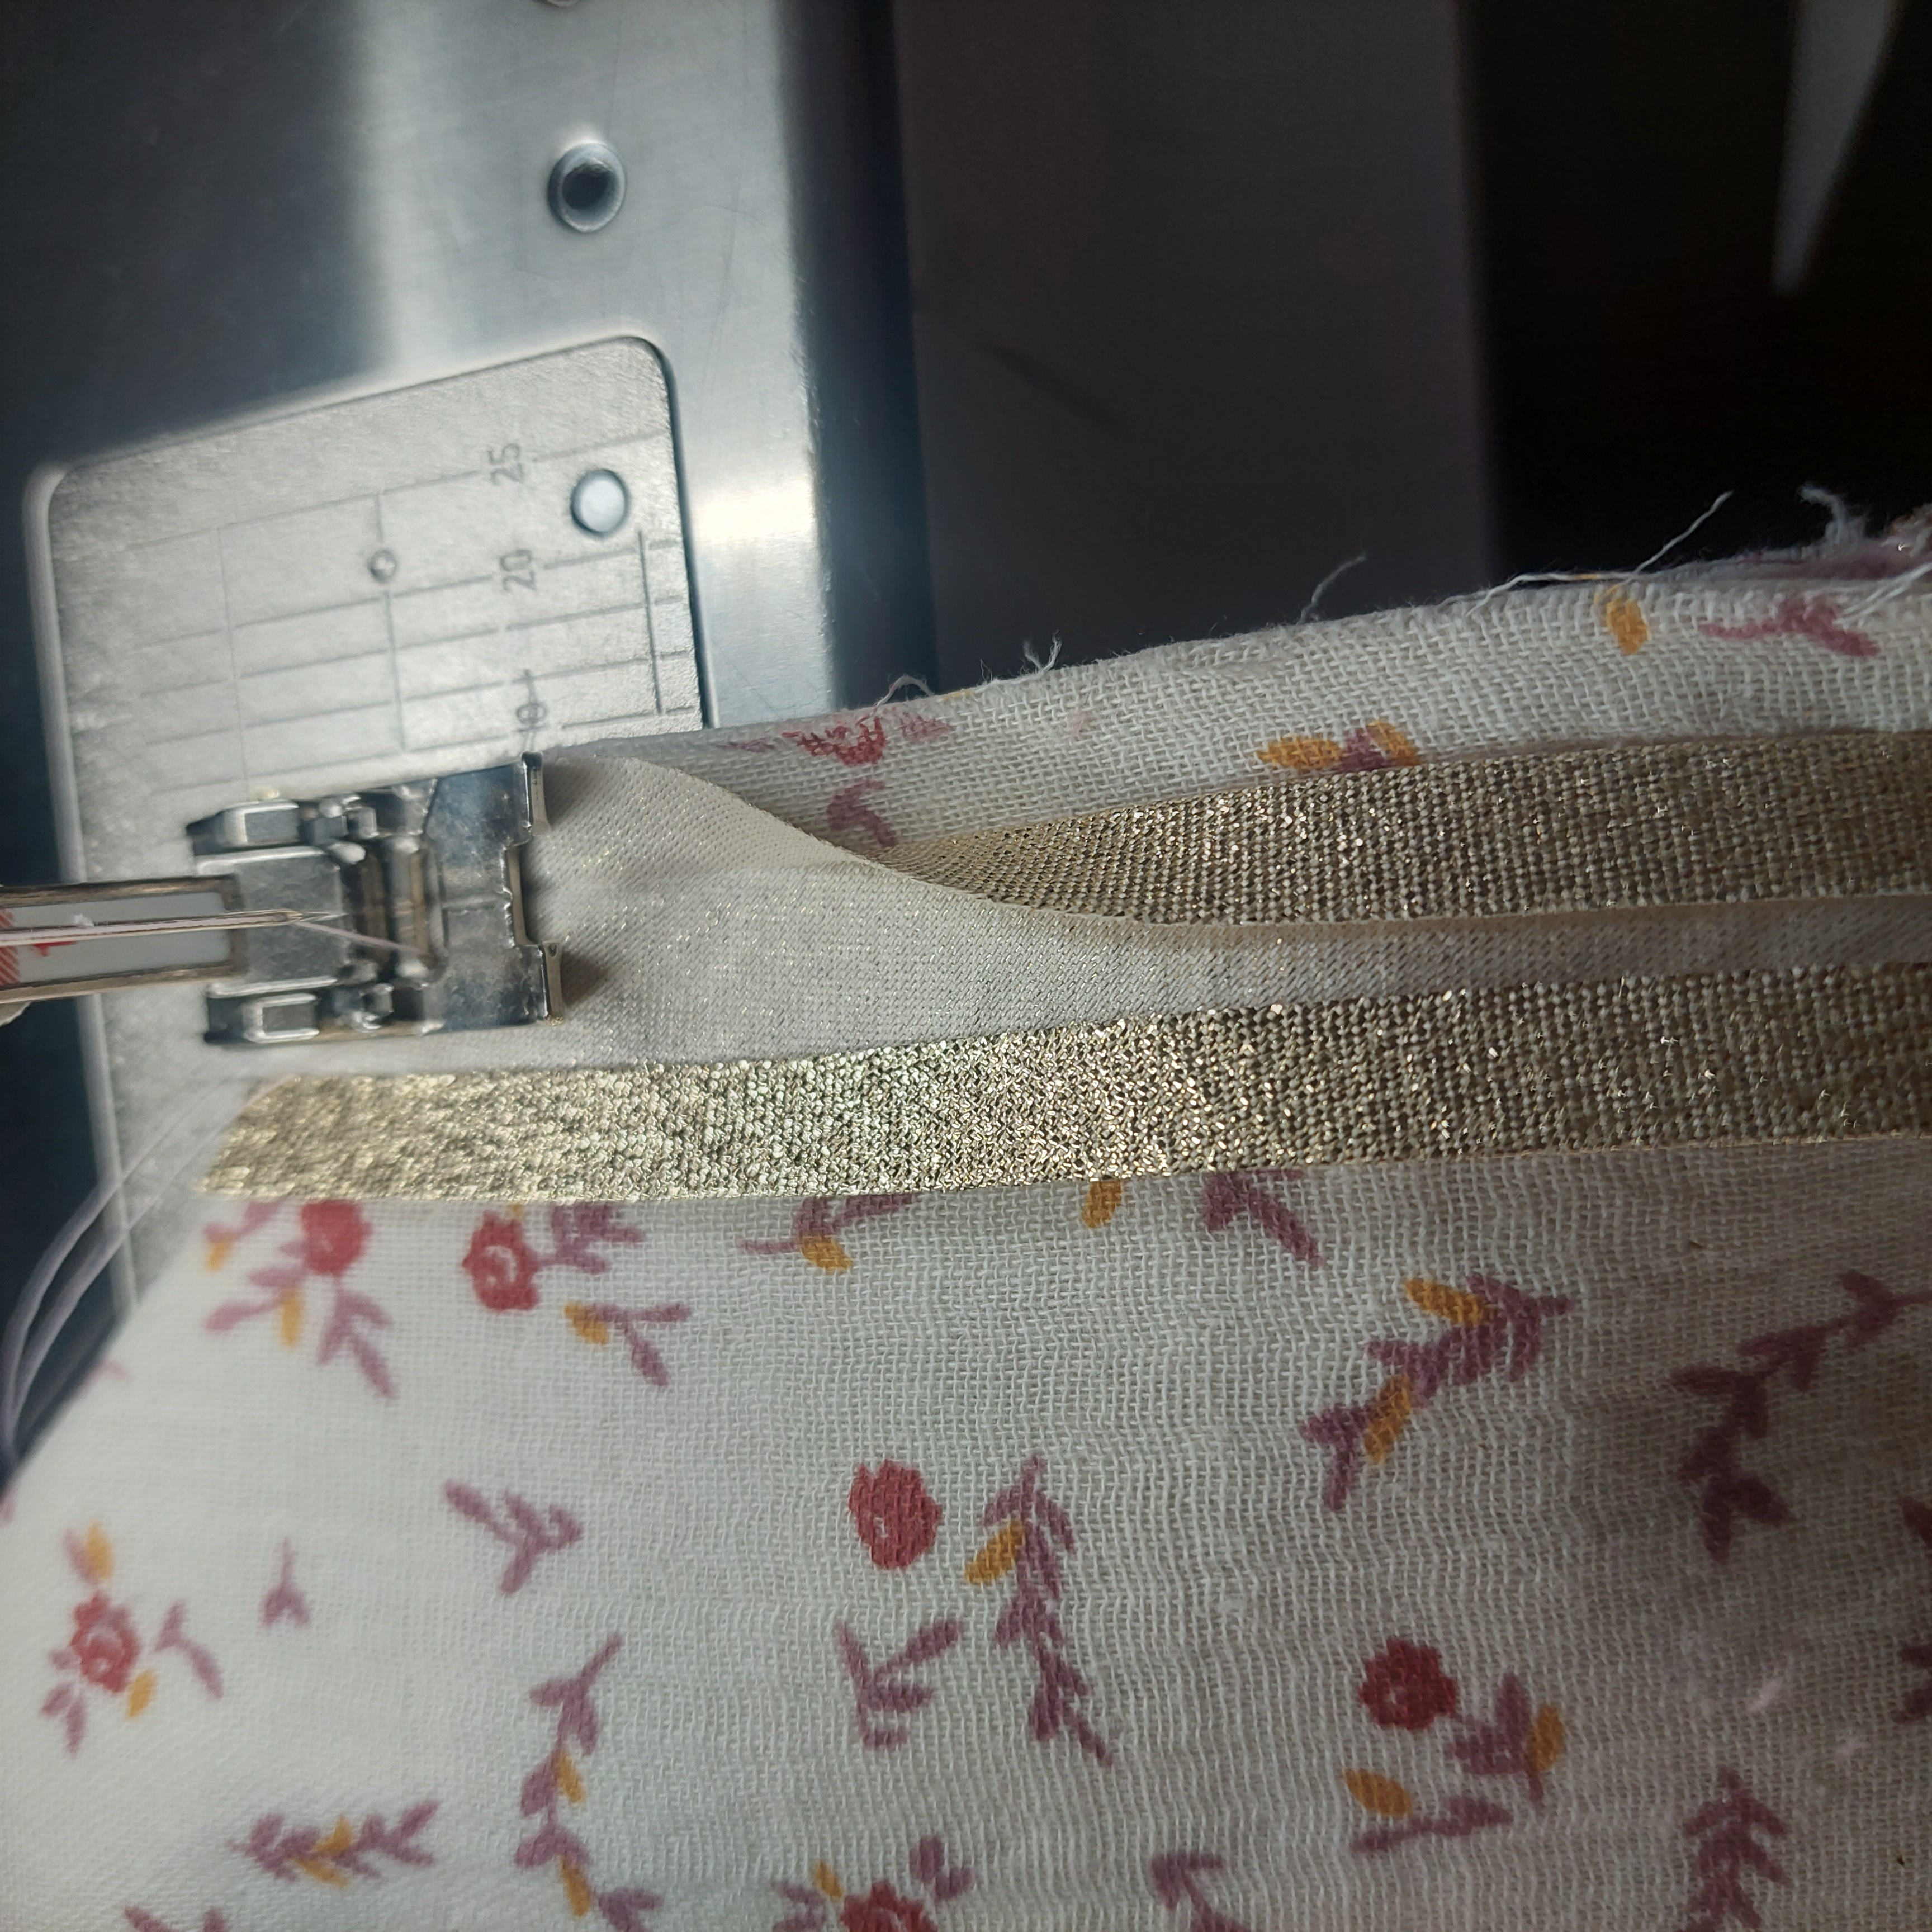
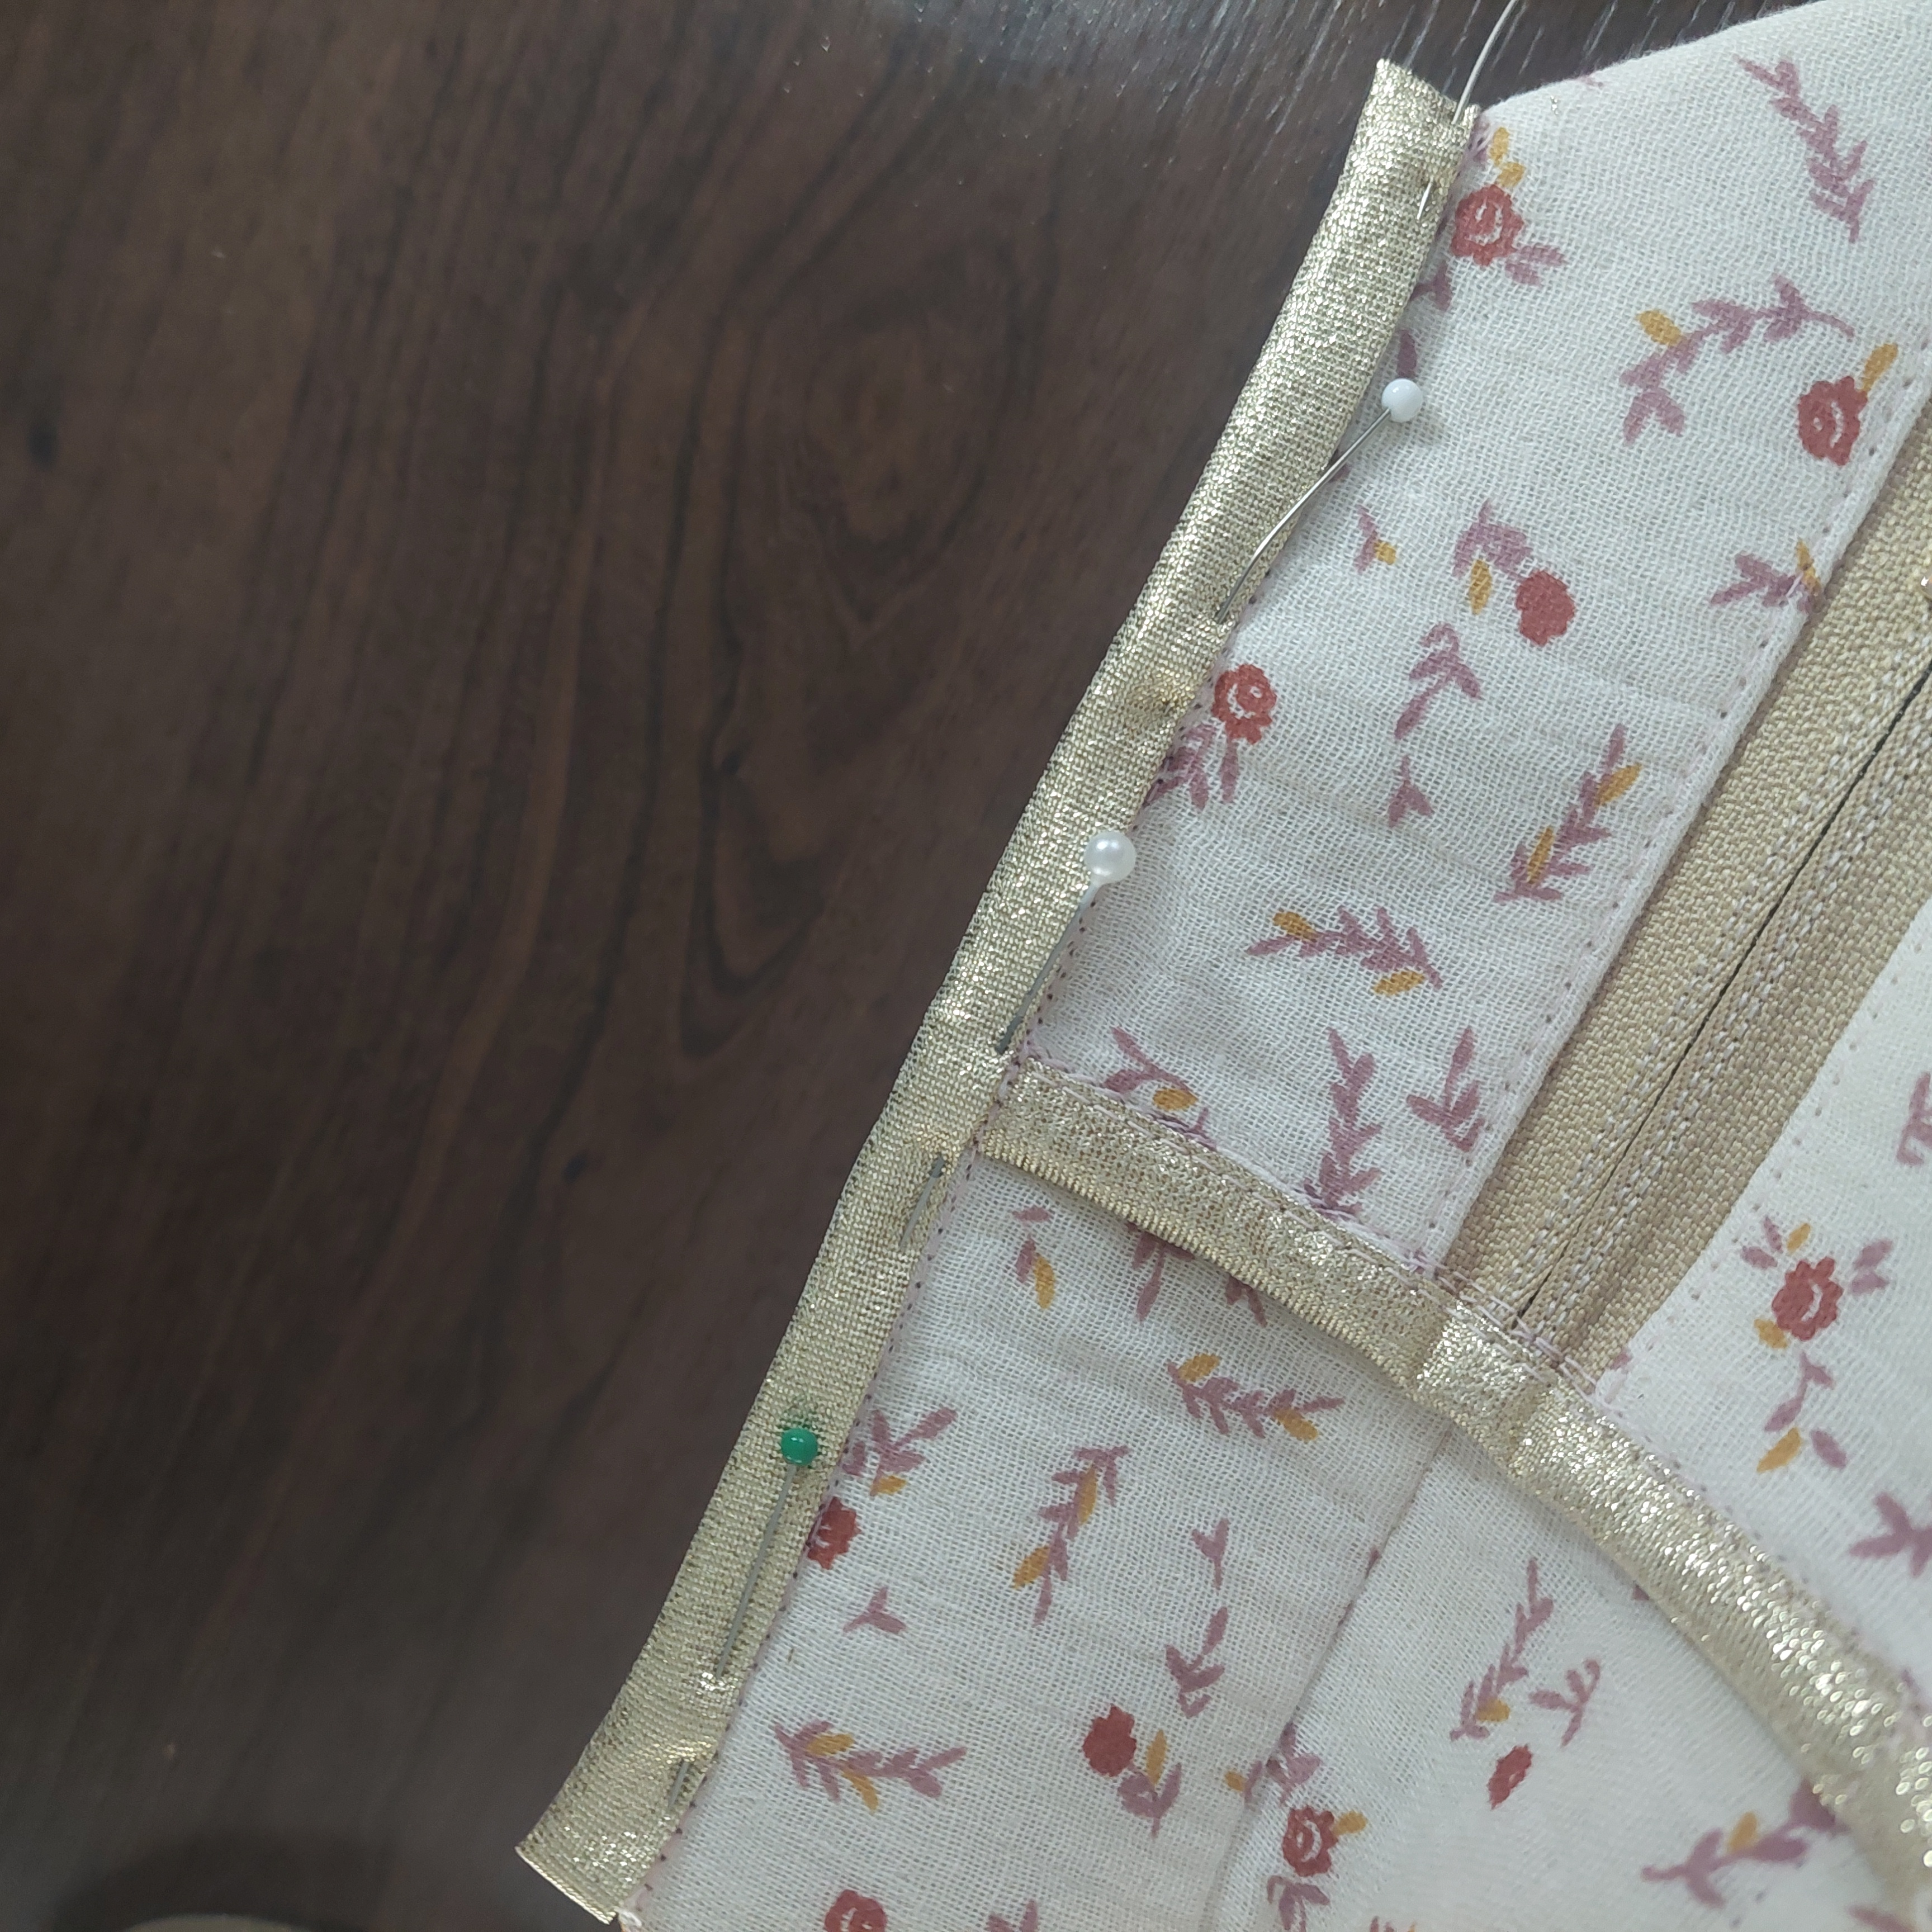
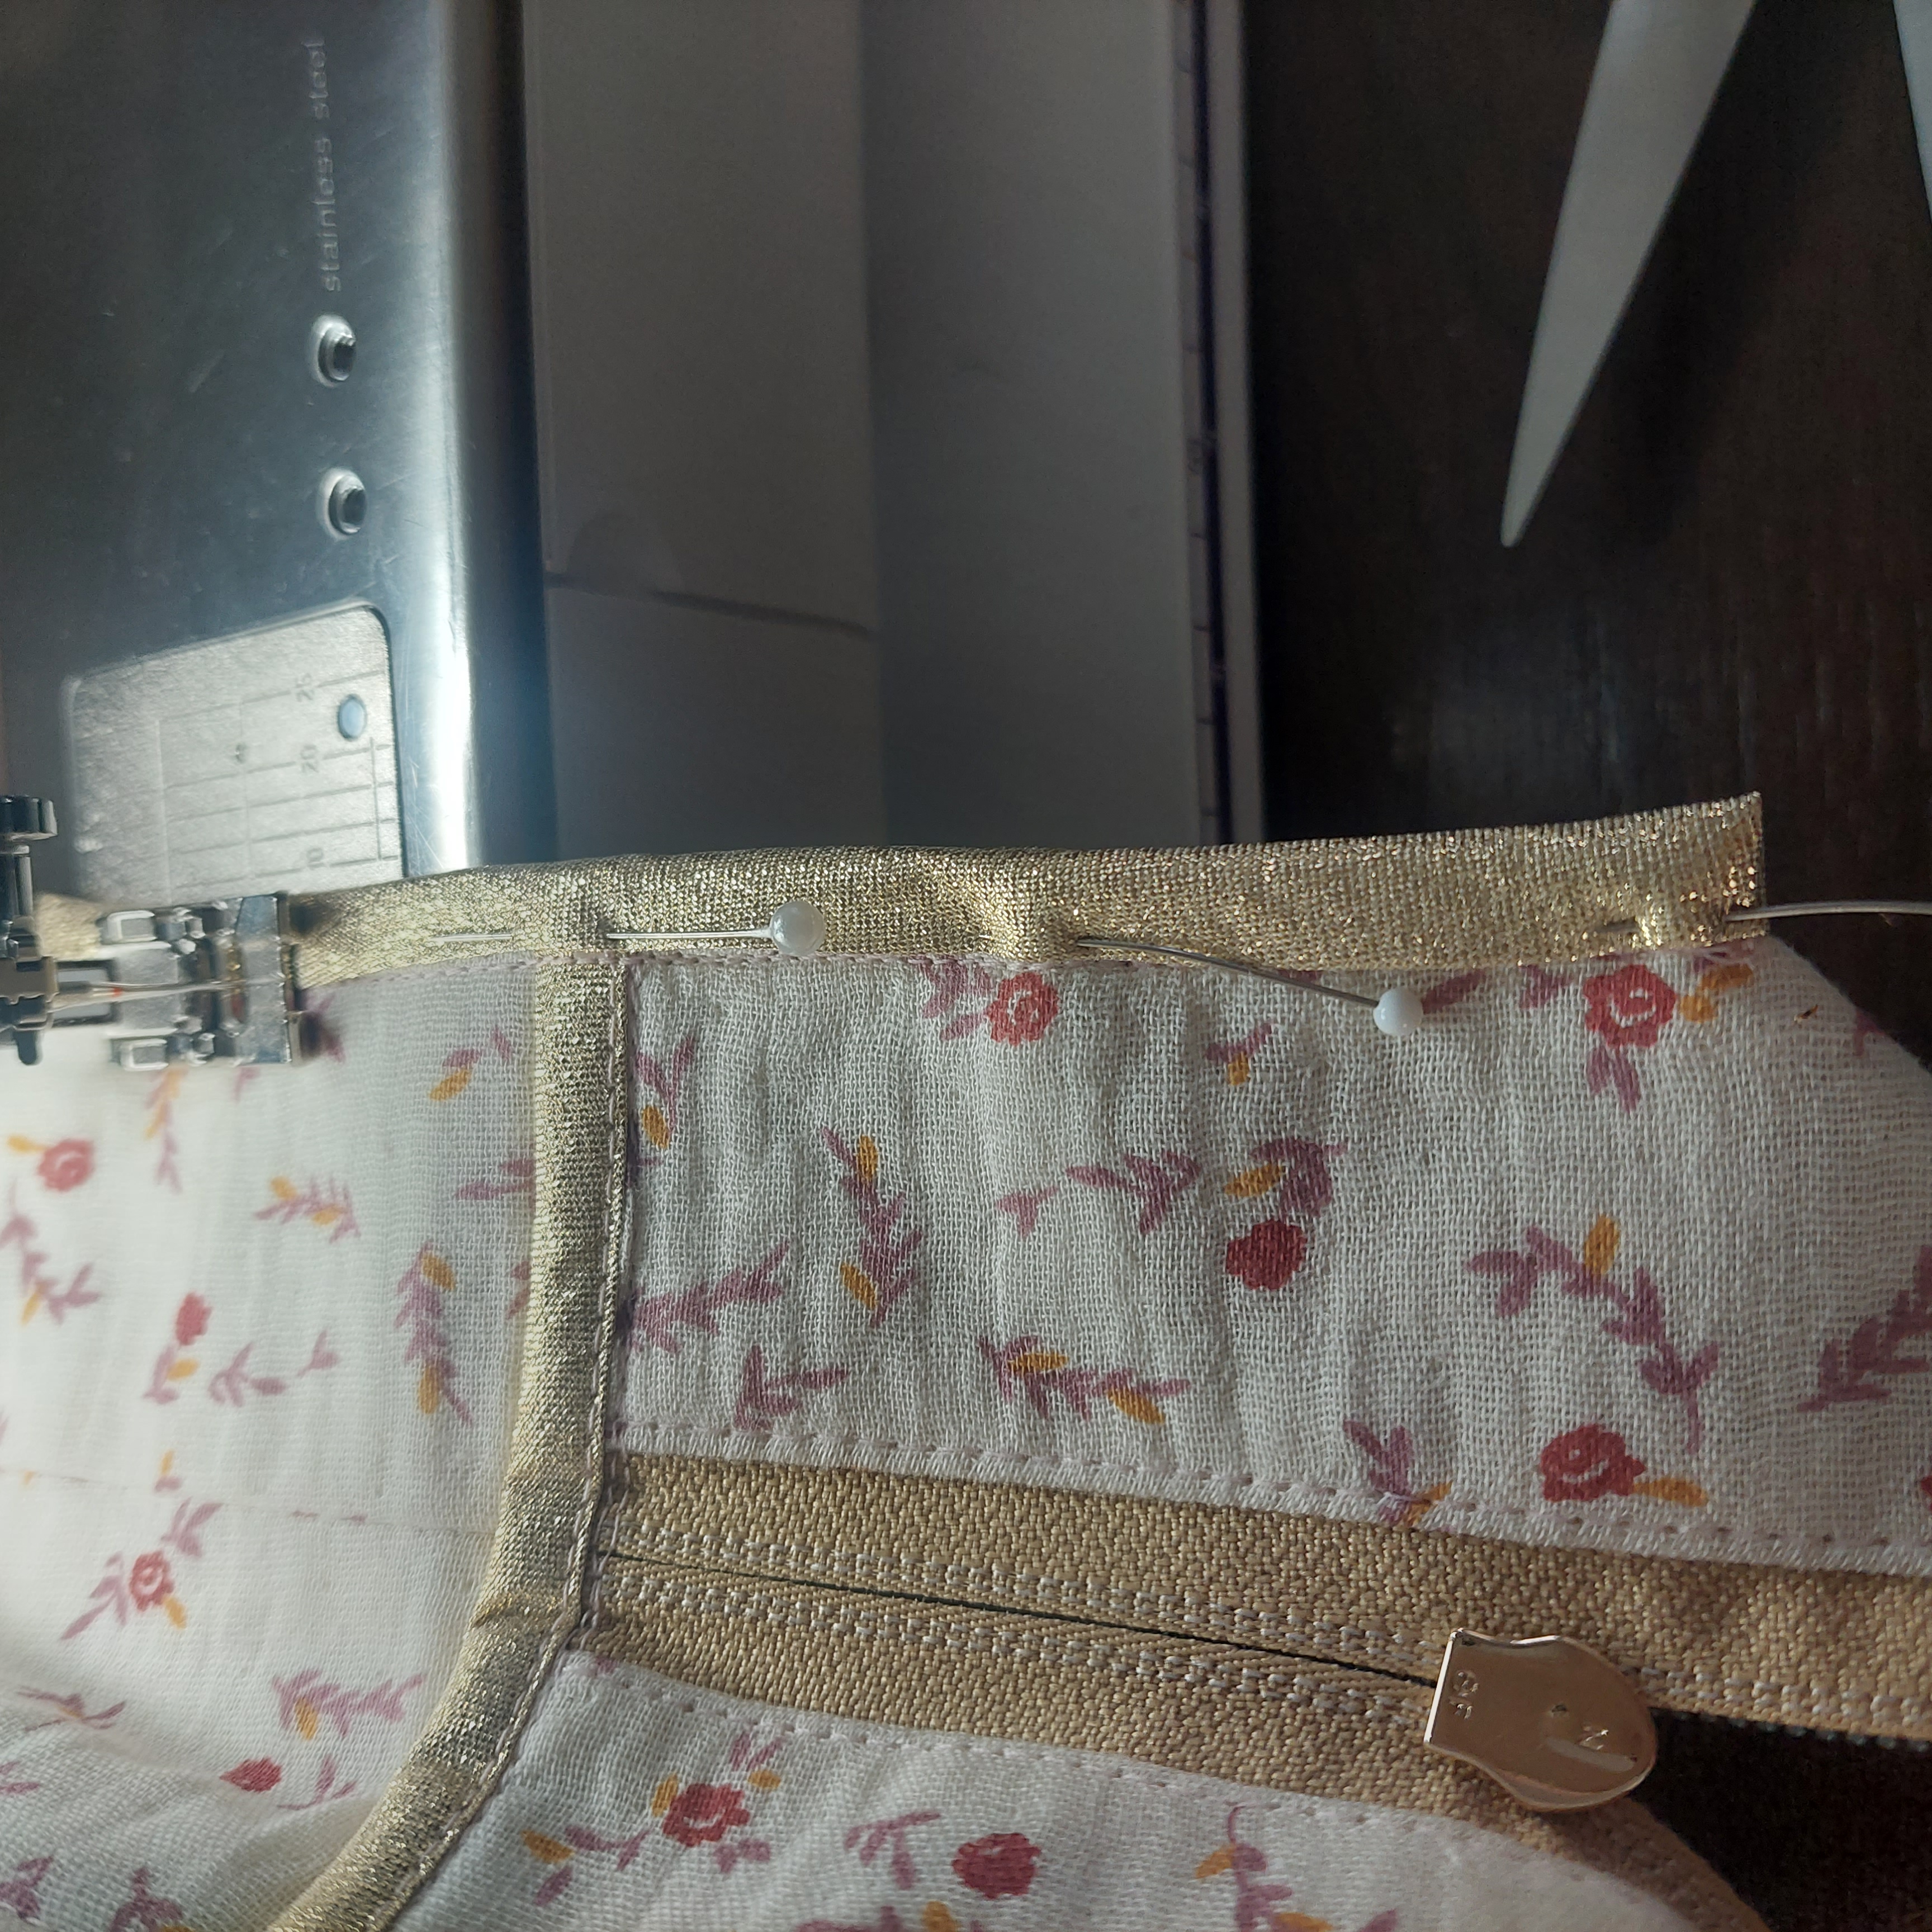
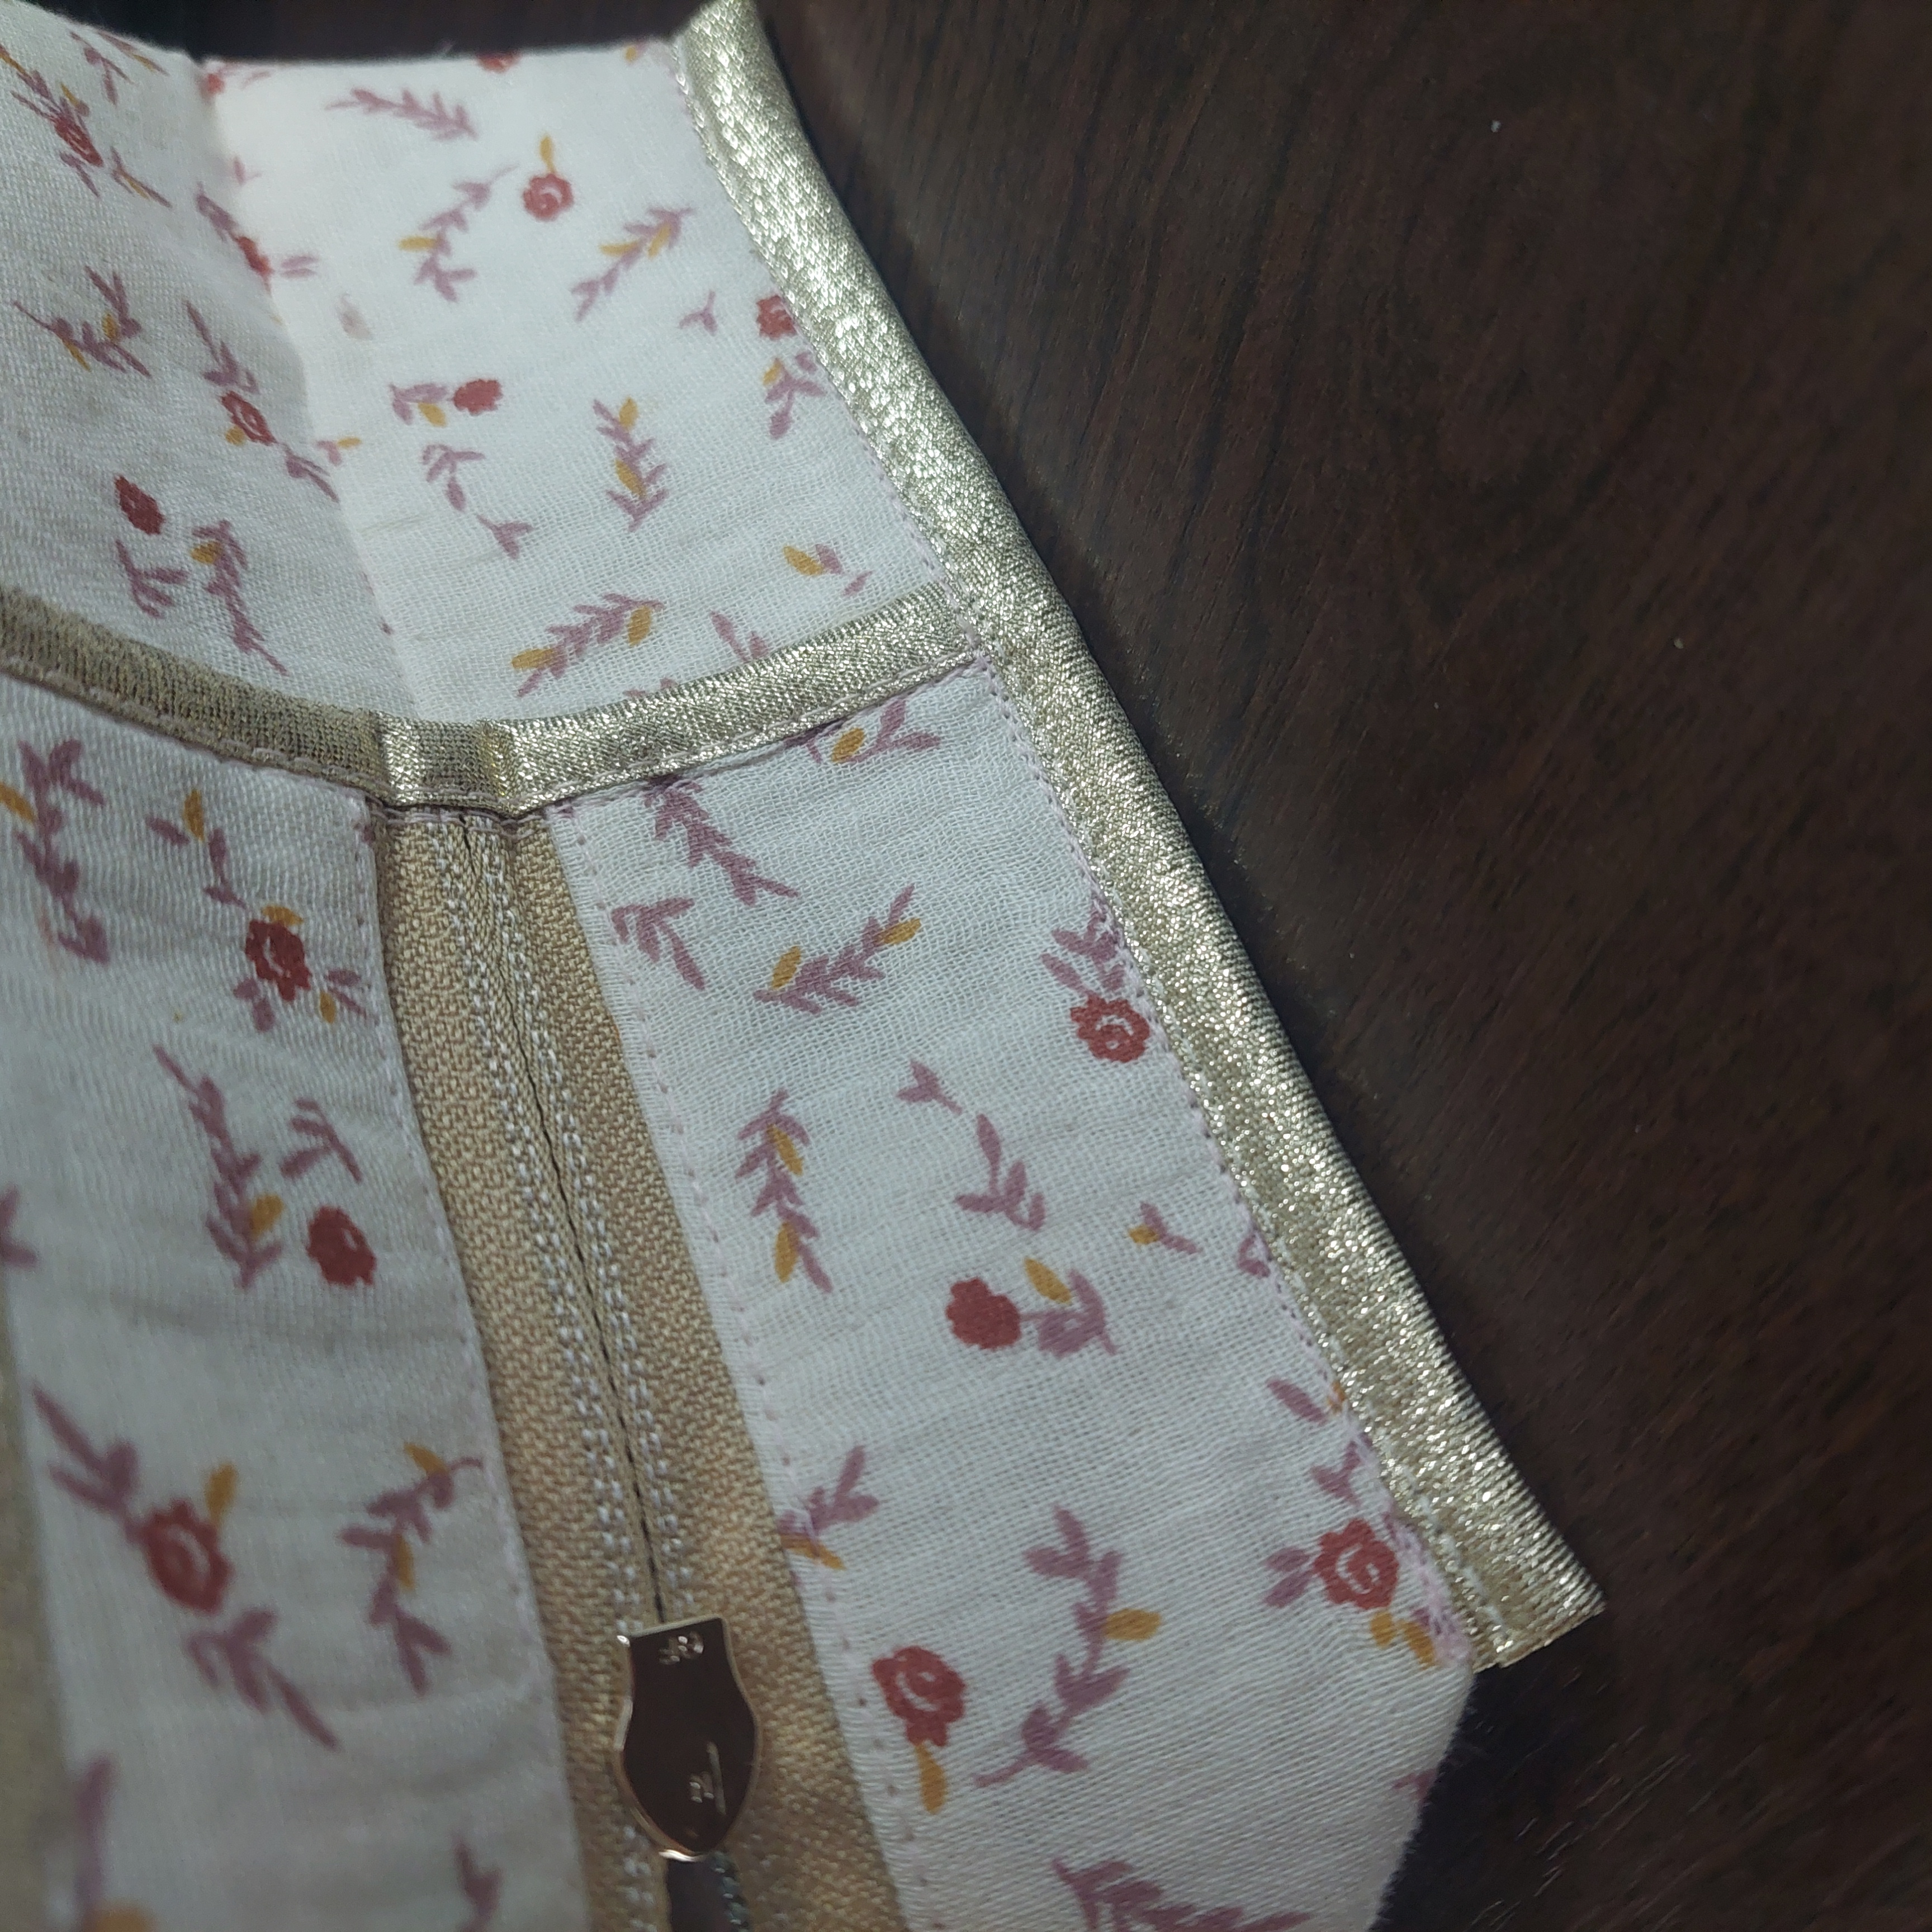
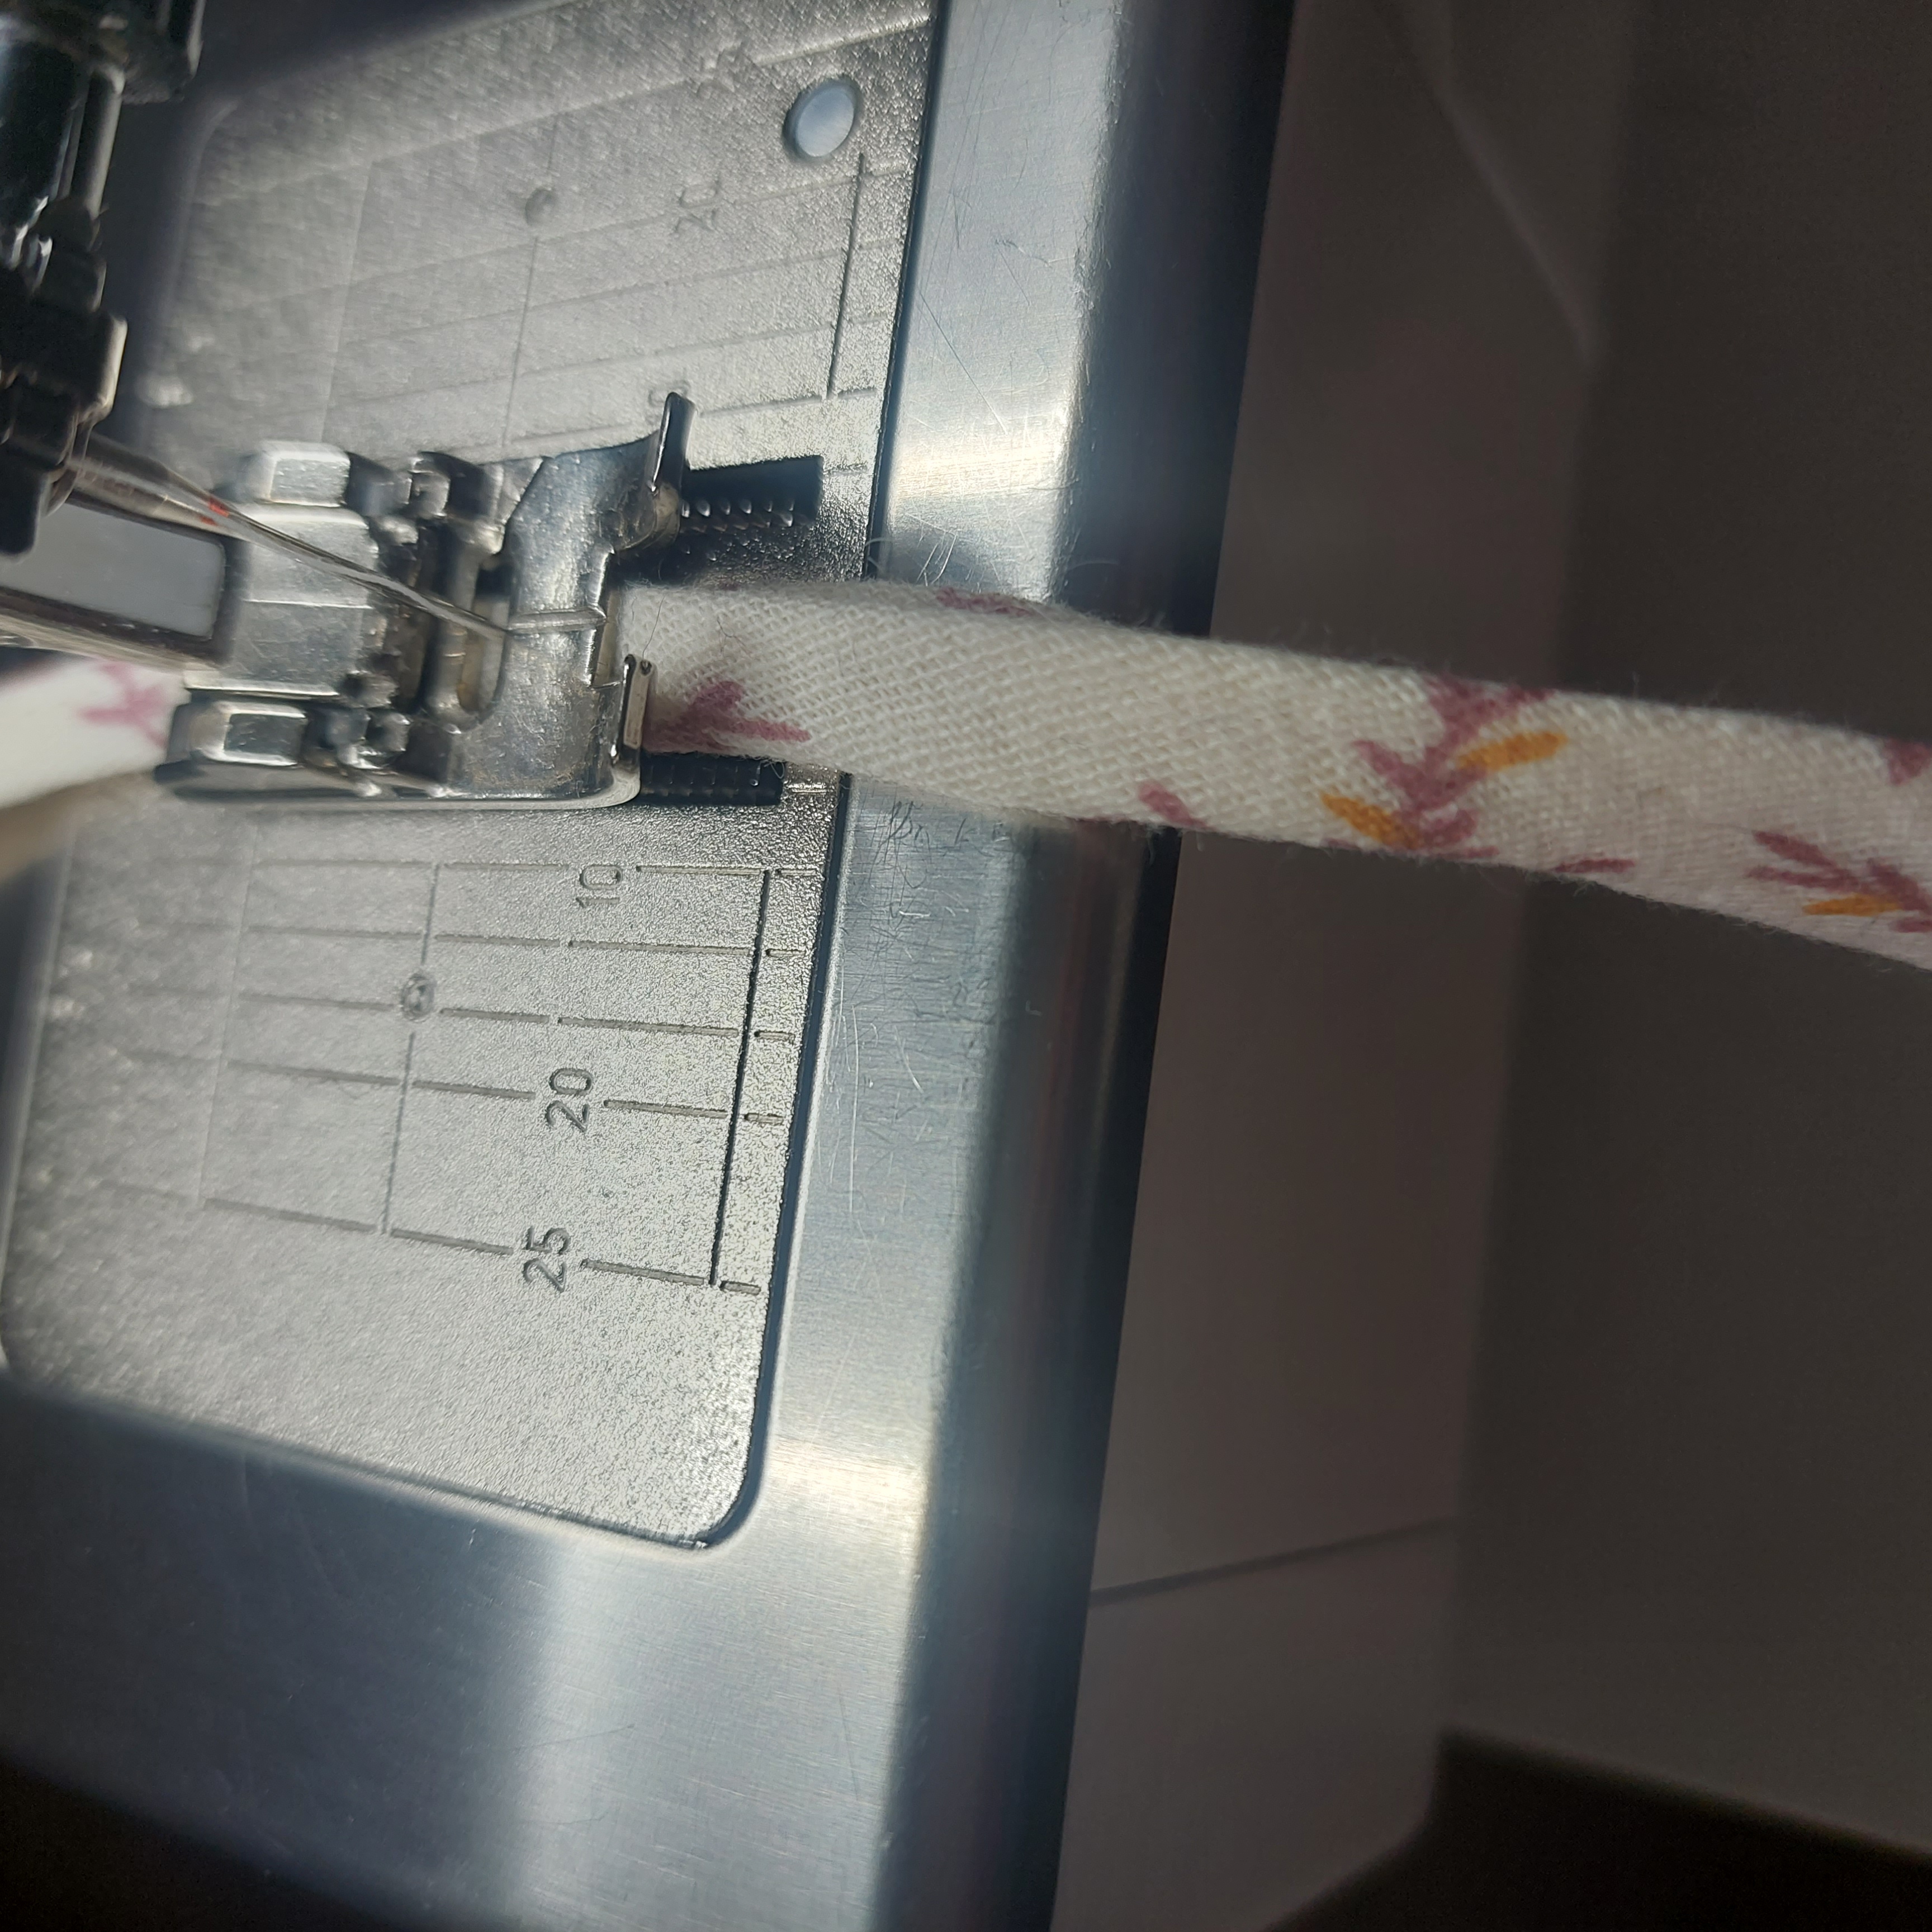
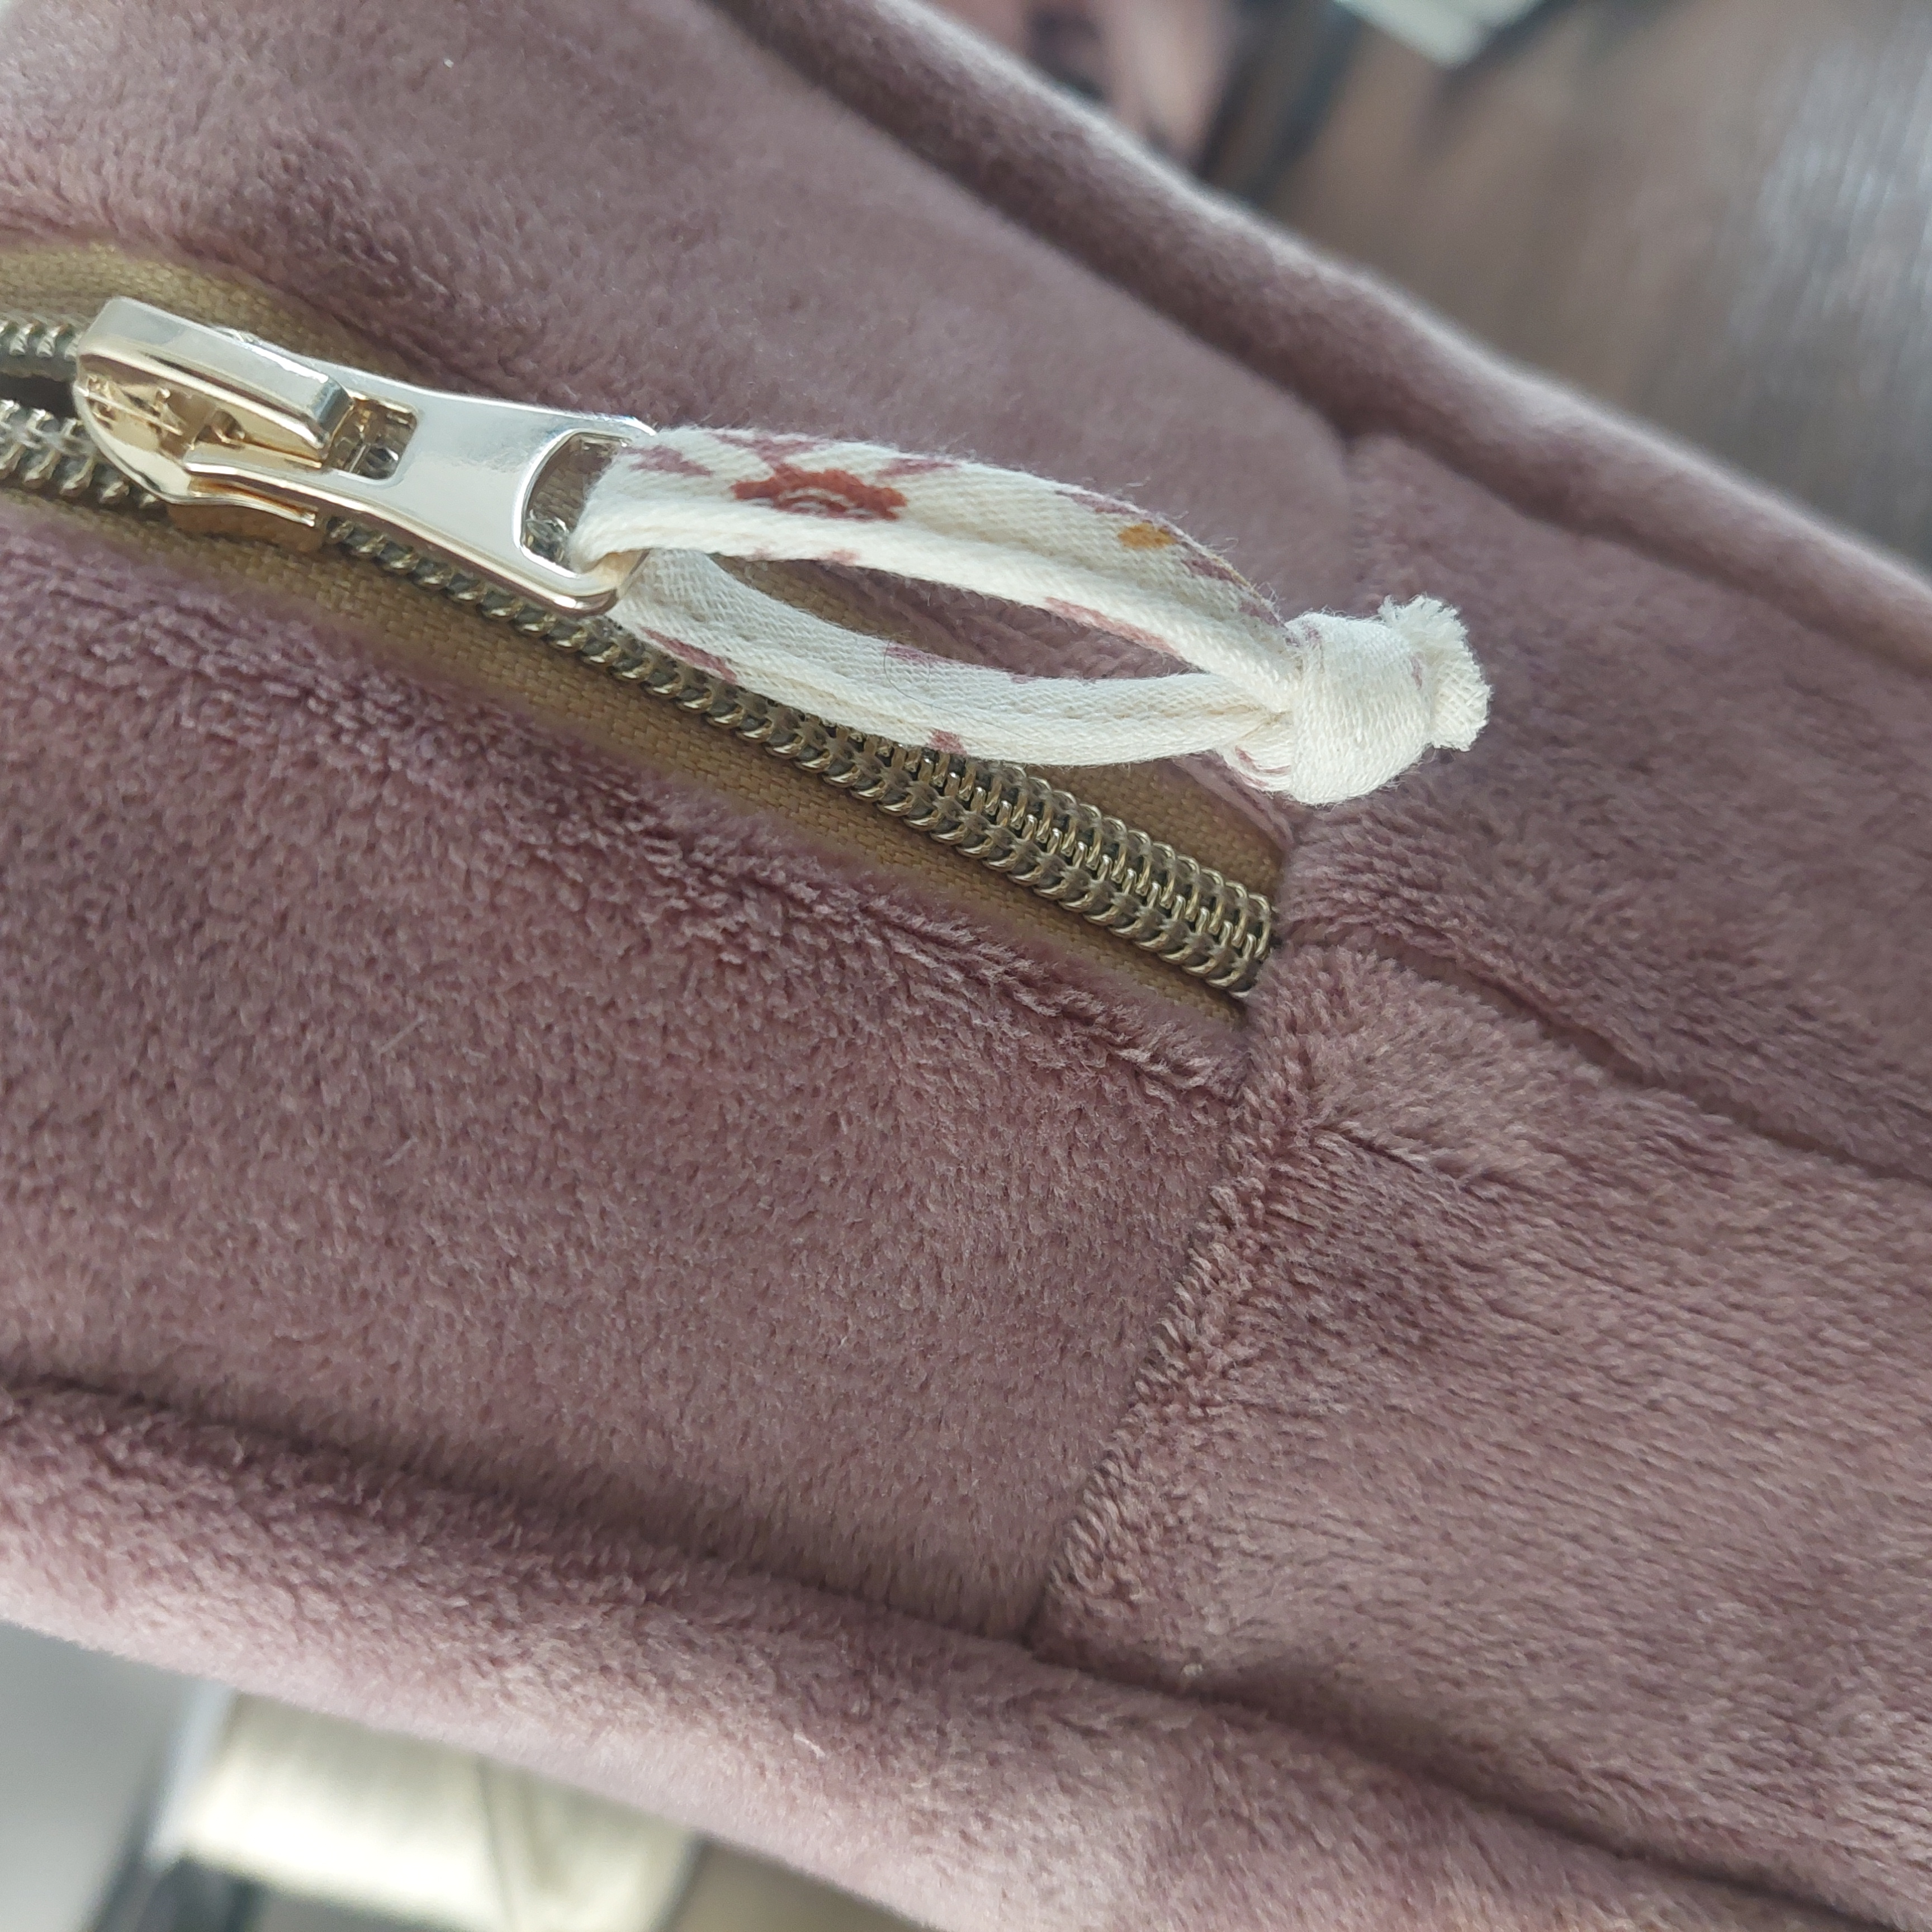
In this step-by-step tutorial, ReStyle blogger Renata shows you exactly how to sew this toiletry bag from scratch. From constructing the basic shape to adding a sturdy lining and handy strap, everything is explained in detail. The highlight? A bold 3D “Stuff” text that adds a playful and personal touch to your creation.
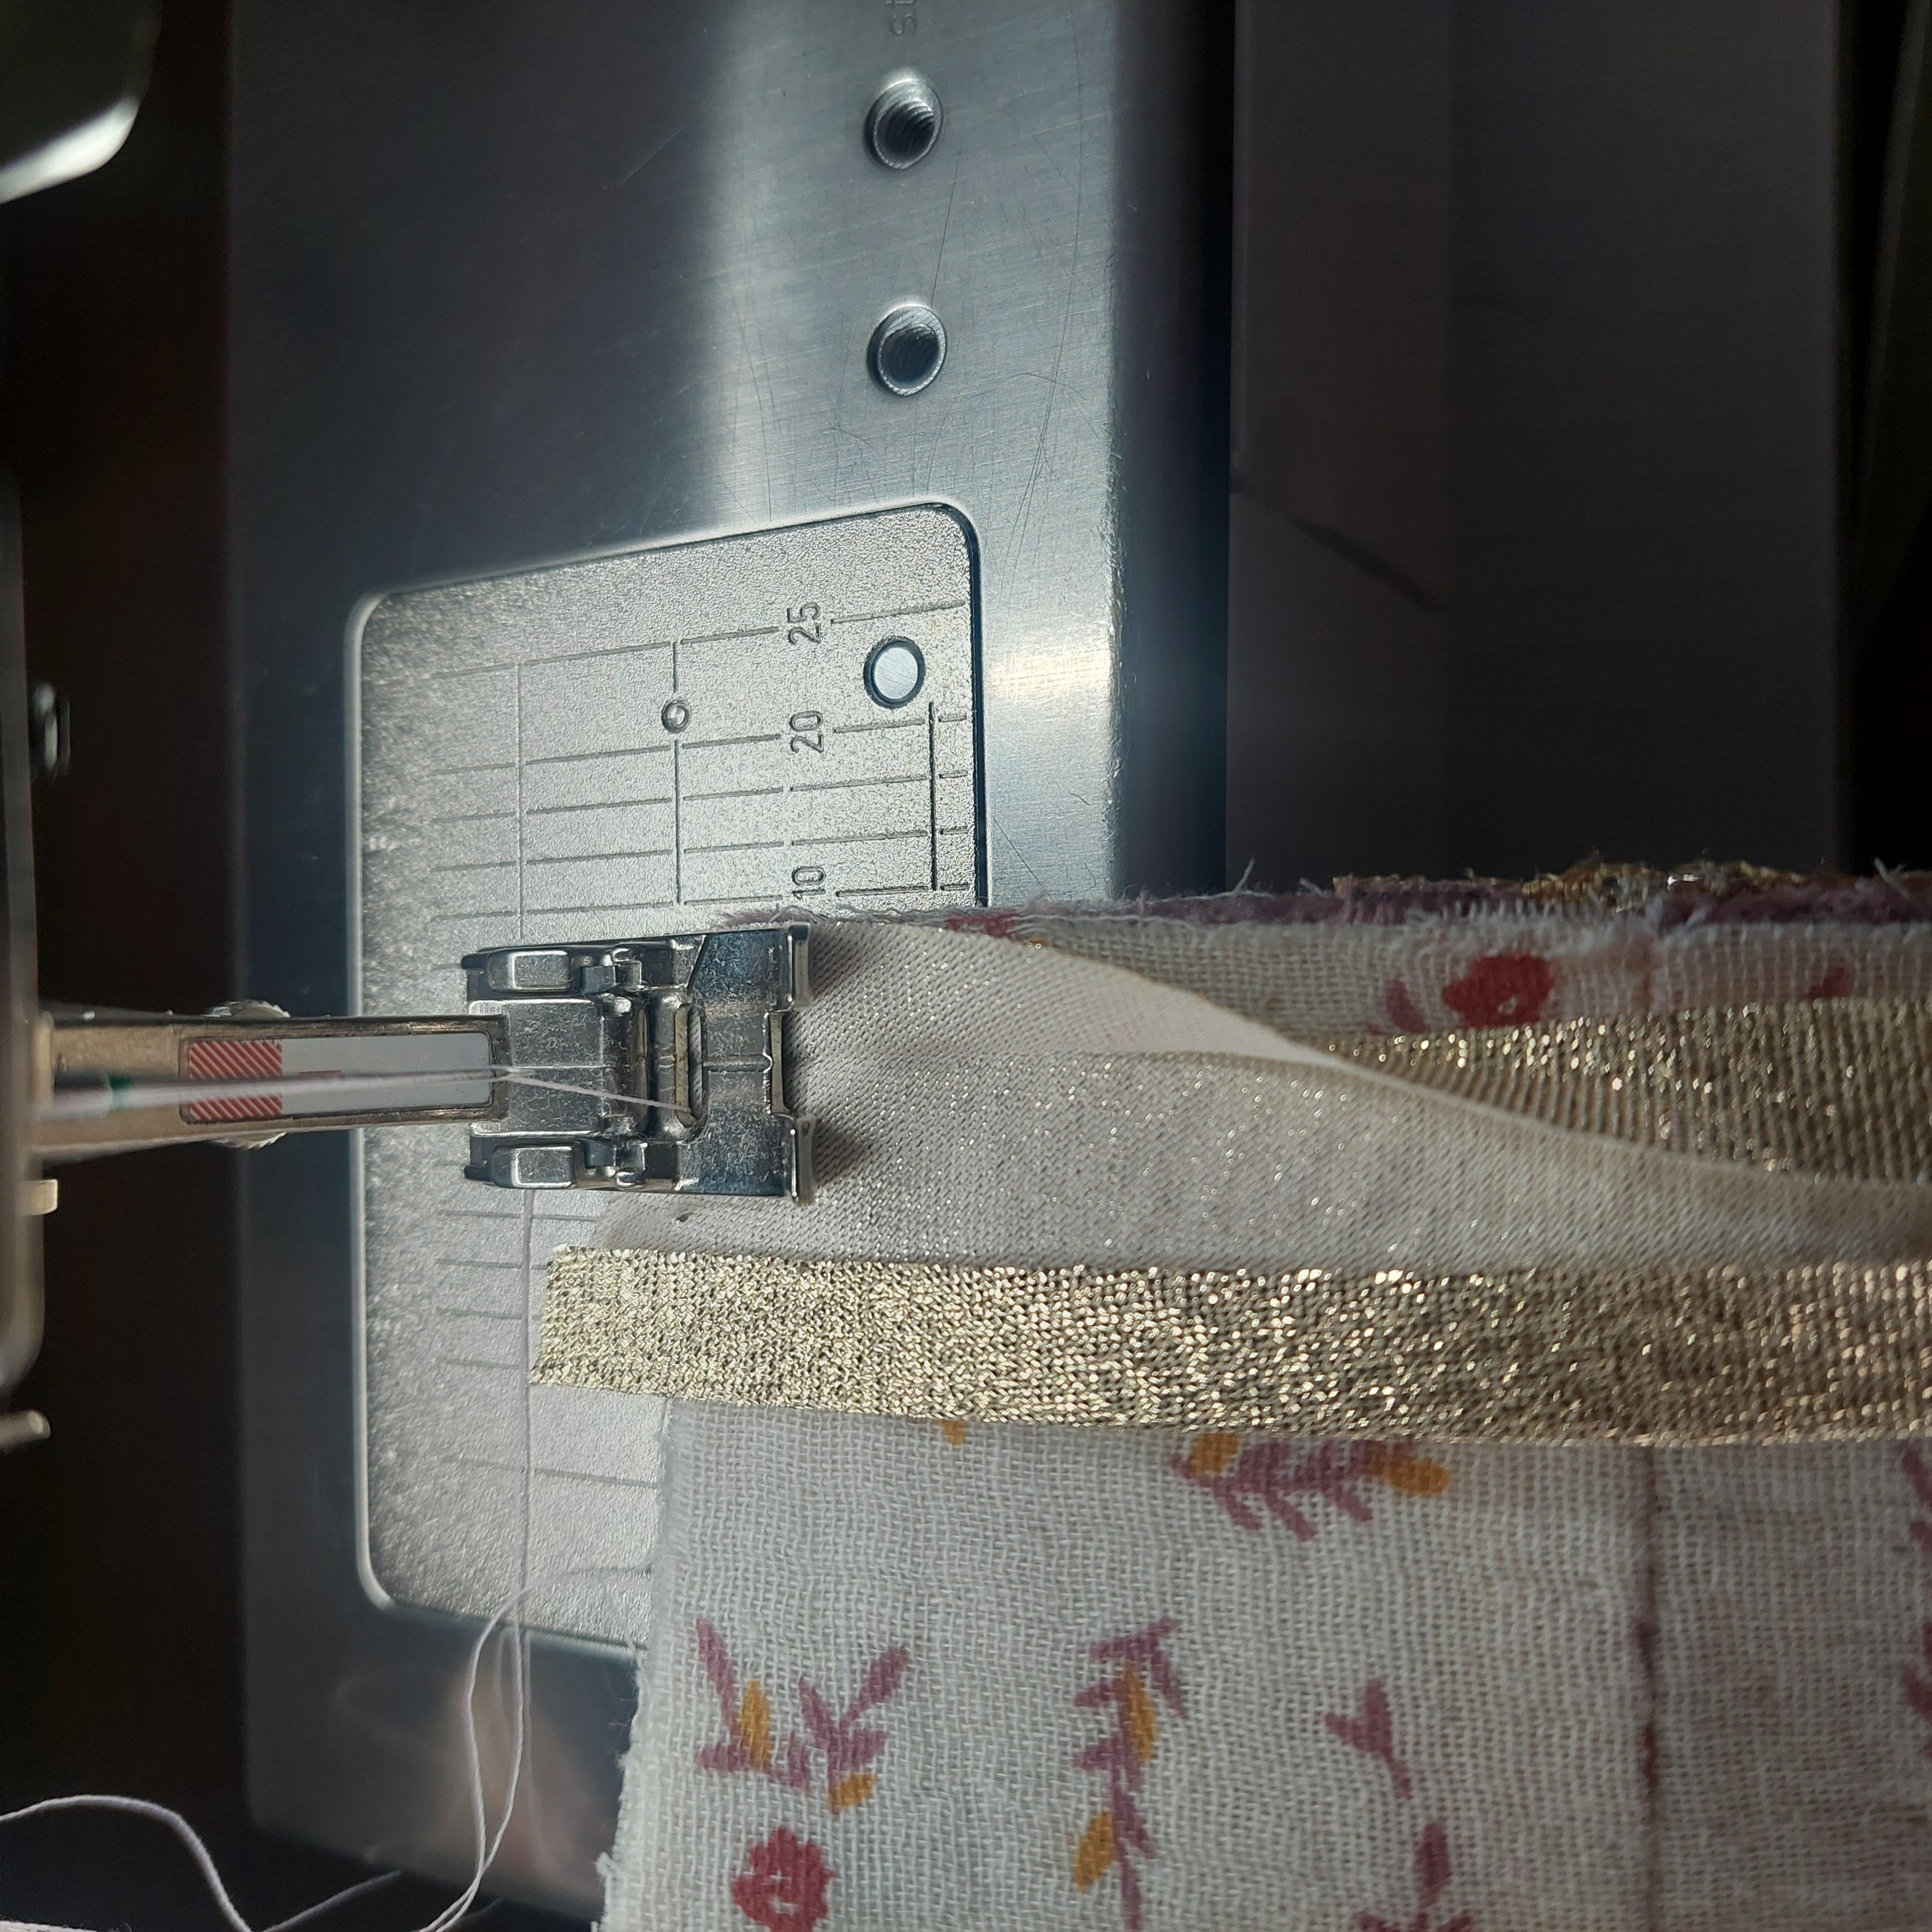
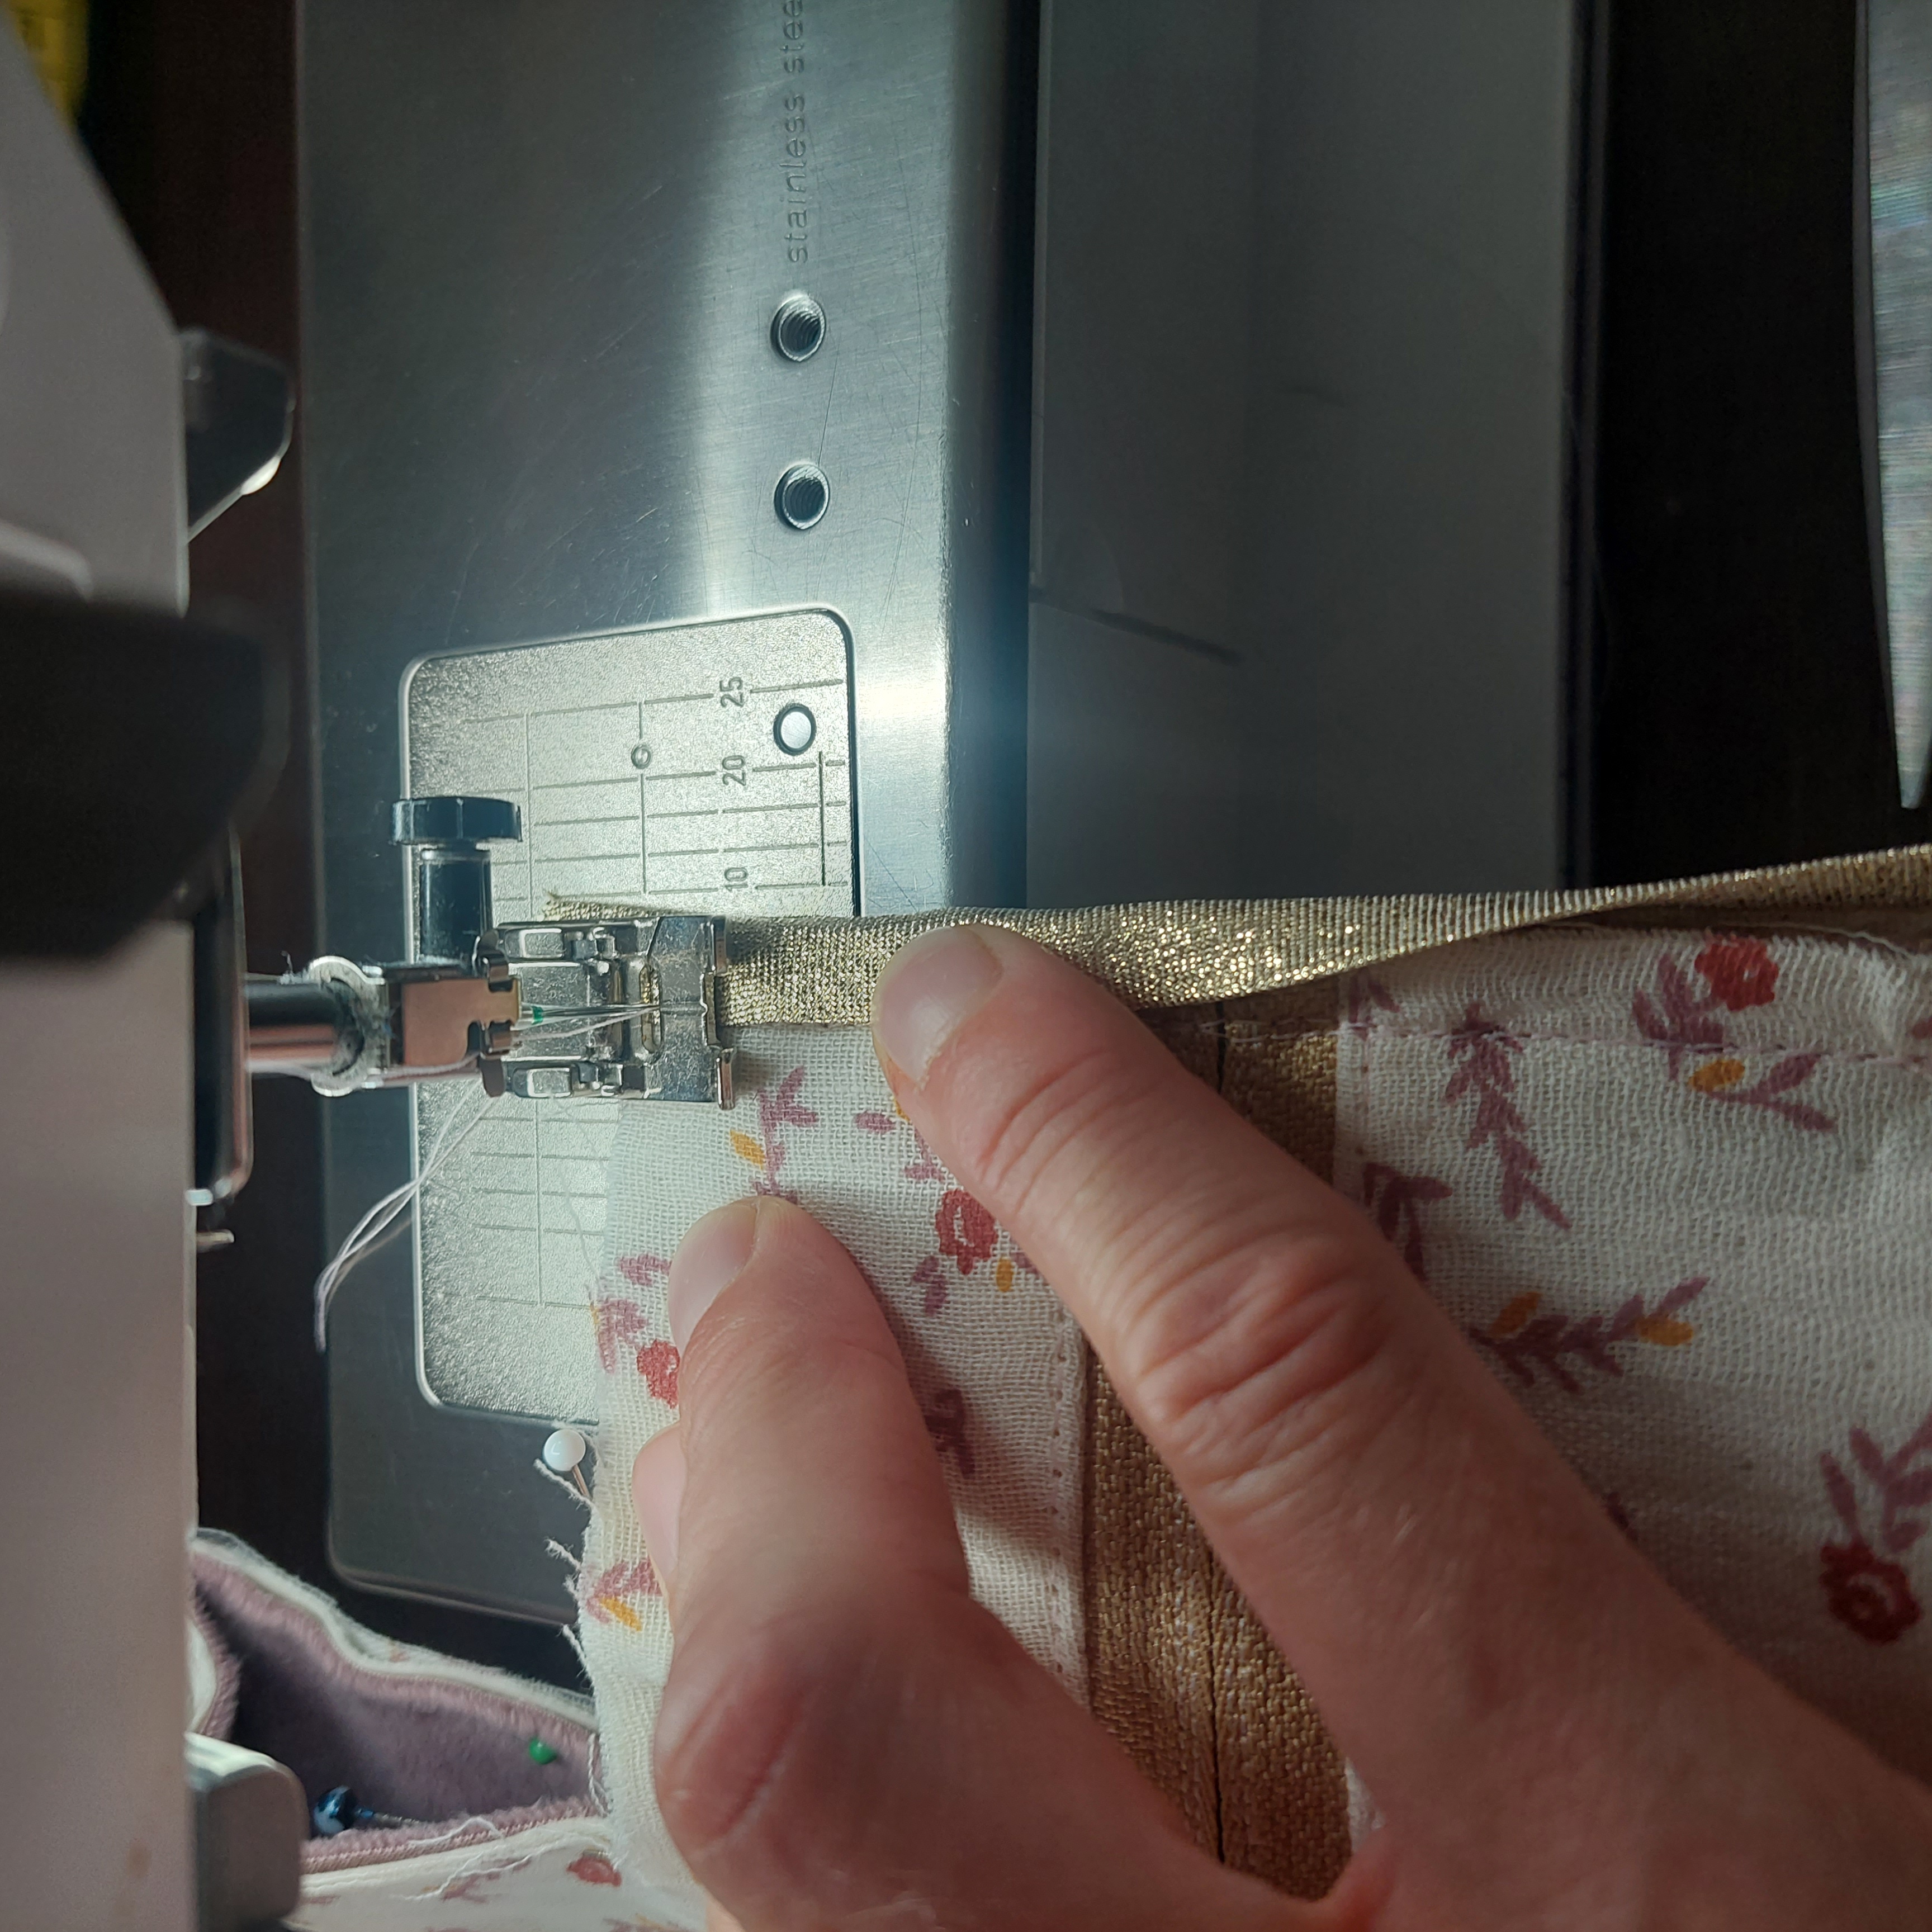
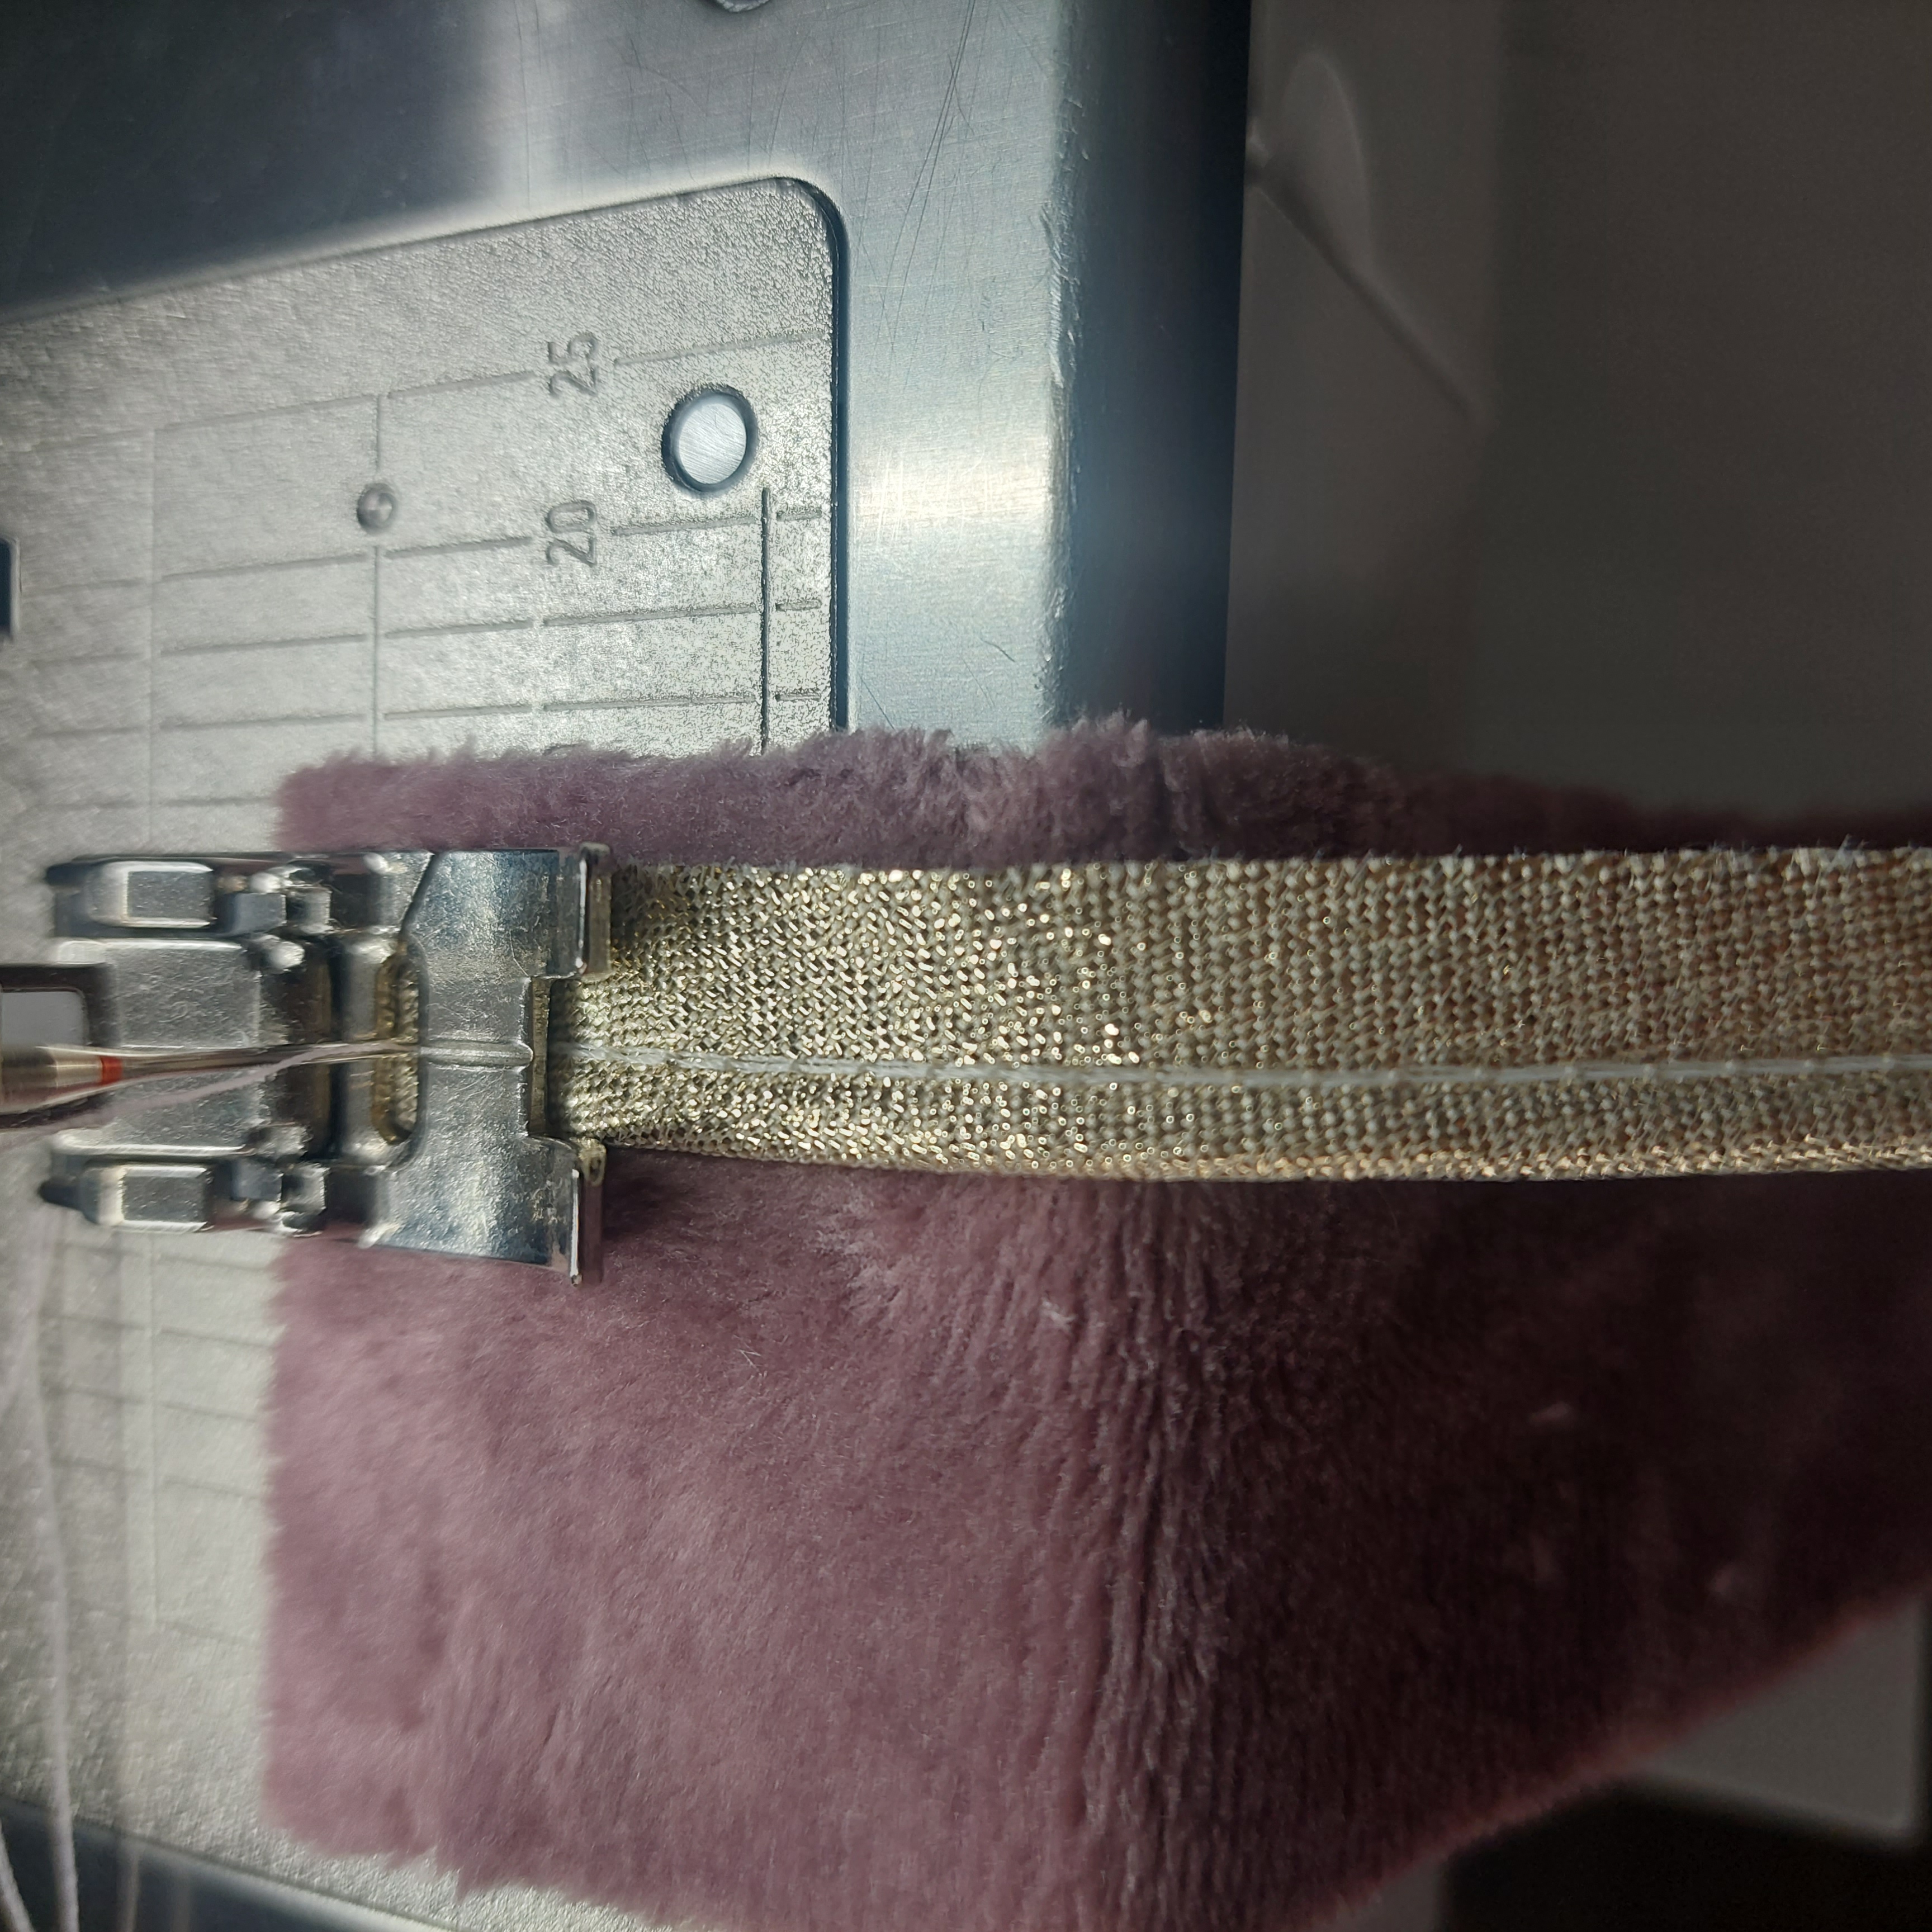
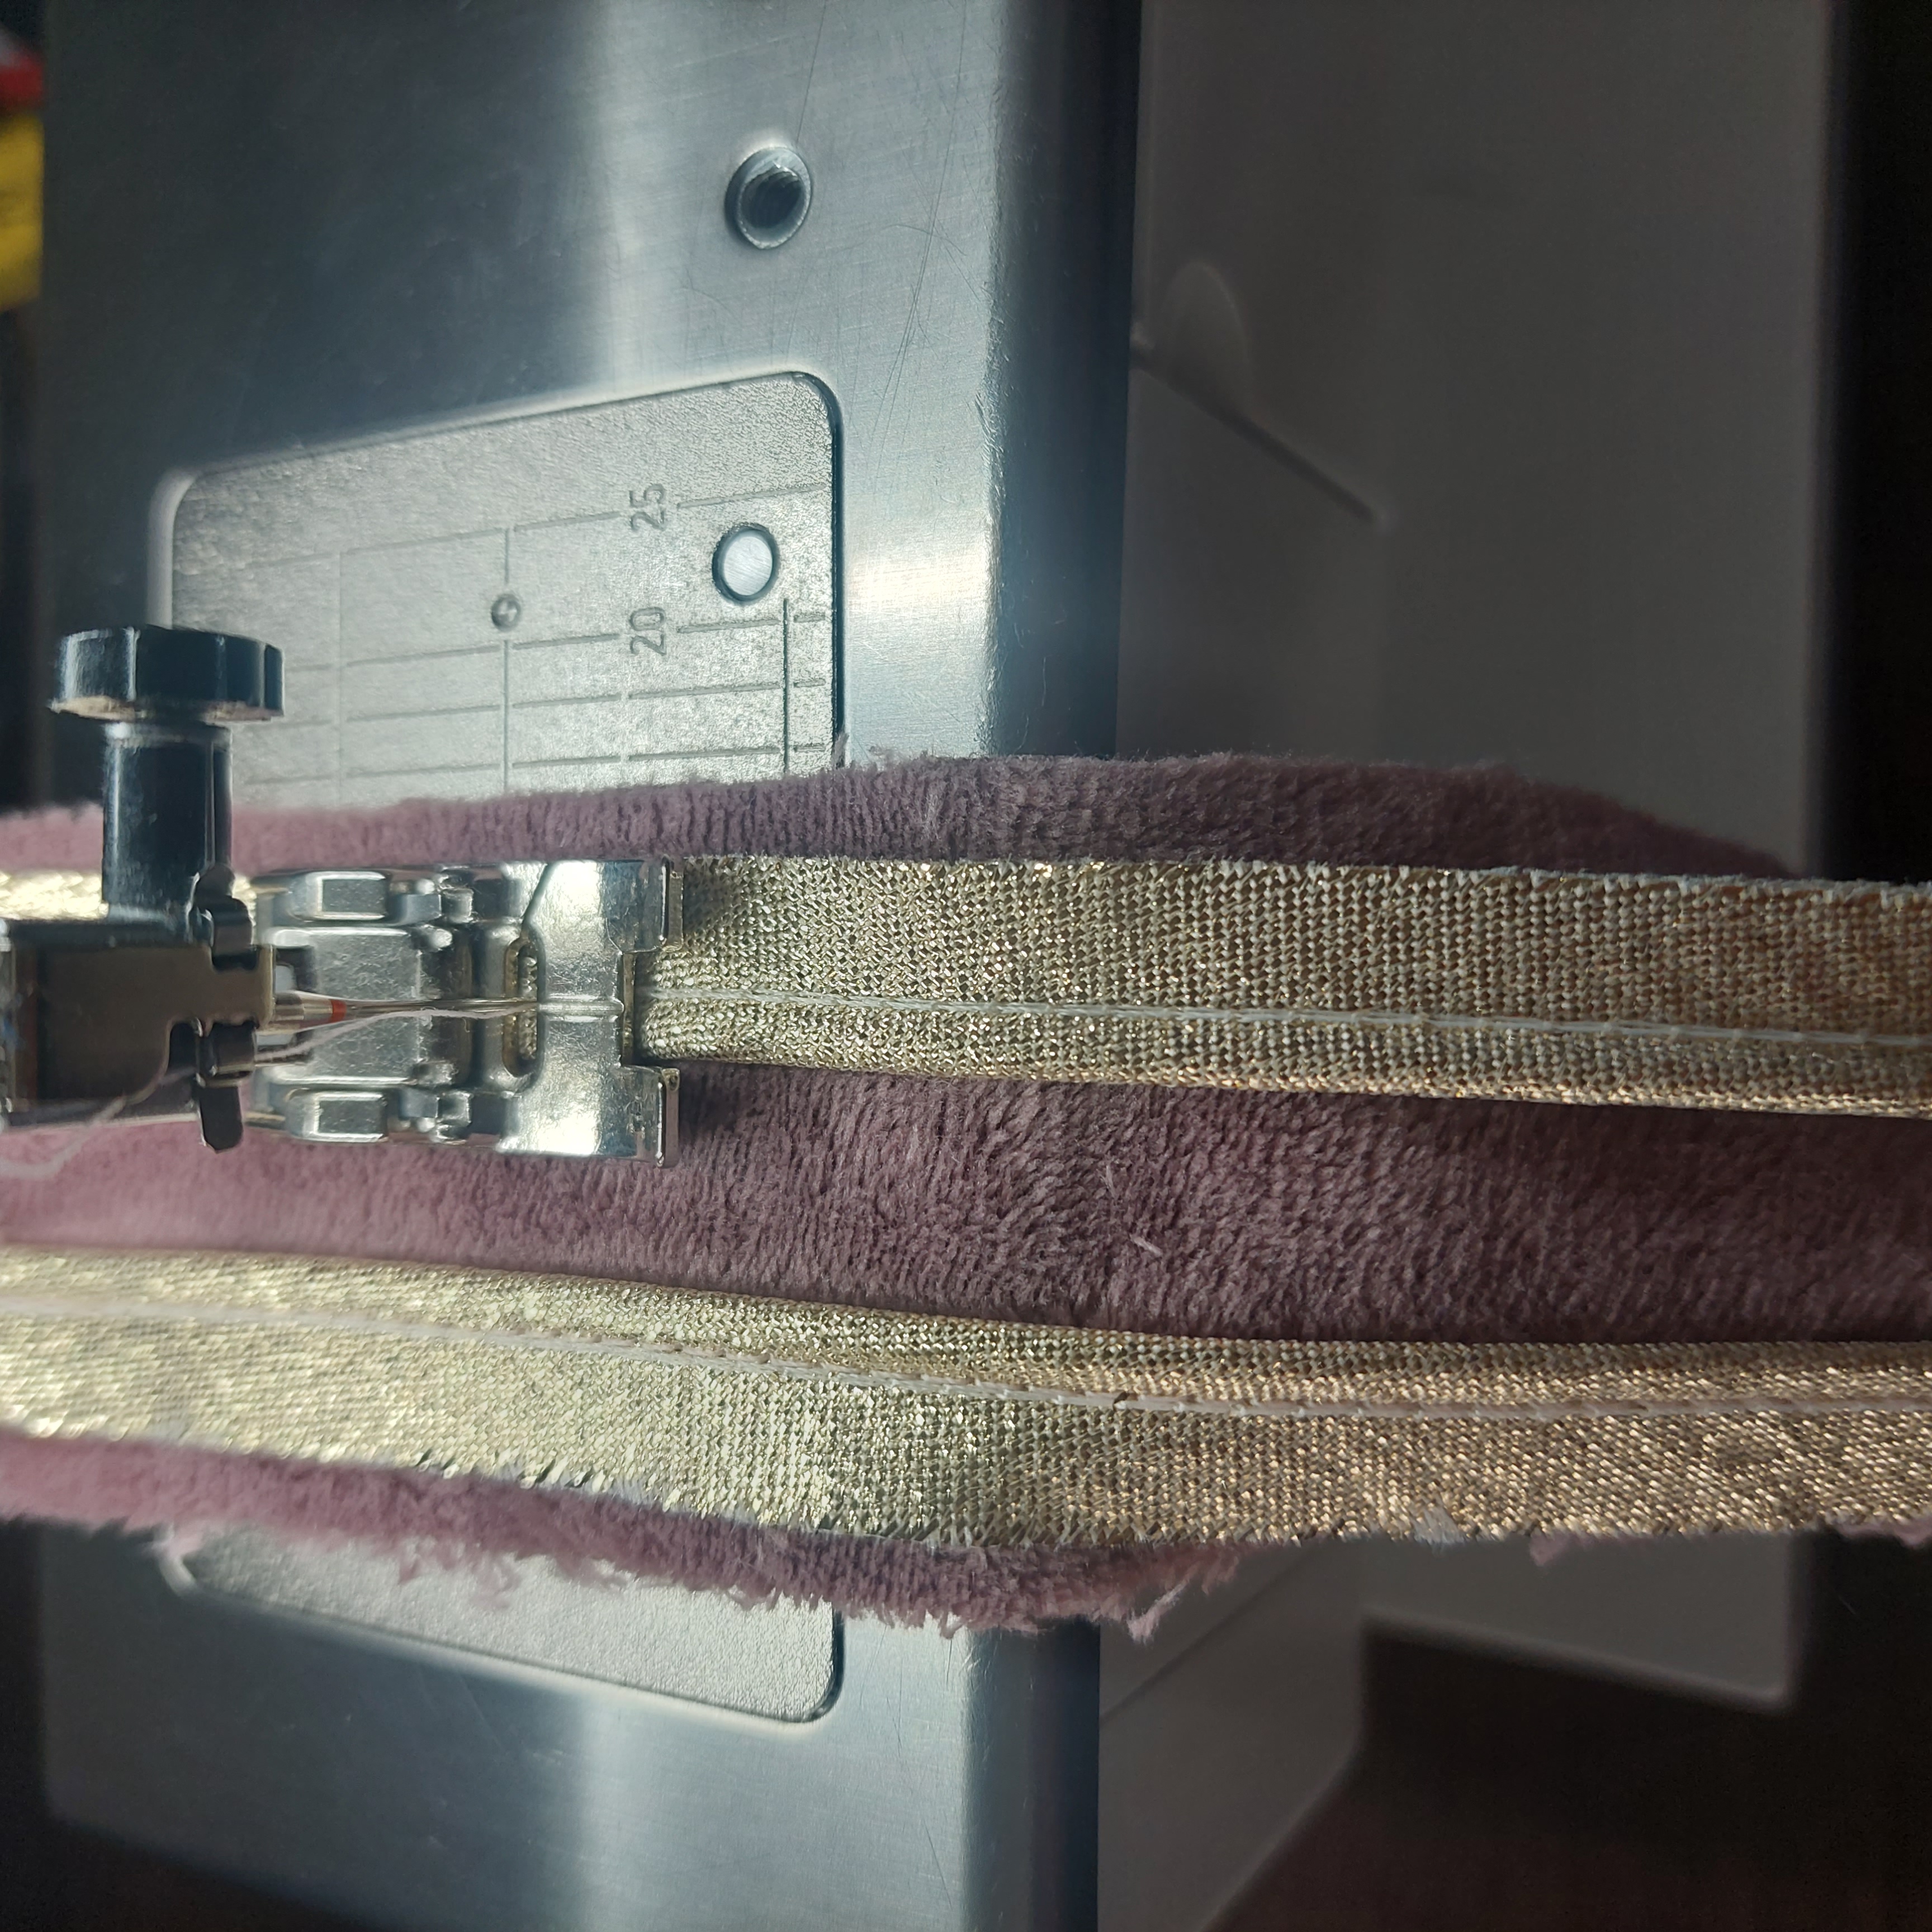
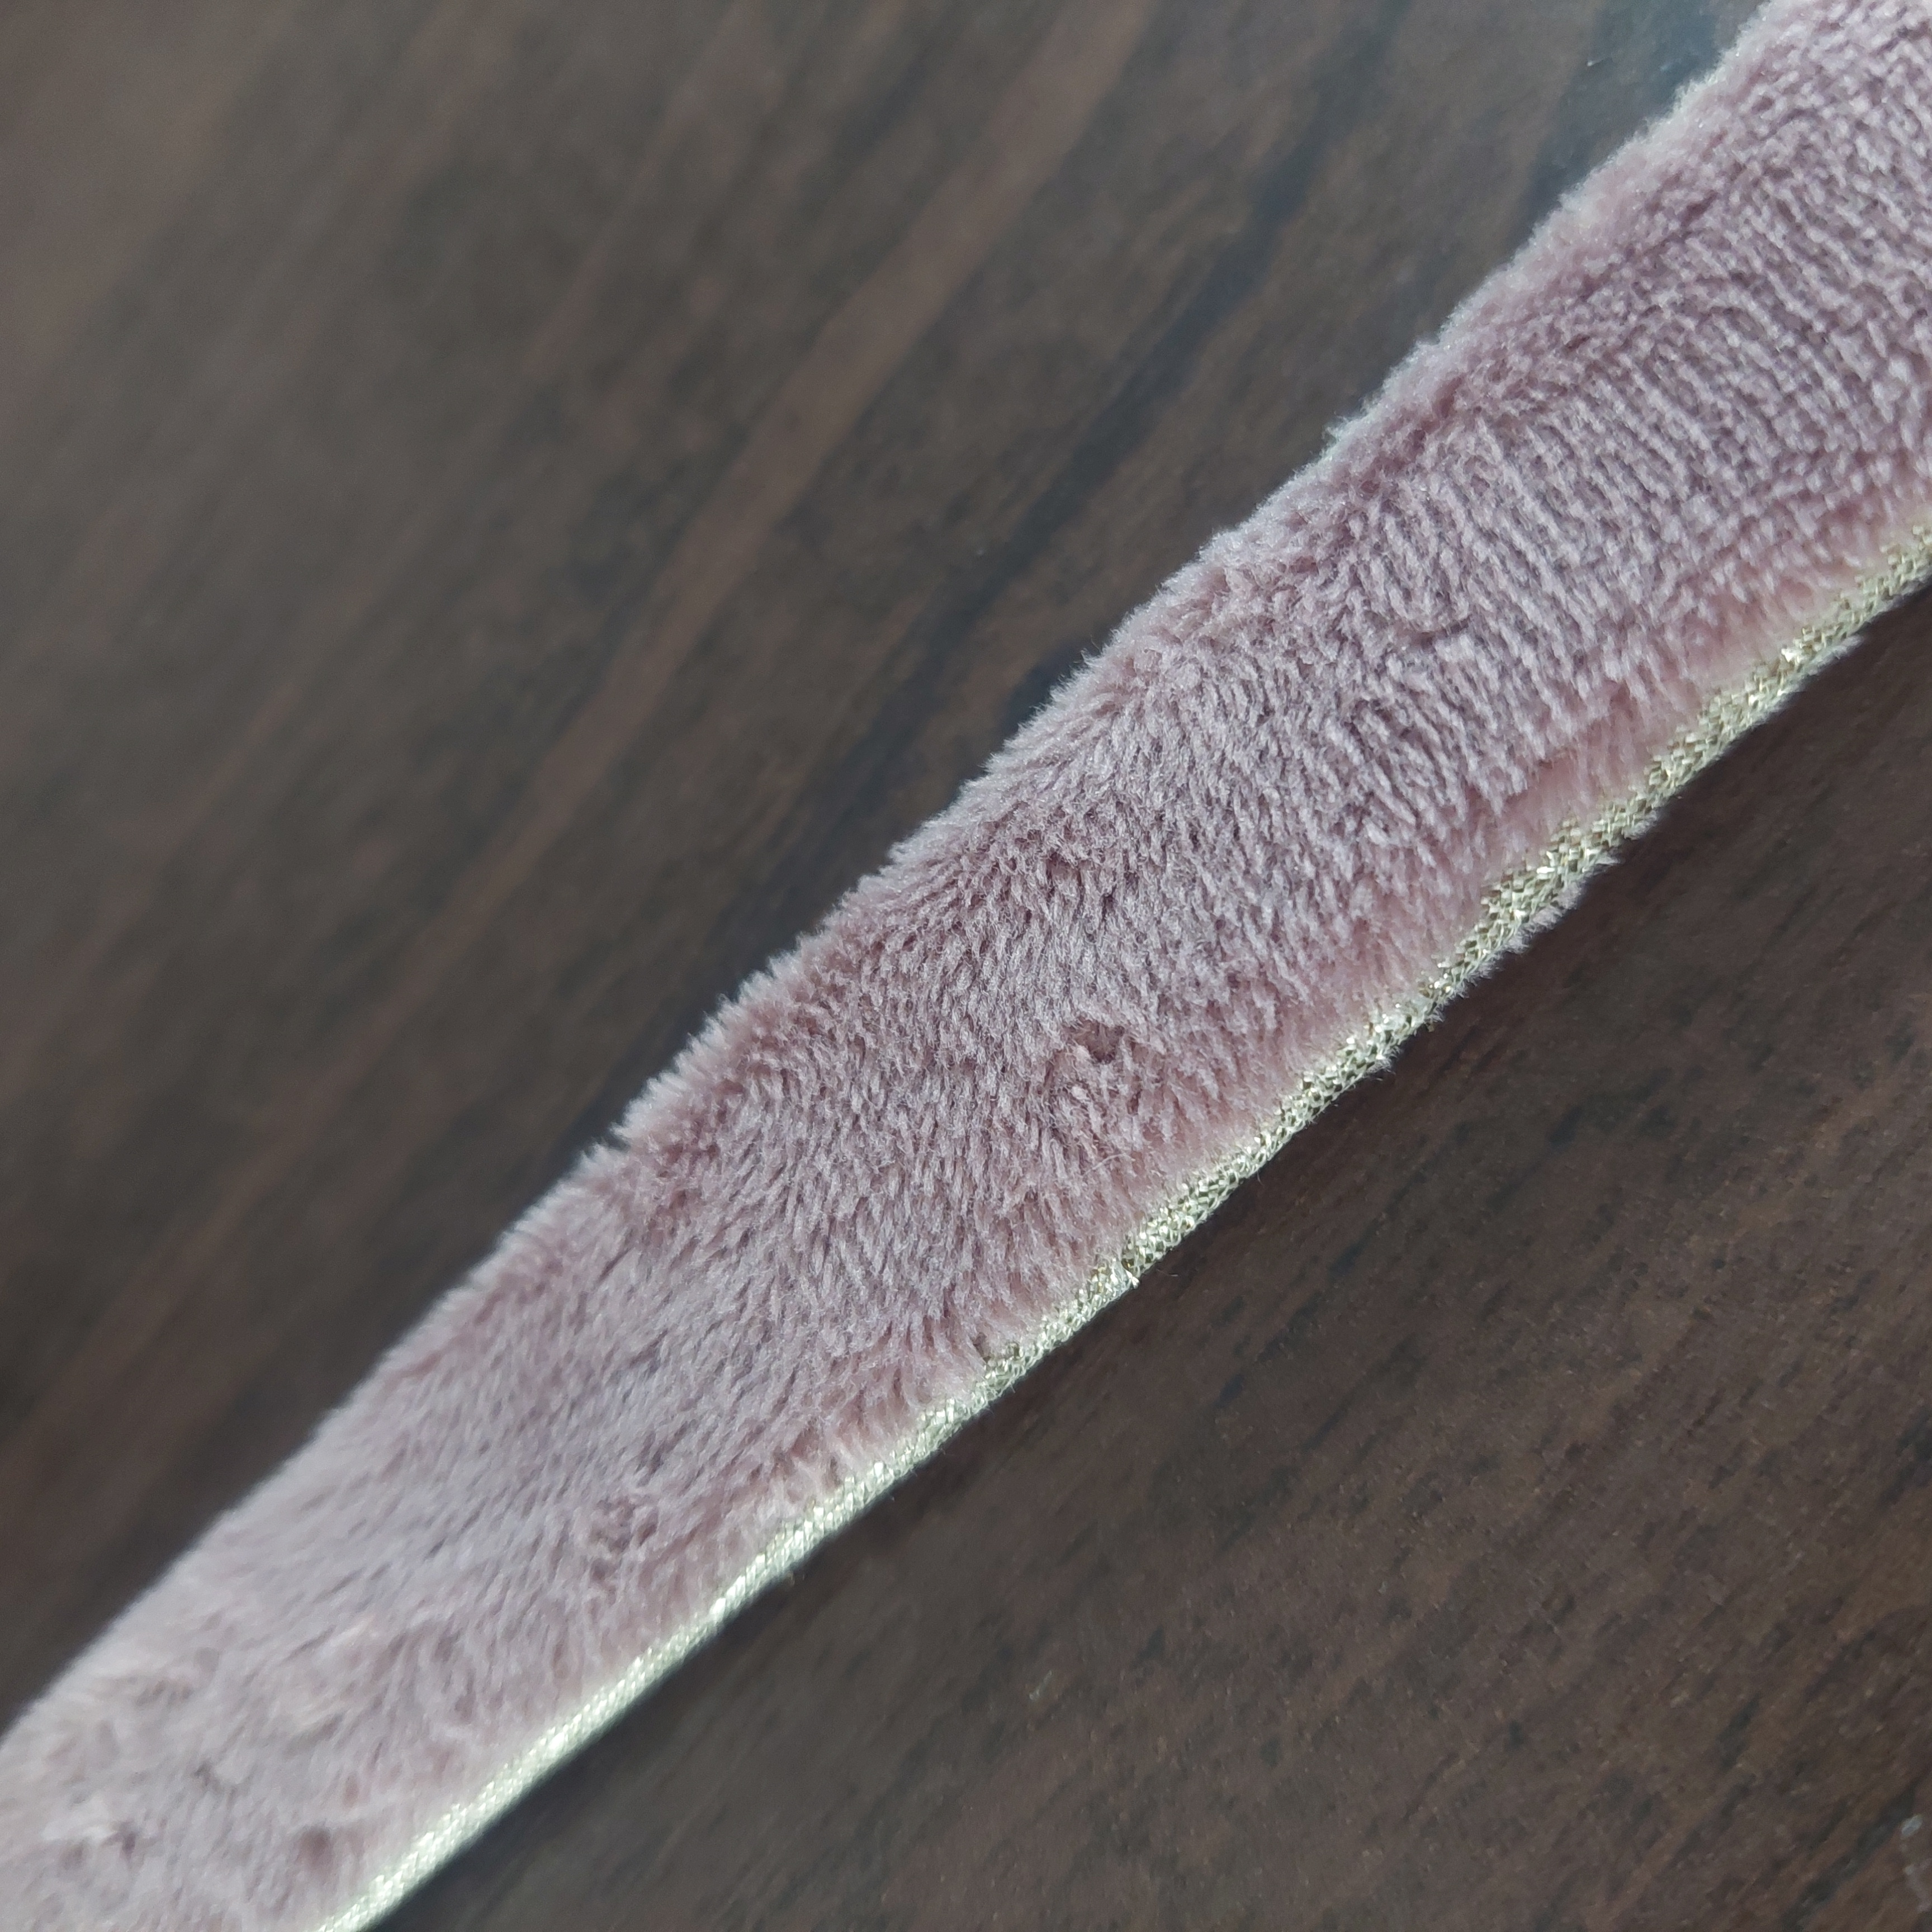
This isn’t your average sewing project—it’s a bit more advanced—but with clear instructions, you’ll be able to tackle it confidently. All you need is some fun fabric, matching thread, a sewing machine, and of course, this tutorial. Feel free to add your own twist with contrasting colours or a cheerful lining fabric.
This DIY is perfect for experienced sewists looking for a new challenge or anyone wanting to create a thoughtful, handmade gift. When you’re done, you’ll have a practical toiletry bag—and a unique item you made with your own hands.
Are you ready? Let’s get sewing with this awesome ReStyle tutorial!
Supplies
-
Velour fabric
-
Muslin fabric with print (hydrophilic cotton)
-
ReStyle Spiral Zip Gold 7mm non-separating (item no. 081.6006)
-
ReStyle Metallic Piping 10mm (item no. 017.1157, color 050)
-
ReStyle Bias Tape Maker 12mm (item no. 015.16202)
-
Vlieseline Volume Fleece 80g
-
ReStyle Metallic Bias Tape (item no. 032.686, color 050)
-
Vlieseline Decovil
-
Vlieseline H180
Other supplies
-
Matching sewing thread
-
Pattern paper
-
Sewing machine
-
ReStyle Glass Head Pins steel (item no. 015.10103)
-
Iron
-
ReStyle Measuring Tape 300 x 2 cm (item no. 015.16765)
-
Pencil
-
Scissors
-
Hand sewing needle
Dimensions
Length: 23 centimeters | Width: 10 centimeters | Height: 17 centimeters
Tags
Work description
Step 1:
Take the pattern drawing and trace it onto pattern paper.
Then cut the pattern twice from the velour fabric and twice from the printed fabric.
Note: Add a 1 cm seam allowance on the long side—see the pattern diagram.
Step 2:
We’ll start by making the text on the front: STUFF. Cut the letters out from A4 paper (click here for the template). Pin the letters onto the volume fleece and cut them out. Place the letters in mirror image on the wrong side of the velour fabric, 10 cm from the bottom and 3 cm from the side, as shown in the photos.
Iron a piece of Decovil over the letters, pressing carefully with the tip of your iron. Then stitch around the letters with a small straight stitch. Don’t backstitch—pull the threads to the inside and tie them off on the inside. Now look how cool the effect is on the front!
You’re now ready to start assembling the toiletry bag.
Step 3:
Iron Decovil onto the wrong side of the printed panels. Be sure to leave the 1 cm seam allowance at the bottom edge free, as shown in the photo.
Step 4:
Pin the zipper to the top long edge of the stiffened floral panel. Also pin the velour to it and sew the zipper in place with the sewing machine about 0.75 cm from the edge. Repeat the same steps for the other side of the zipper. Then topstitch the floral lining to keep it flat.
Step 5:
Place the outer pieces right sides together (velour to velour) and the lining right sides together (print to print). Pin and stitch the bottom edges. Press the seams open. Pin the lining and outer fabric together at a few points to keep everything aligned.
Pin the four short edges together—where the zipper is—just like in the photo. Sew them in place with the machine. Trim the zipper to match the seam. Finish the seams with the golden bias tape, as shown in the photos.
Step 6:
Now let’s make the handle. Cut two strips of 4 x 20 cm from velour. Cut two pieces of piping, each 20 cm long. Stitch one velour strip with piping on both long edges. Place the second velour strip on top, turn your work over, and sew the two strips together, stitching directly over the original piping seams. Turn the handle right side out through one of the openings and press it flat. Your handle is ready and the piping sits neatly in between.
Step 7:
Fold the side panels as shown in the photo. Right on the seams, under the golden bias tape, pin the handle in place so you can sew it in at the same time. Finish these seams with the golden bias tape again.
Now your toiletry bag is fully assembled and beautifully finished. Turn it right side out.
Step 8:
One final detail: a zipper pull tab. Using the bias tape maker, make a 15 cm strip. Fold it in half lengthwise and stitch it closed. Pull it through the zipper pull, tie a knot, and trim the ends.
Now your toiletry bag is truly finished—just look how amazing it turned out! The Vlieseline gives it great structure, and the velour adds a luxurious touch. The inside is cleanly finished with a fun printed fabric. The shiny gold zipper combined with the bold STUFF text on the front makes it a super stylish and unique toiletry bag.
Have fun creating it! Love, Renata