Sewing and Fabrics
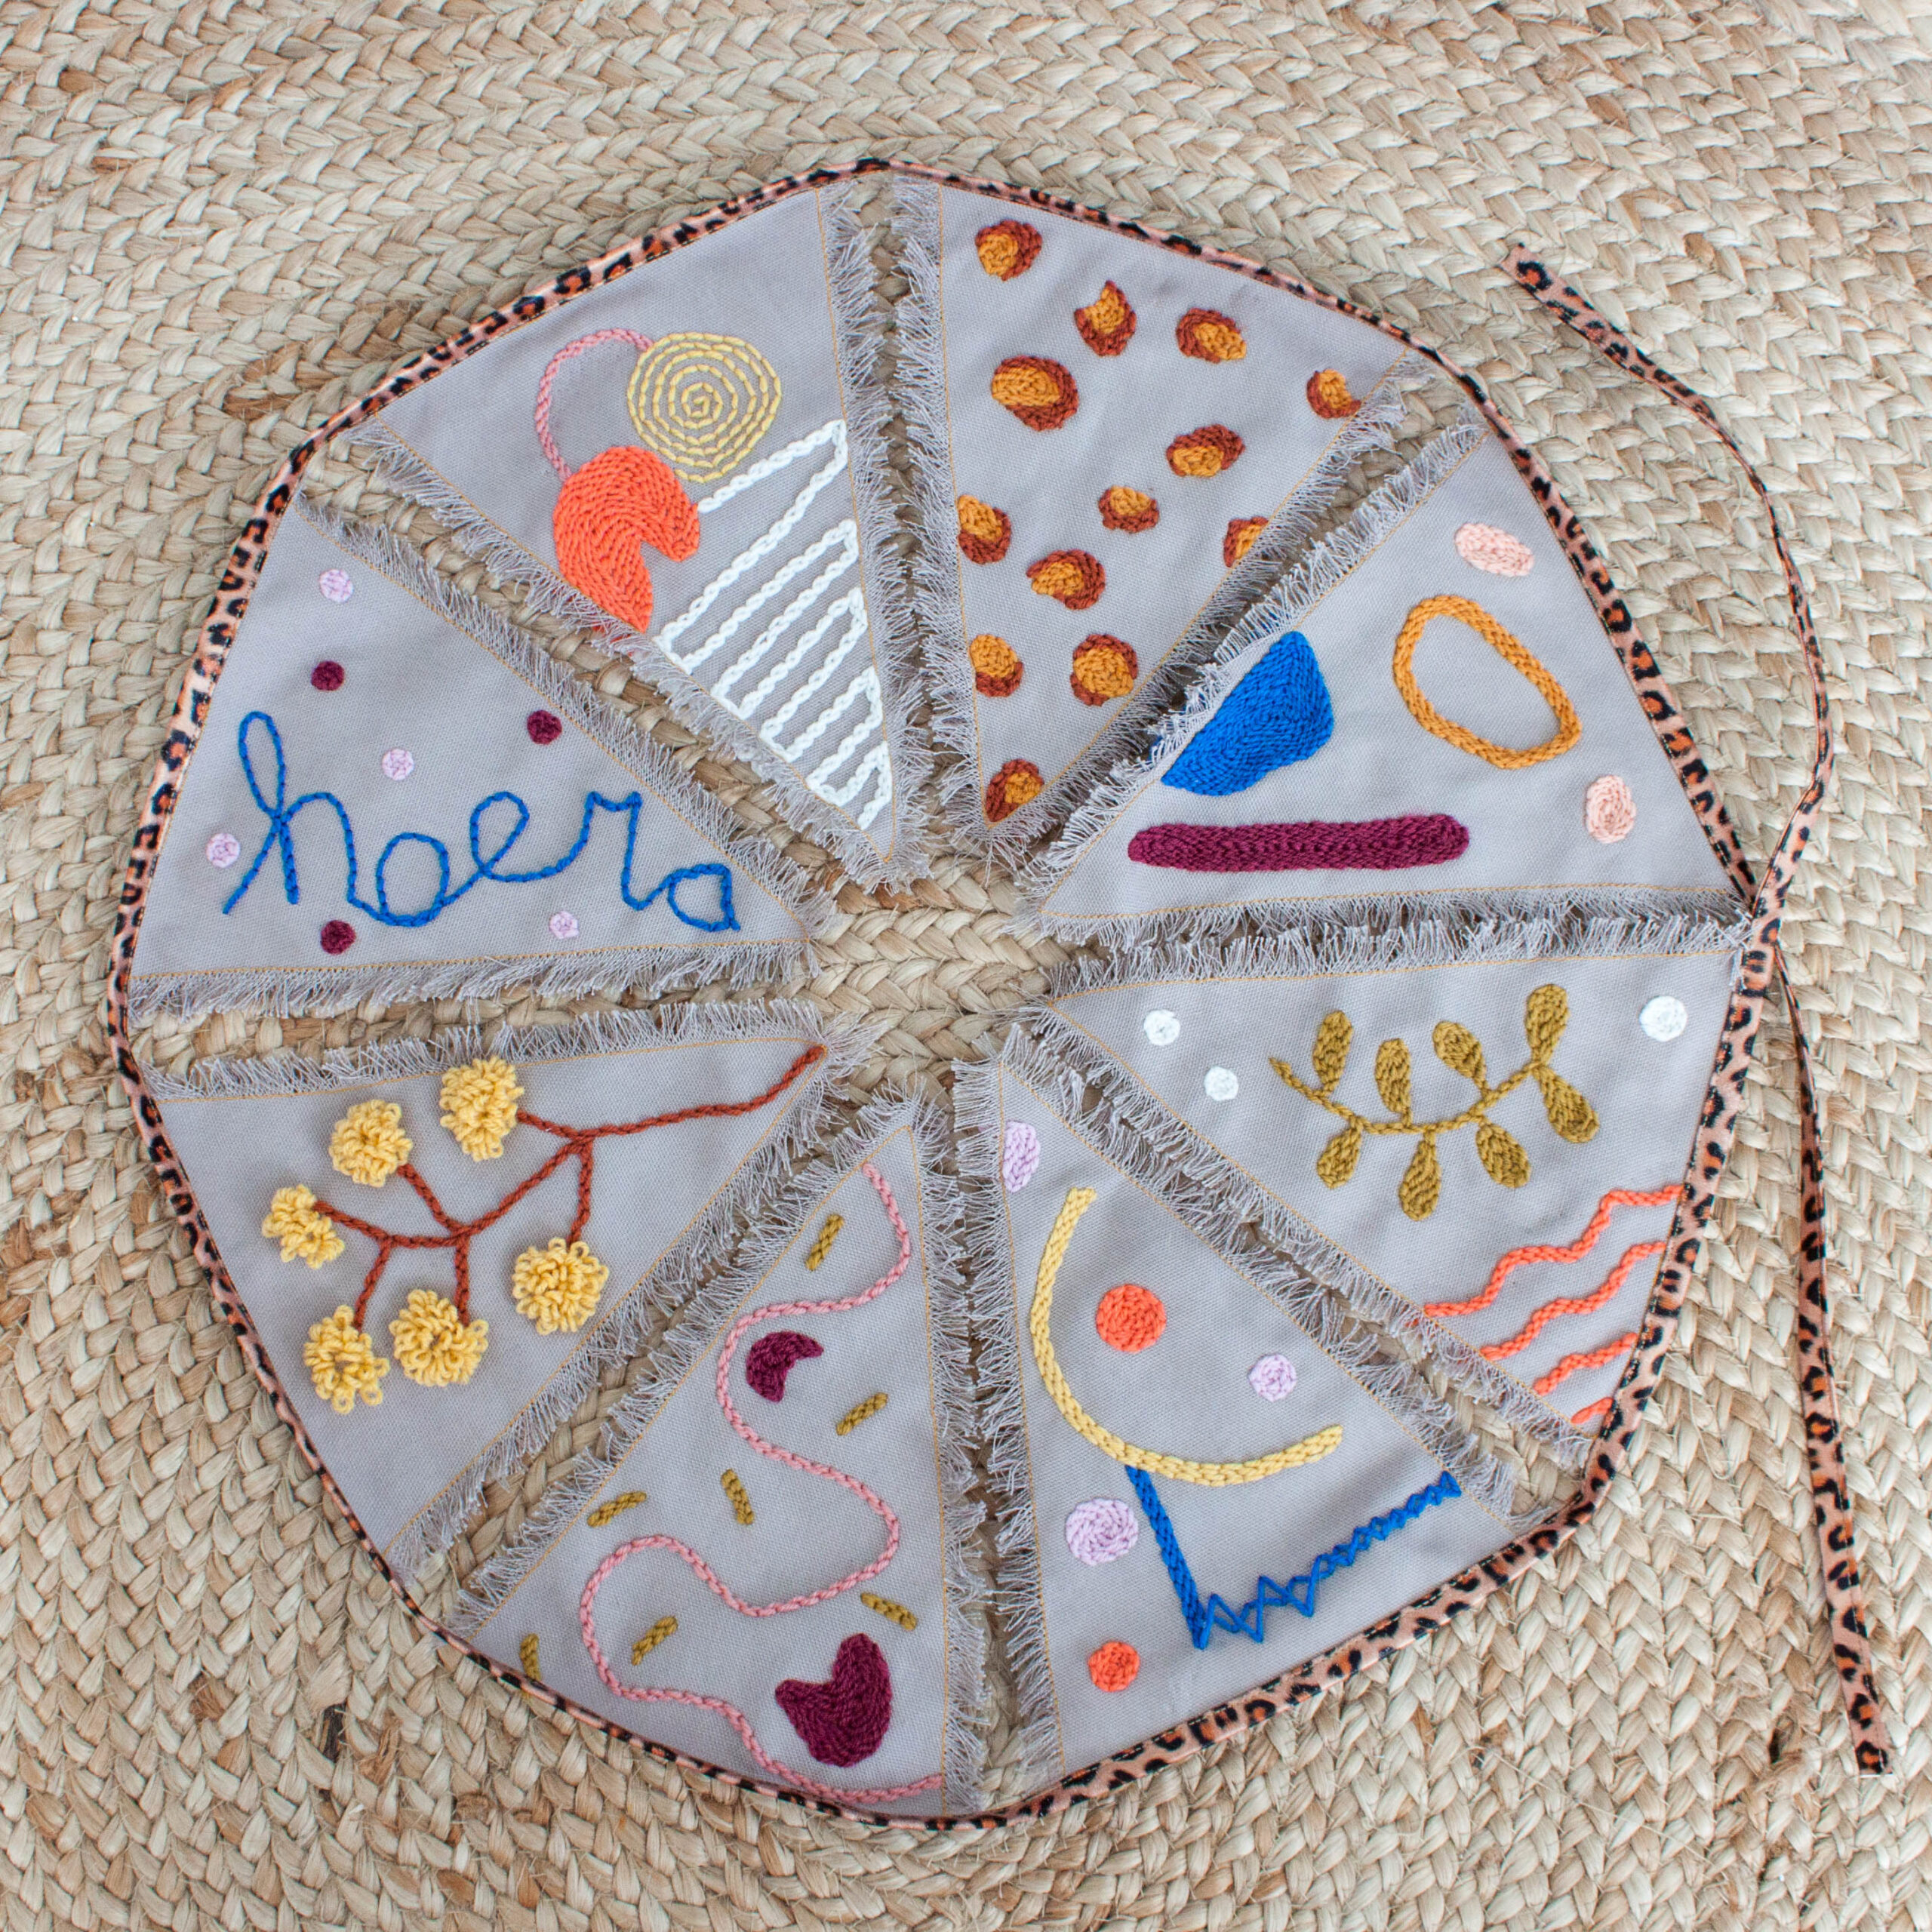
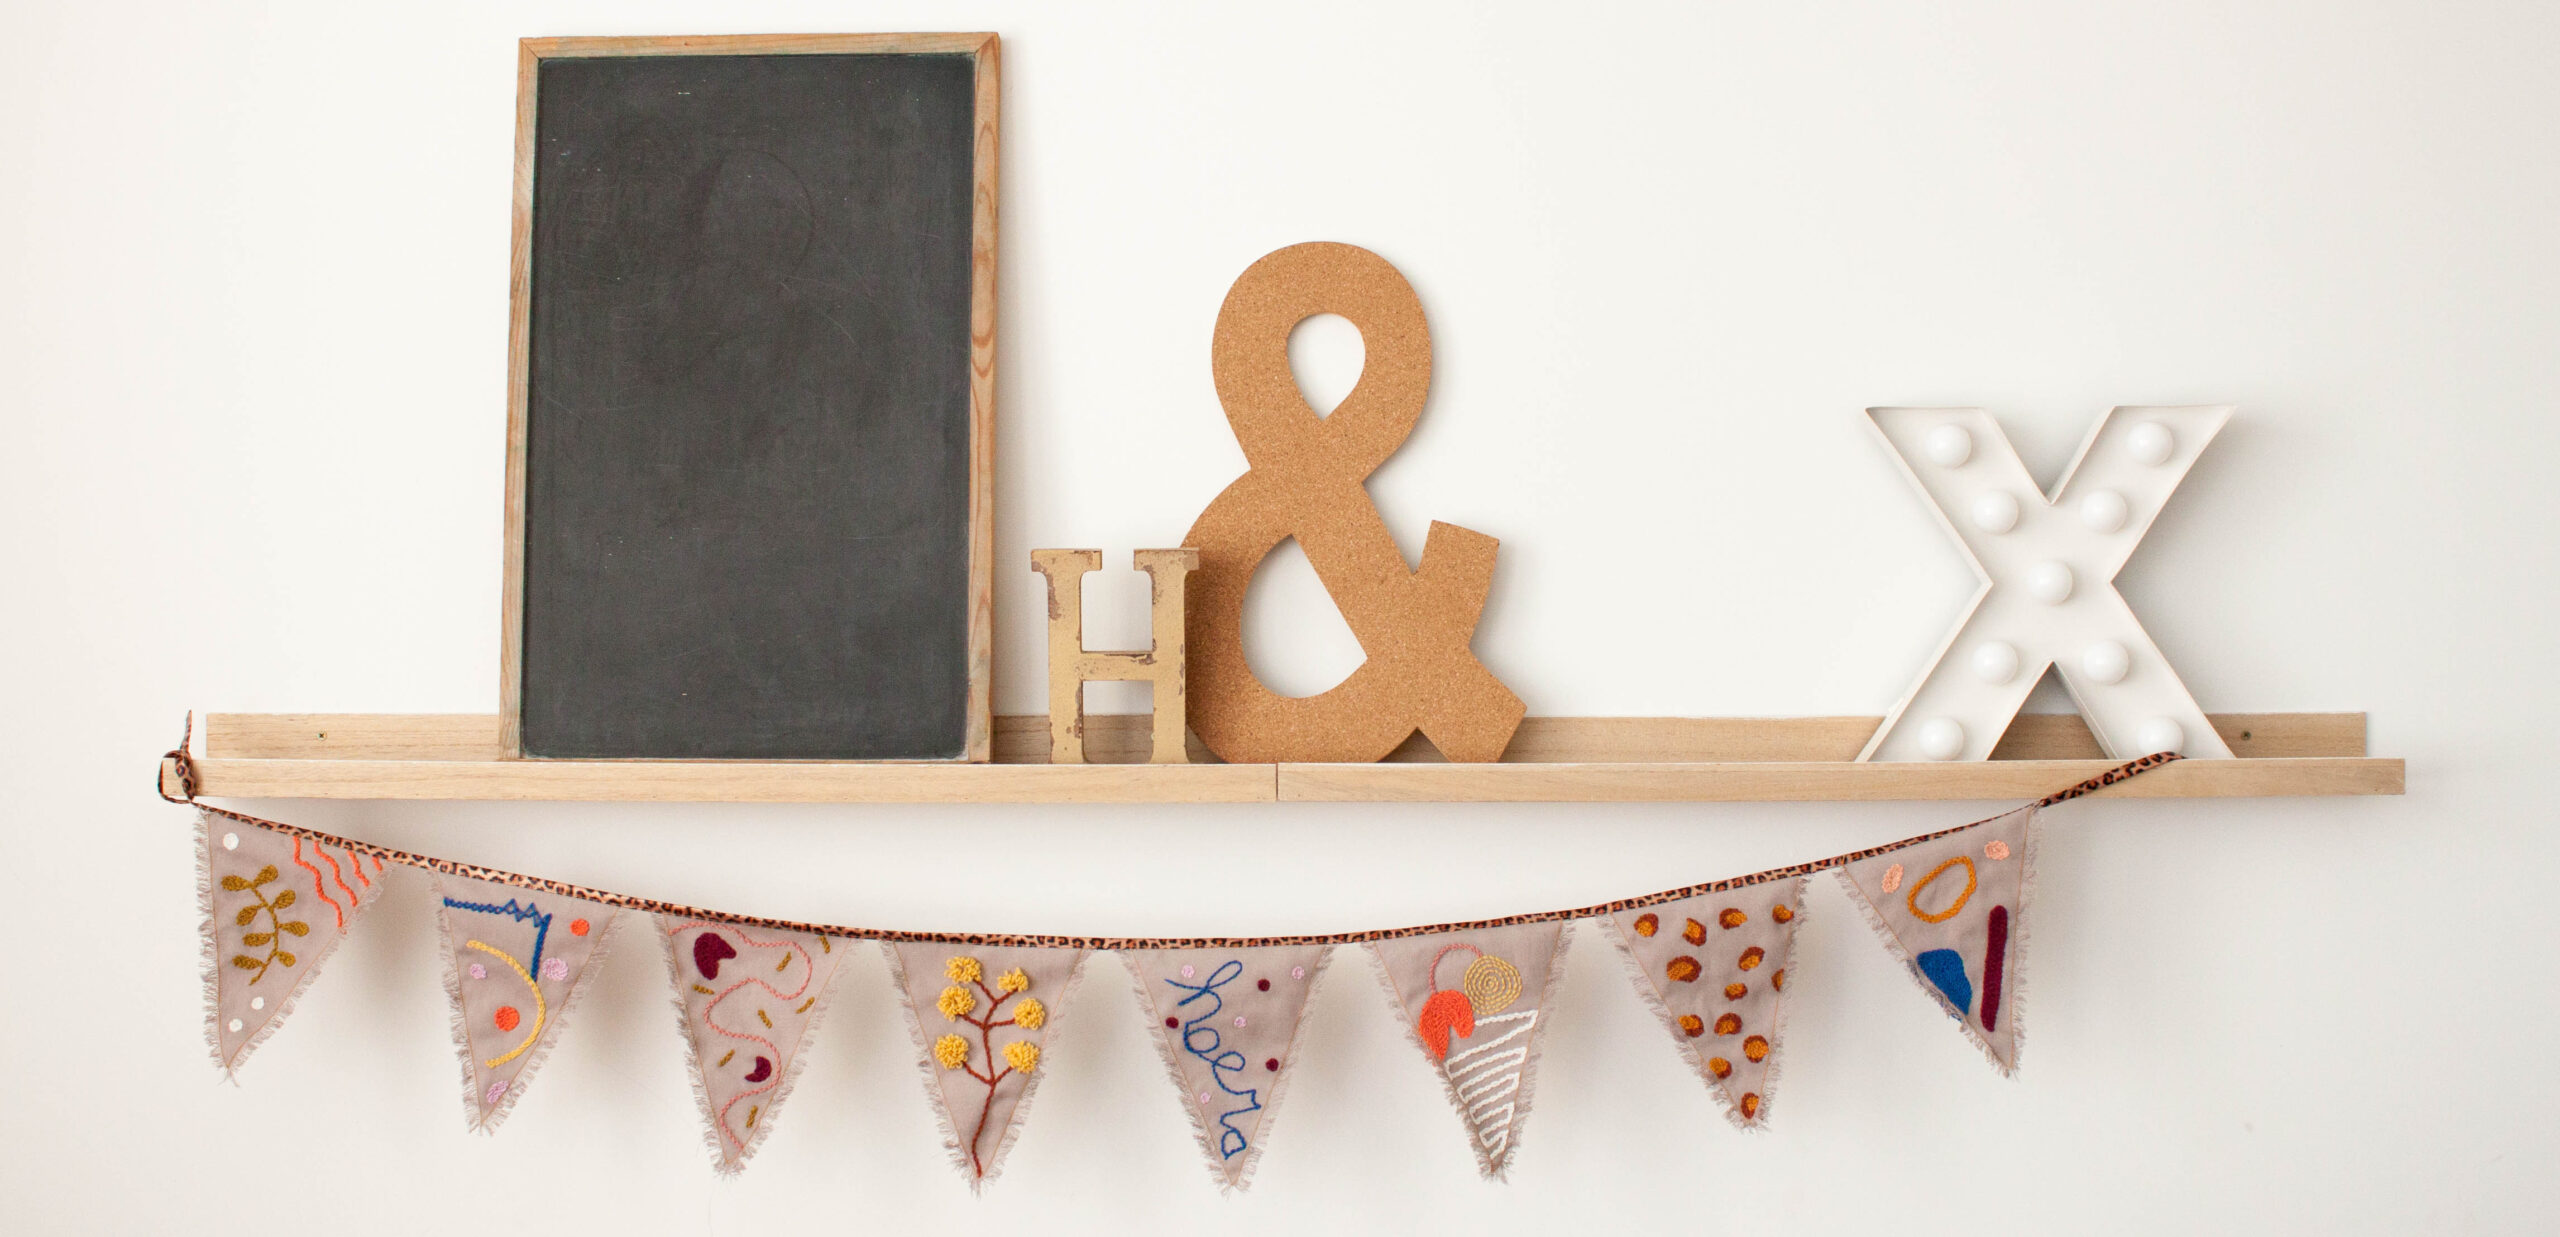
Fabric garland with punched decorations
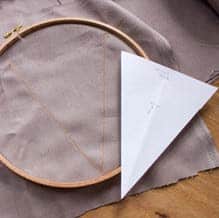
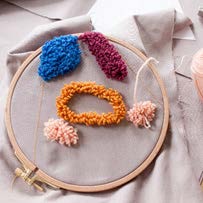
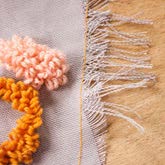
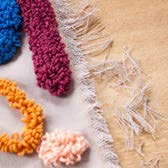
Would you like to try punch needling and are looking for a fun, beginner-friendly project? Then this fabric garland with punched decorations is perfect for you! This creative DIY project is ideal for beginners, as you only need to punch small sections. Plus, you can endlessly experiment with colors, patterns, and shapes to create a unique and personalized garland.
