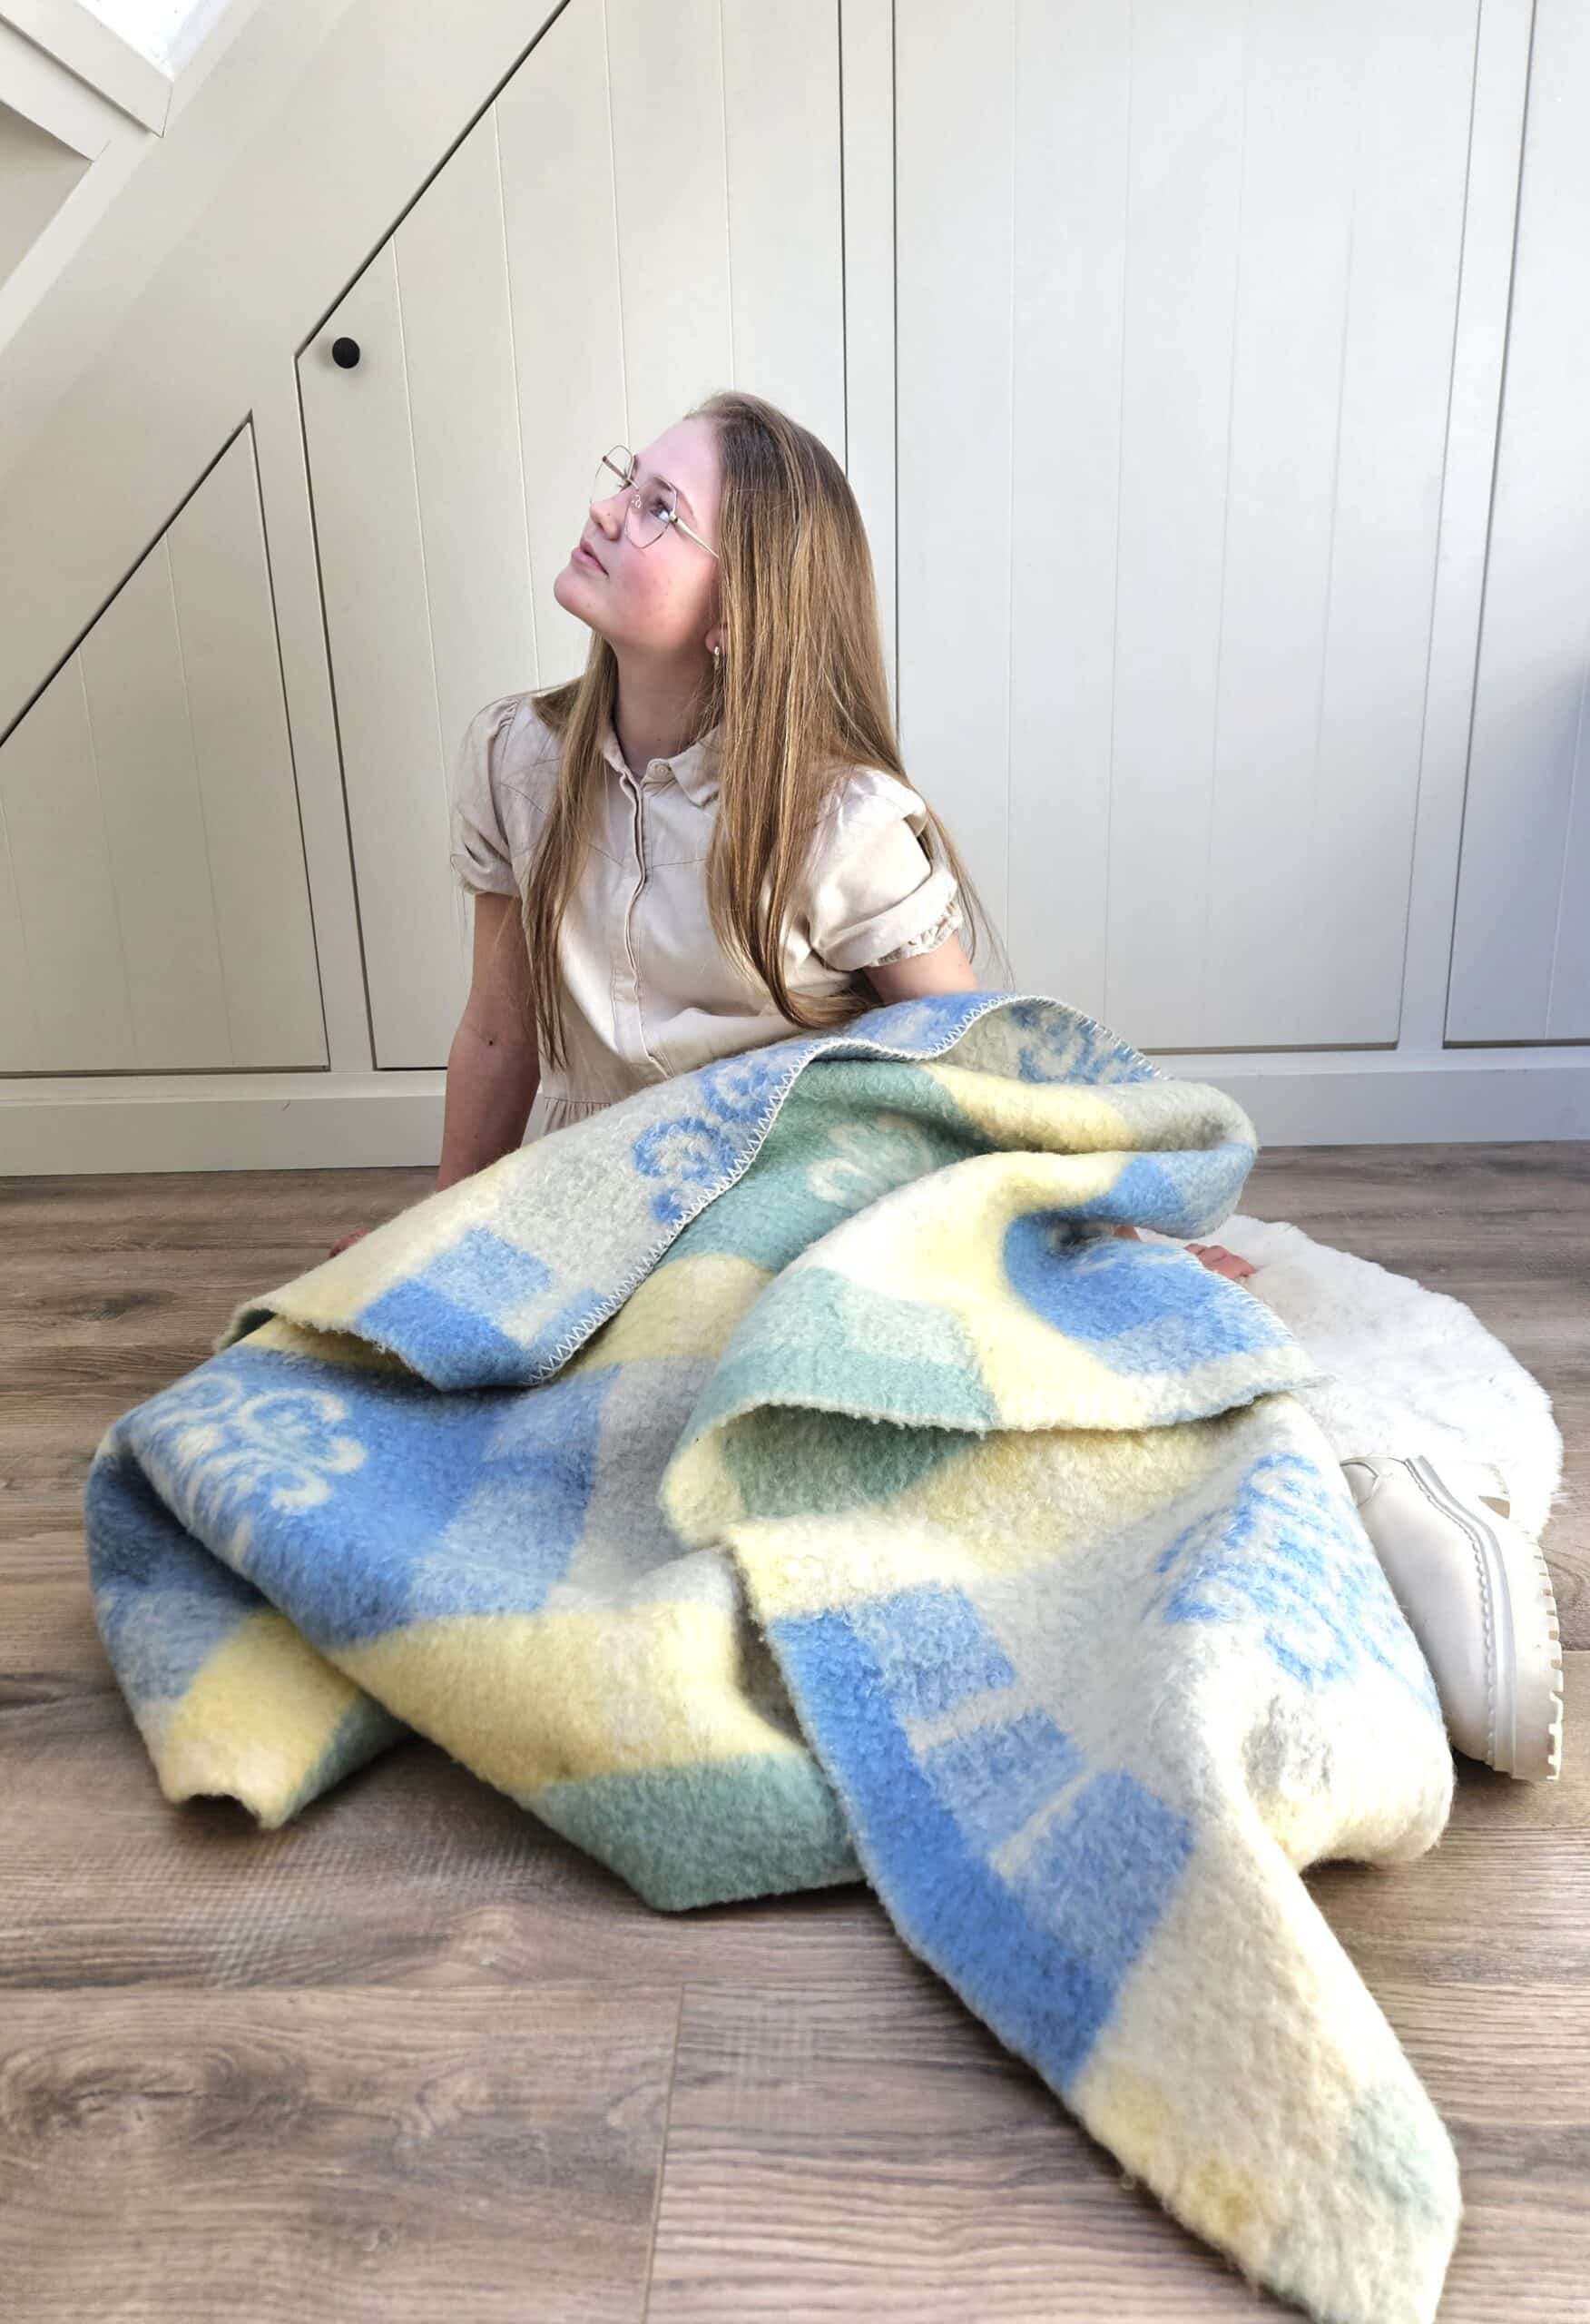
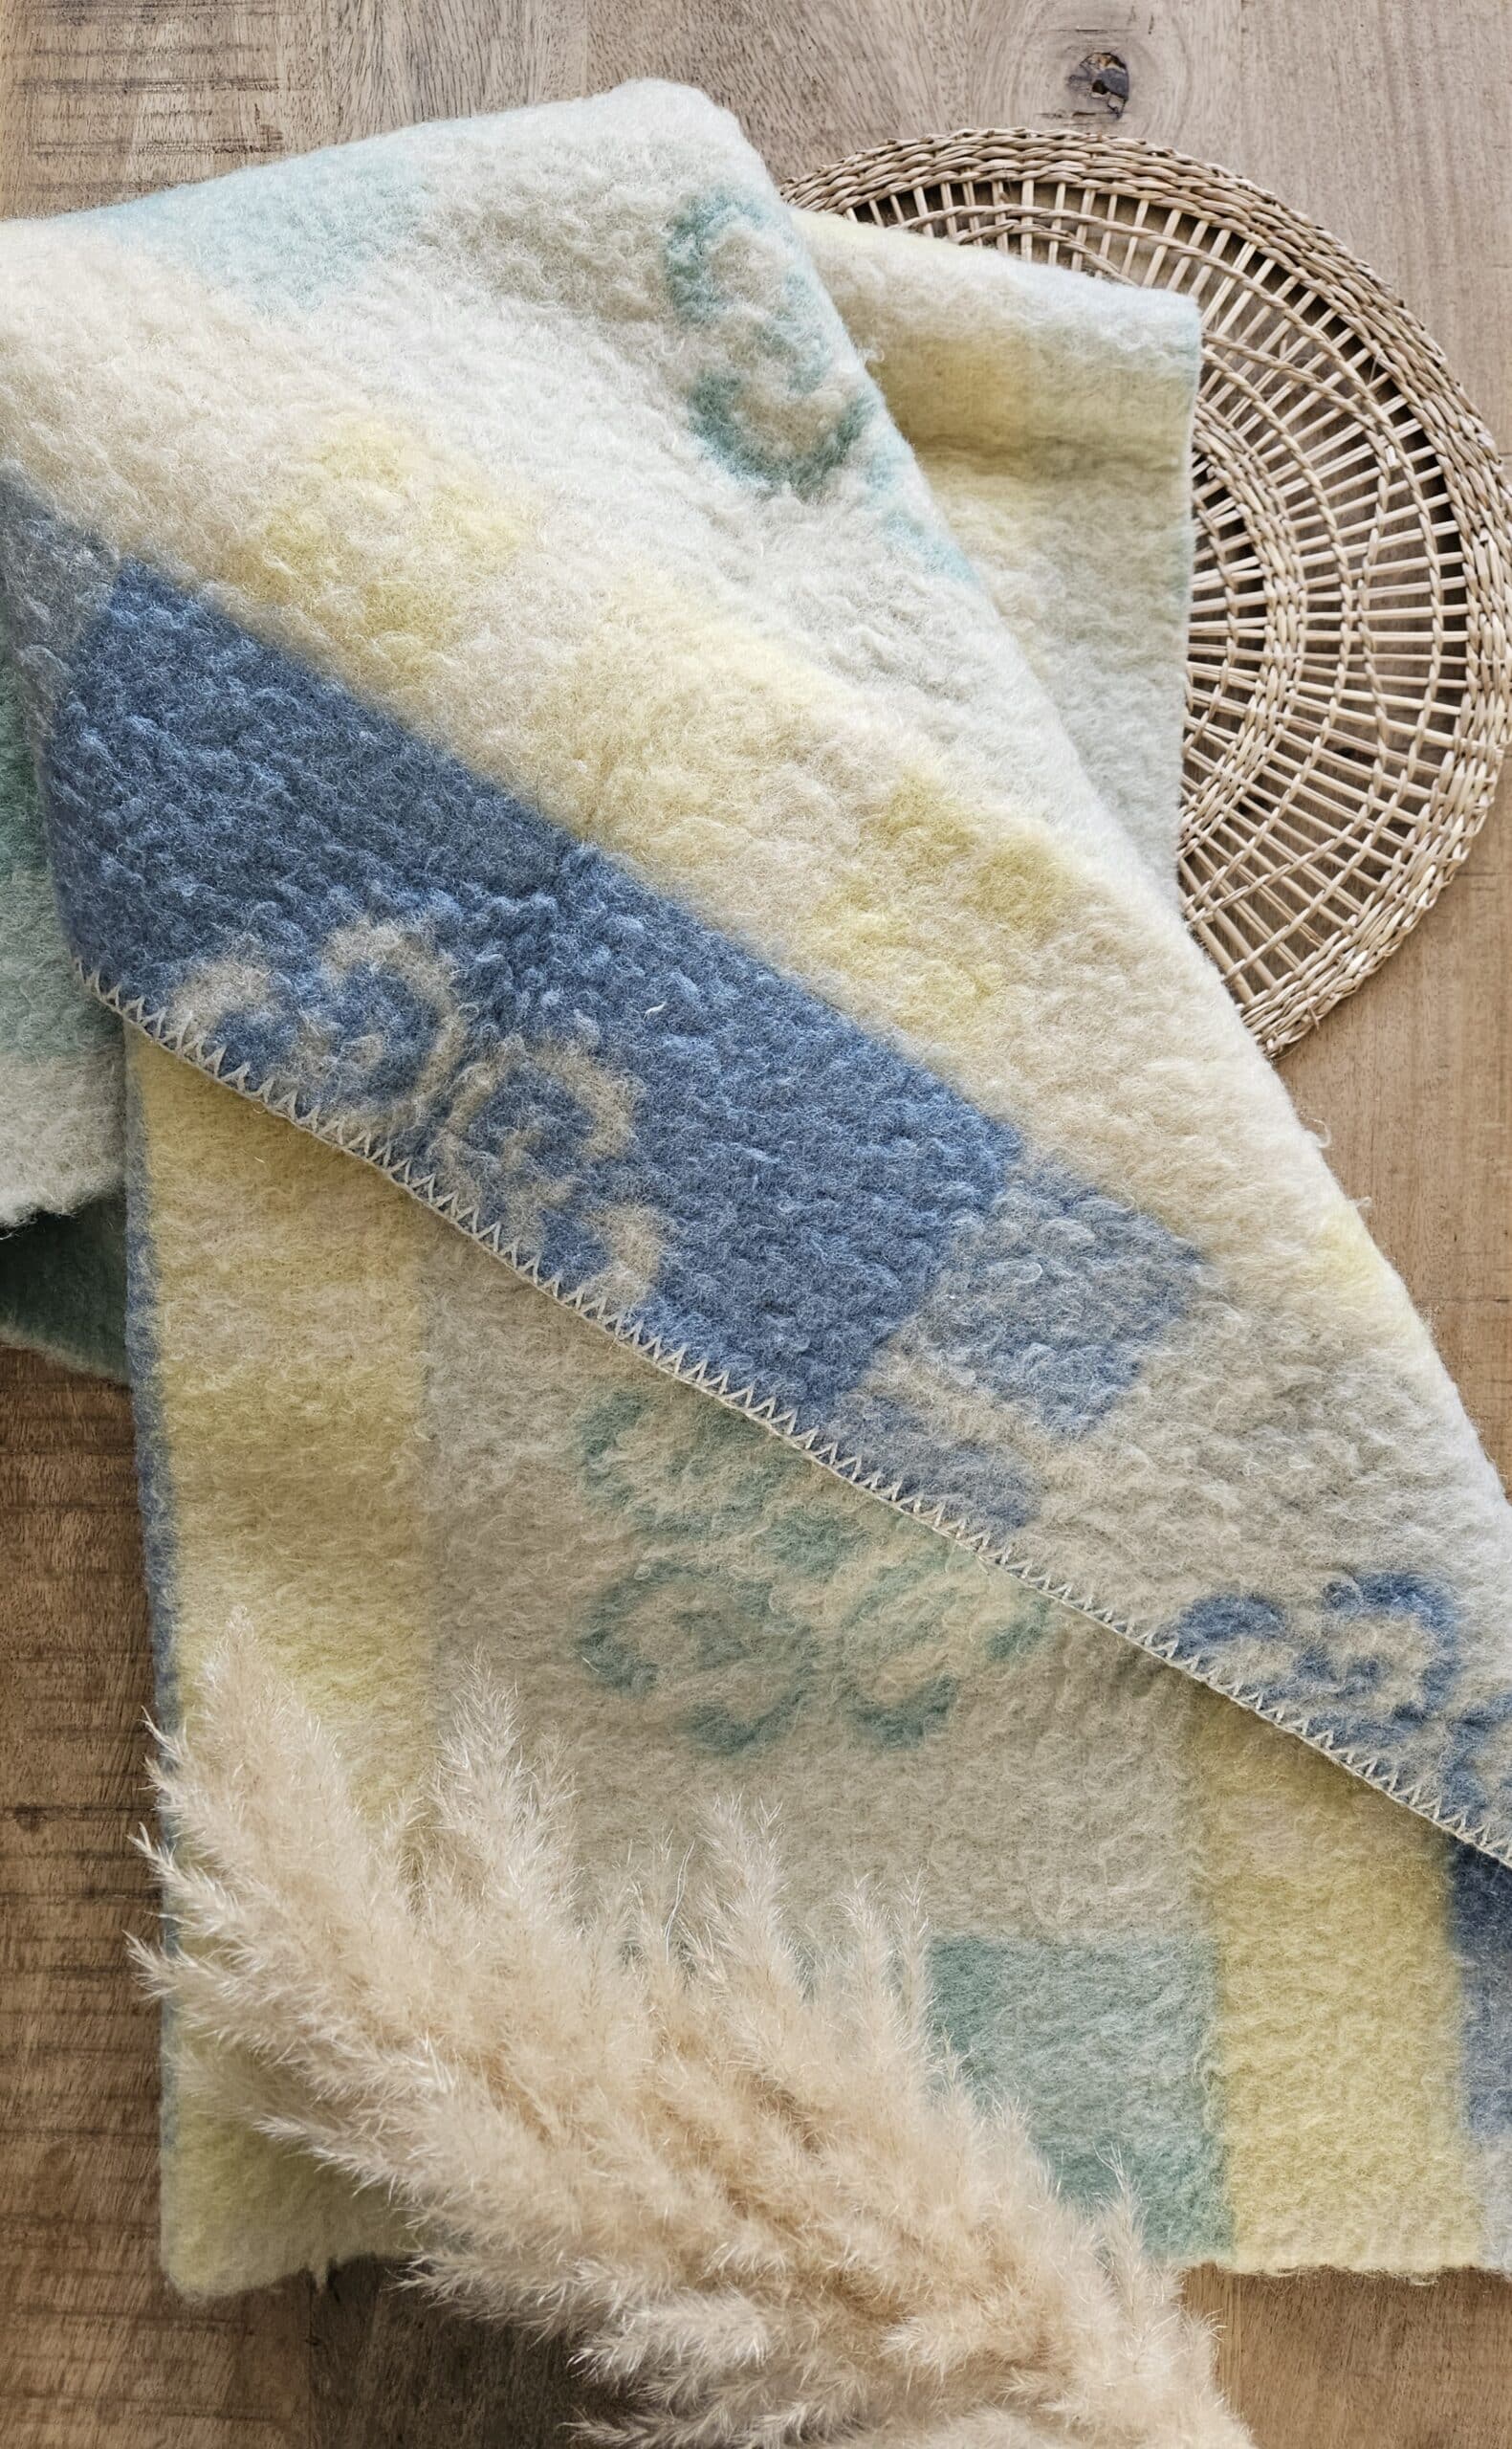
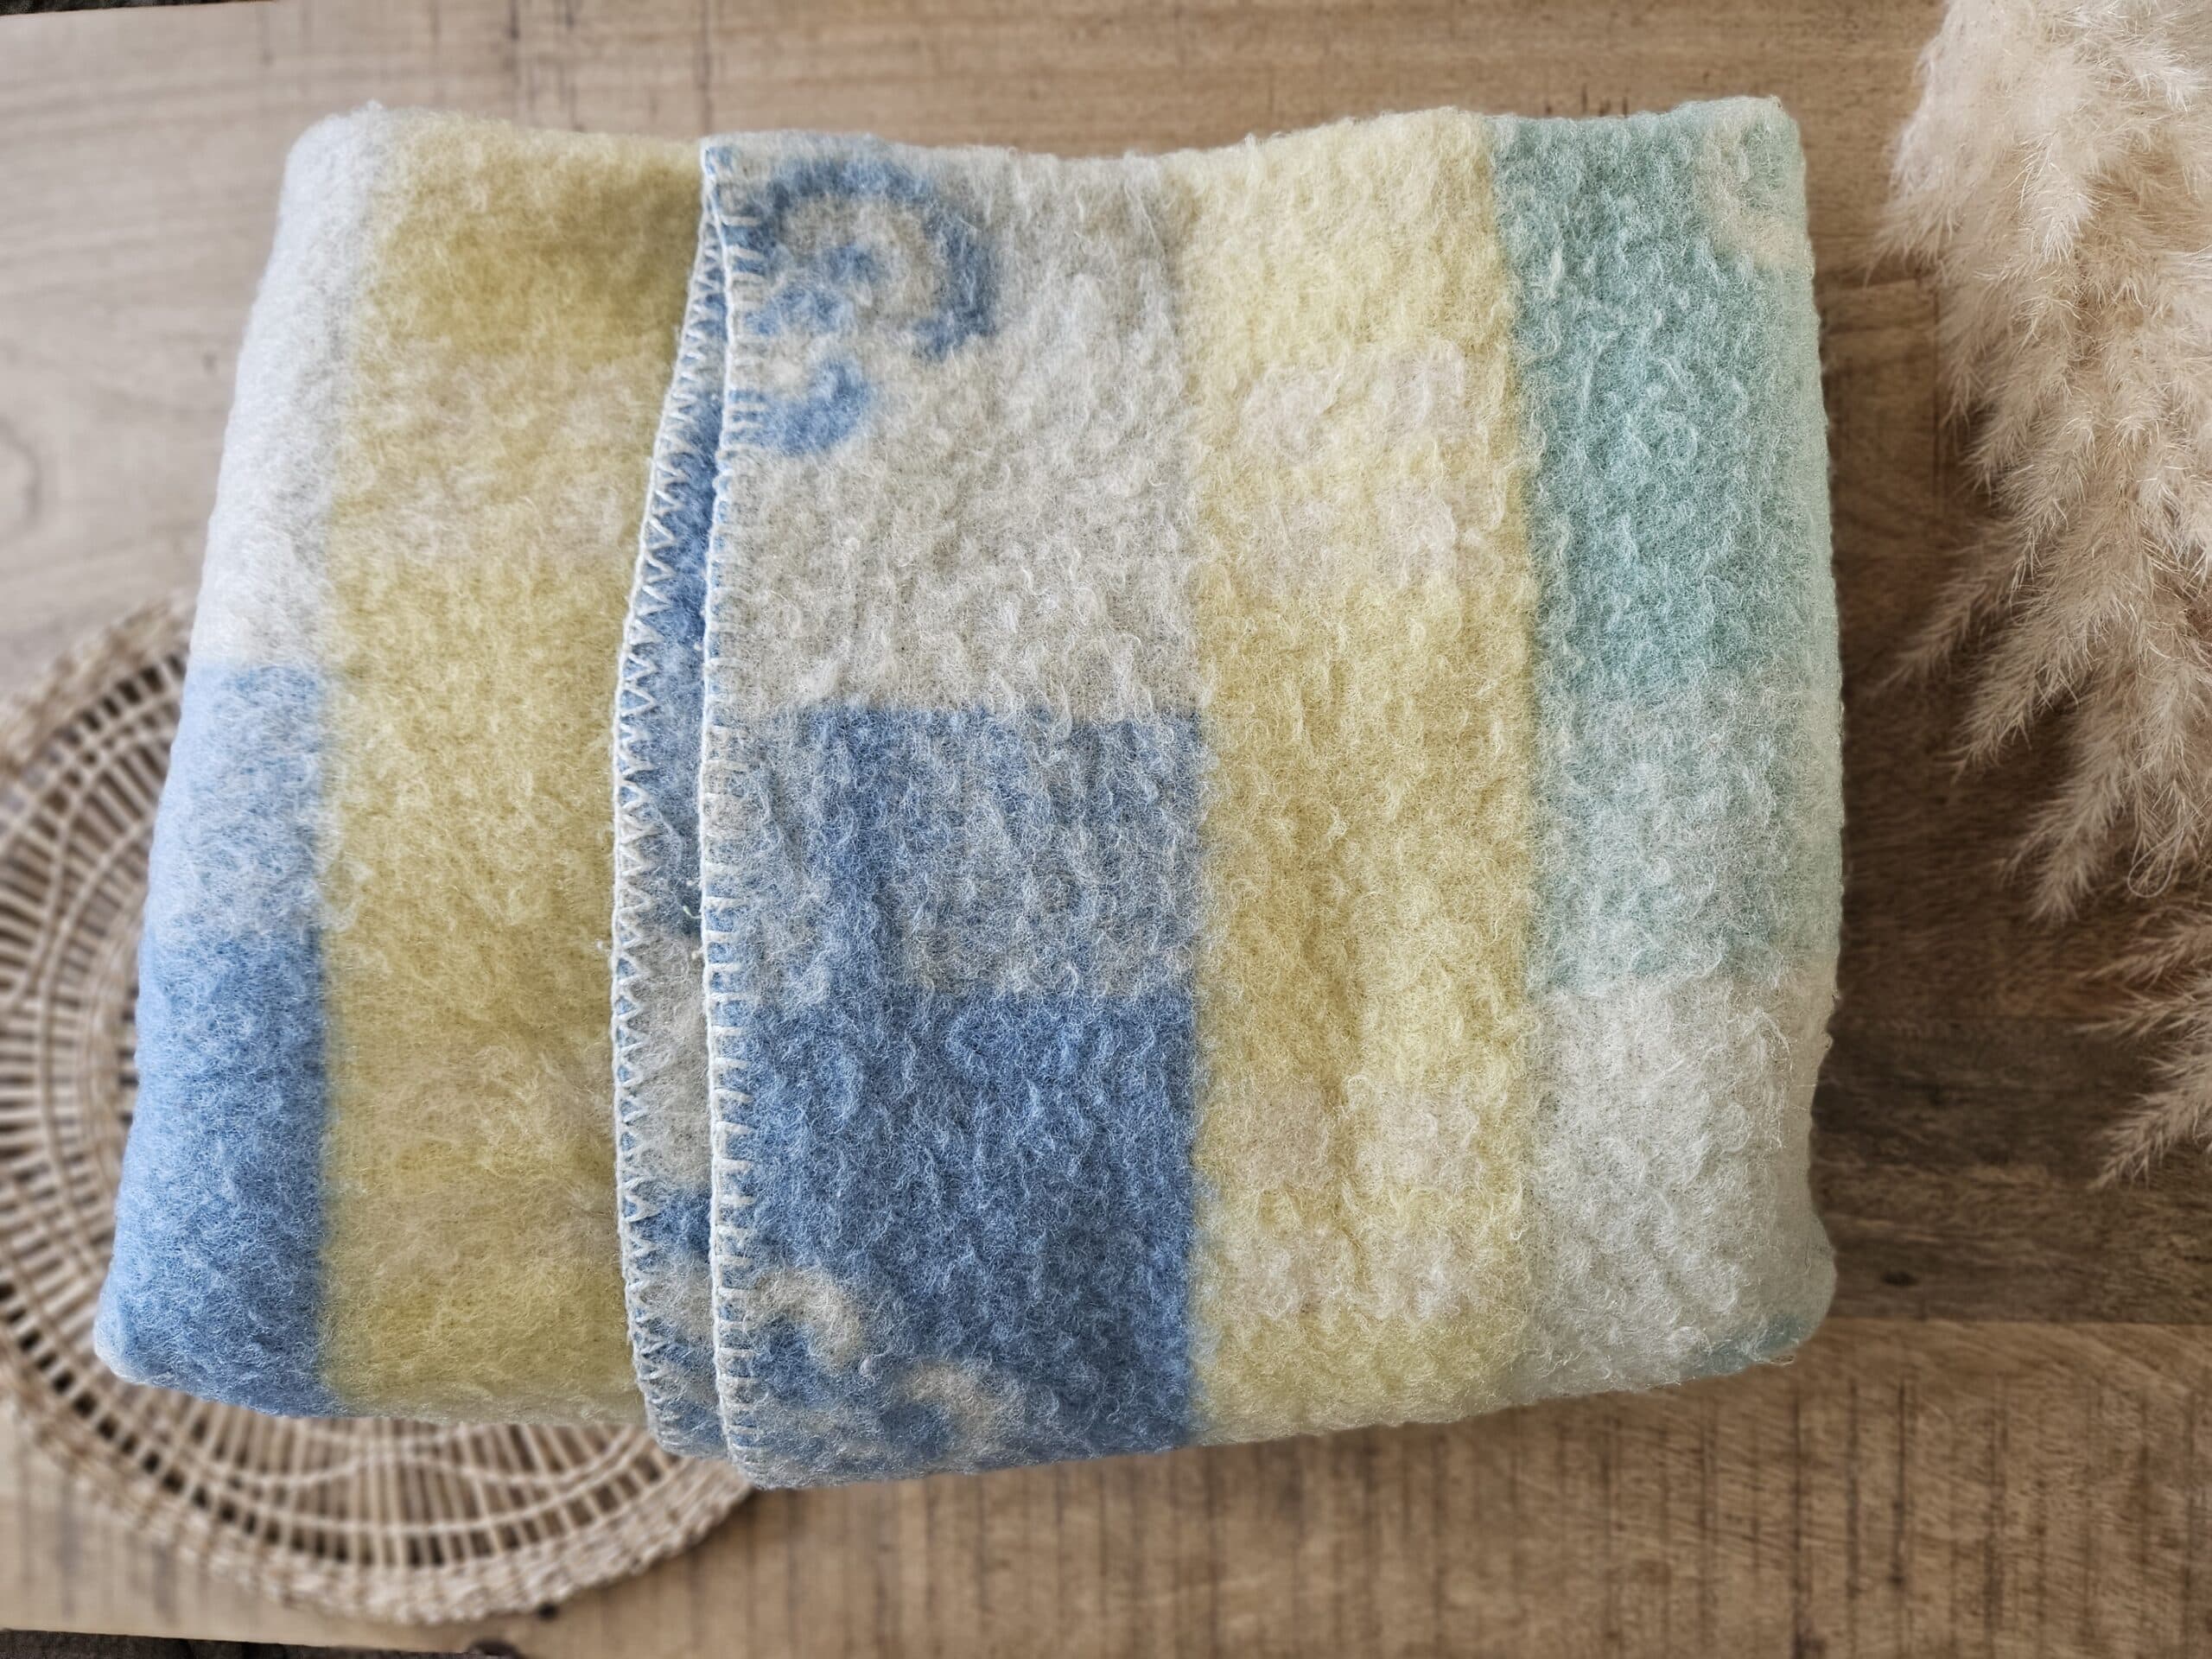
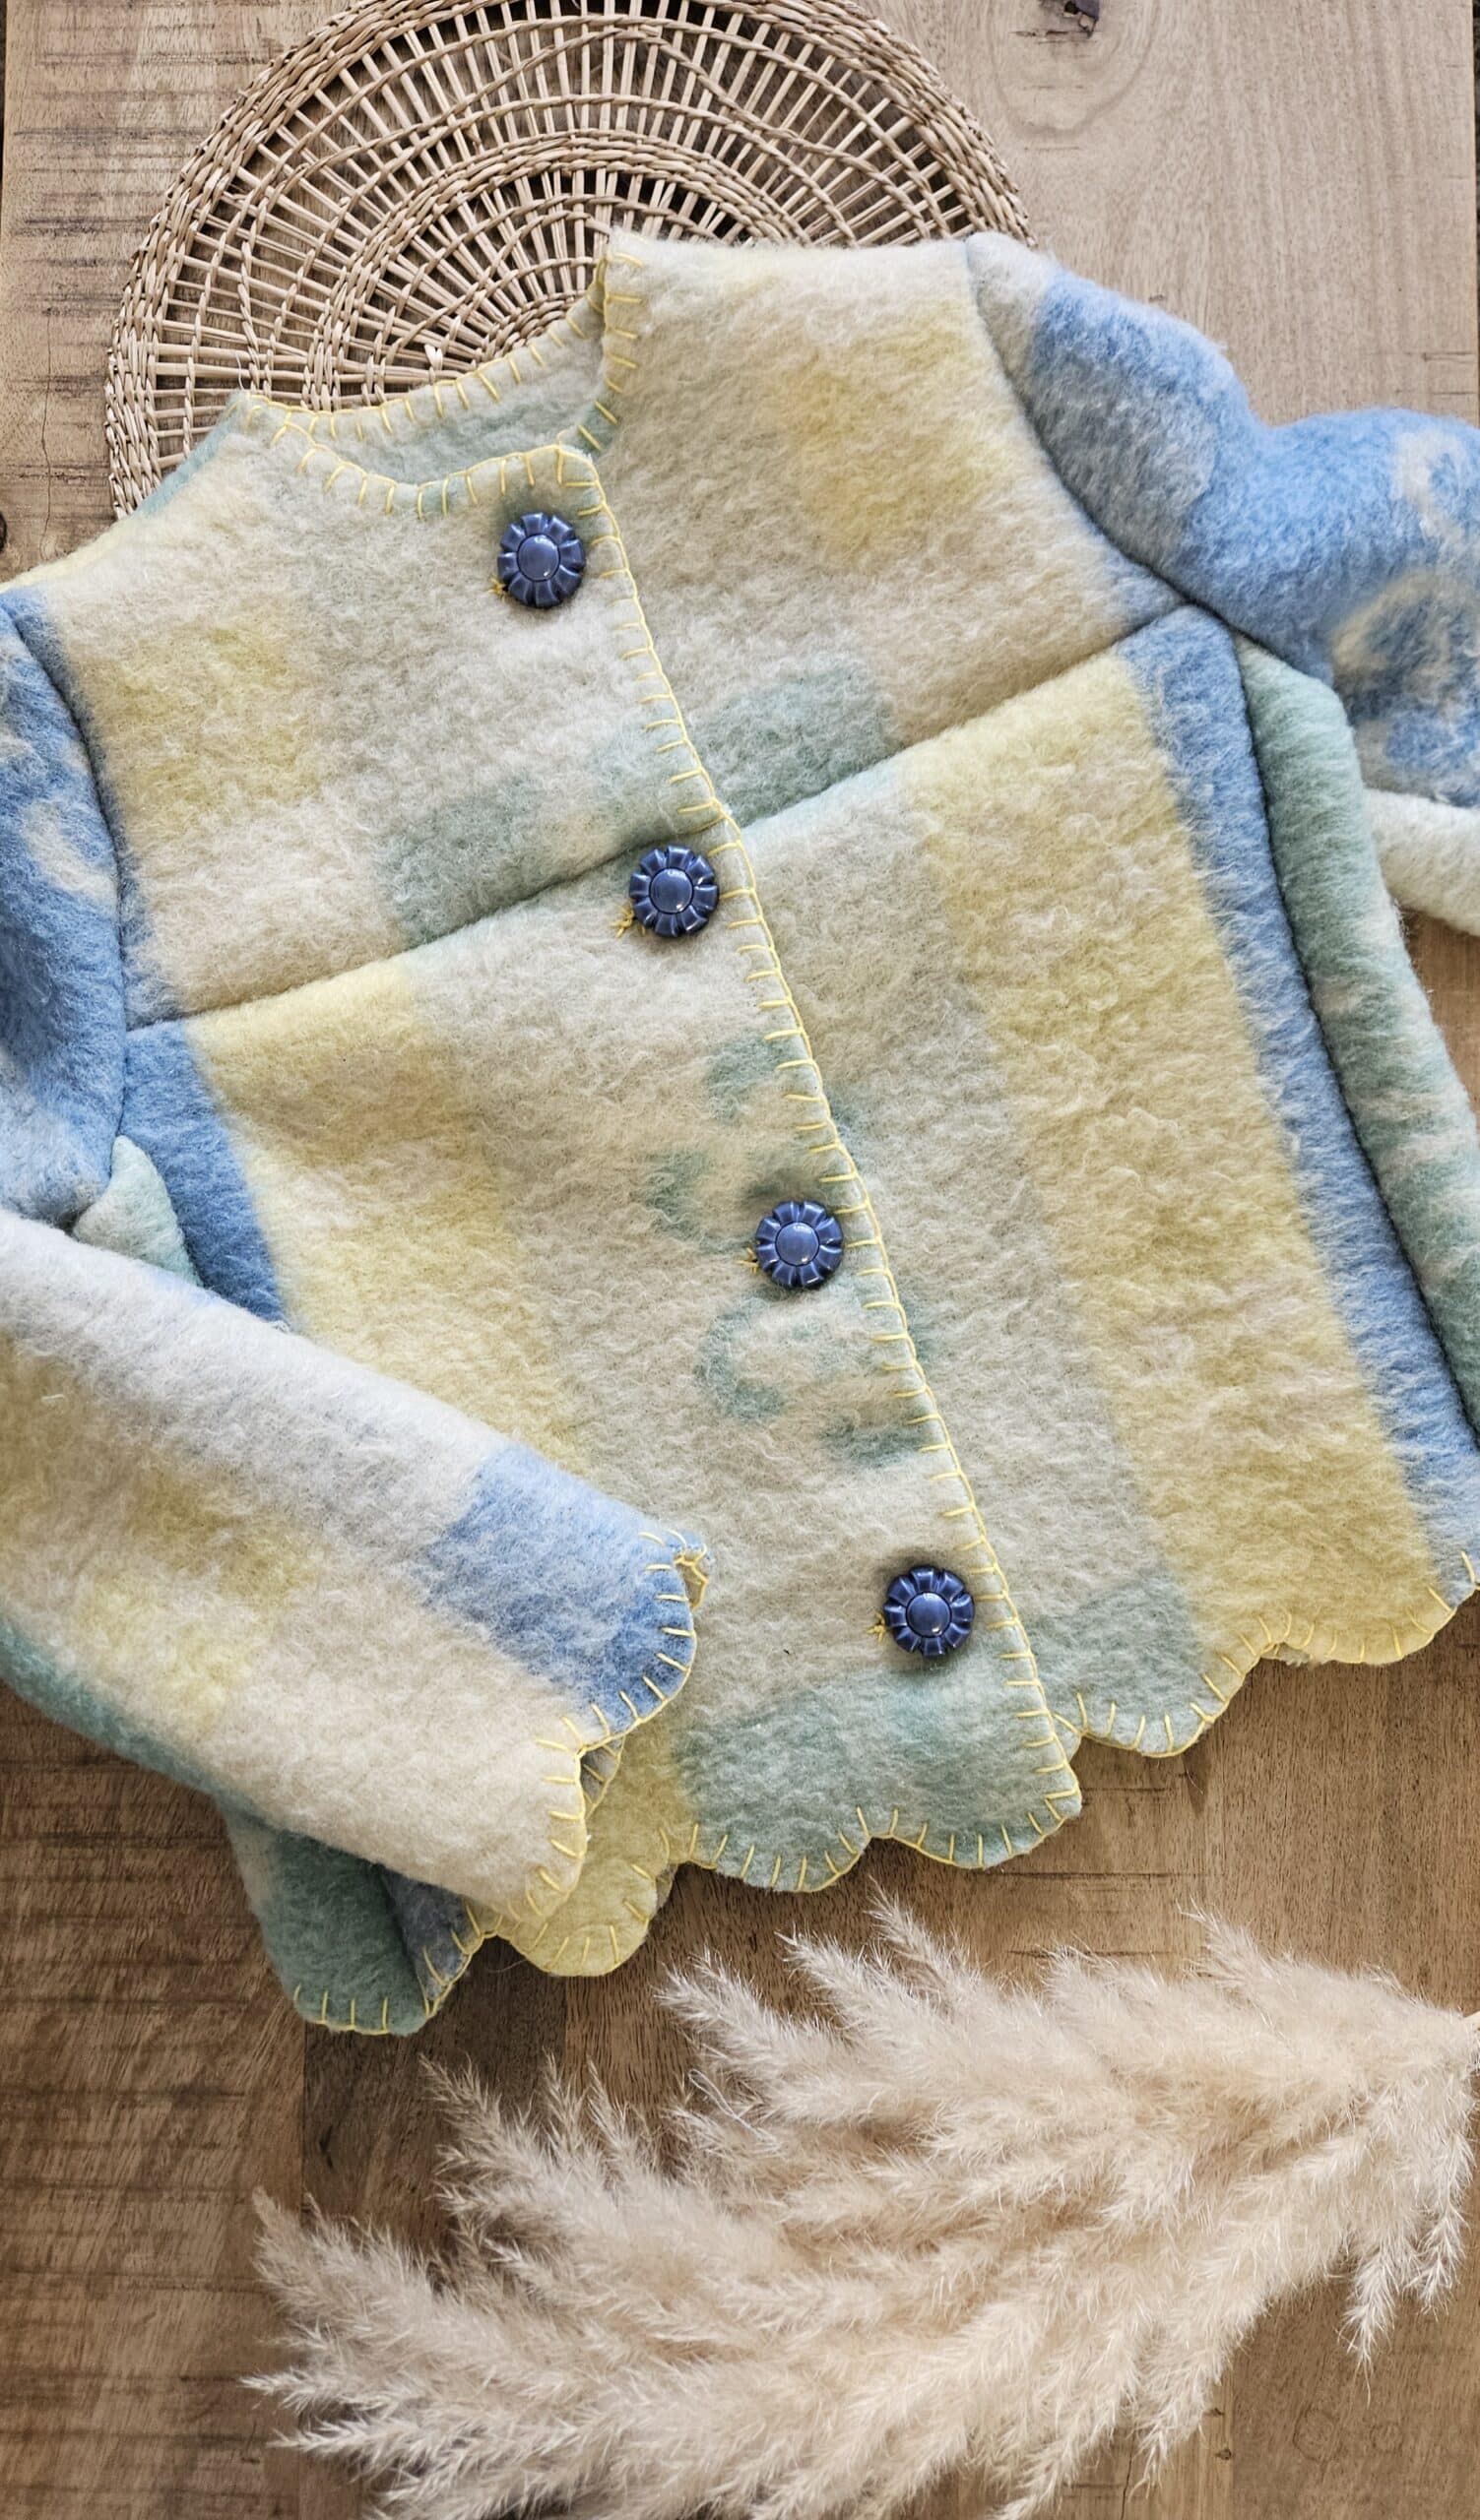
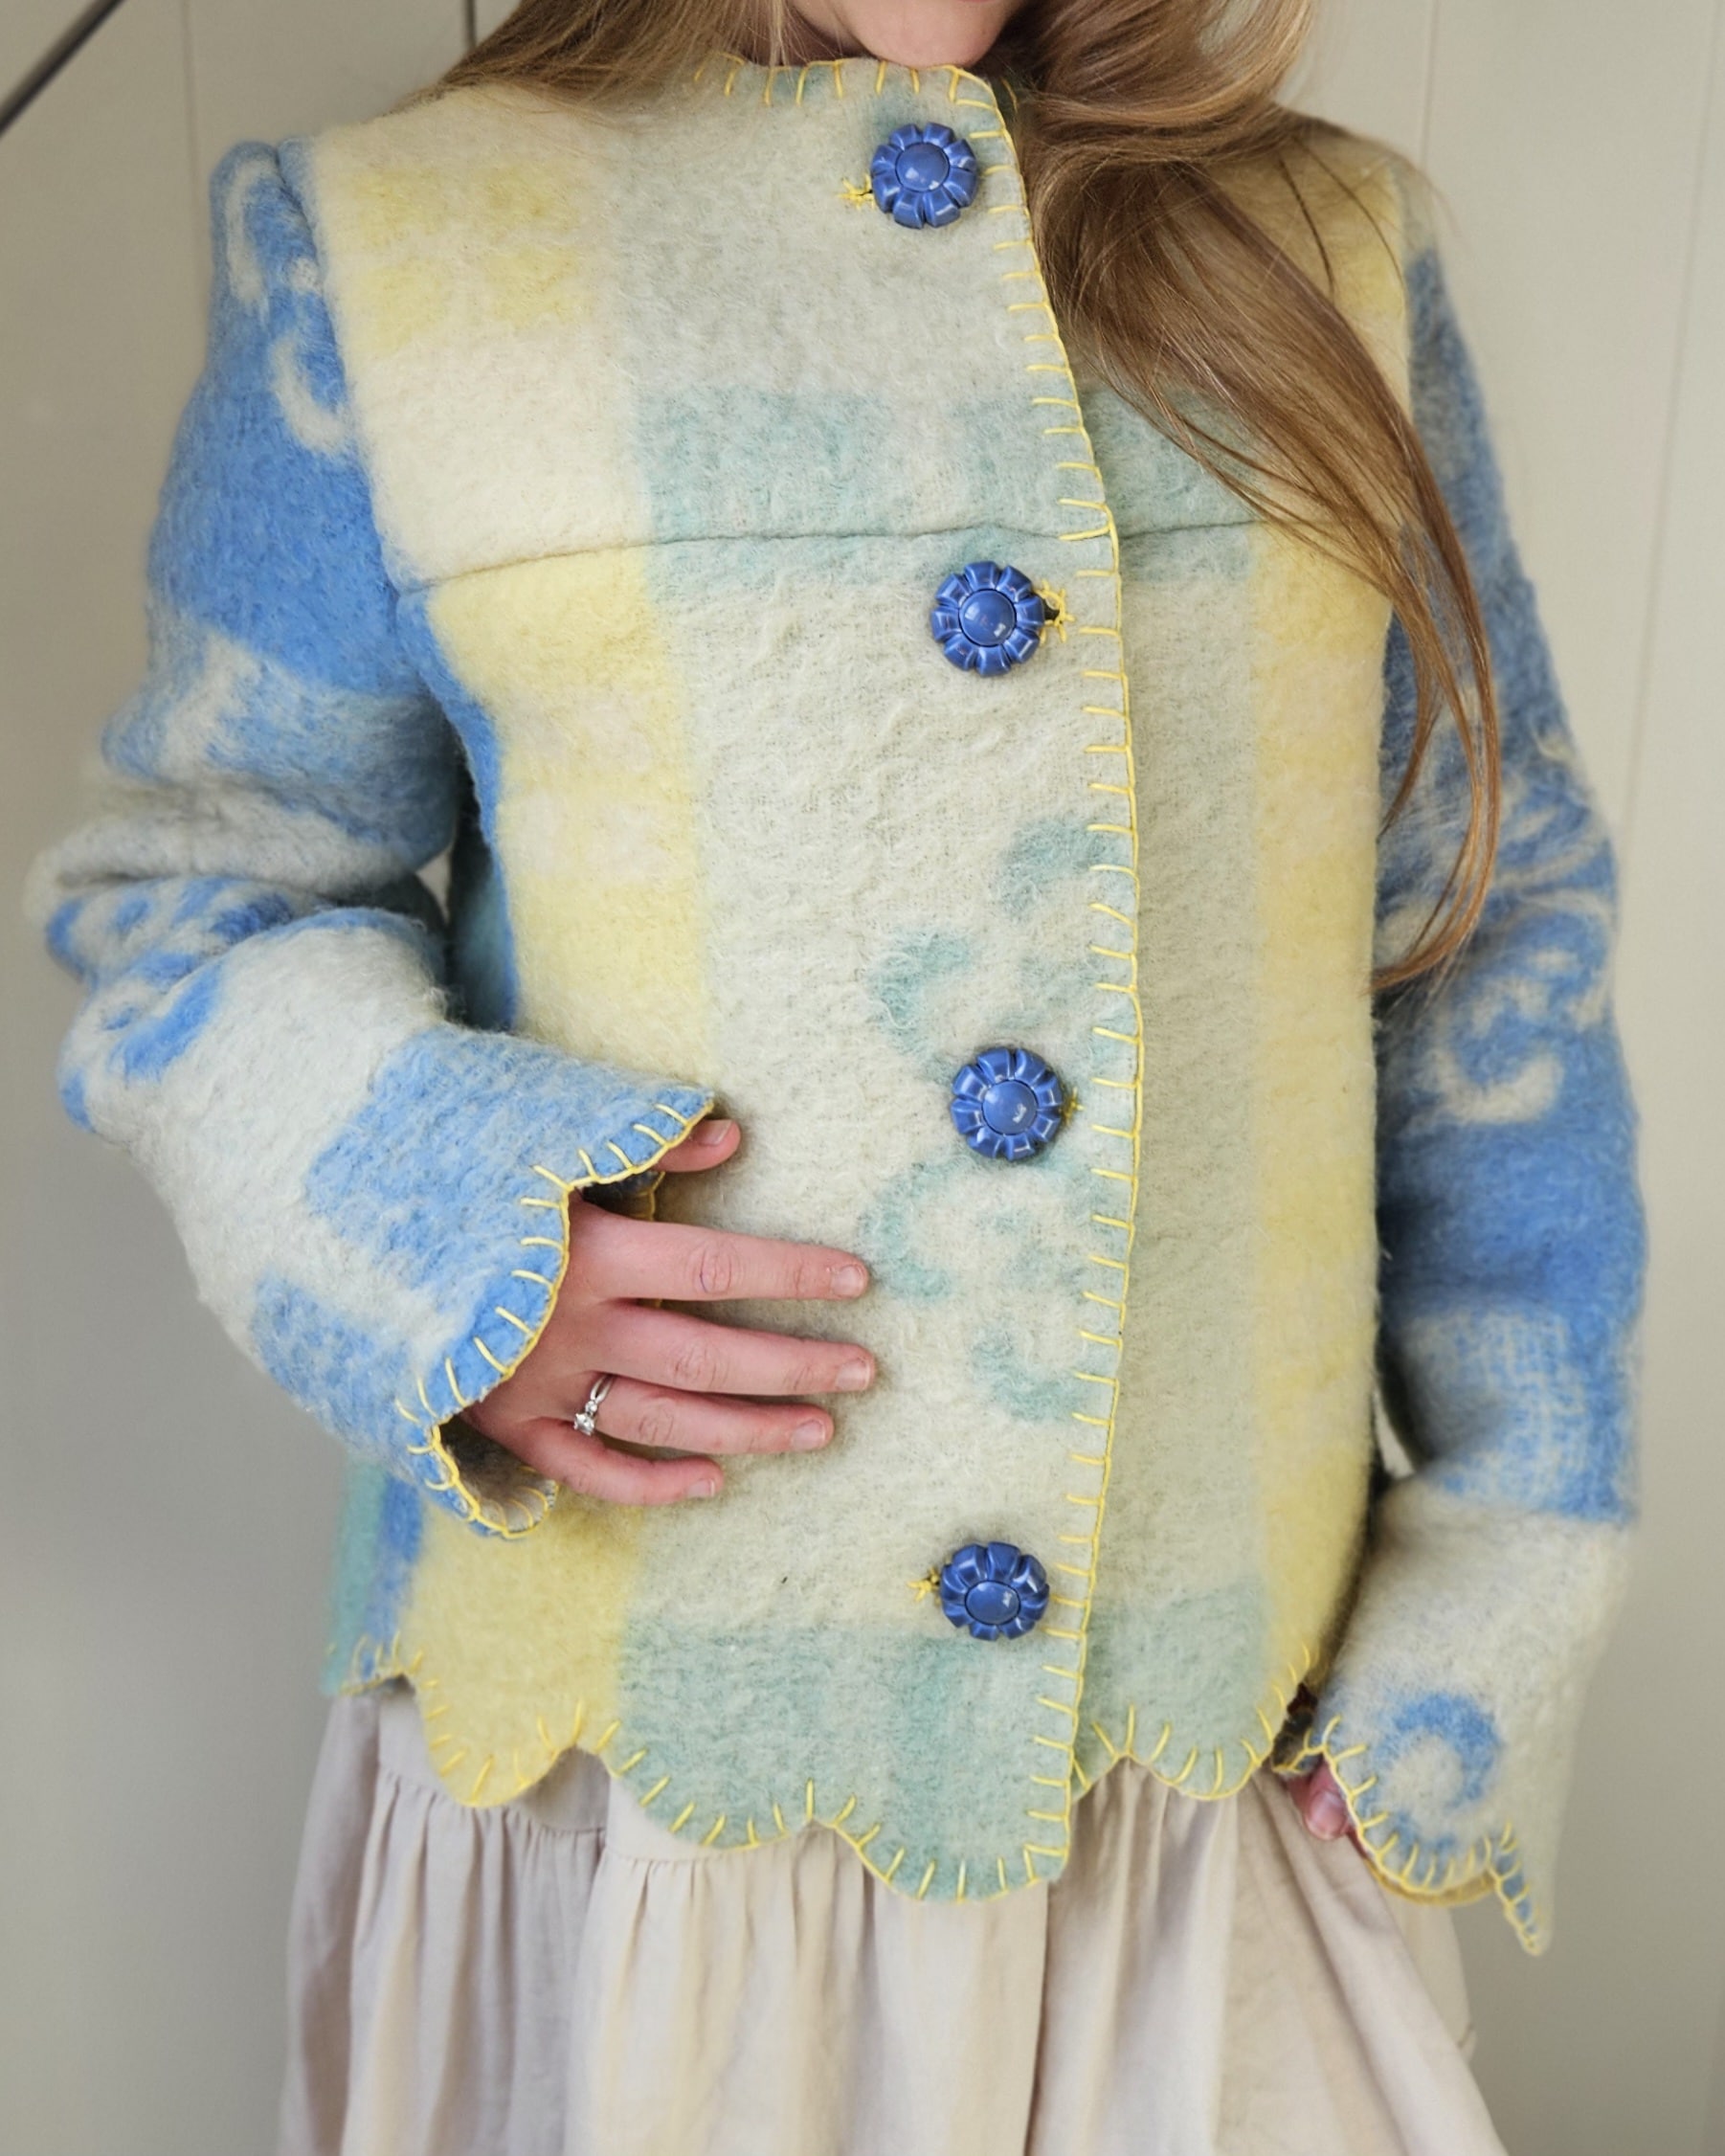
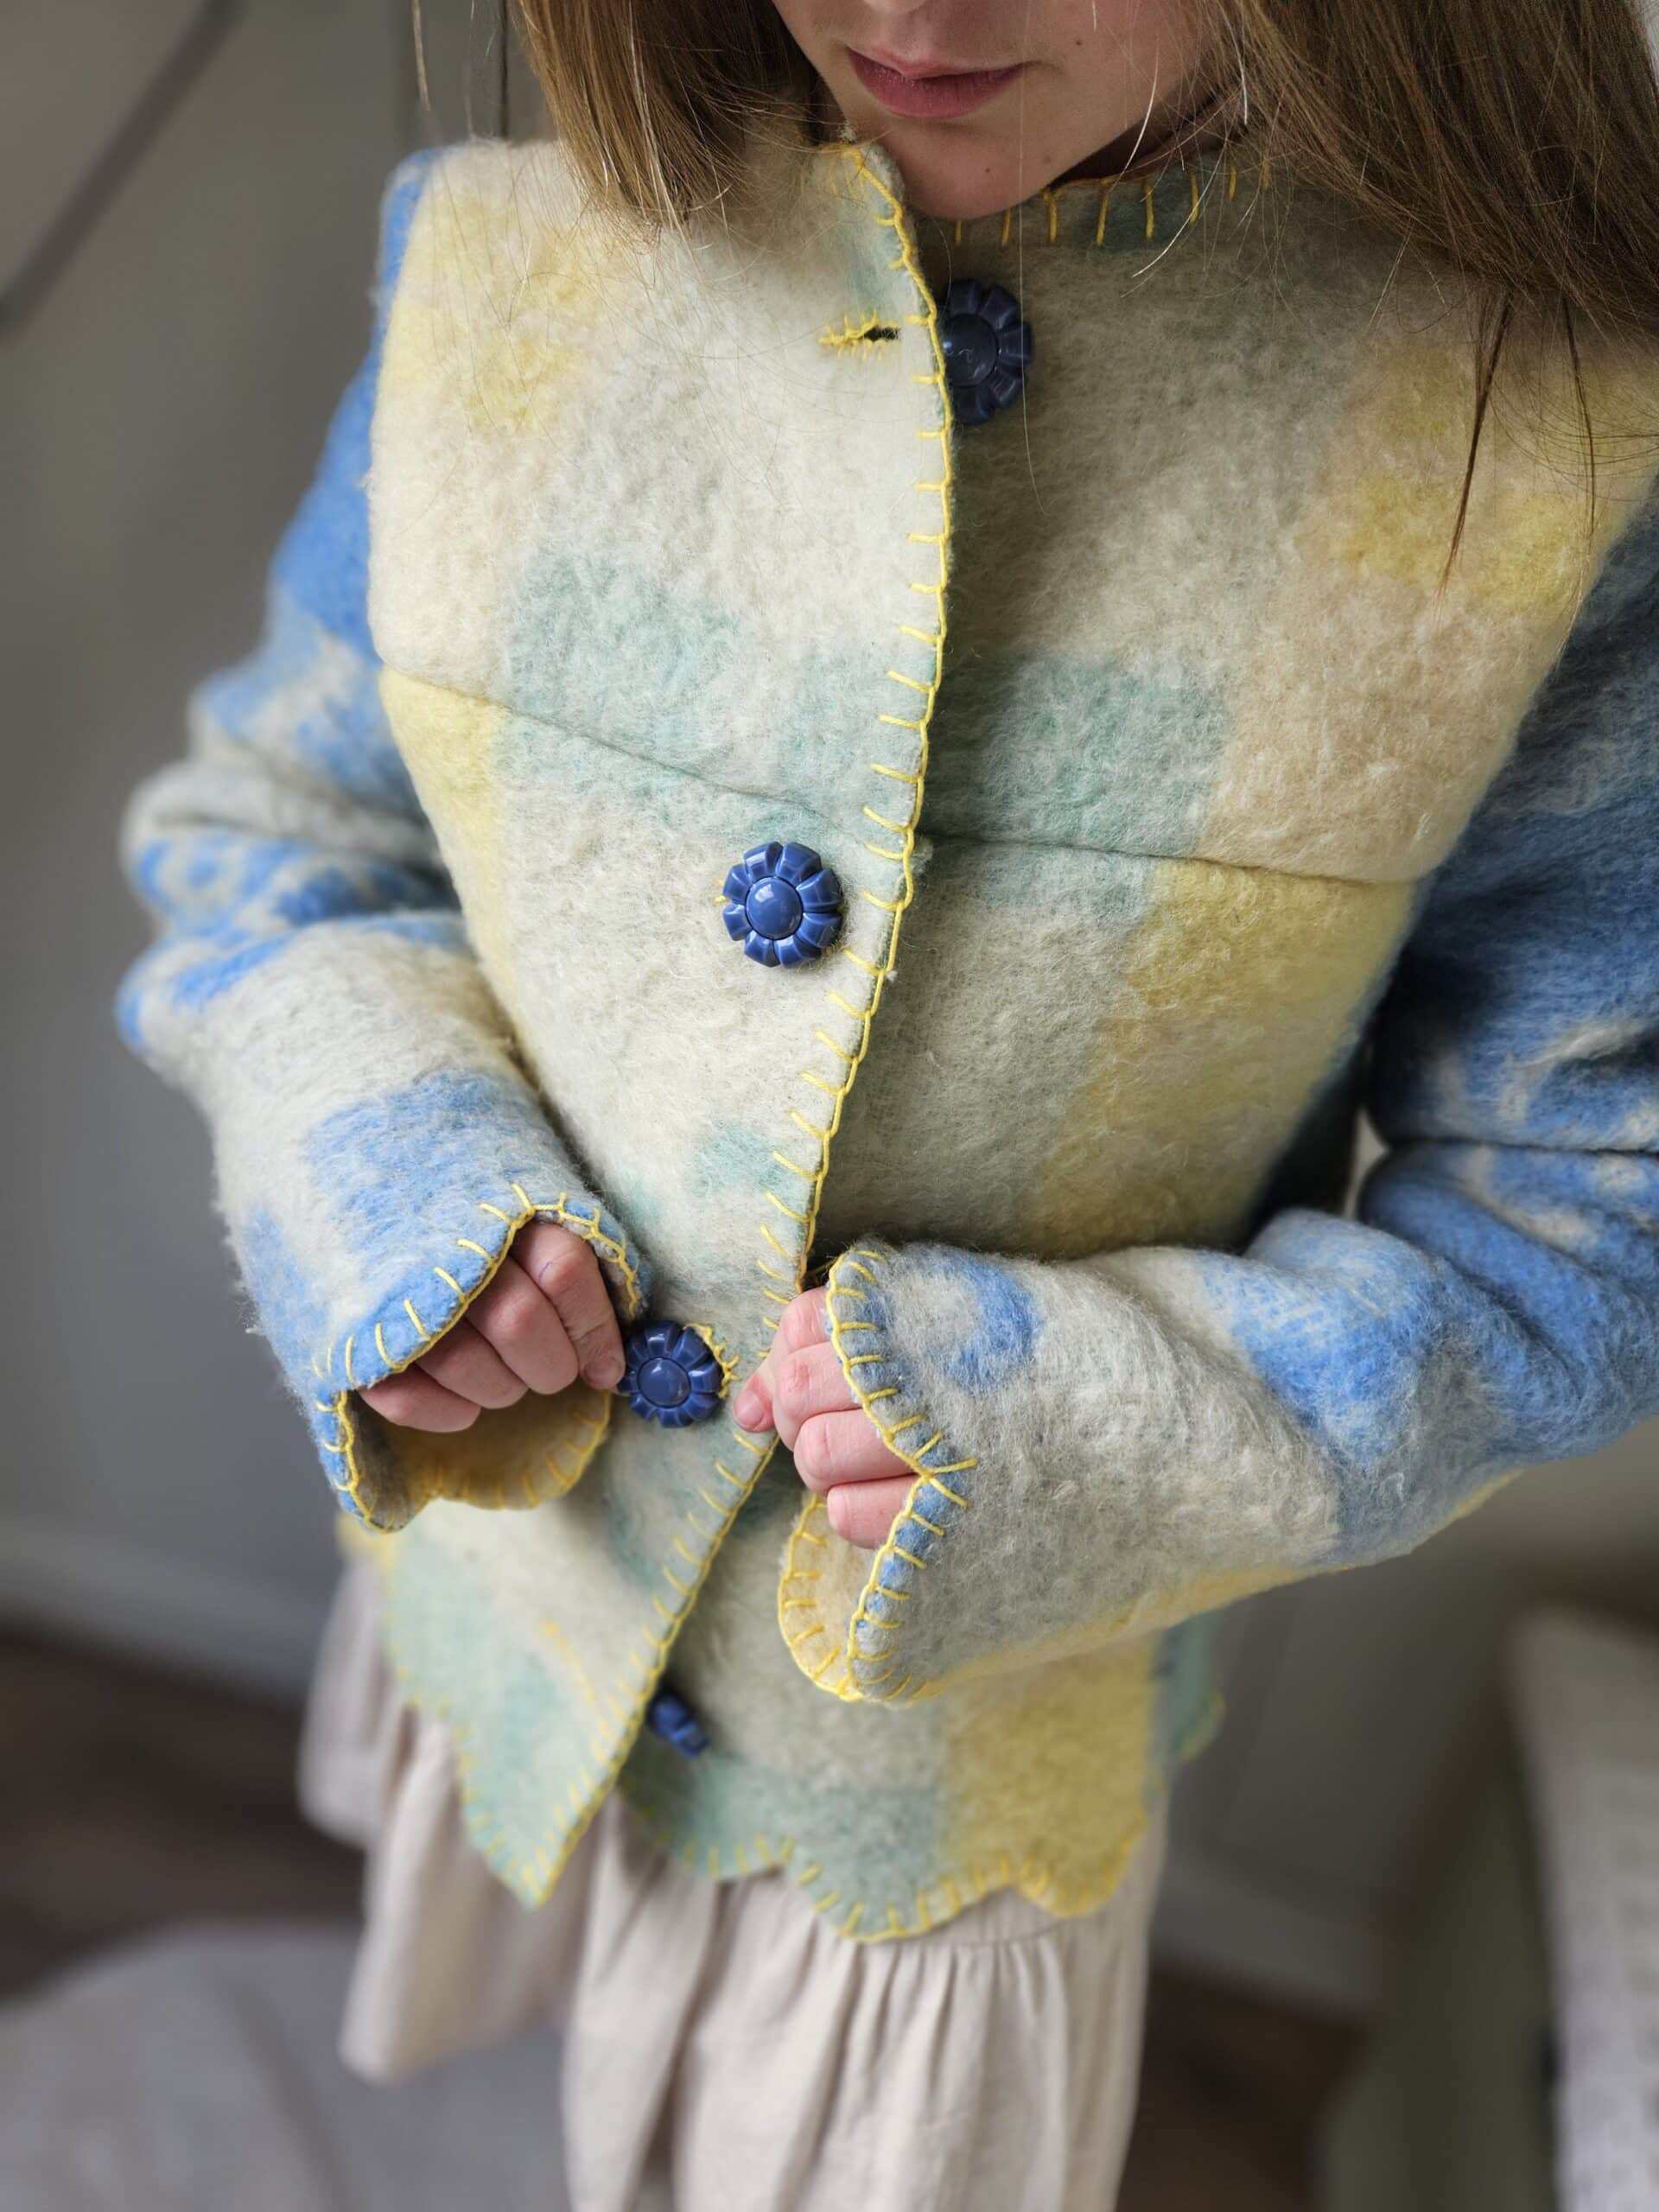
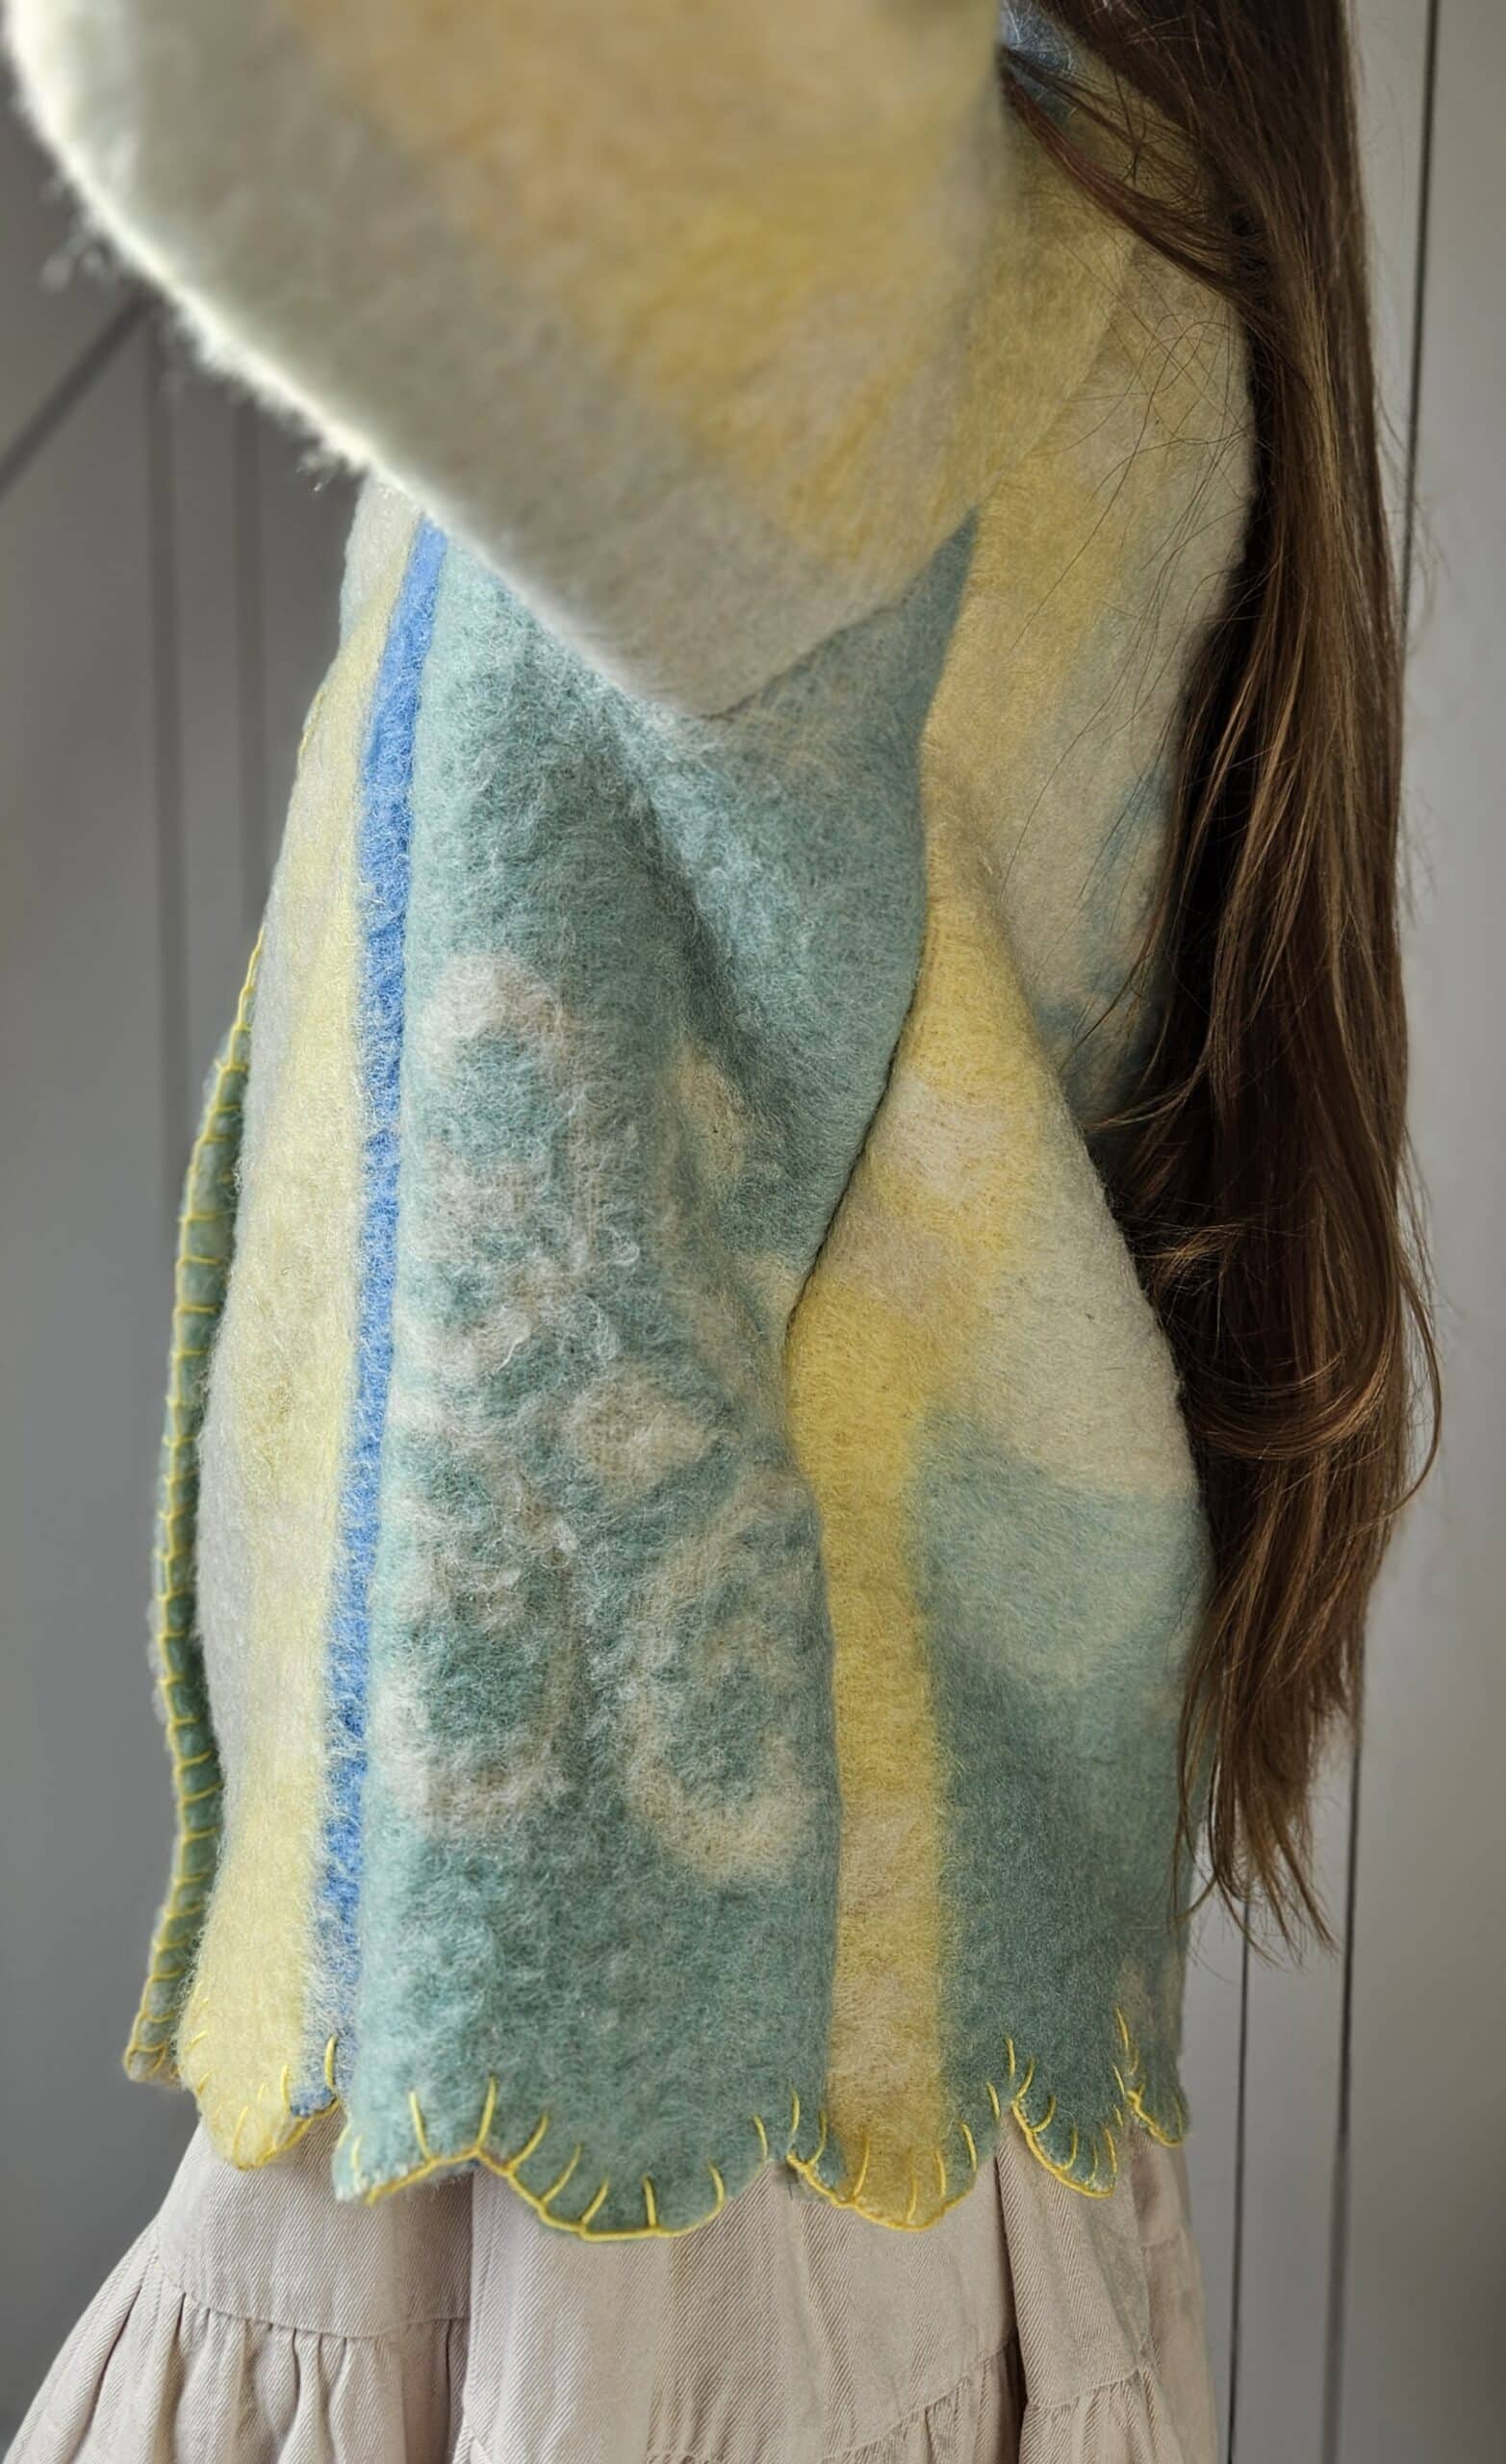
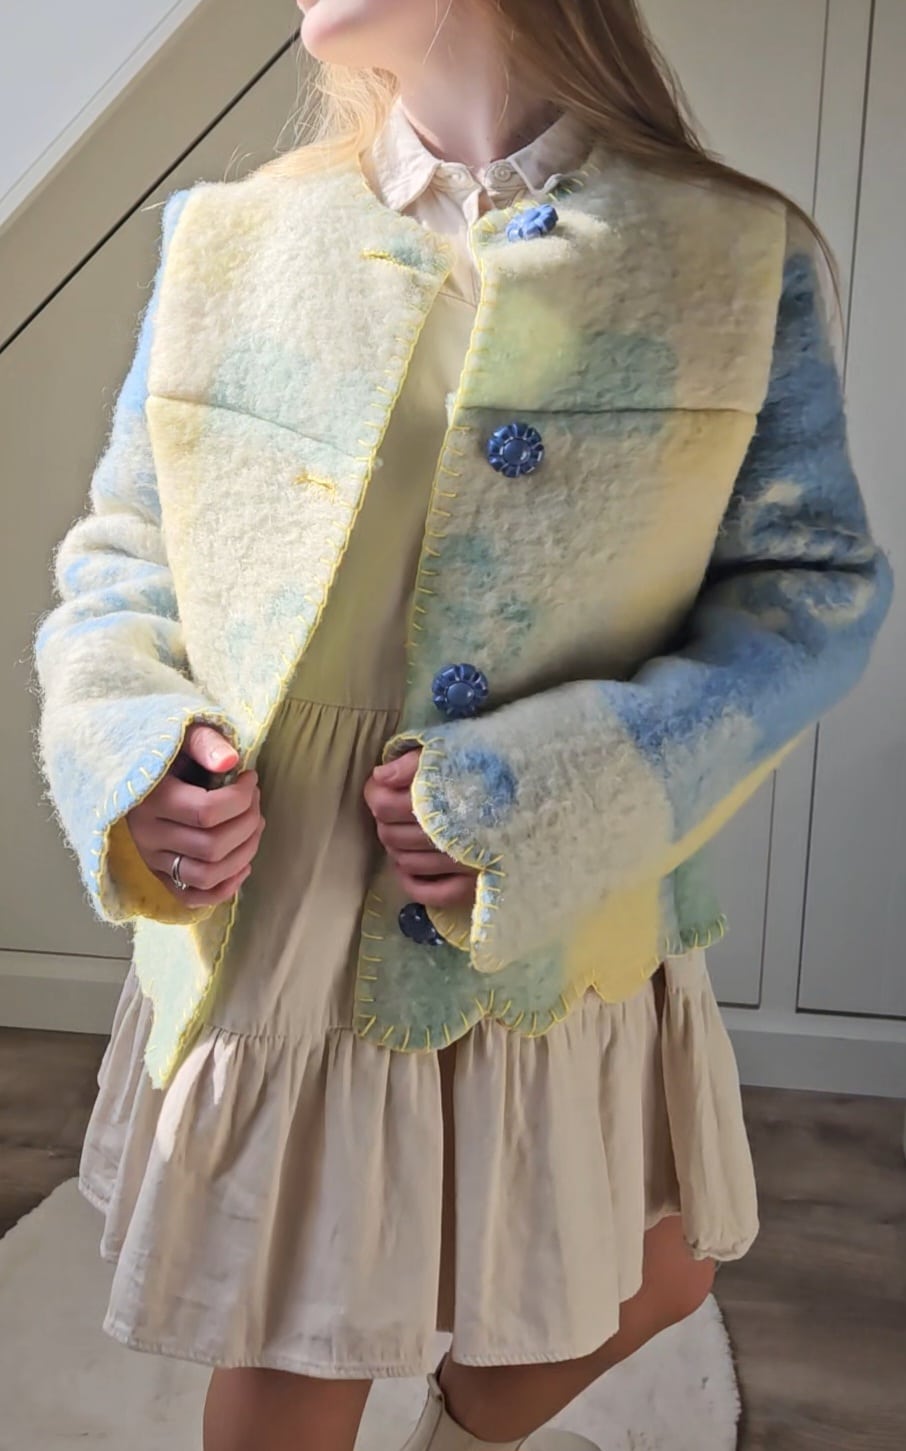
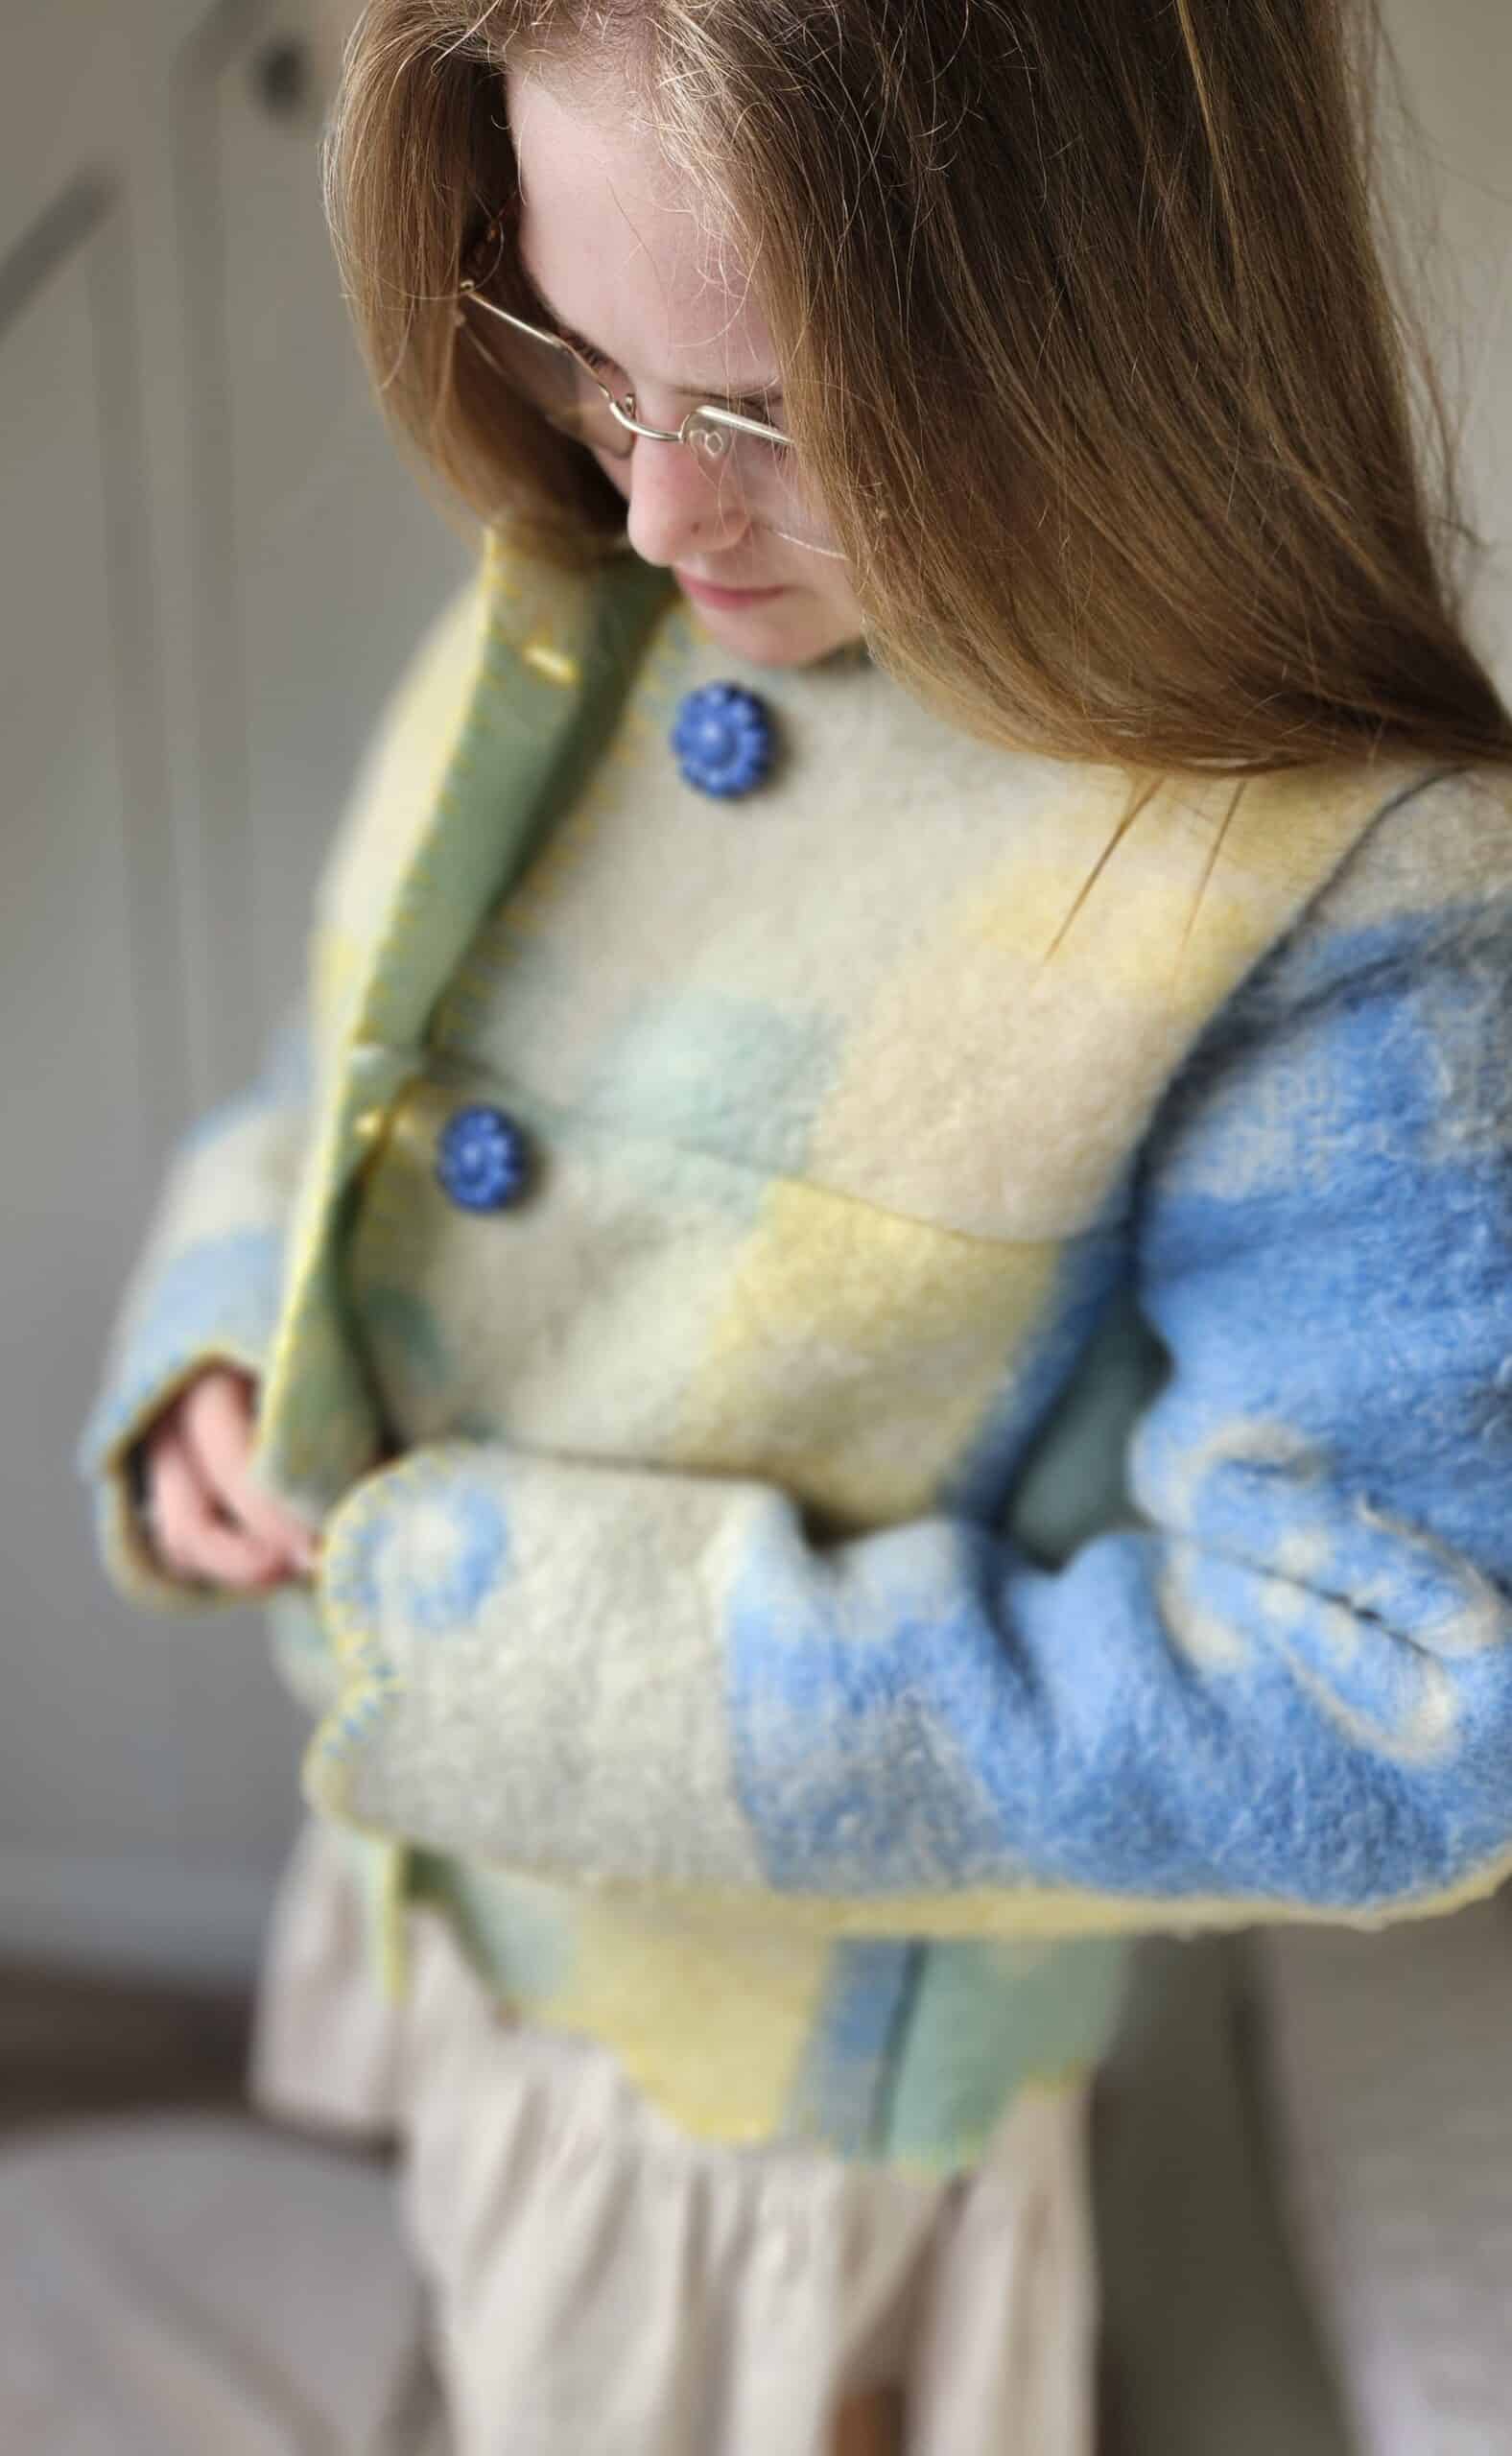
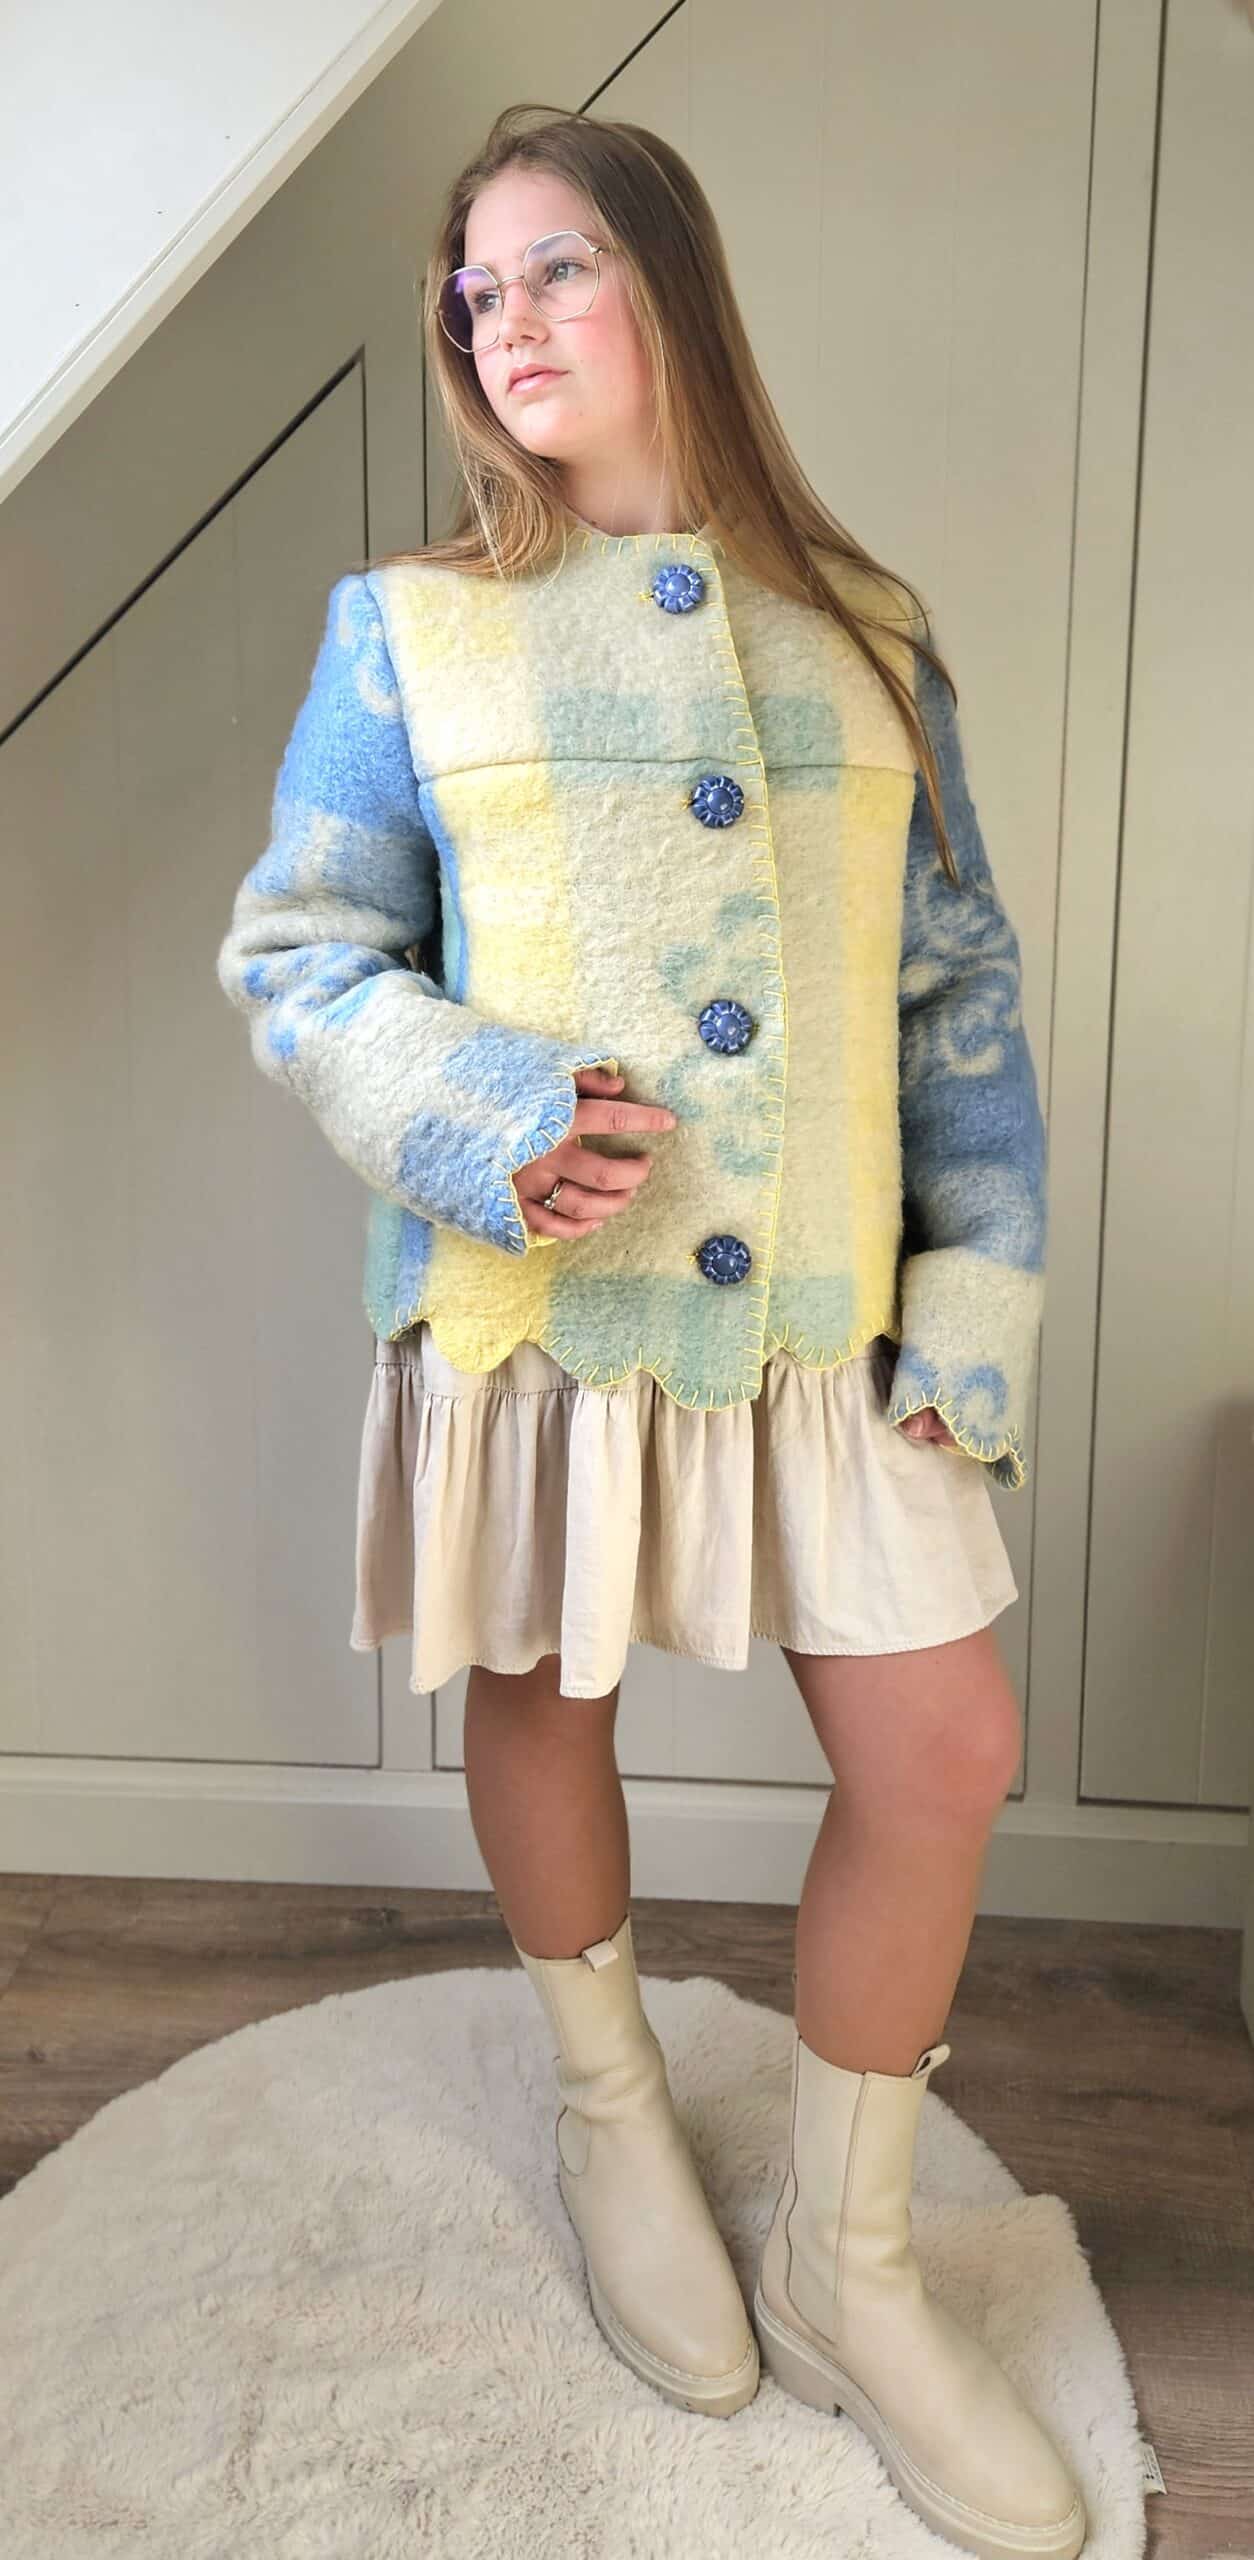
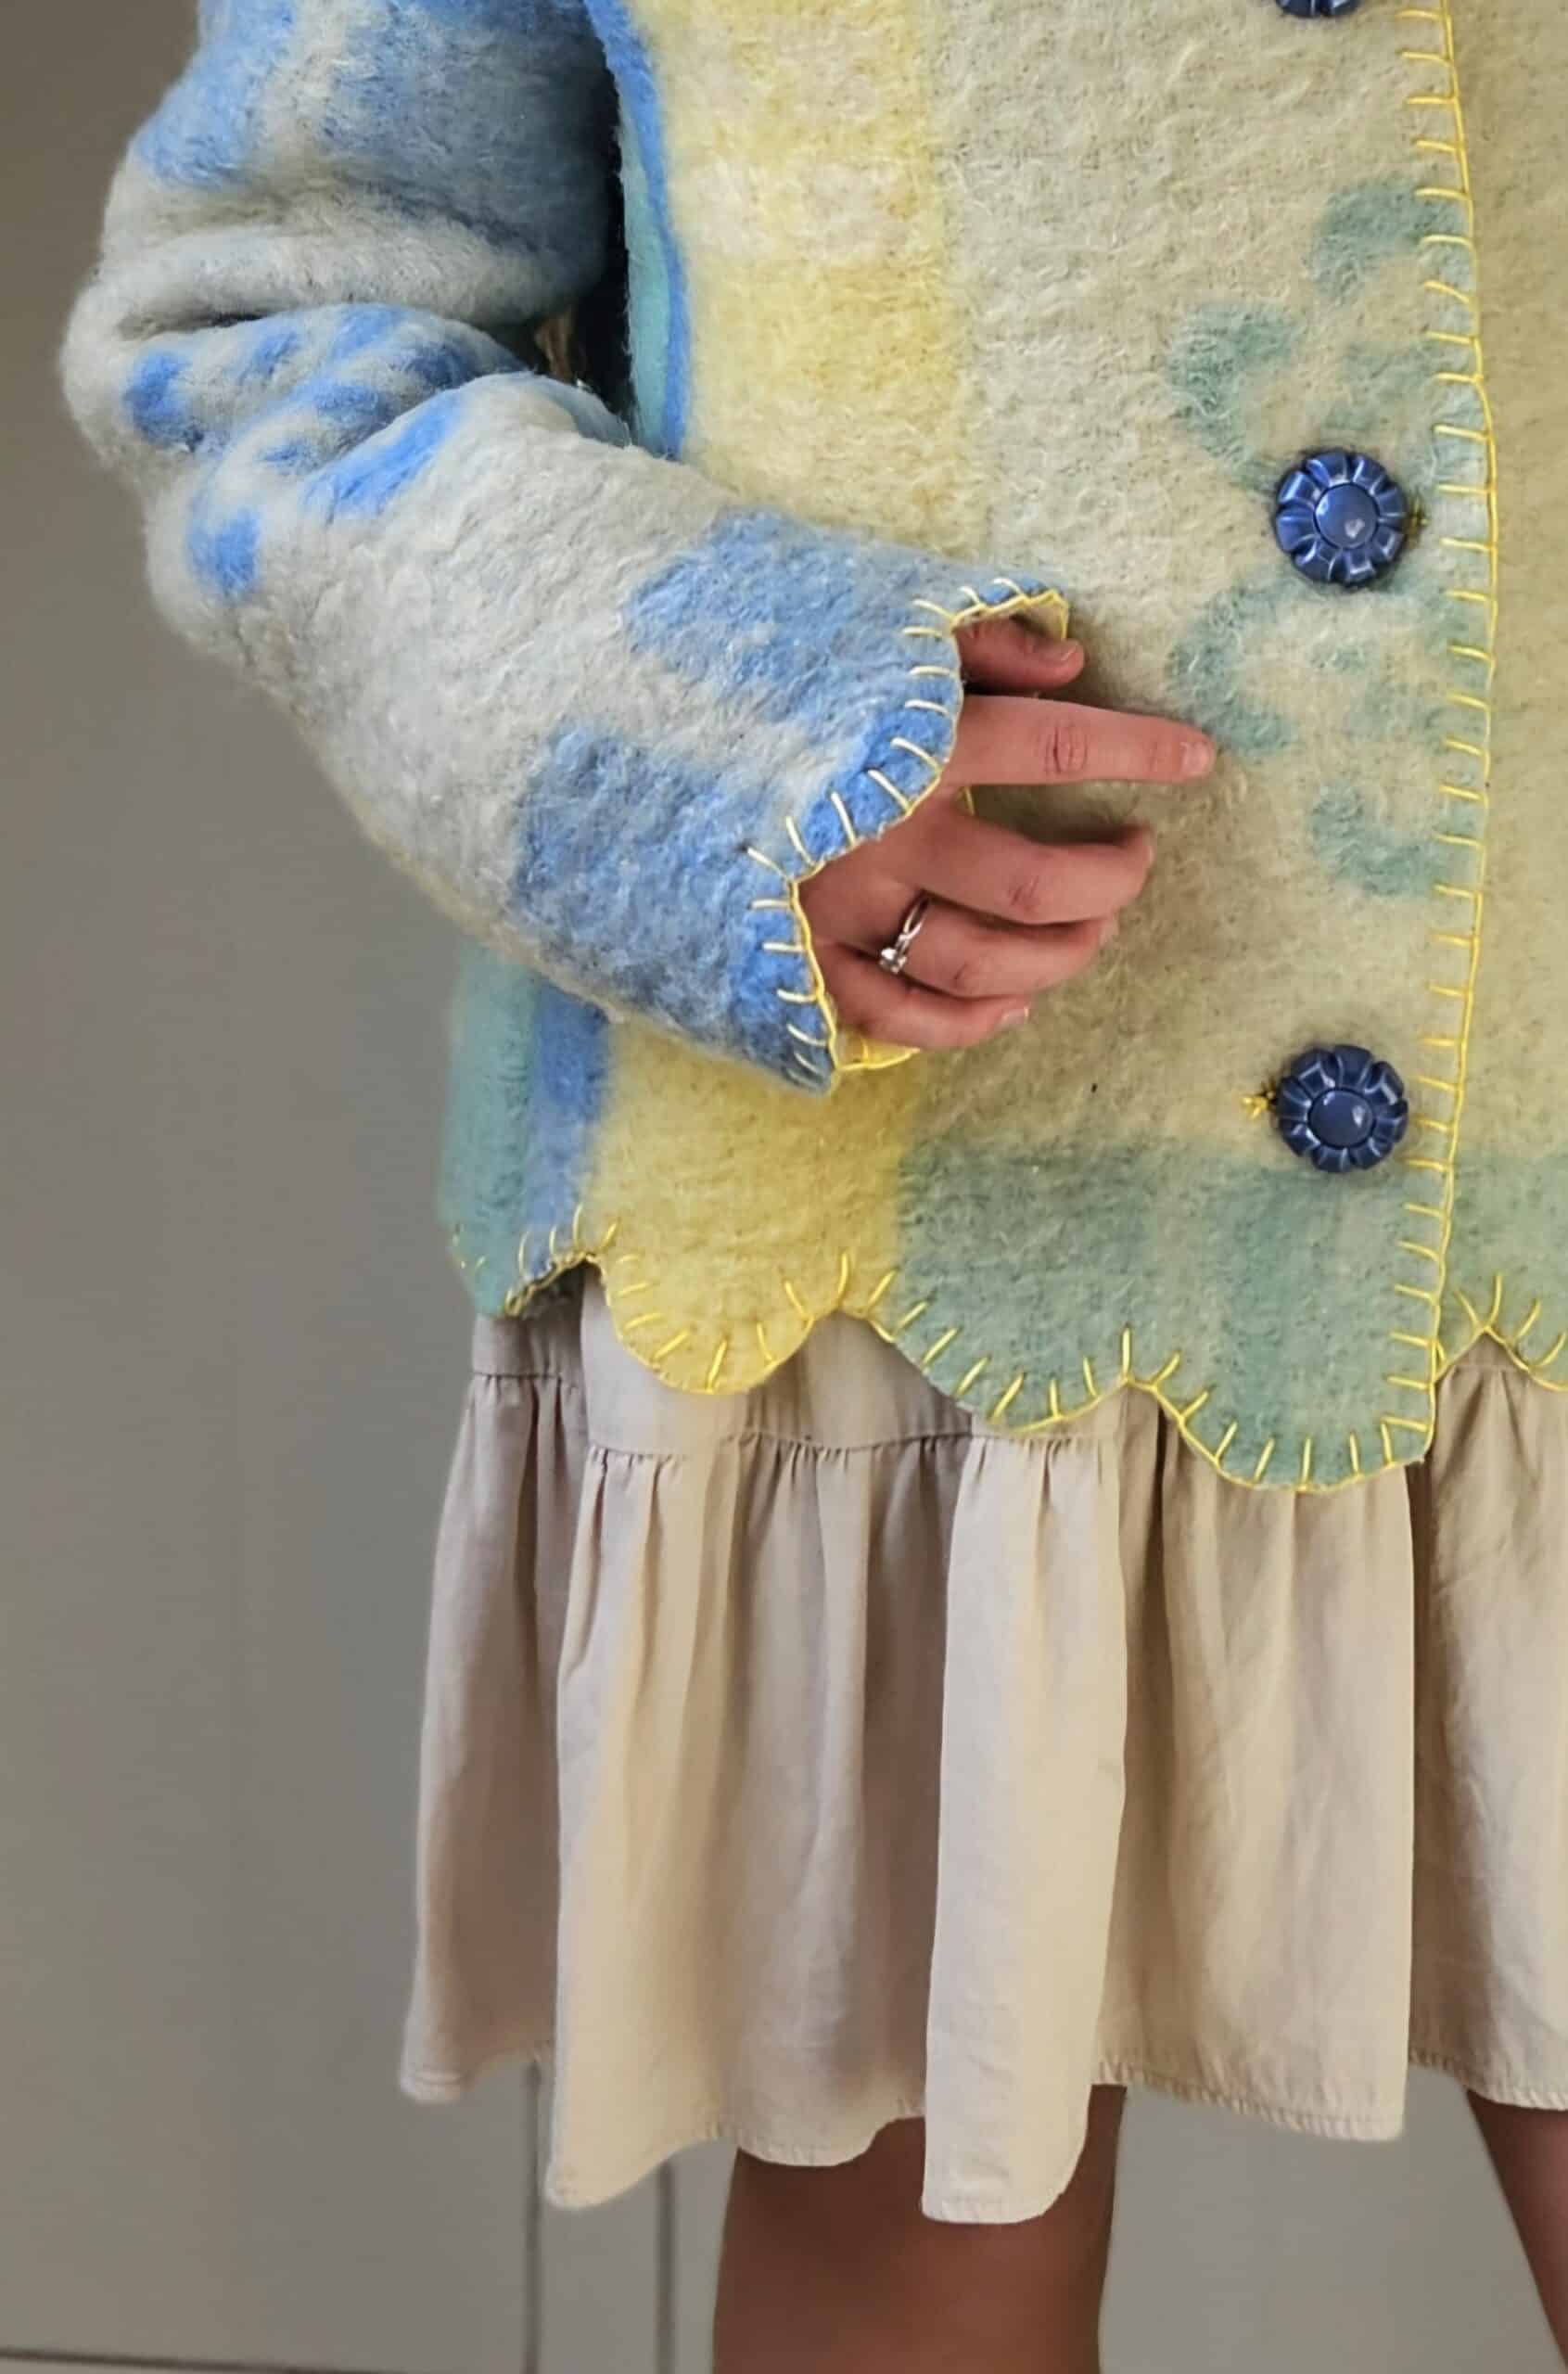
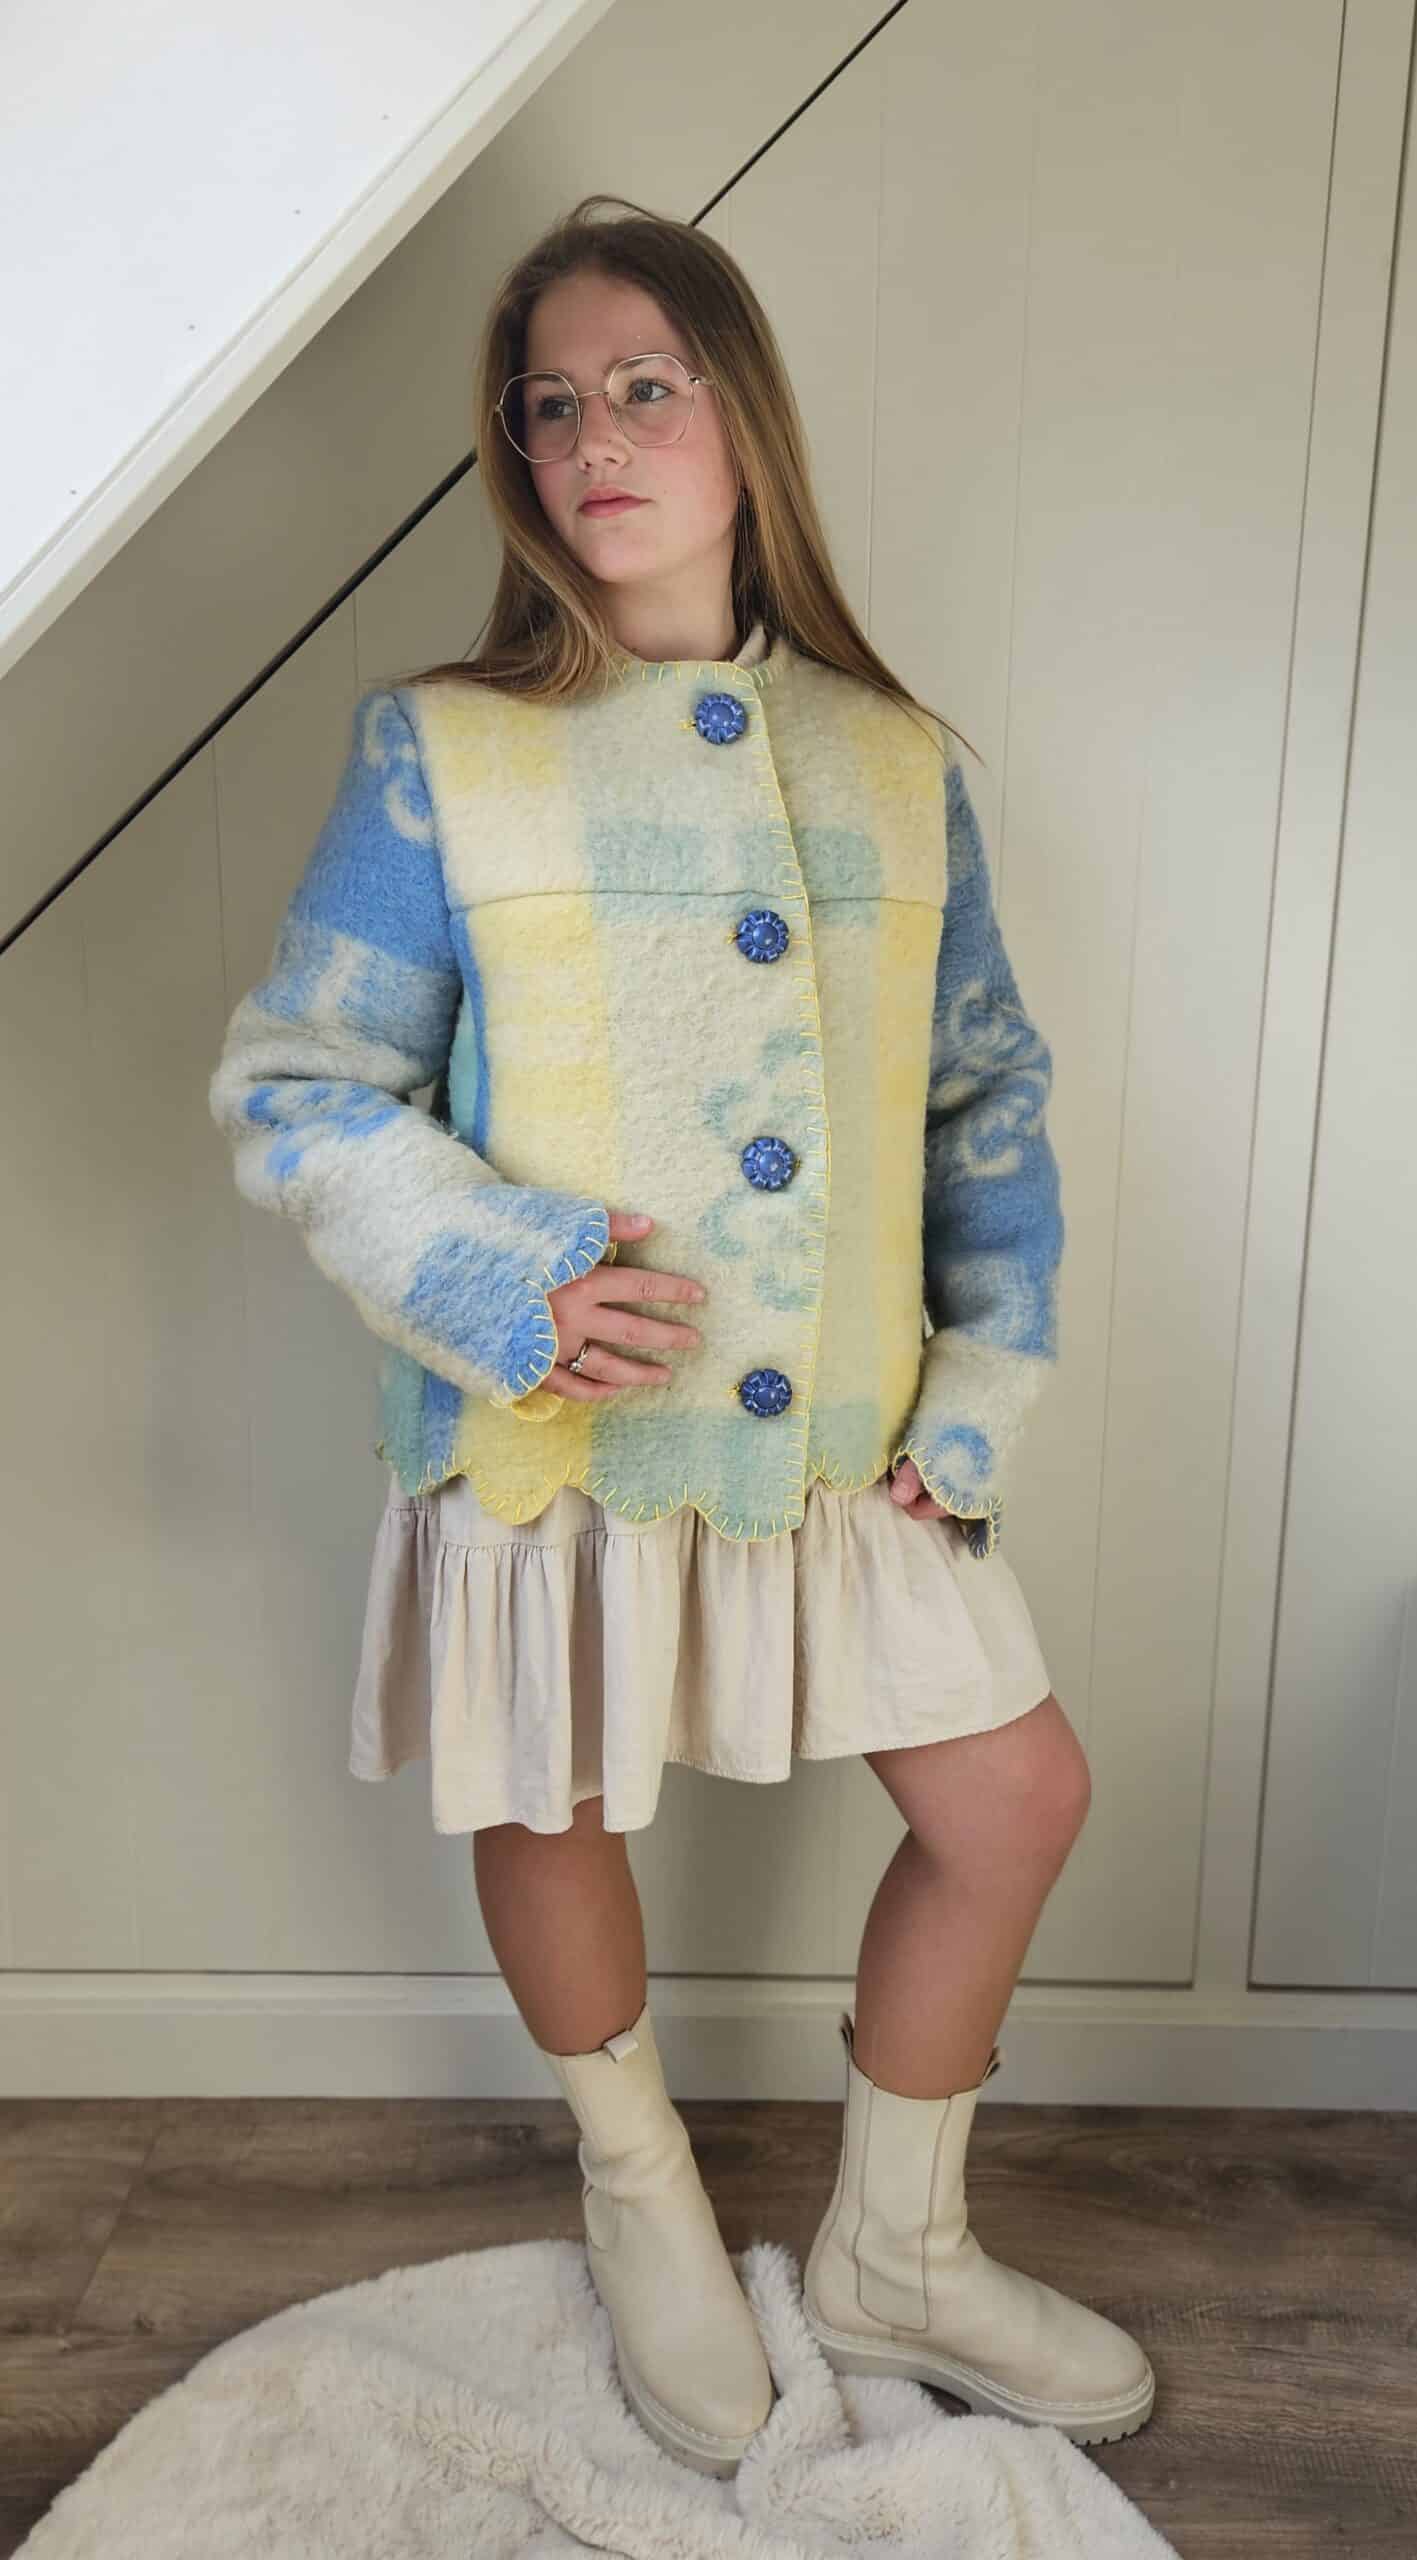
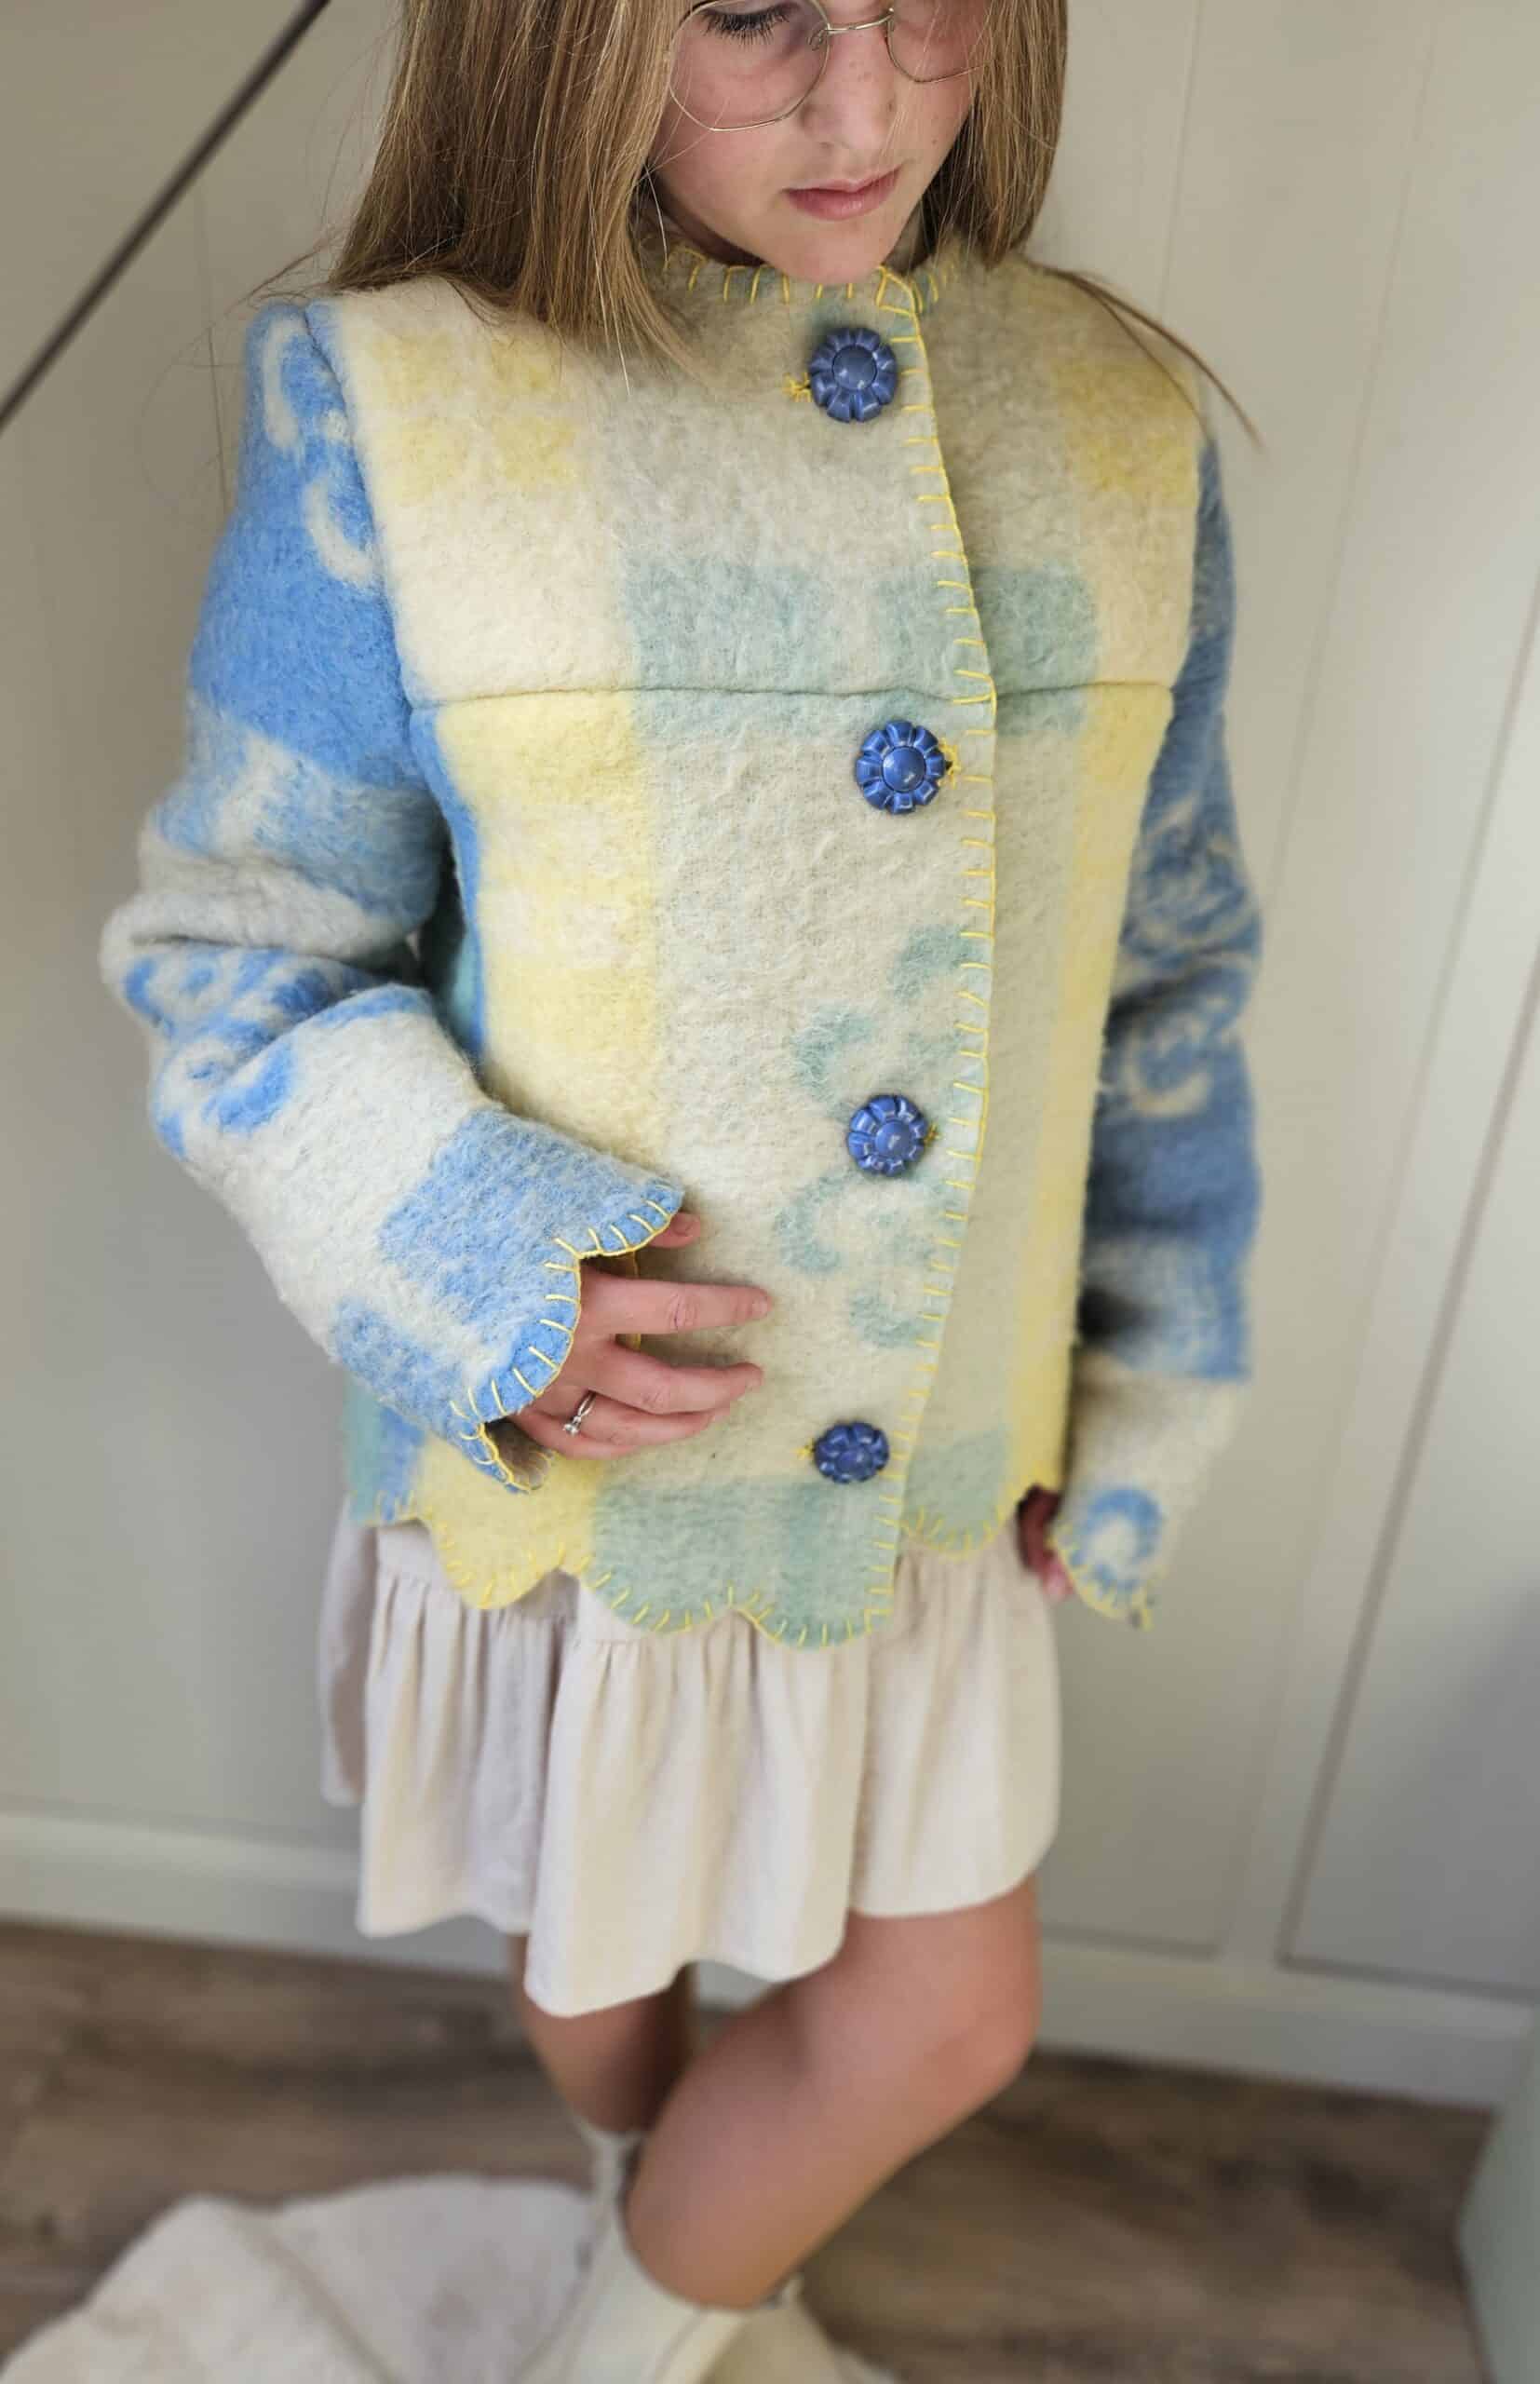
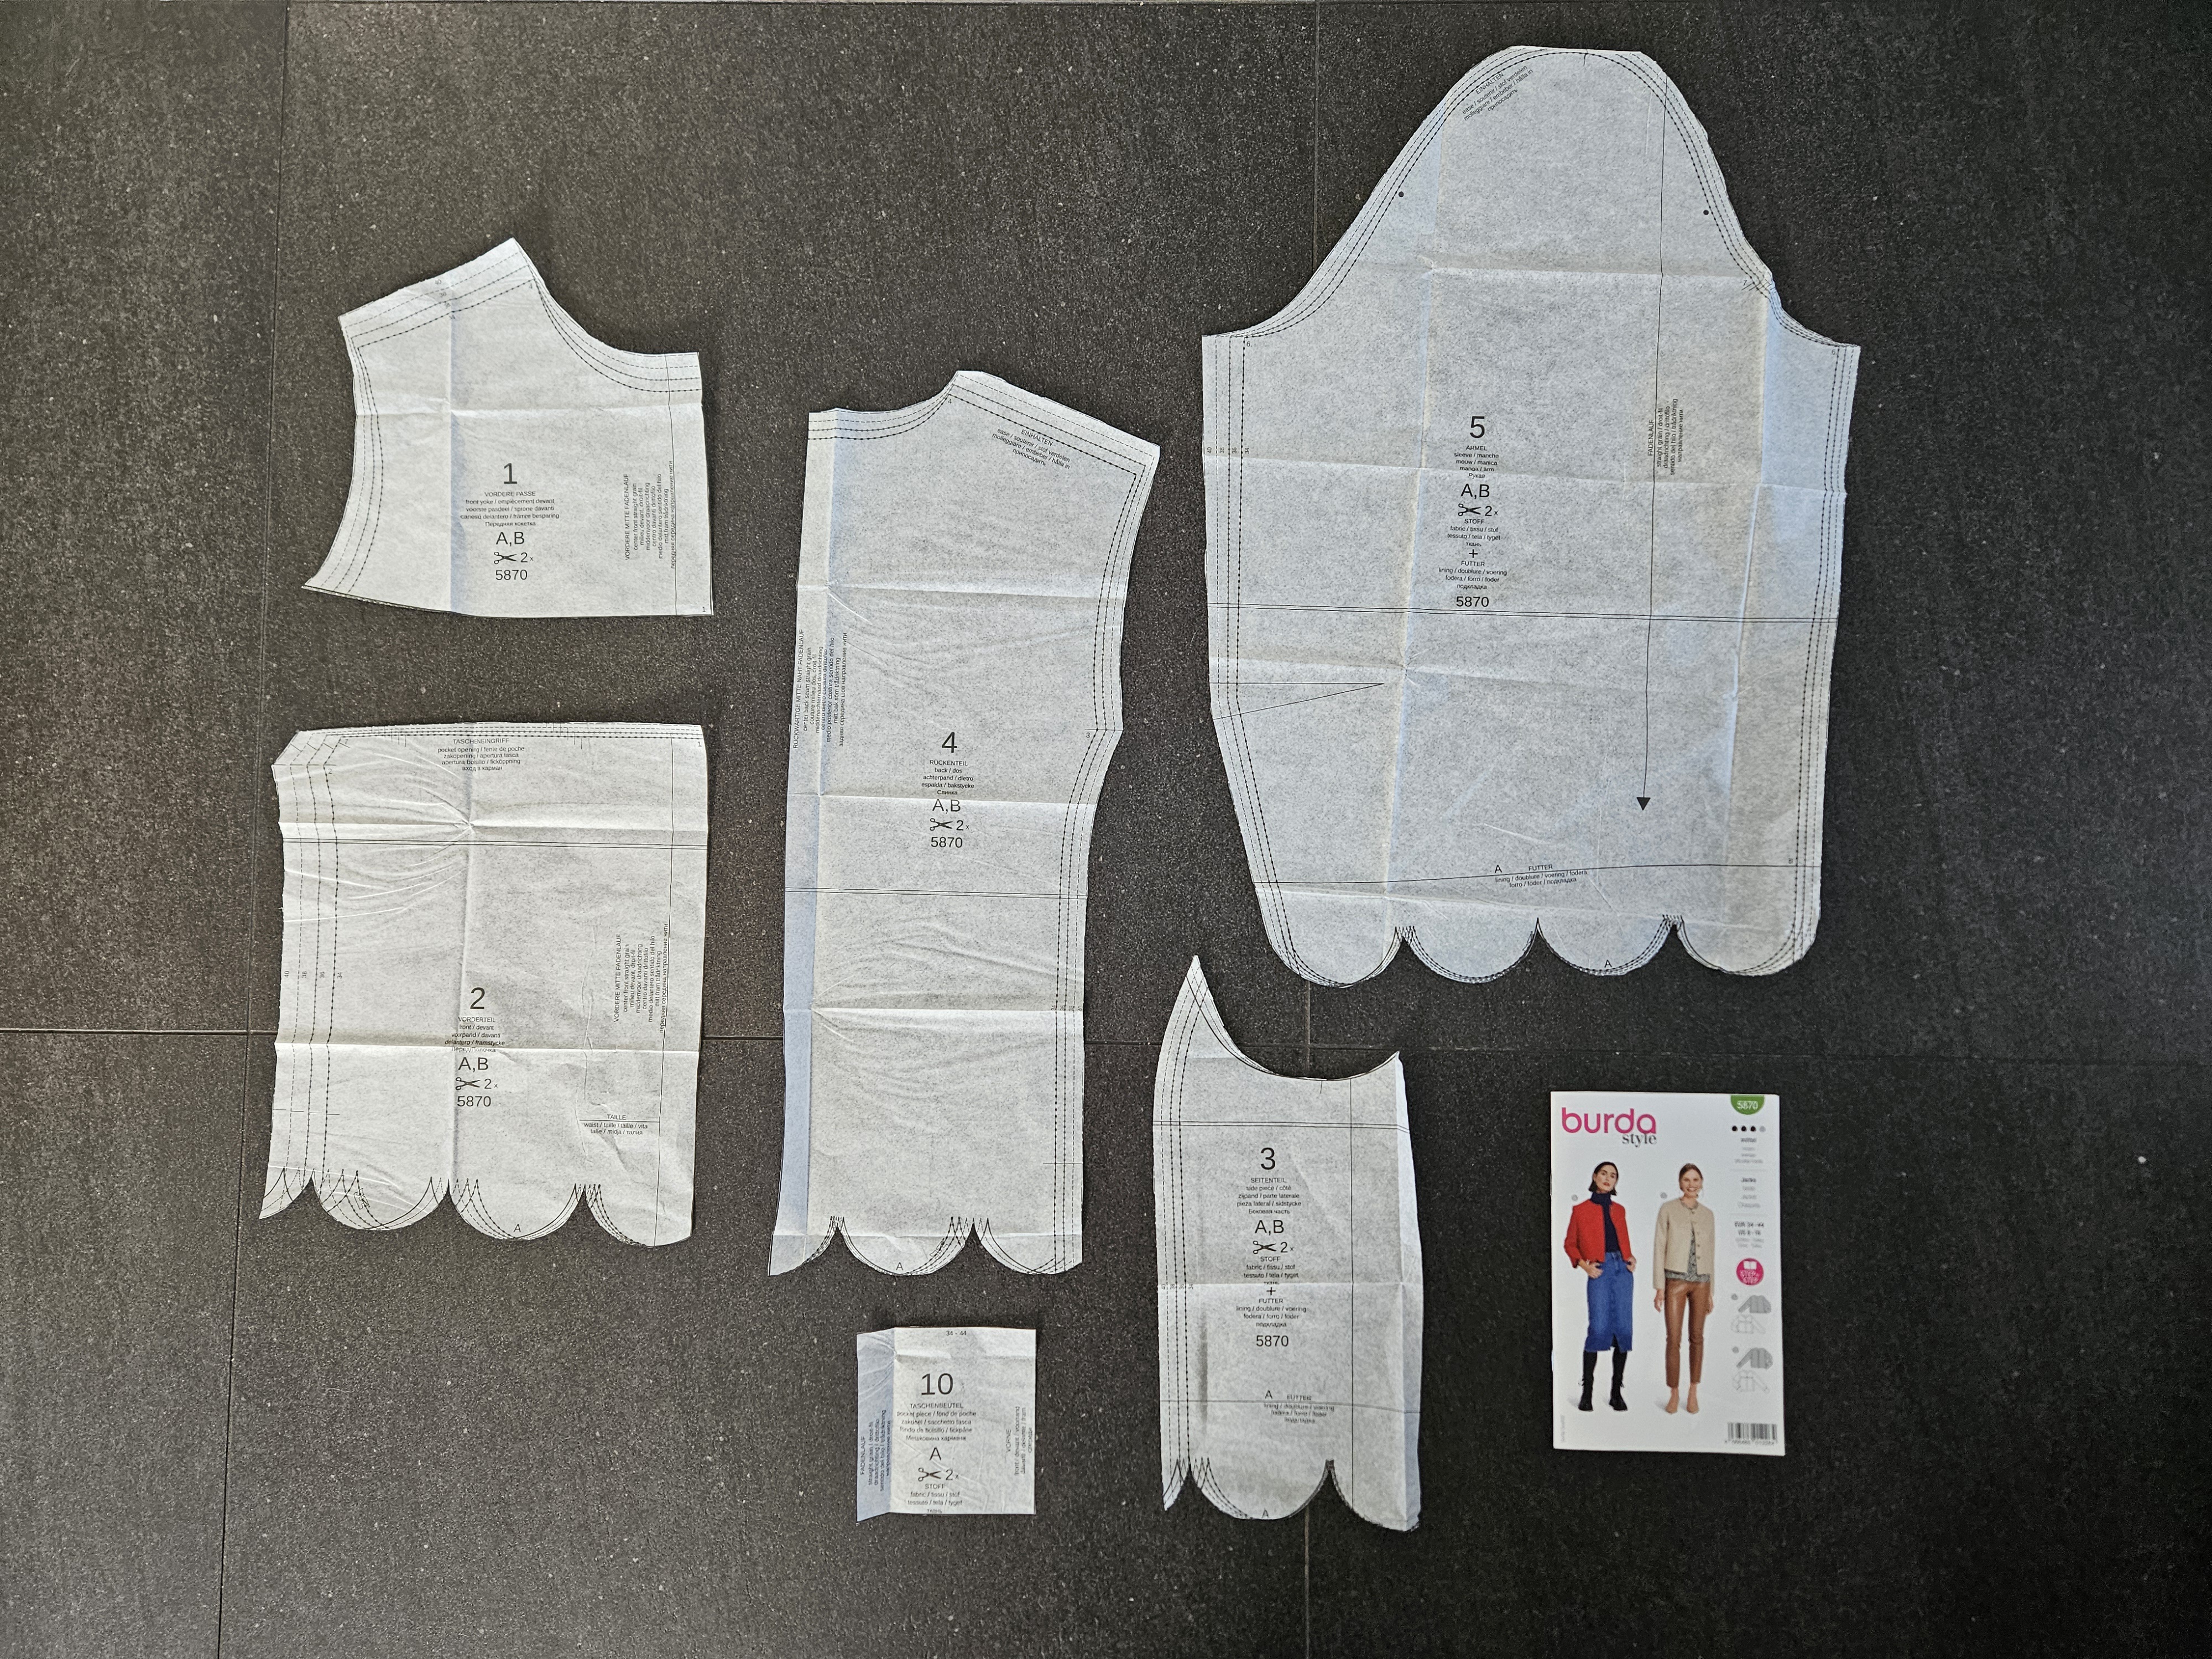
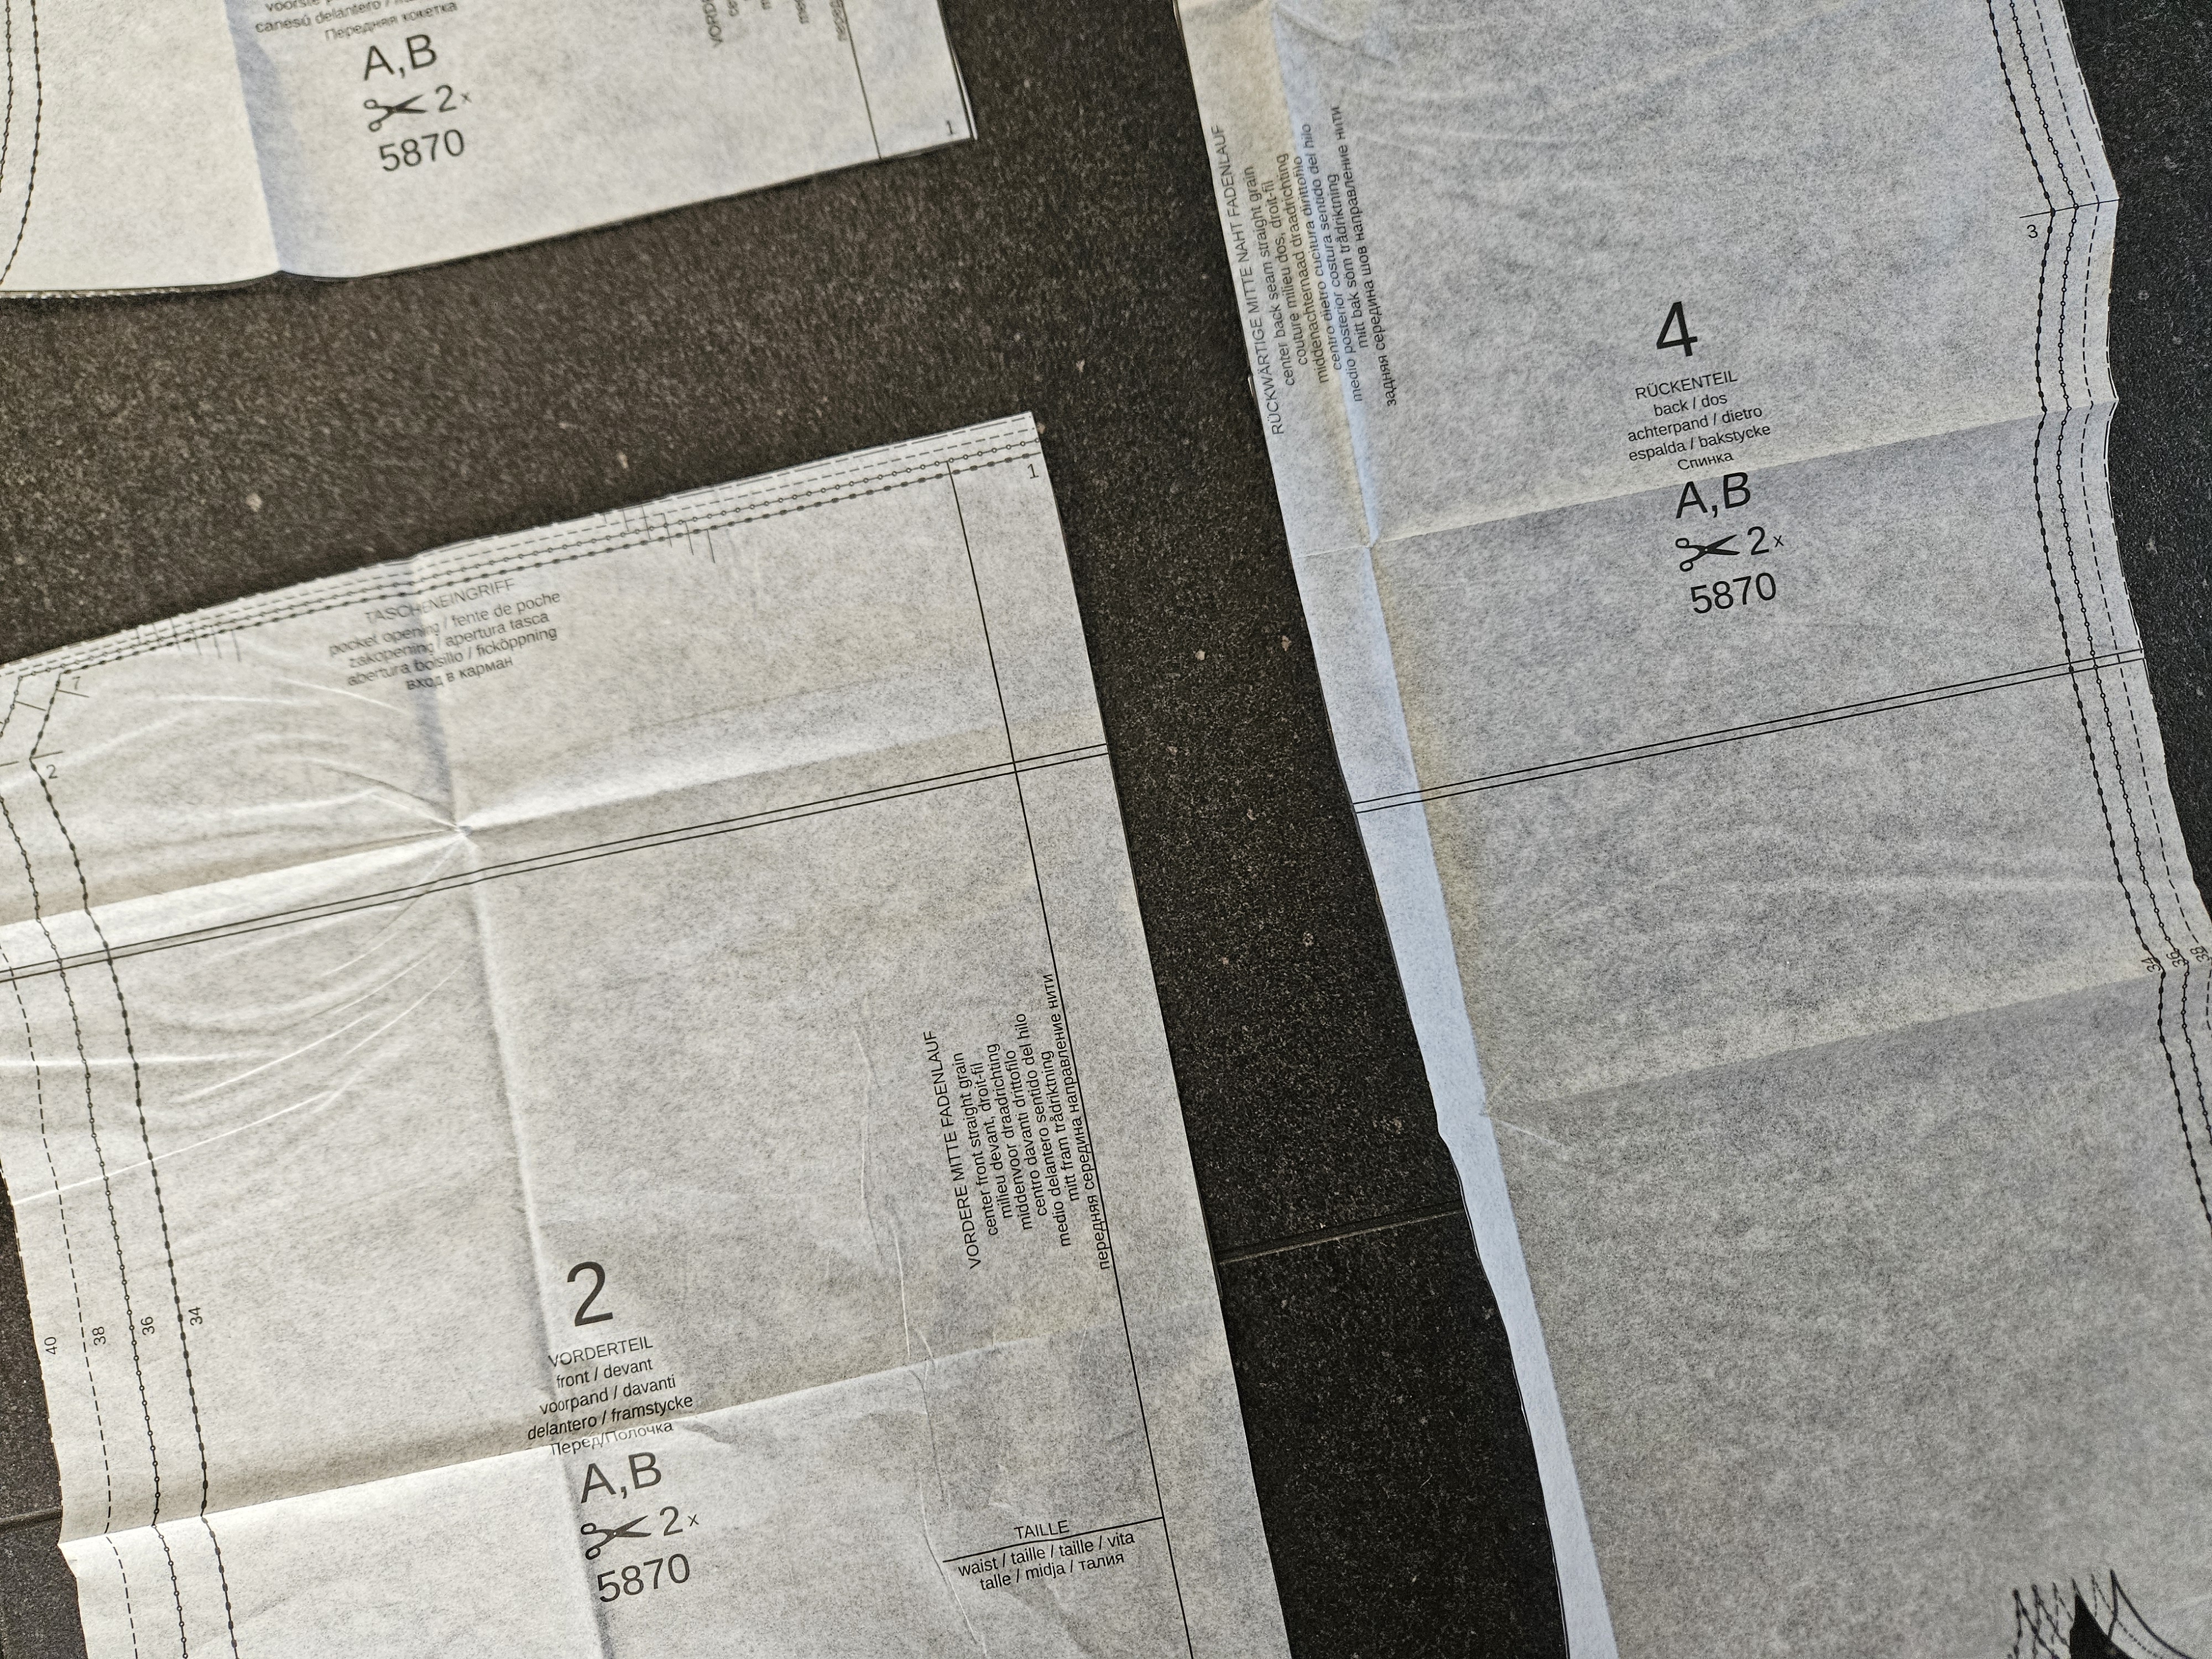
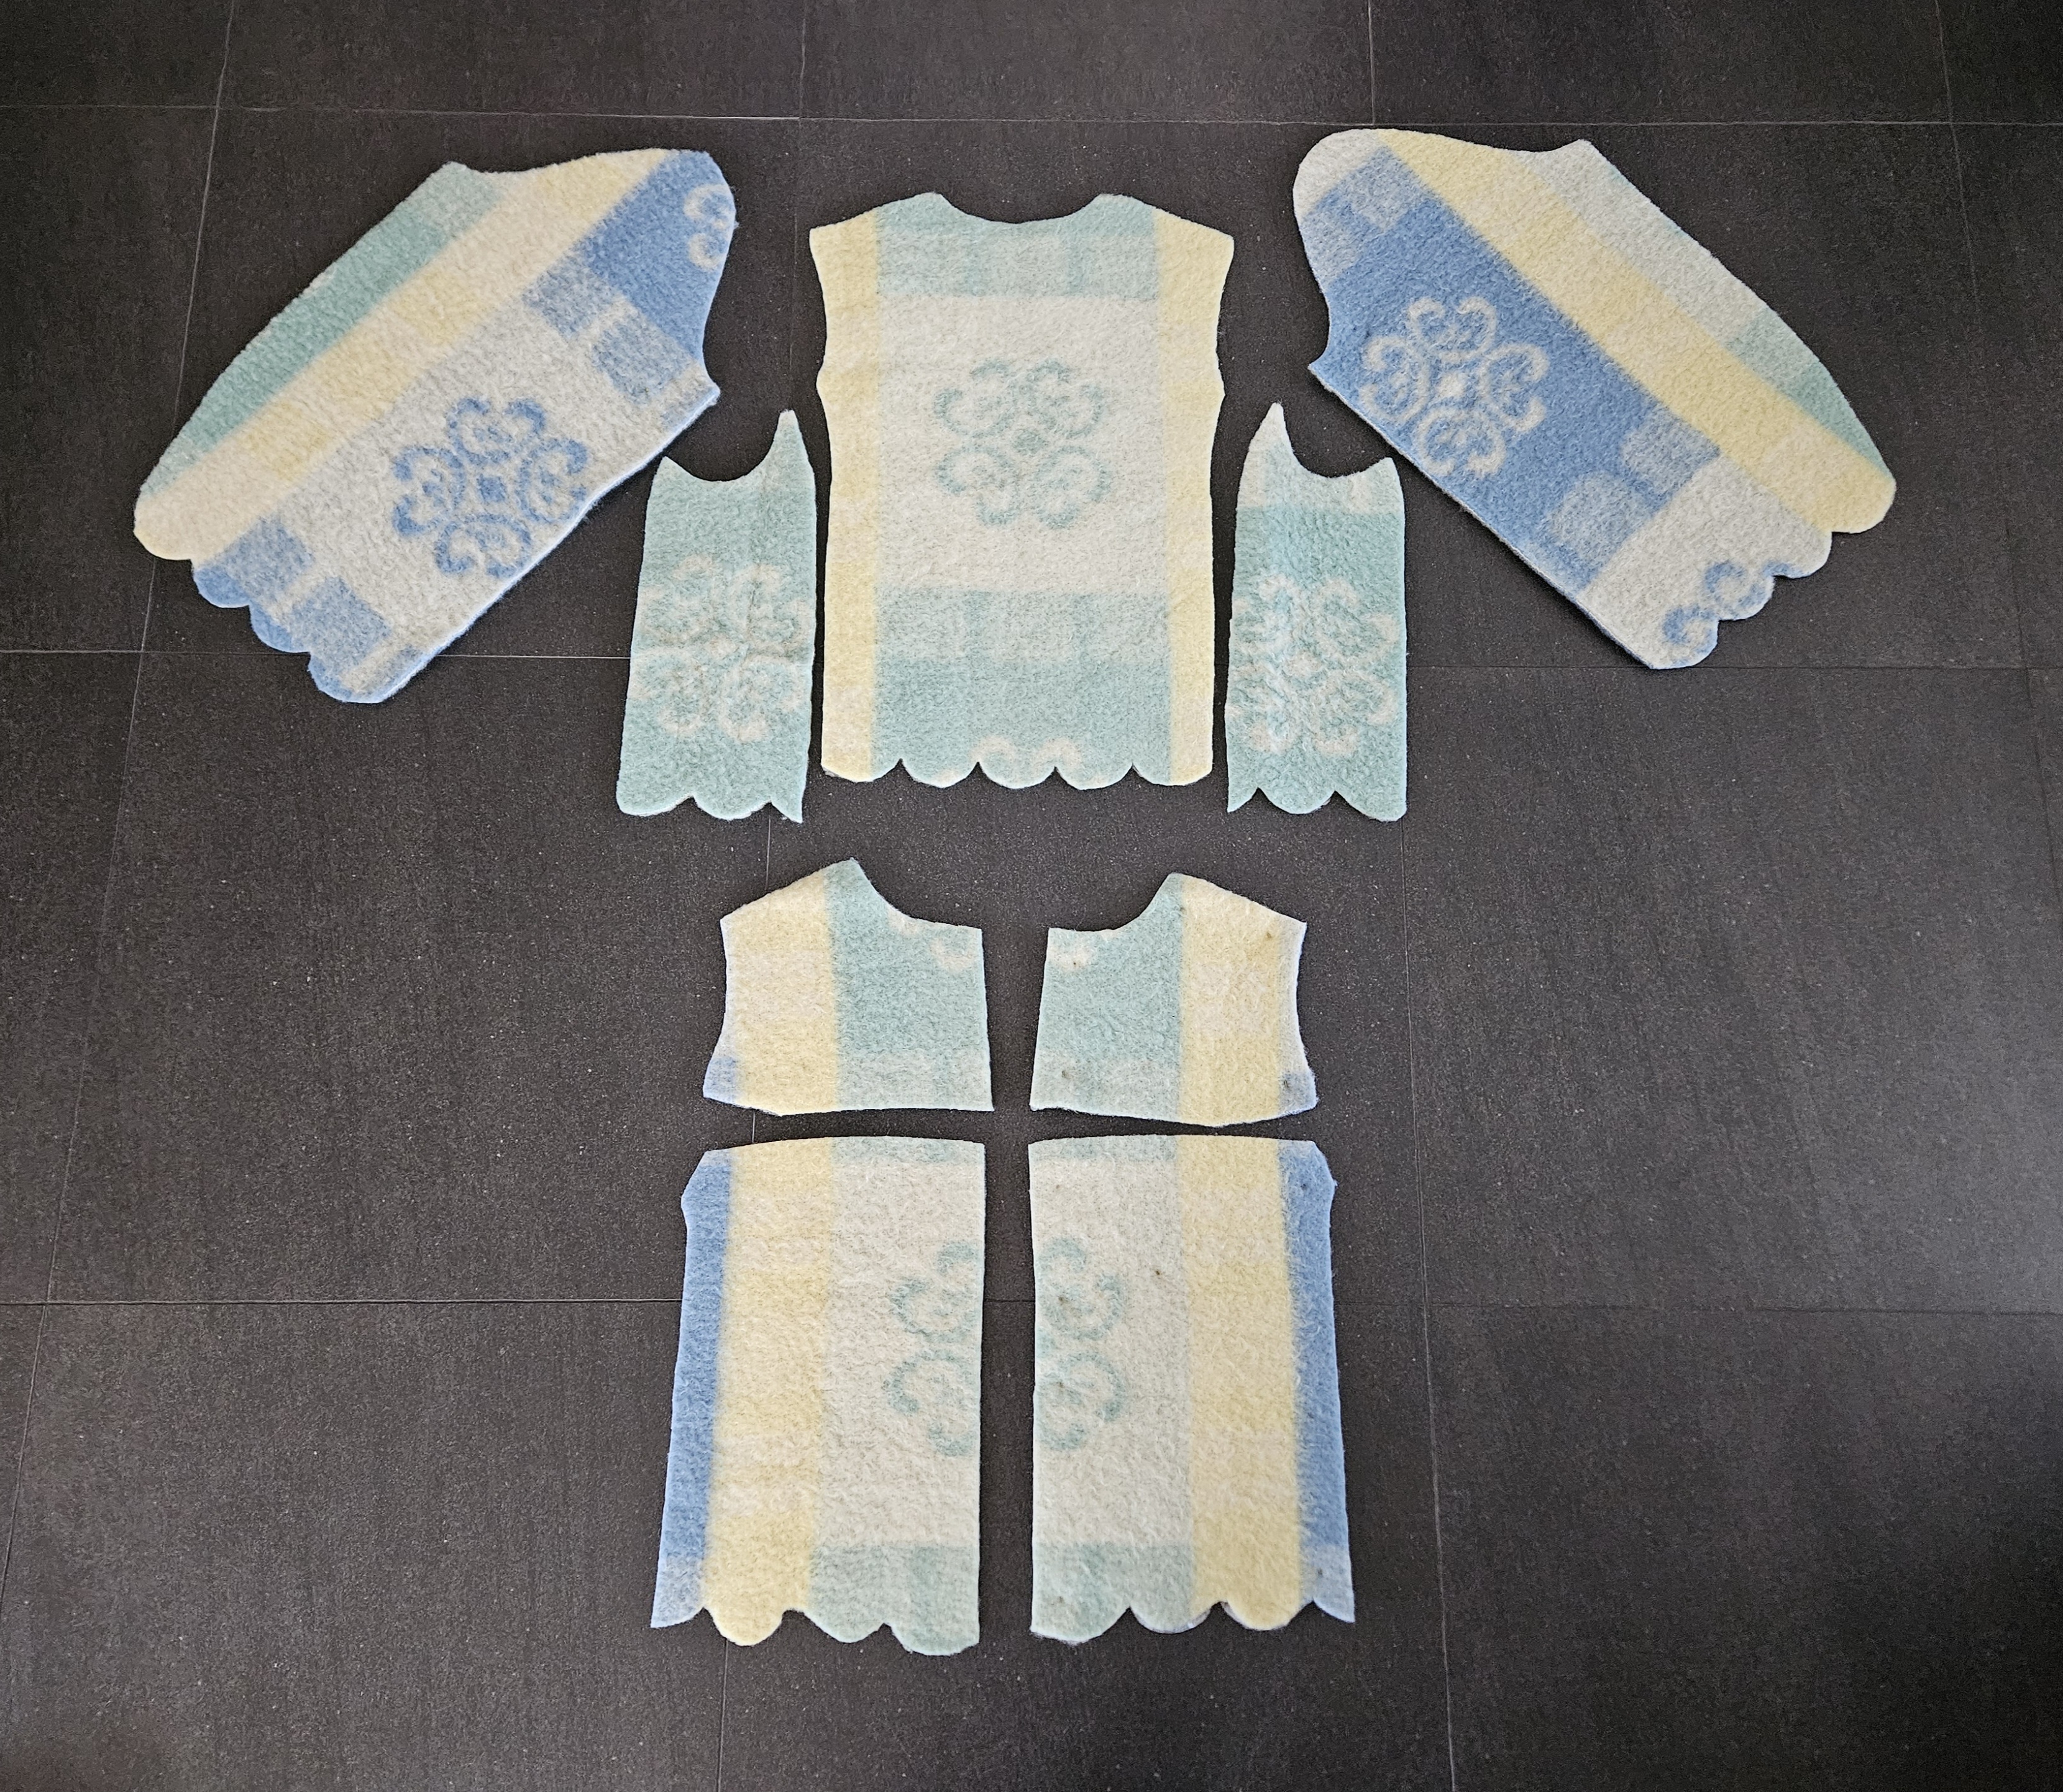
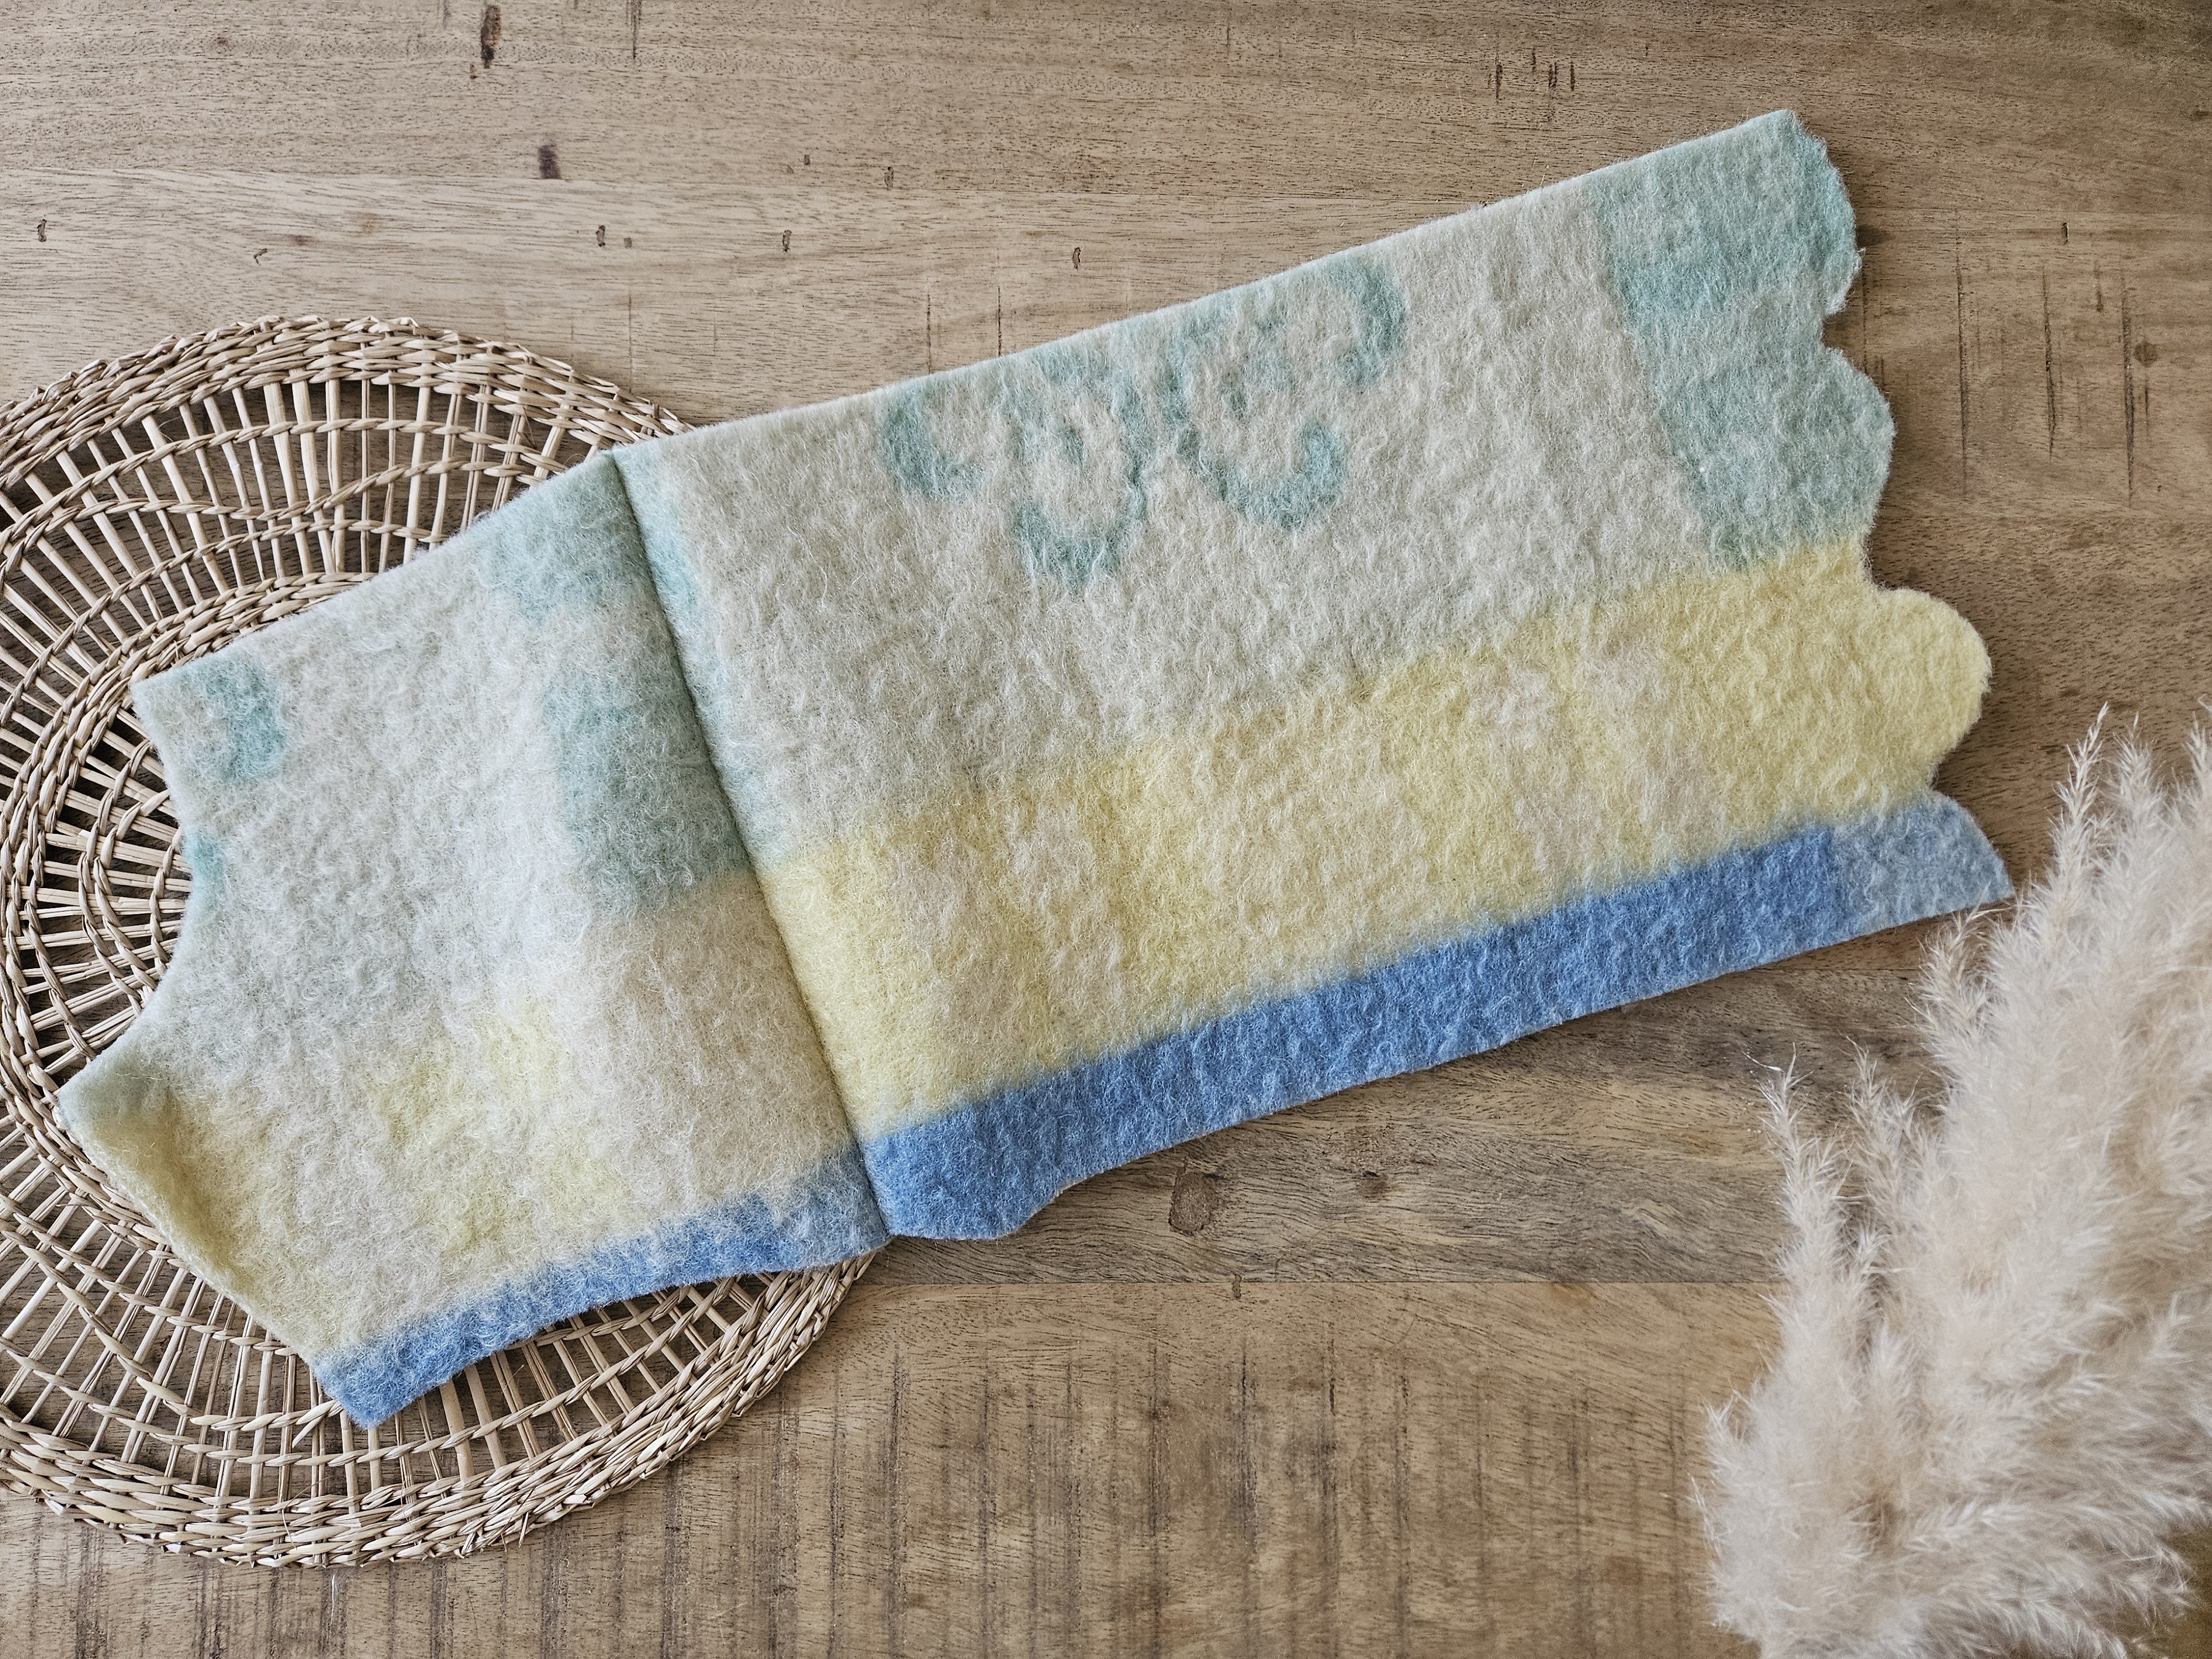
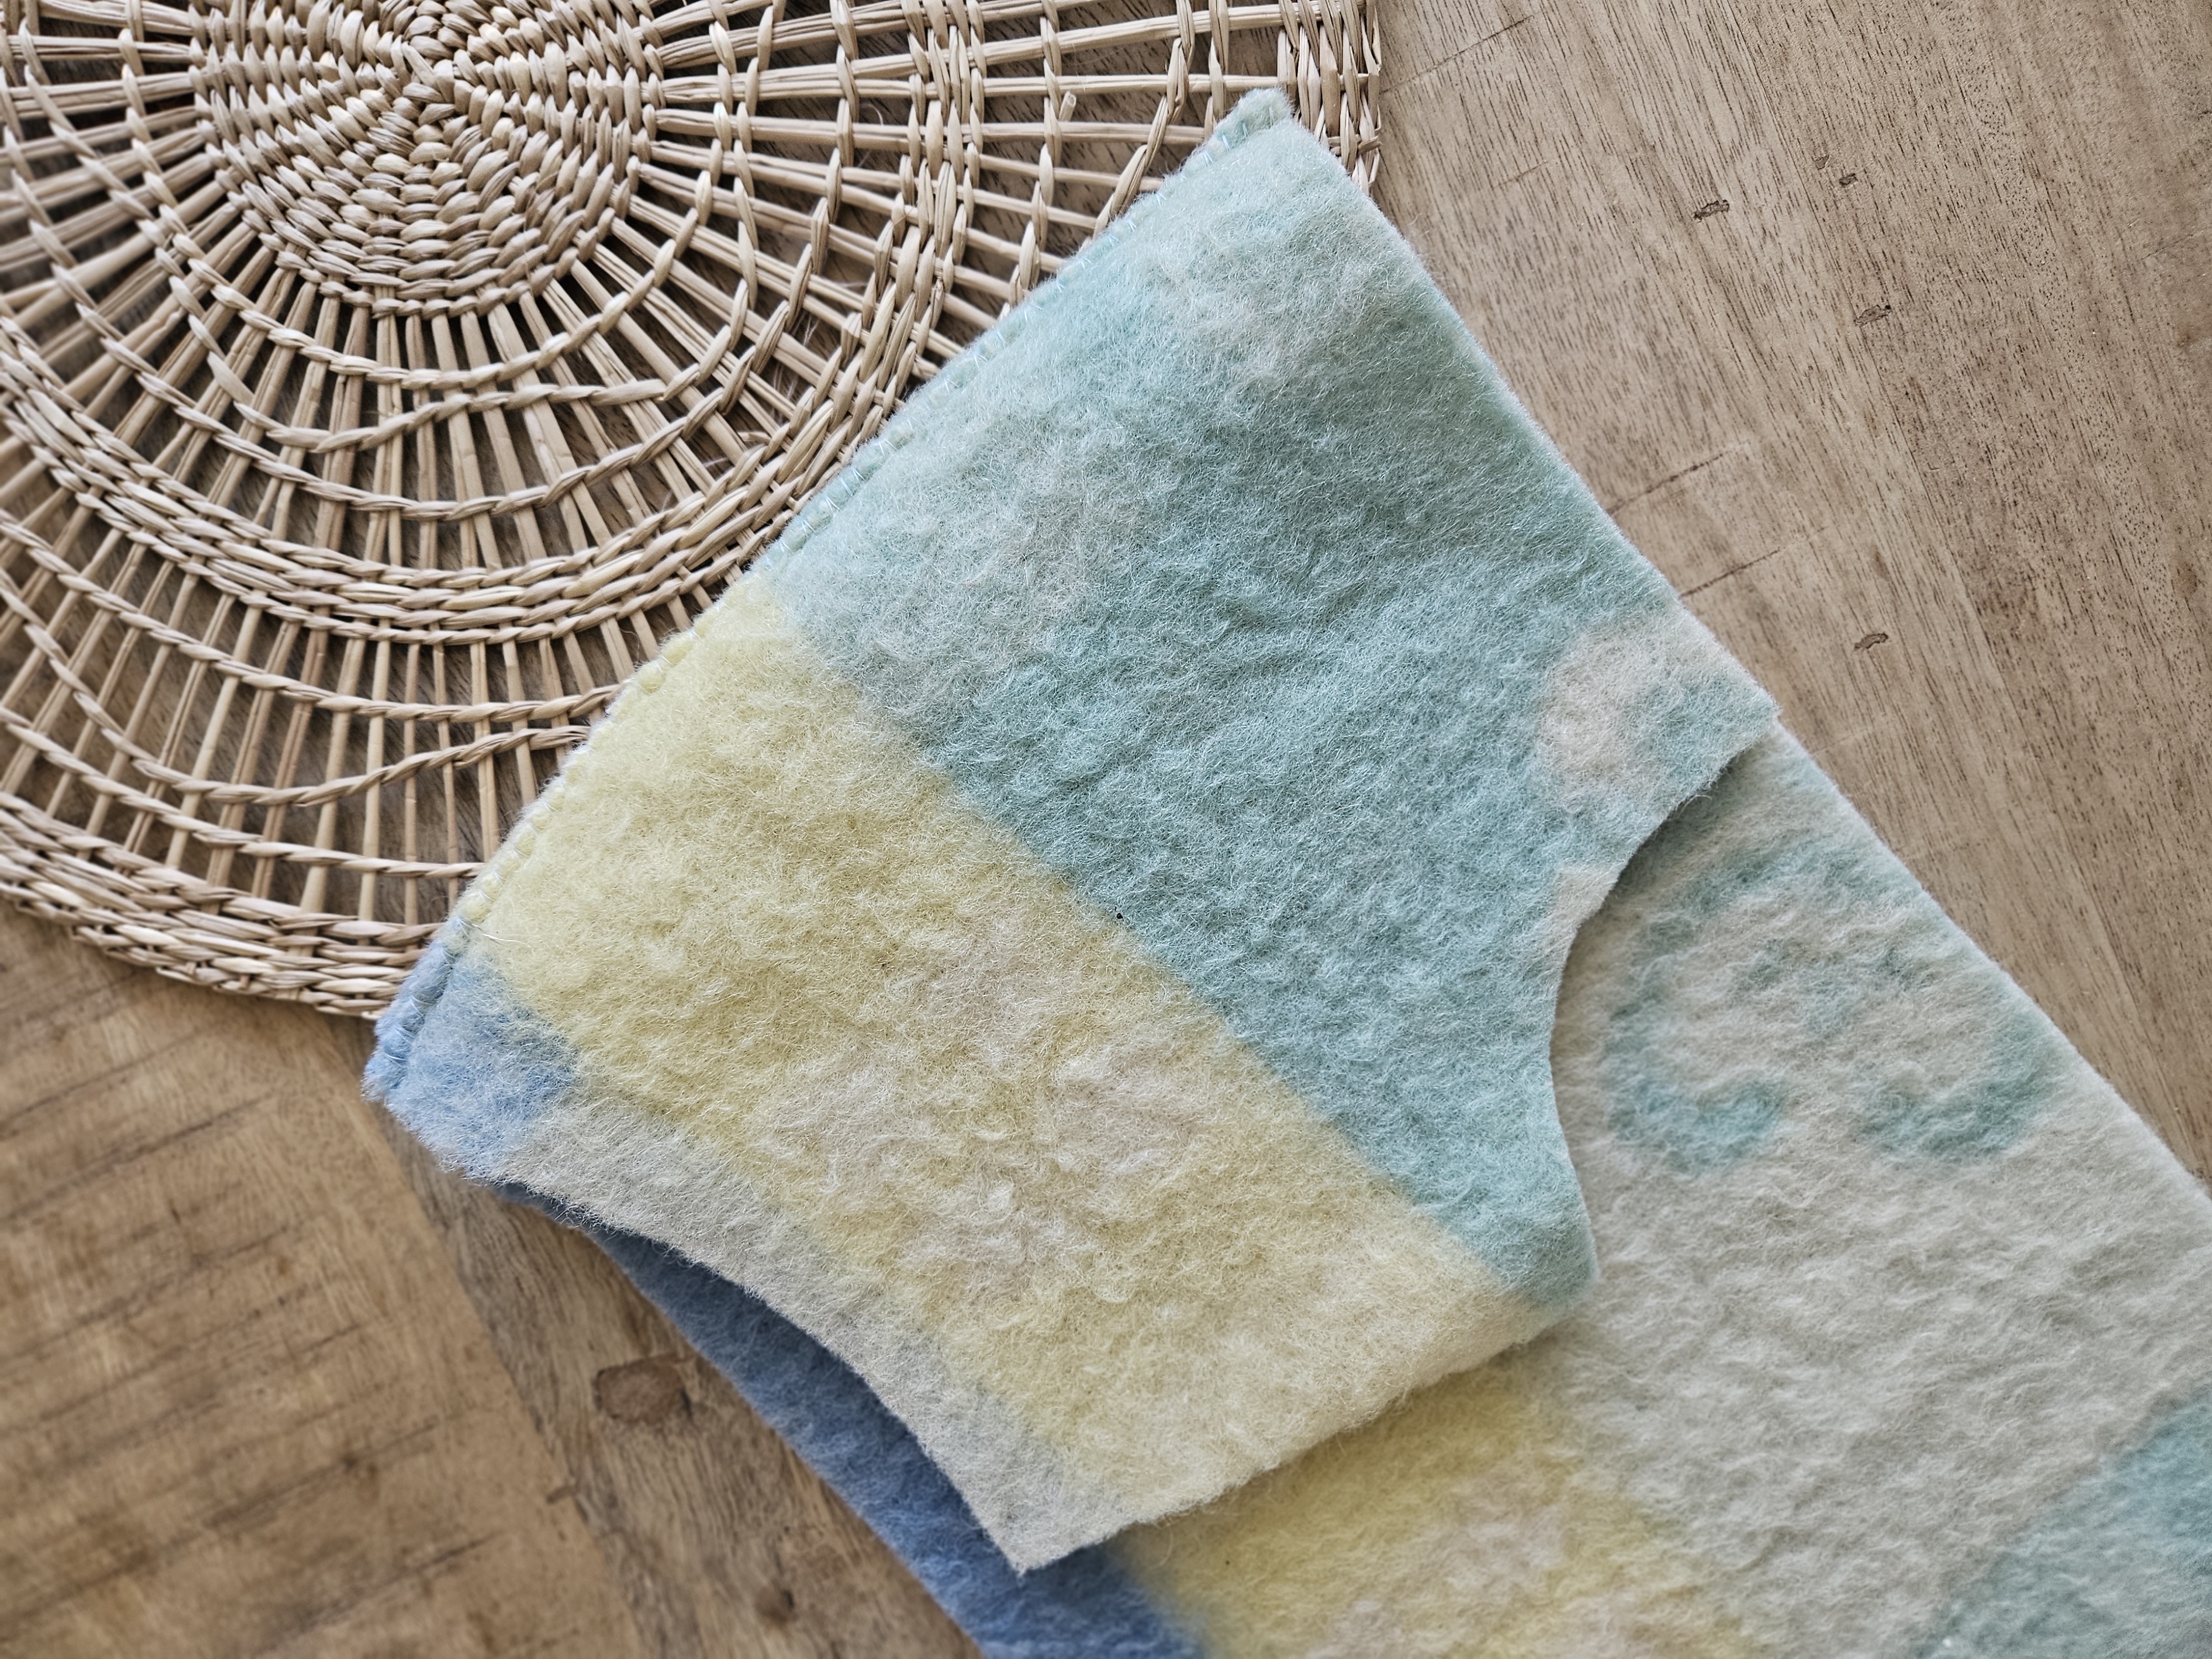
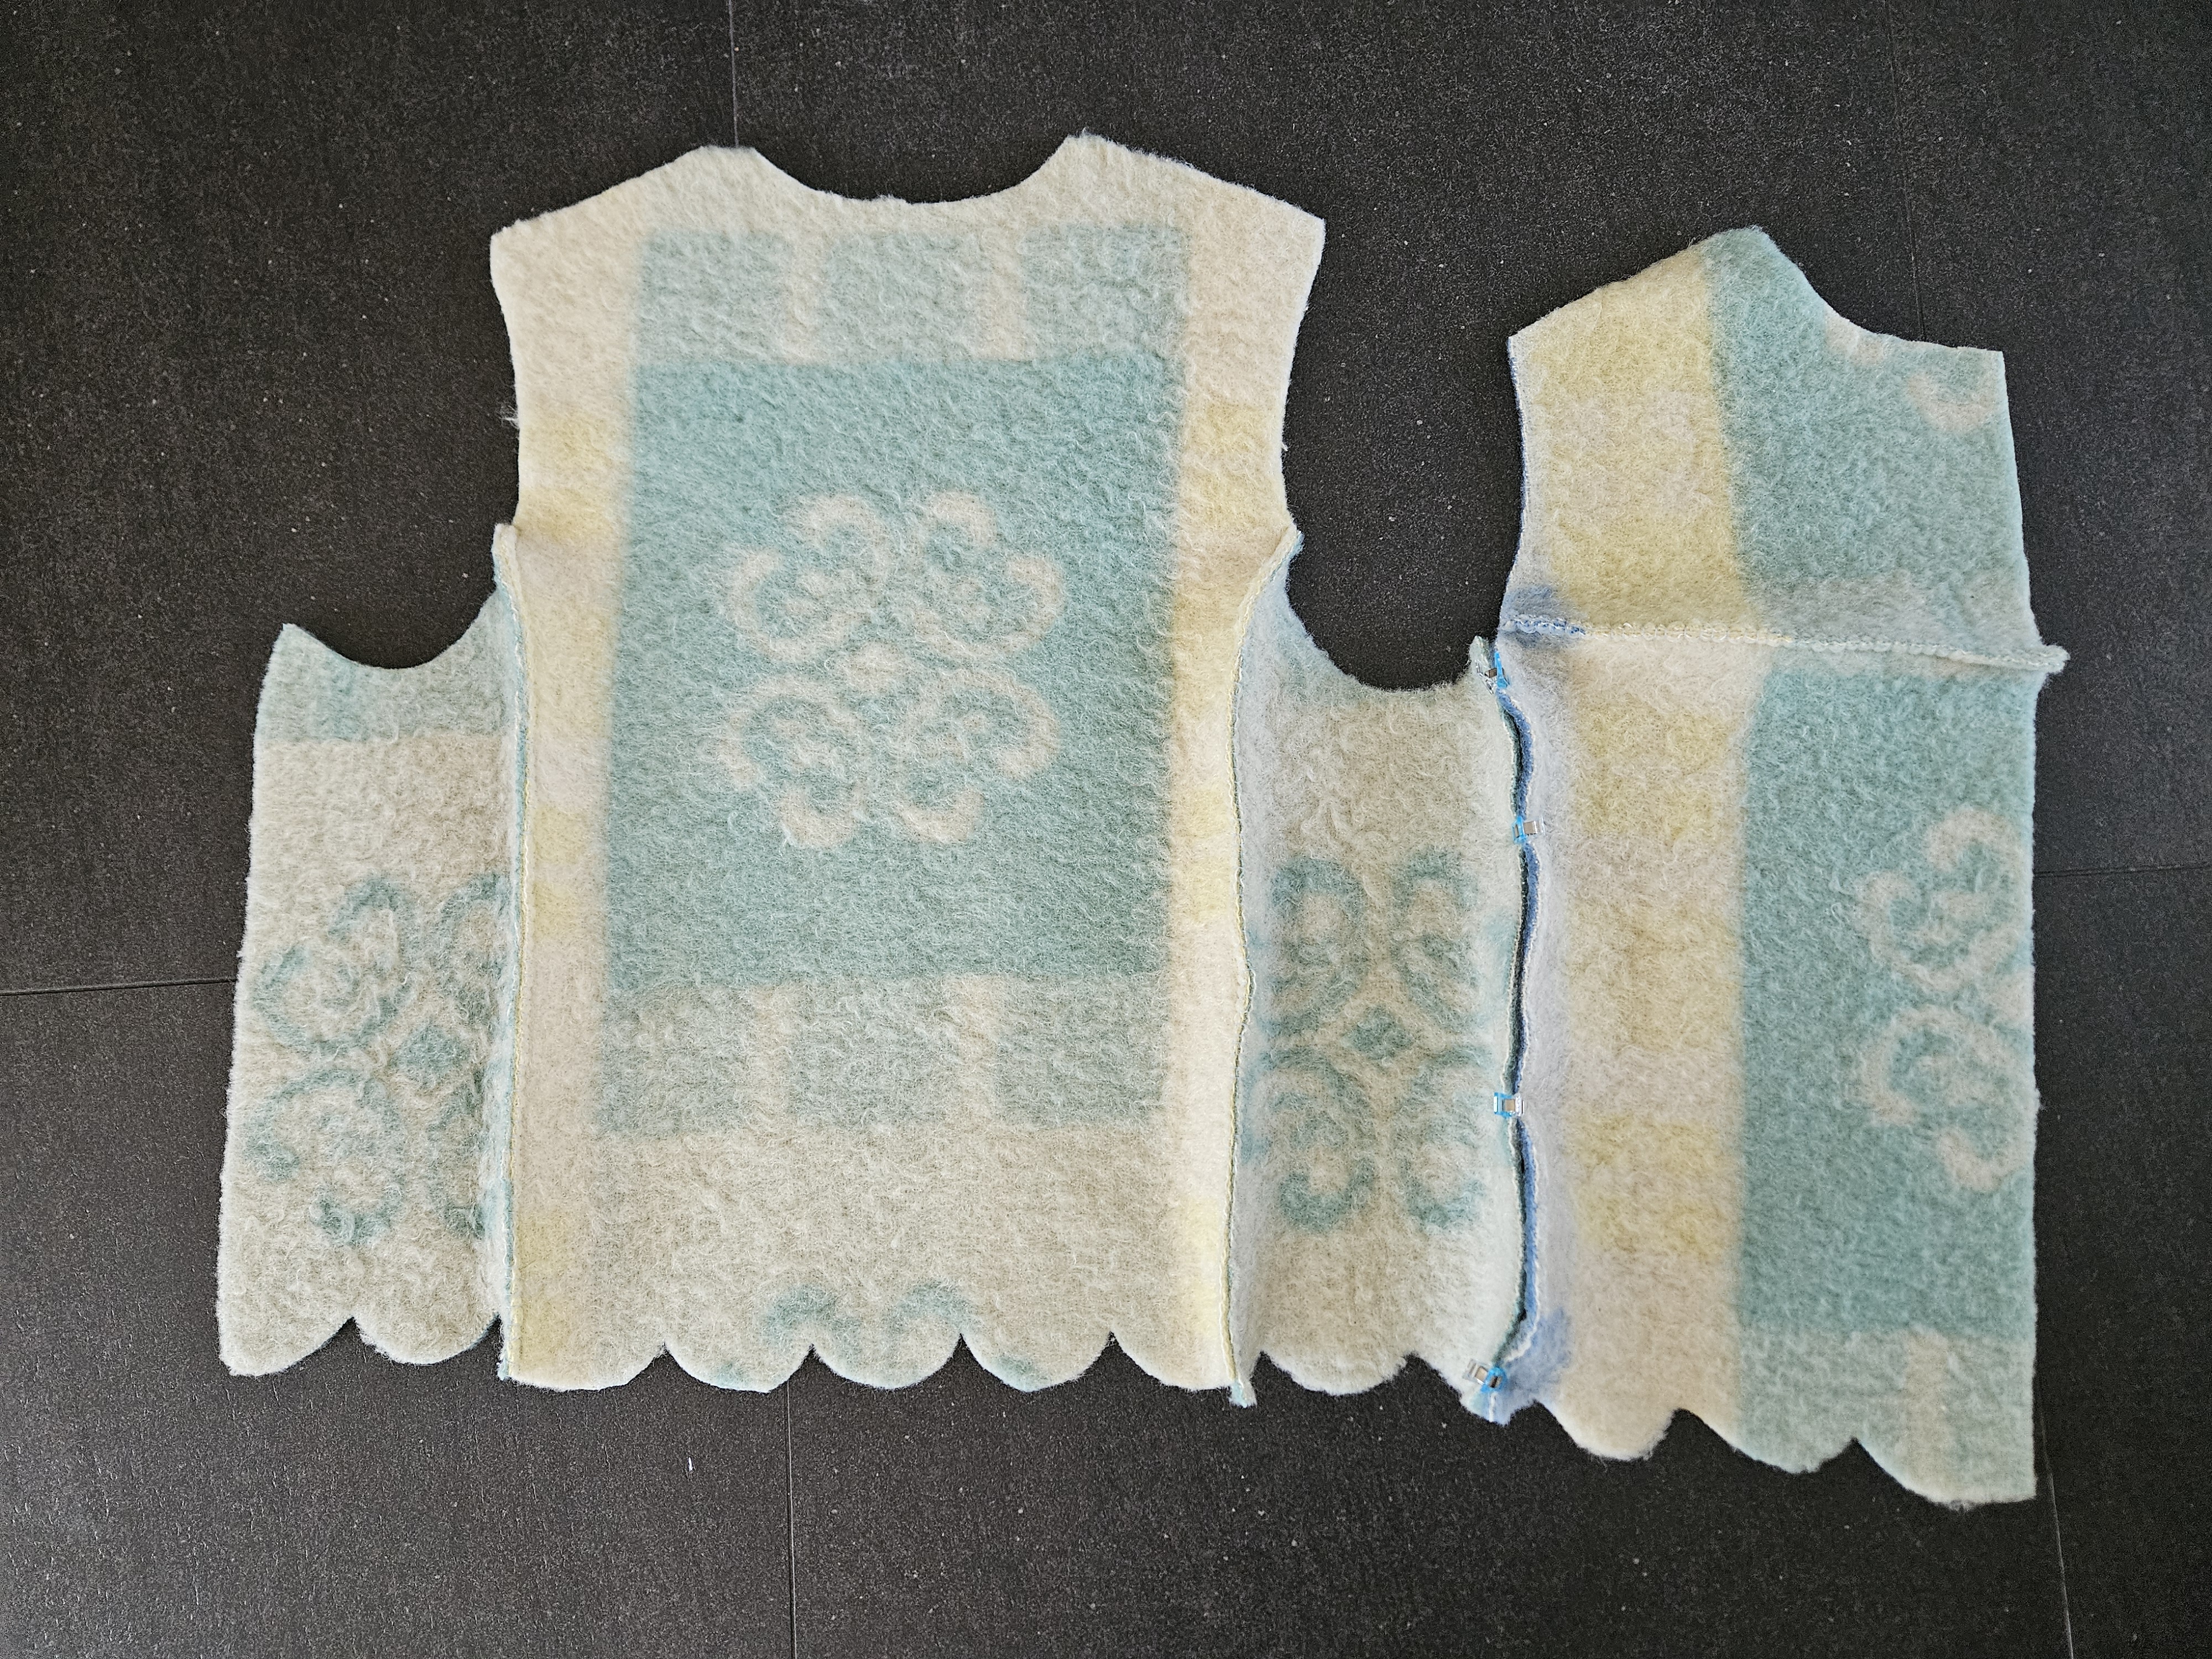
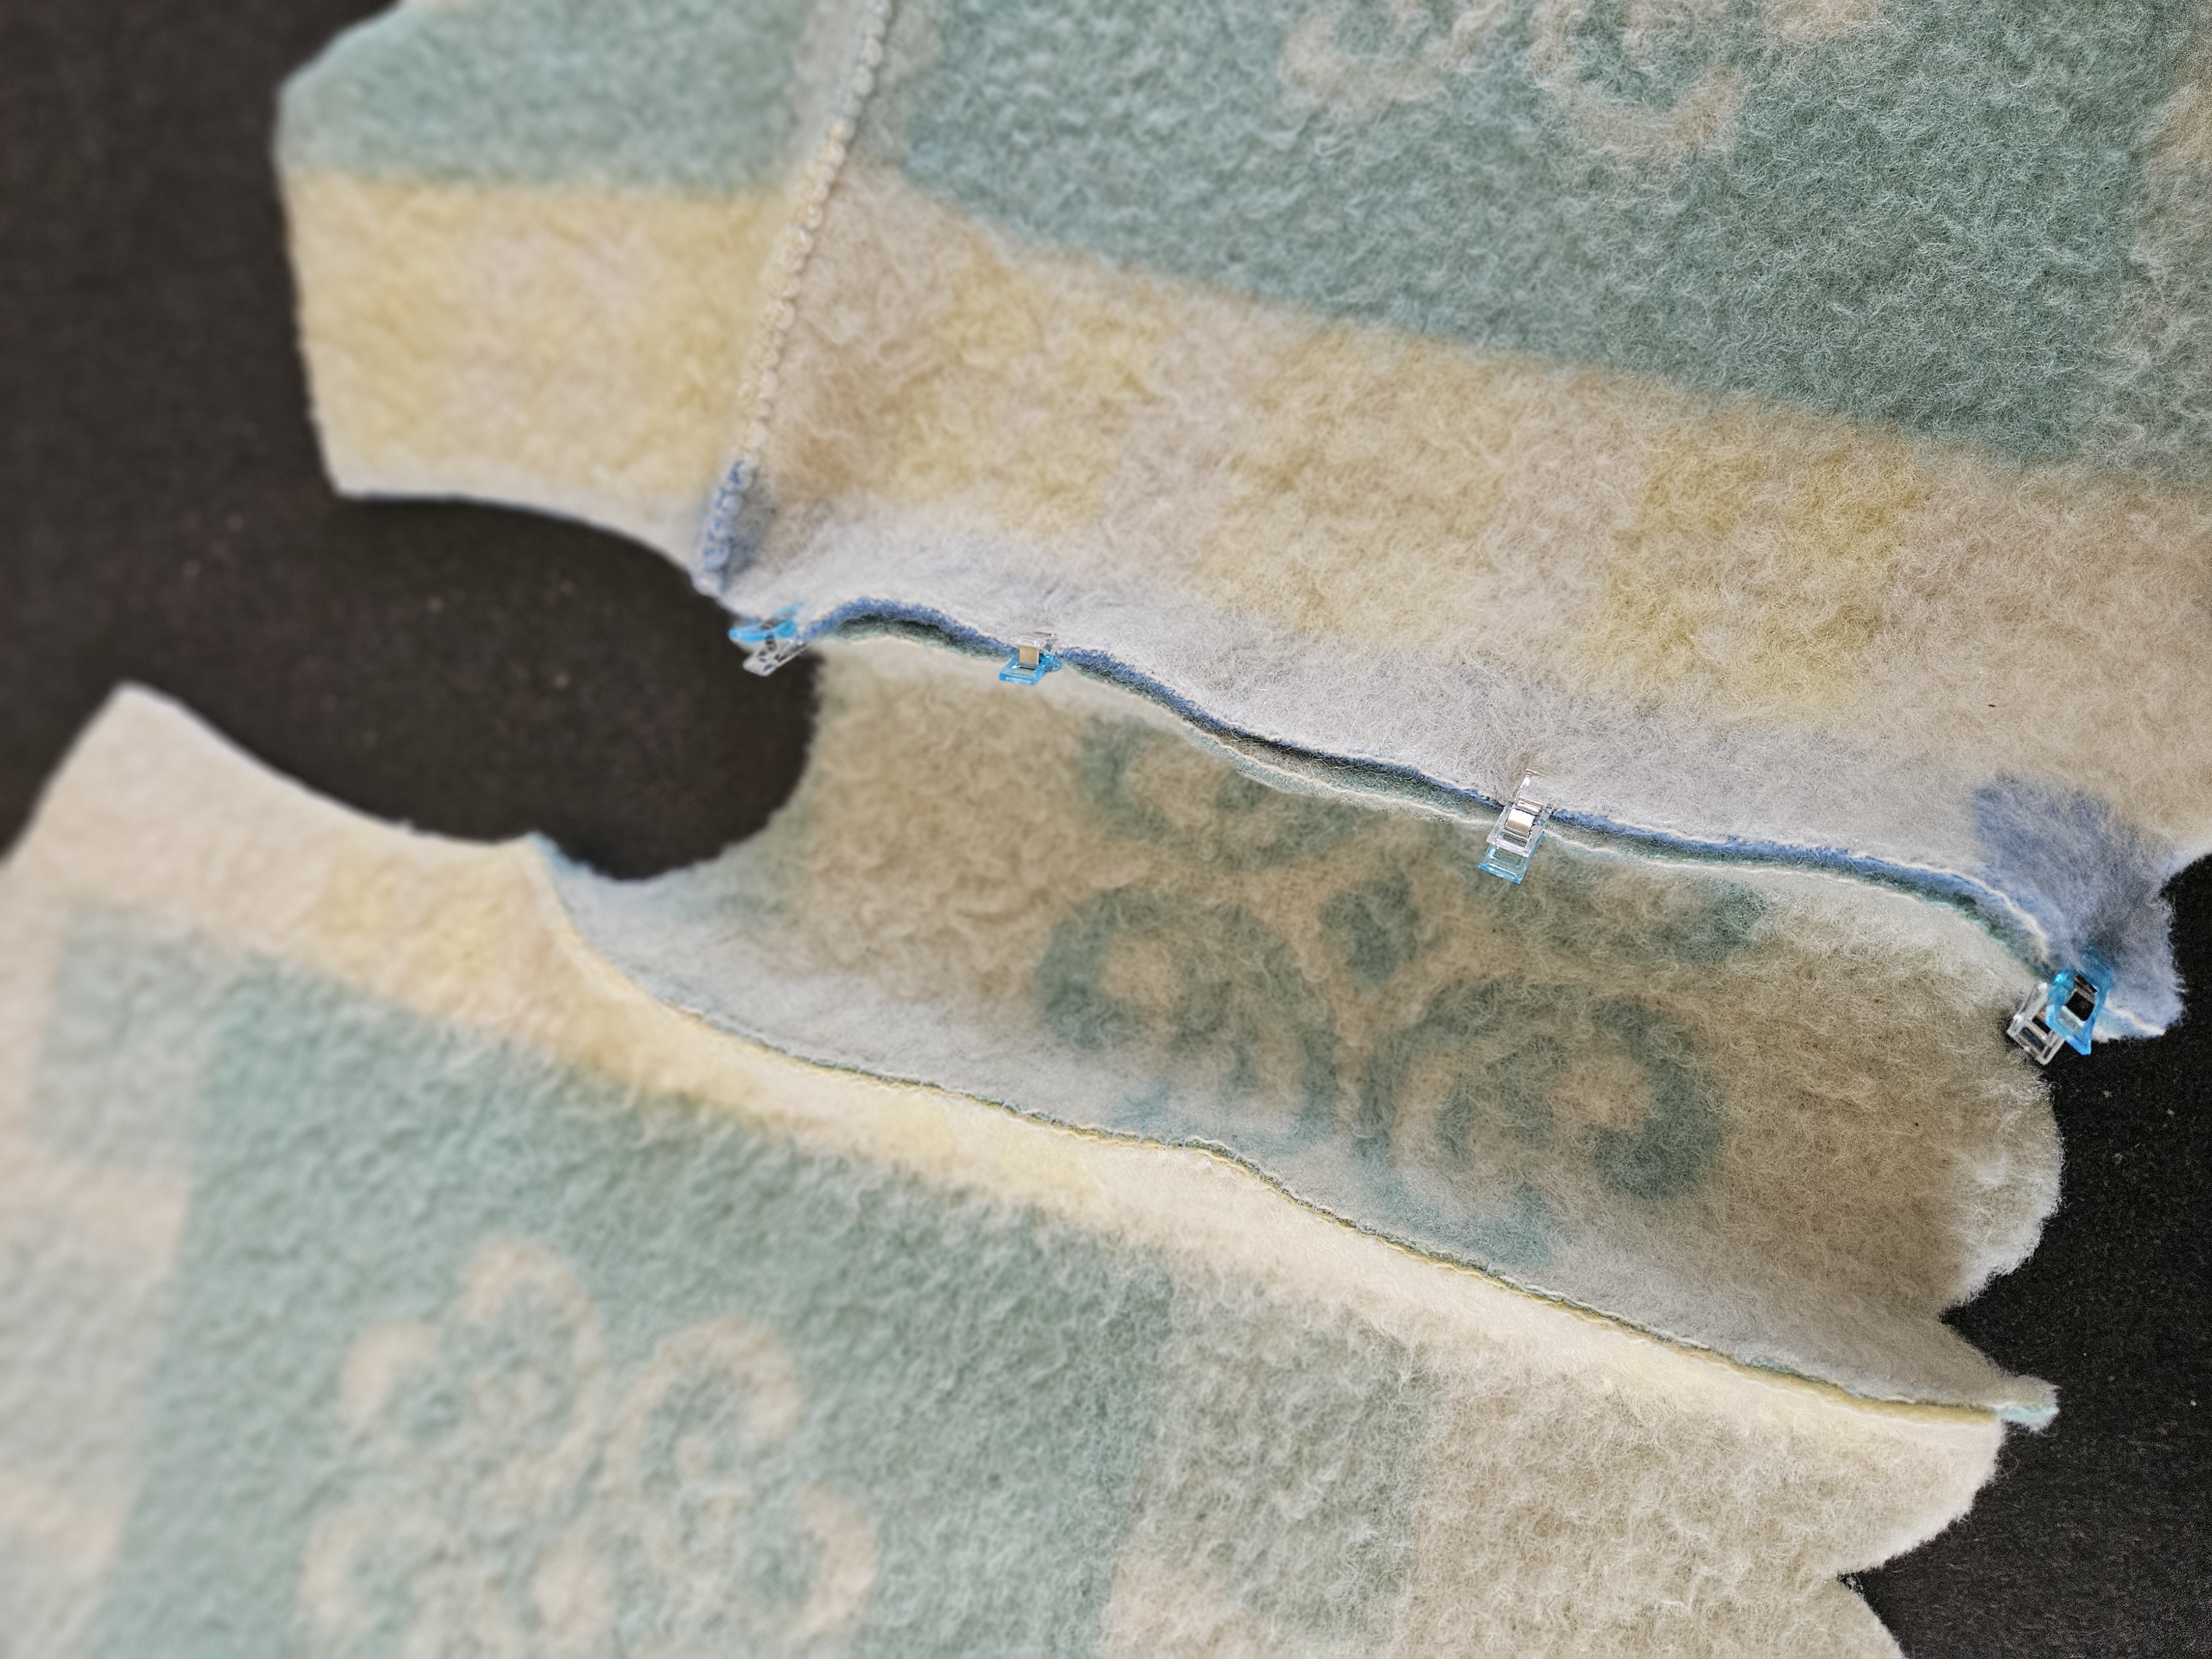
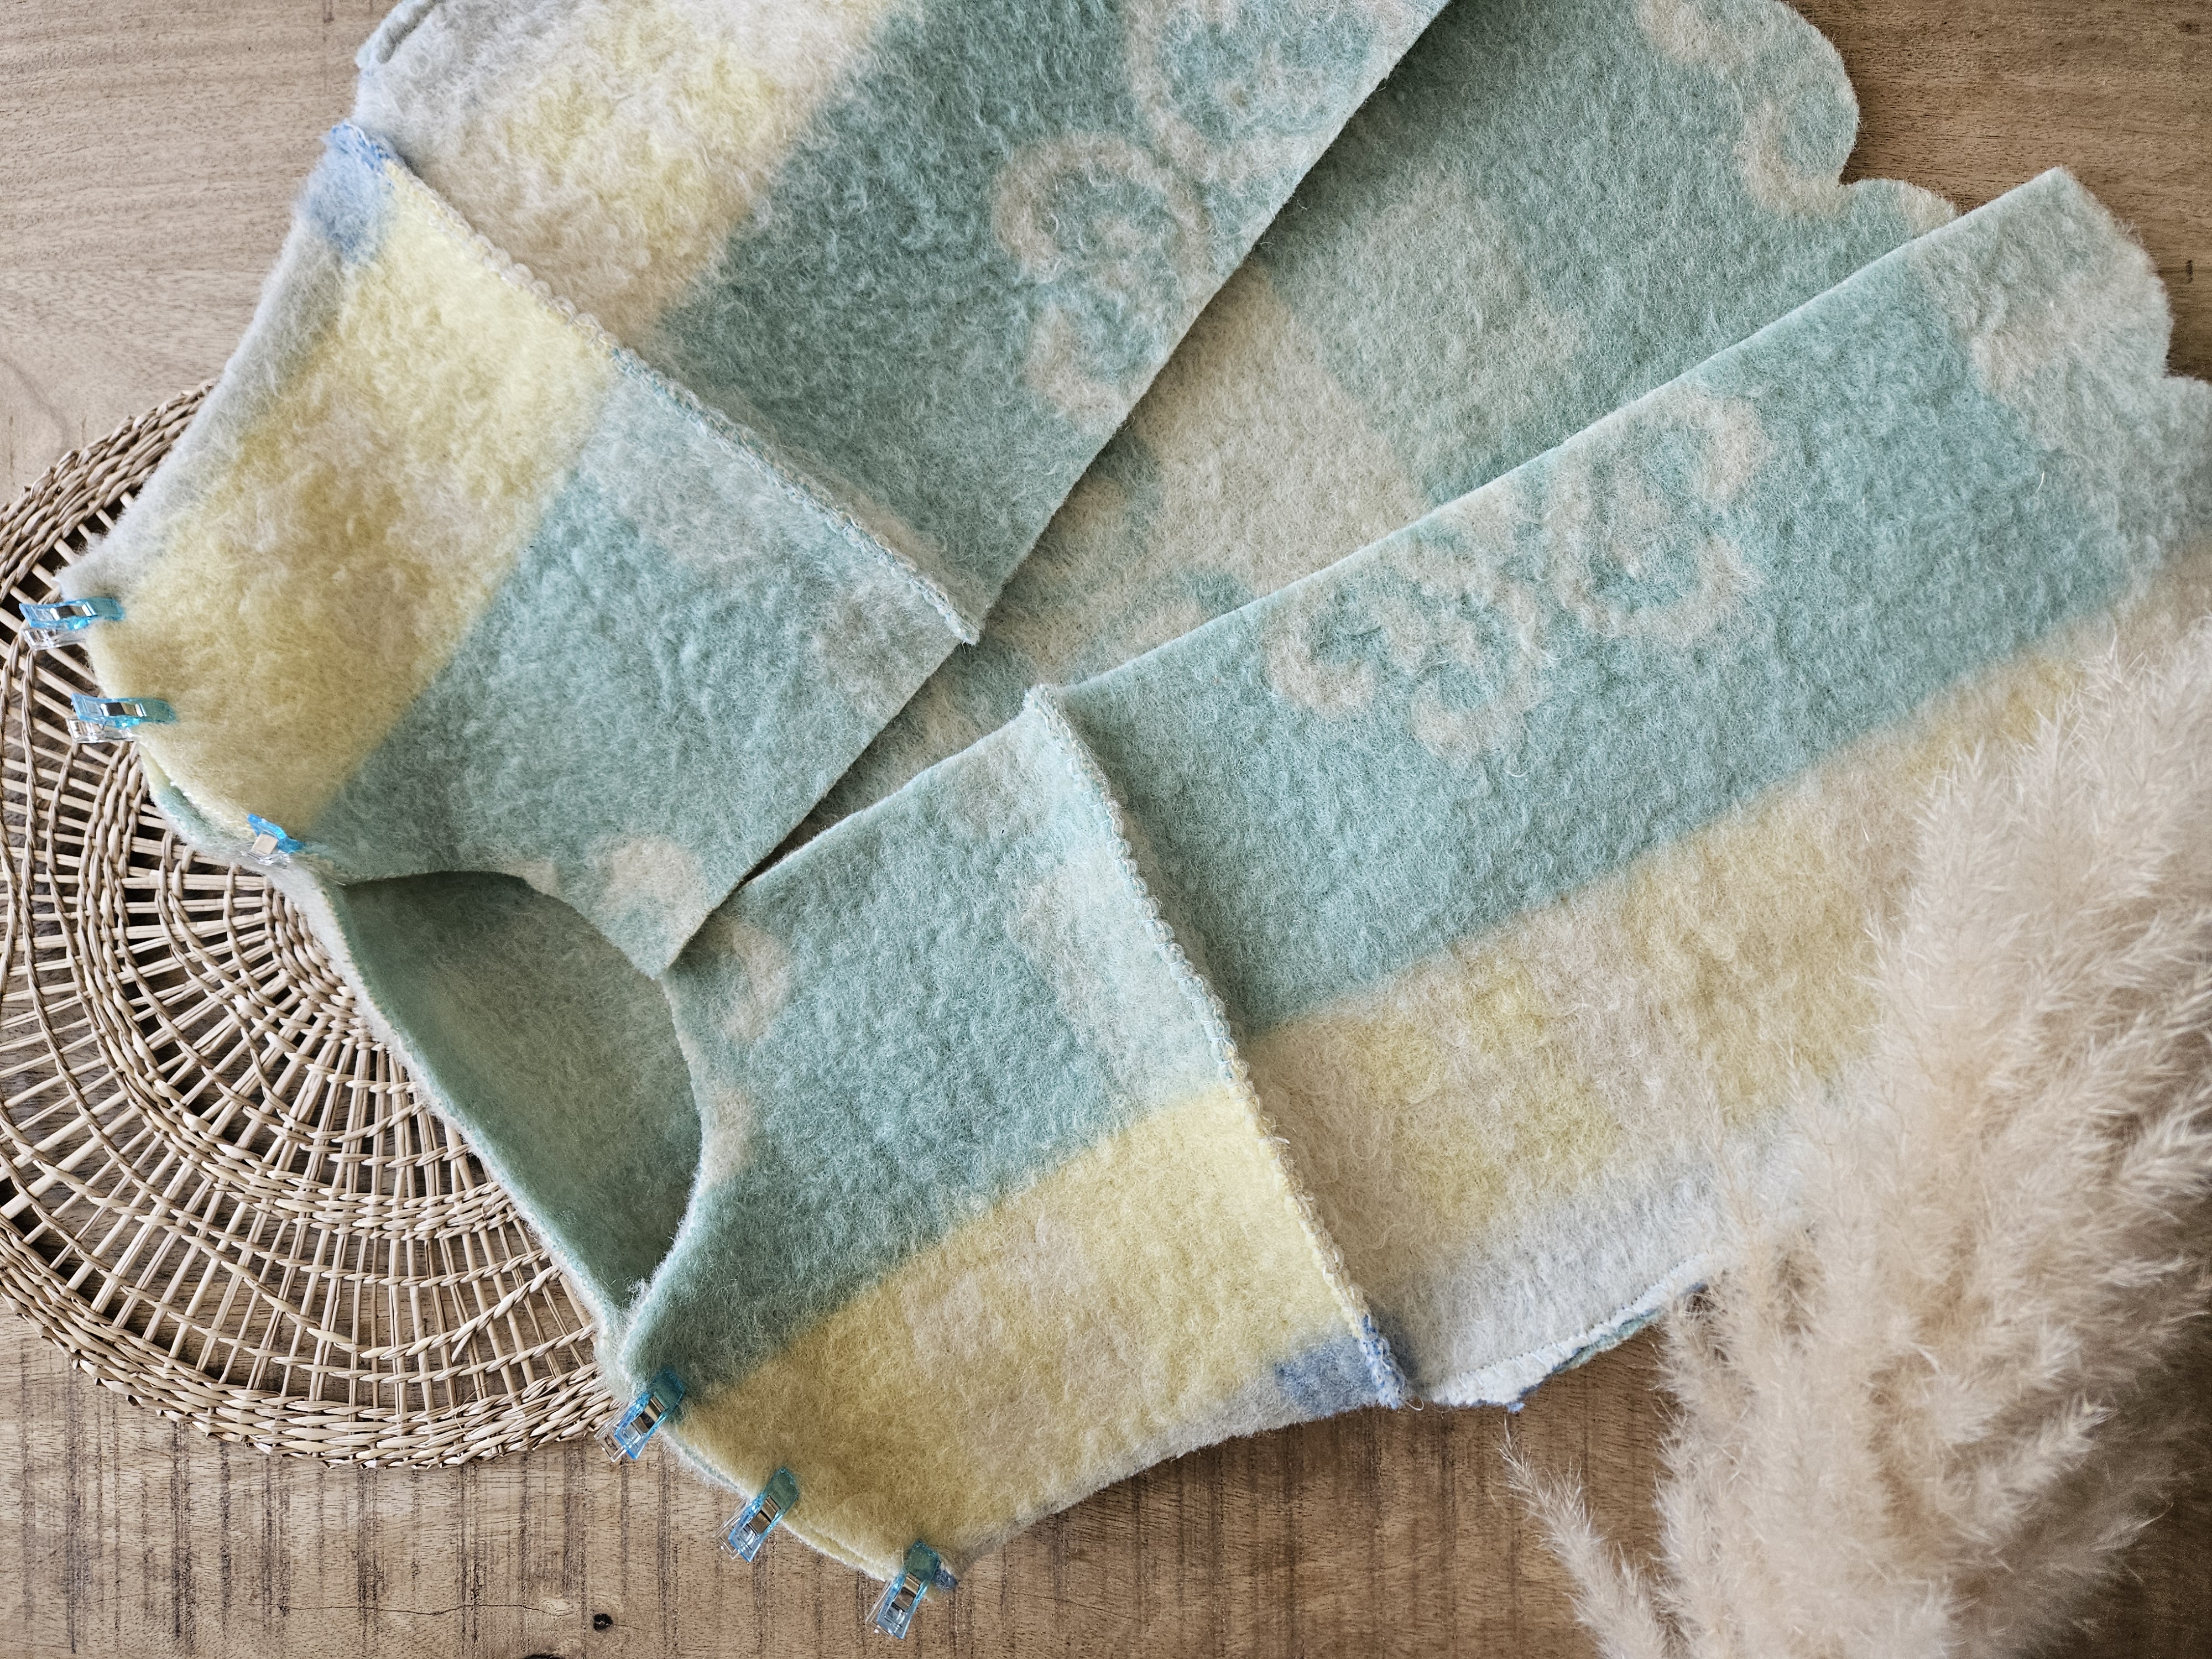
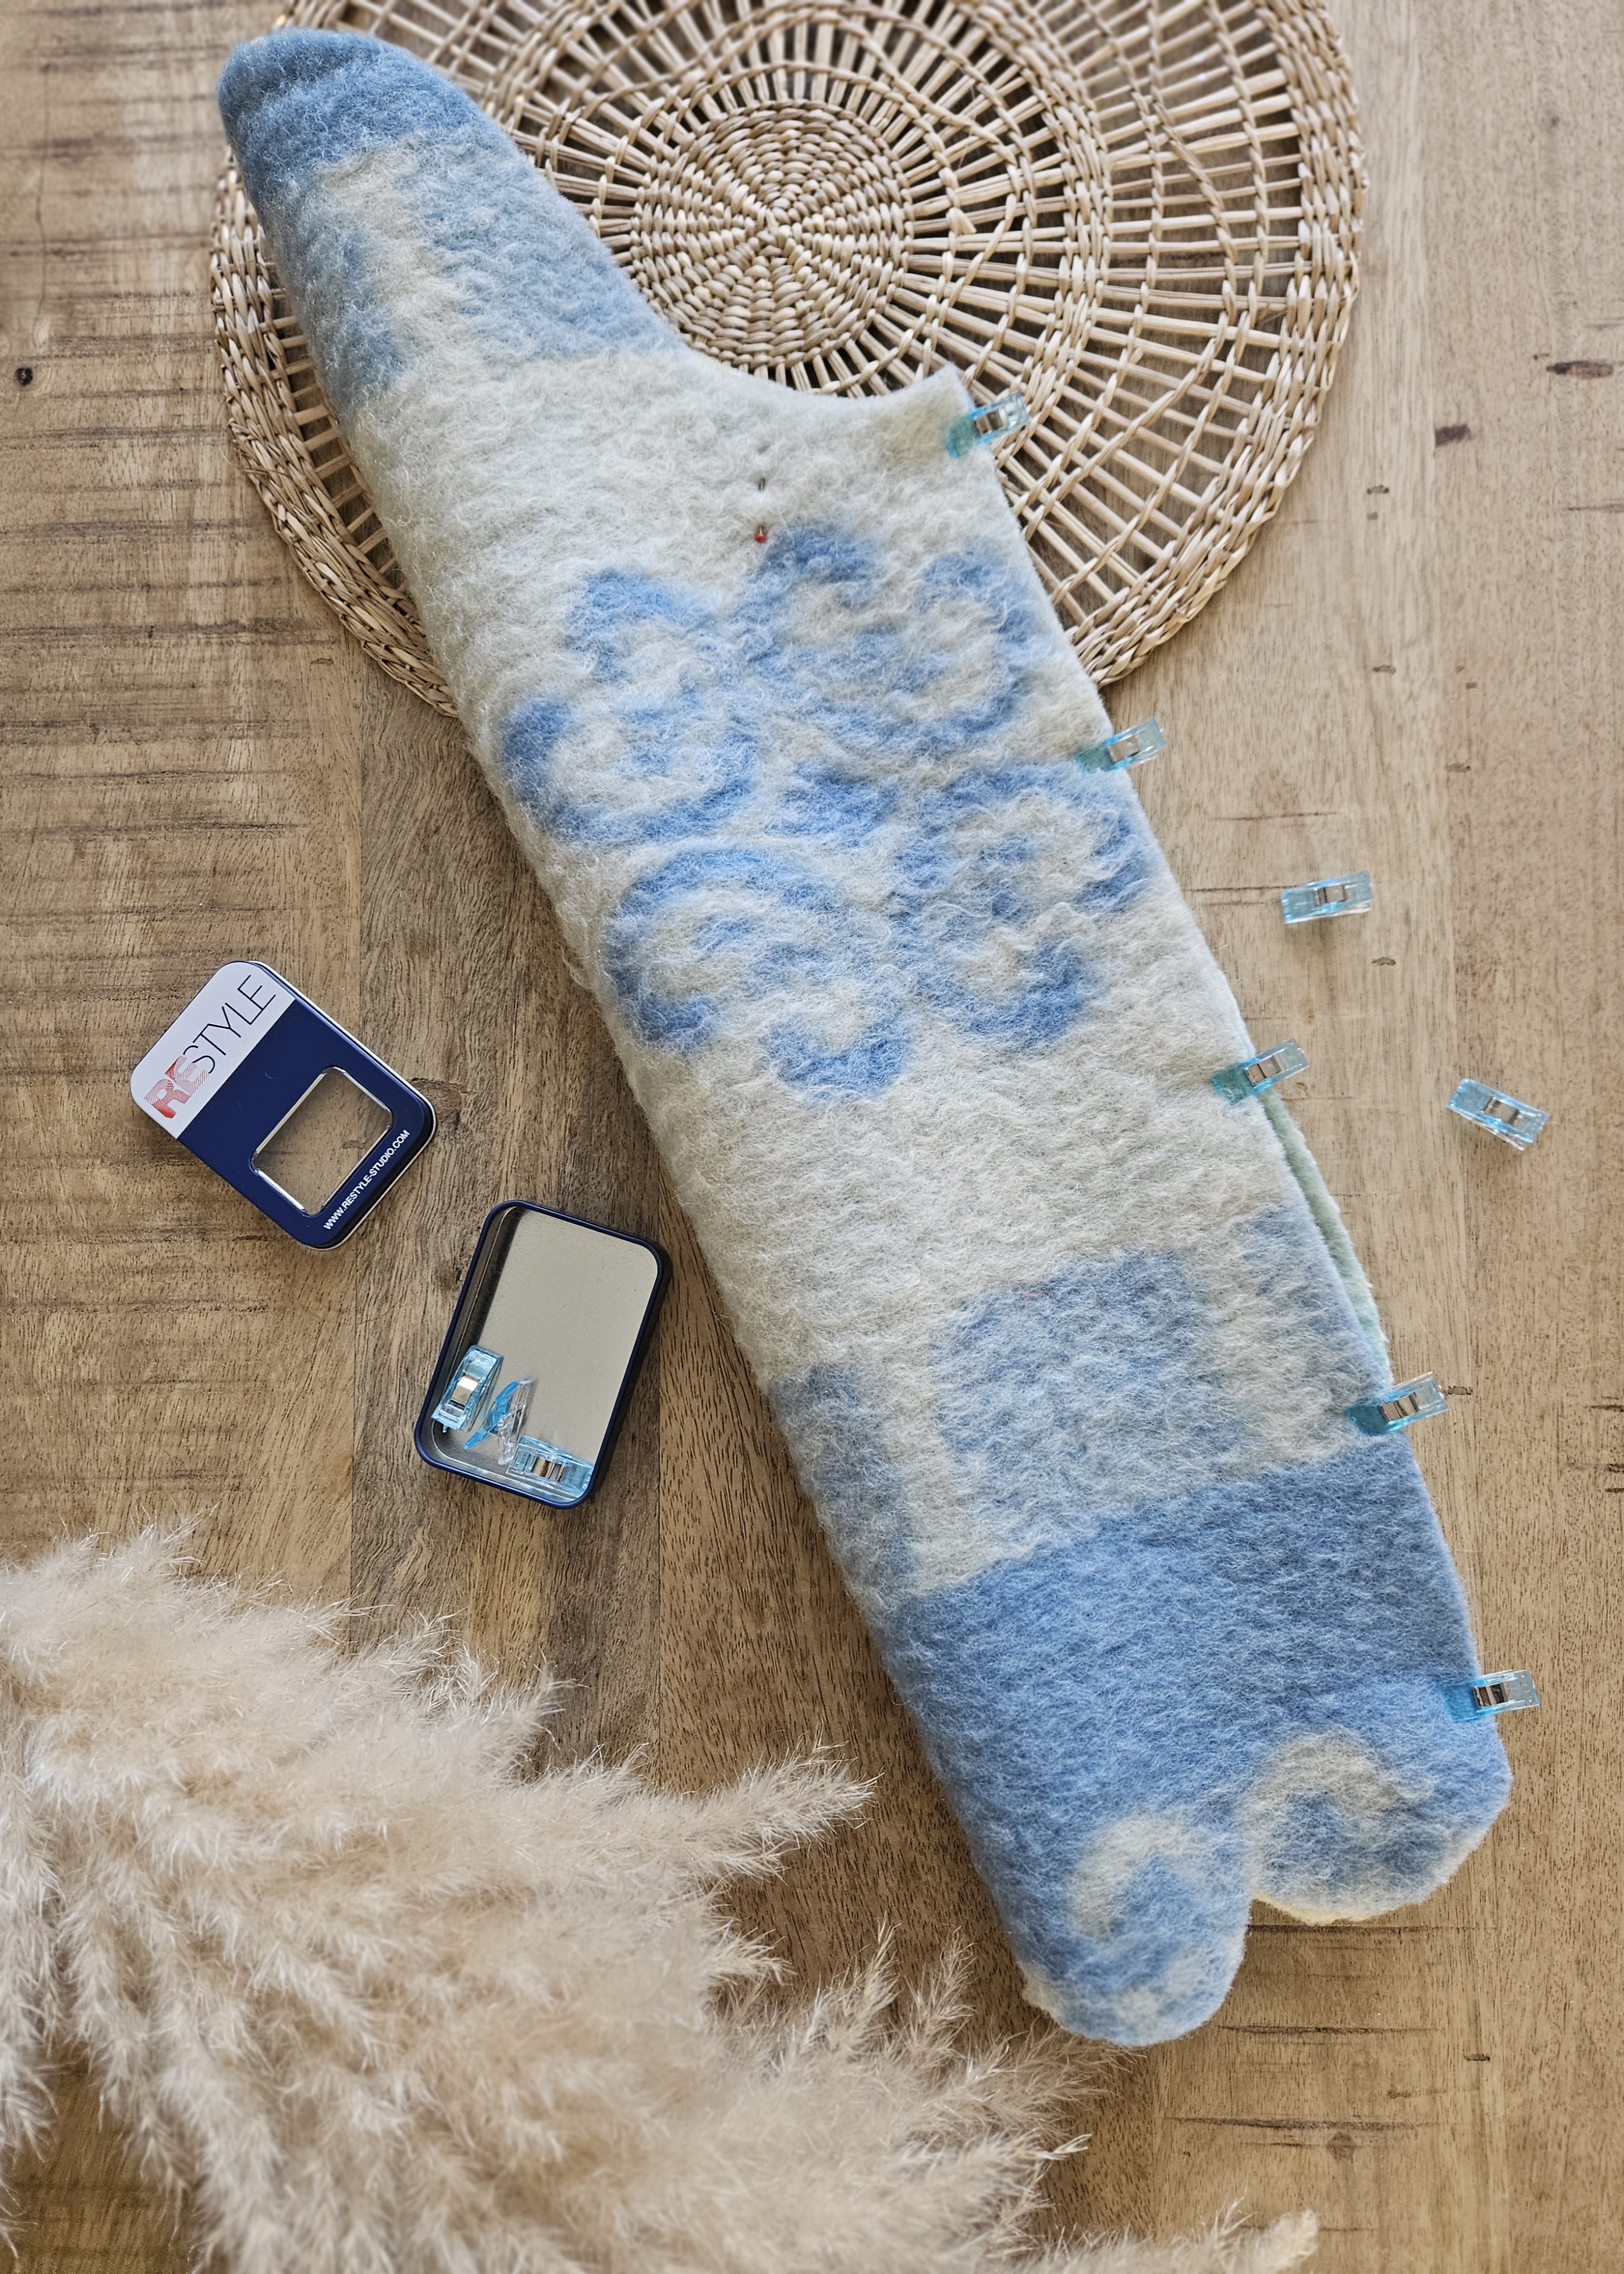
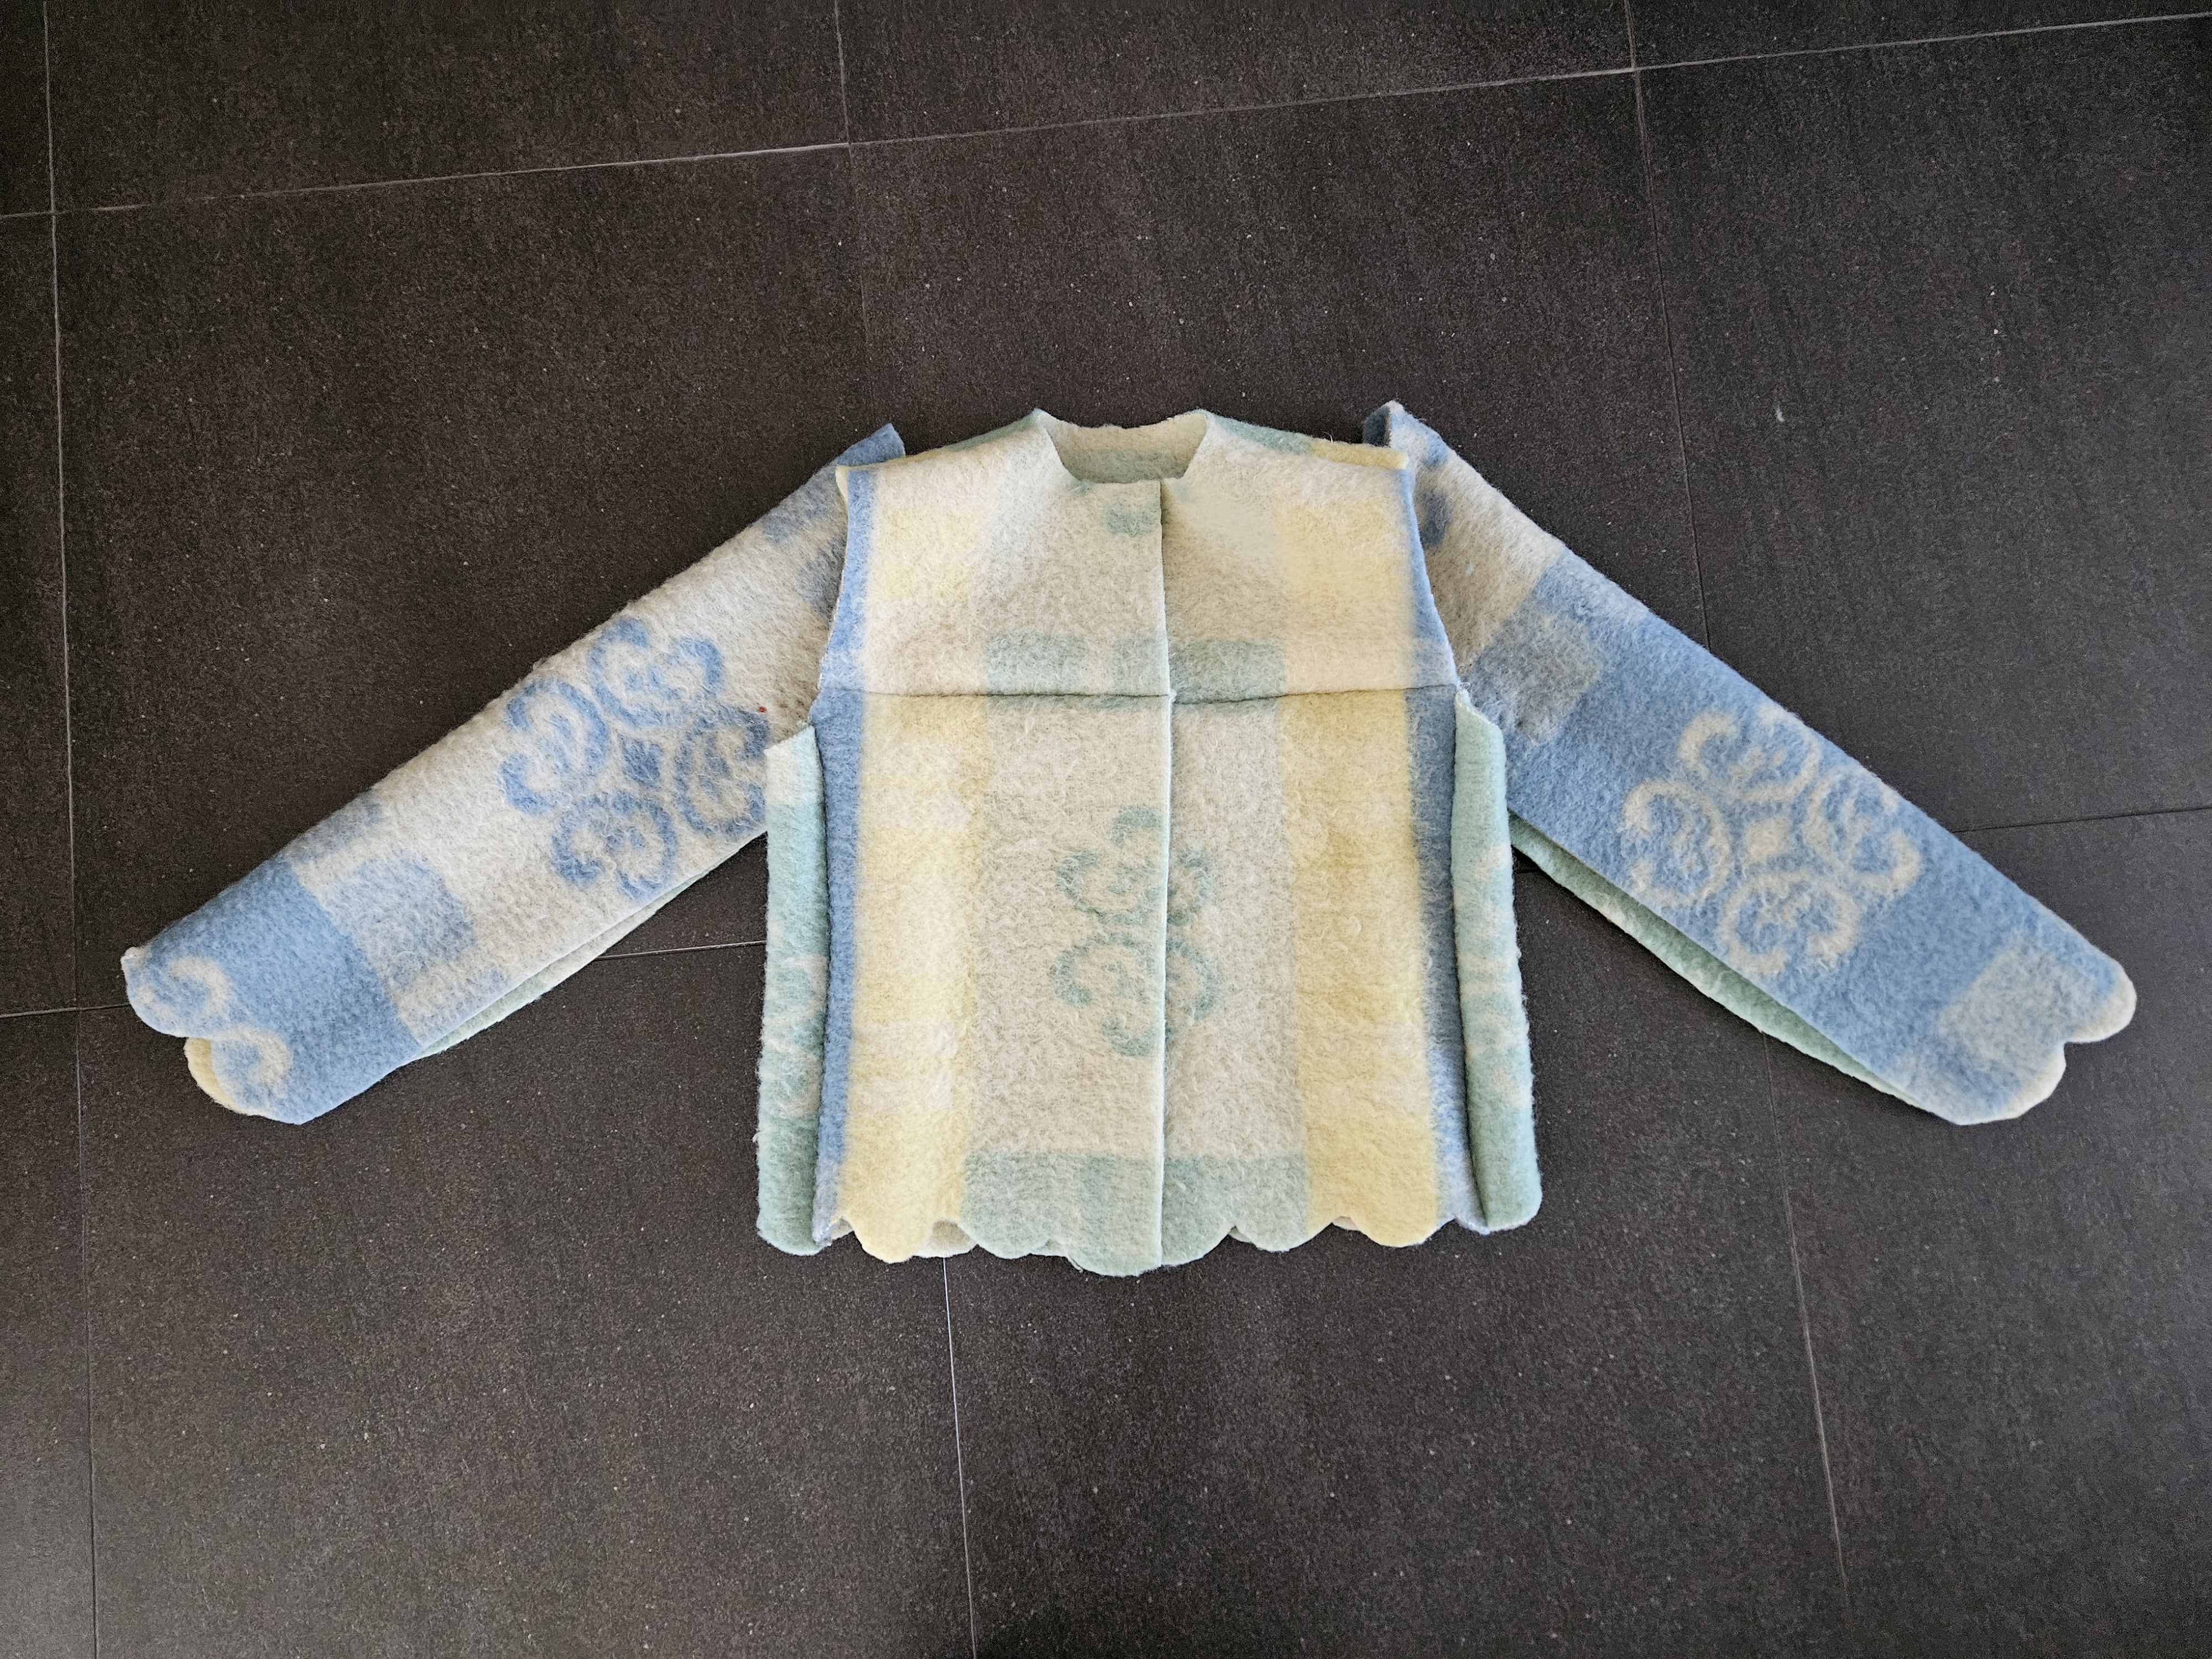
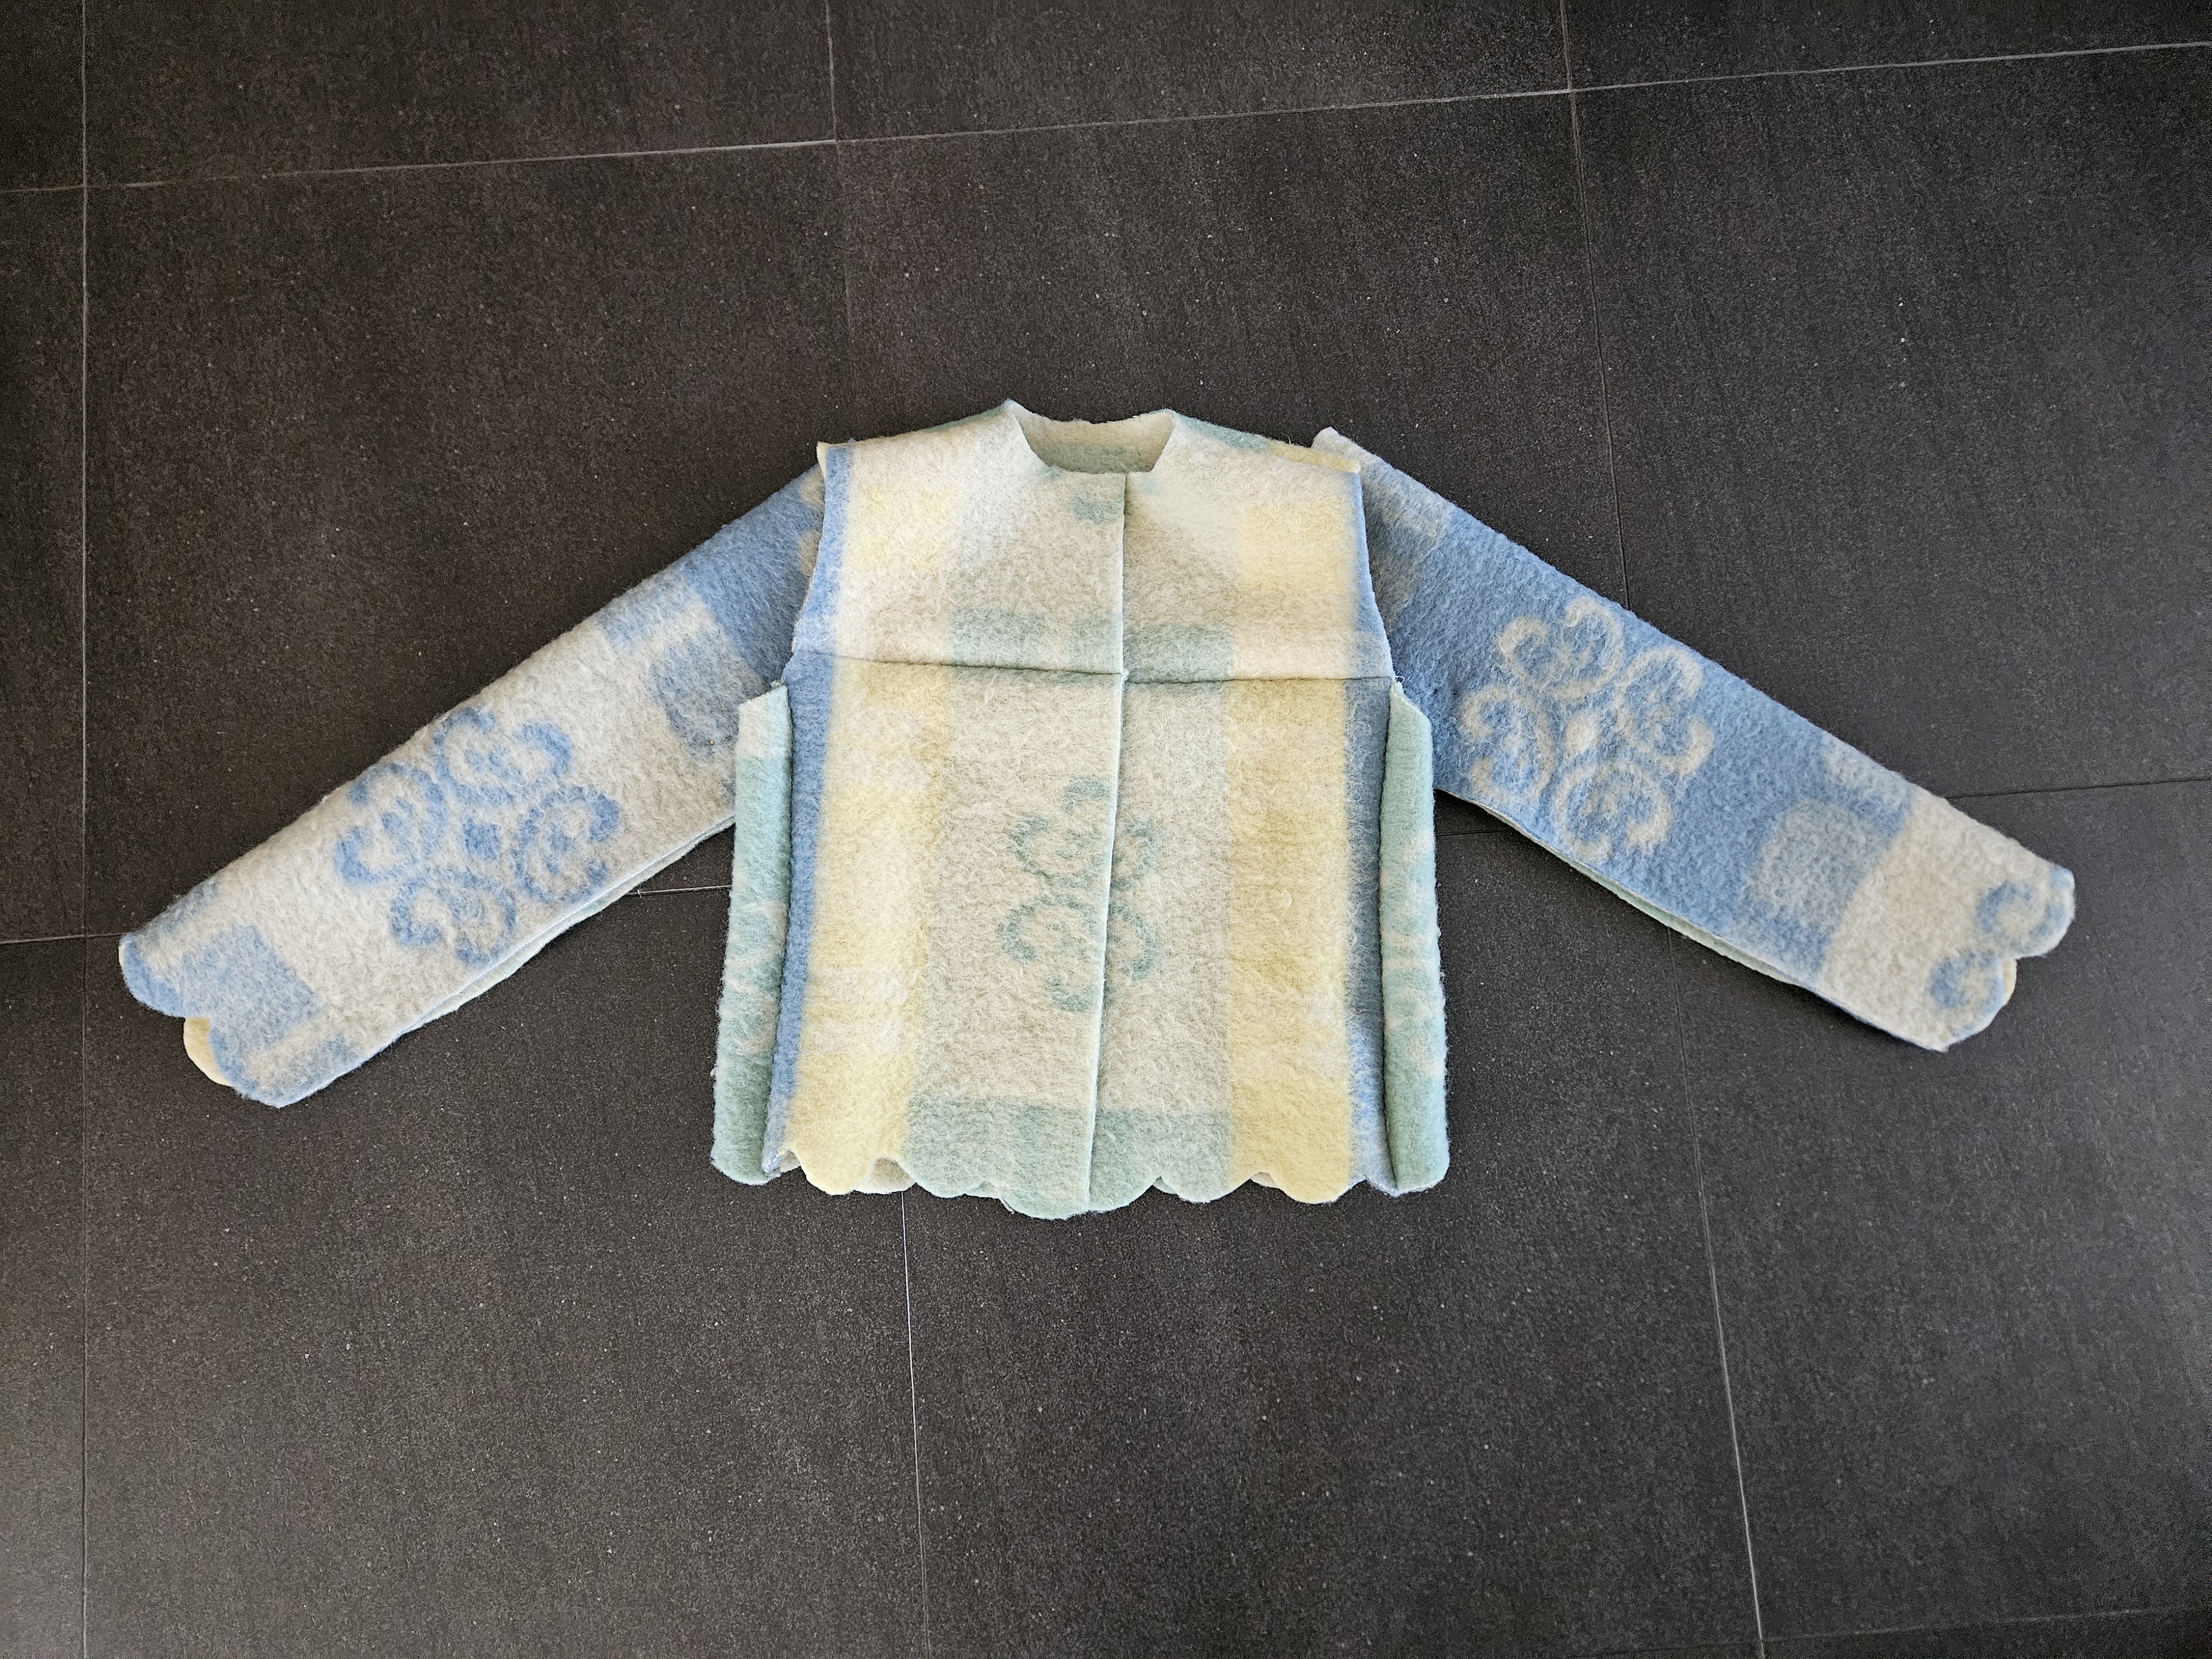
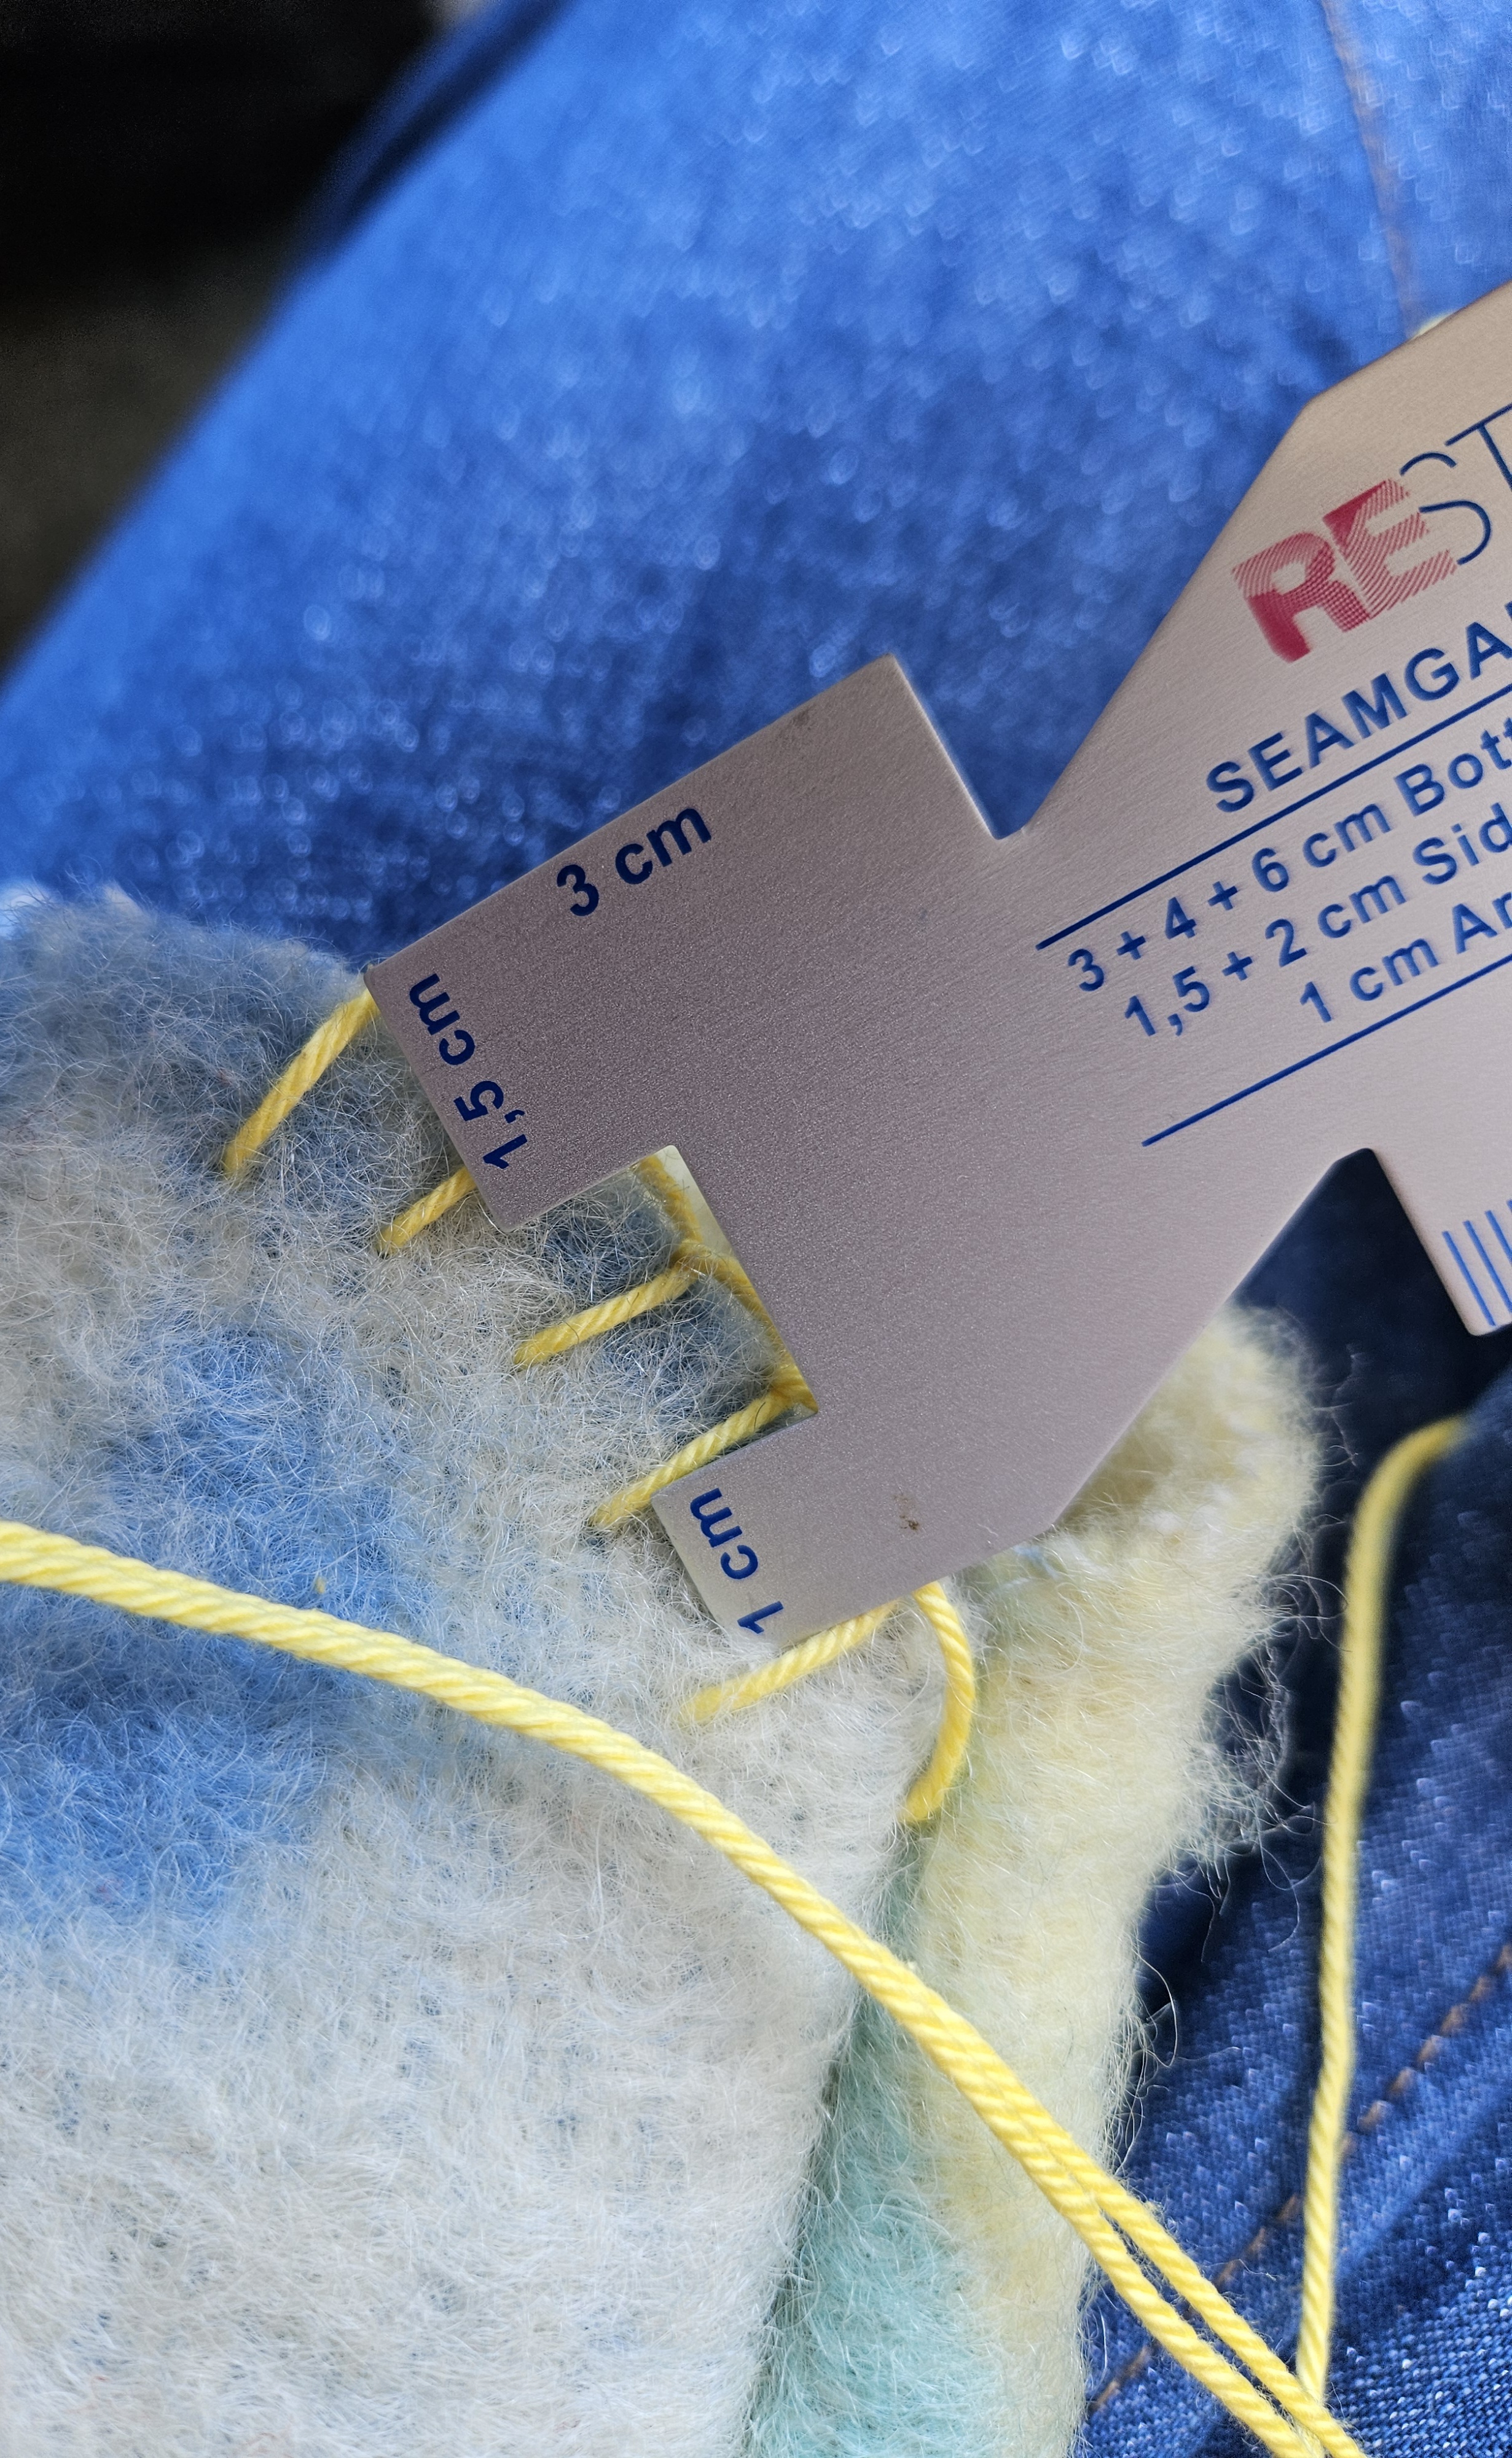
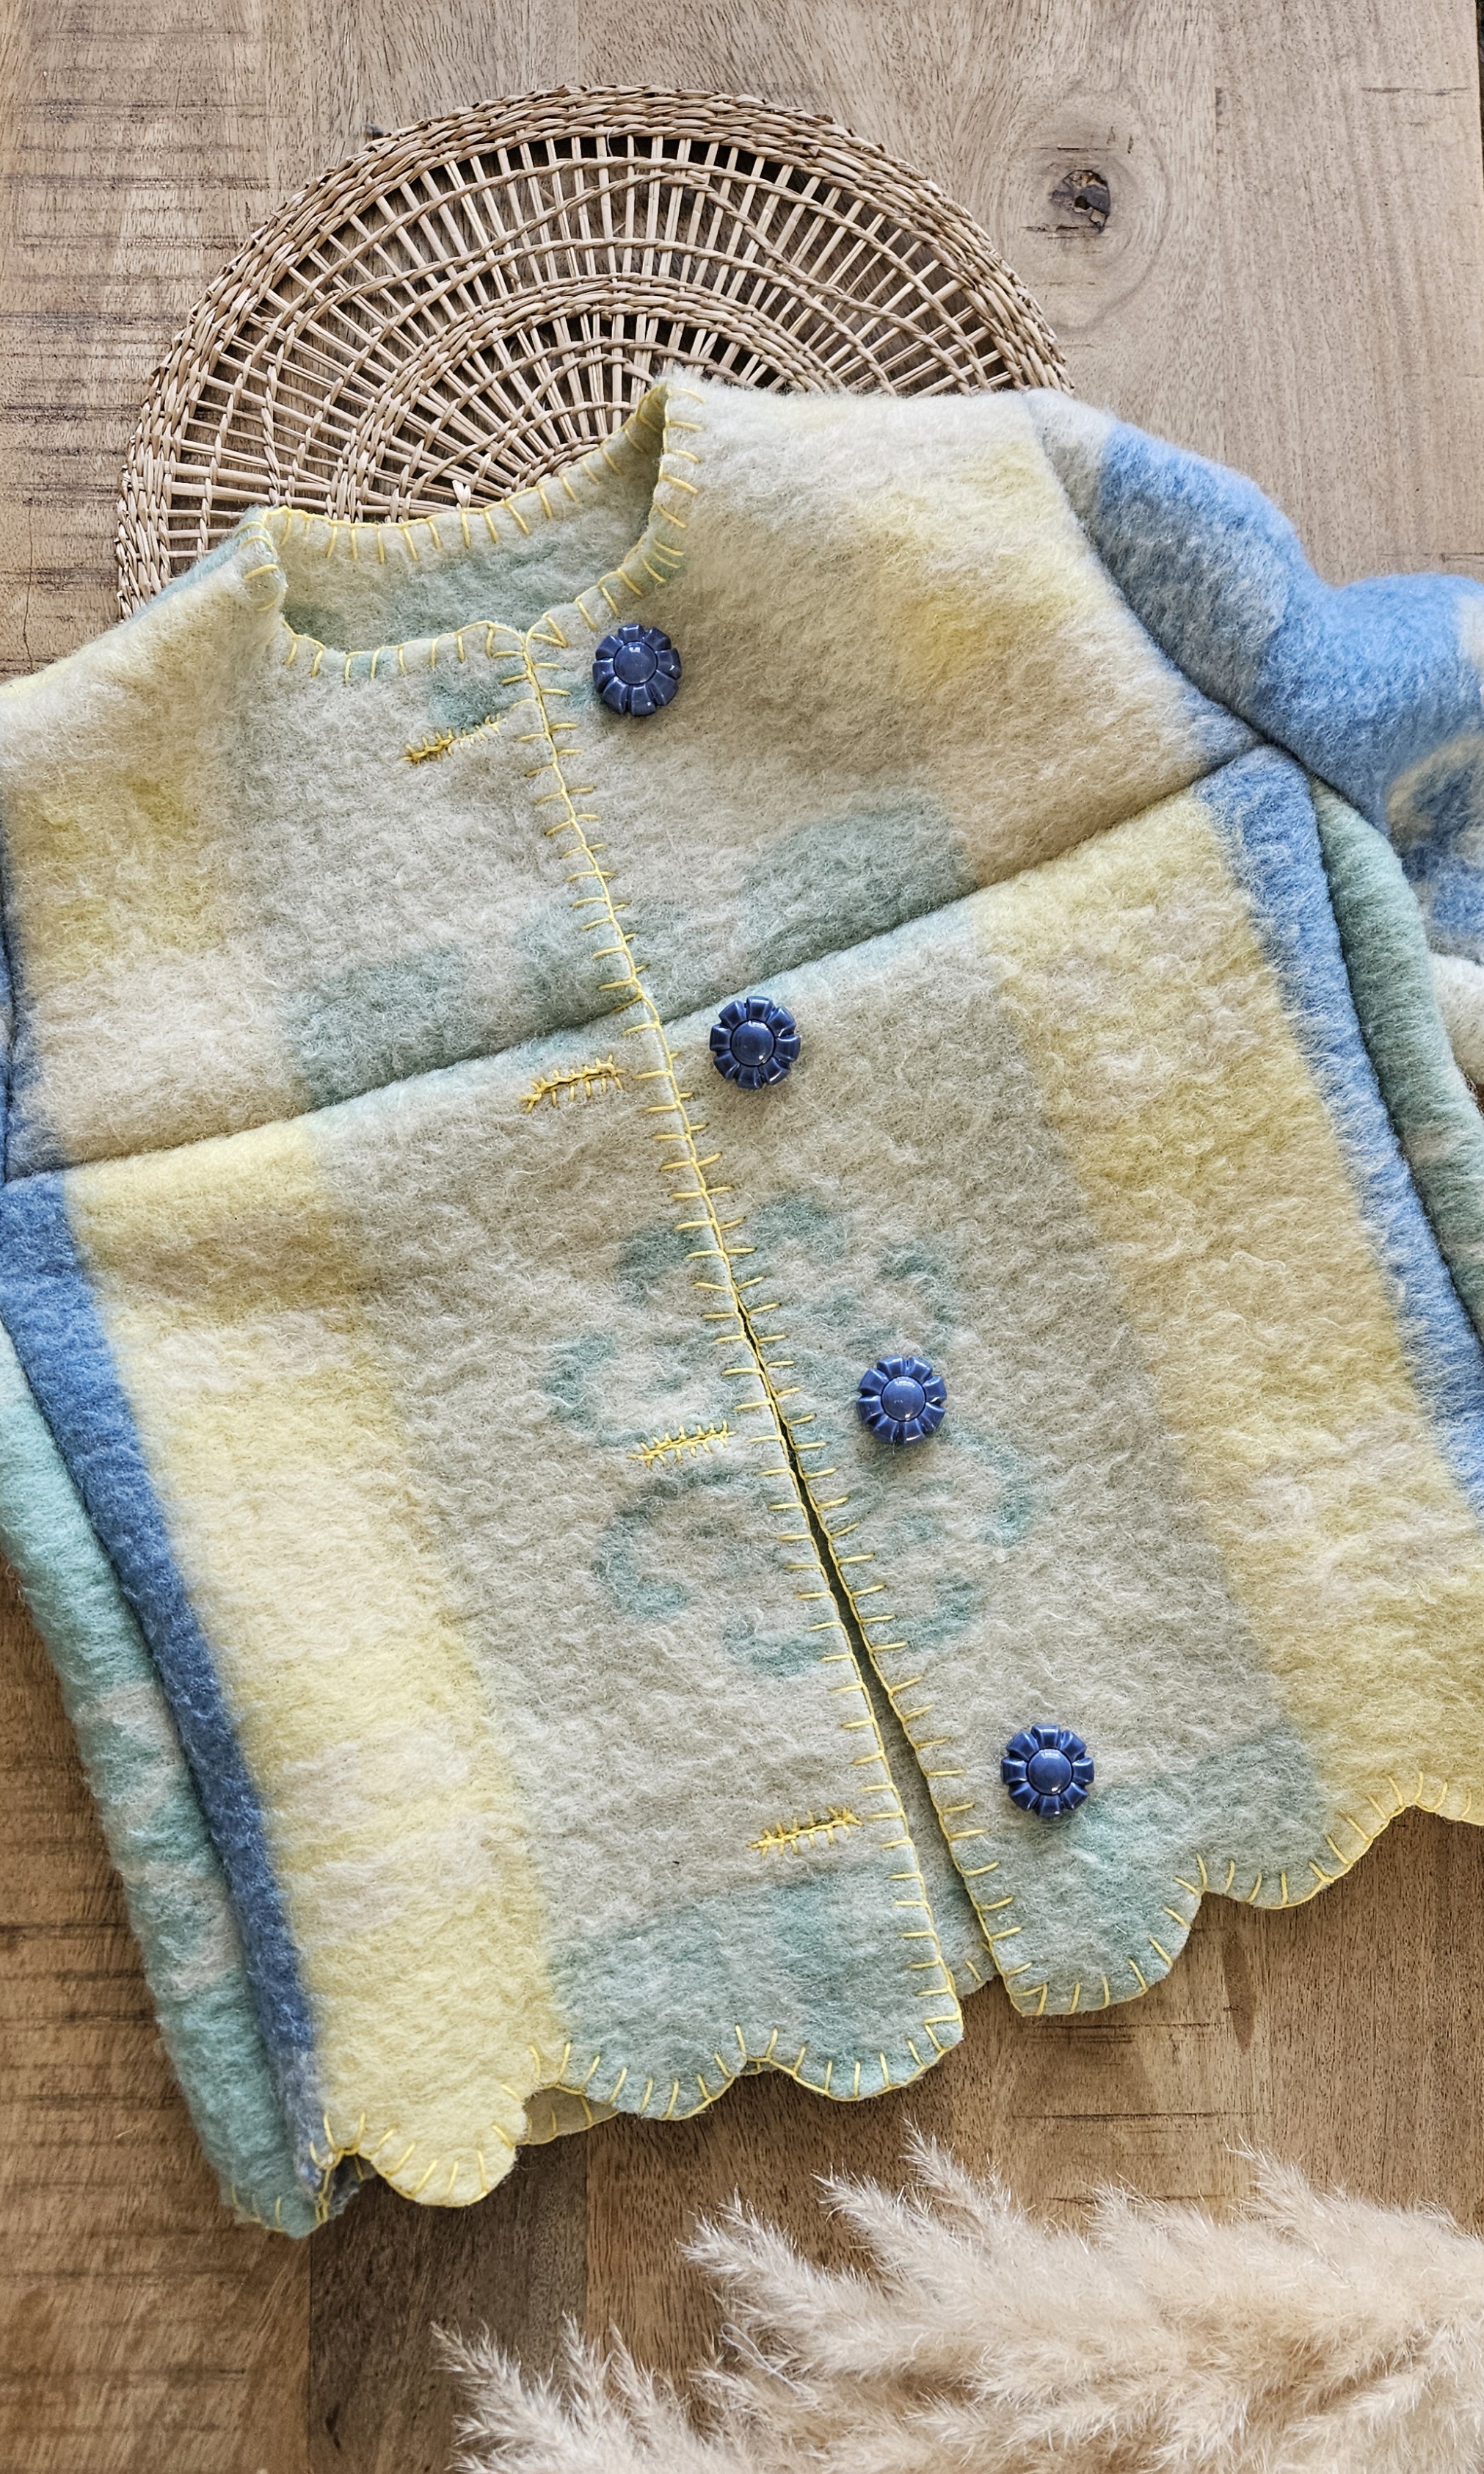
You can see them everywhere right now, the blanket coat: totally trendy and perfect for the spring and autumn seasons. Want to make your own unique, handmade coat that is both stylish and comfortable? Then this DIY for a Blanket Coat is exactly what you’re looking for! In this step-by-step tutorial by ReStyle Blogger Esther, we’ll show you how to create your own coat using the Burda pattern 5870 and an old woolen blanket. The result? A fashionable coat with a personal touch, which is not only warm but also a fantastic upcycle of a vintage blanket!
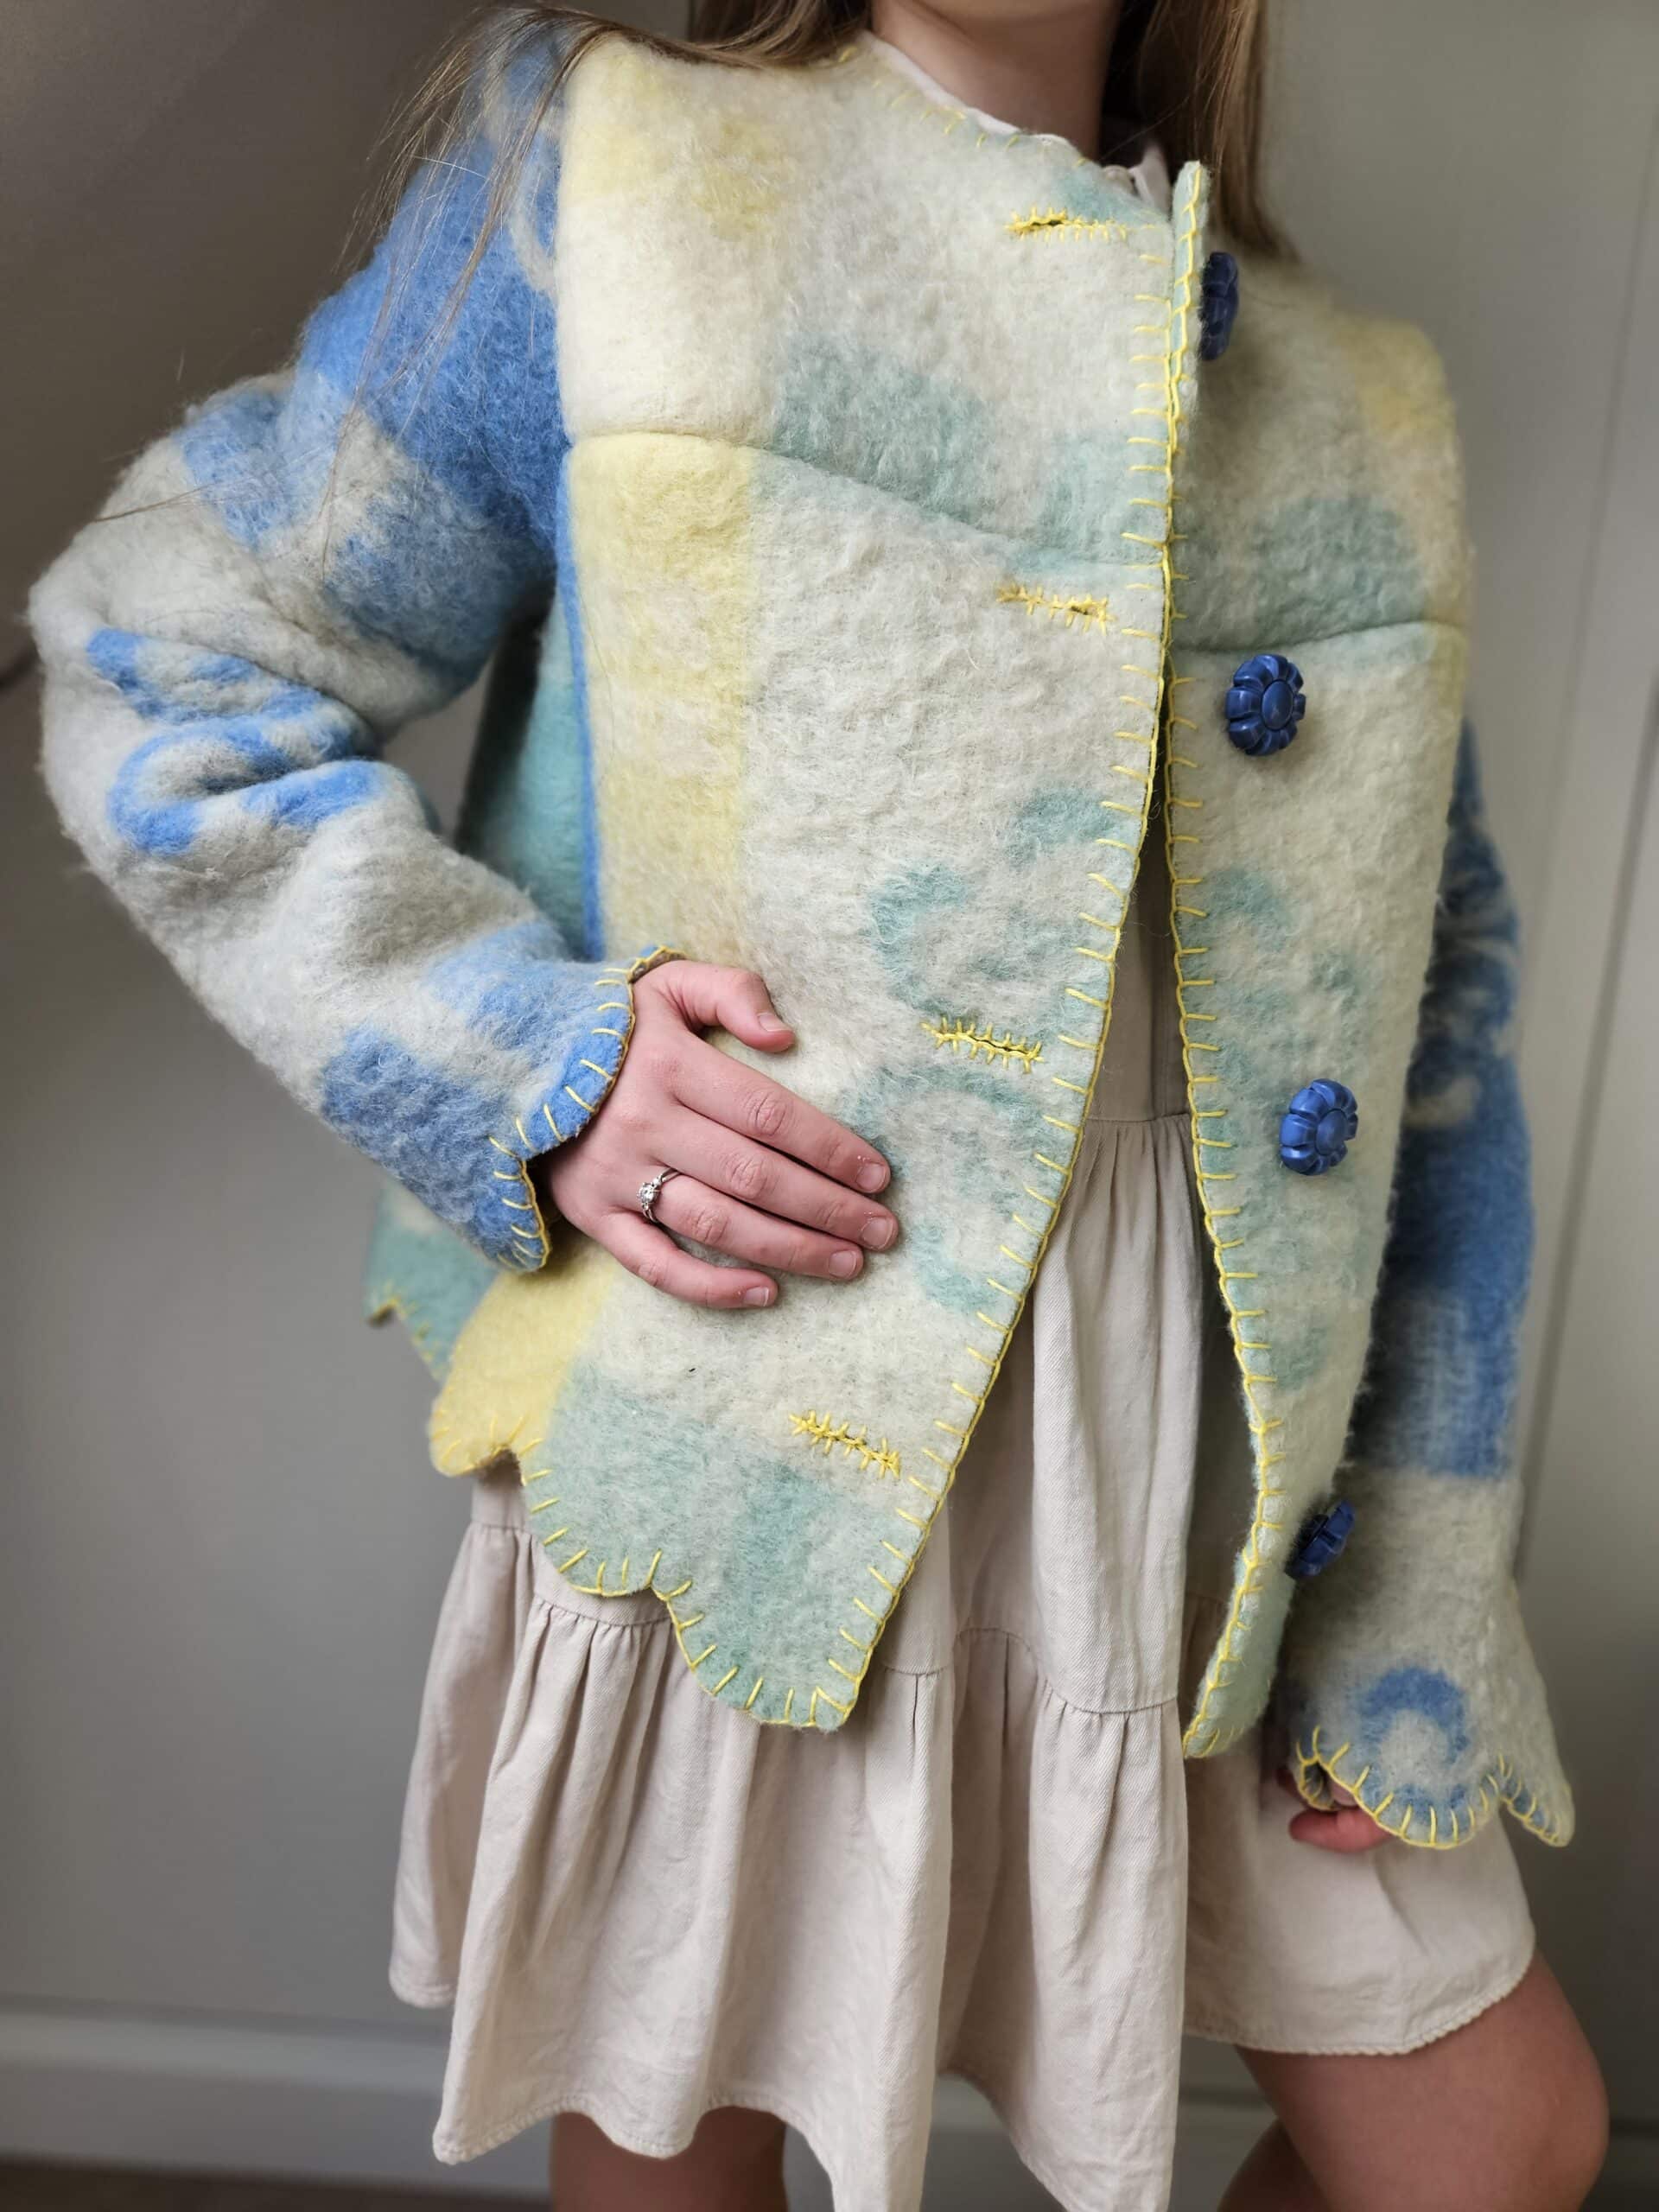
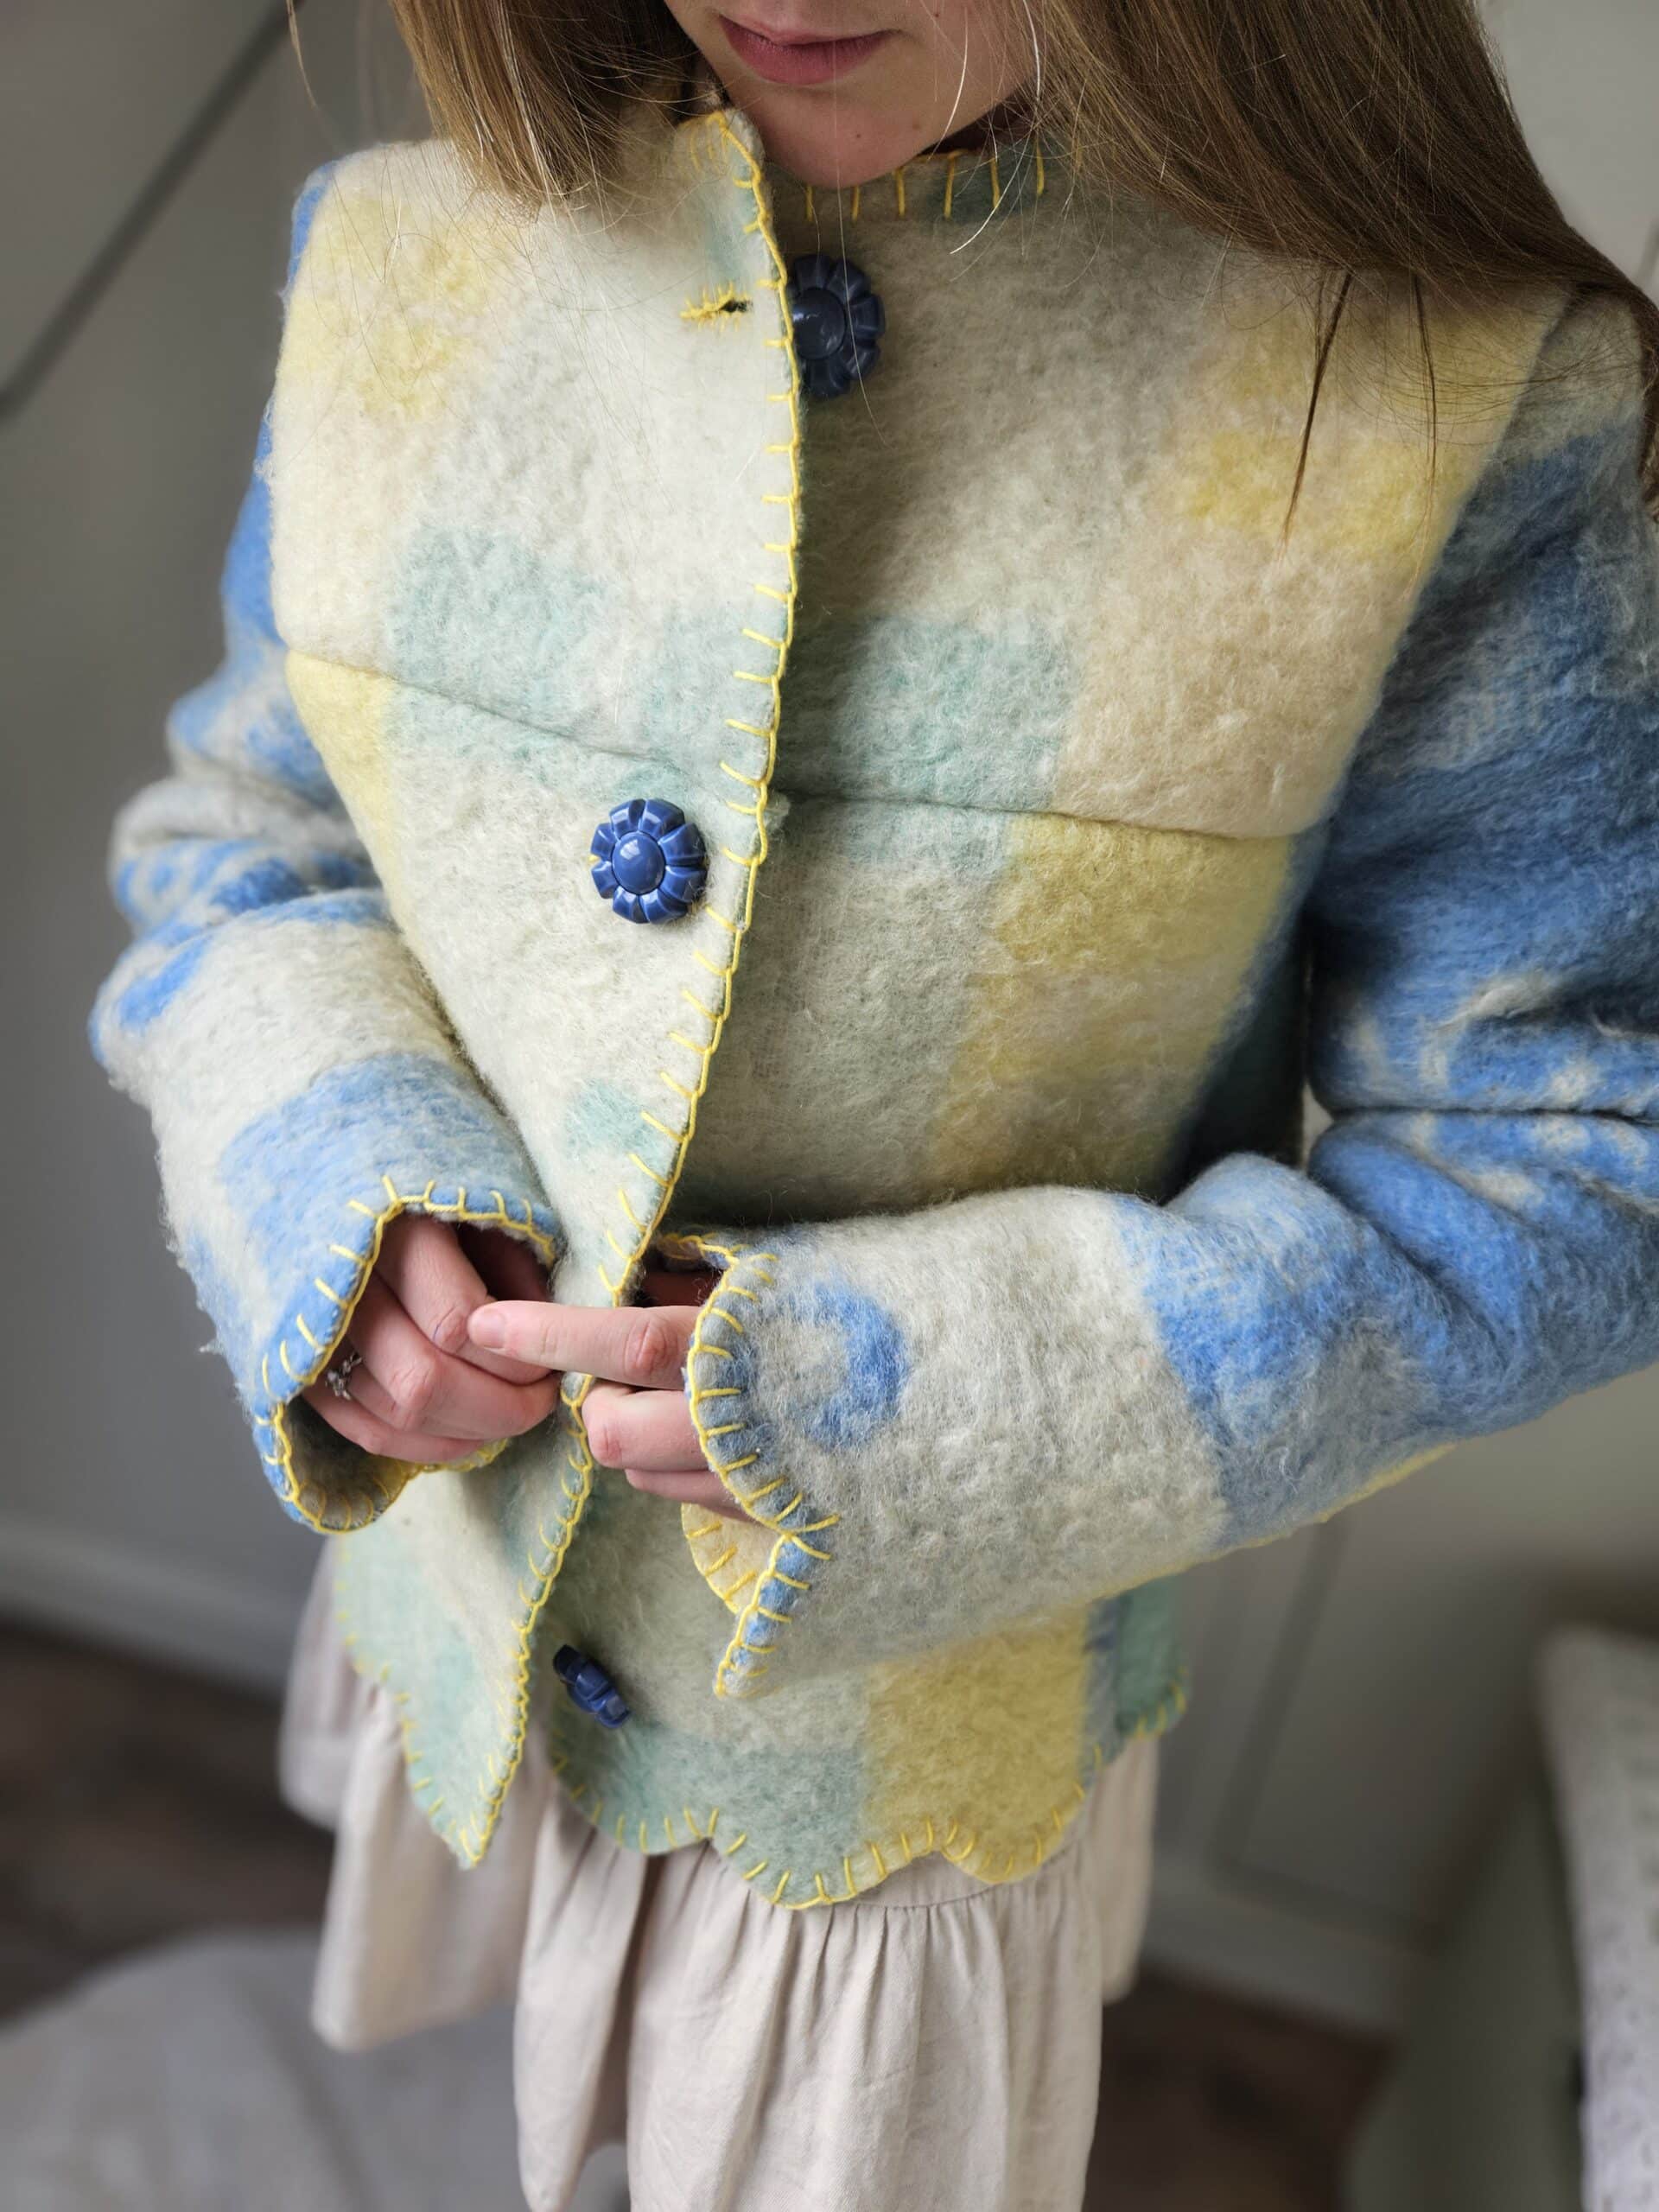
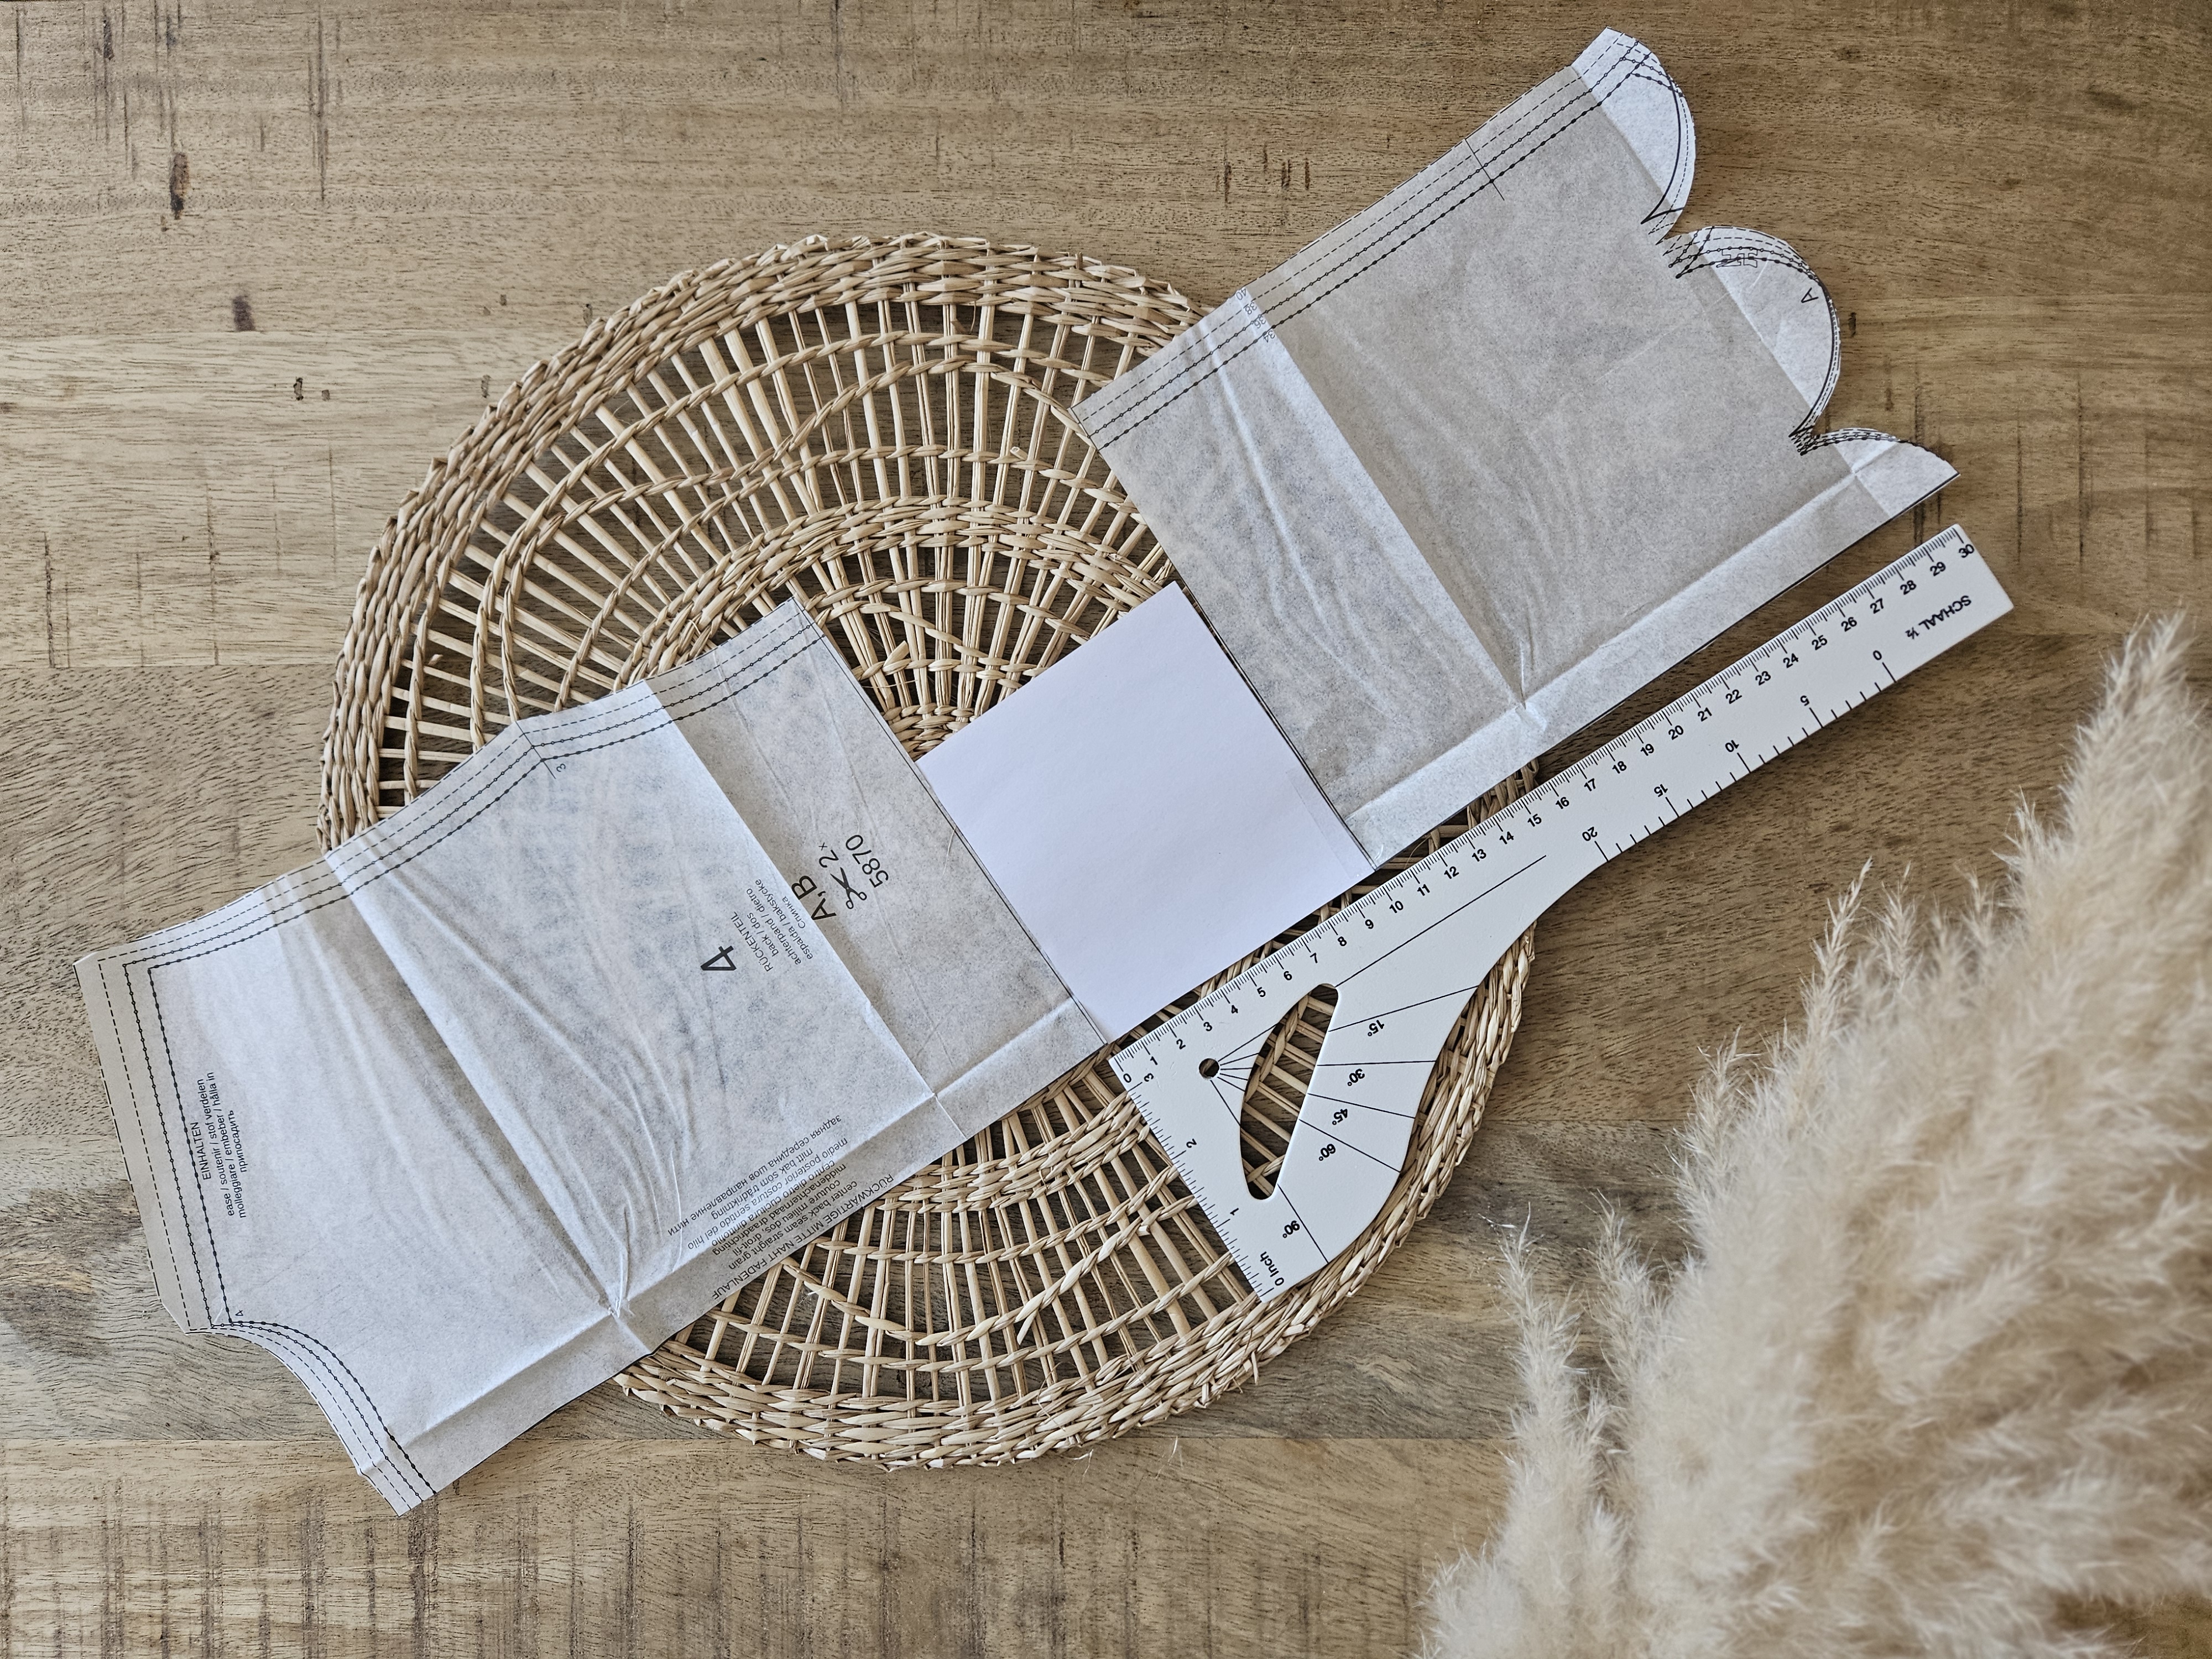
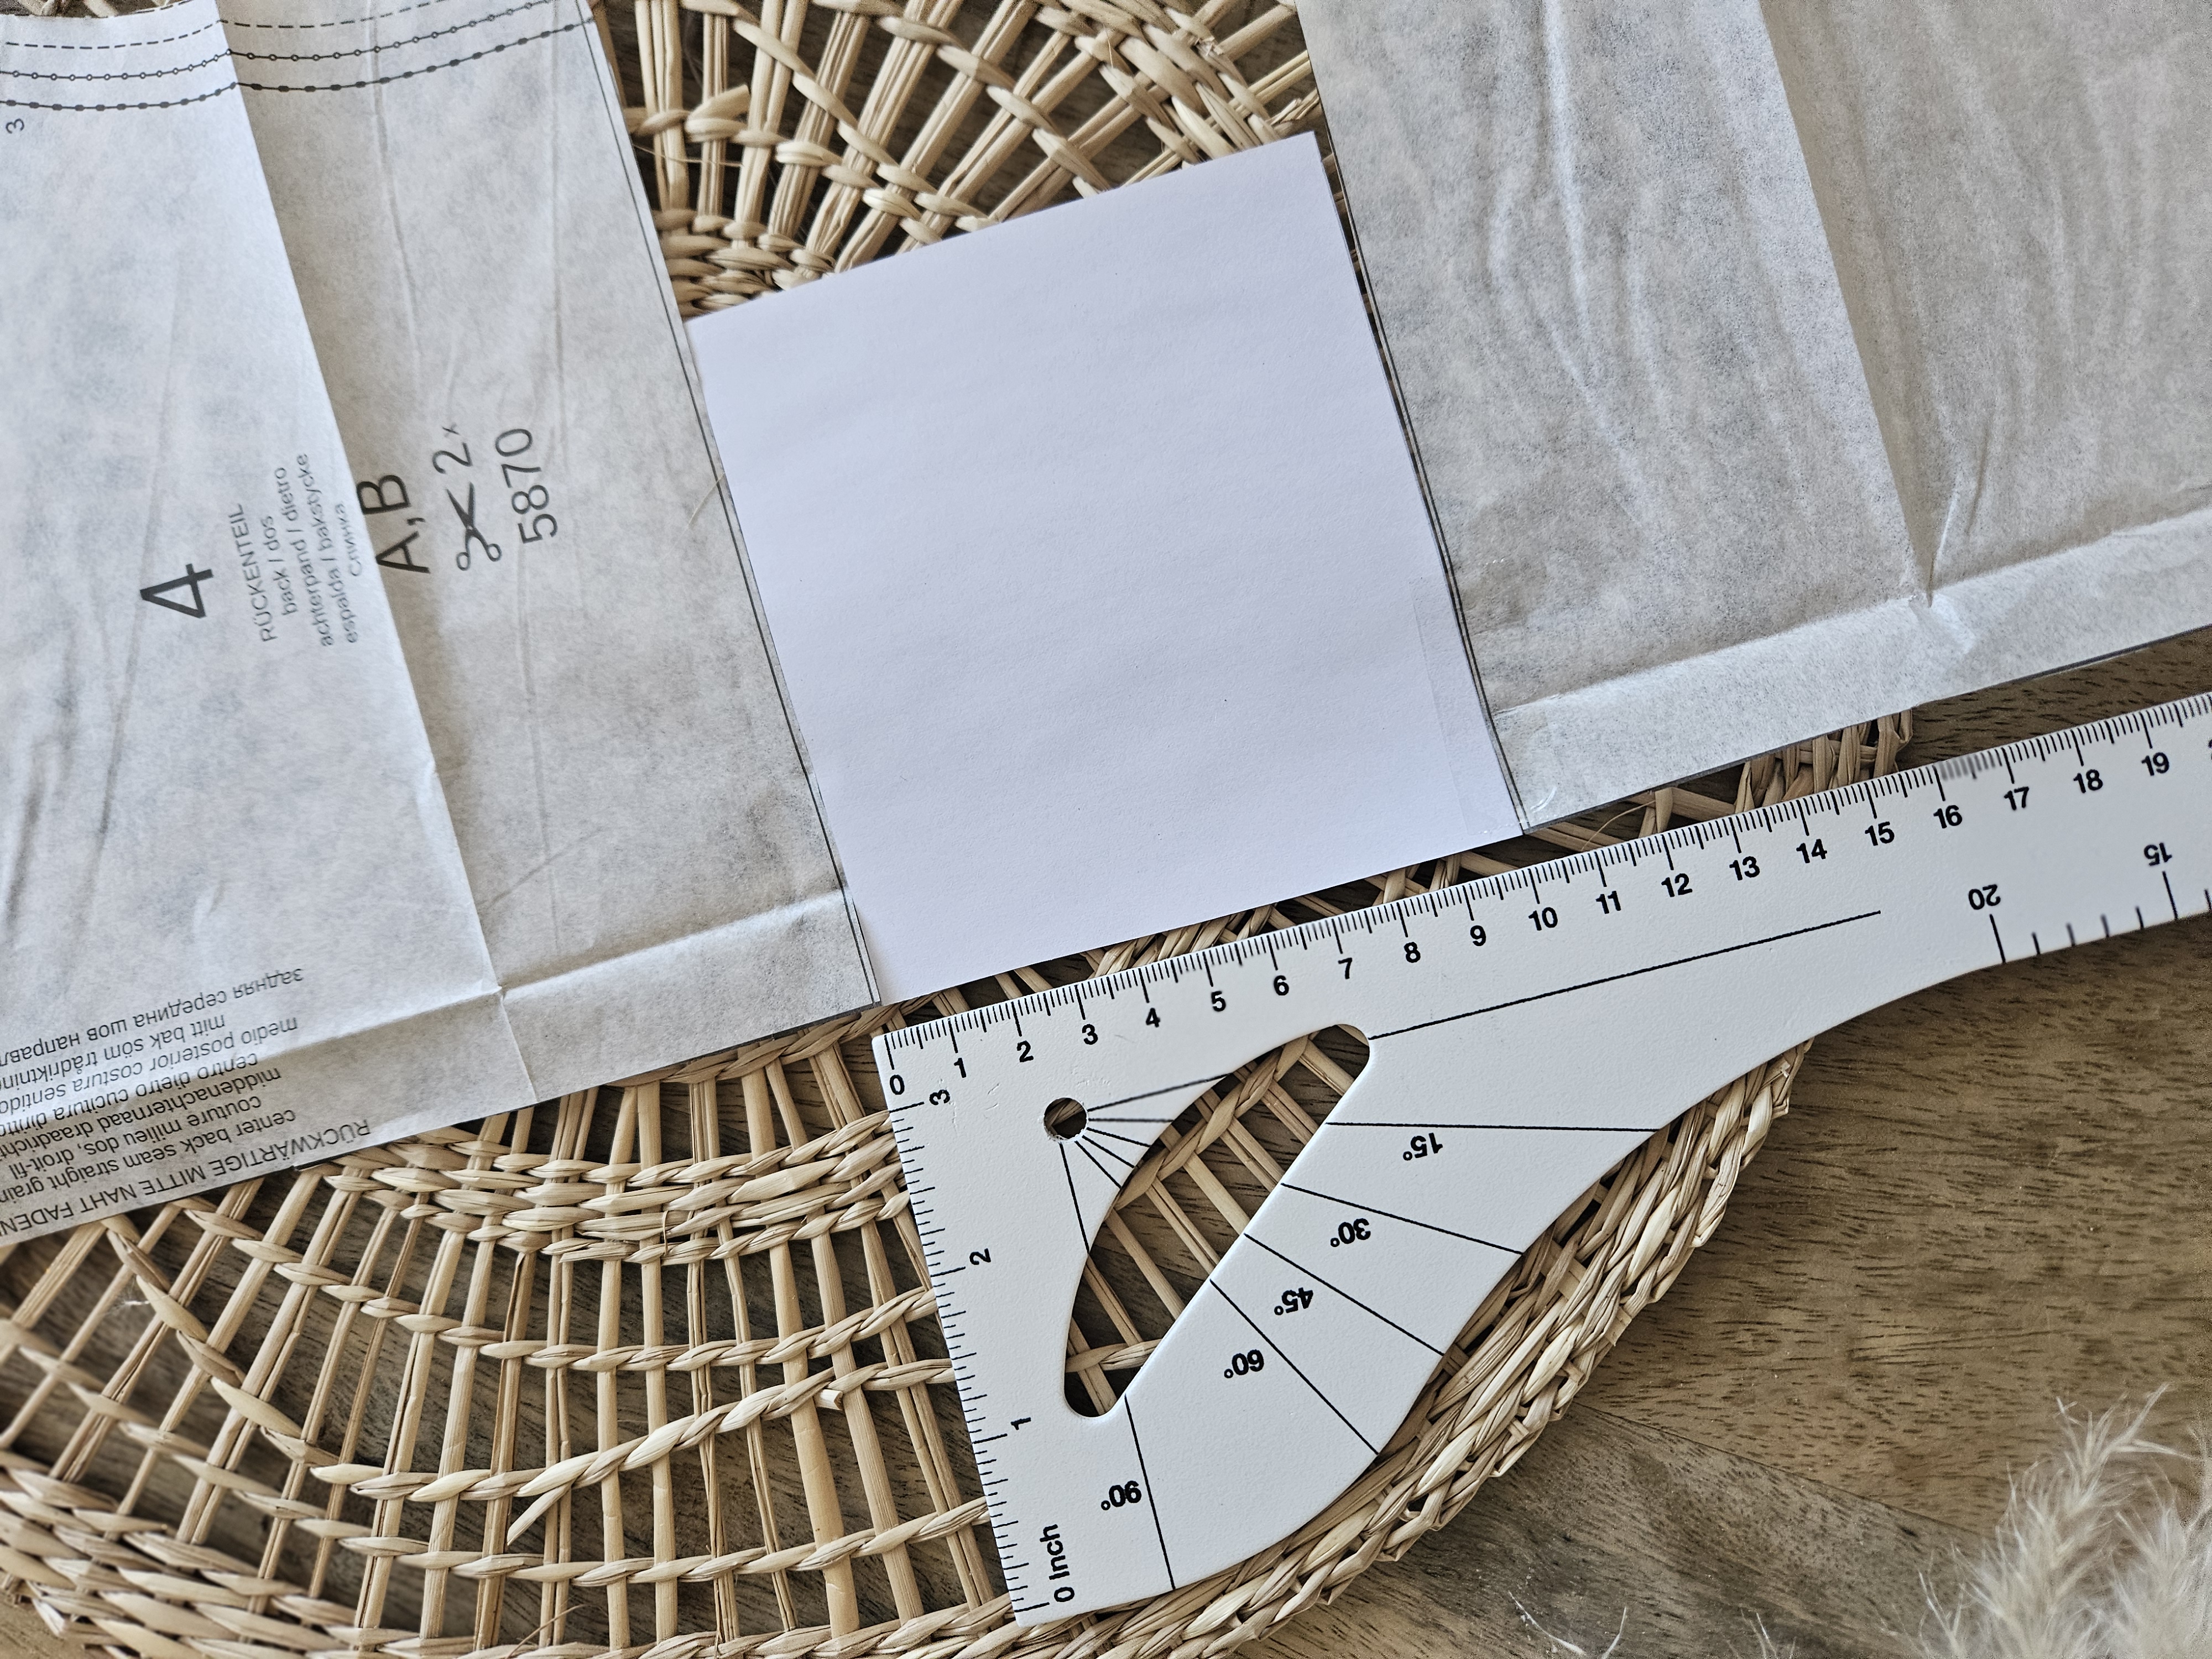
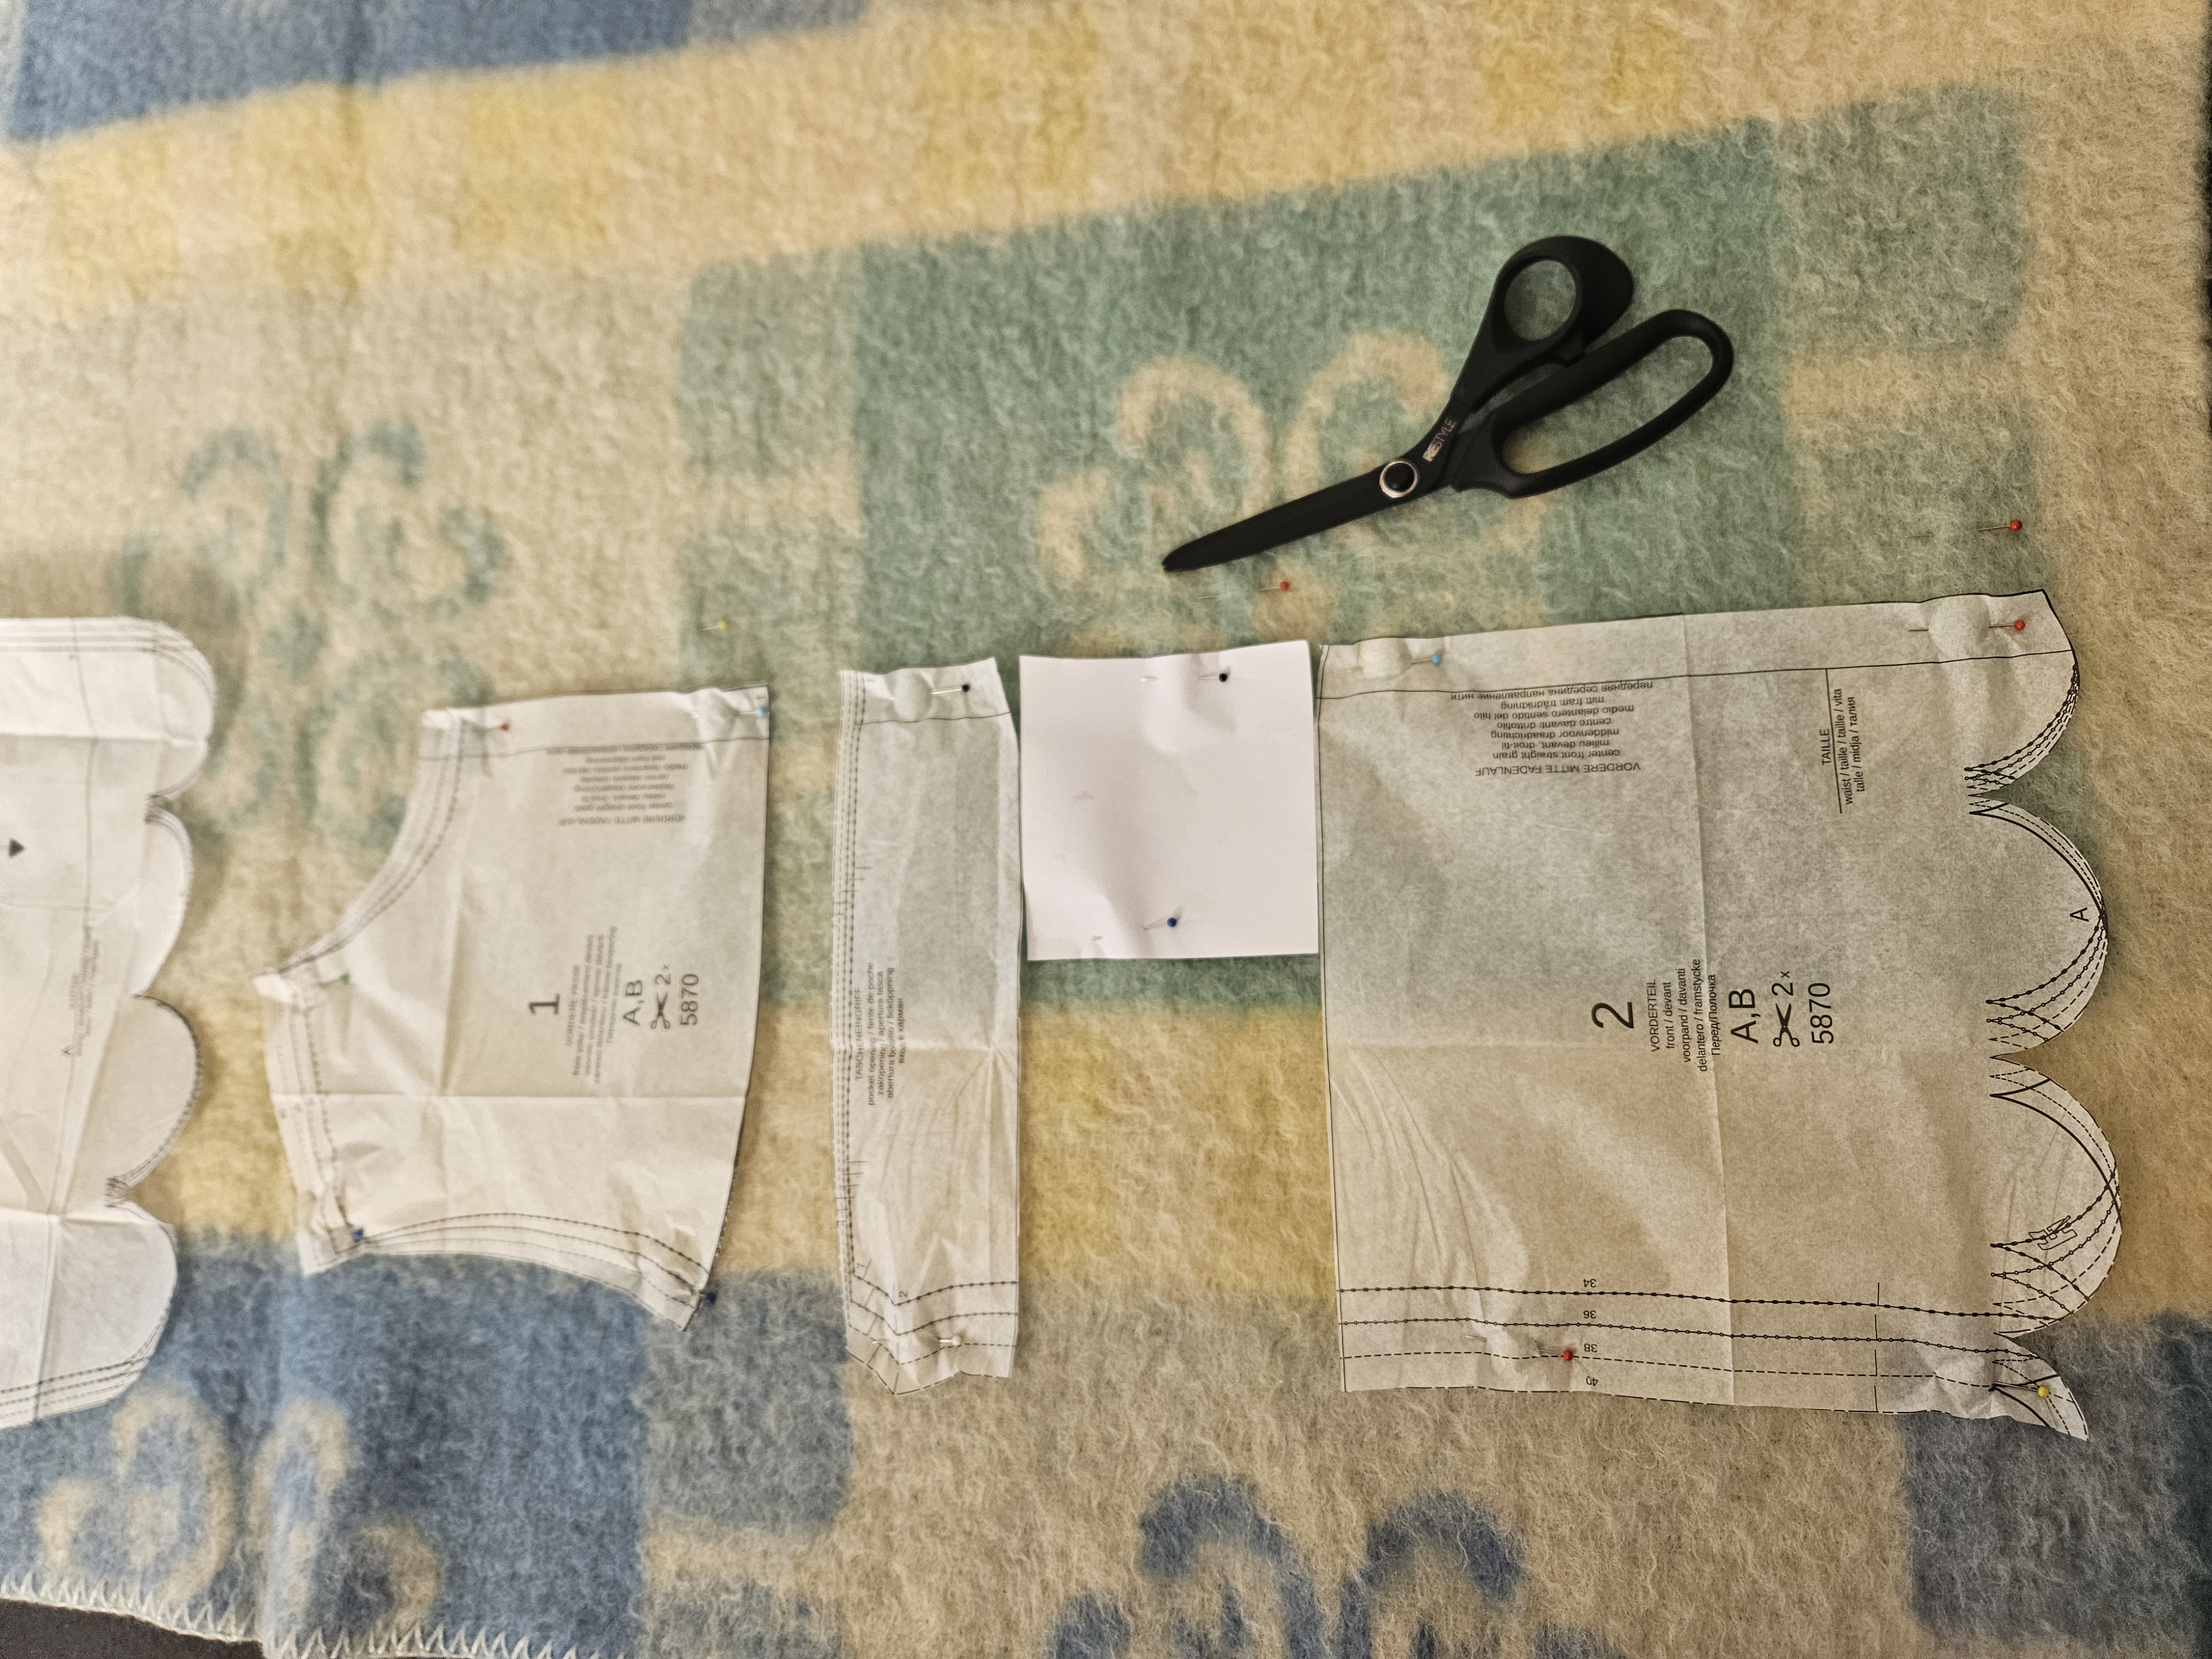
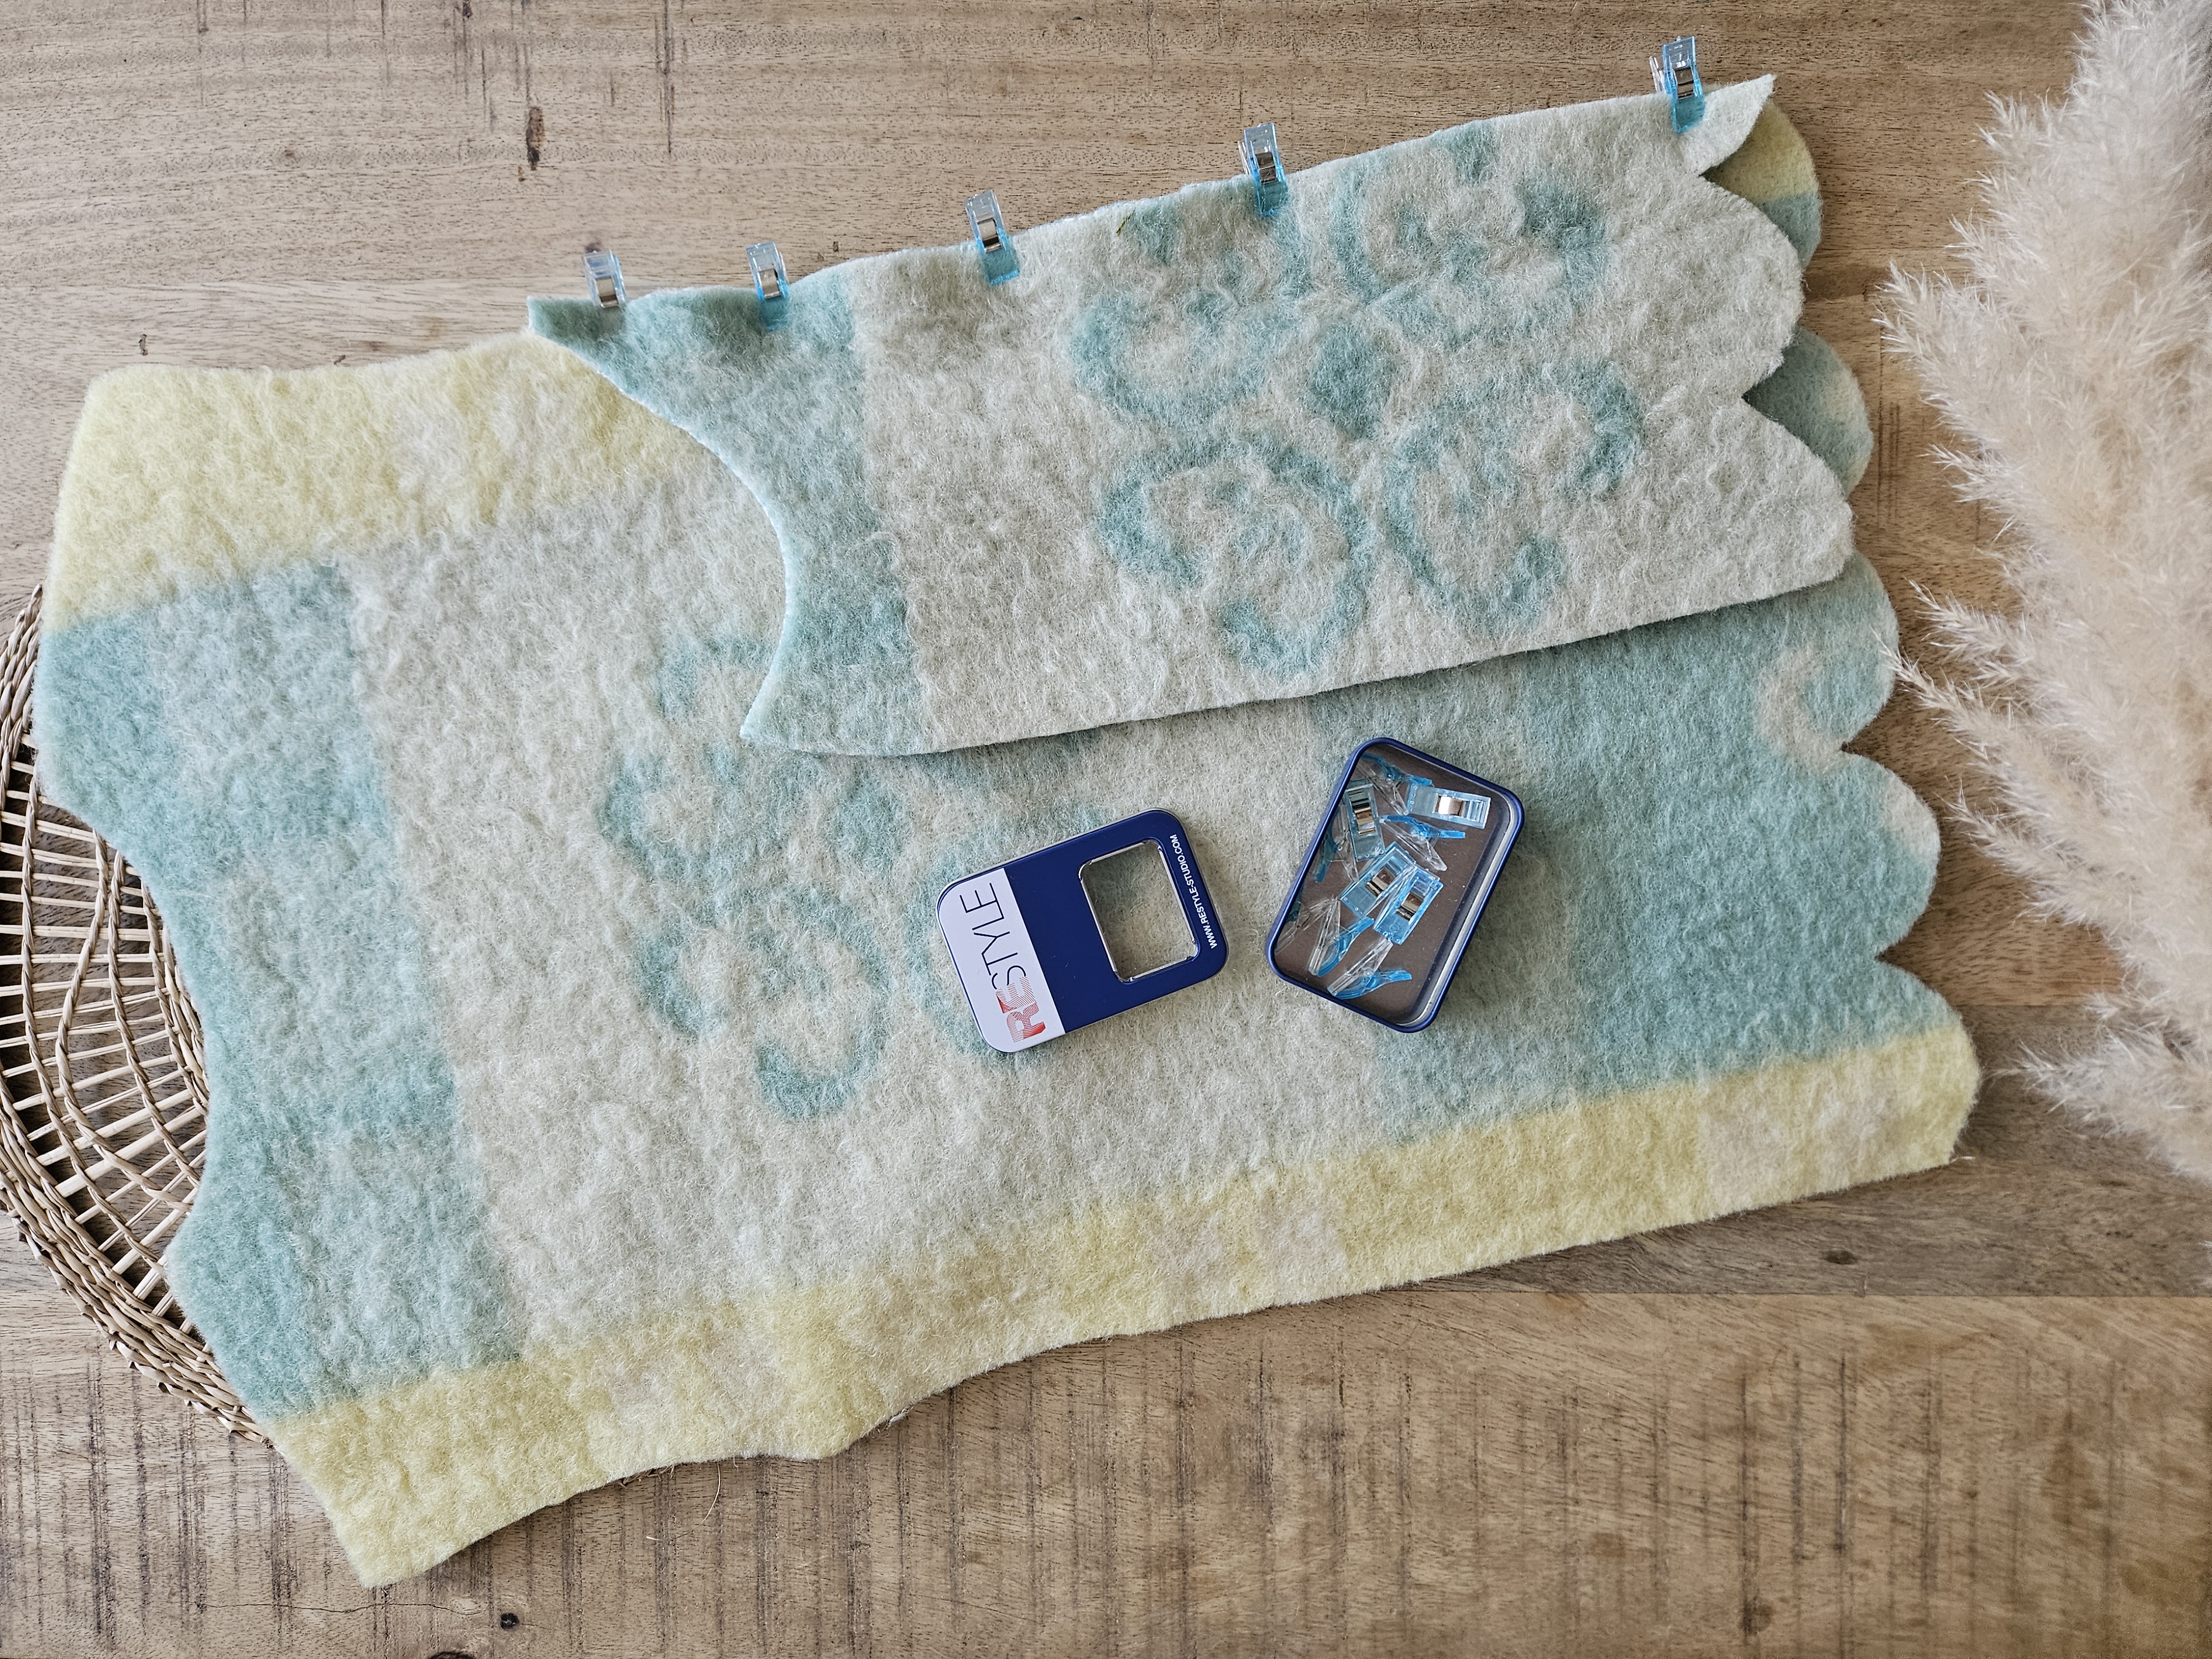
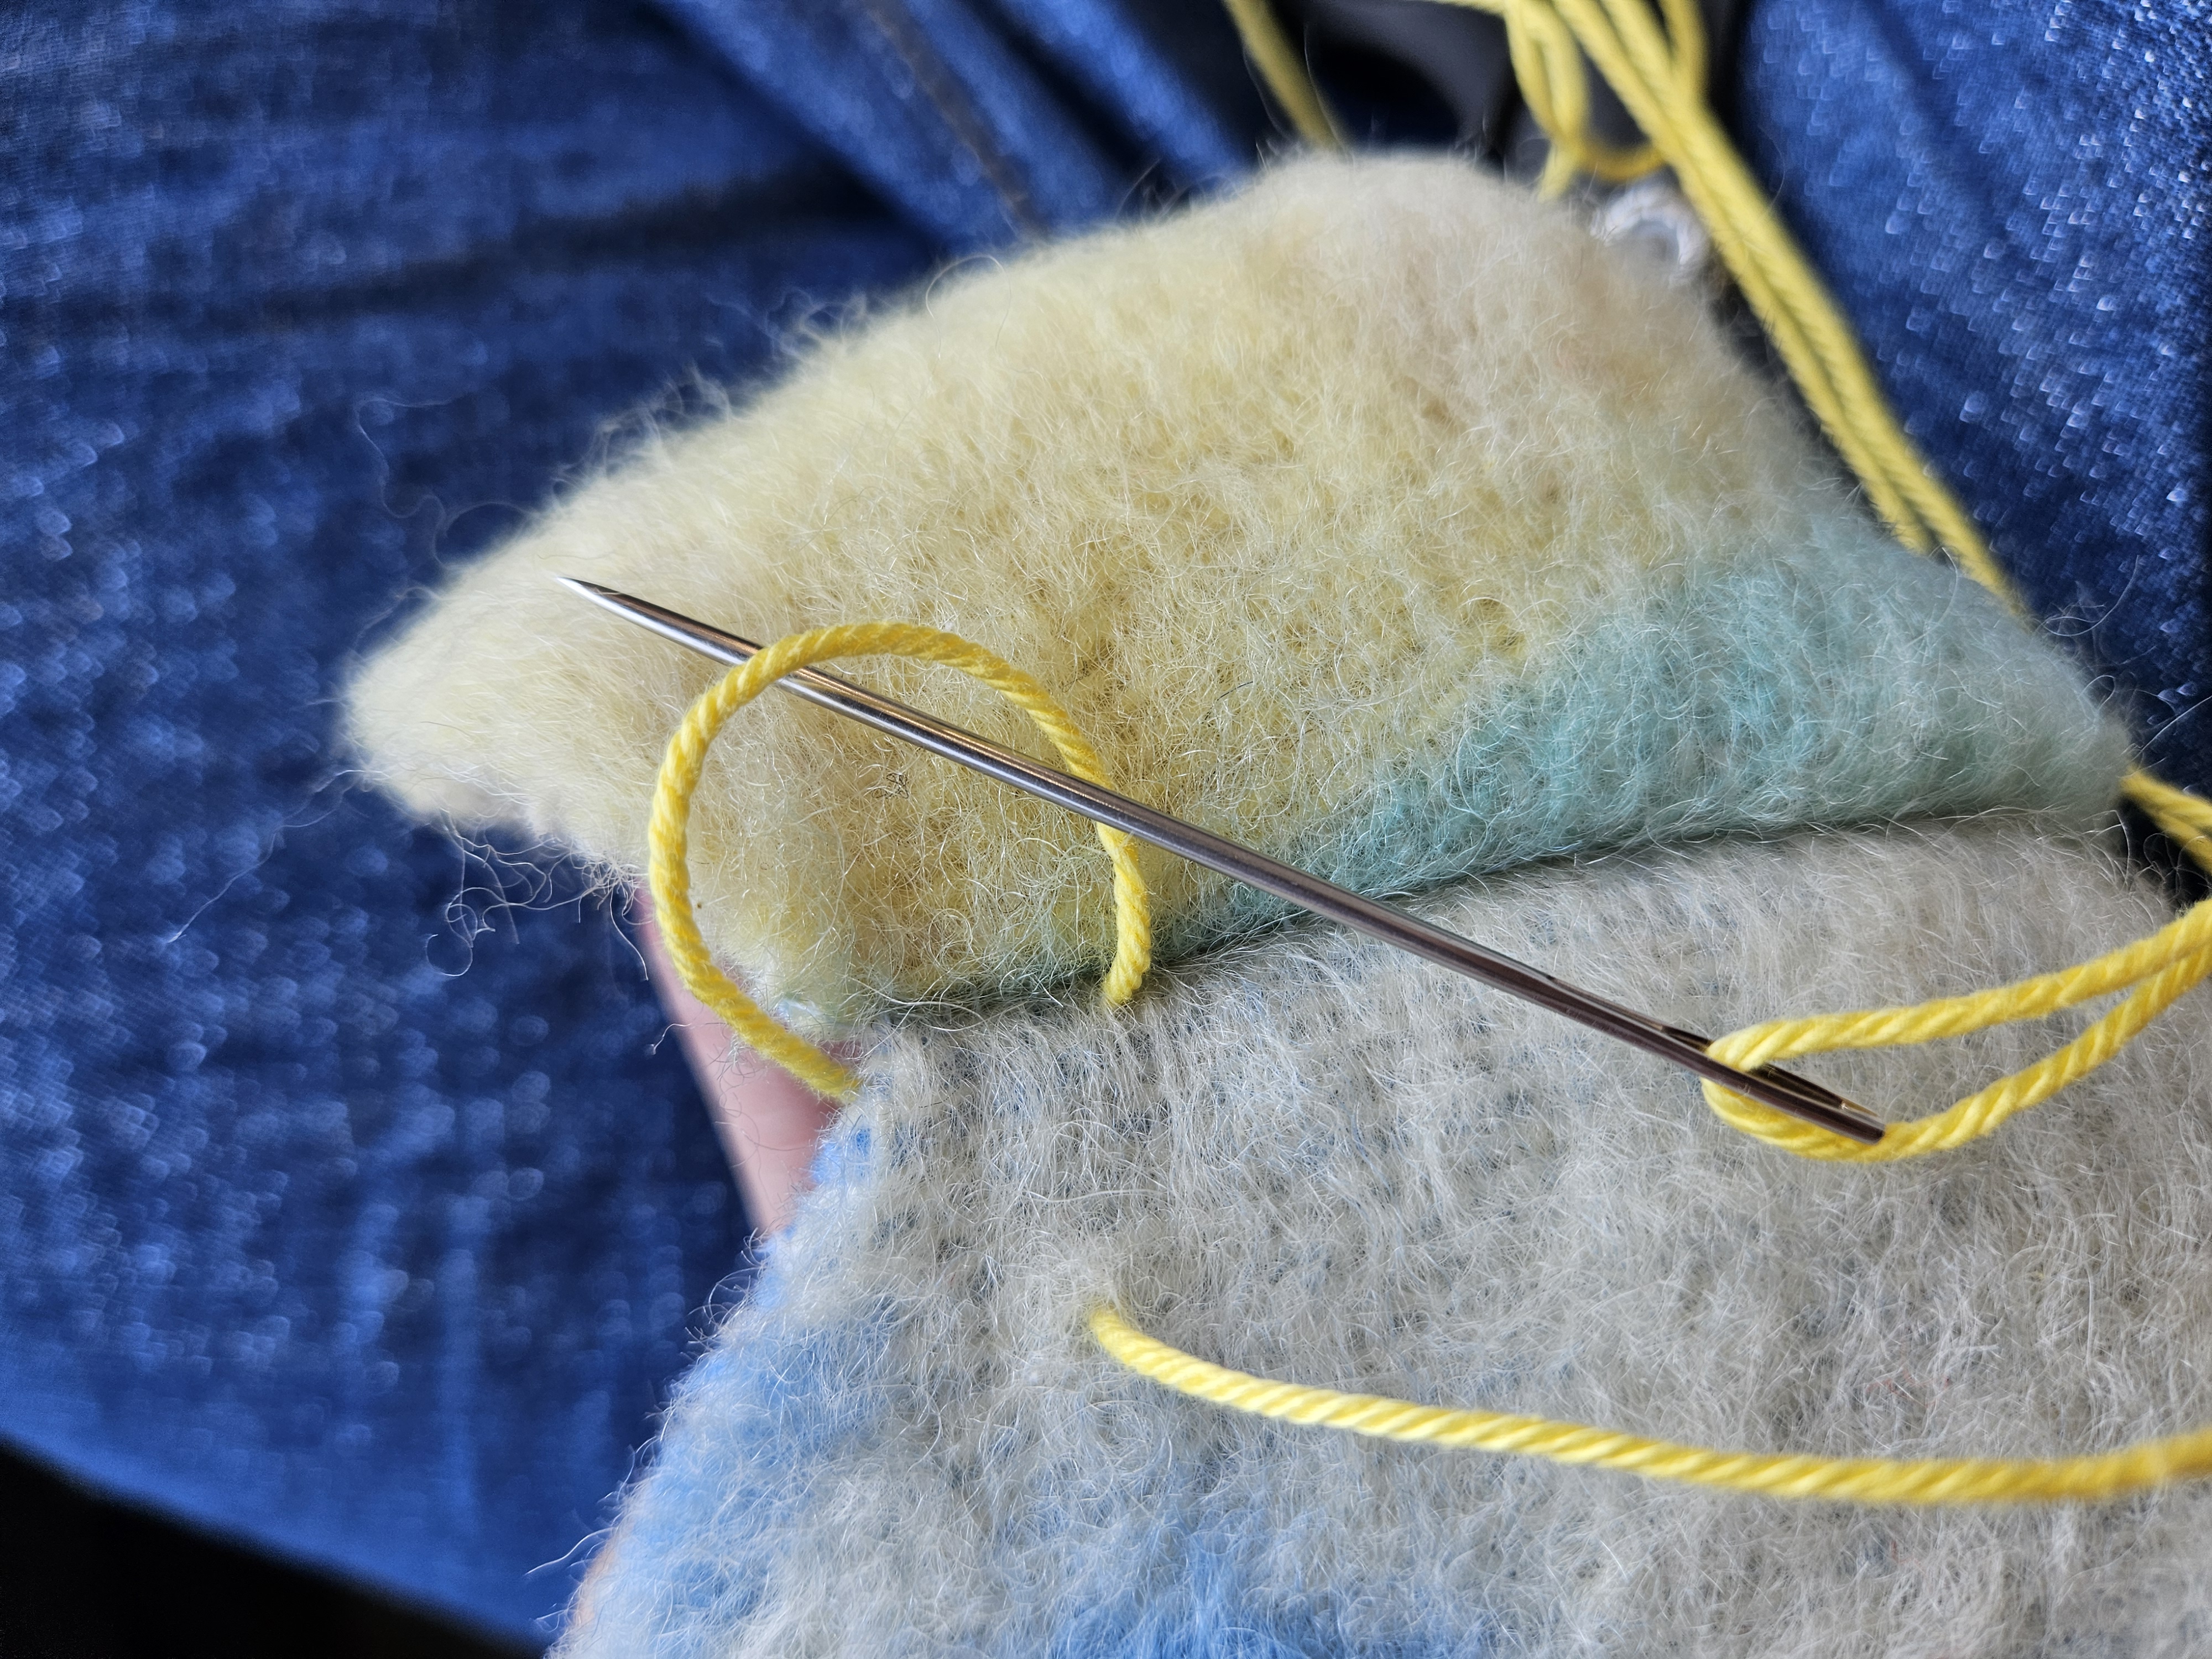
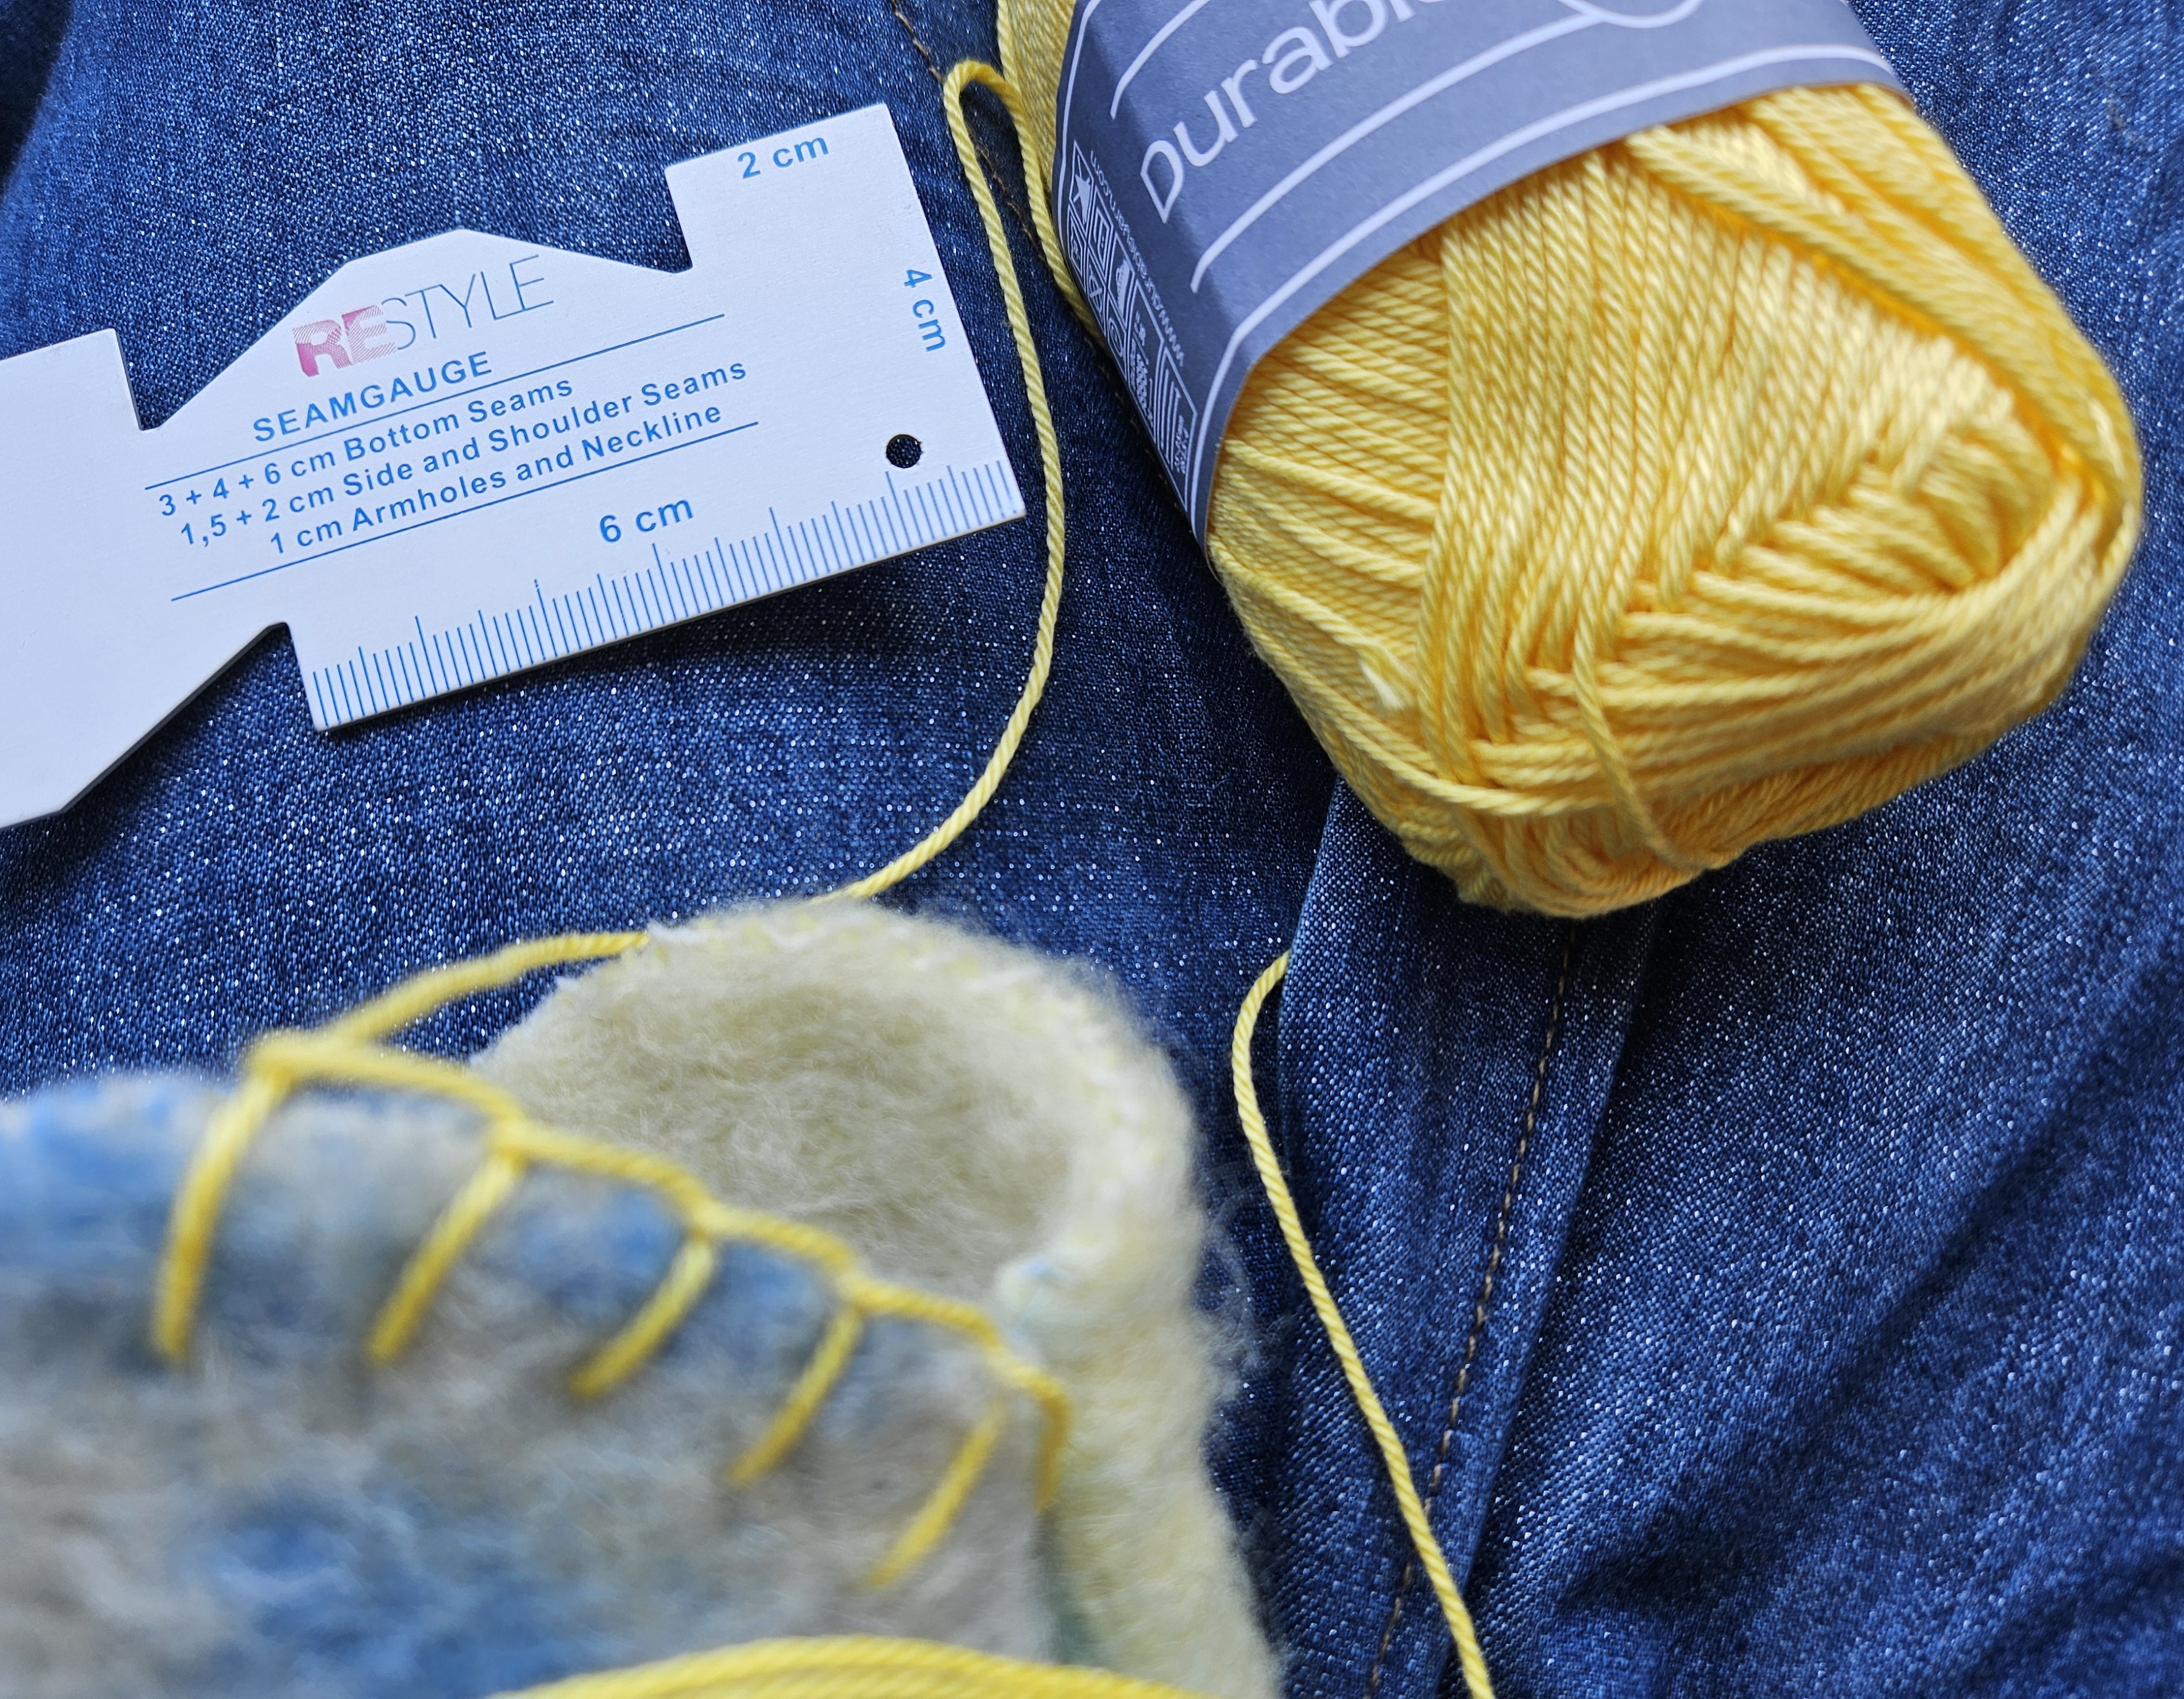
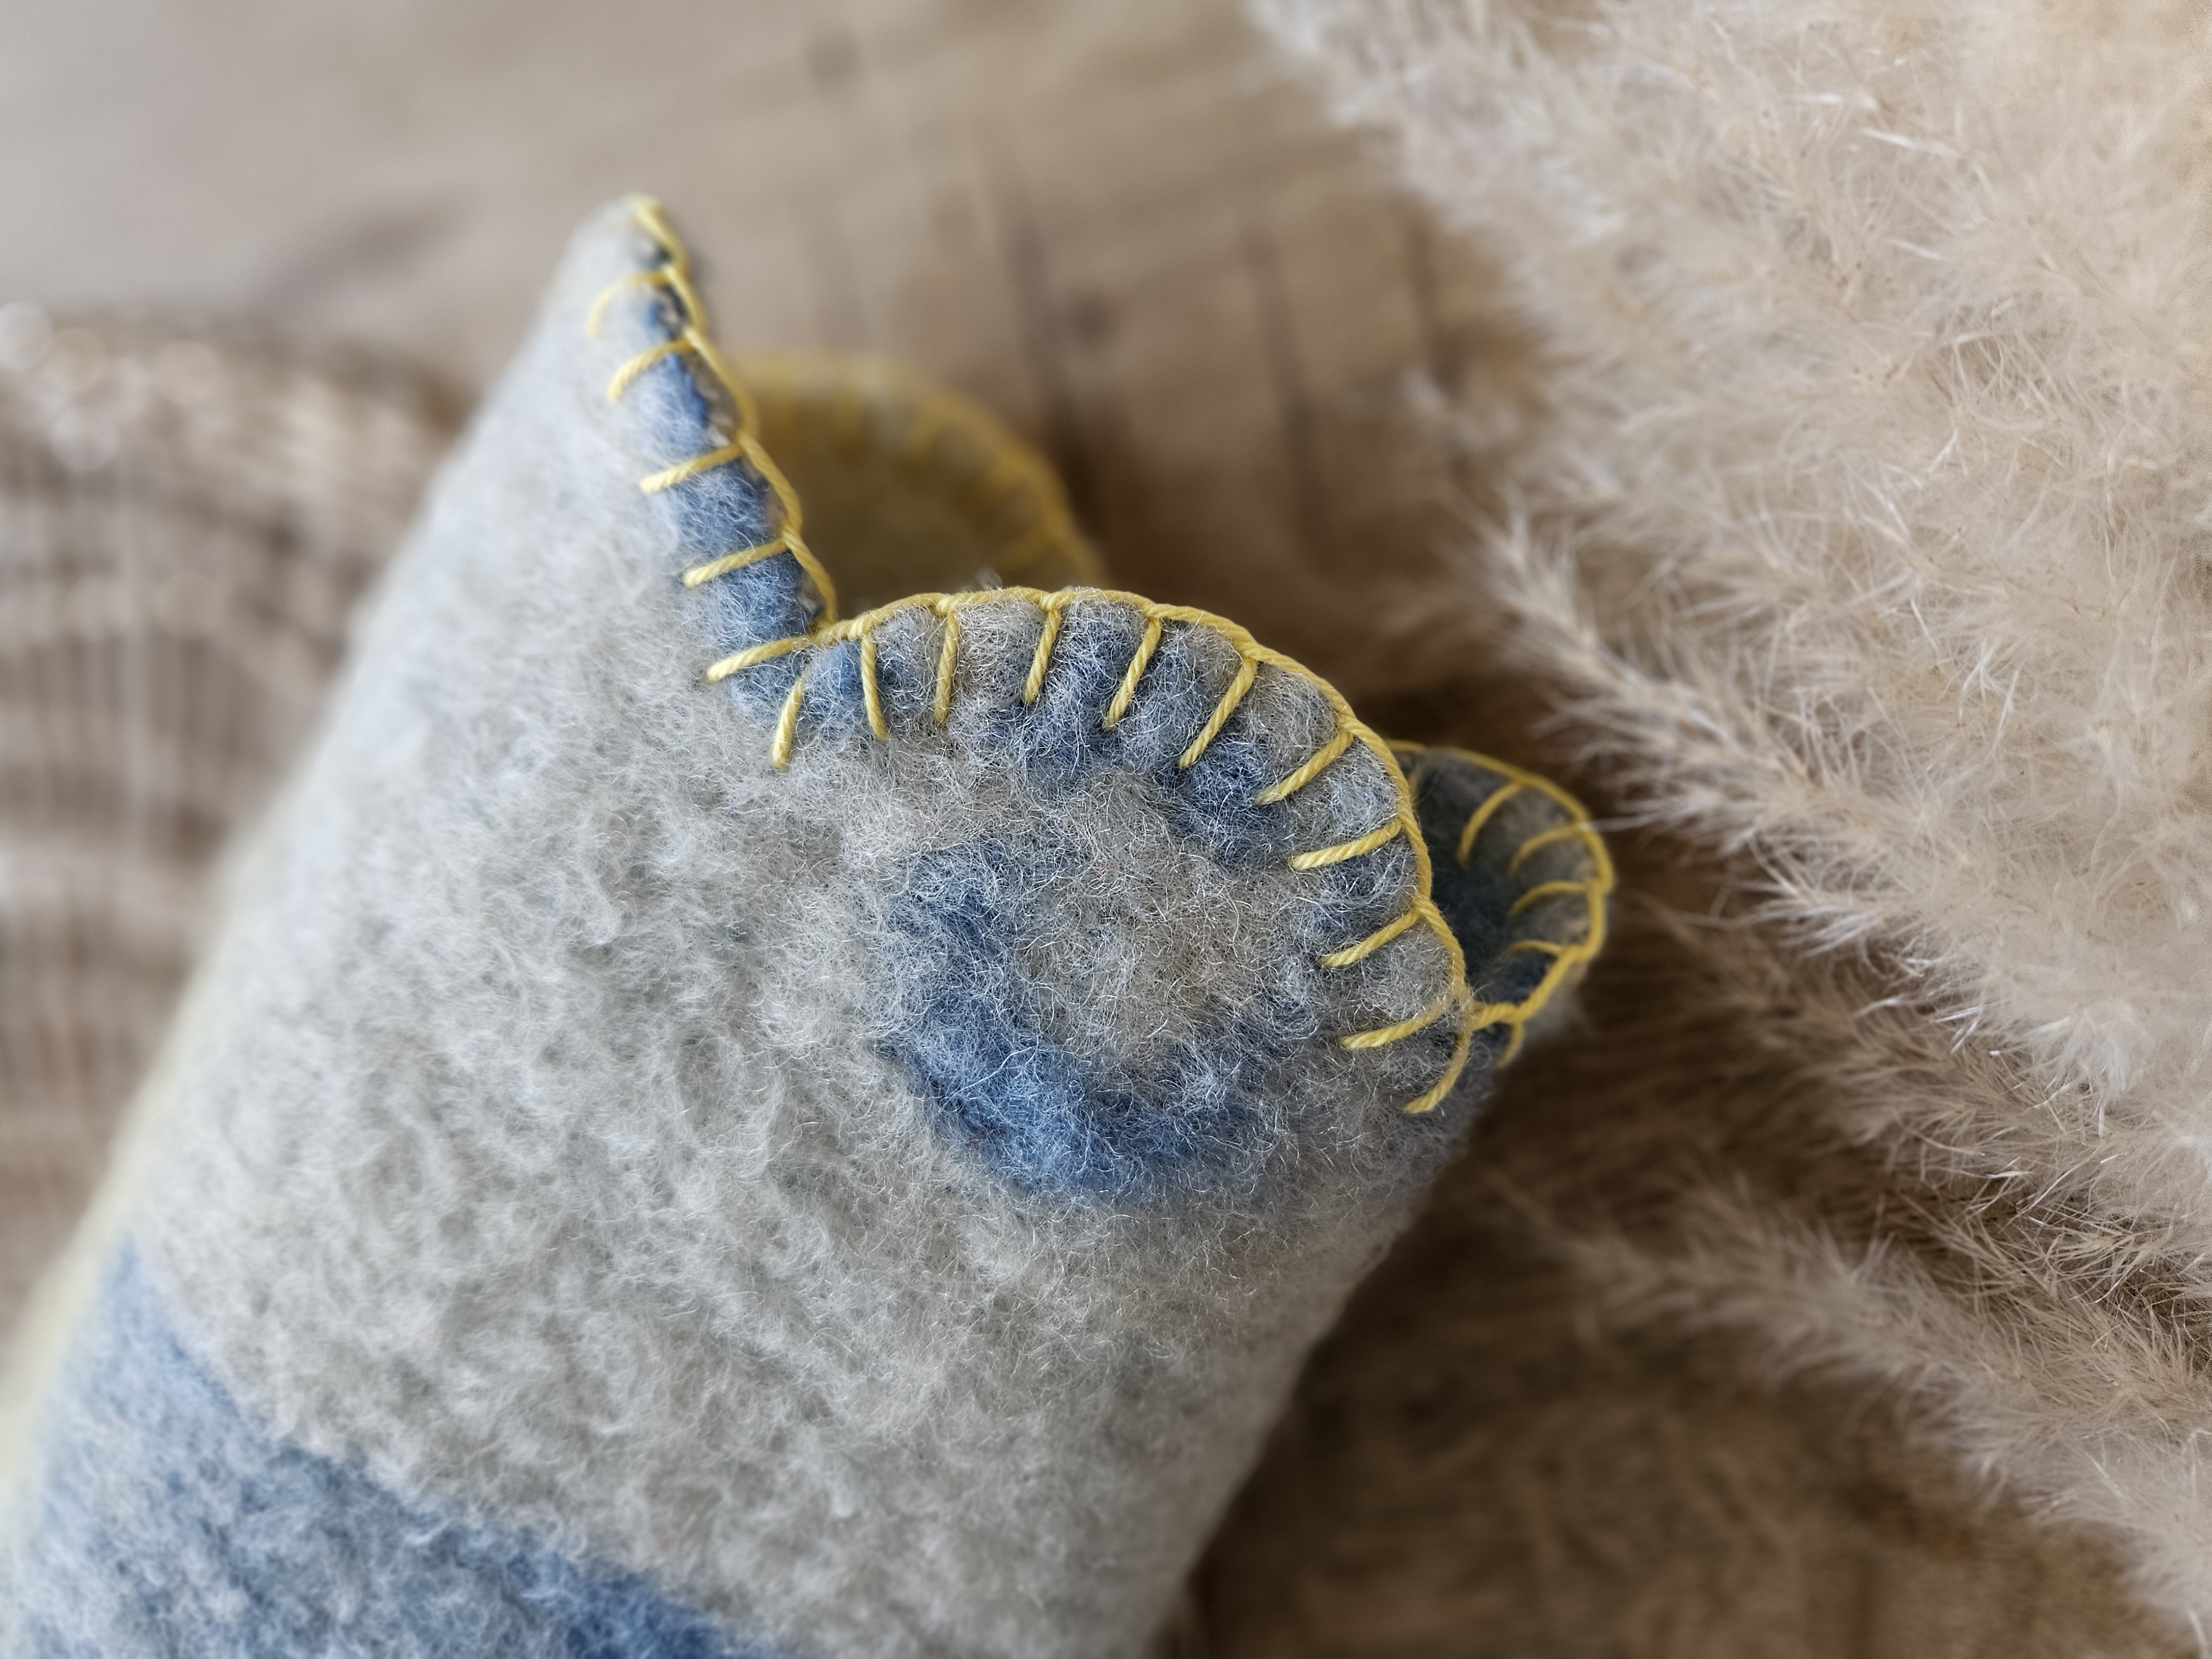
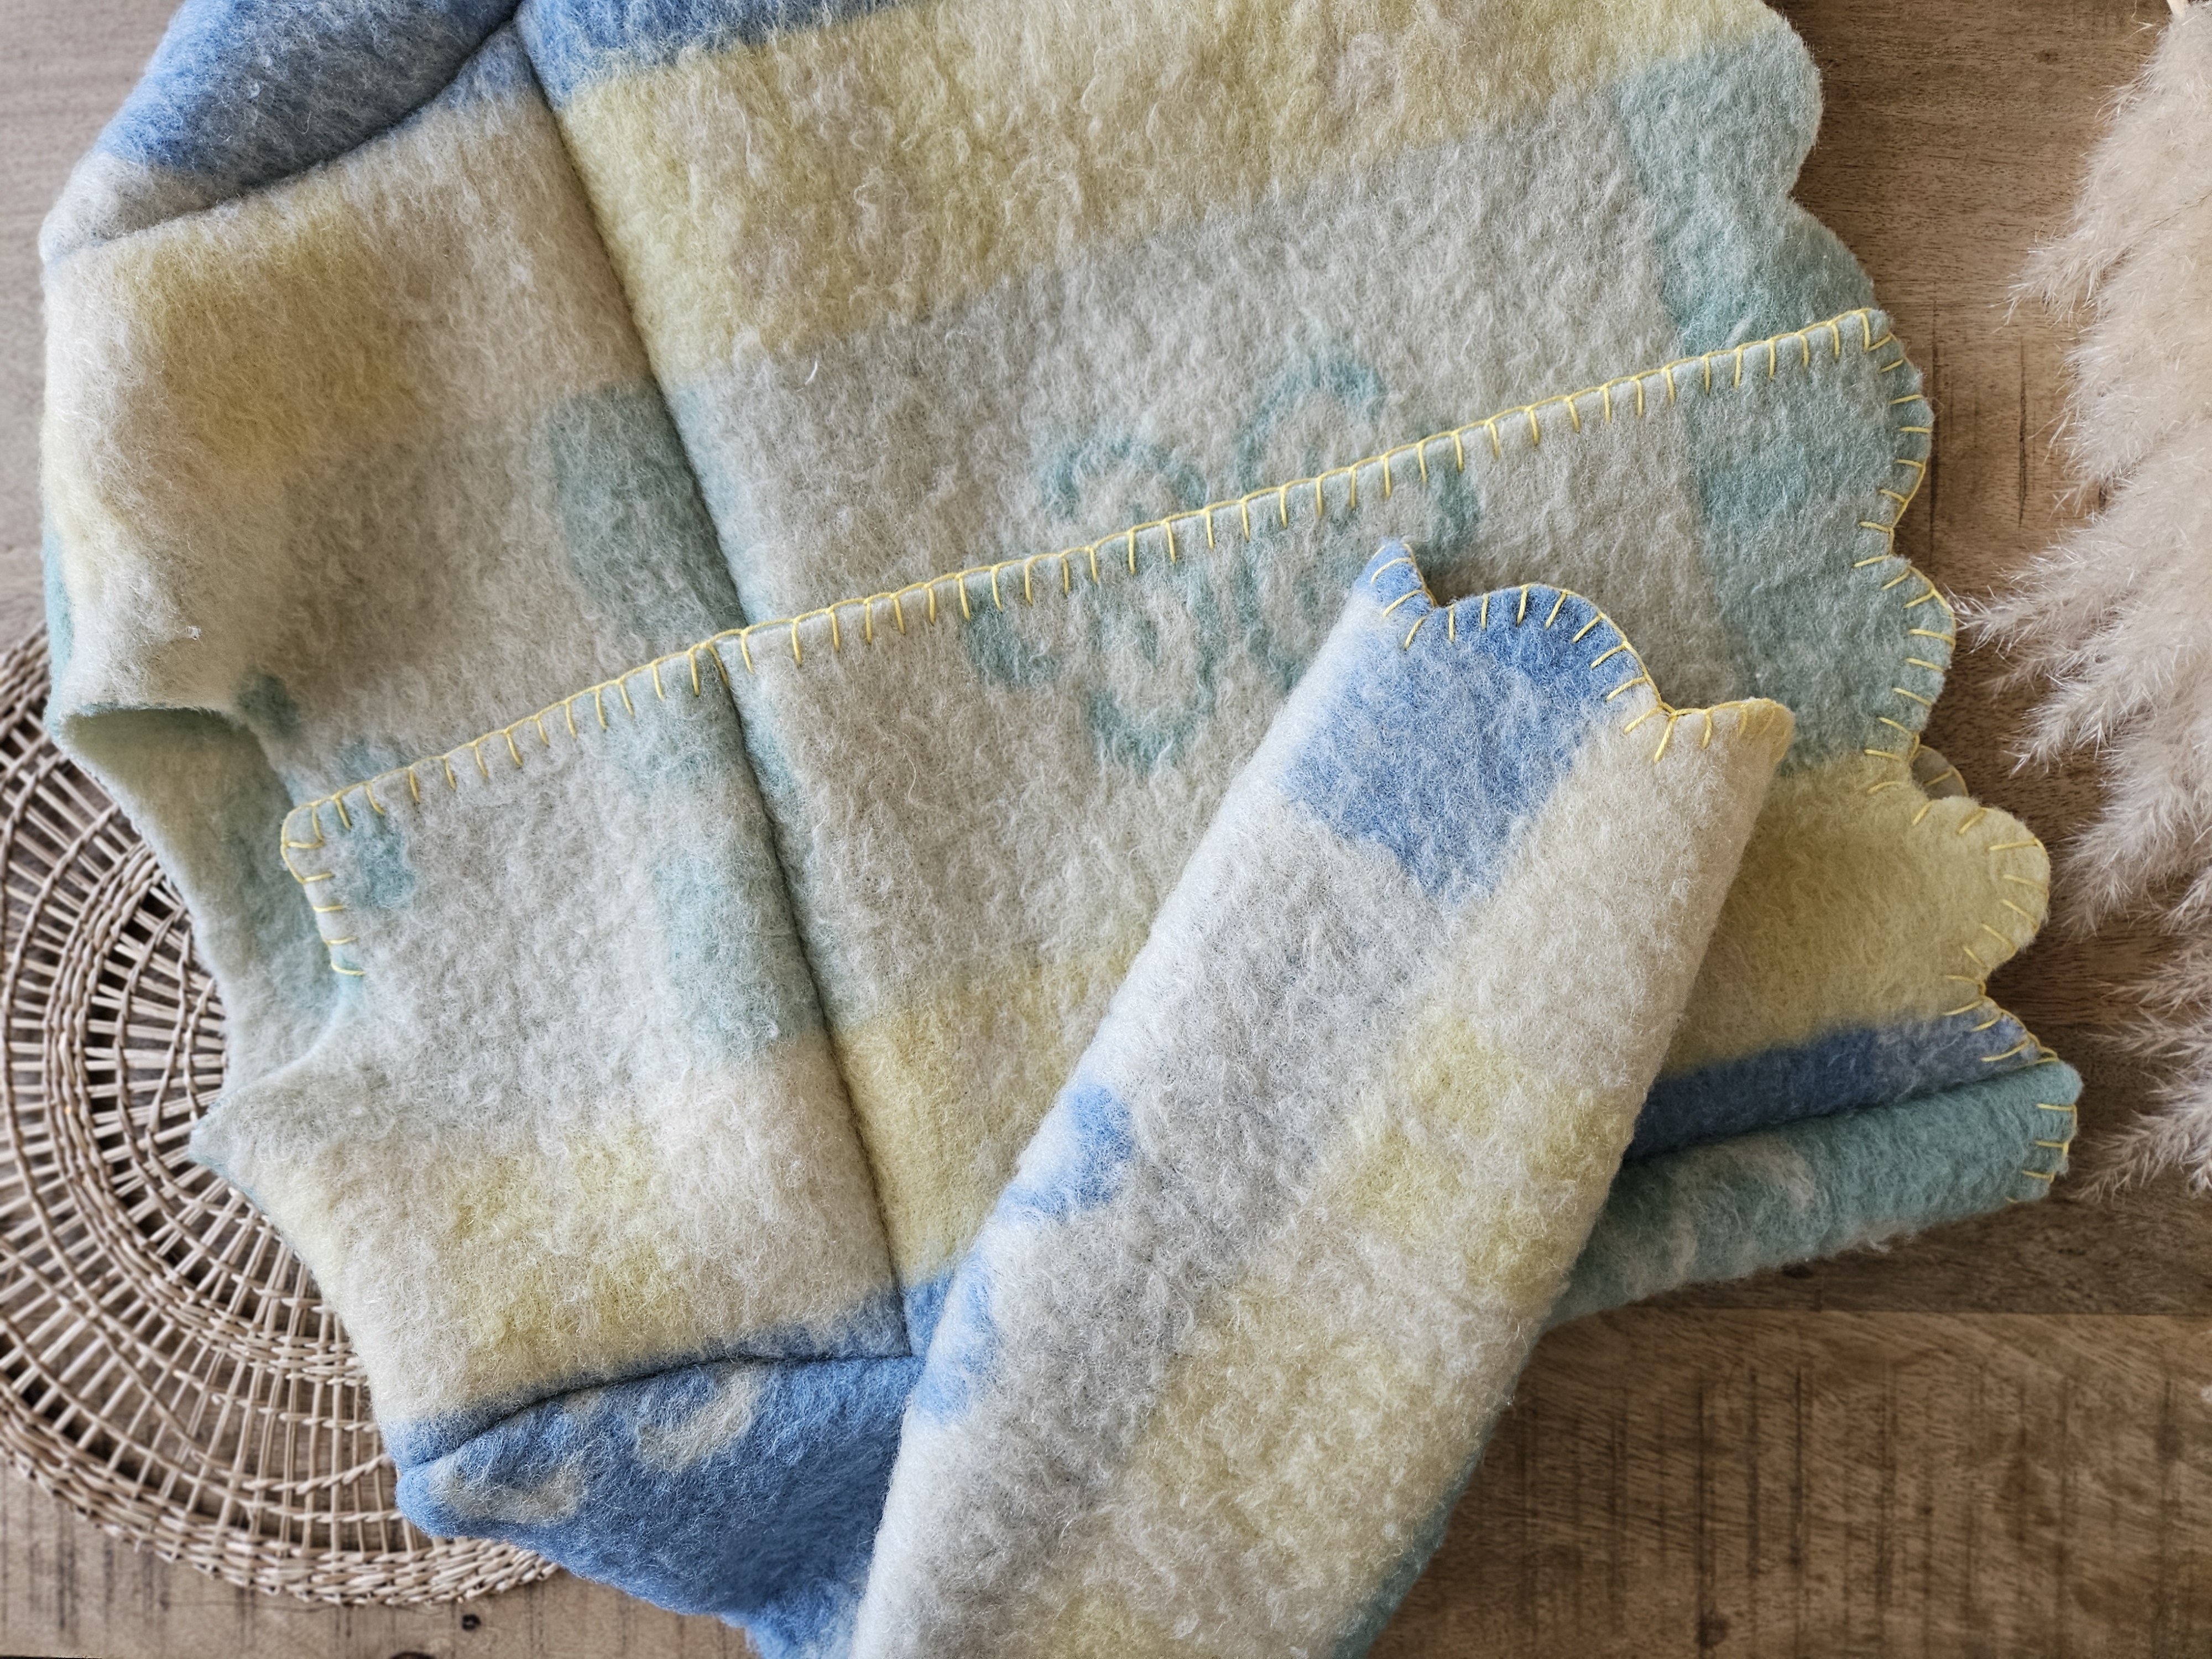
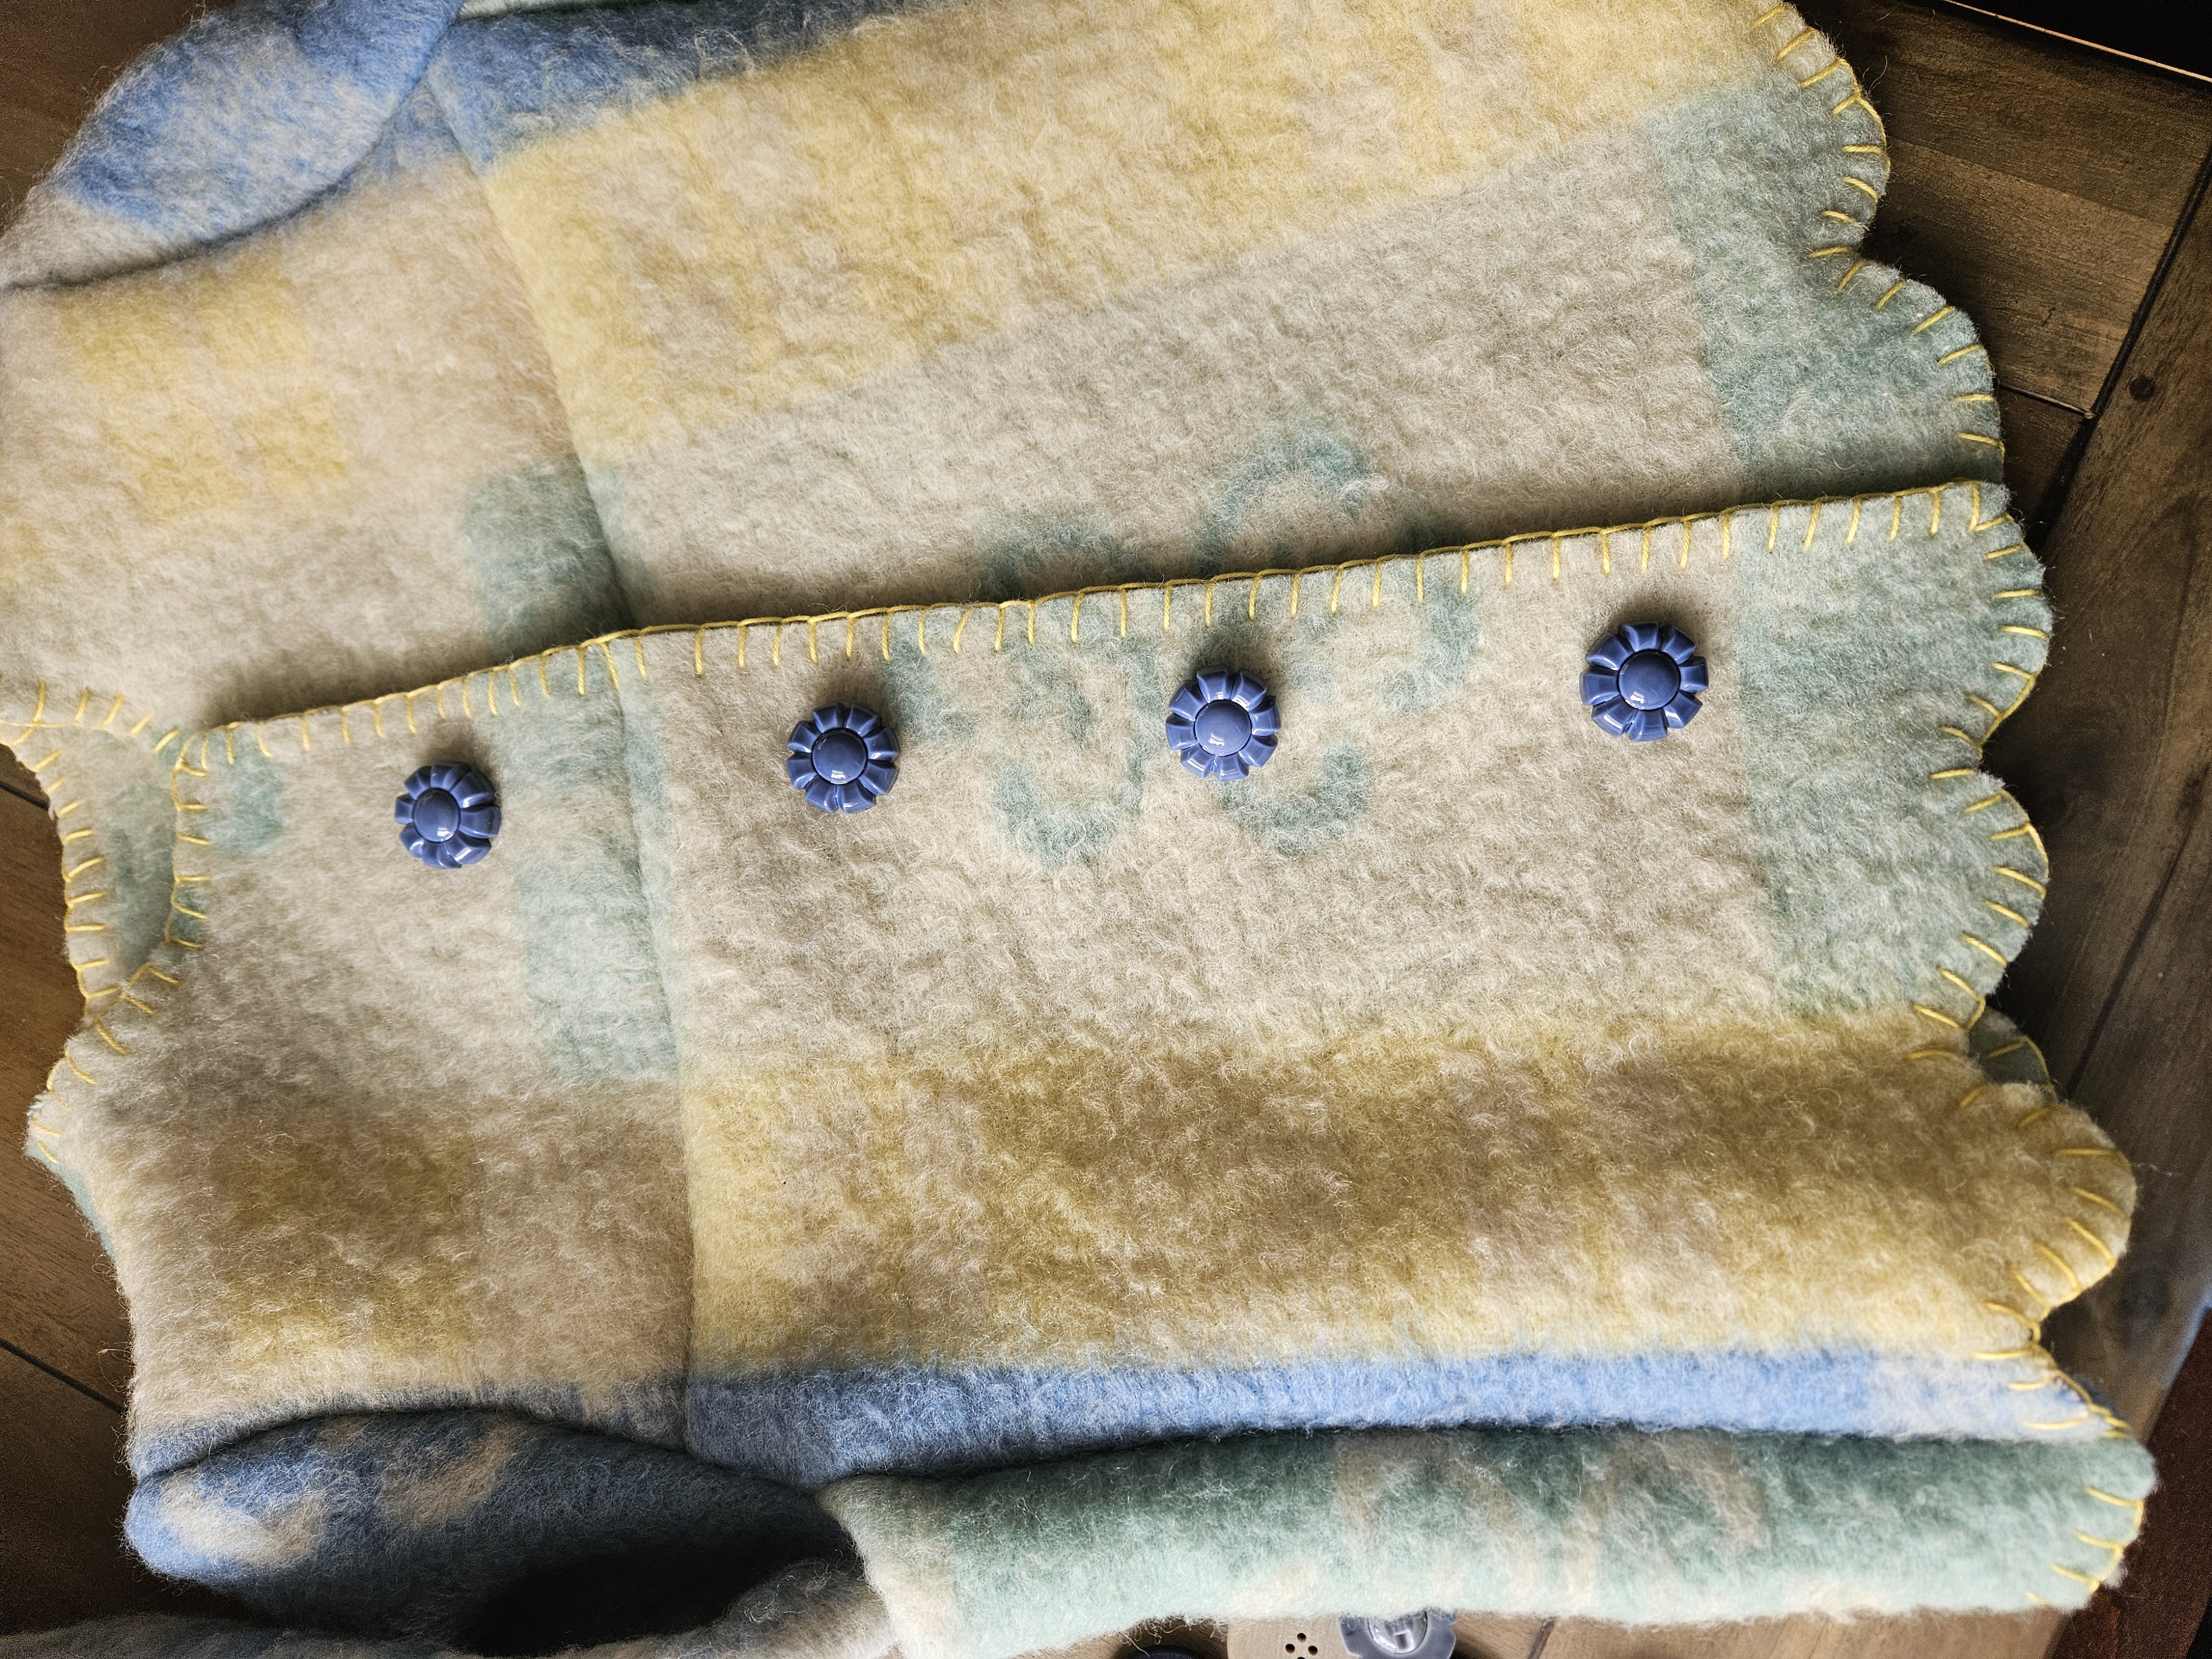
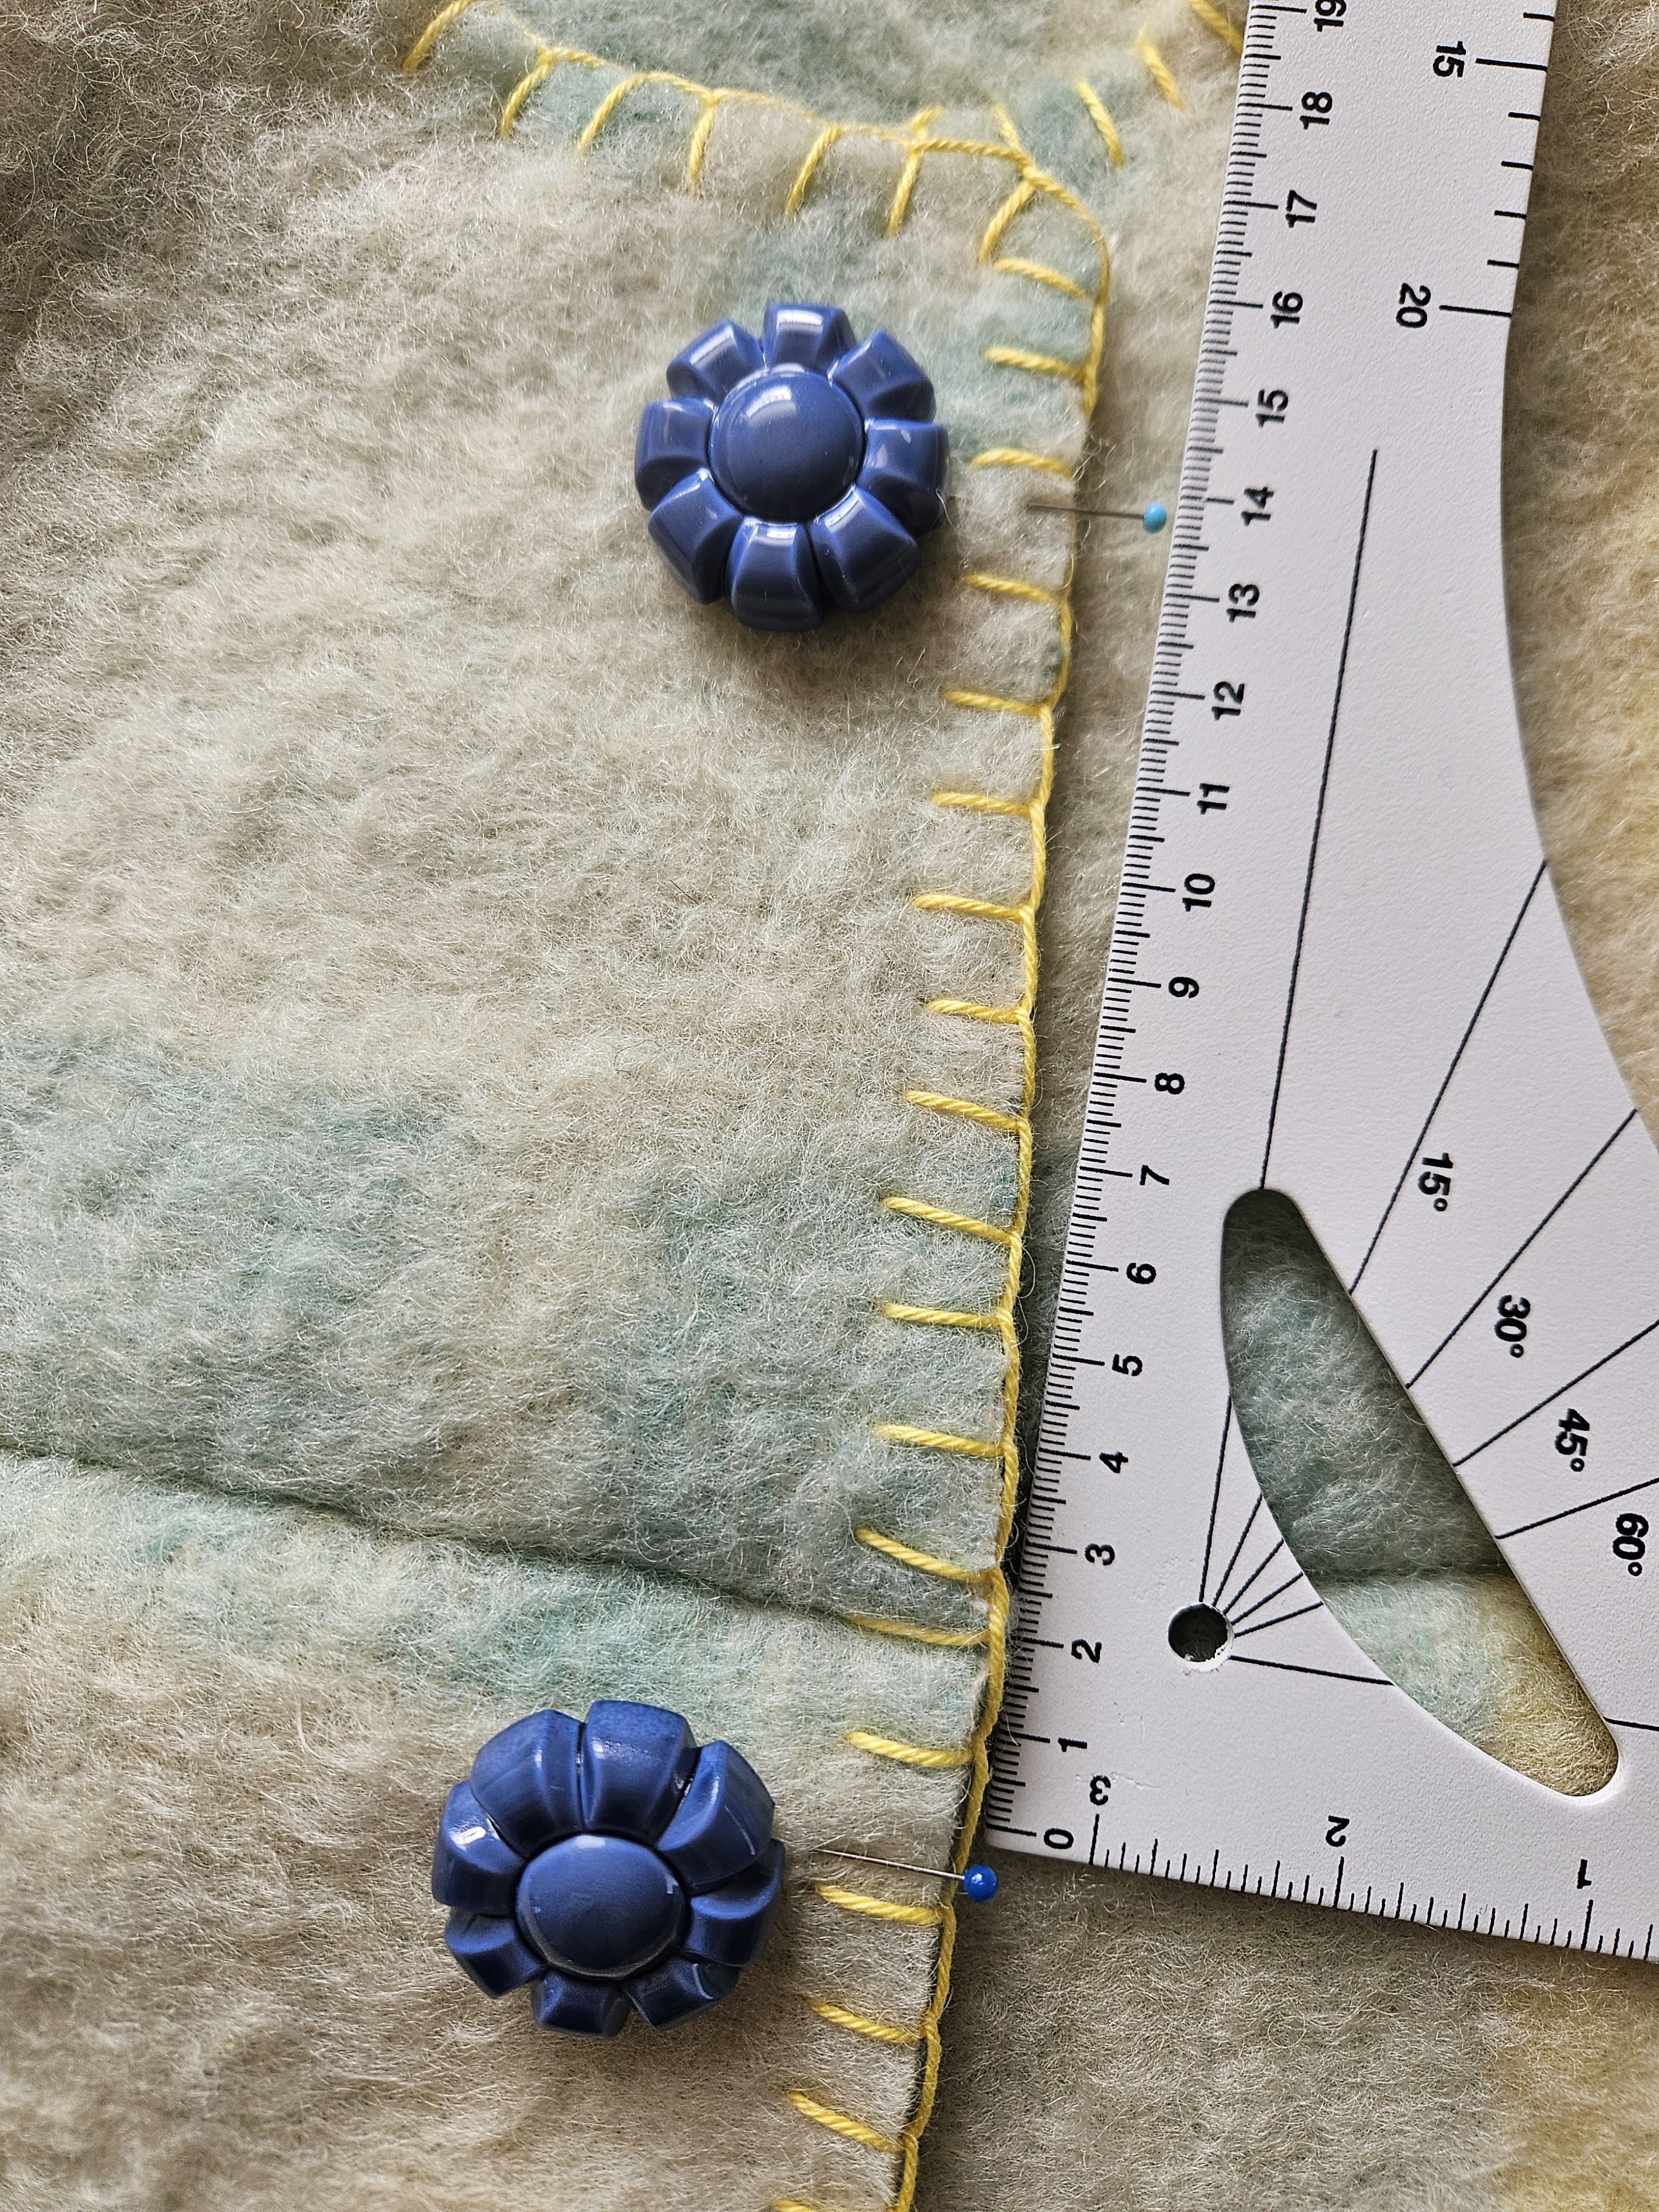
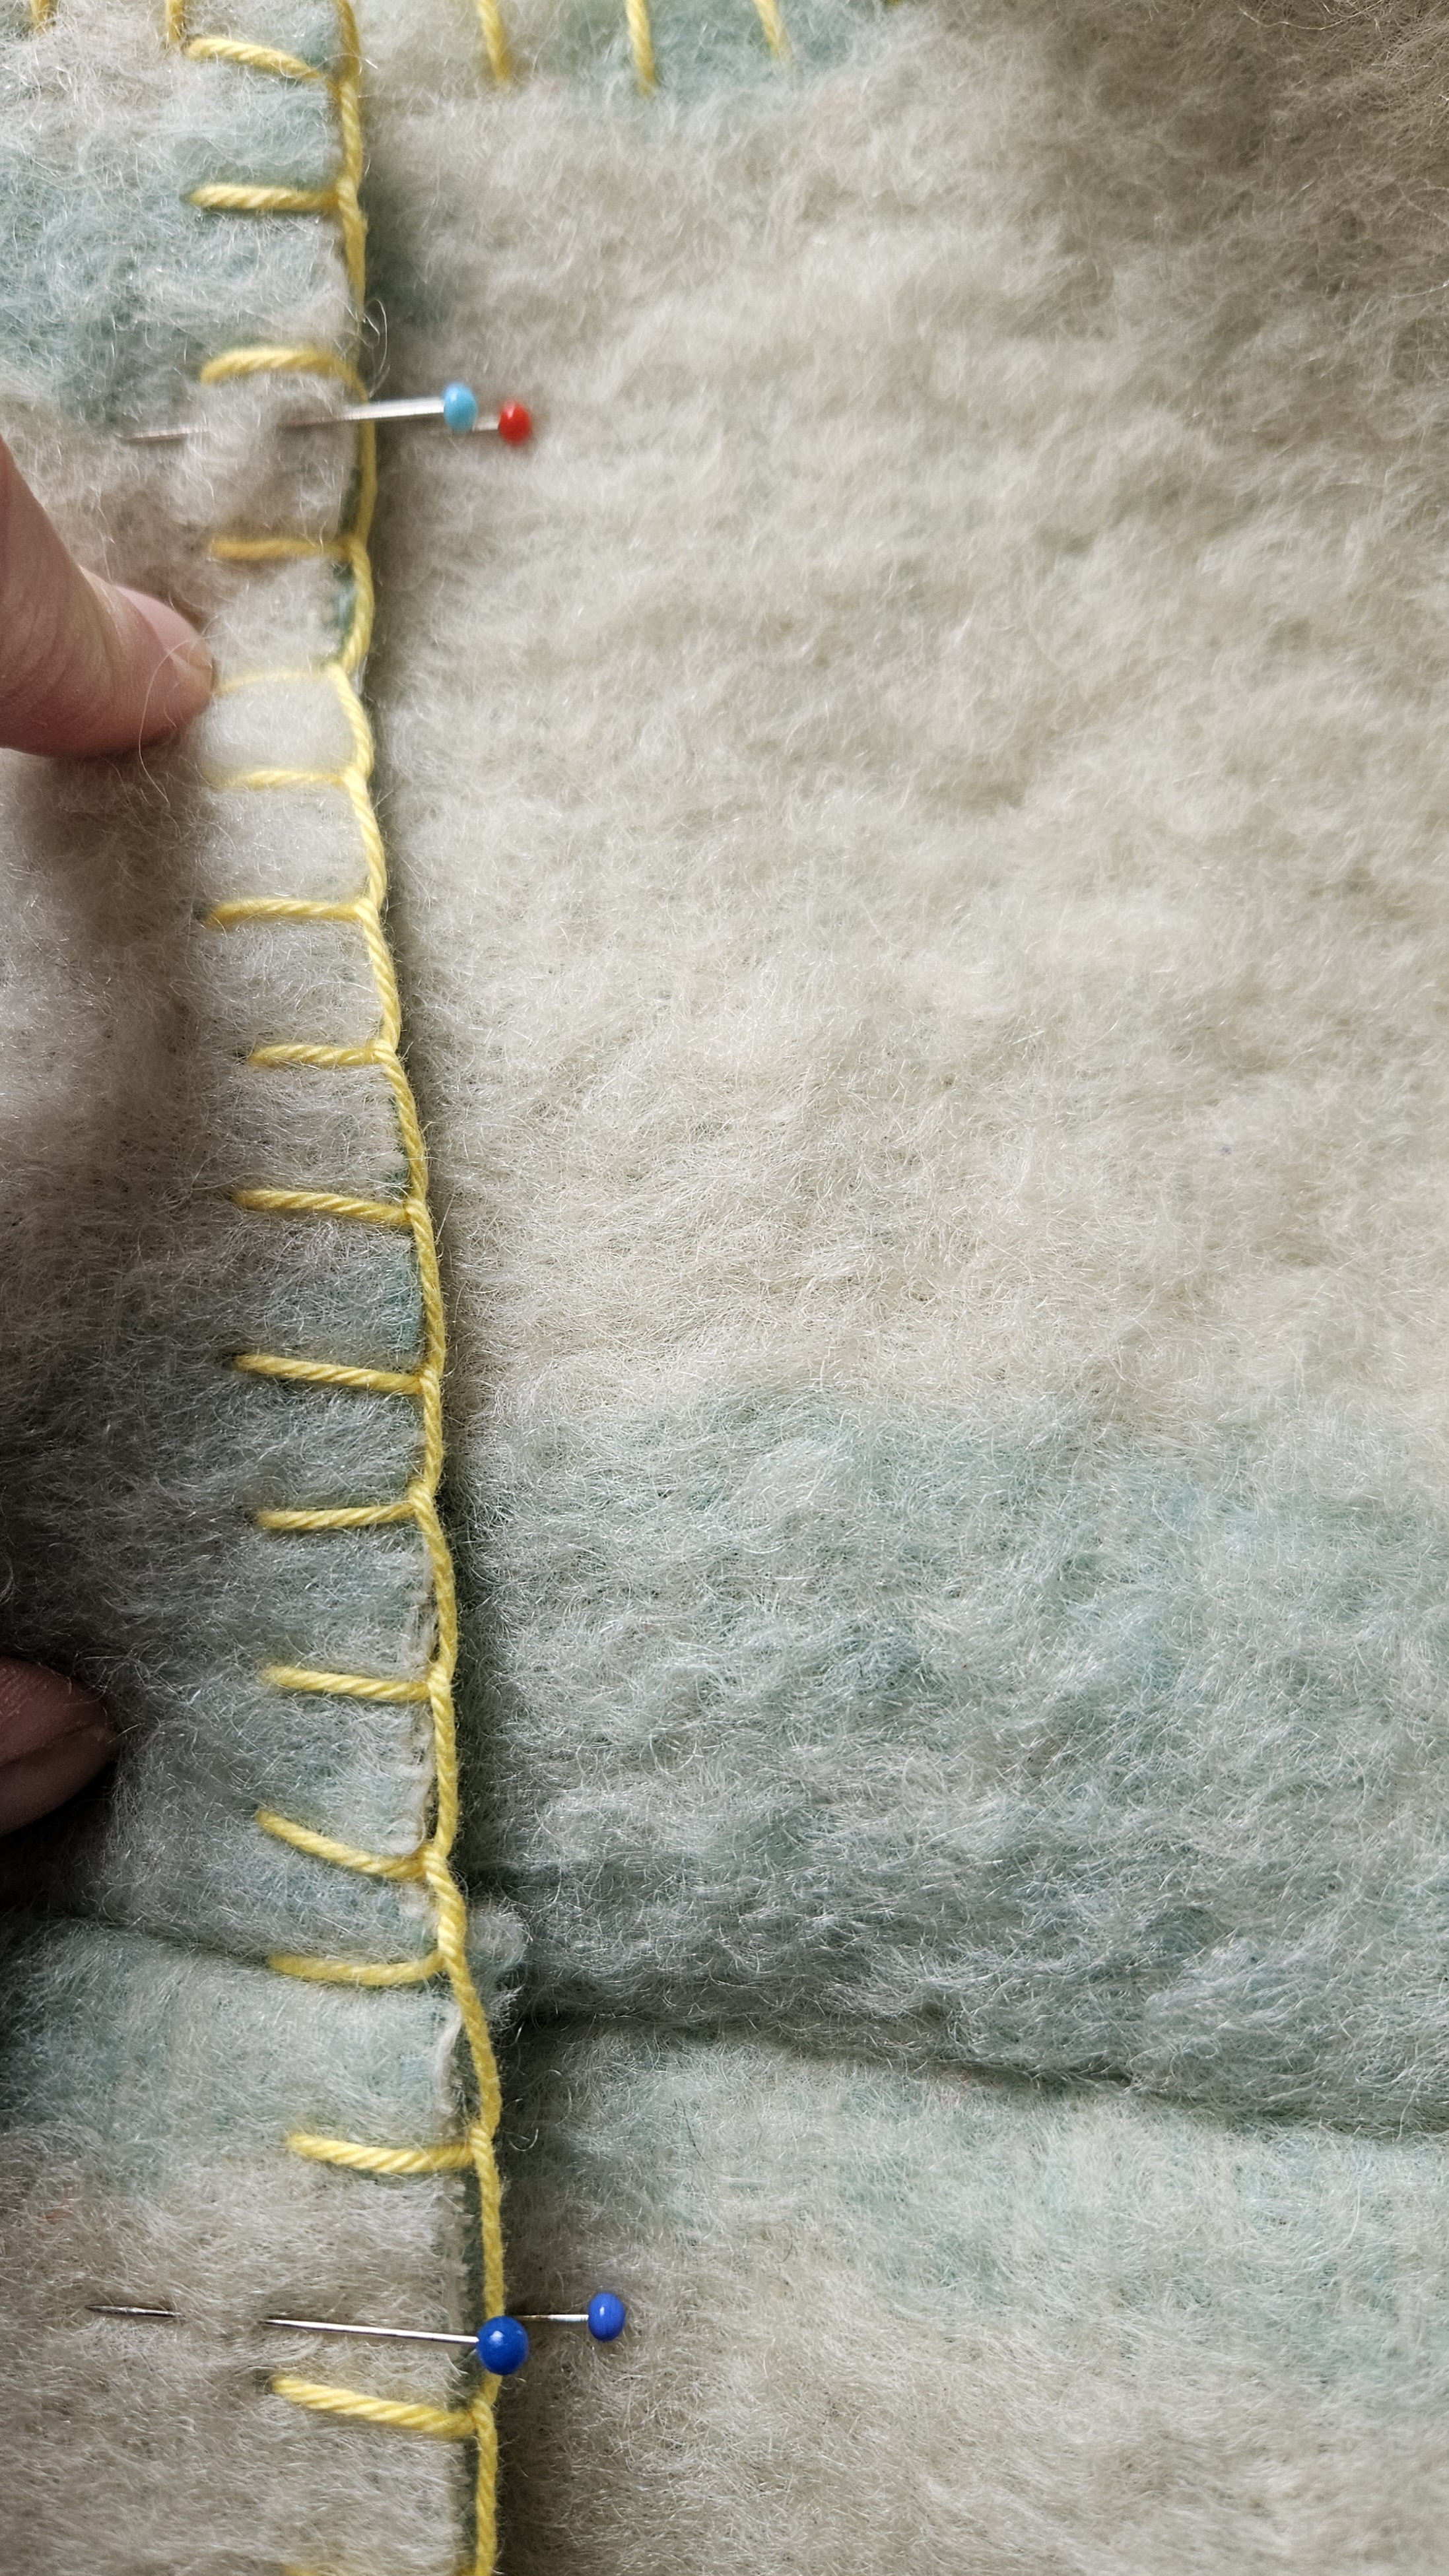
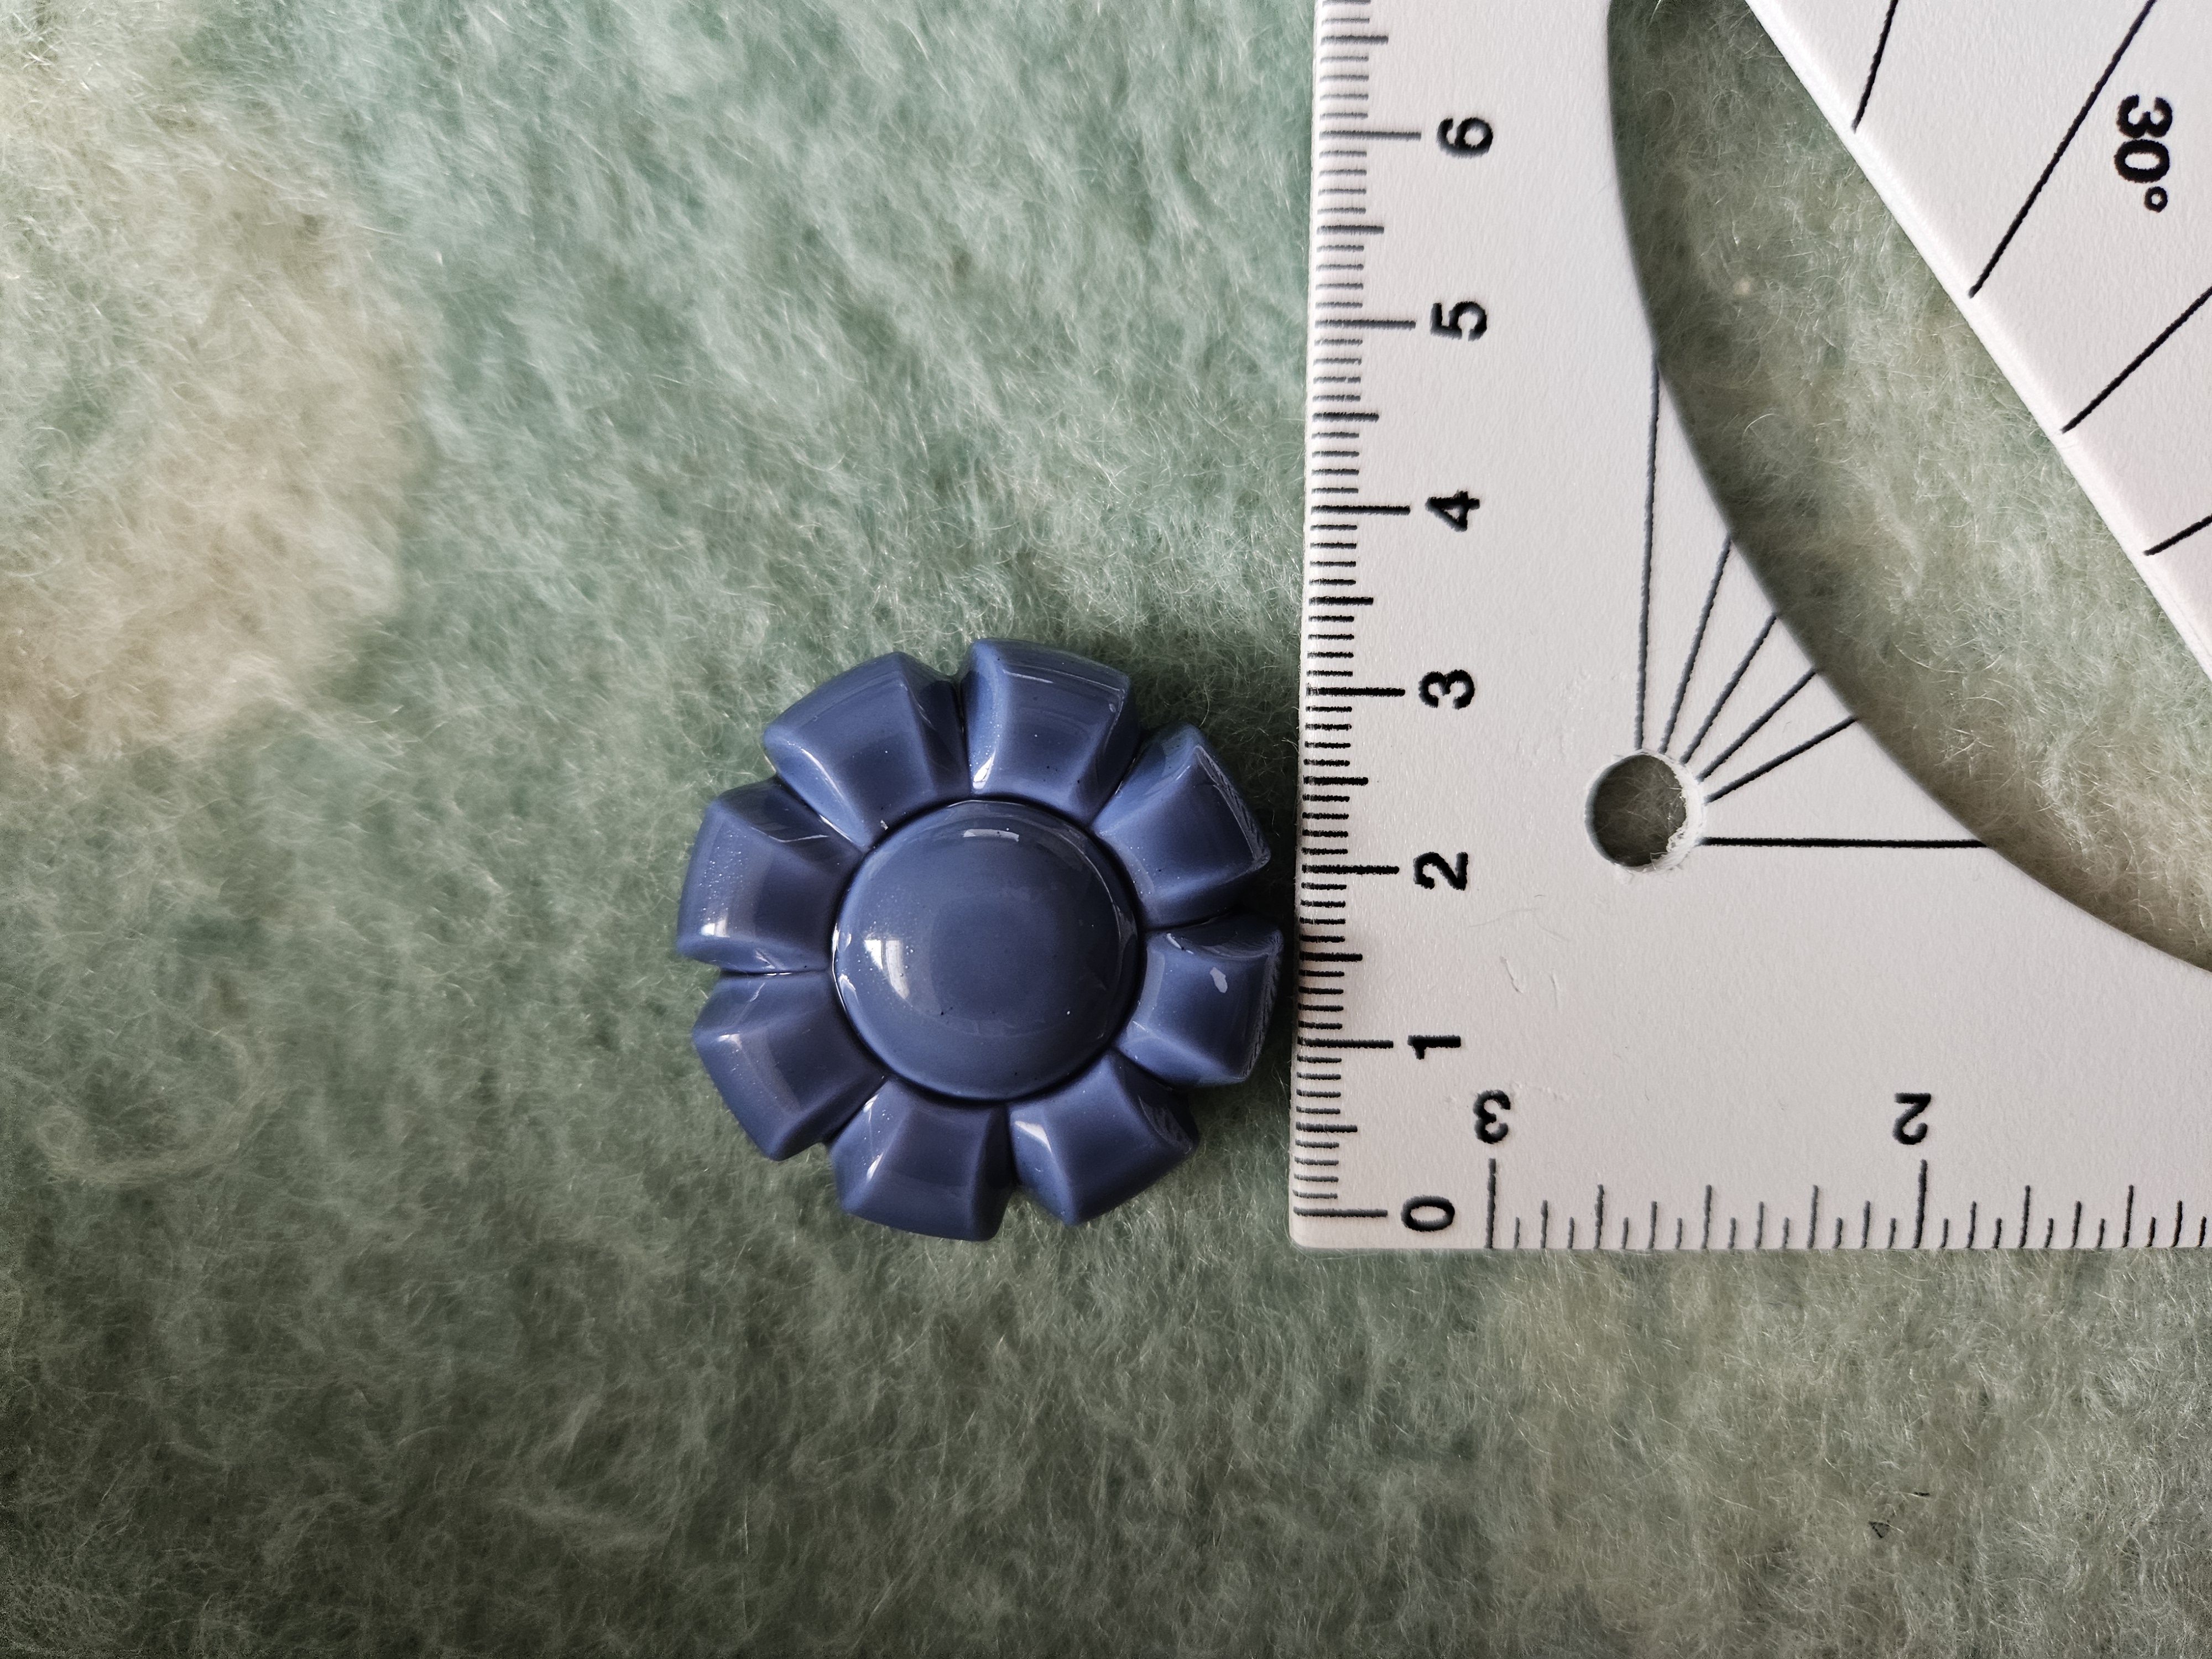
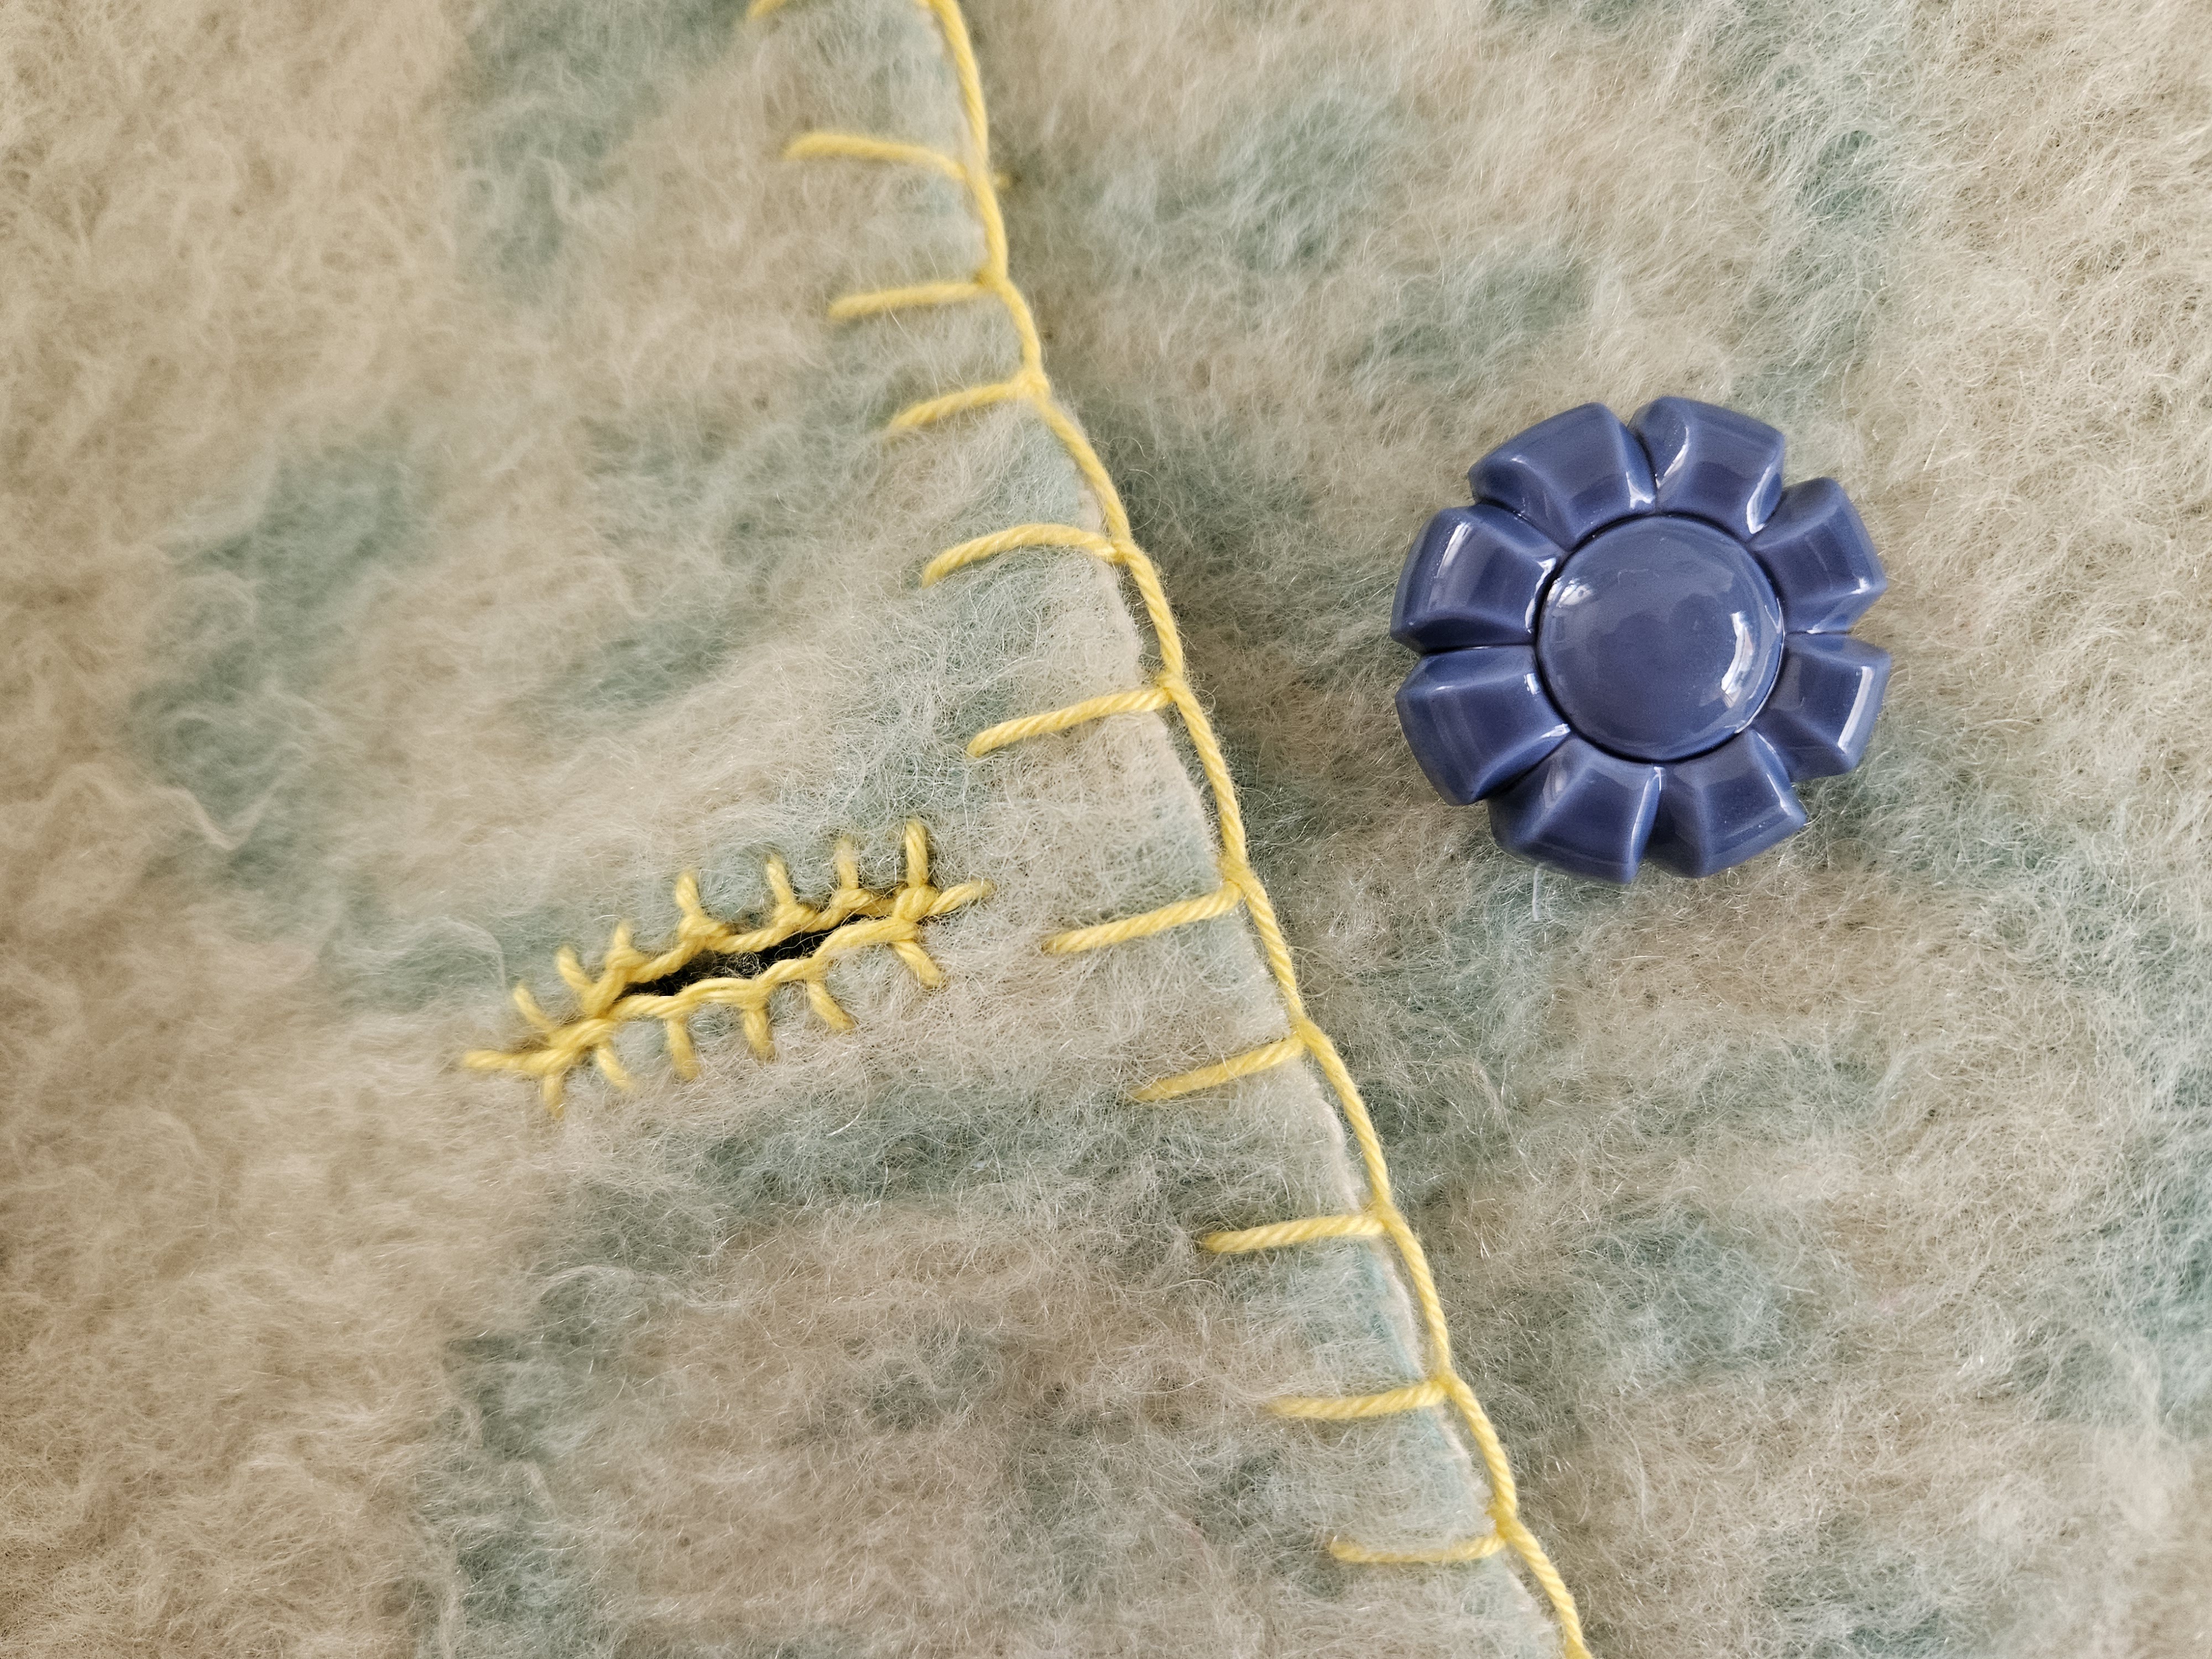
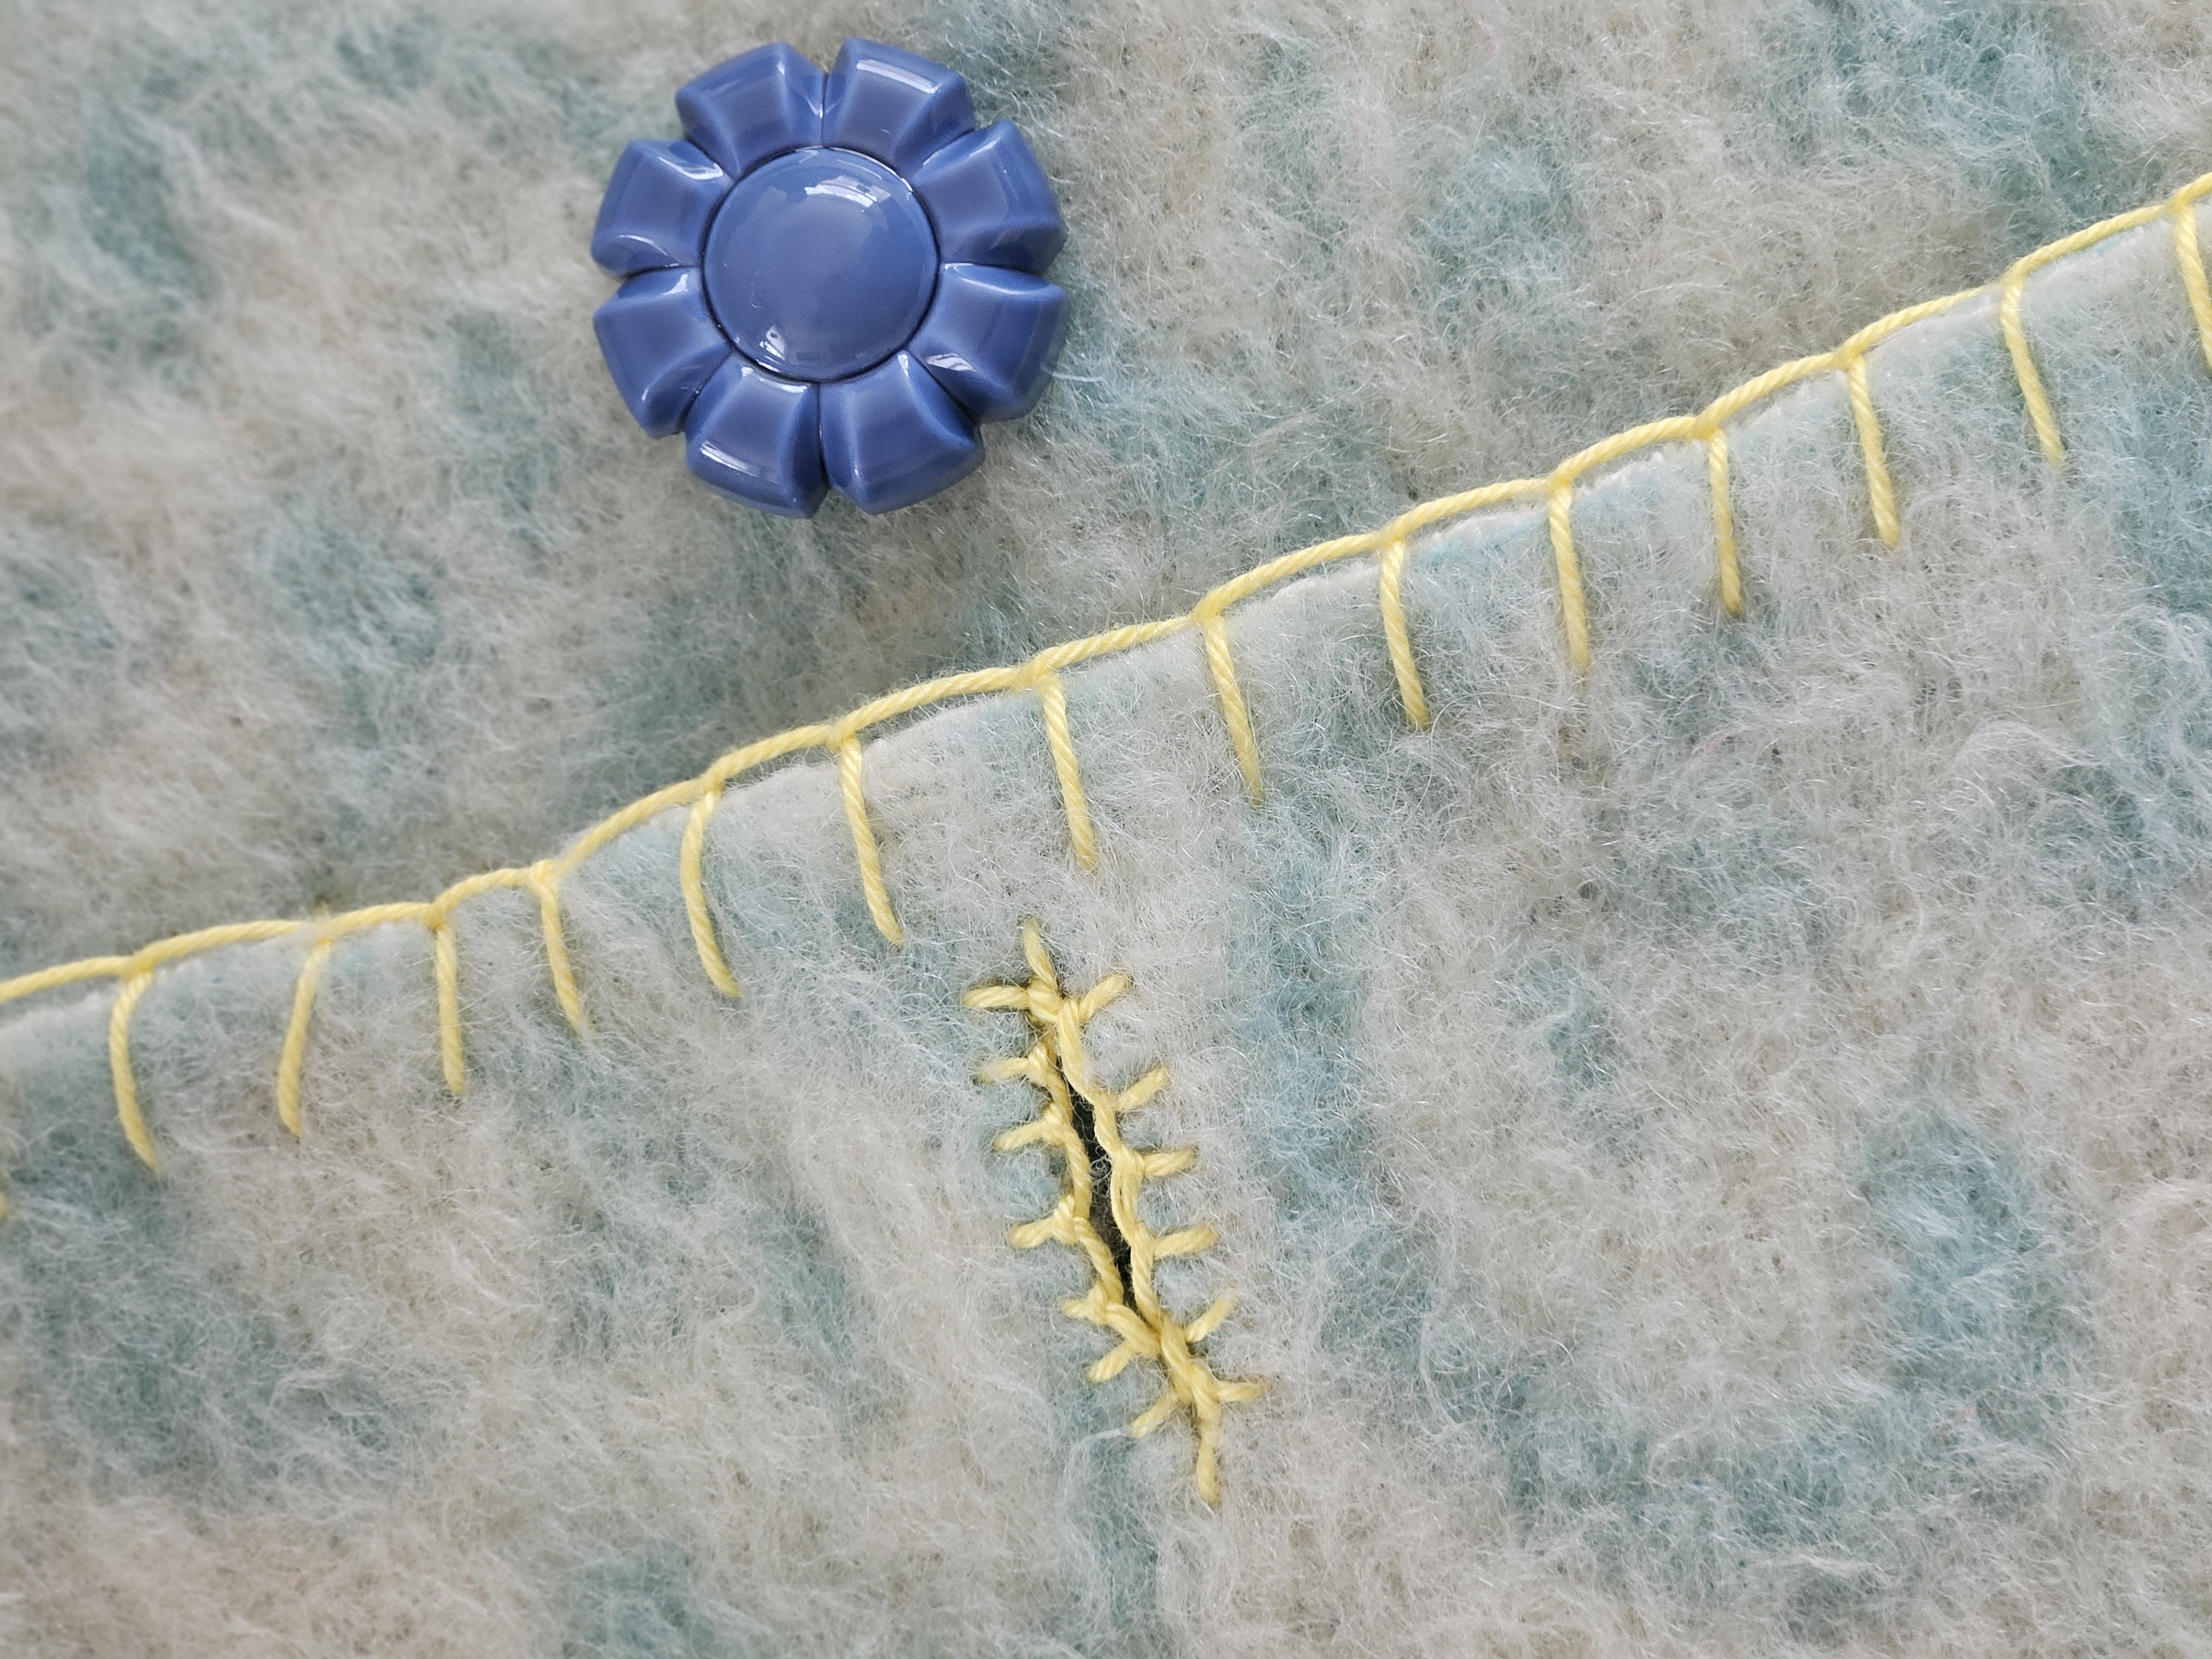
By using the Burda pattern and adding your own adjustments—such as lengthening the pieces for a better fit—you’ll create a jacket that truly reflects your style. Add a cheerful twist with a blanket stitch in a sunny yellow color and finish off your project with beautiful buttons for a perfectly polished result.
This DIY is perfect for the restyle seamstress looking for a new challenge and who loves giving old materials a new life. So pull out your sewing machine and let your creativity run wild!
Supplies
- Woolen blanket (thrift store/marketplace)
- Burda pattern 5870 model A (064.5870)
- Restyle seamstress ruler/drawing hook 30 cm (057.30)
- Durable Coral, Bright Yellow 2180 (010.6)
- Restyle seam gauge (015.16751)
- 4 flower buttons, color 235 (007.84940.30)
Other supplies
- Restyle Fabric Scissors (027.SPTR90SFS)
- Restyle Fabric Clips (015.10080)
- Restyle Wool Needle (015.10521)
Tags
Work description
Step 1: Cut out the pattern
We have chosen jacket A from the Burda Pattern 5870. Cut out the following pieces from the pattern sheet:
-
Front yoke
-
Front panel
-
Side panel
-
Back panel
-
Sleeve
Optional 10. Pocket (we did not choose this option)
Step 2: Lengthen the pattern (if desired)
On the pattern pieces, you’ll notice two straight lines placed close together. These are the so-called lengthening lines. If you cut the pattern piece between these lines, you can lengthen the piece to your liking. We placed the pattern pieces on a jacket that fits well. From this, we determined that the pattern pieces could be about 10 cm longer. Therefore, we cut through the lengthening lines and added a 10 cm strip in between. If you prefer a 3/4 sleeve, you don’t need to lengthen the sleeves.
Step 3: Cut the fabric
Place the pattern pieces on the fabric and cut out the pieces. If you’re working with a woolen blanket with a pattern, make sure to carefully decide which pattern you want on the front panels and which on the back panel. Officially, the pattern requires the back panel to be cut into two pieces. To avoid cutting the pattern, we placed the back panel on the fabric fold and cut it out as one piece for this DIY. When cutting, we left a 1 cm seam allowance. Carefully cut the selvedge edges from the fabric, as they are difficult to trim later.
Step 4: Start sewing the front panels
You can now begin sewing the jacket together. Start by stitching the front panels. Attach piece 1 to piece 2. Do this for both front panels. You can also choose to embellish your jacket here, for example with piping, lace, or something similar.
Step 5: Attach the side panels to the back panel
Sew the side panels to the back panel. Pay close attention, the longer side should be attached to the back panel, and the shorter side to the front panel. Especially when working with thick woolen blanket fabric, the Re-style clips are very useful to work with!
Step 6: Attach the side panels to the front panels
Now sew the side panels to the front panels. The jacket is now assembled all around.
Step 7: Shoulder seams
Sew the shoulder seams.
Step 8: Sleeves
It’s now time for the sleeves. Since you’re working with a woolen blanket that has a pattern, it might be a good idea to lay your sleeves next to the jacket. Which pattern do you think looks best?
Sew the side seams of the sleeves and turn them right side out. Make sure to mark the front of the sleeve with a needle. Attach the sleeves into the armholes. The jacket is almost finished now.
Step 9: Blanket stitch
It’s now time for the sleeves. Since you’re working with a woolen blanket that has a pattern, it might be a good idea to lay your sleeves next to the jacket. Which pattern do you think looks best?
Sew the side seams of the sleeves and turn them right side out. Make sure to mark the front of the sleeve with a needle. Attach the sleeves into the armholes. The jacket is almost finished now.
Step 10: Buttonholes and buttons
Finally, we chose four beautiful buttons. Measure where you want the buttons to be and make sure to create a women’s closure! 😉 Finish the buttonholes with the yellow blanket stitch. Sew the buttons onto the jacket. In the photos, you can see how we measured the placement for the buttons and buttonholes. We kept about 11 cm between each button. Note, this is the distance from the bottom of one button to the top of the next. If you measure from the center (attachment) of the button, this comes to 14 cm on this jacket. So, there is a 14 cm distance between the buttonholes.
Cut the buttonhole 1.5 cm from the edge of the jacket. Attach your buttons 4 cm from the edge. The buttons on the jacket are 3 cm wide. For the buttonholes, cut a 3.5 cm opening.
Your blanket coat is now ready! Be sure to send us a photo of your creation via Instagram or Facebook.