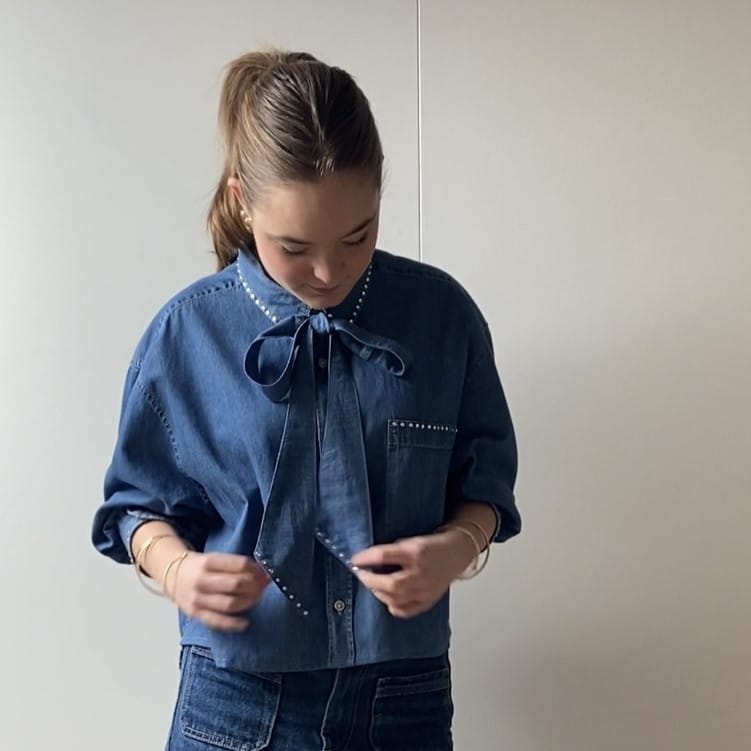
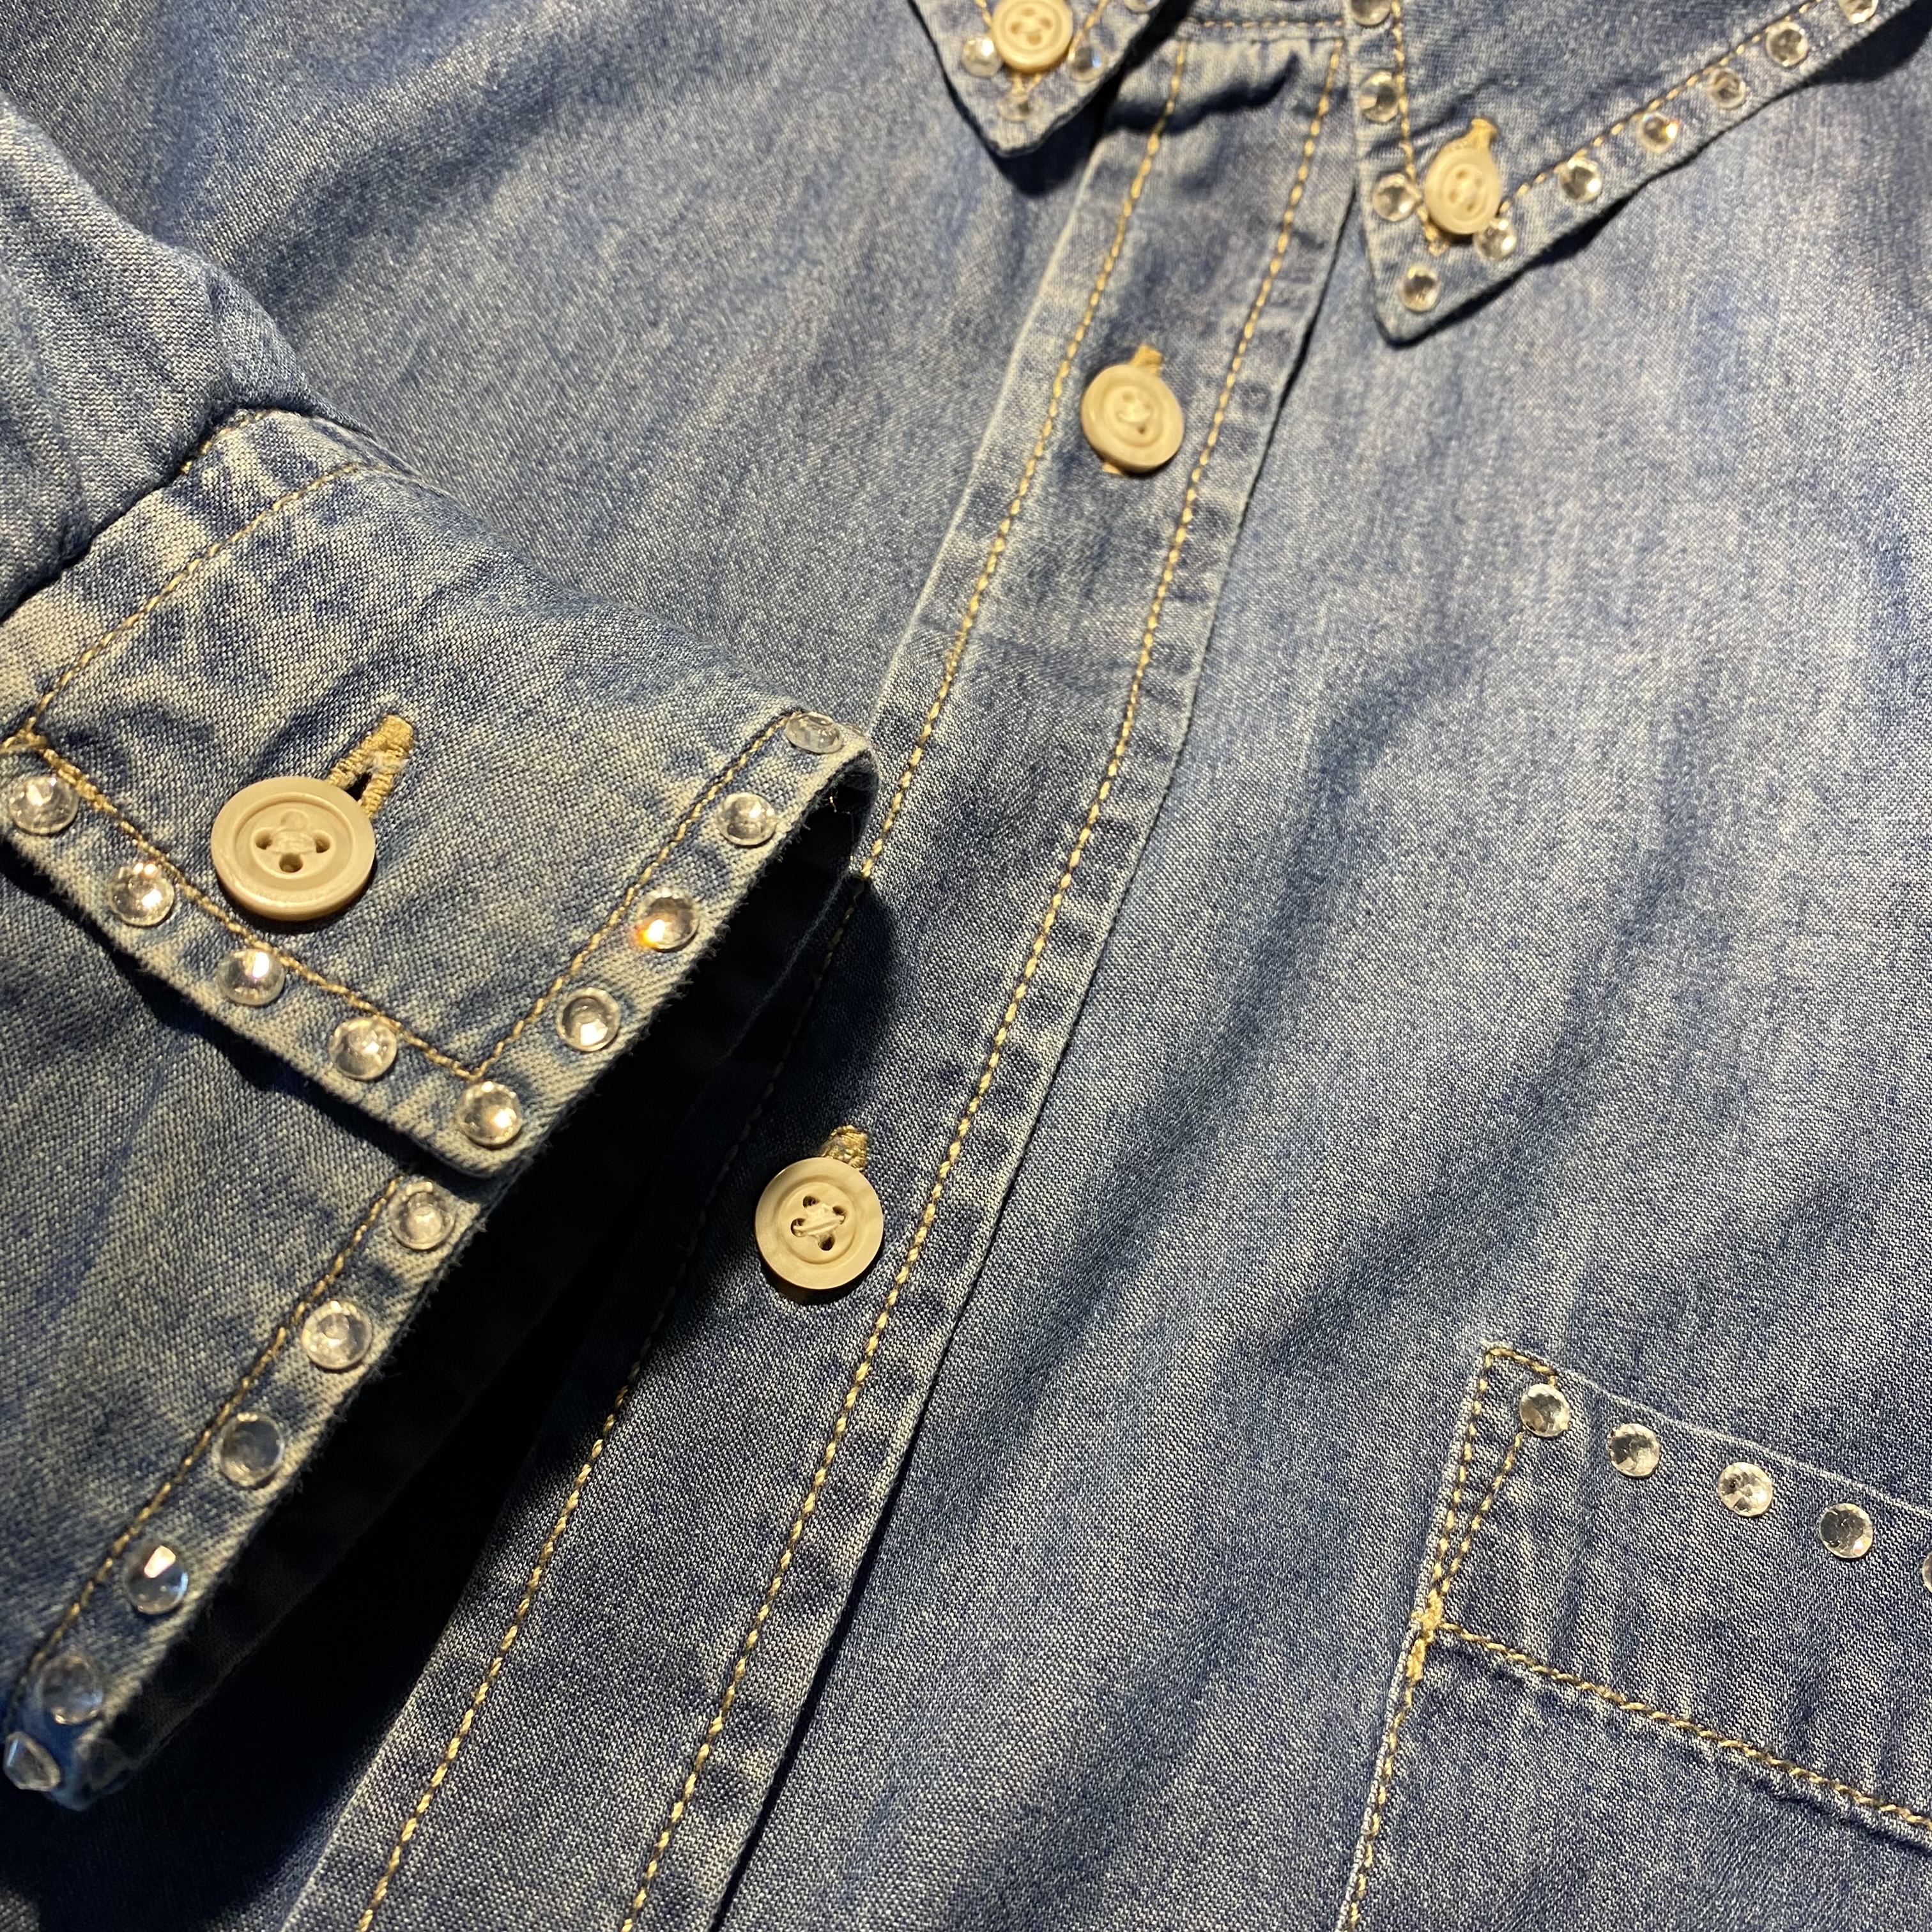
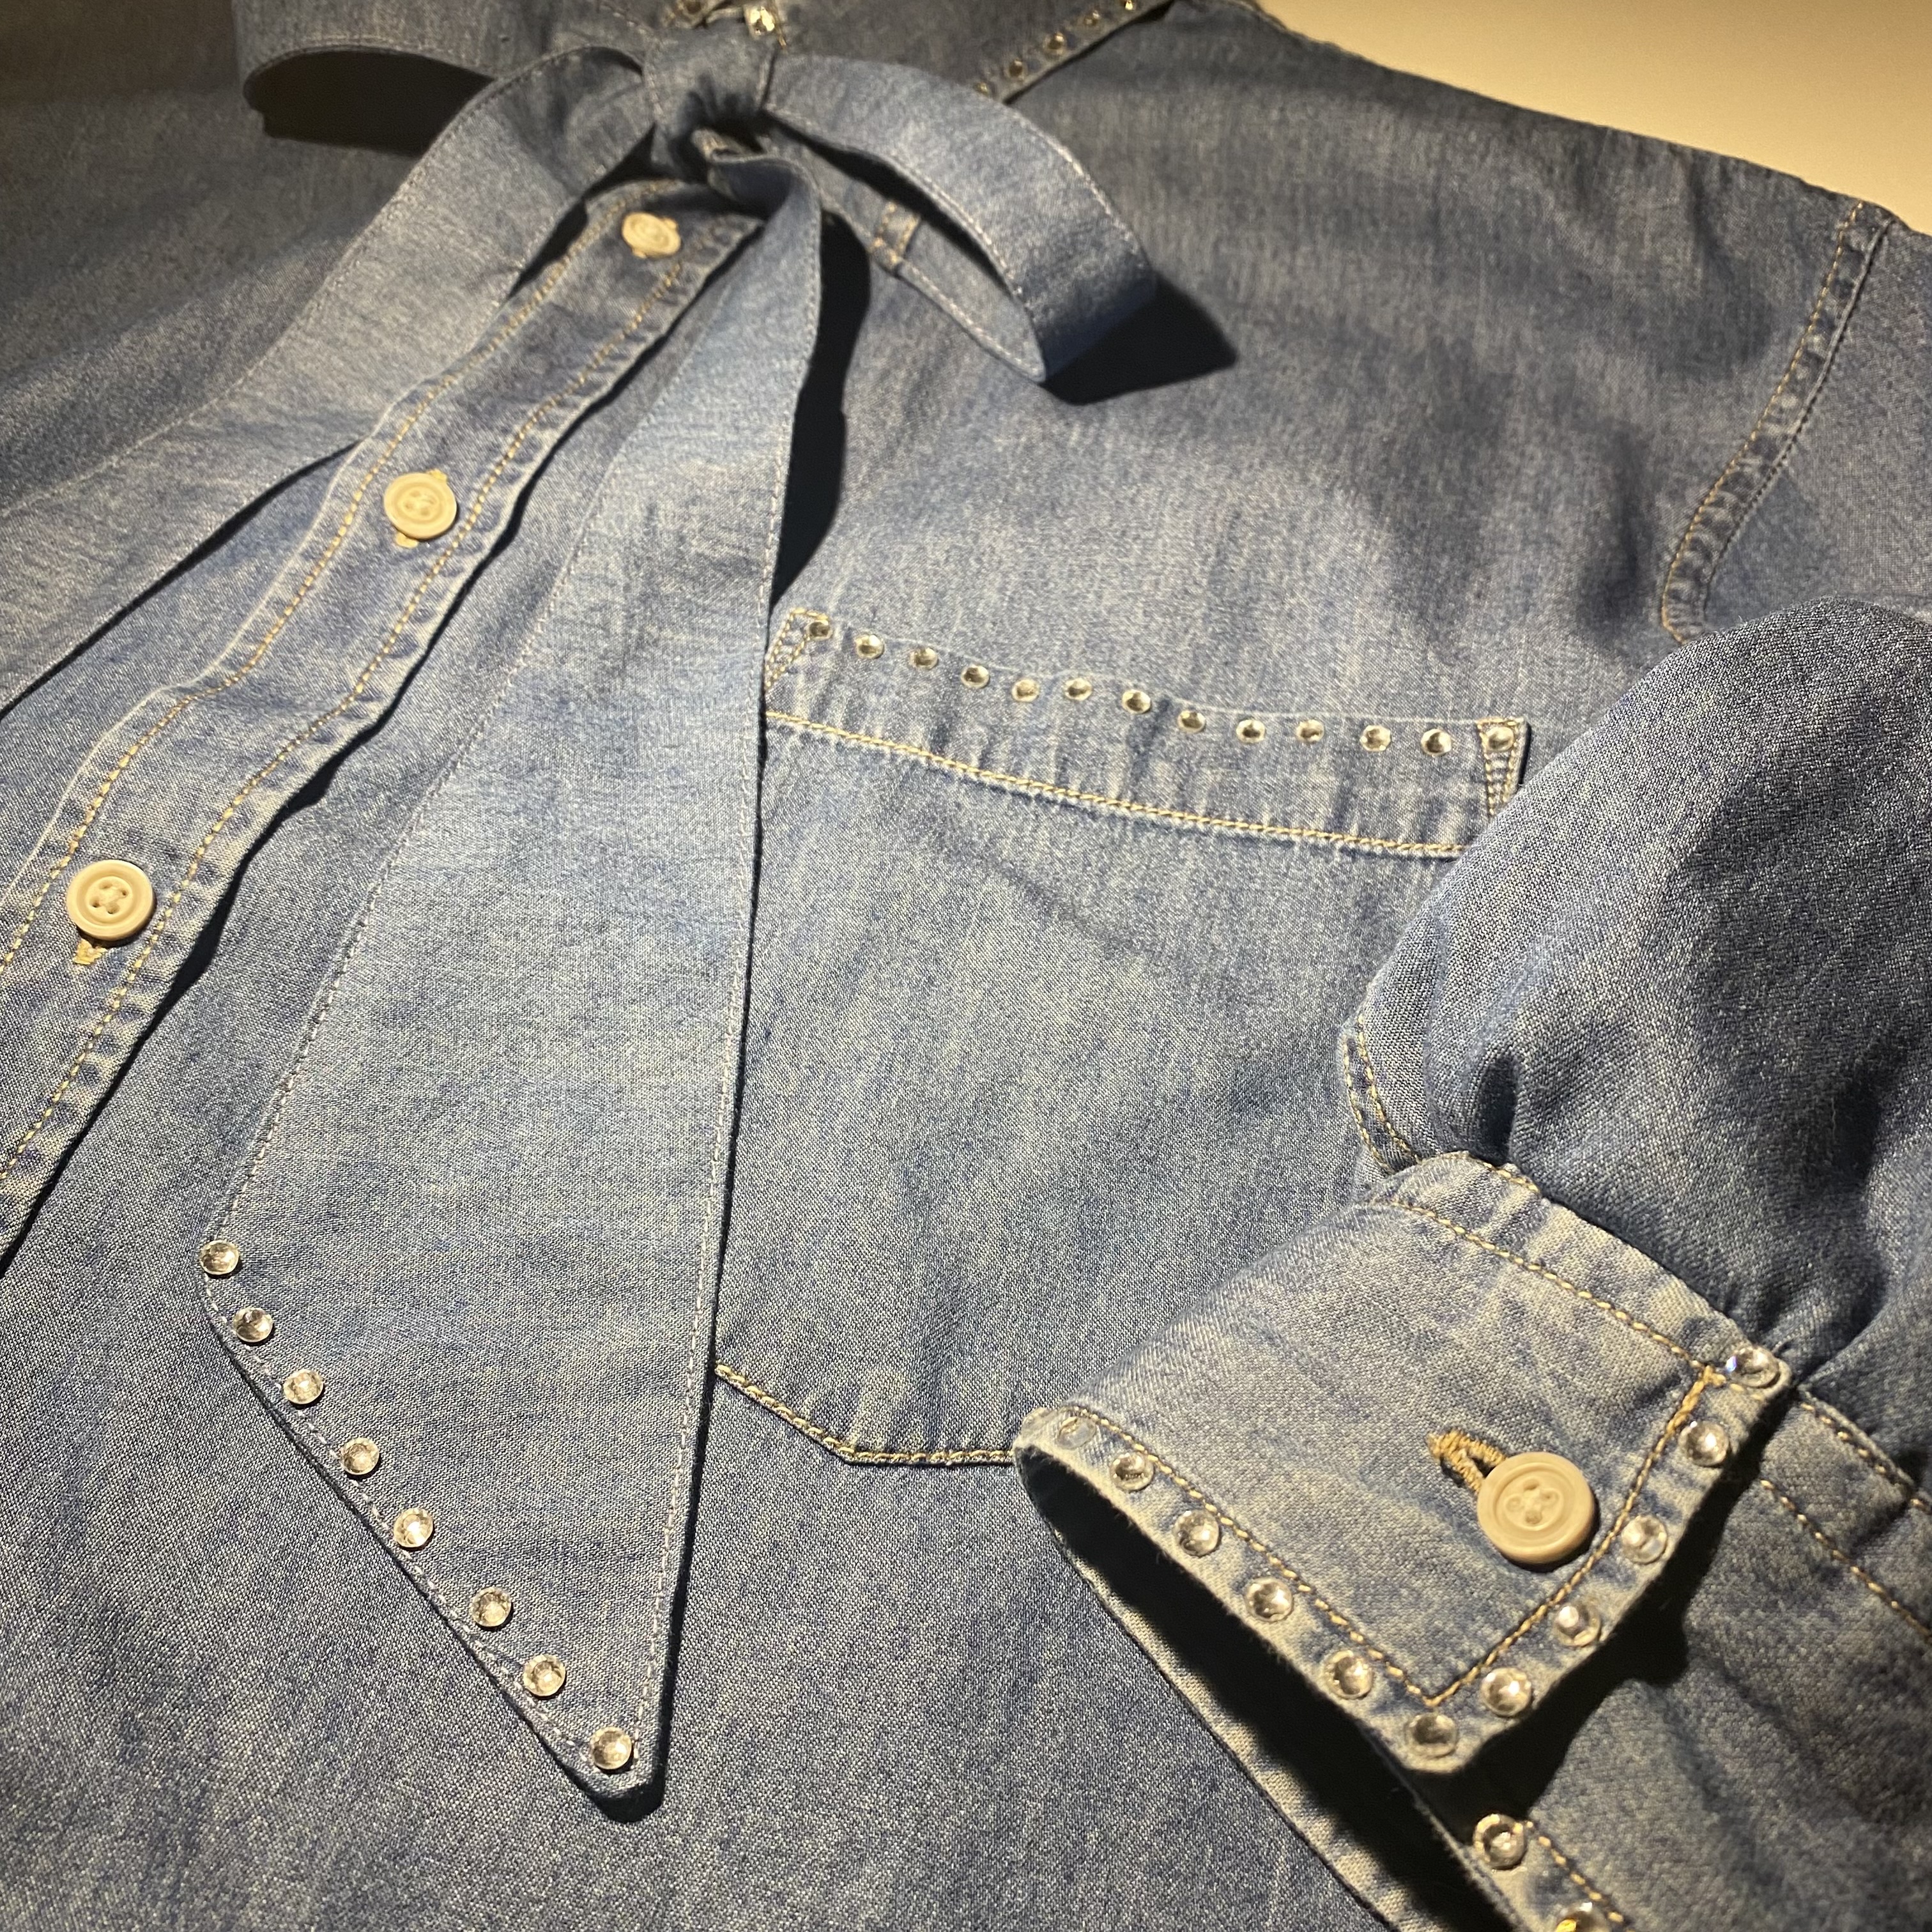
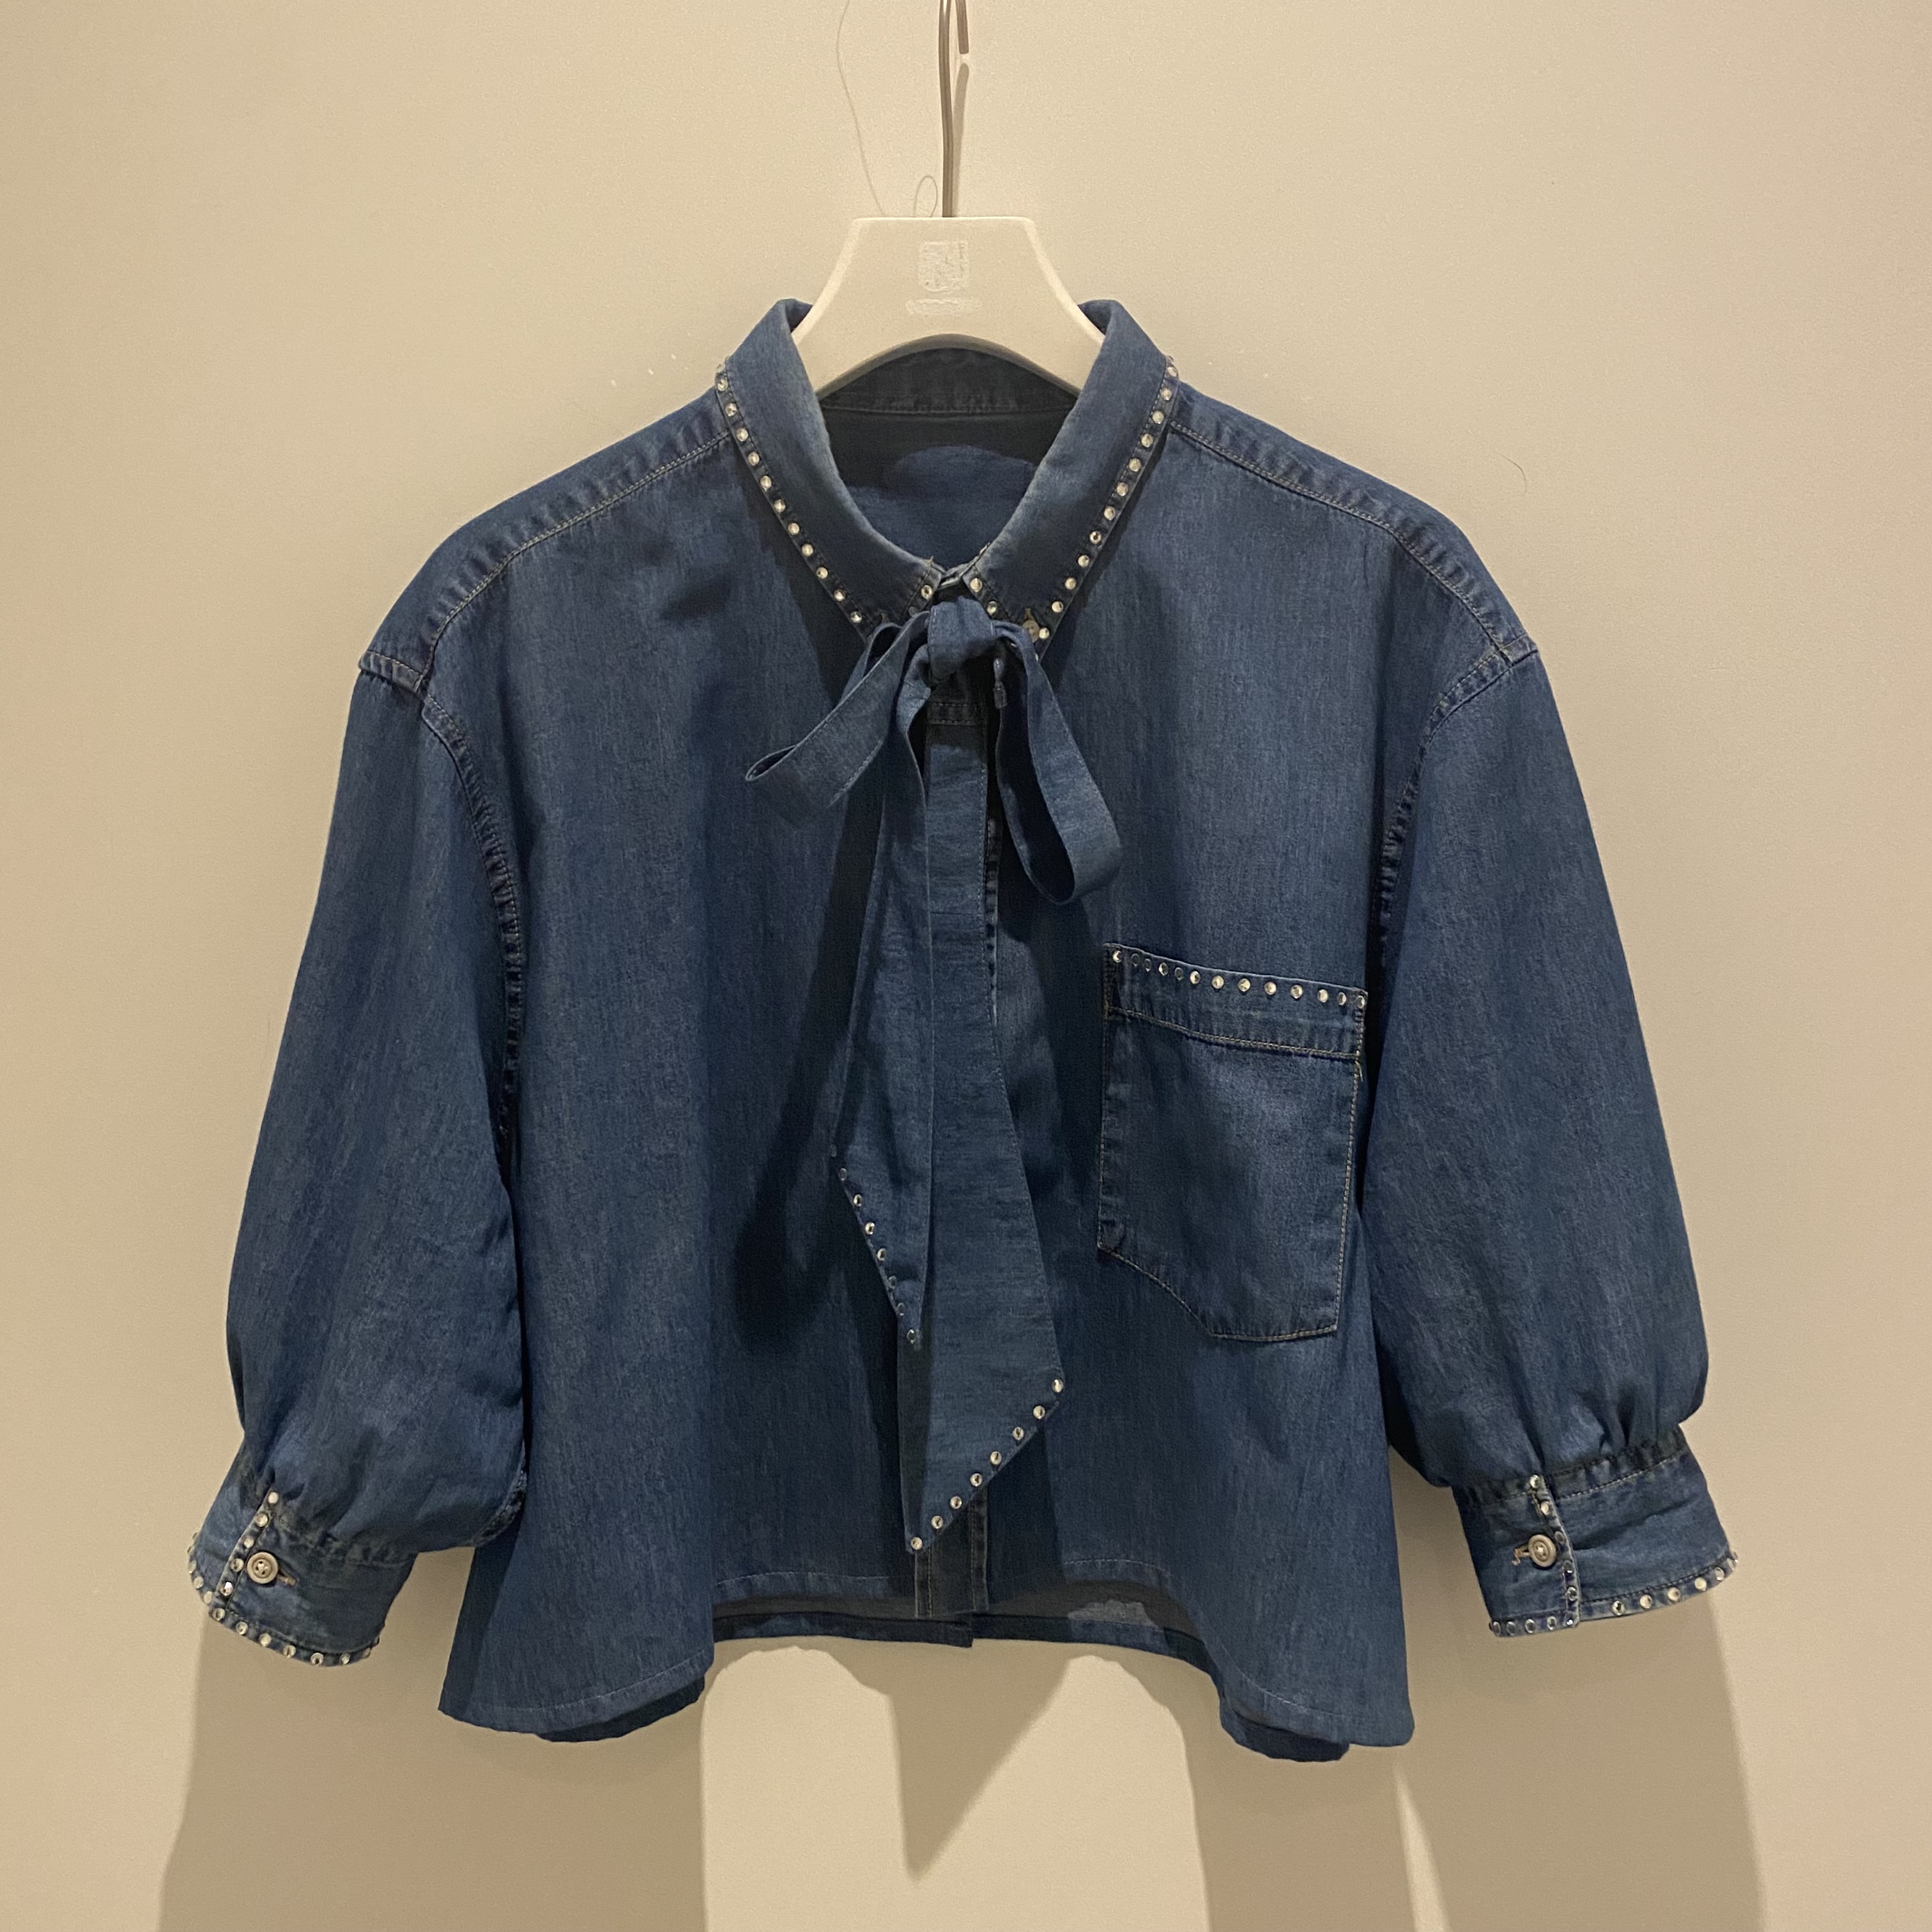
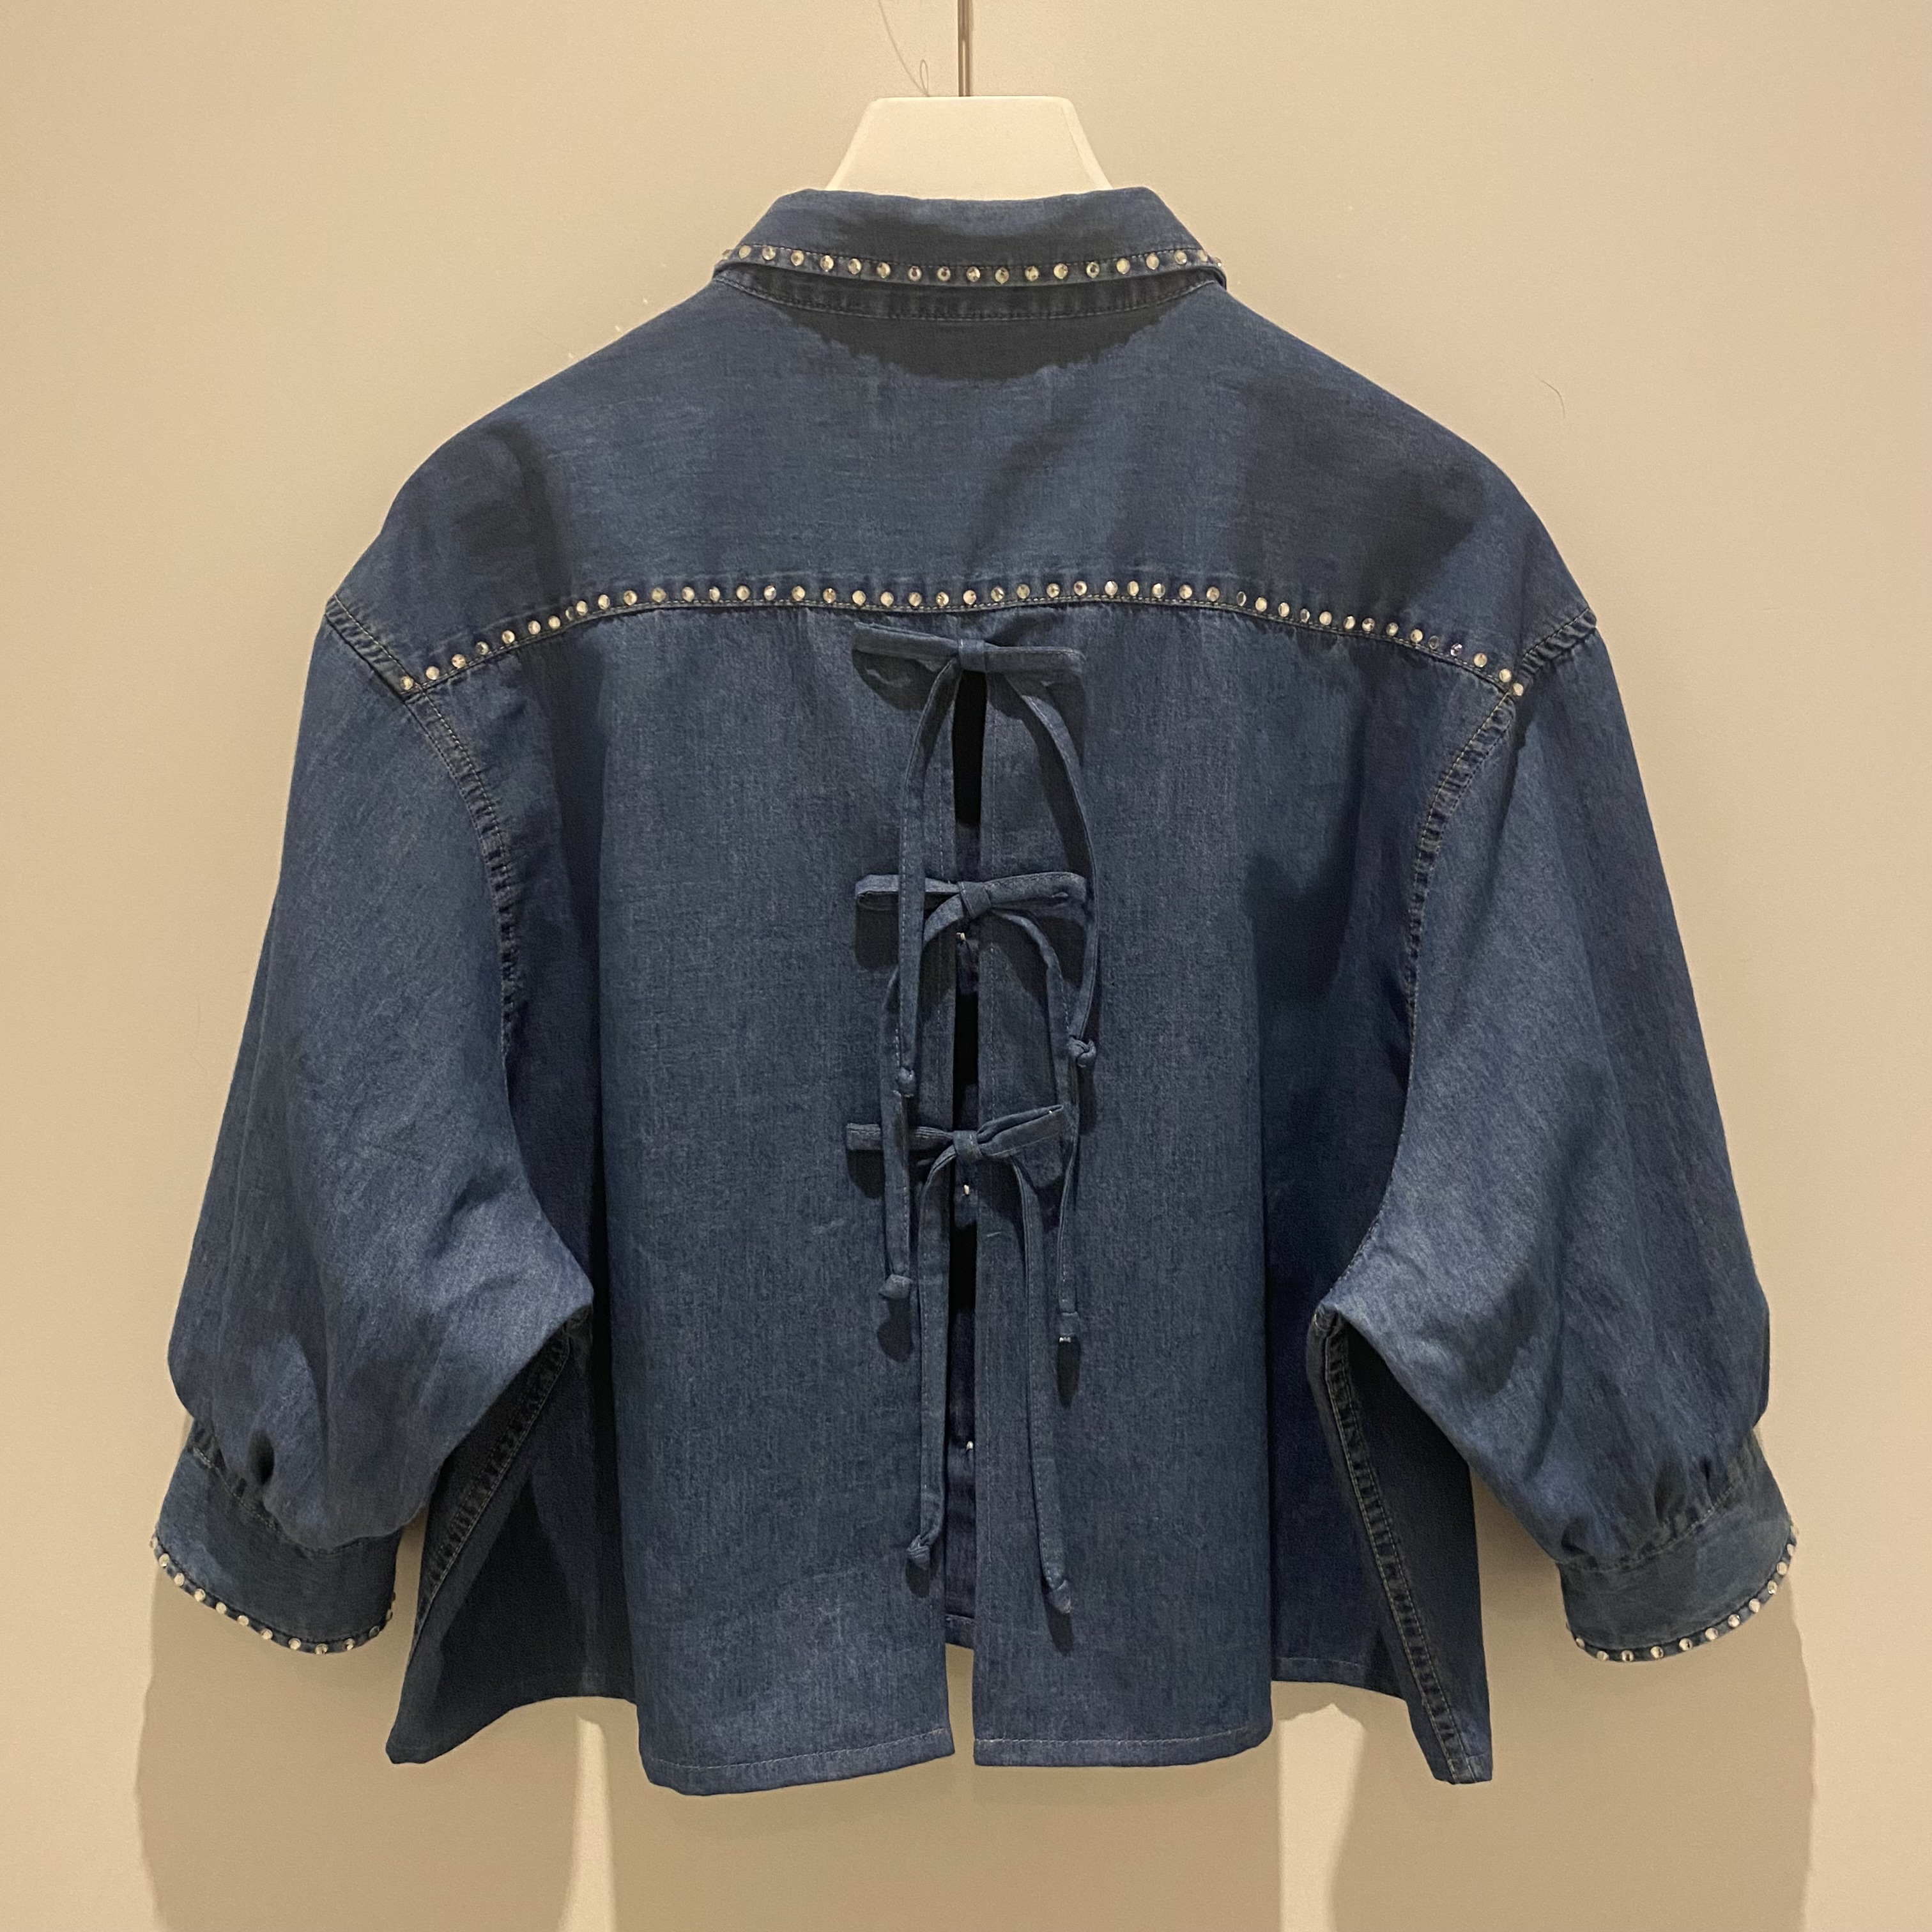
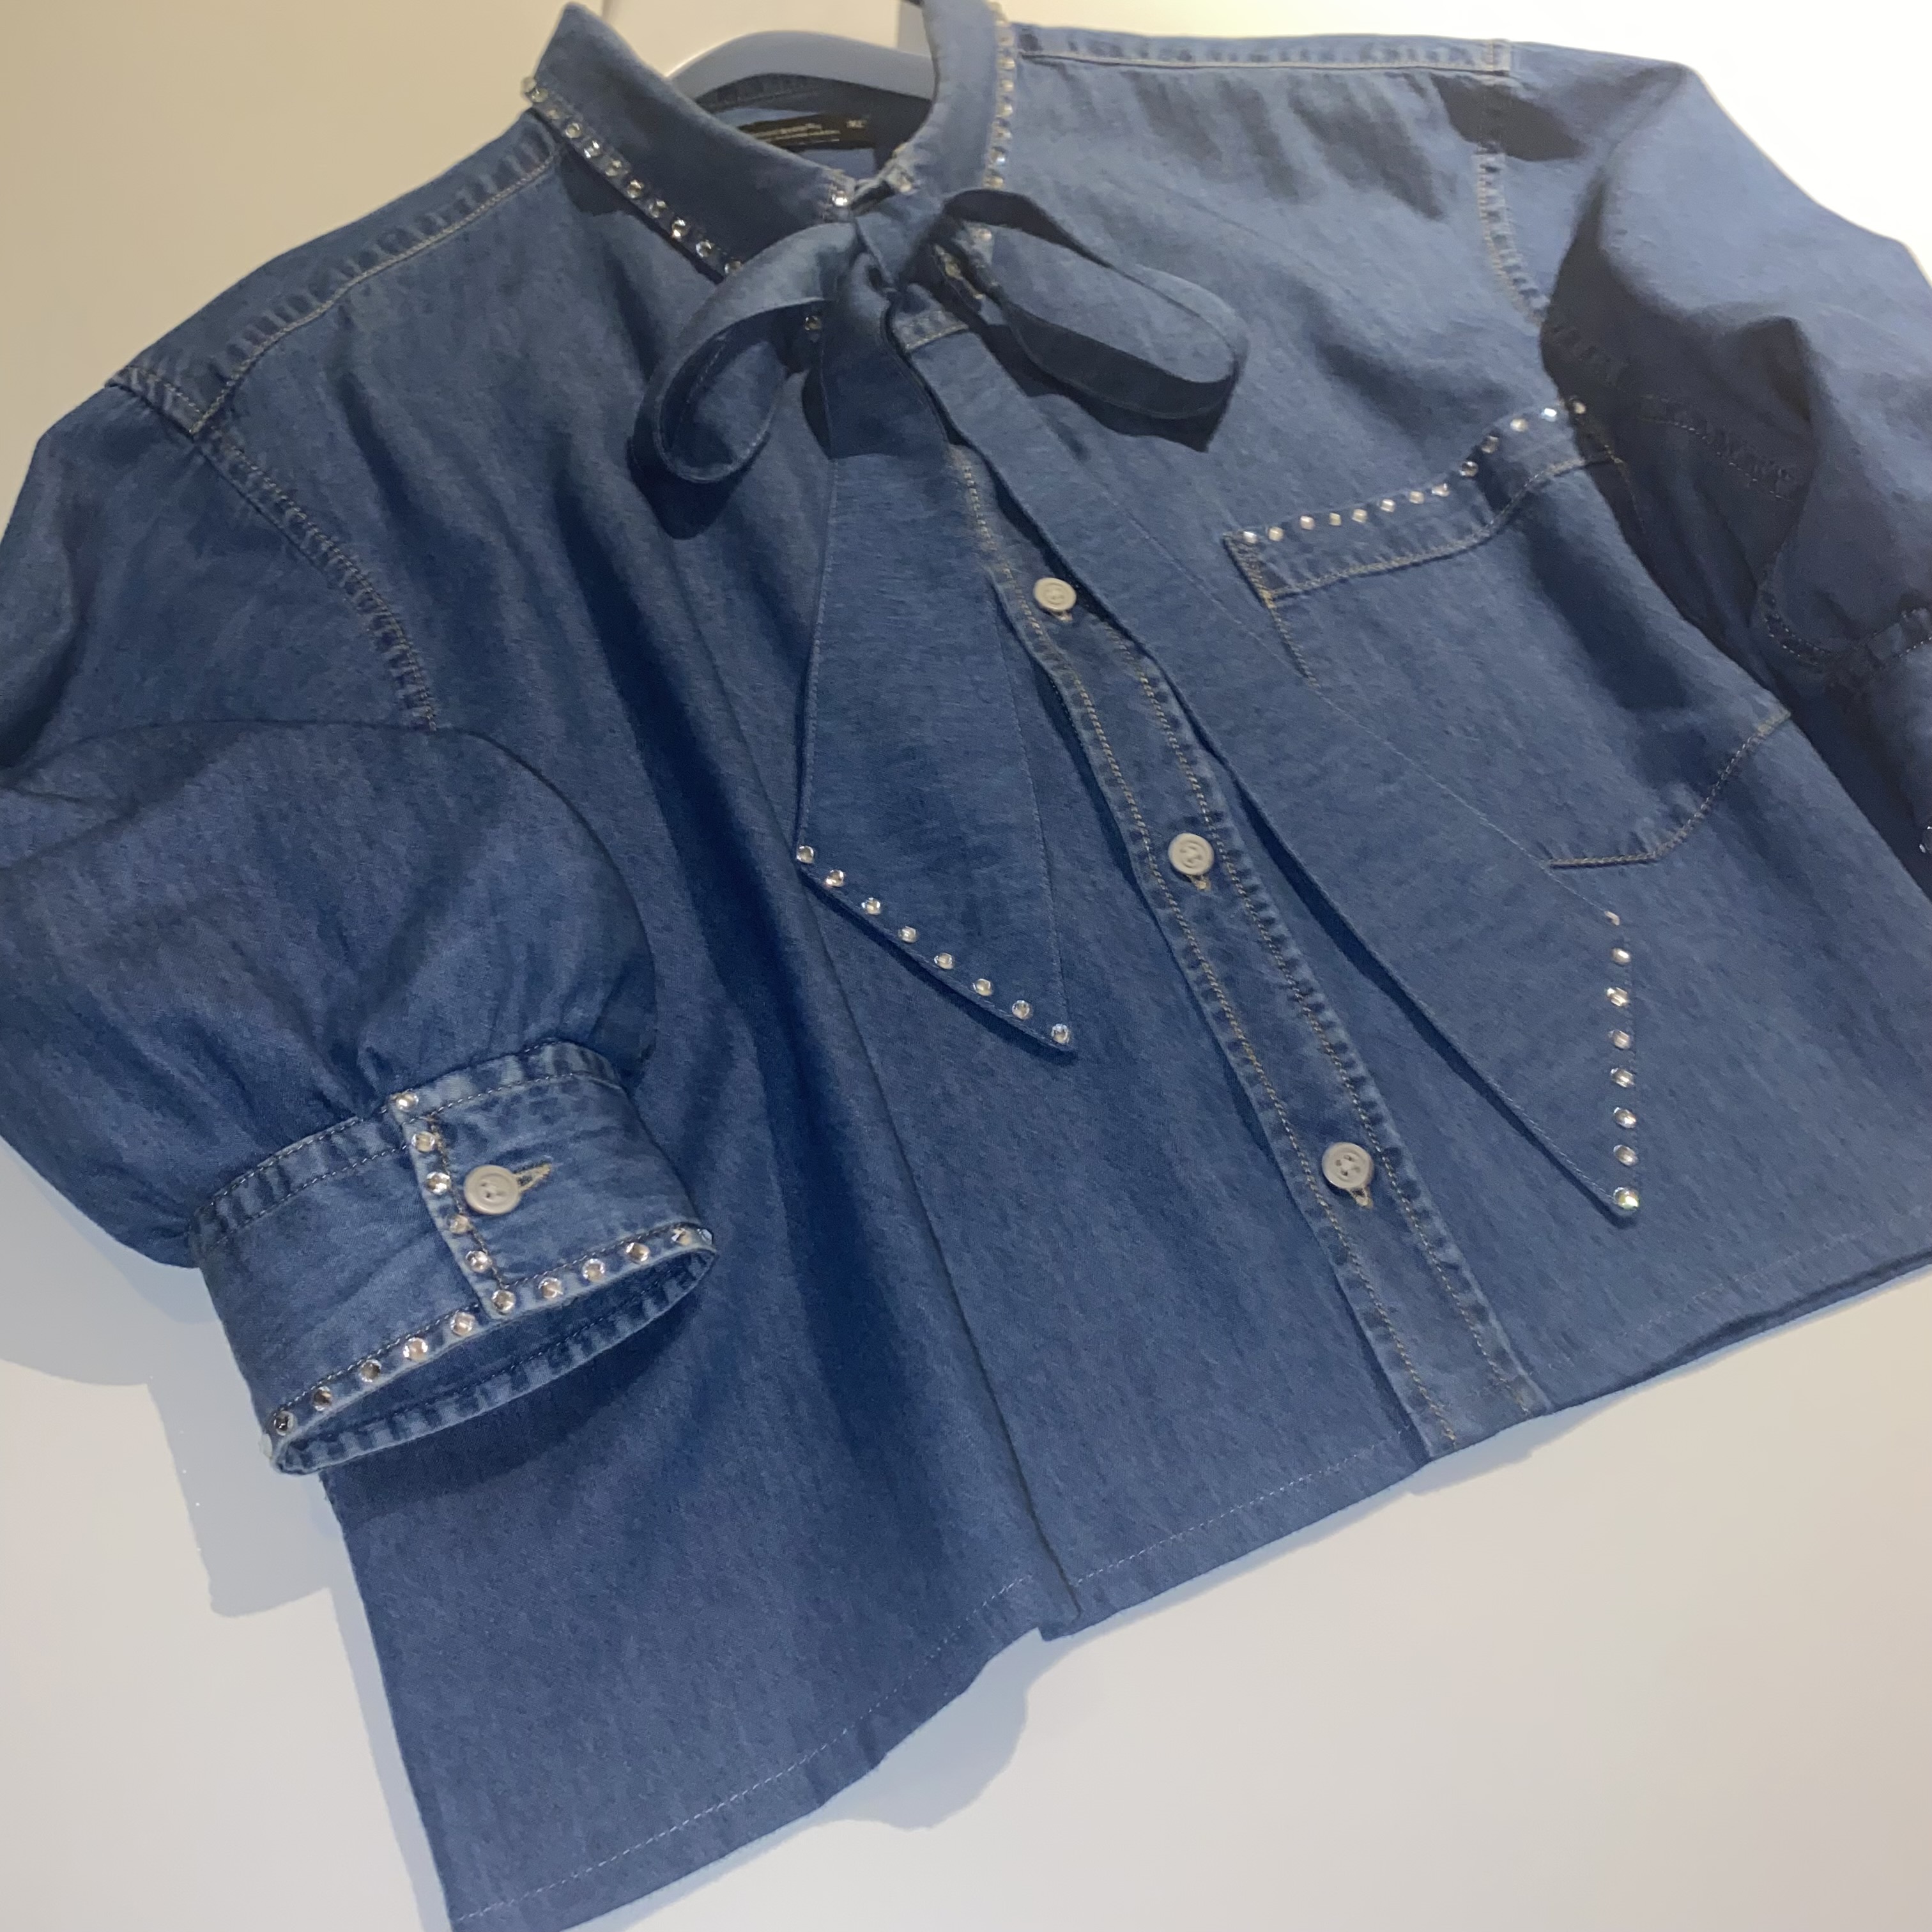
ReStyling is hip, hot, and happening! Why buy new clothes when you can breathe new life into an old garment with just a little creativity and a sewing machine? ReStyle blogger Renata de Rover shows you in this DIY tutorial how to transform a men’s shirt into a stylish women’s blouse and Rose shows you her new amazing look.
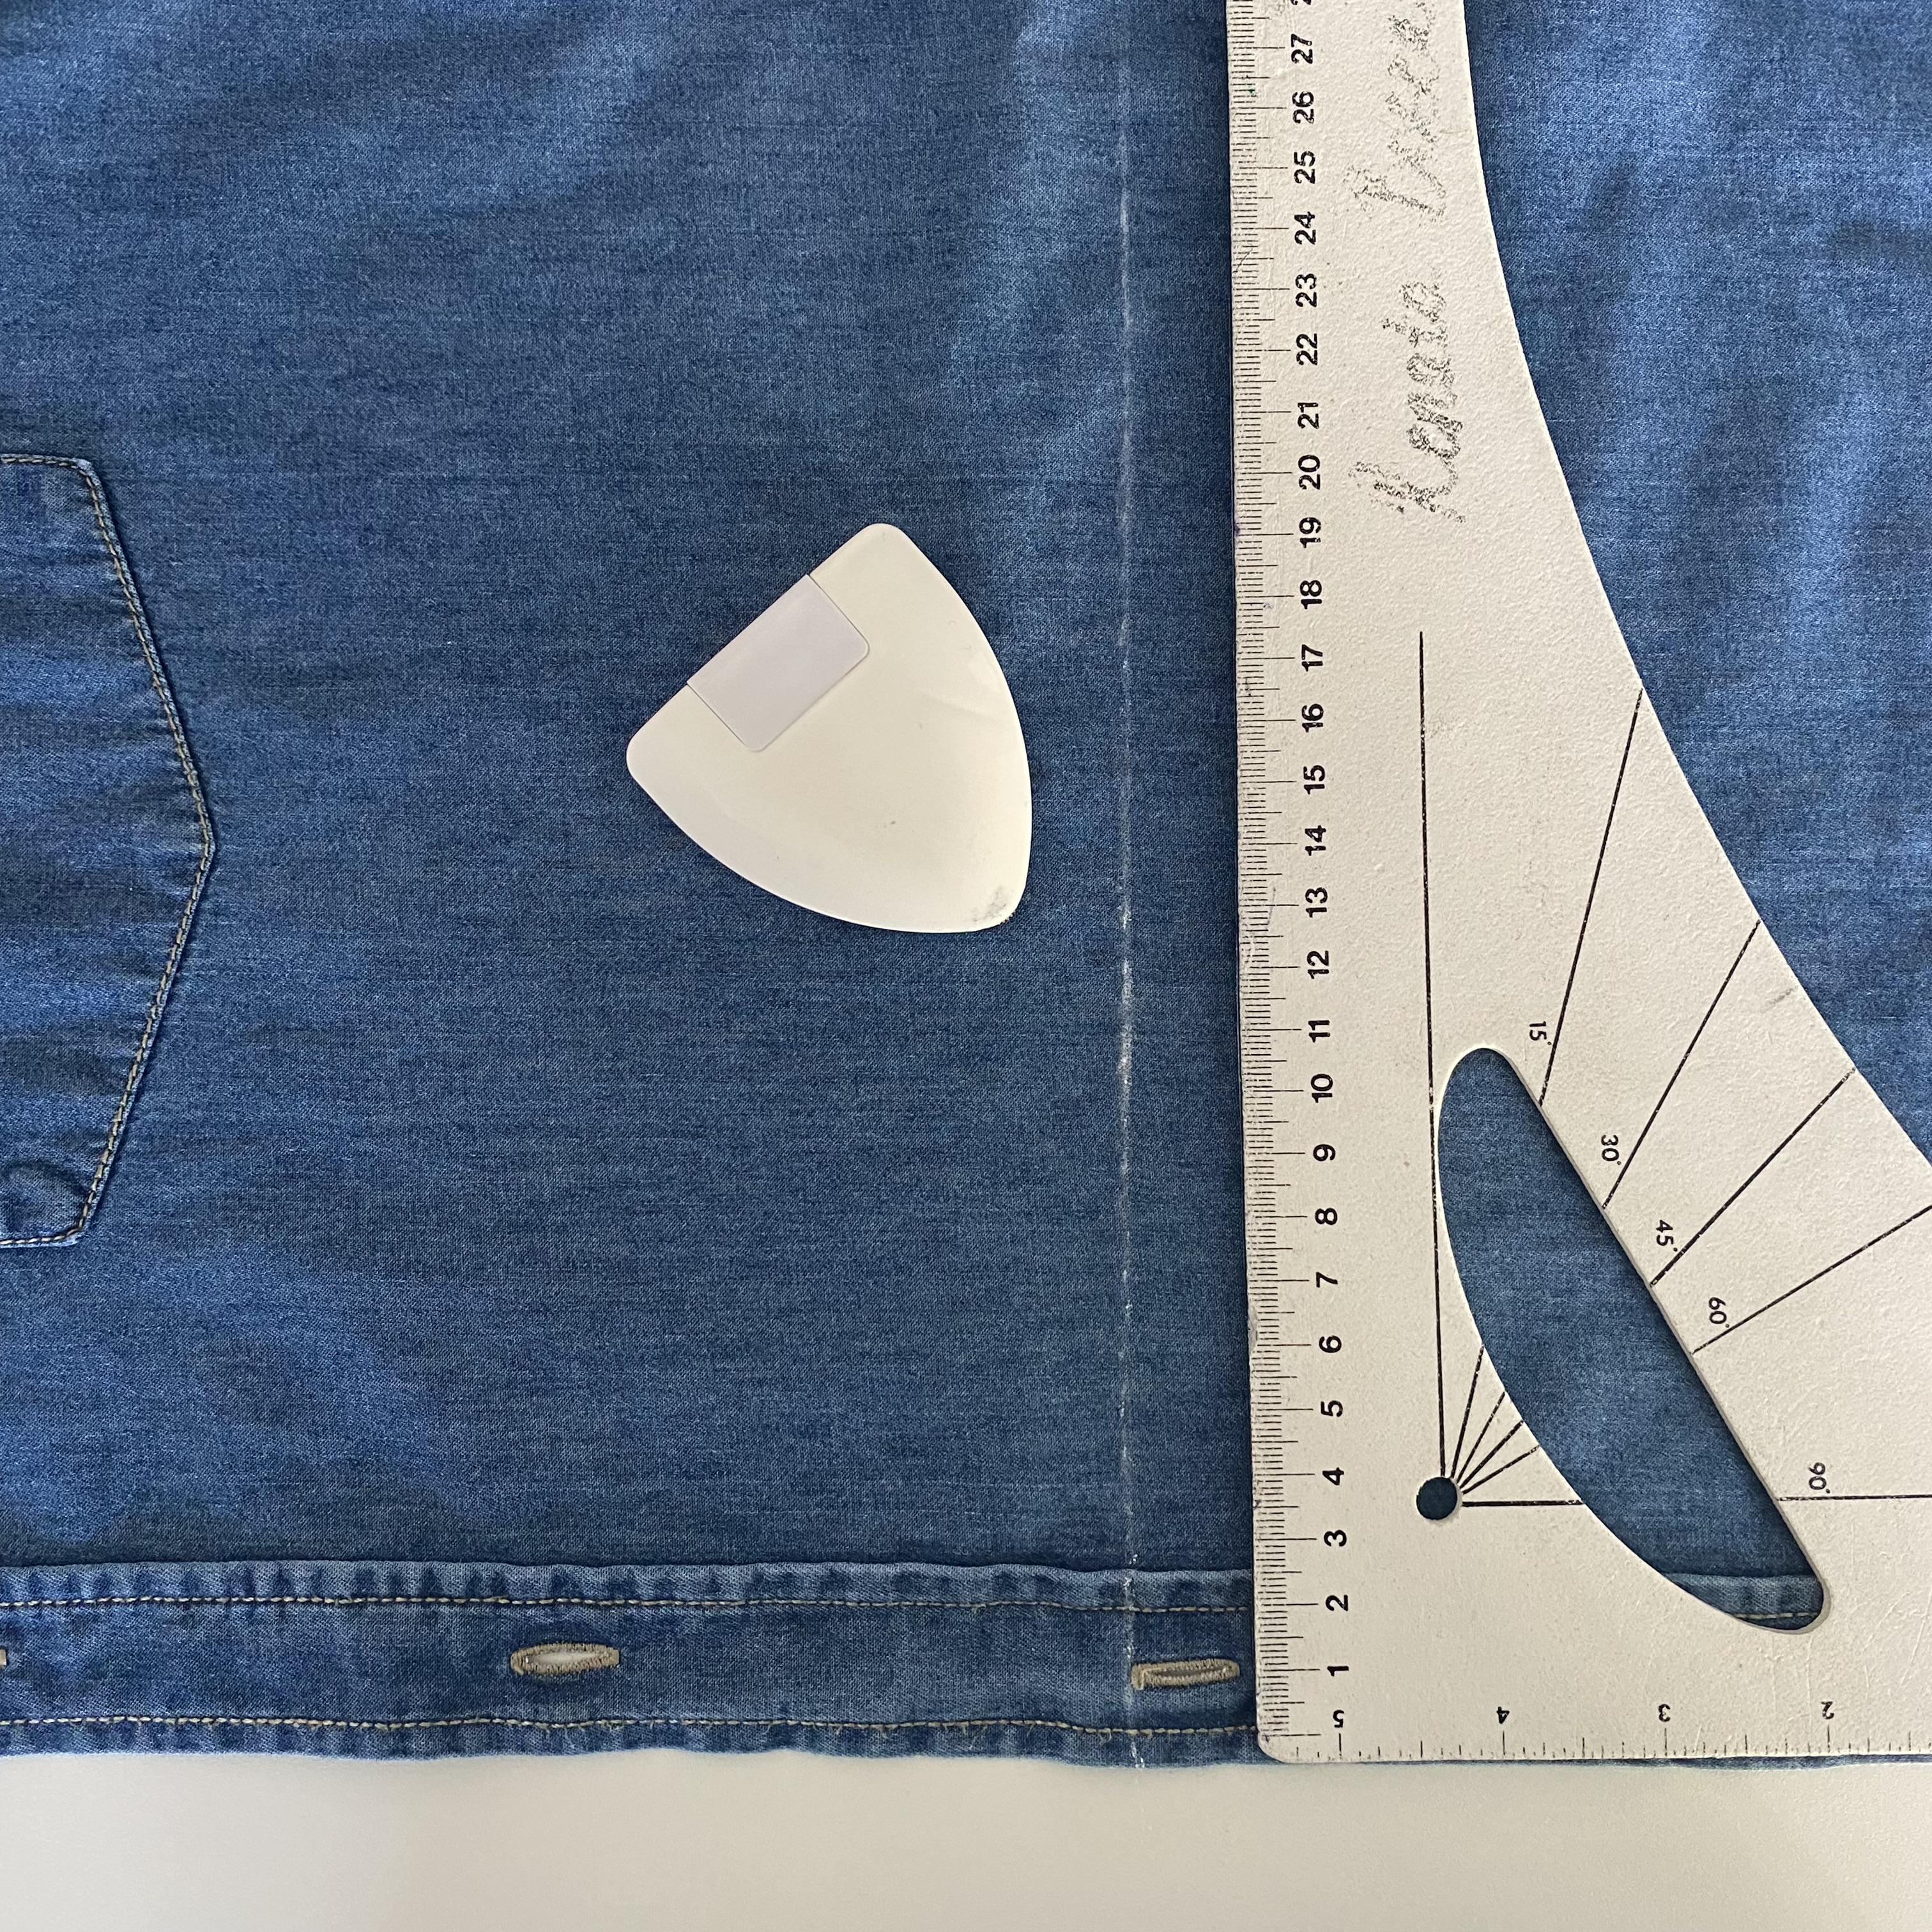
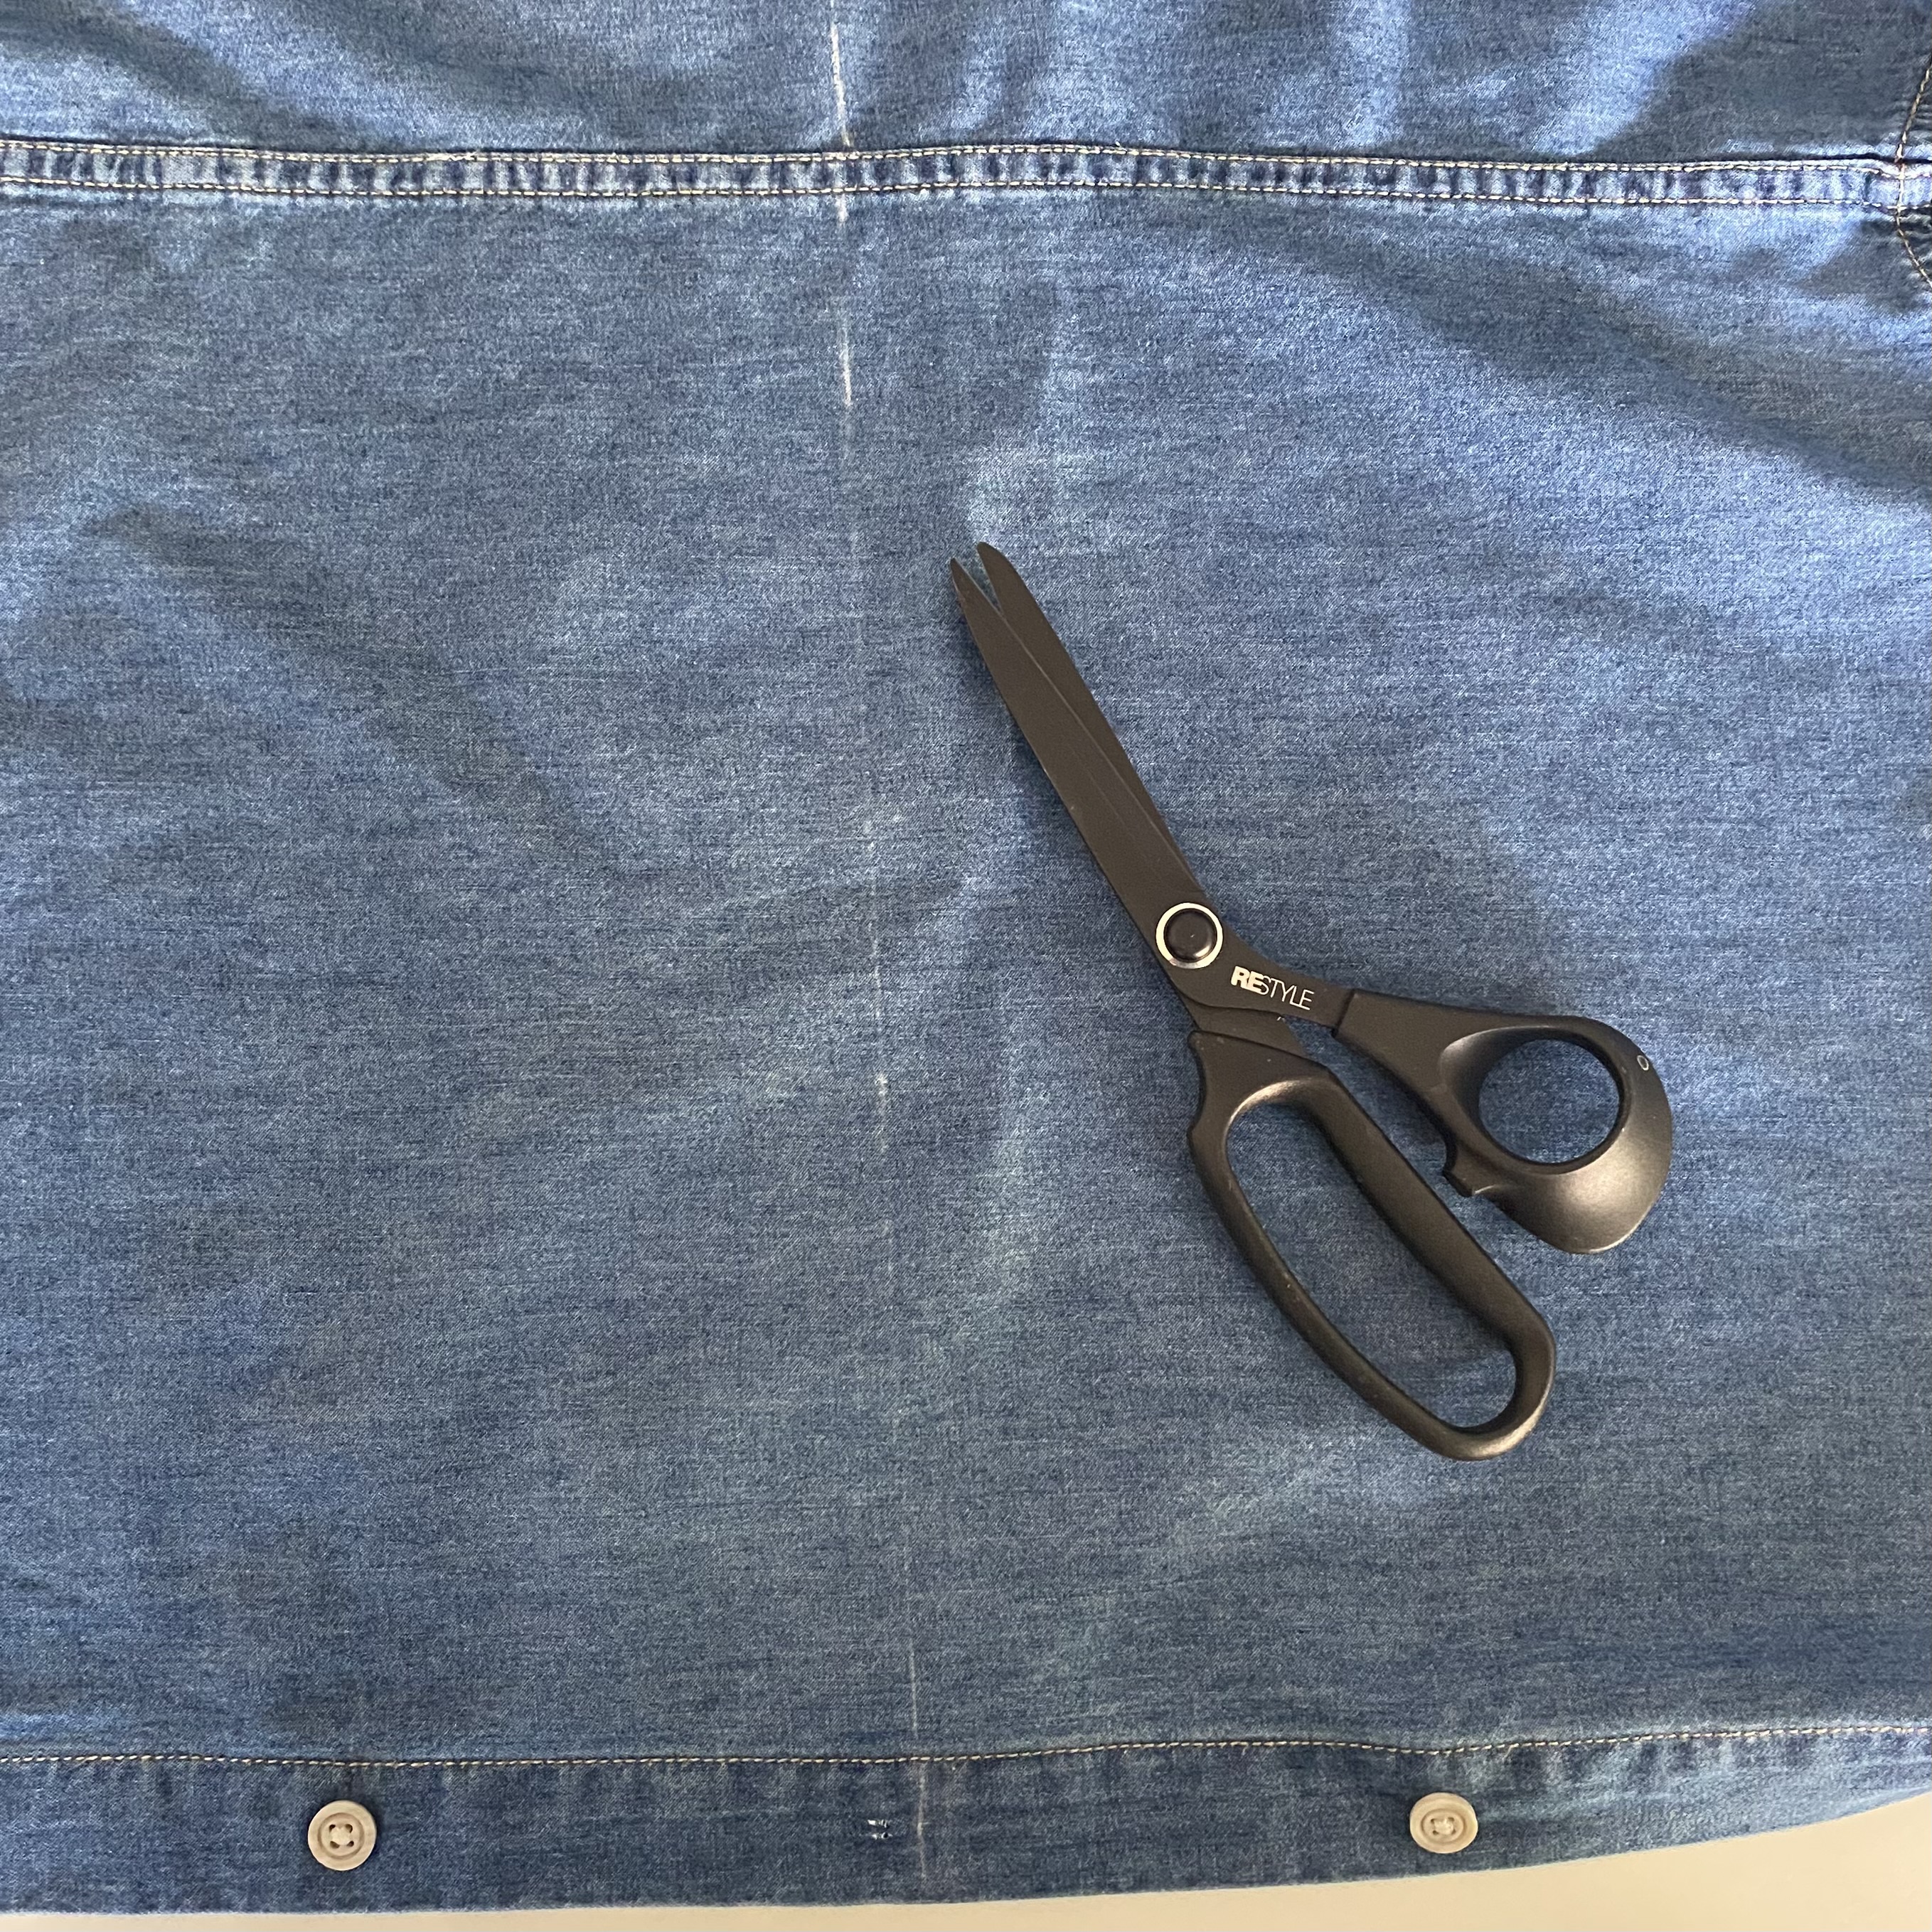
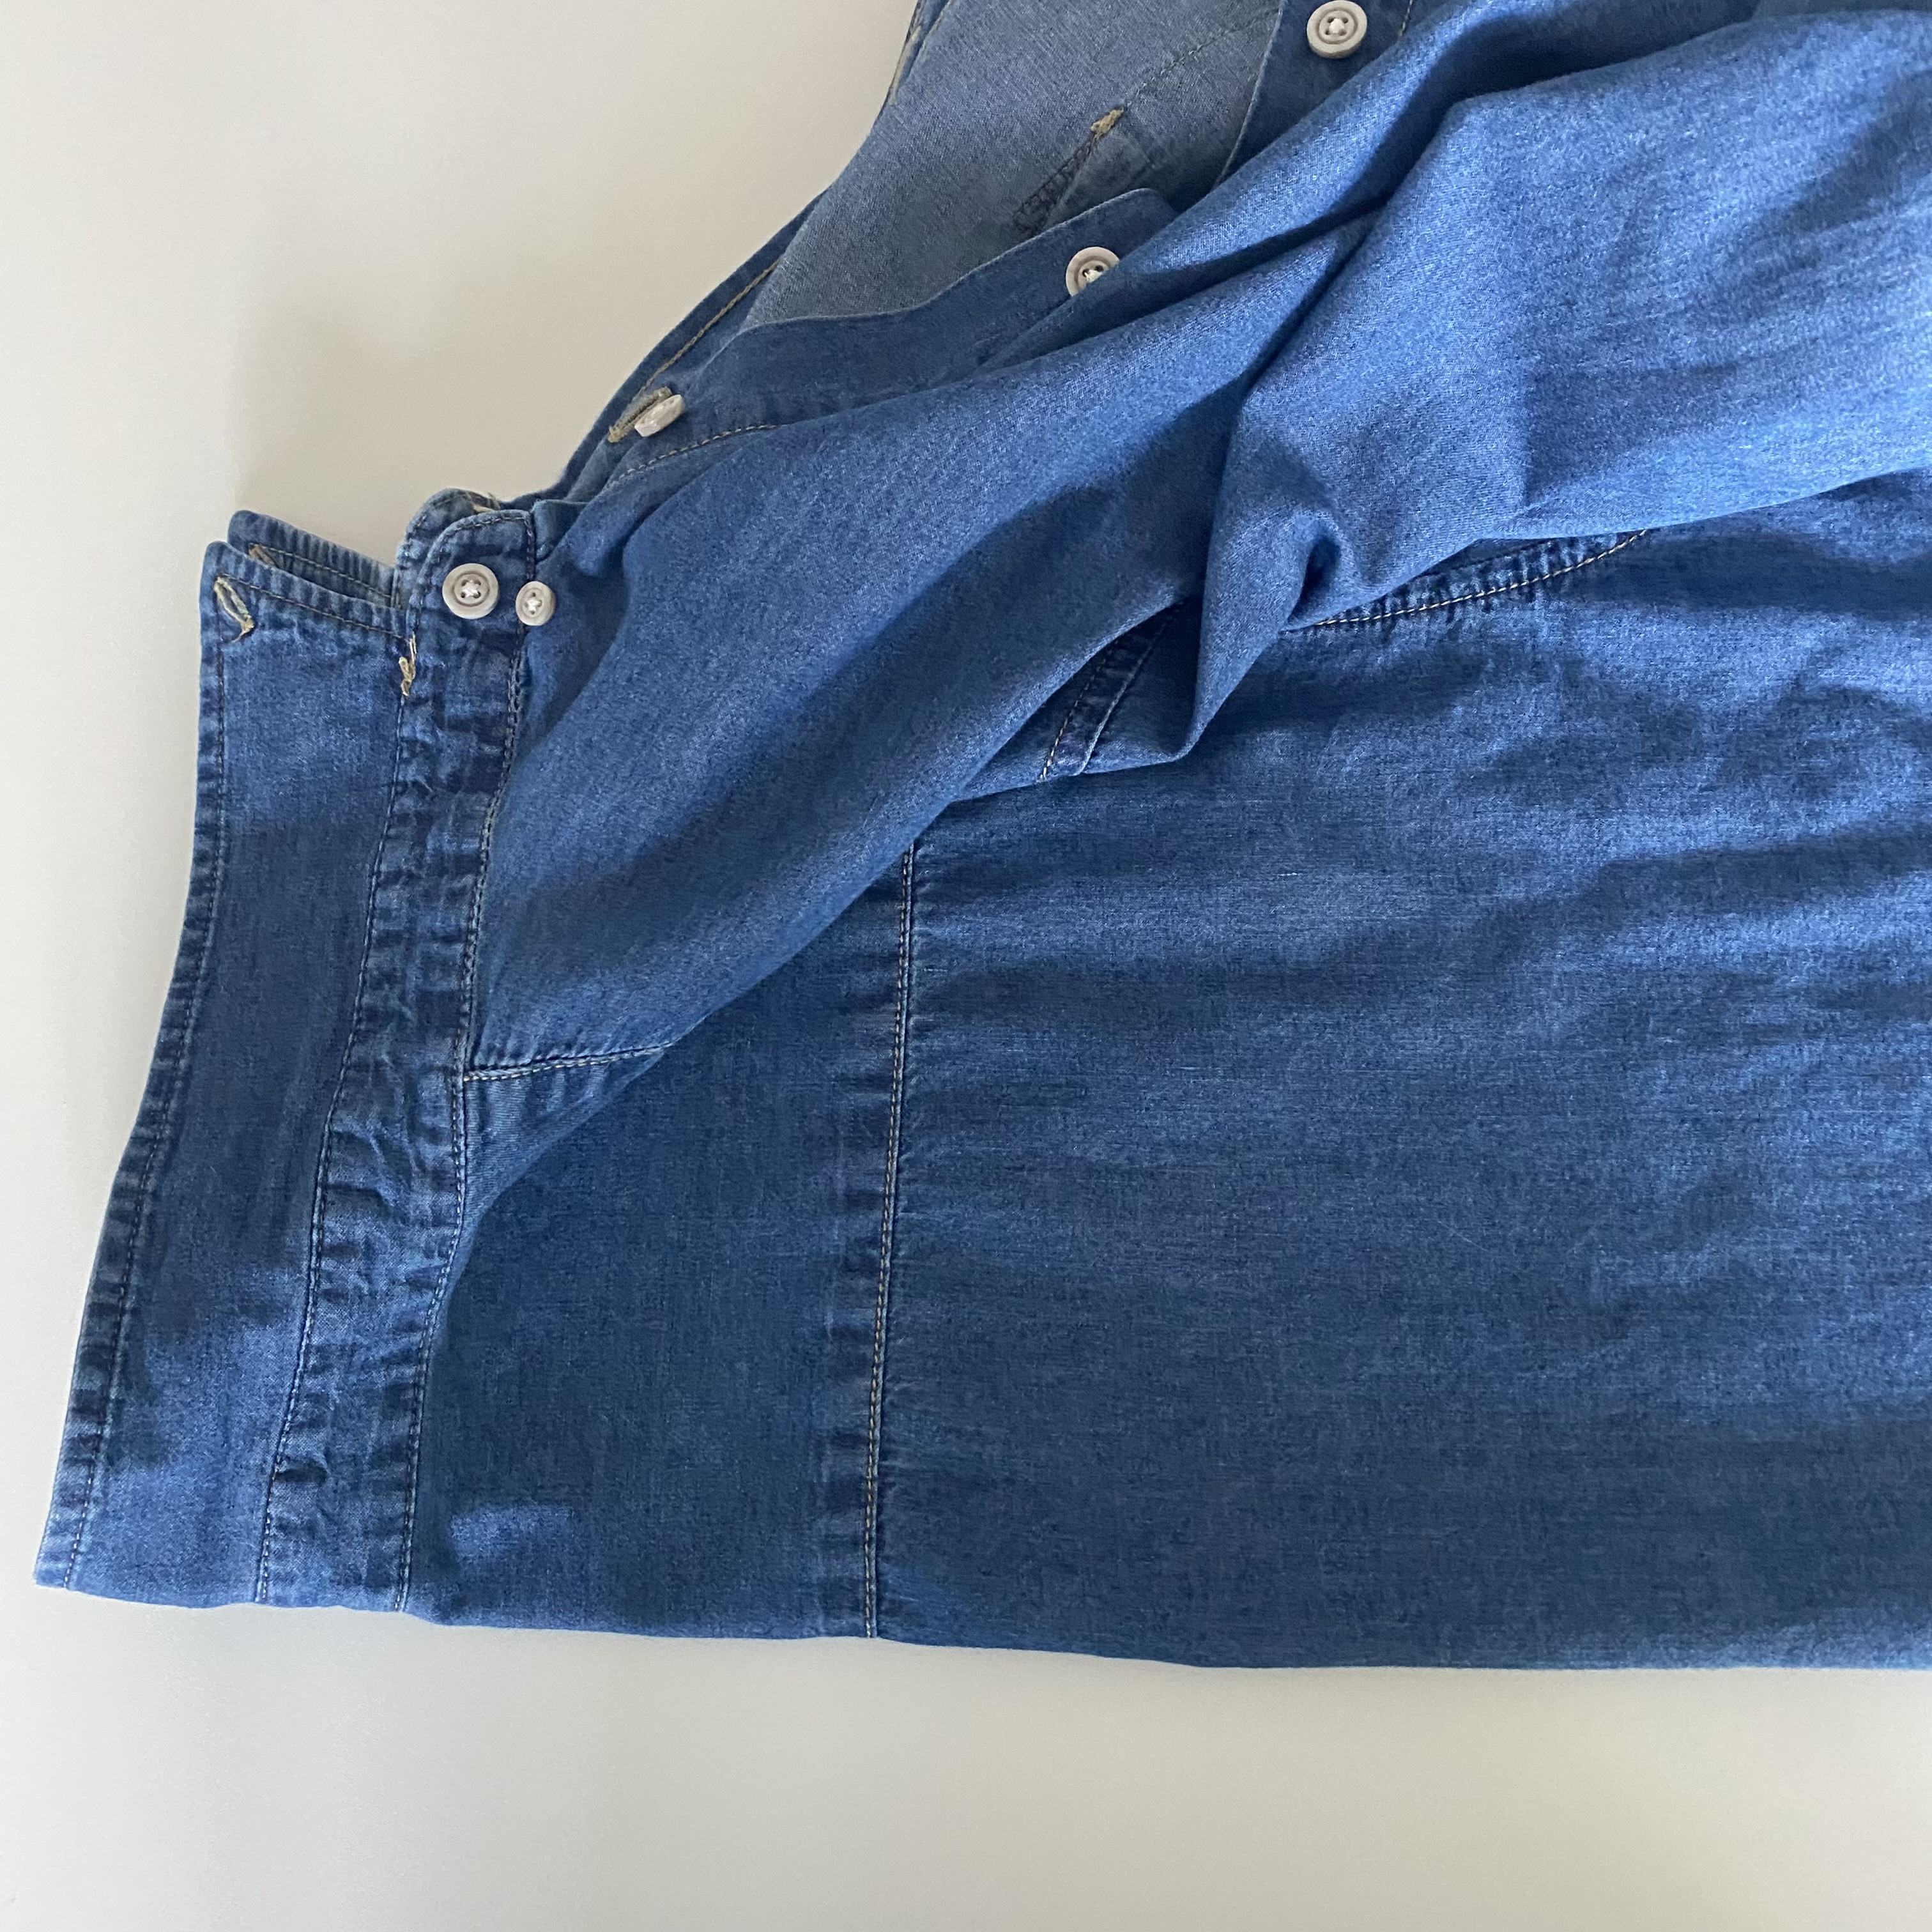
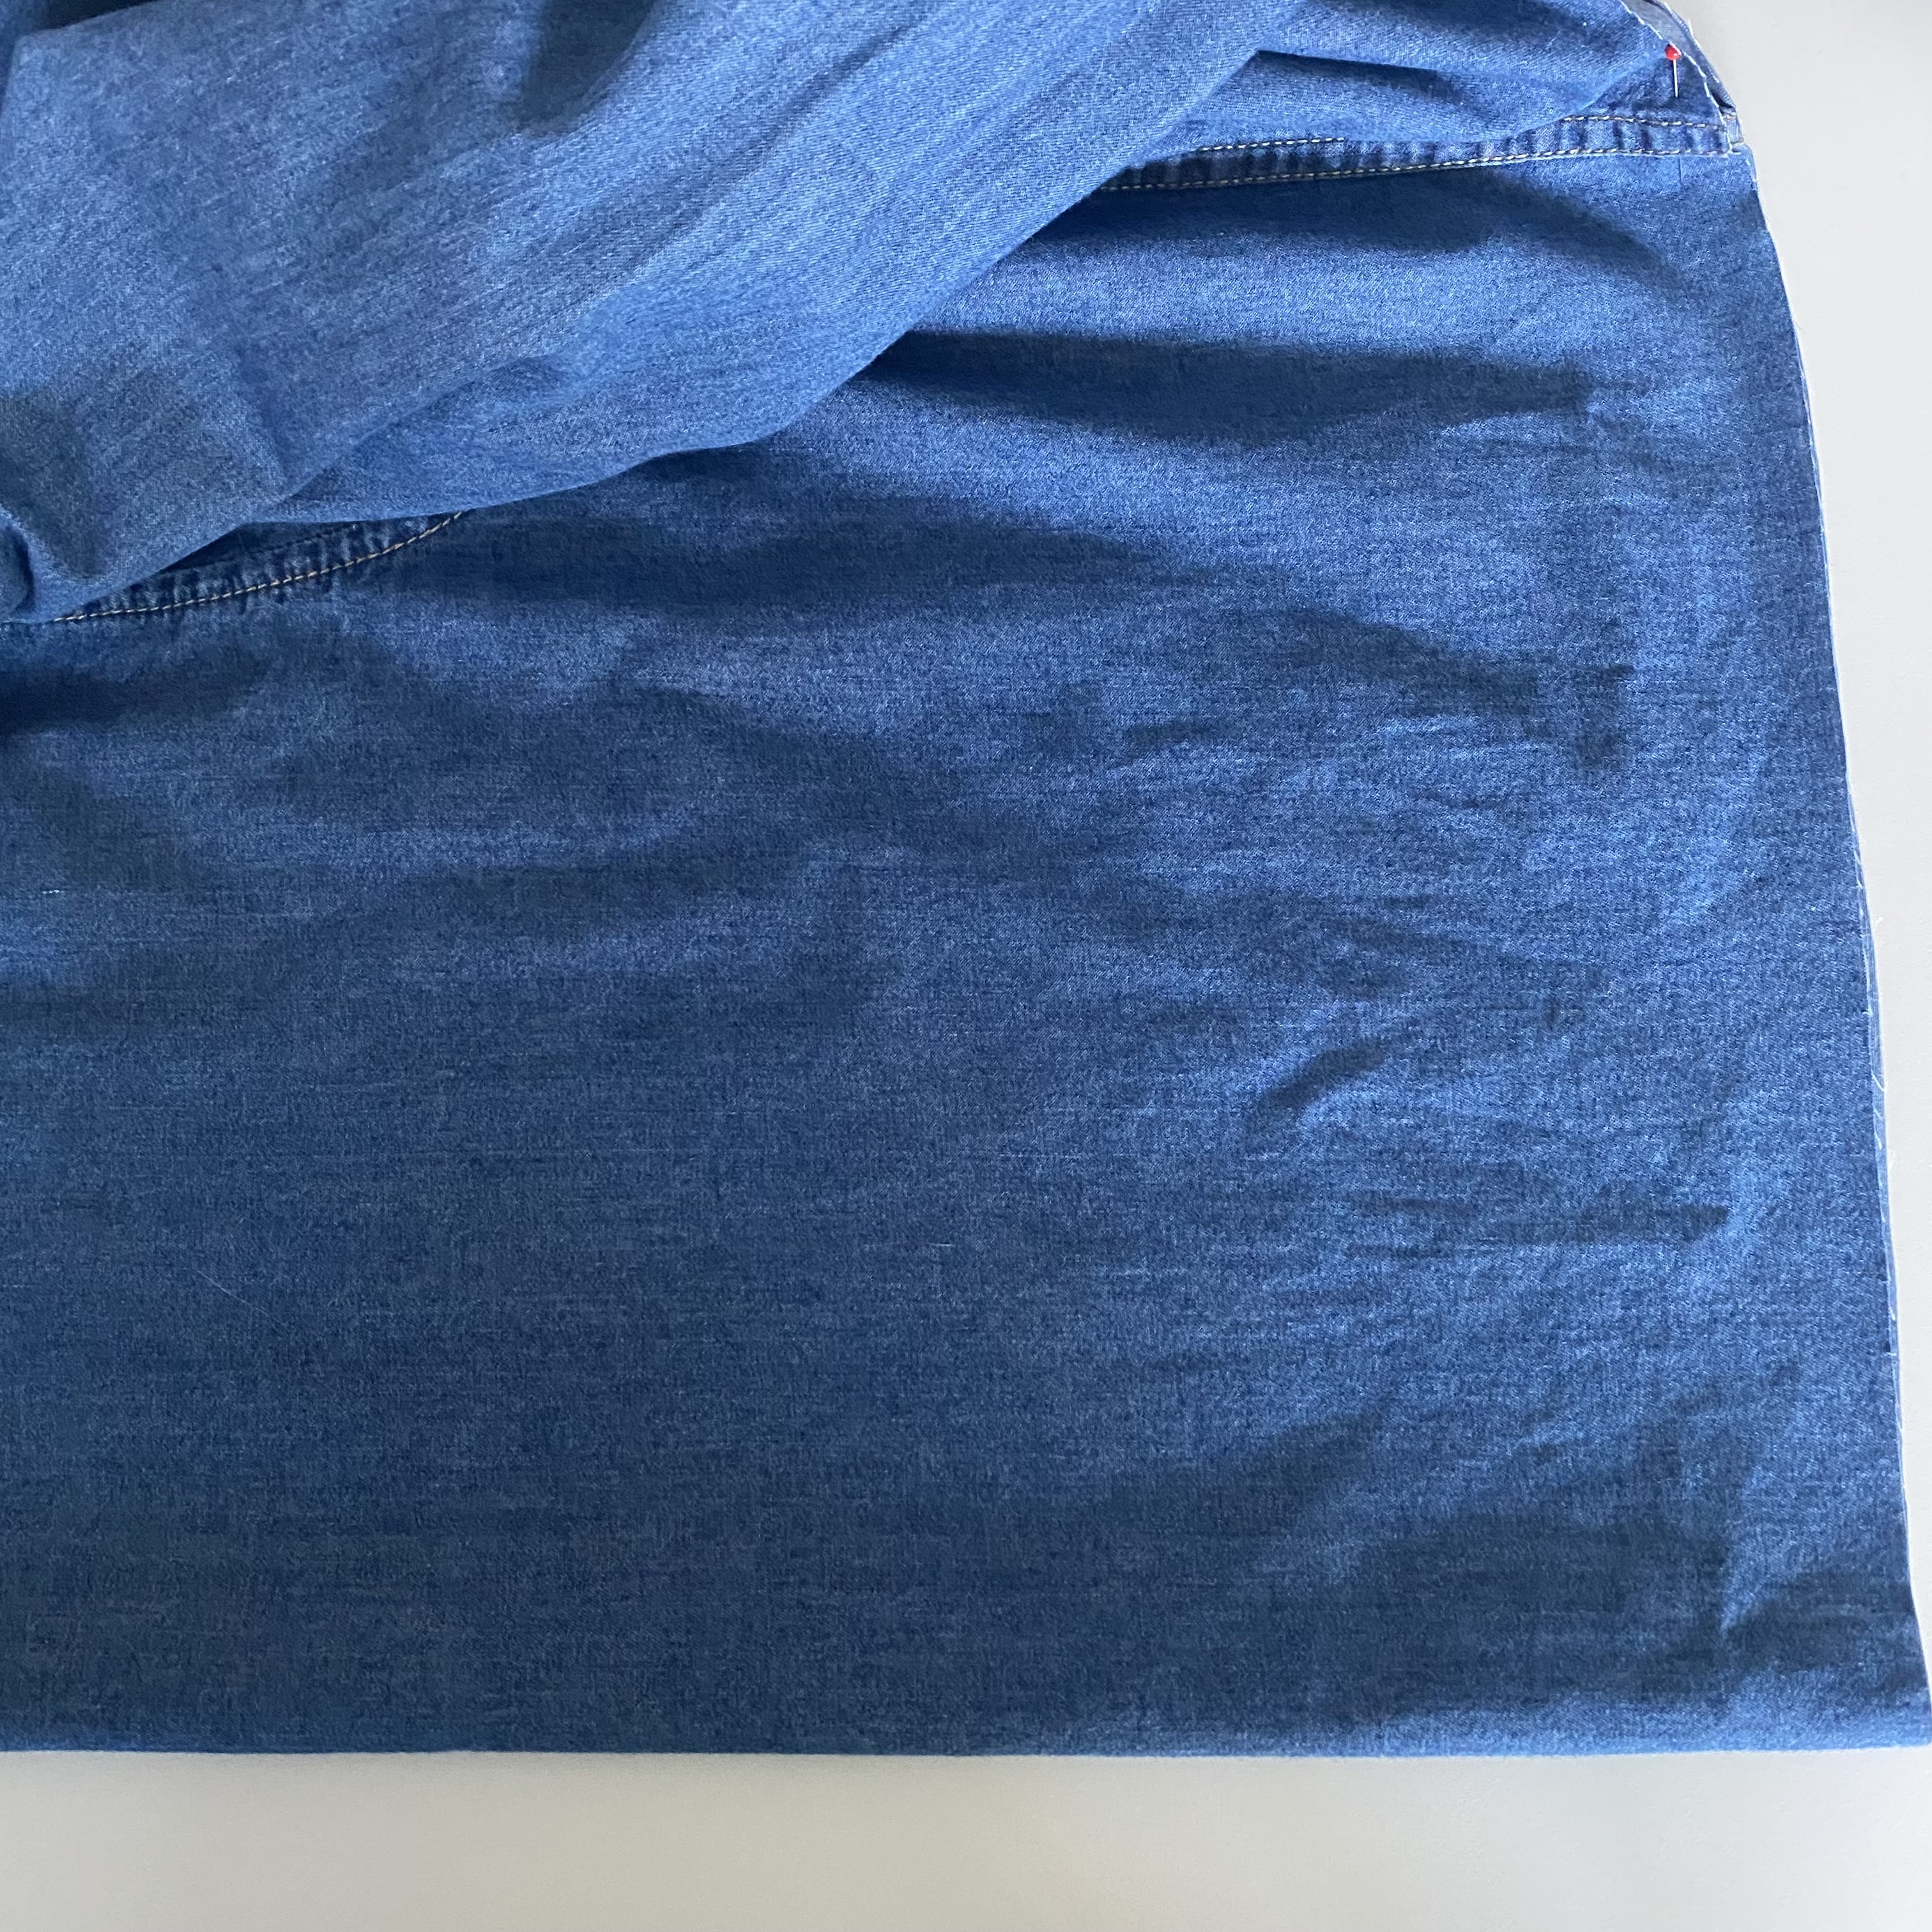
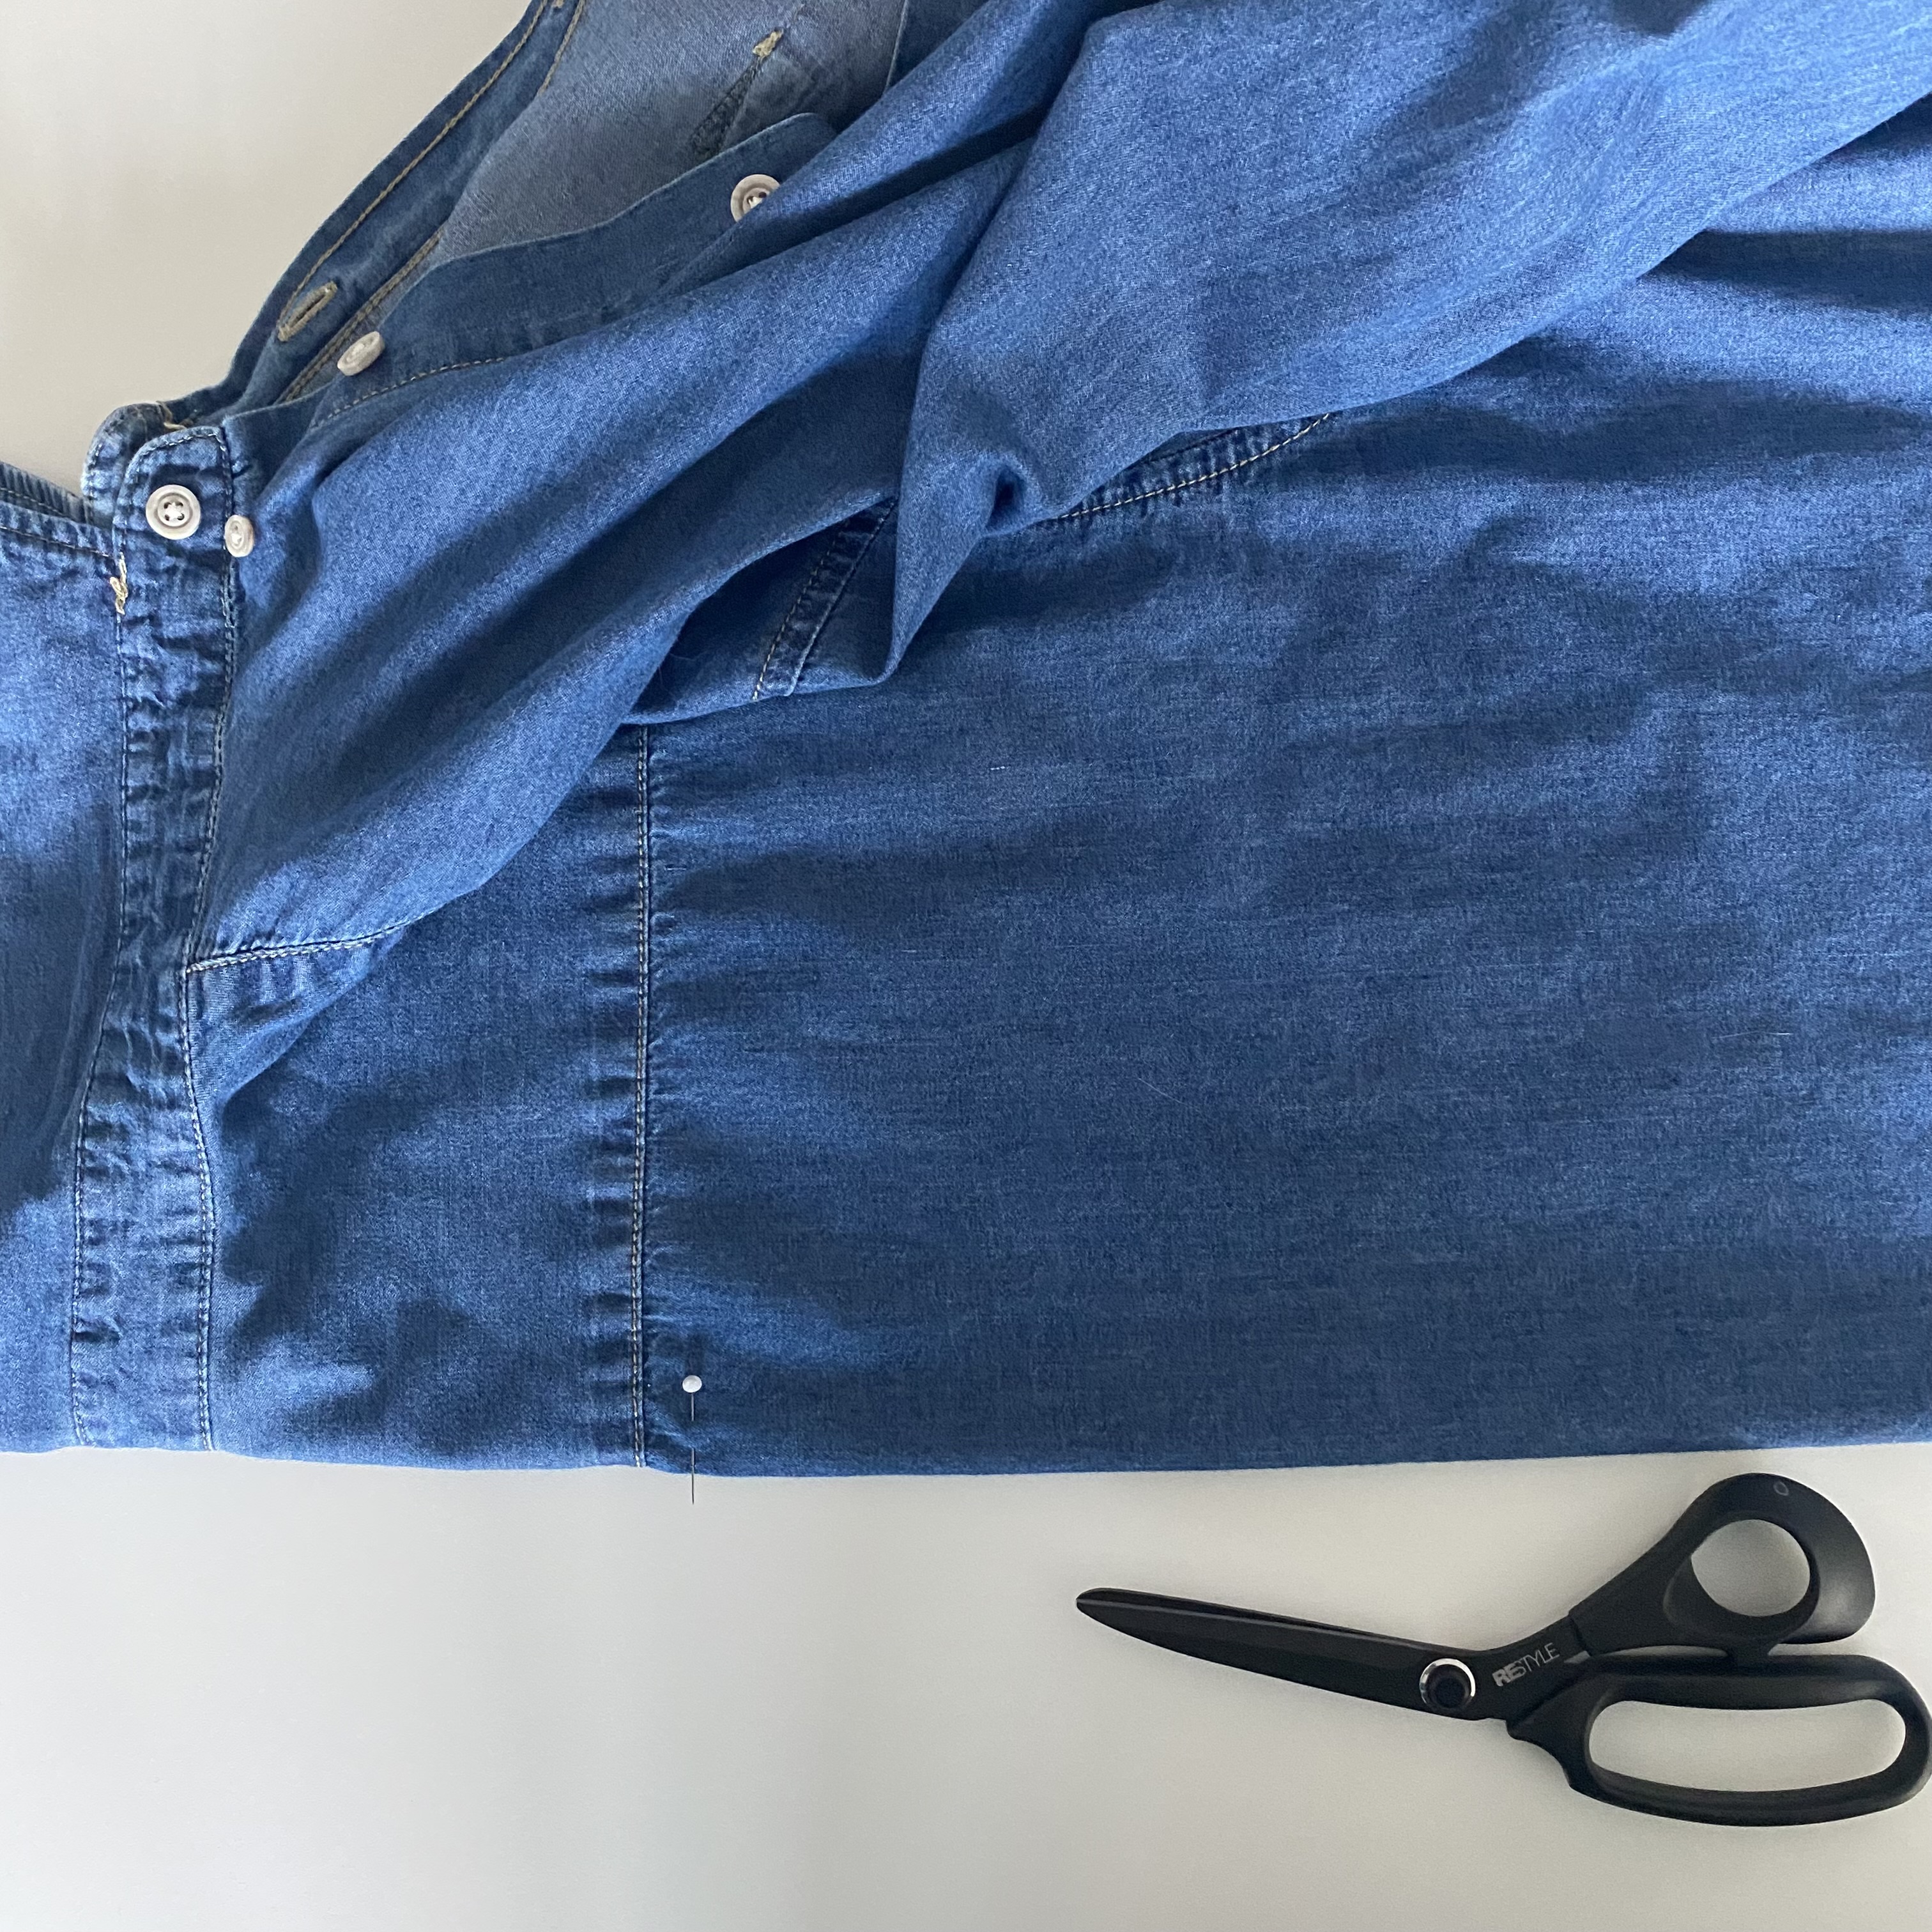
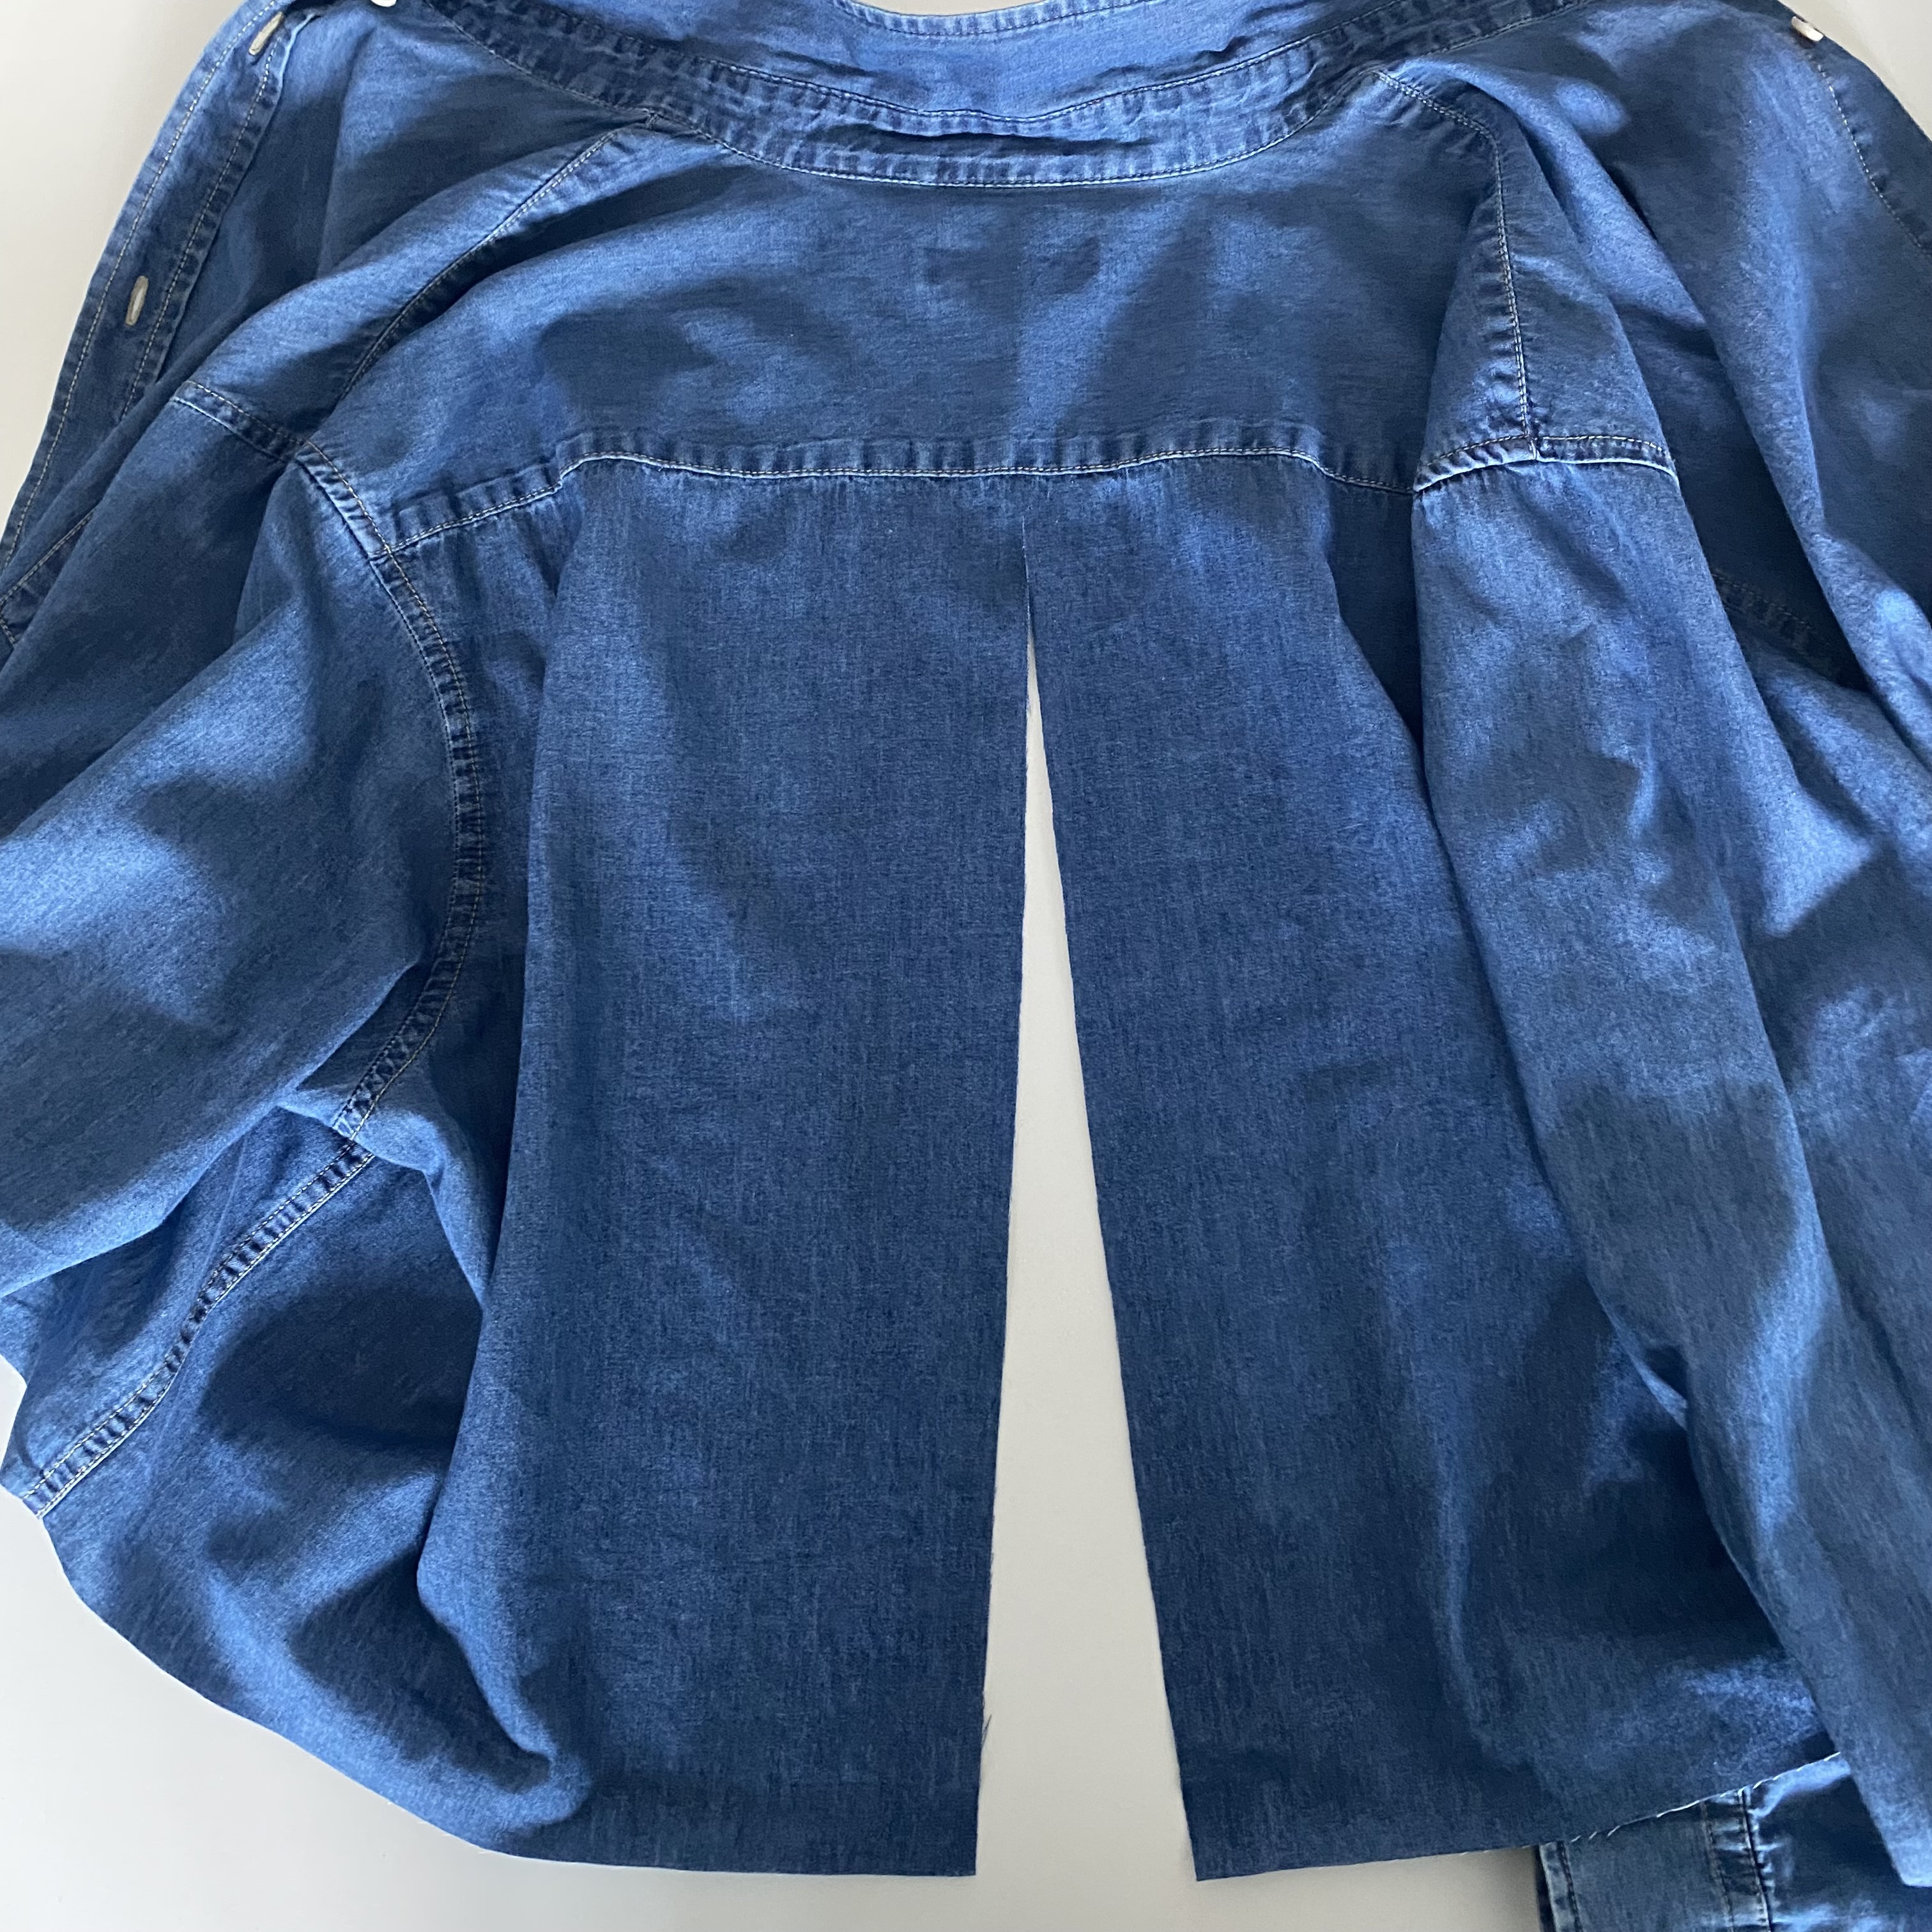
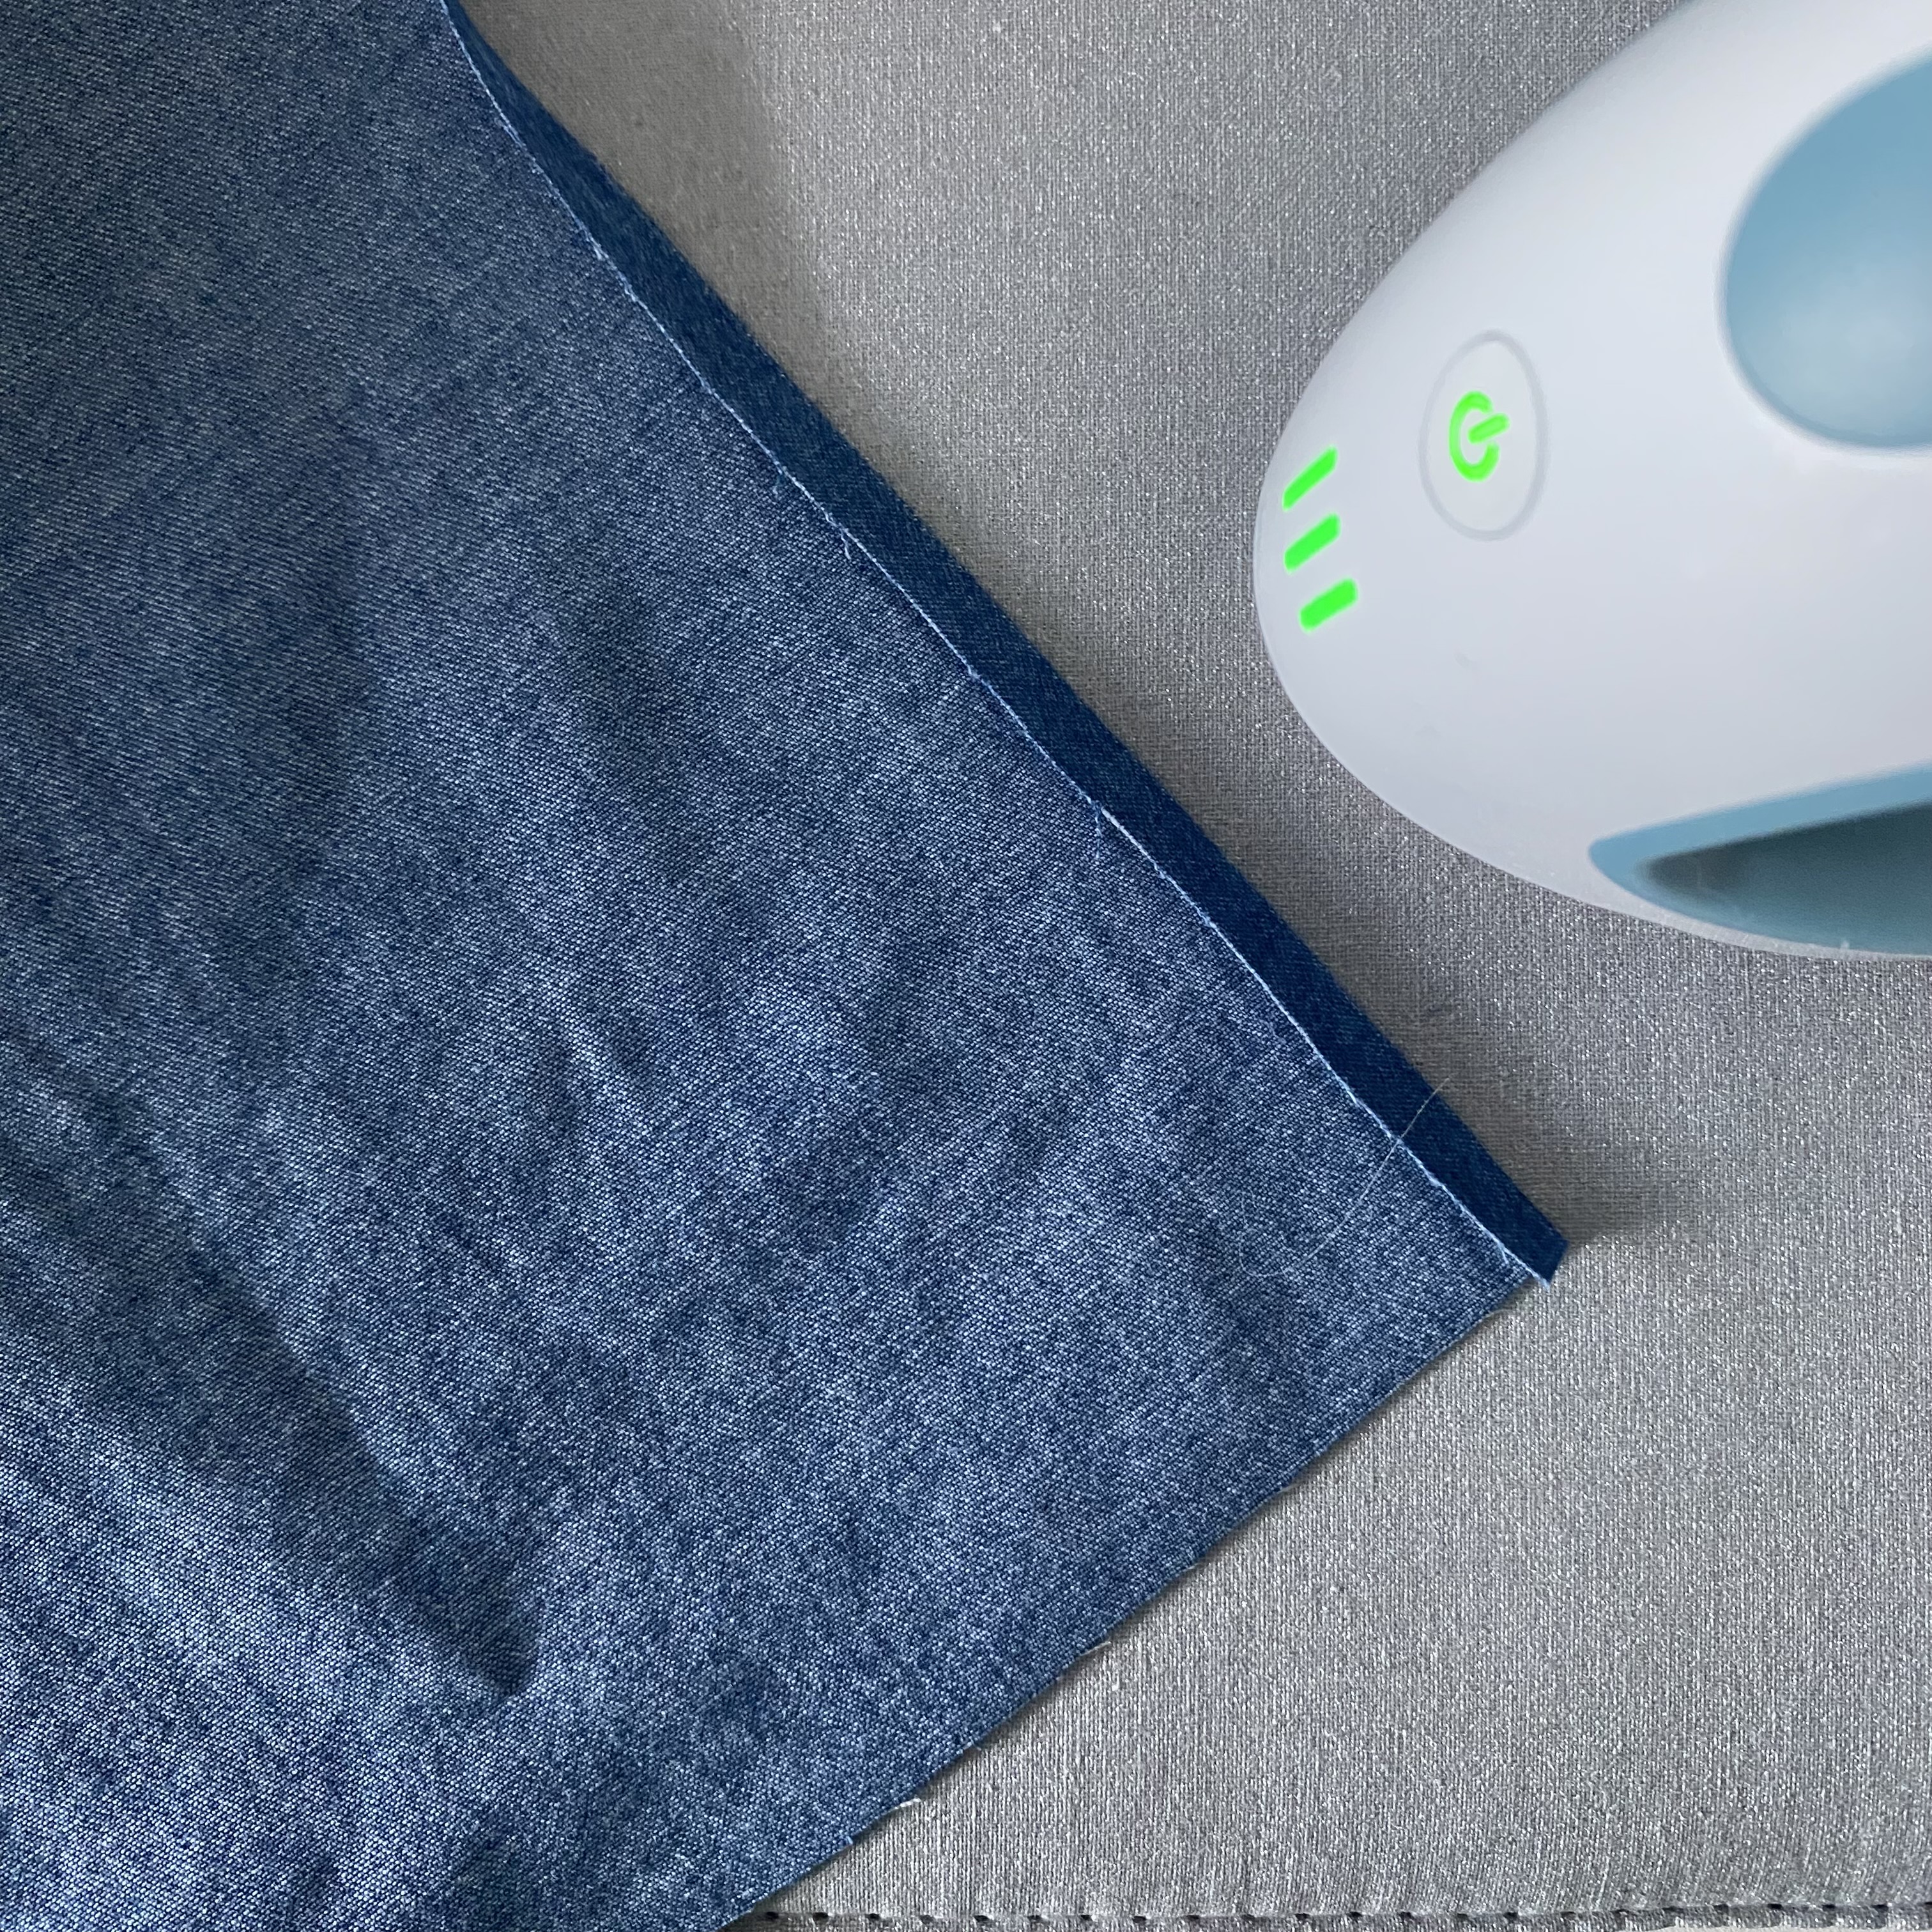
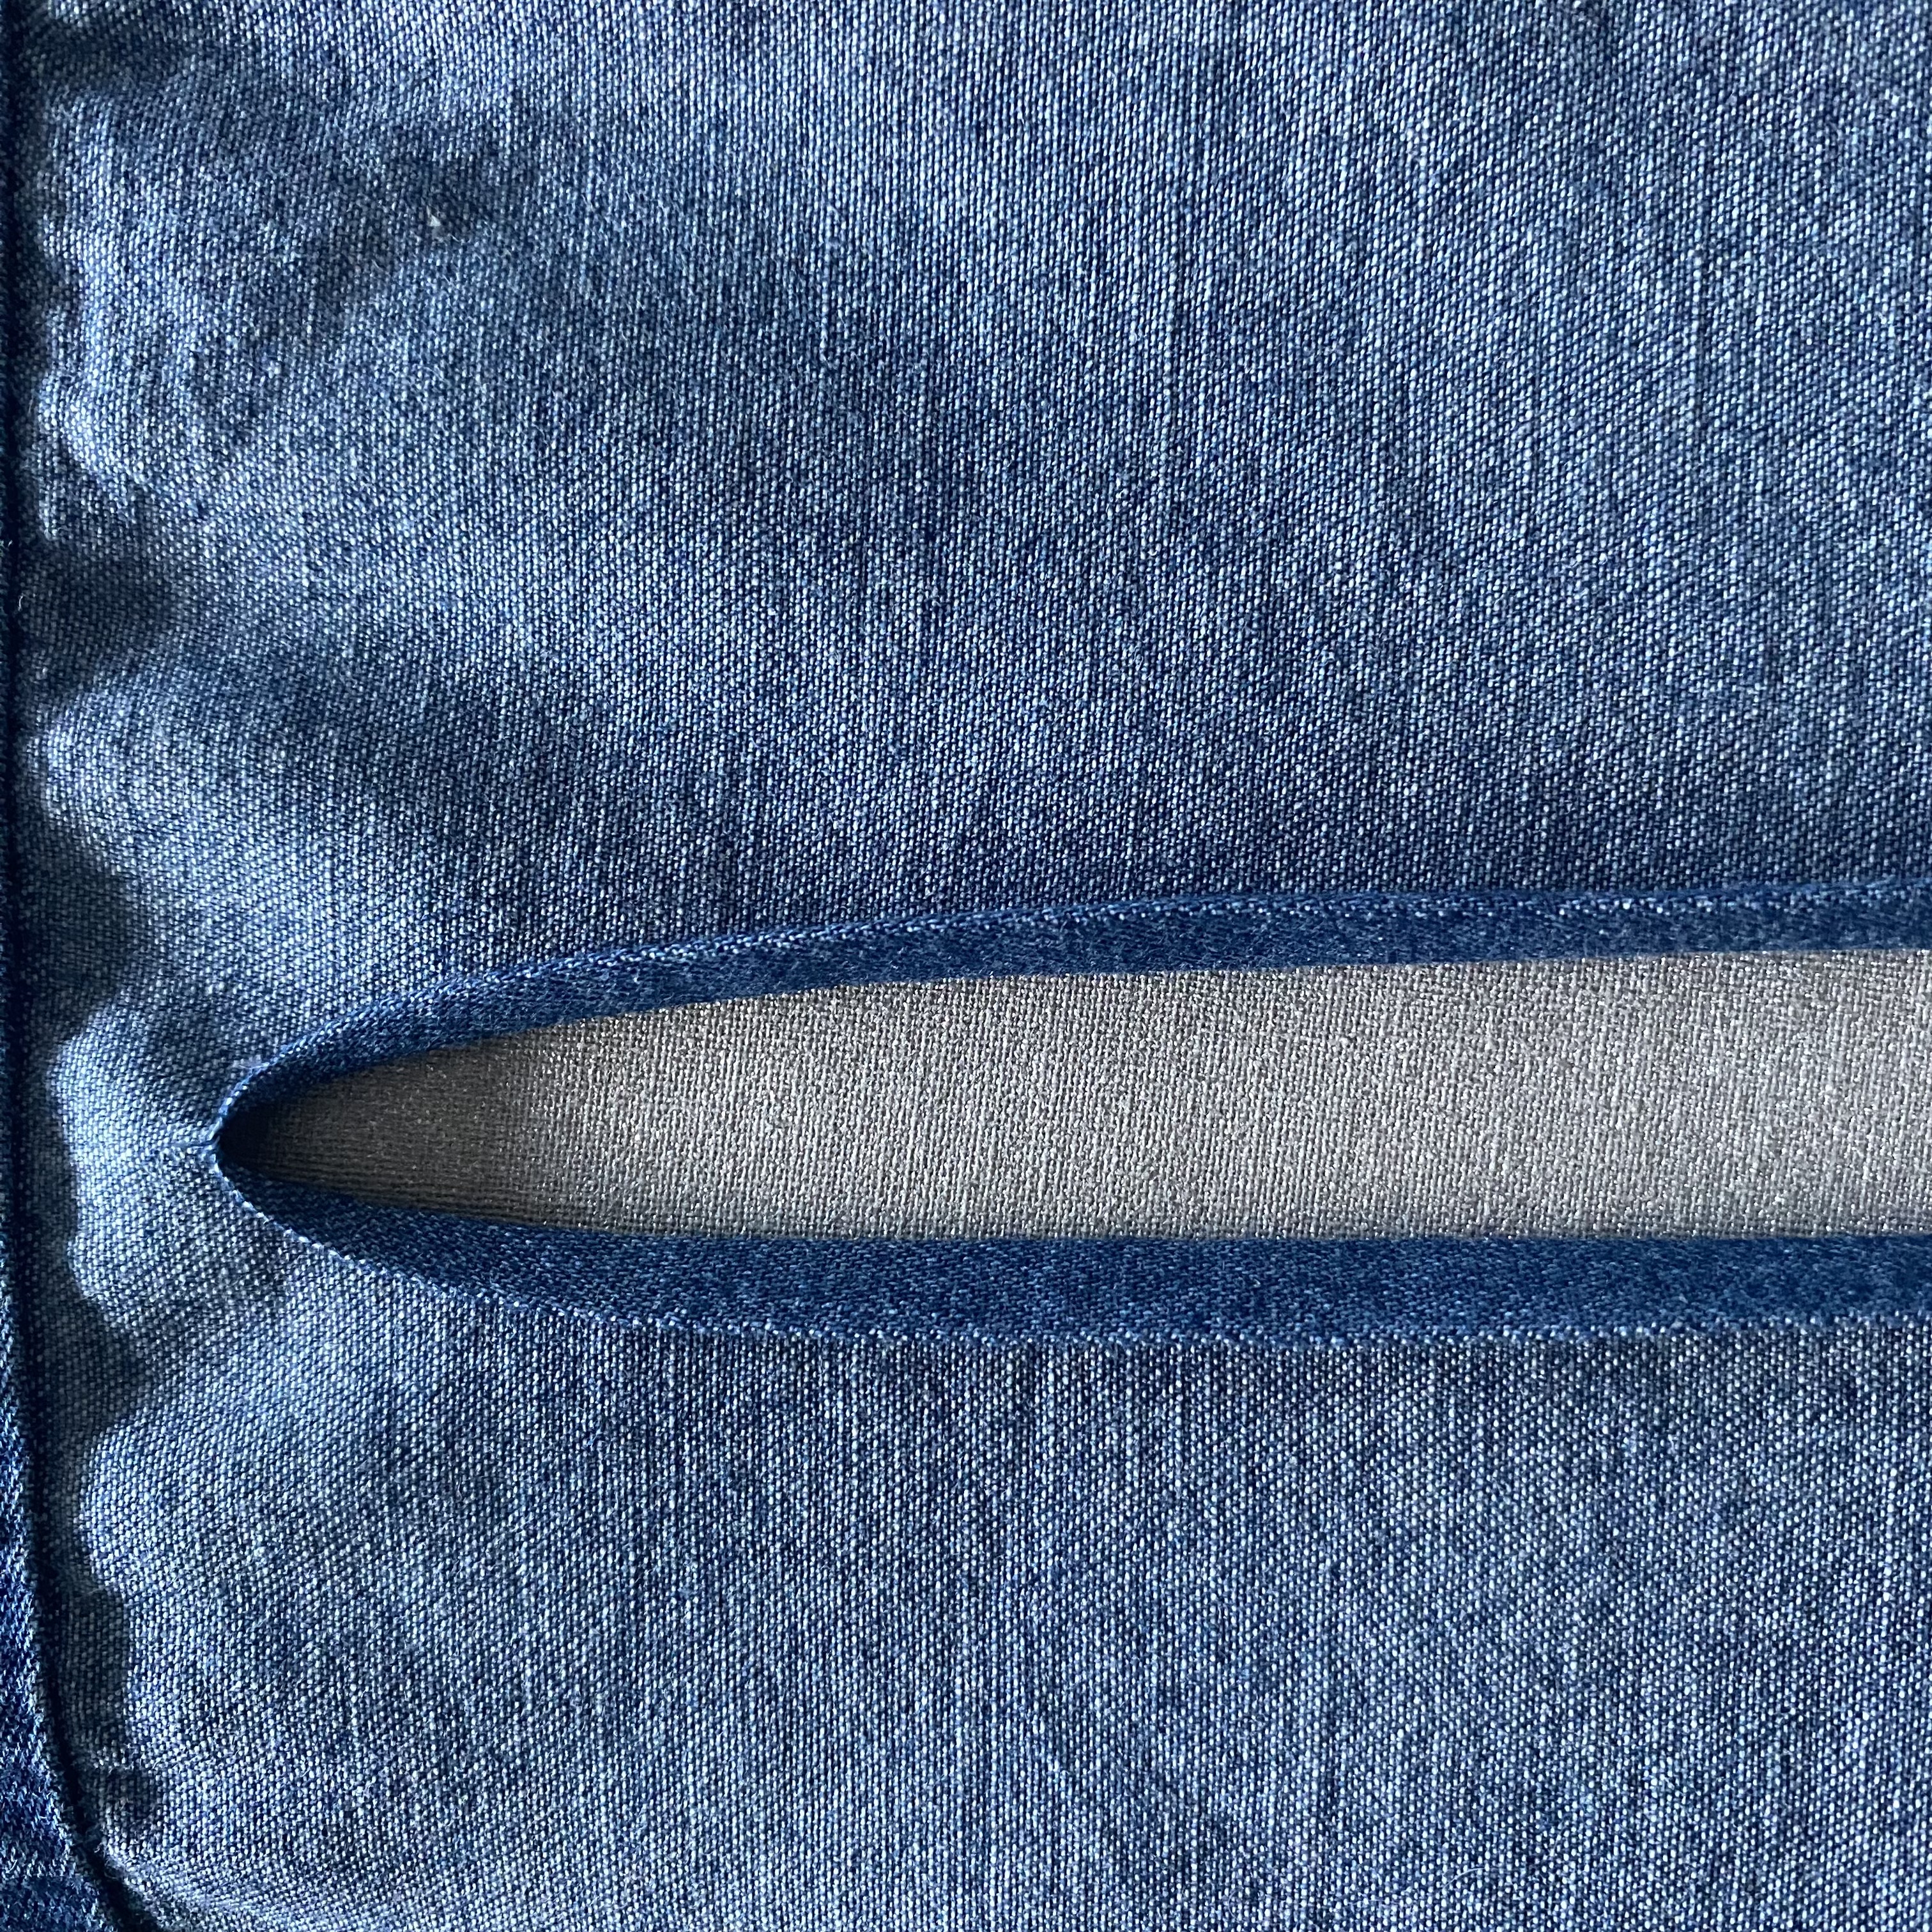
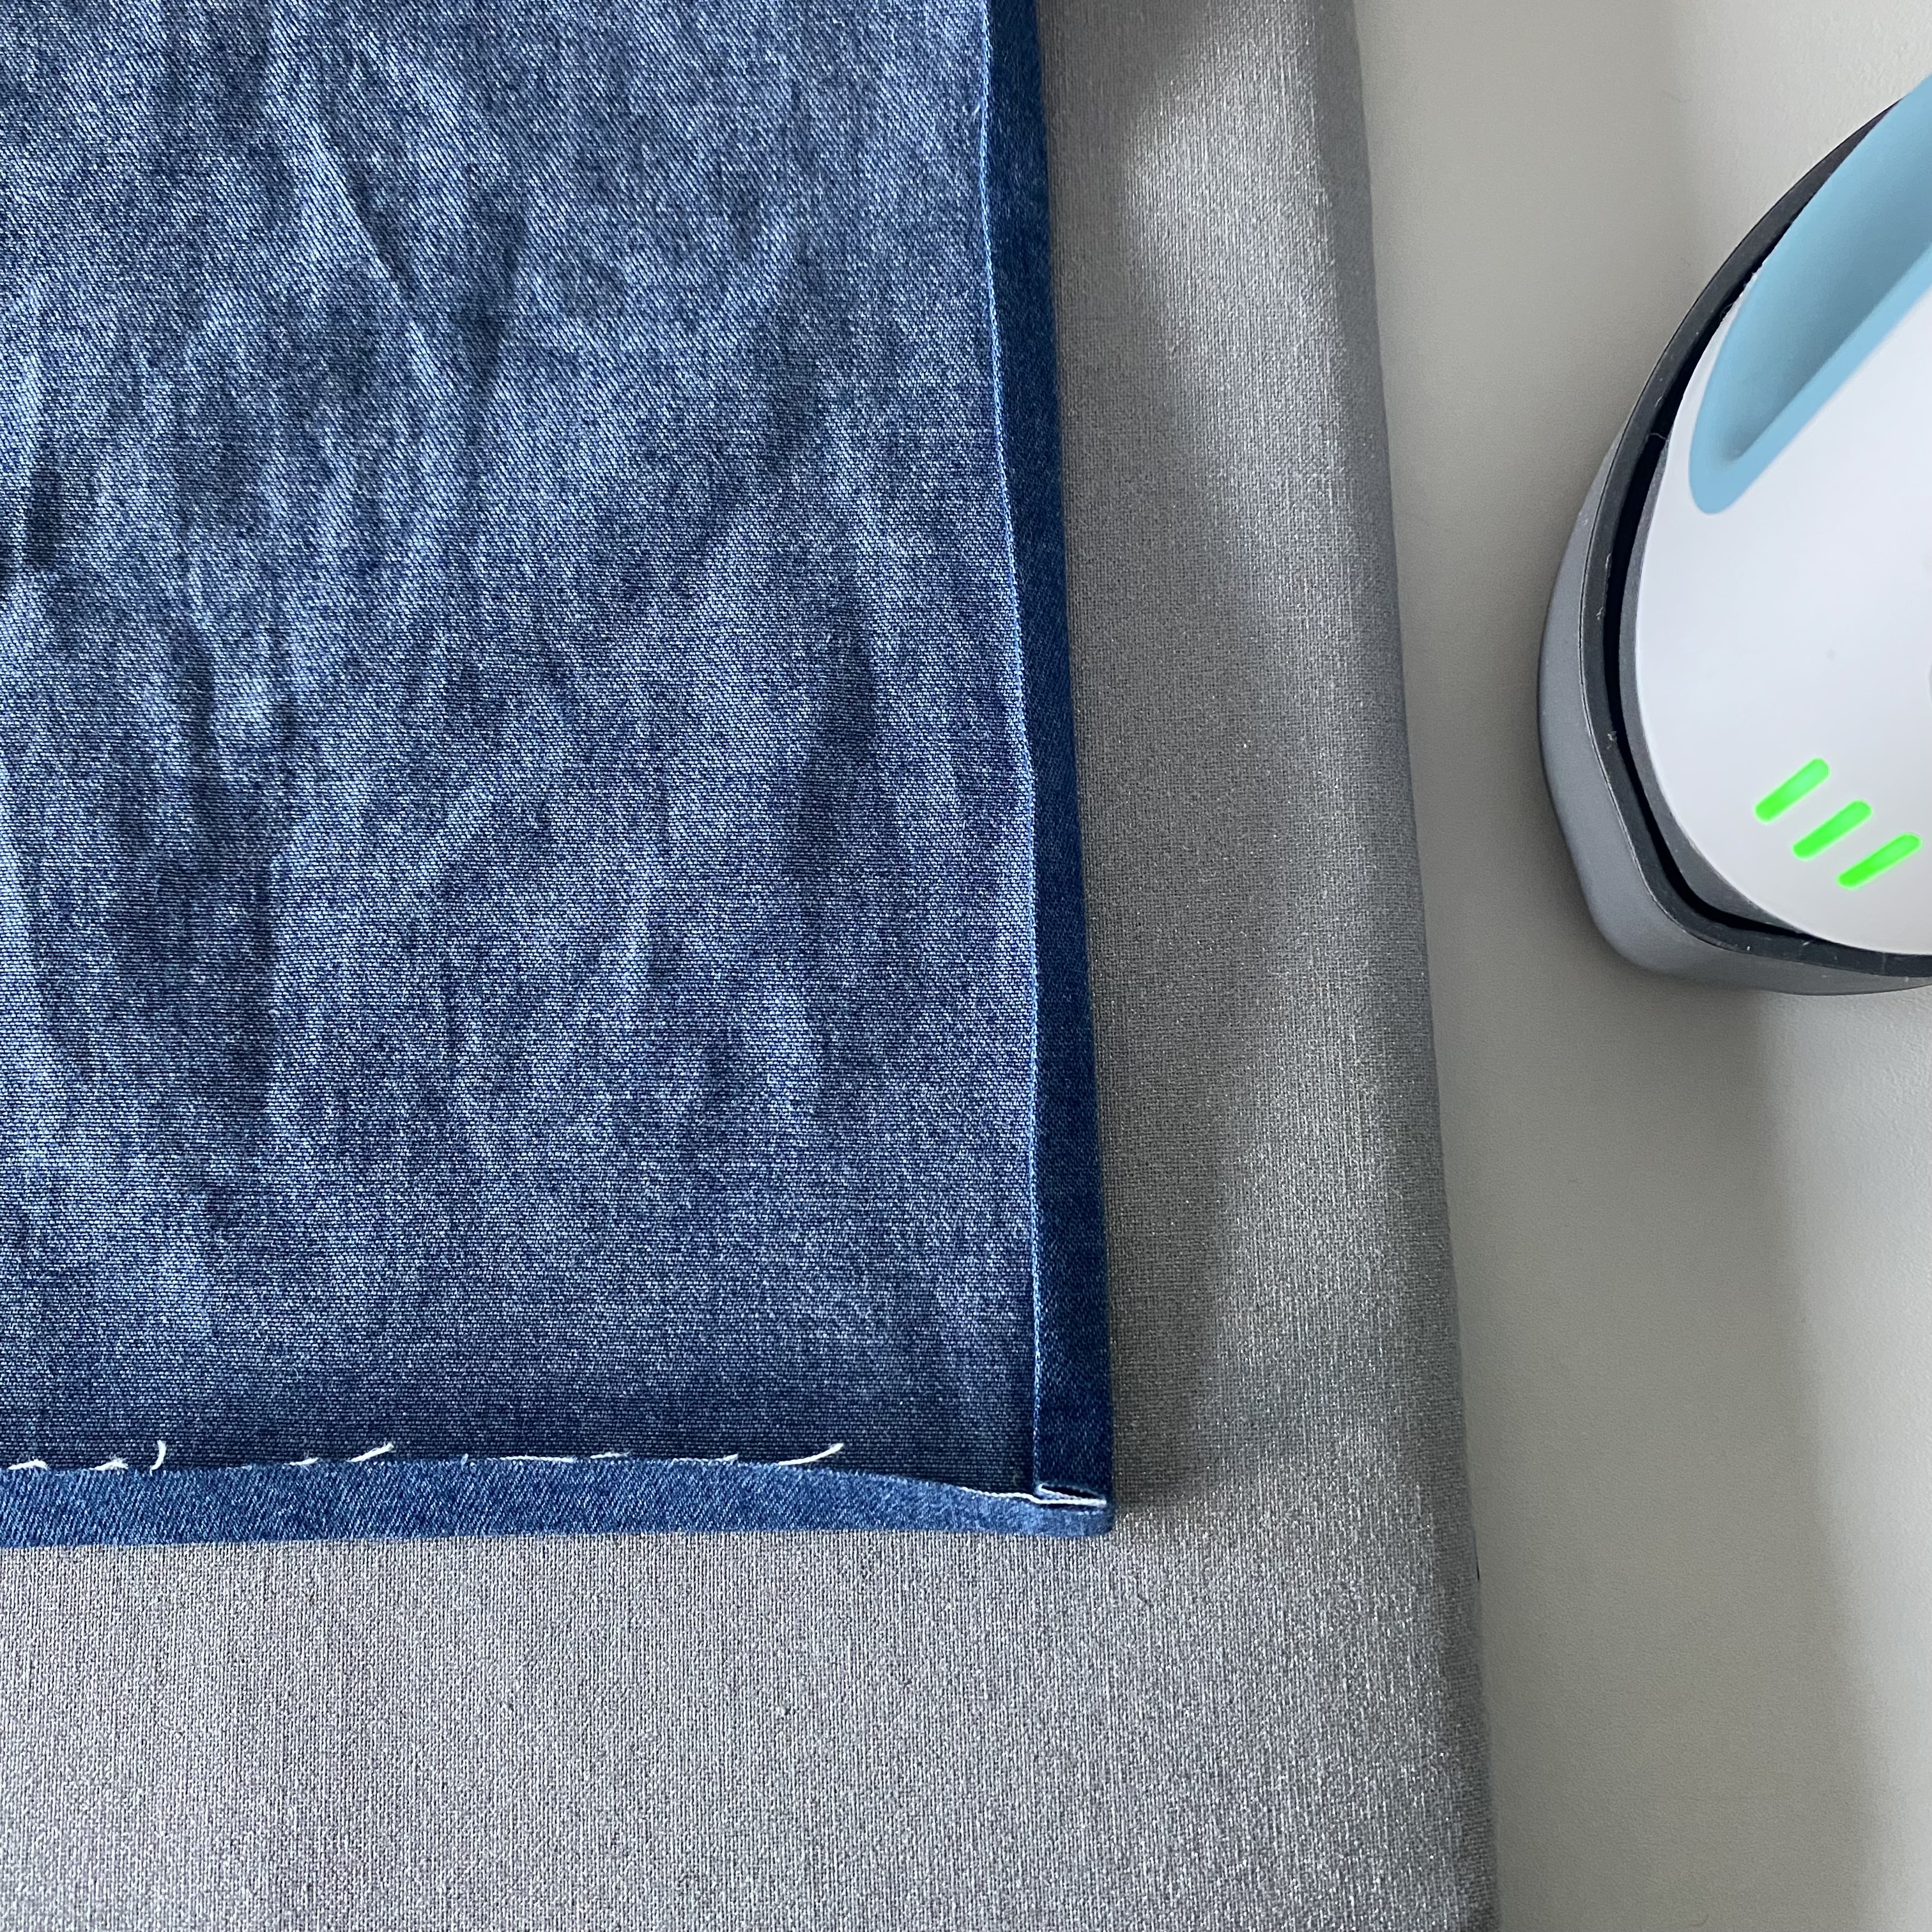
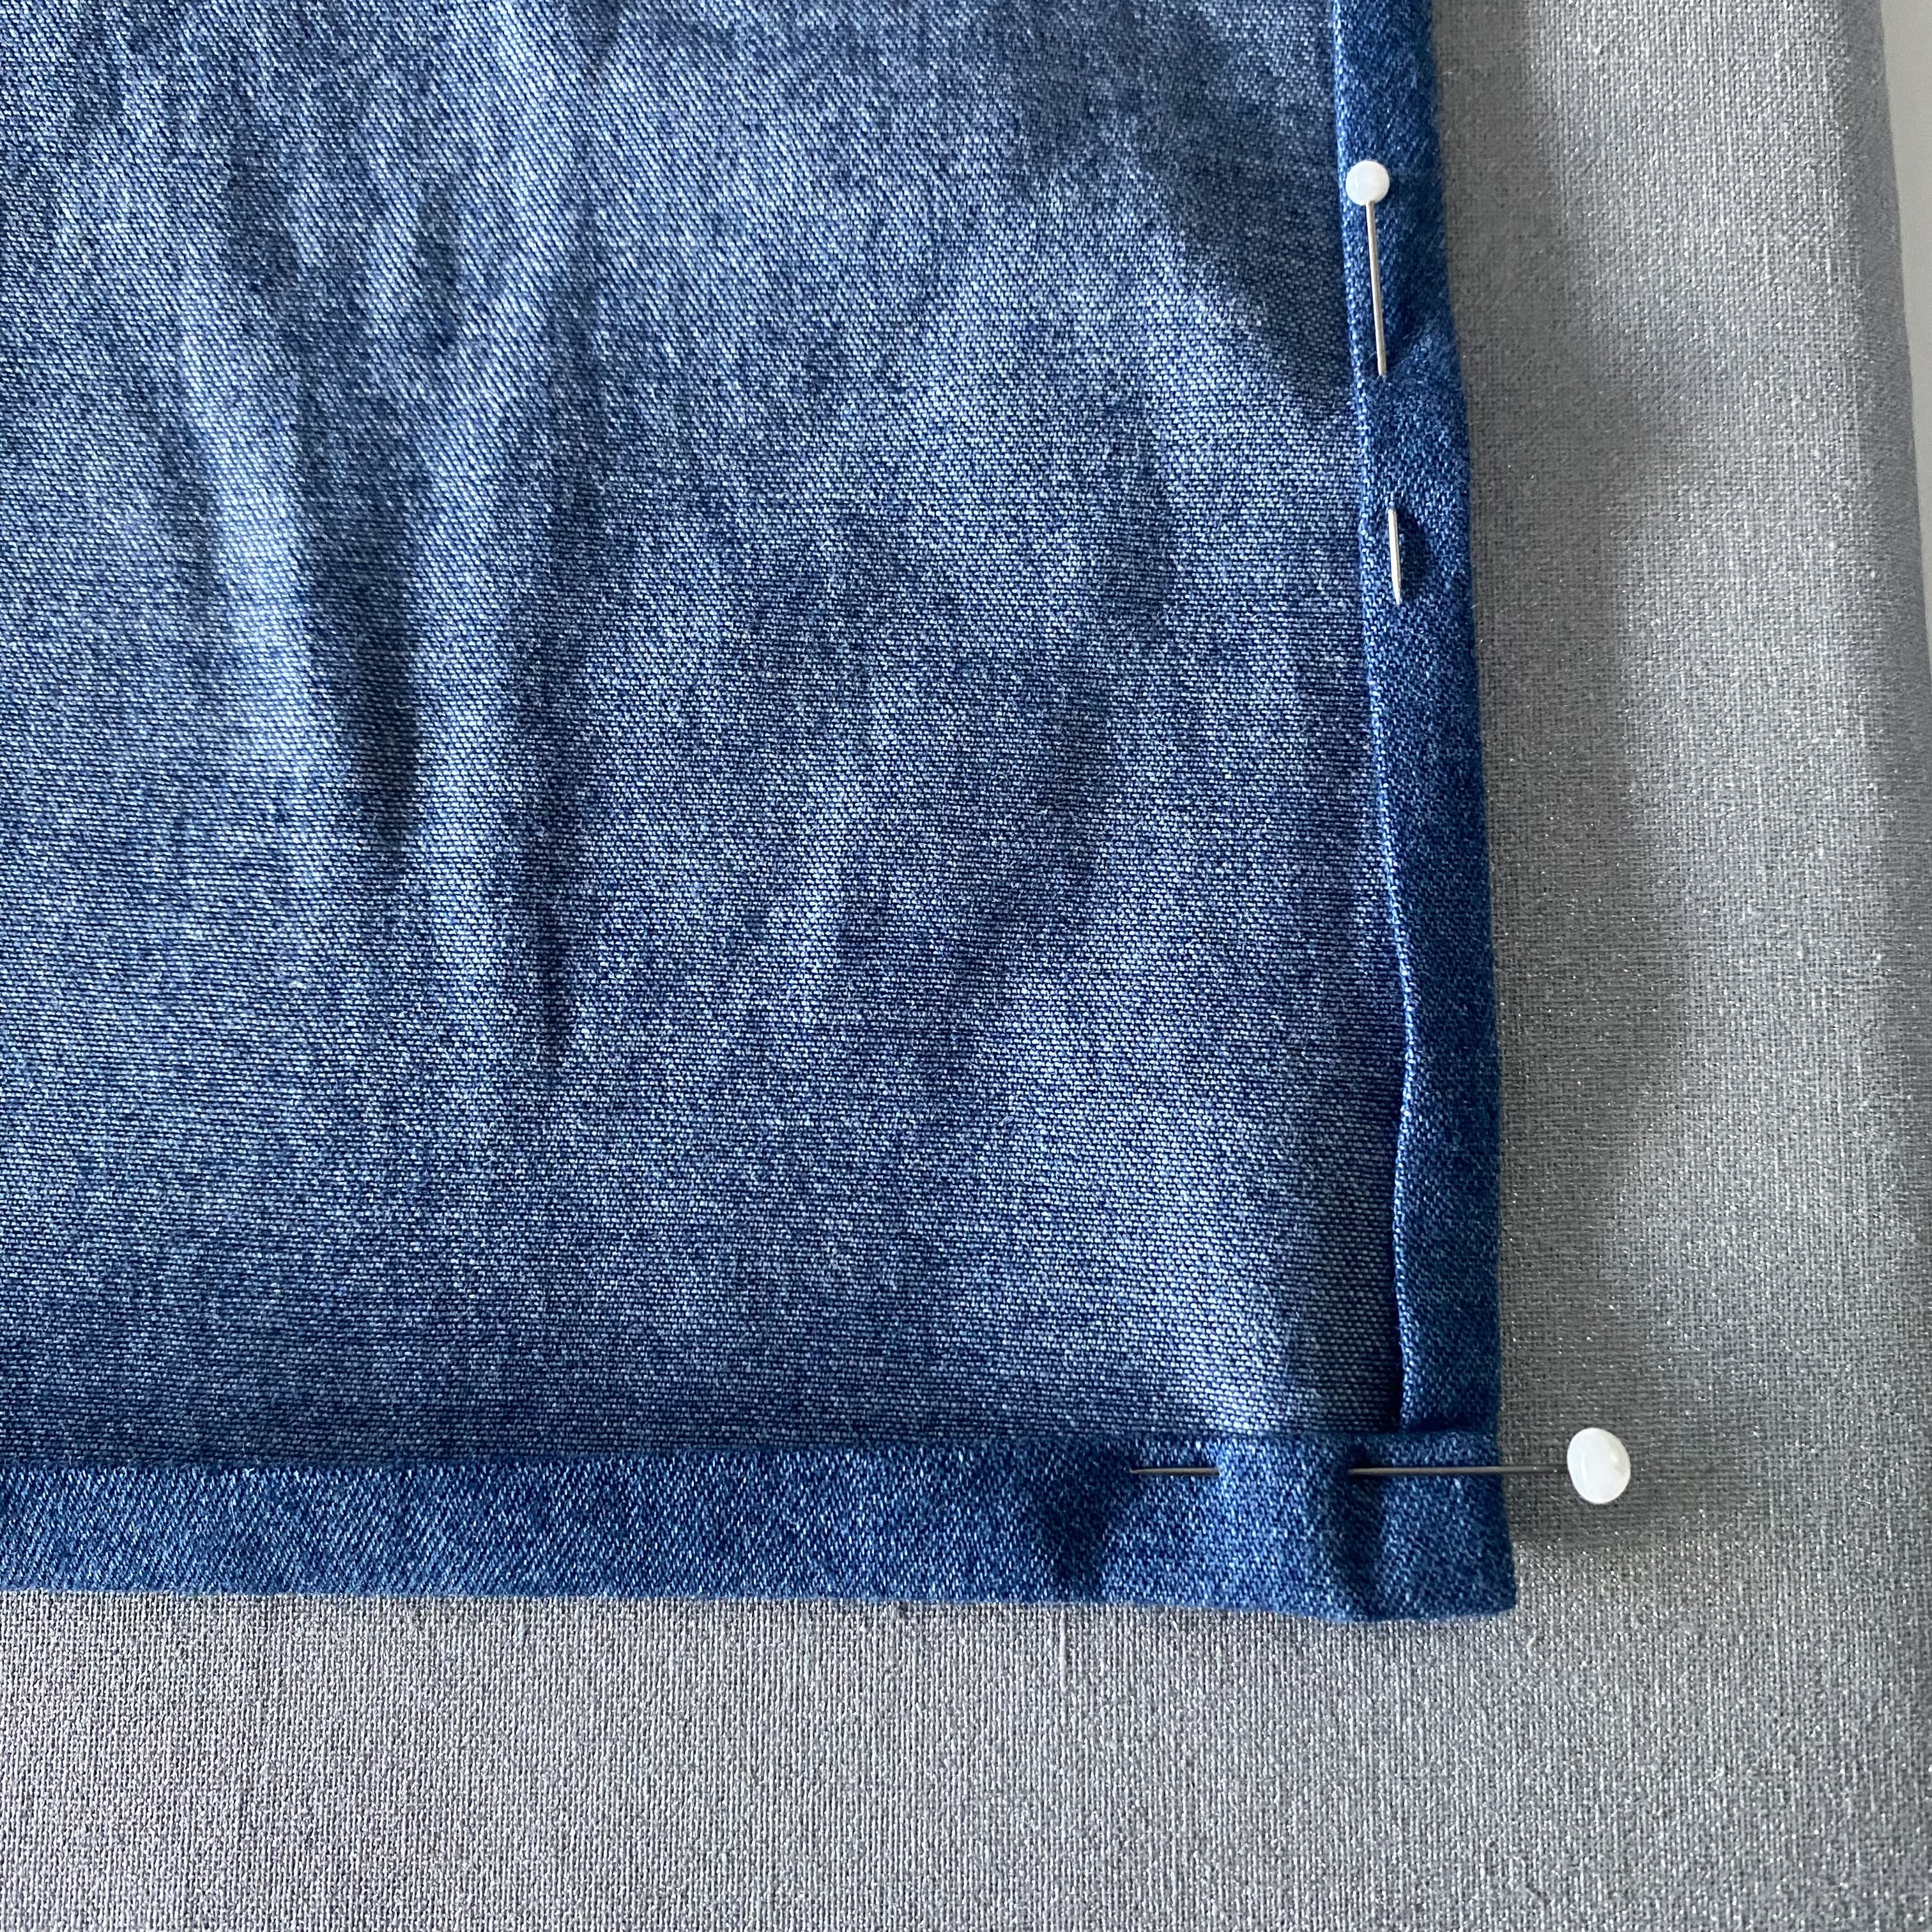
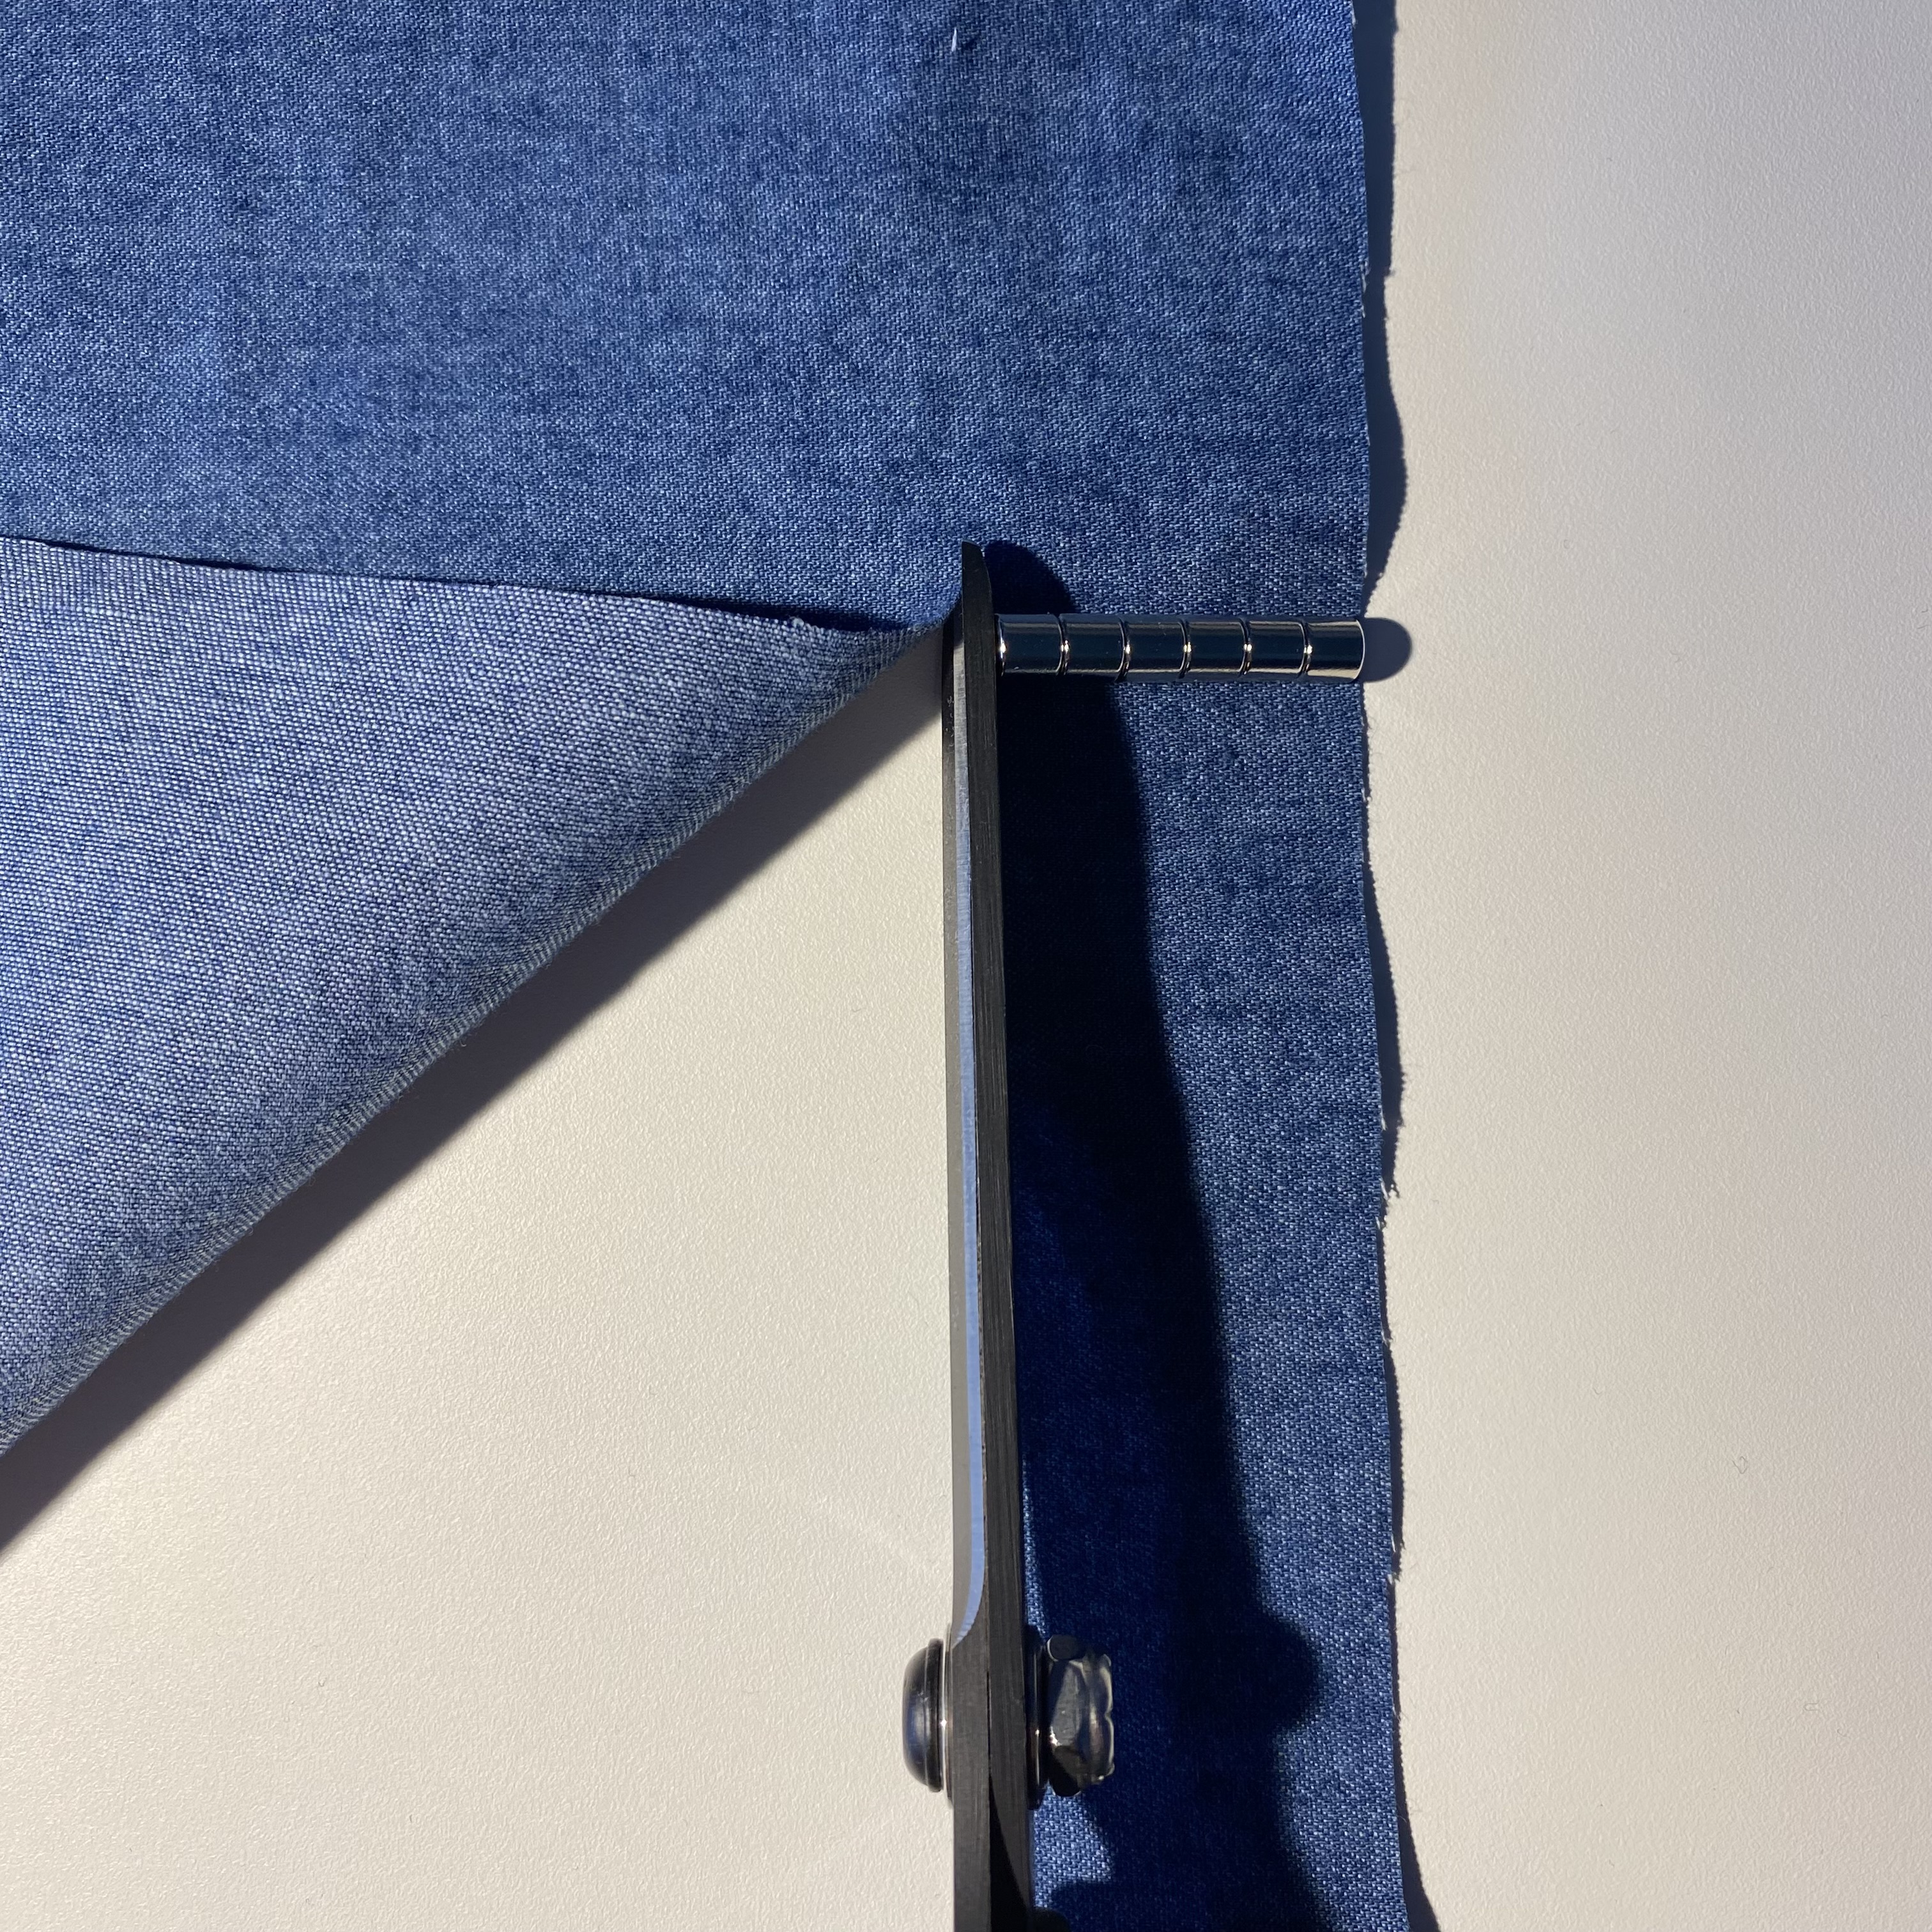
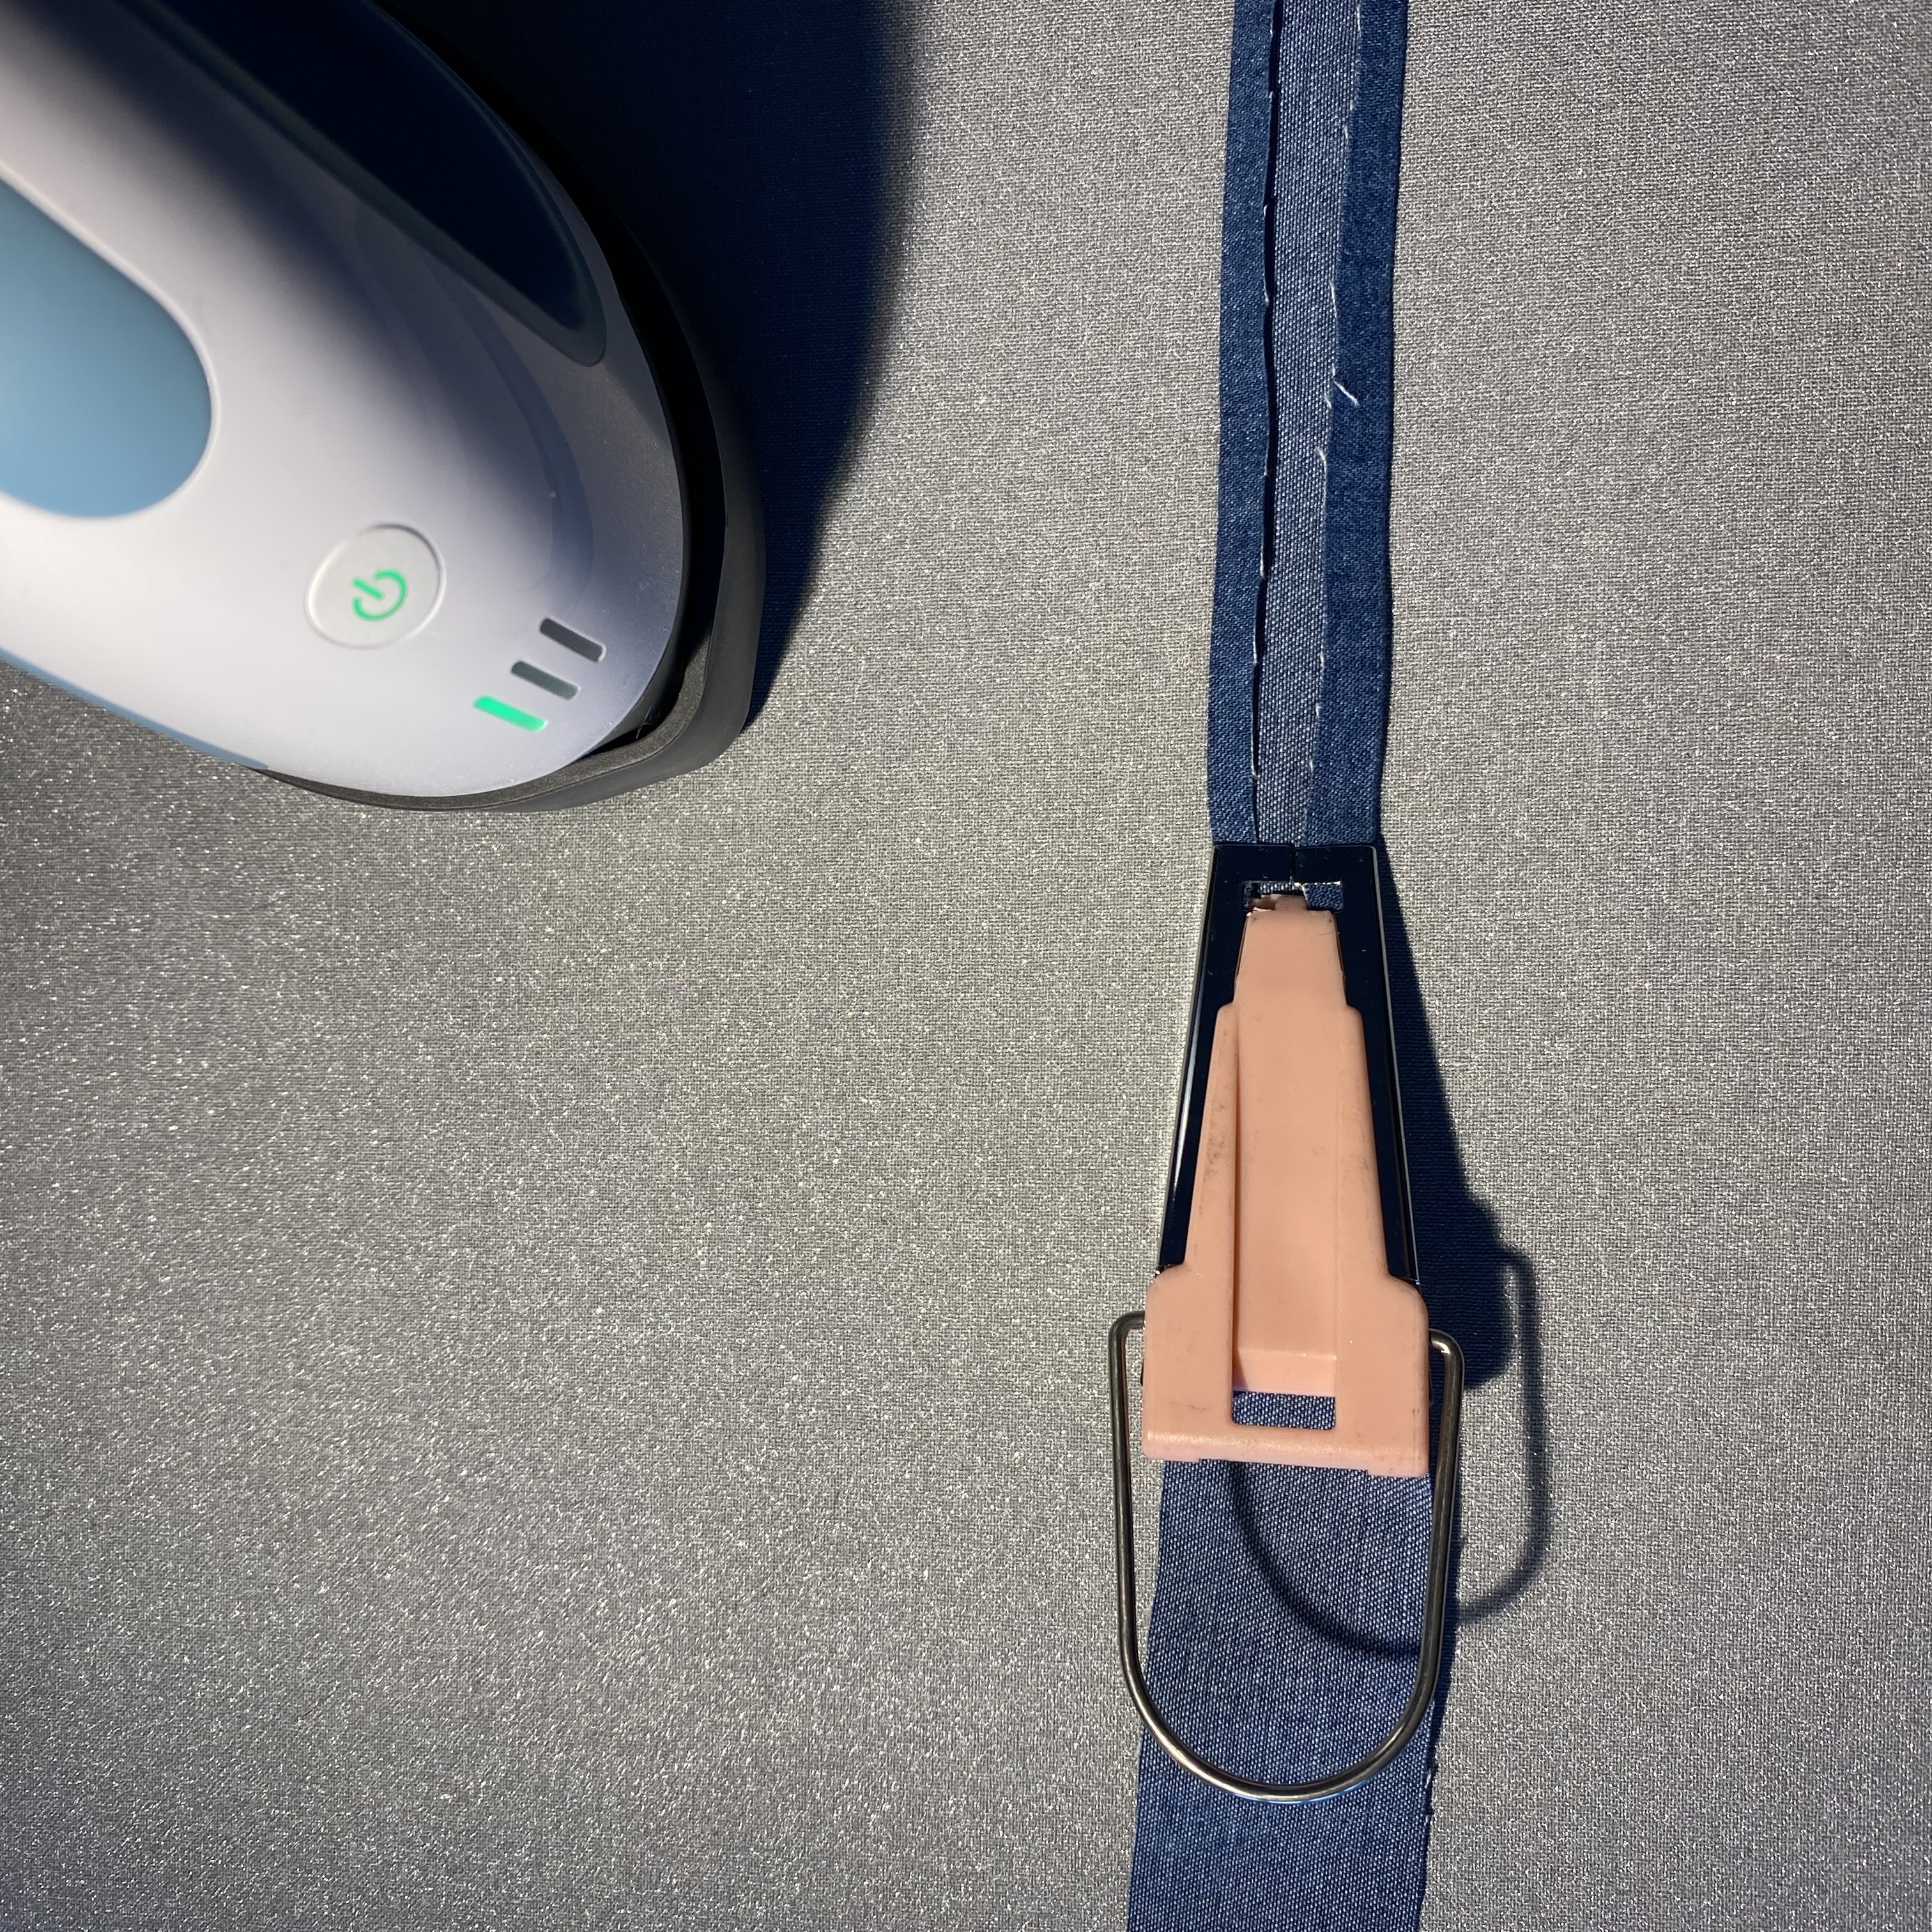
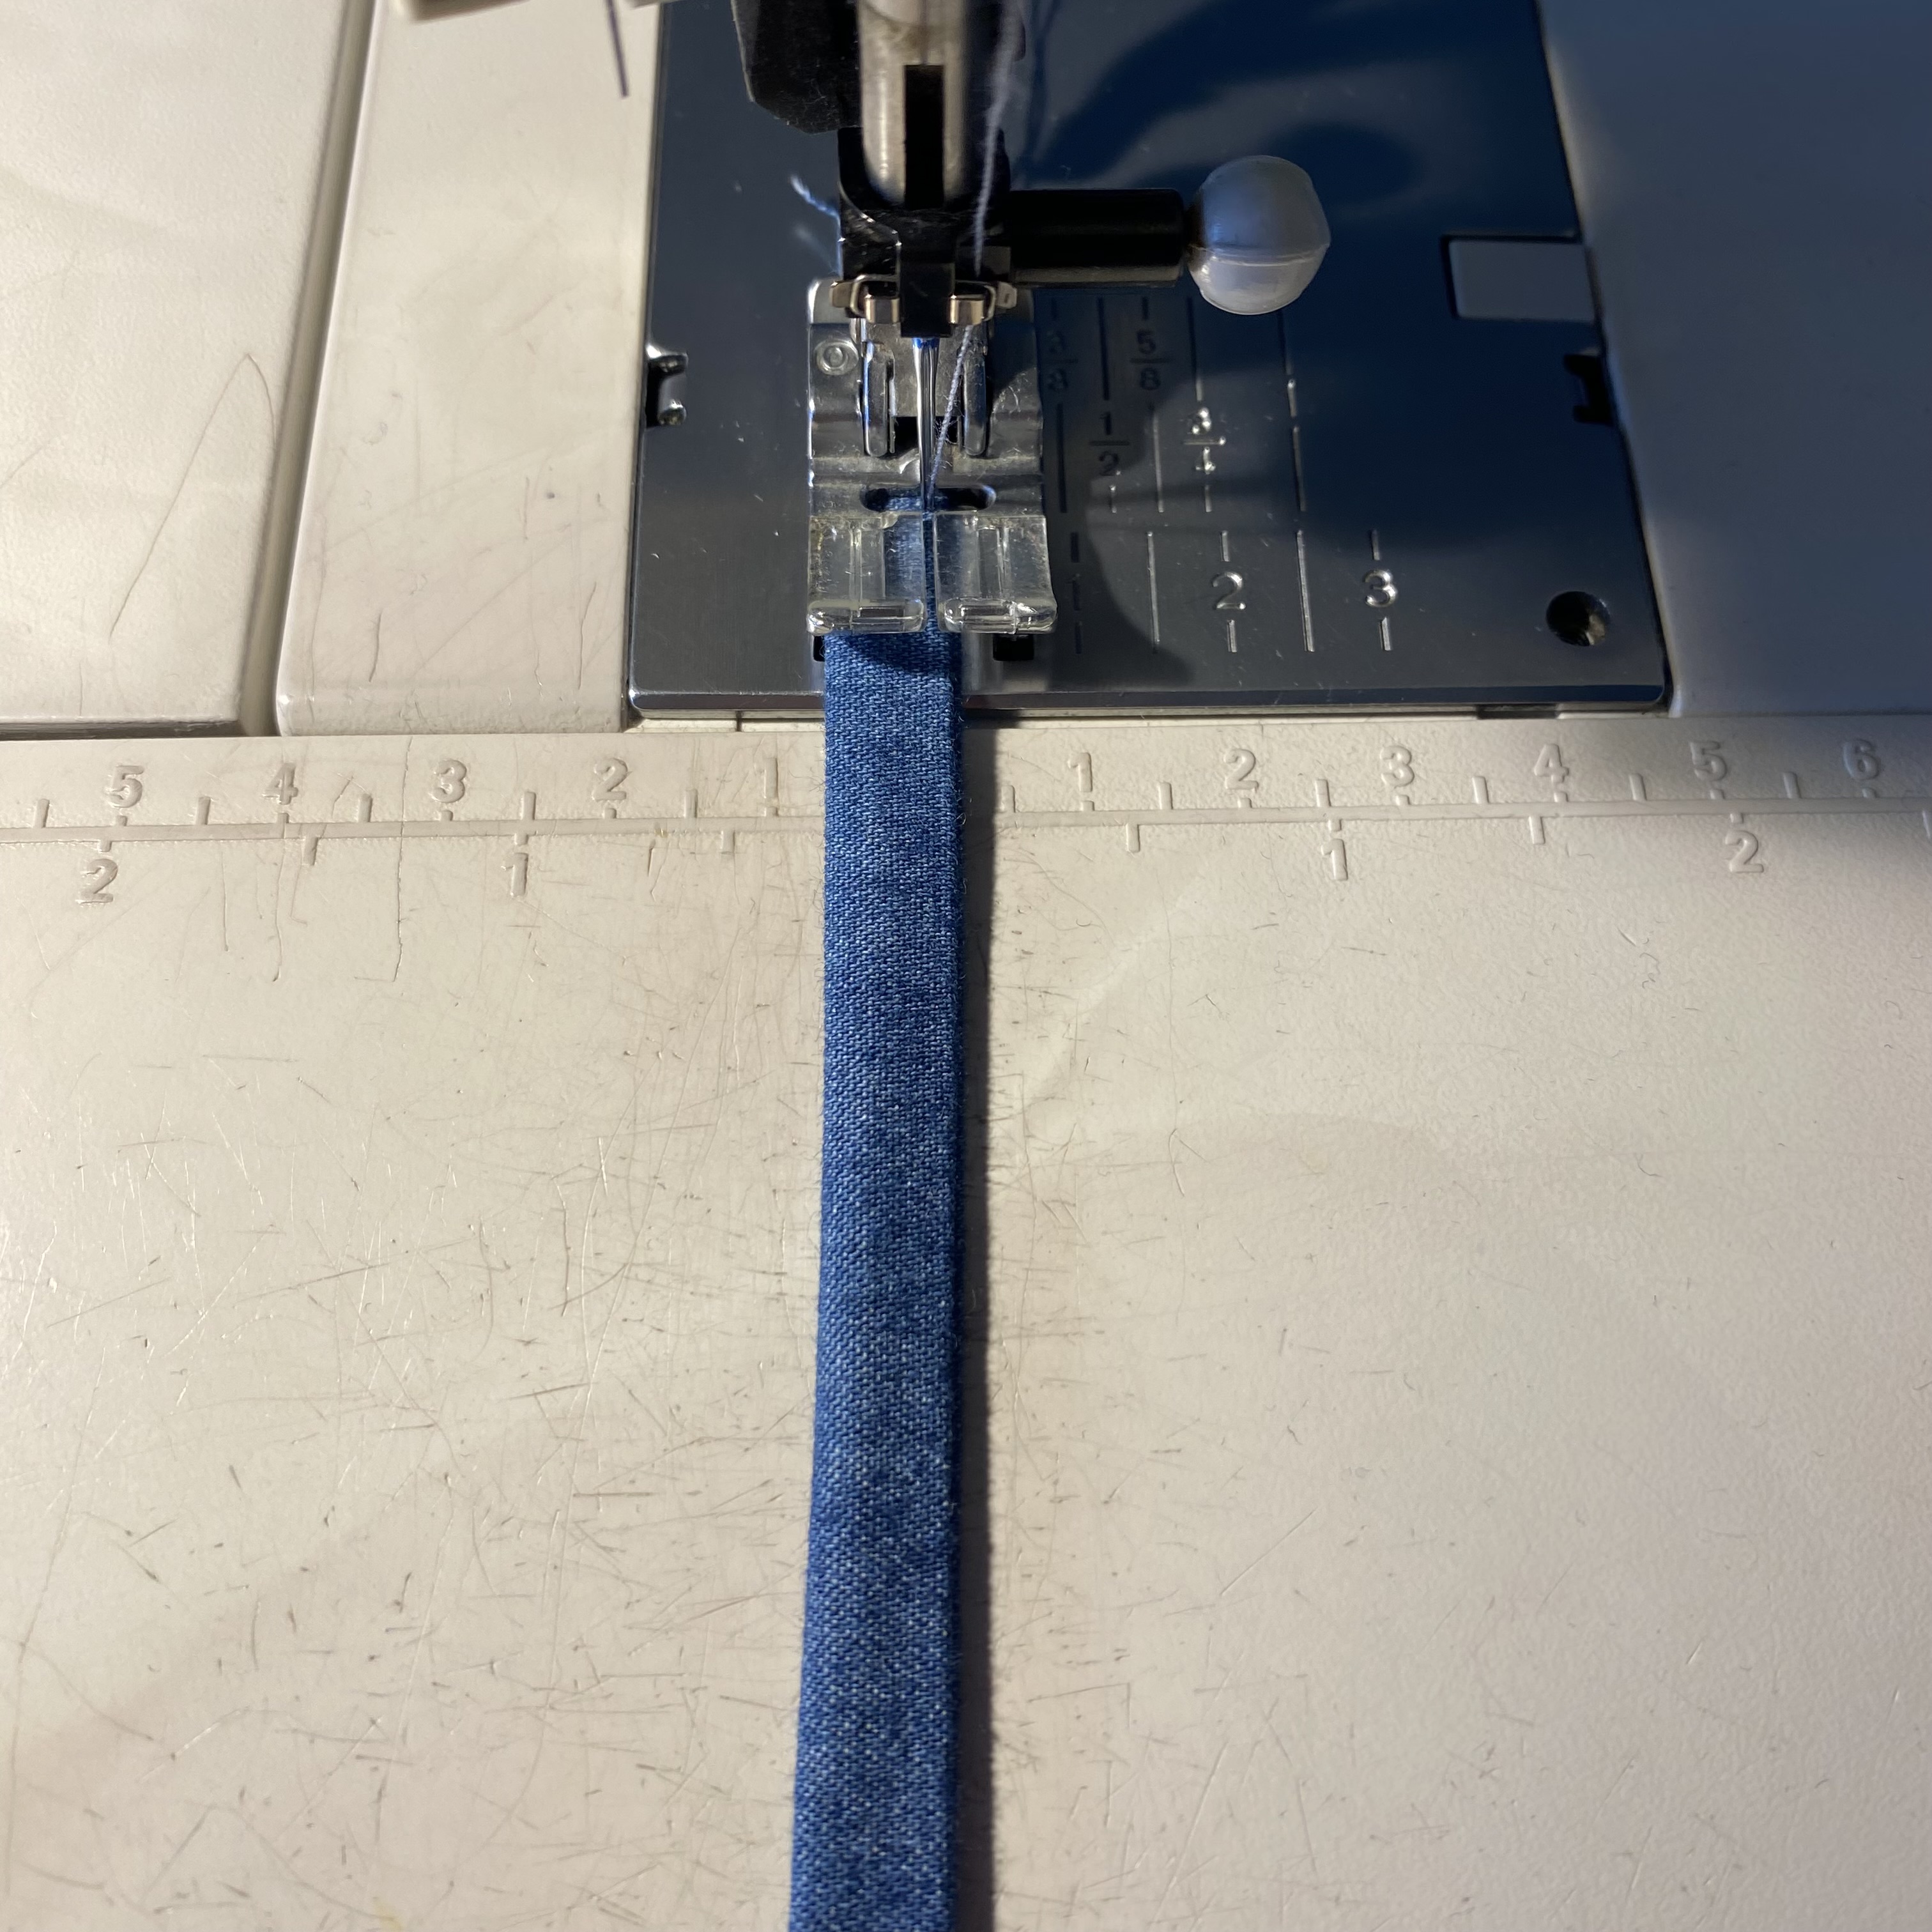
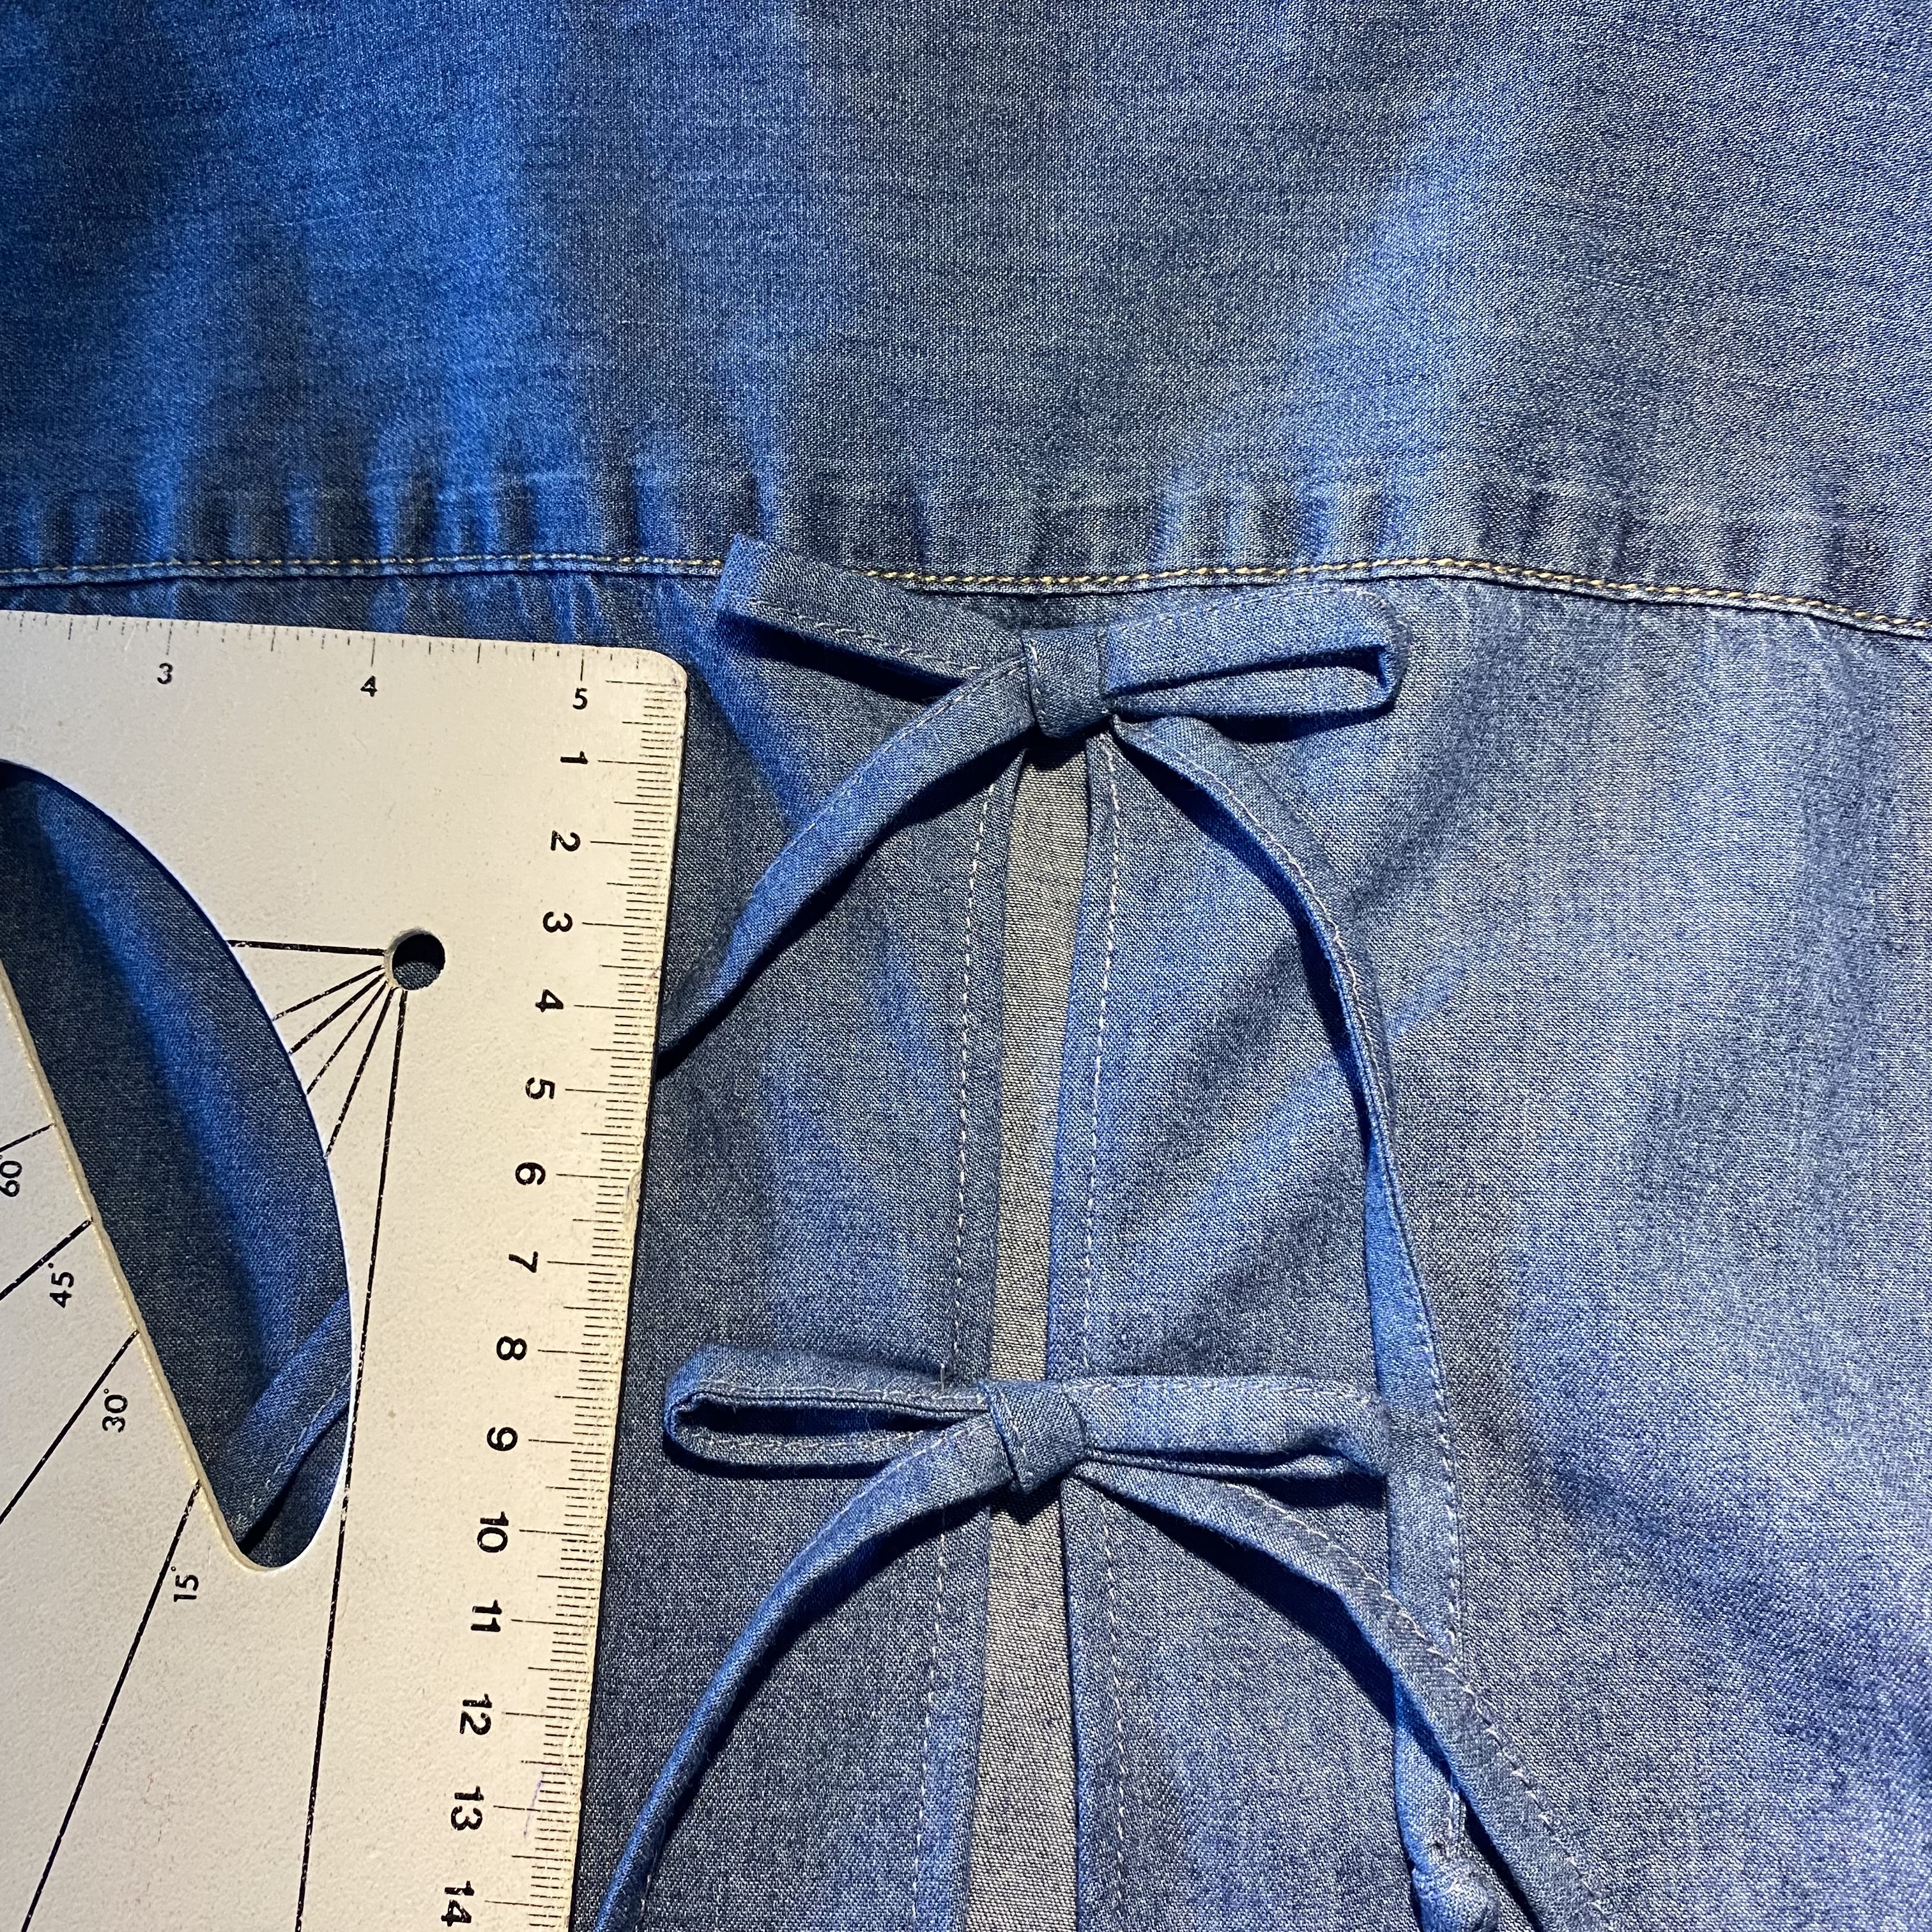
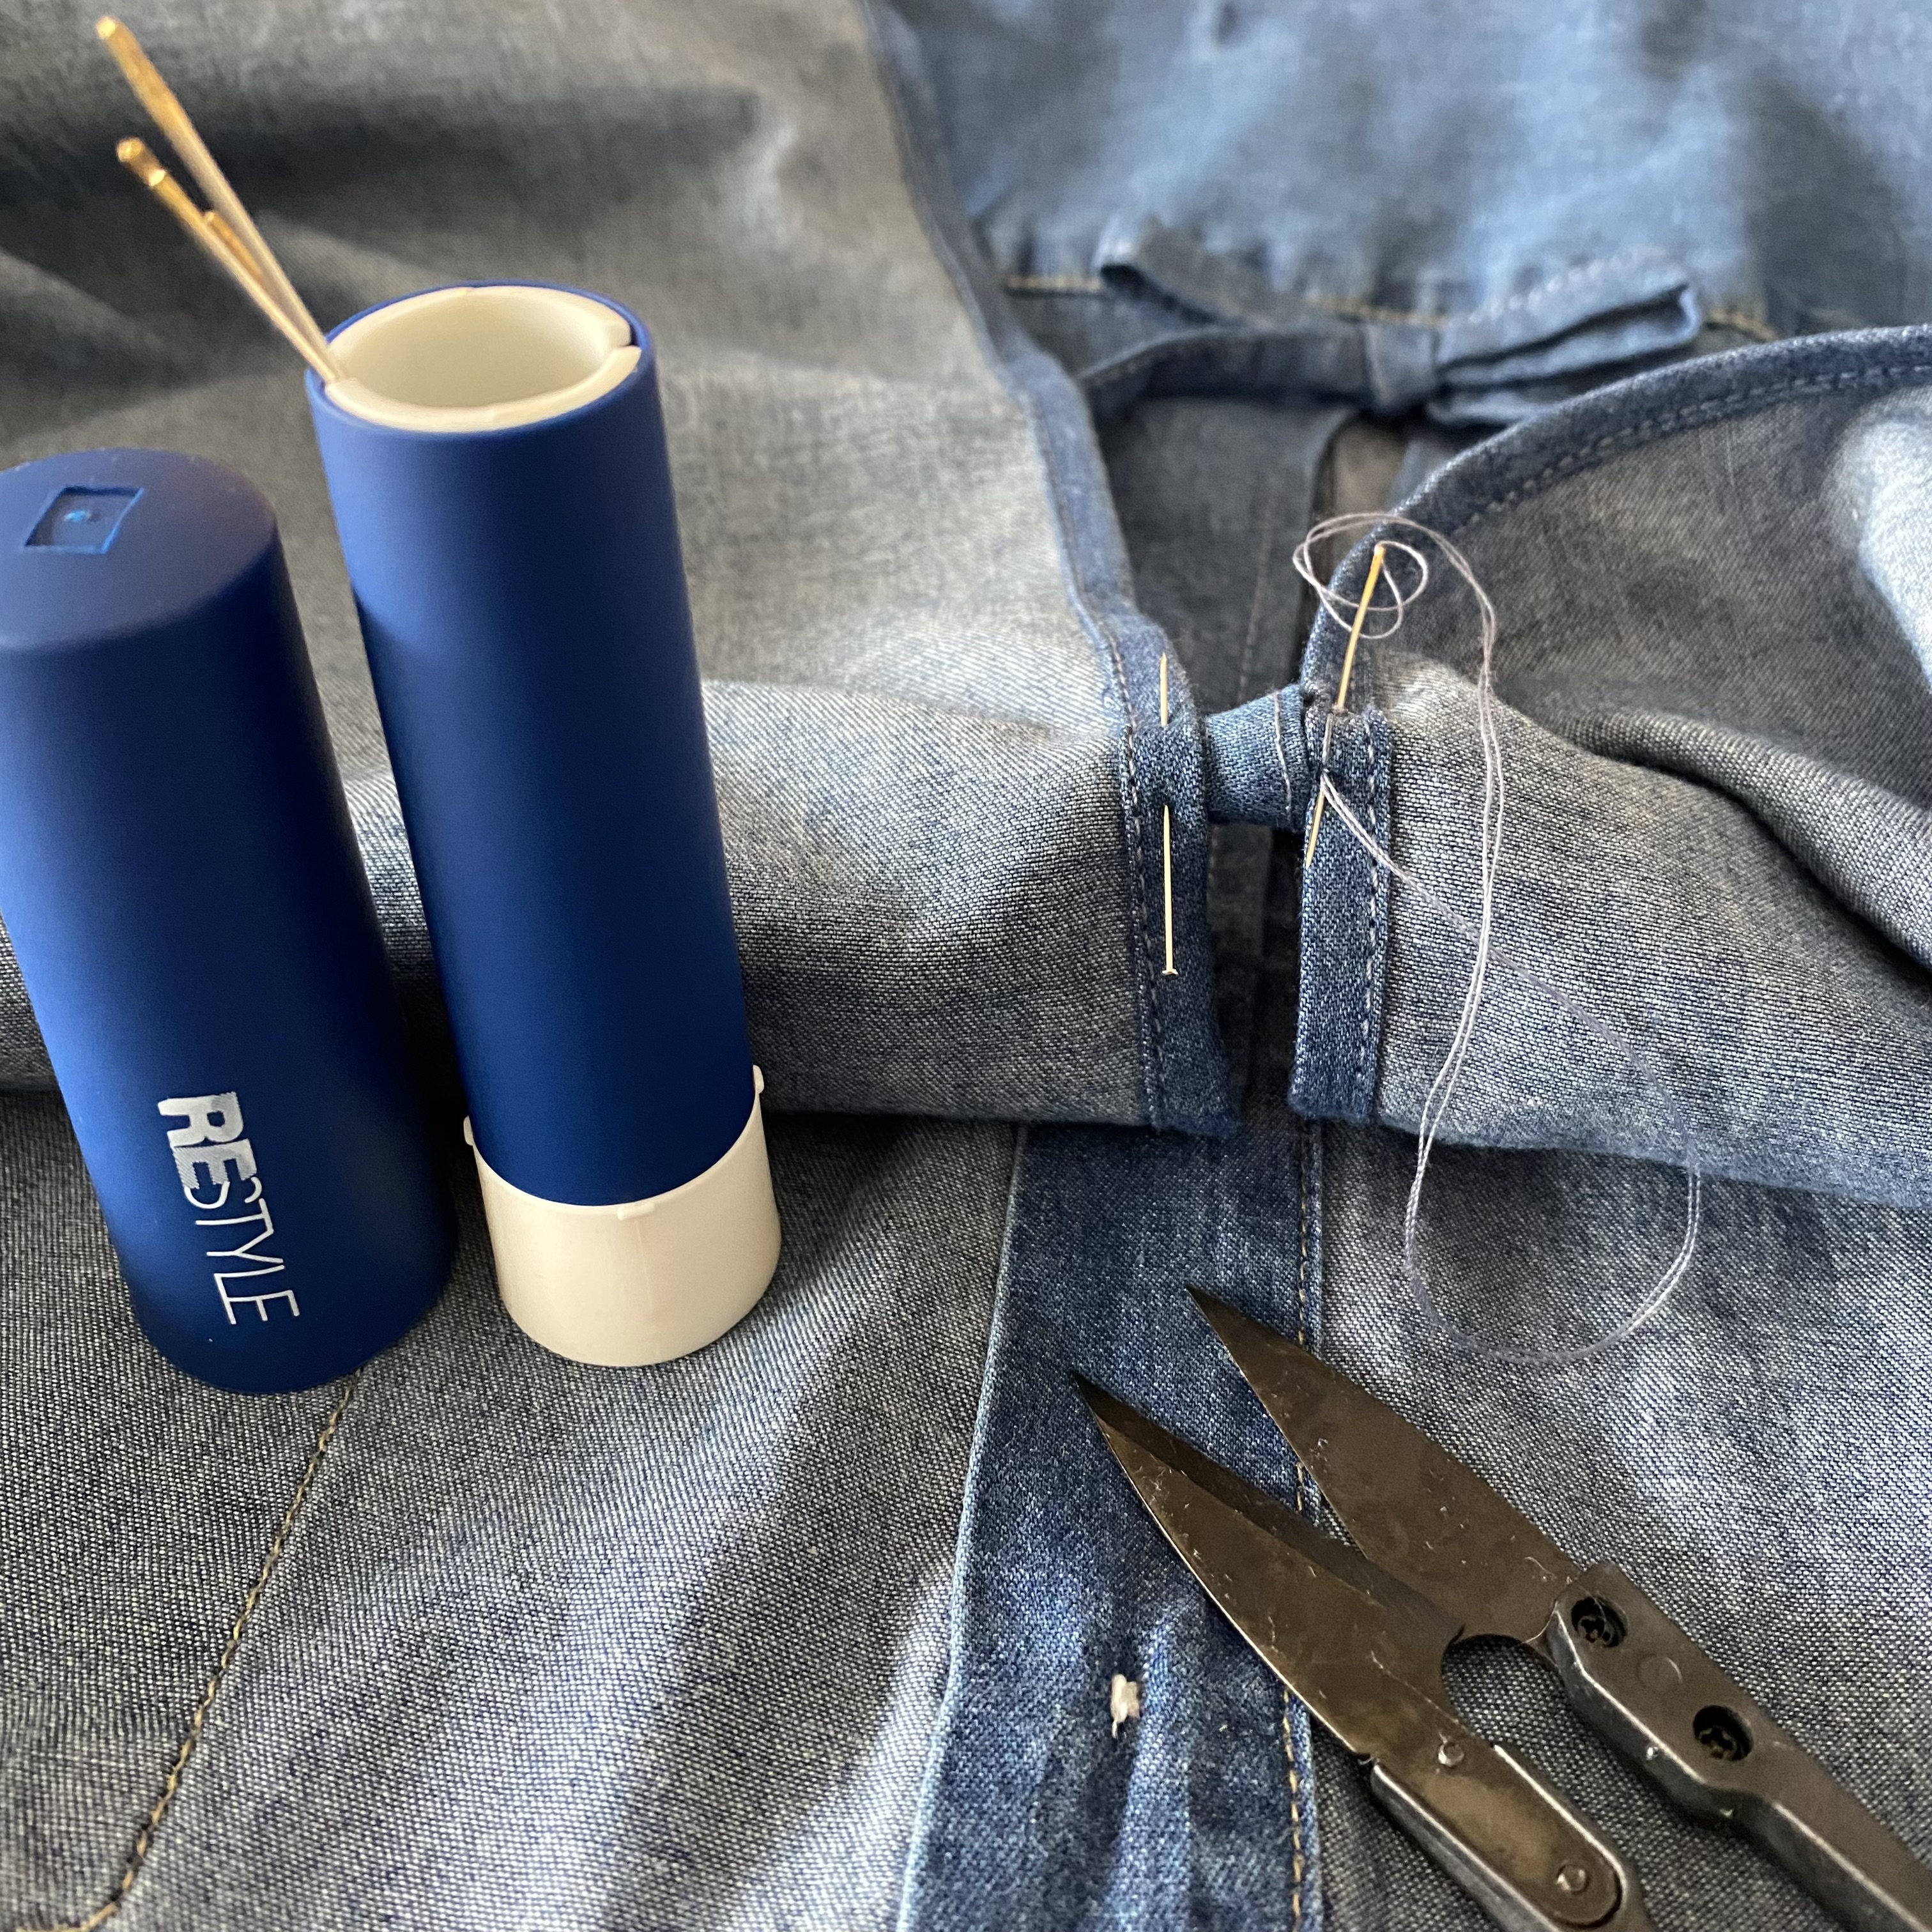
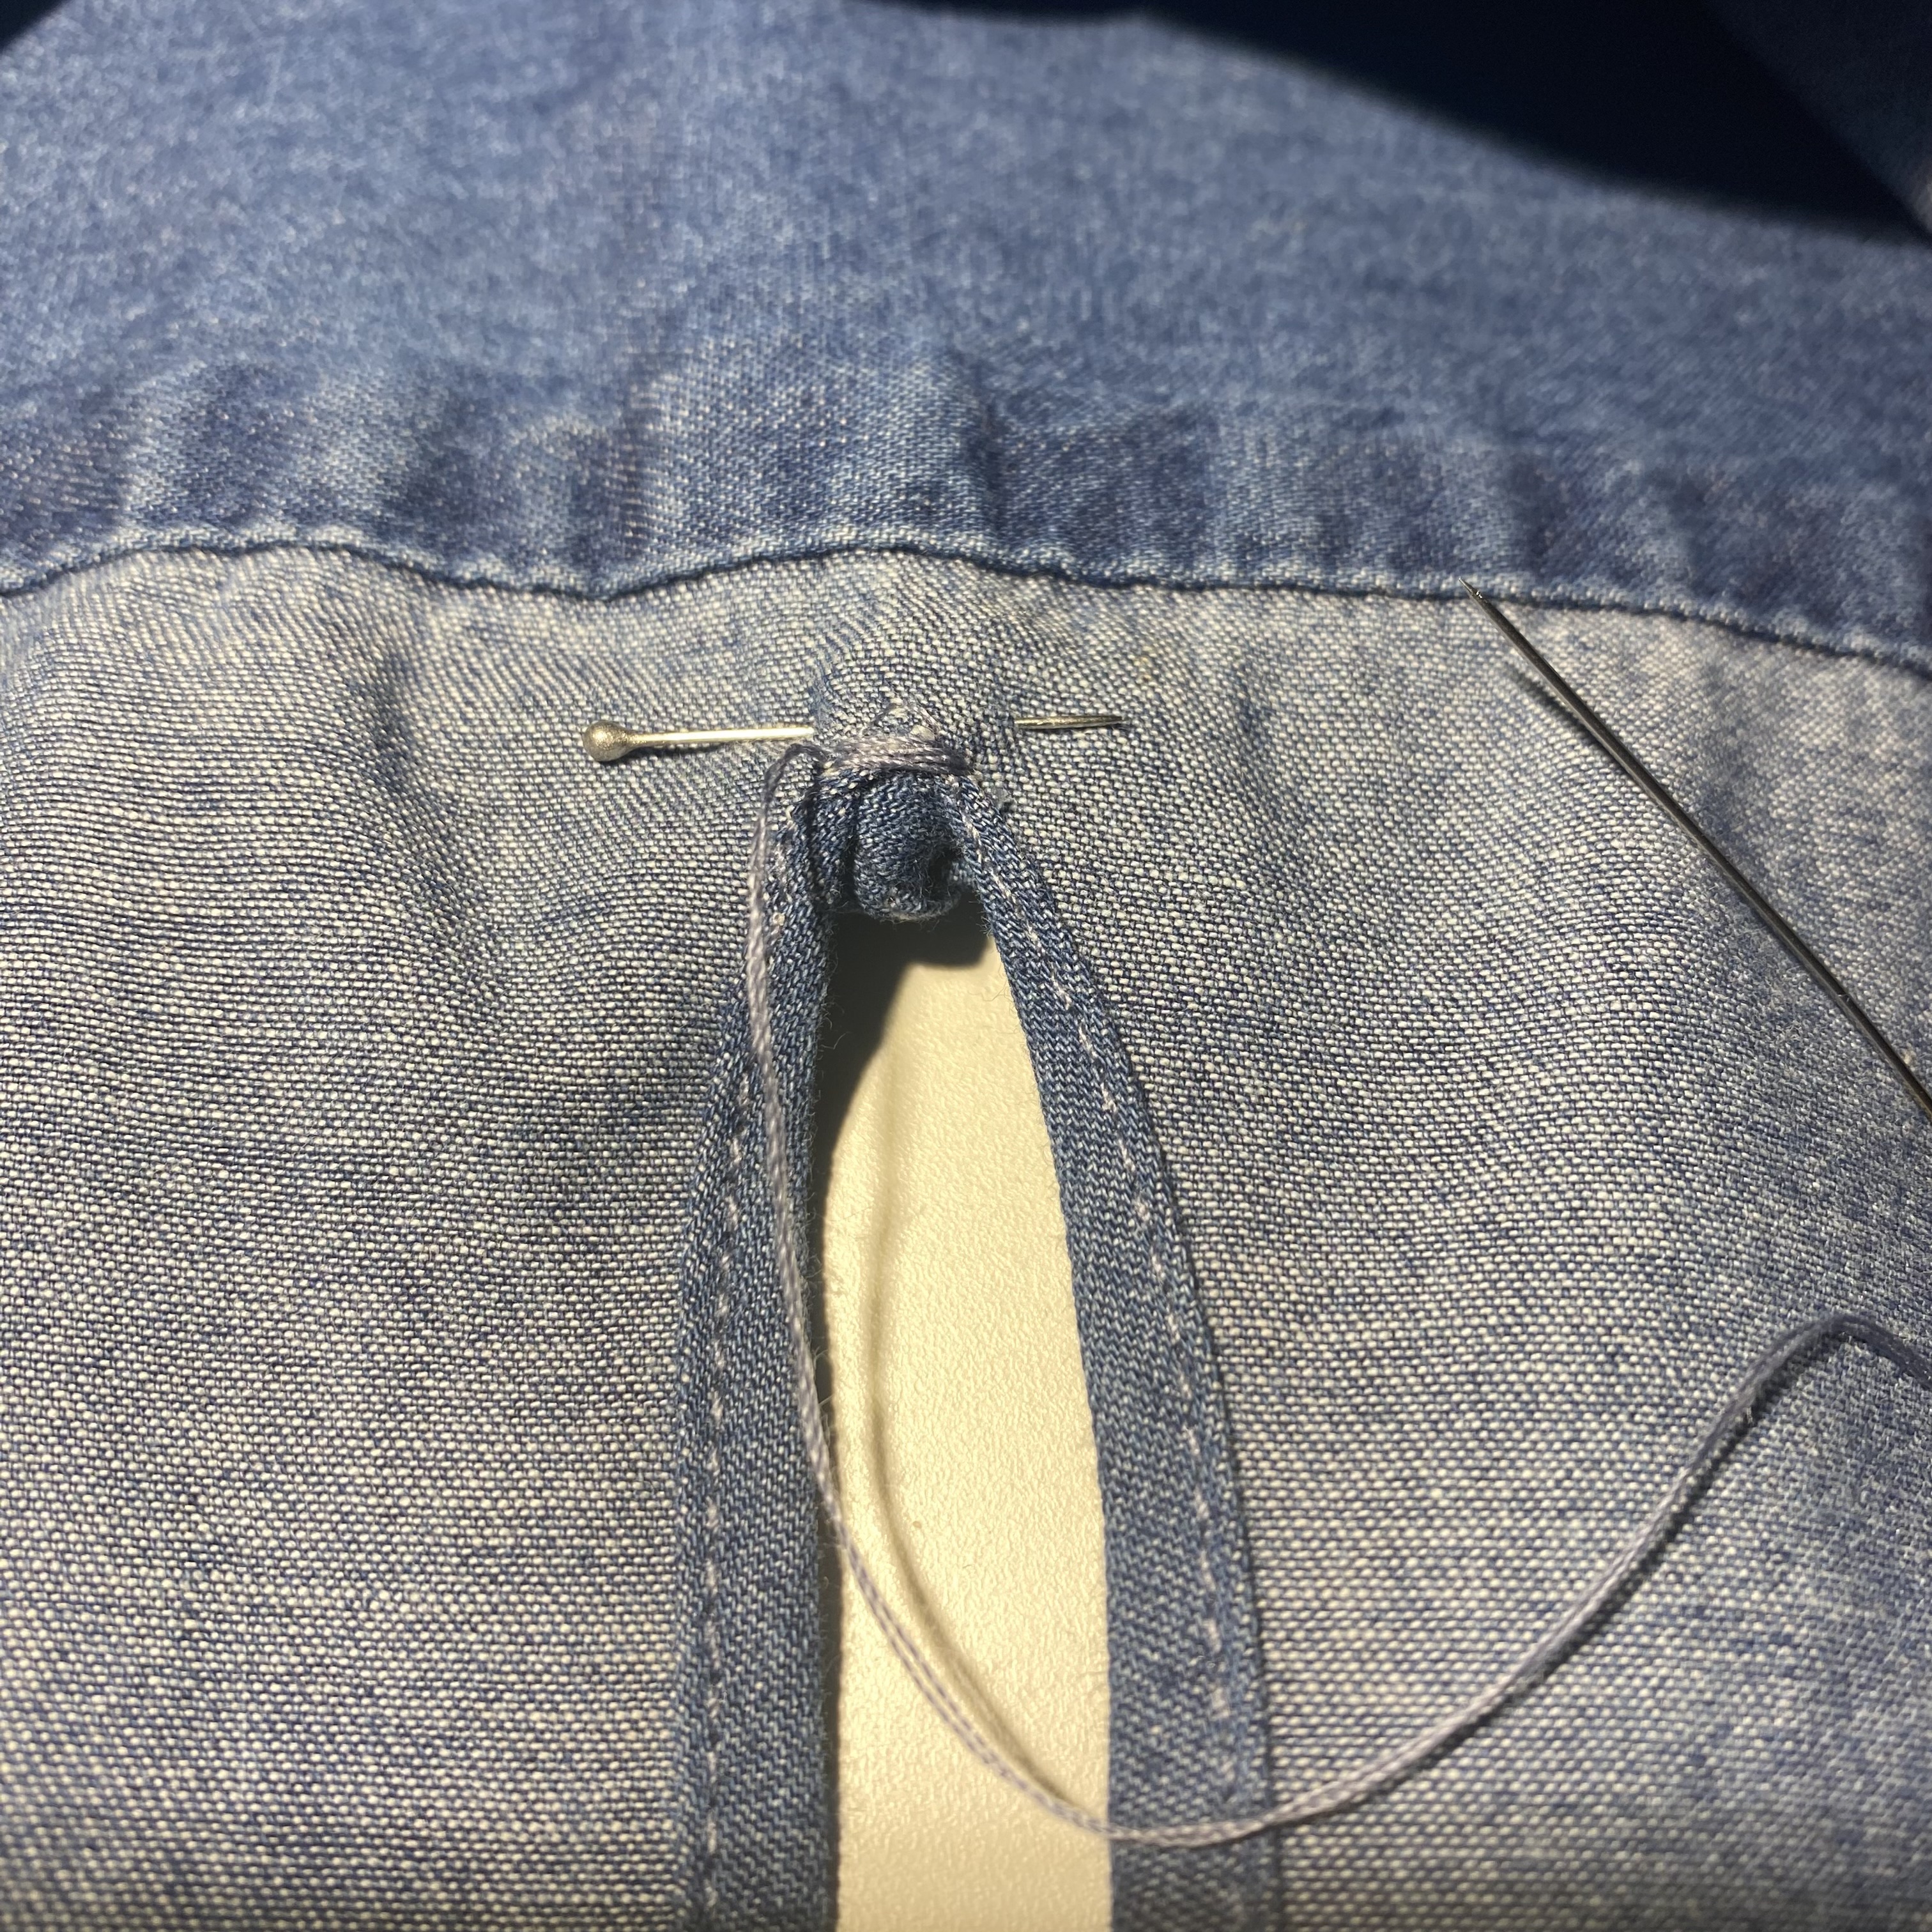
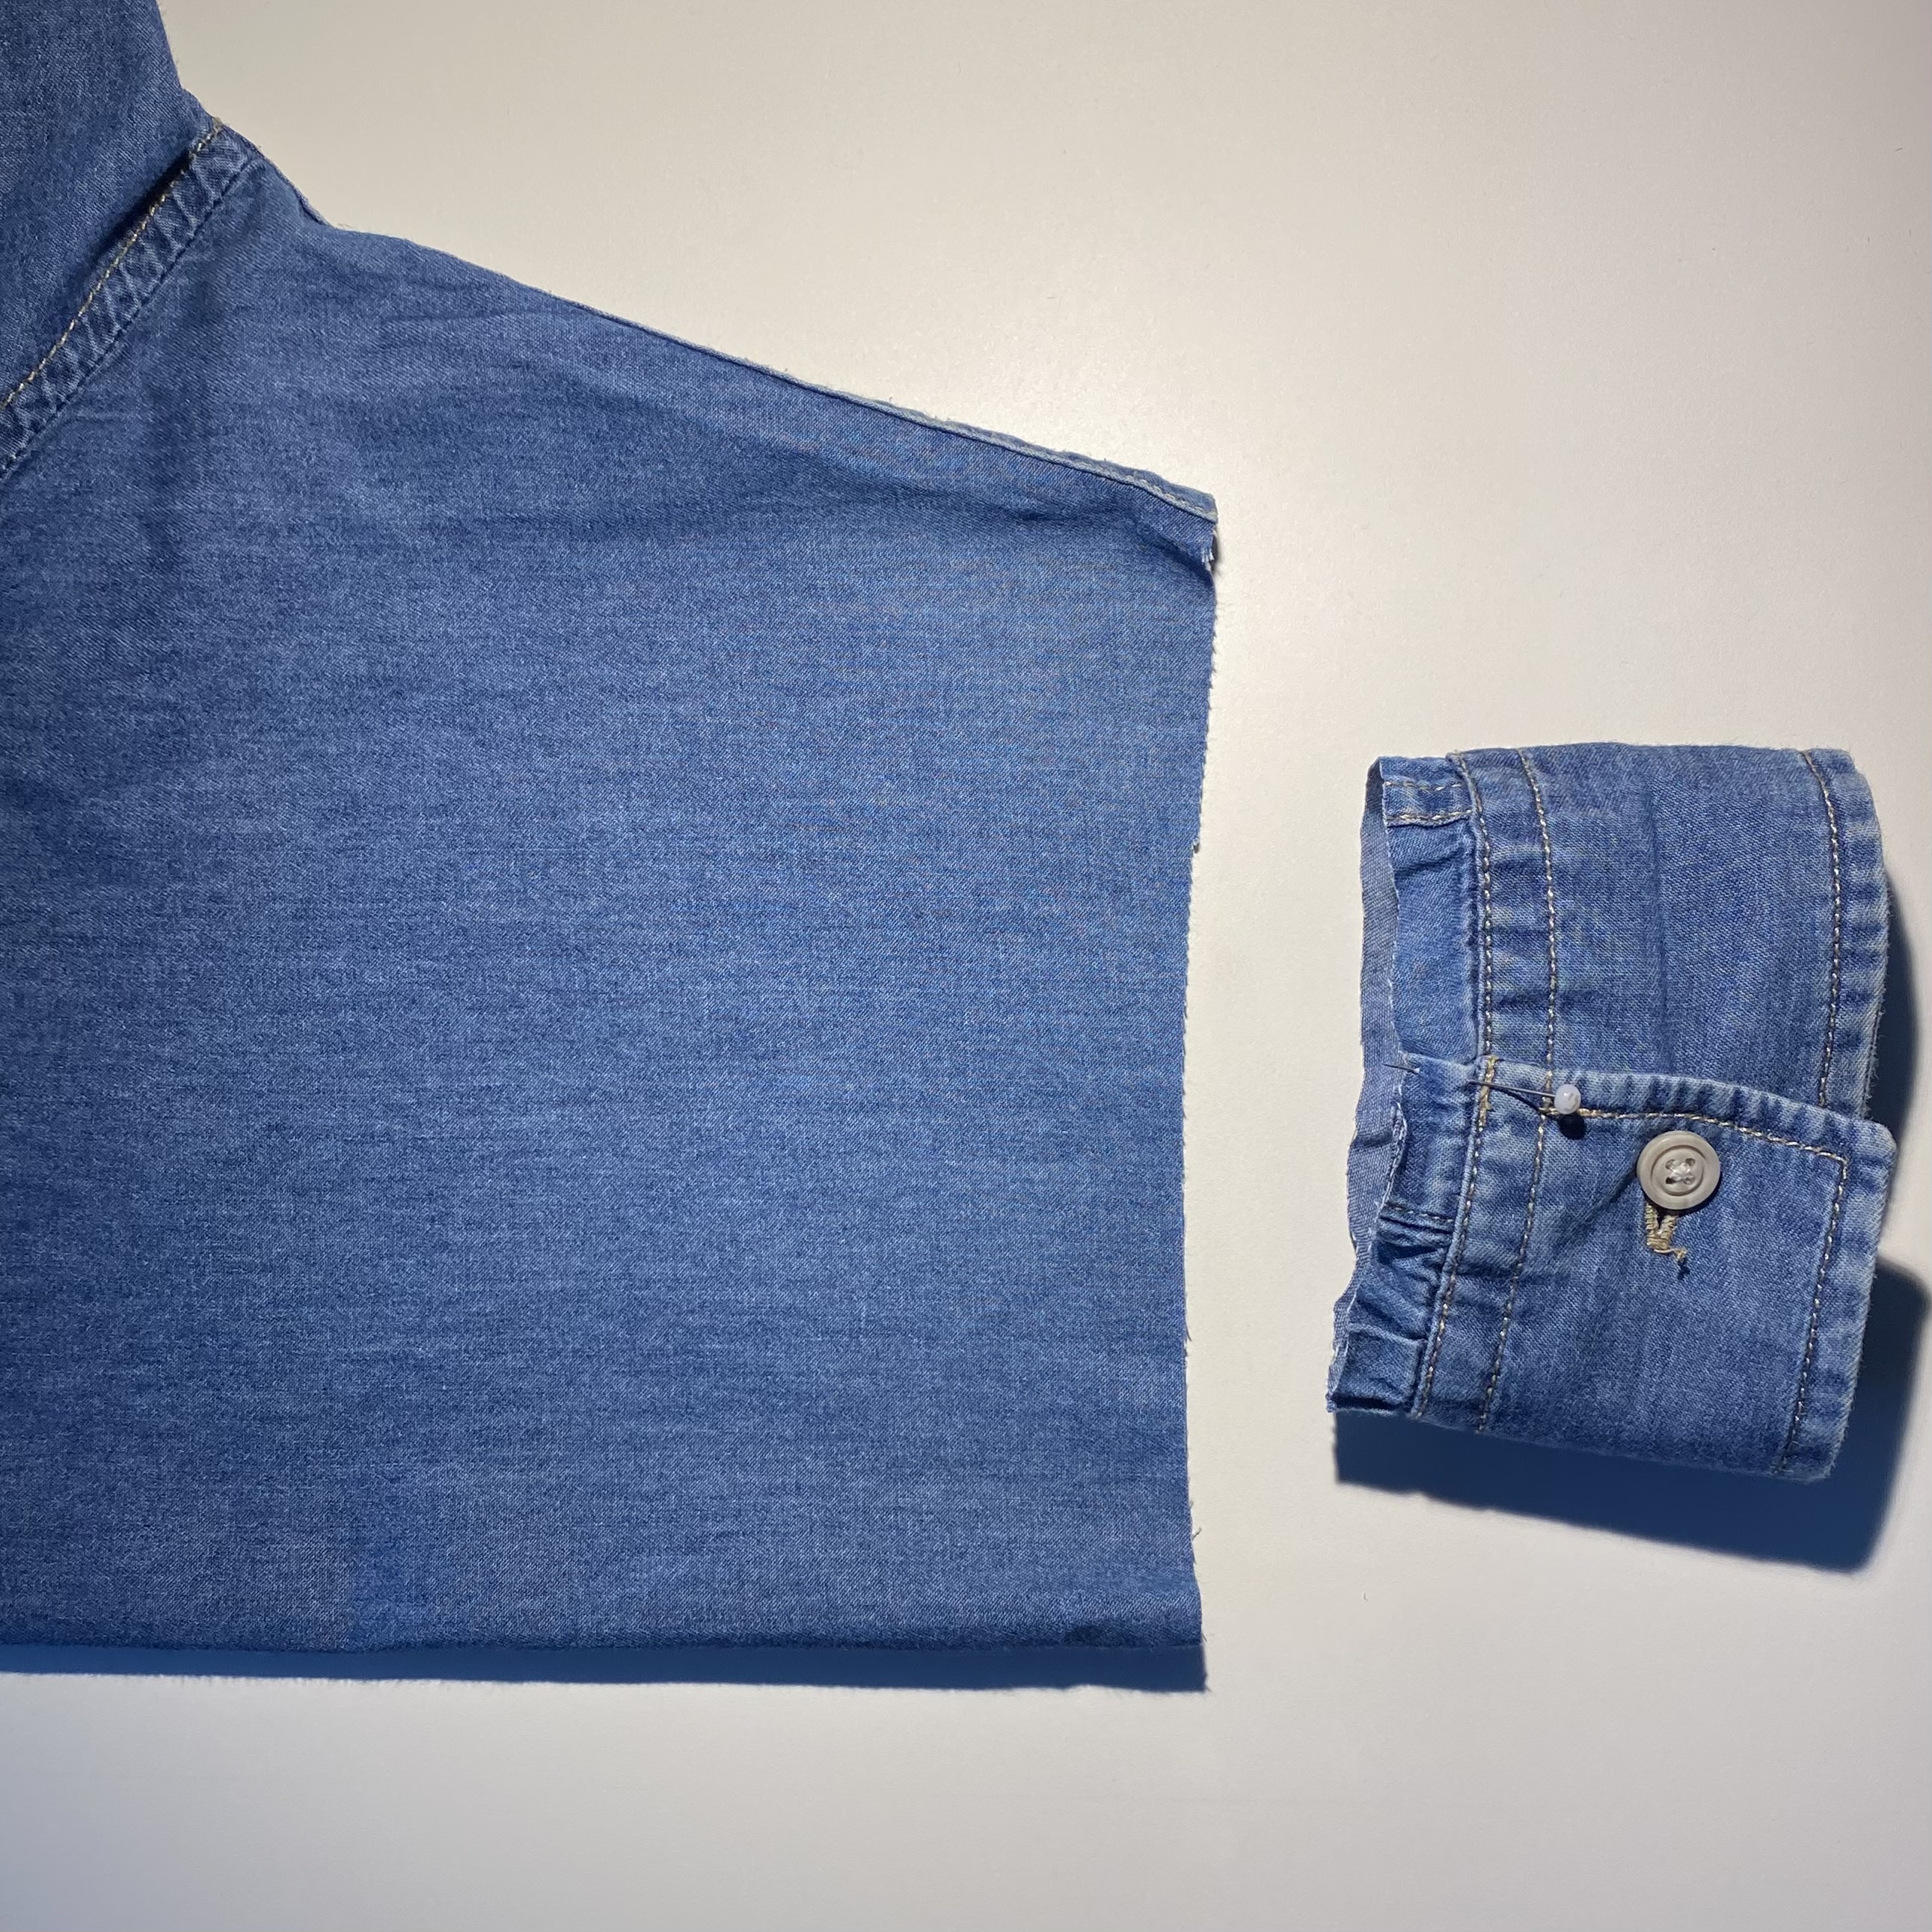
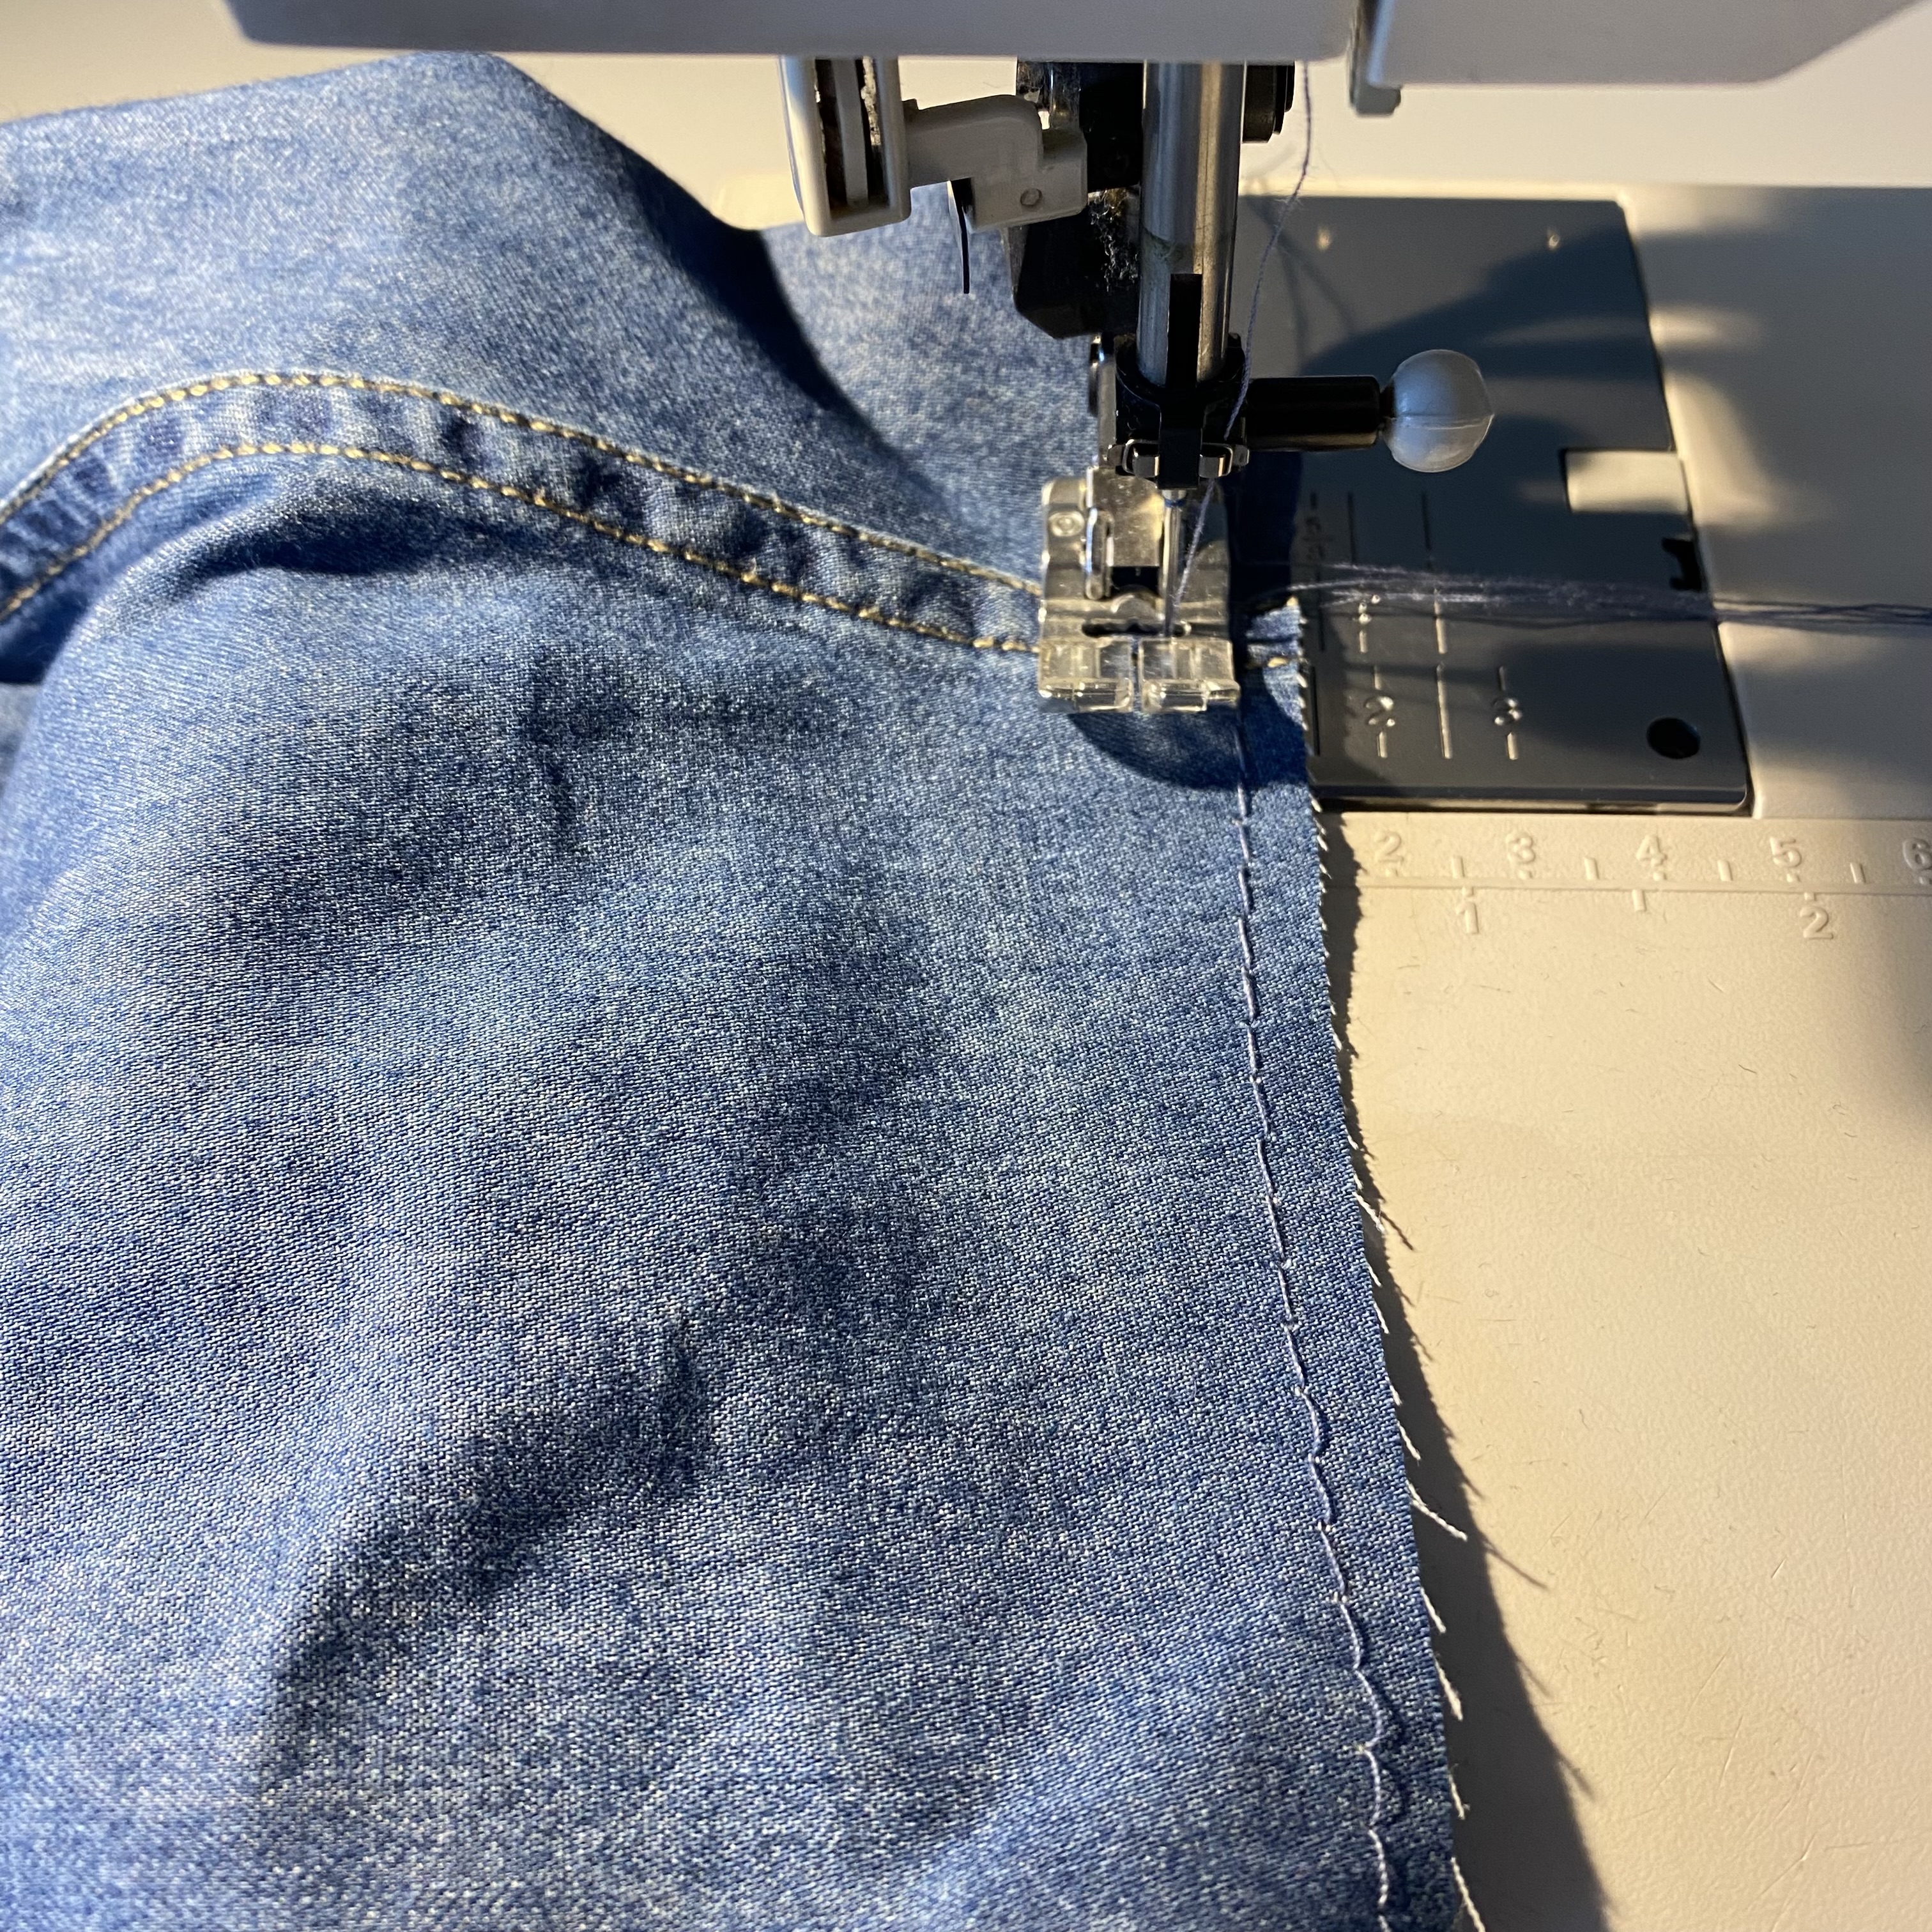
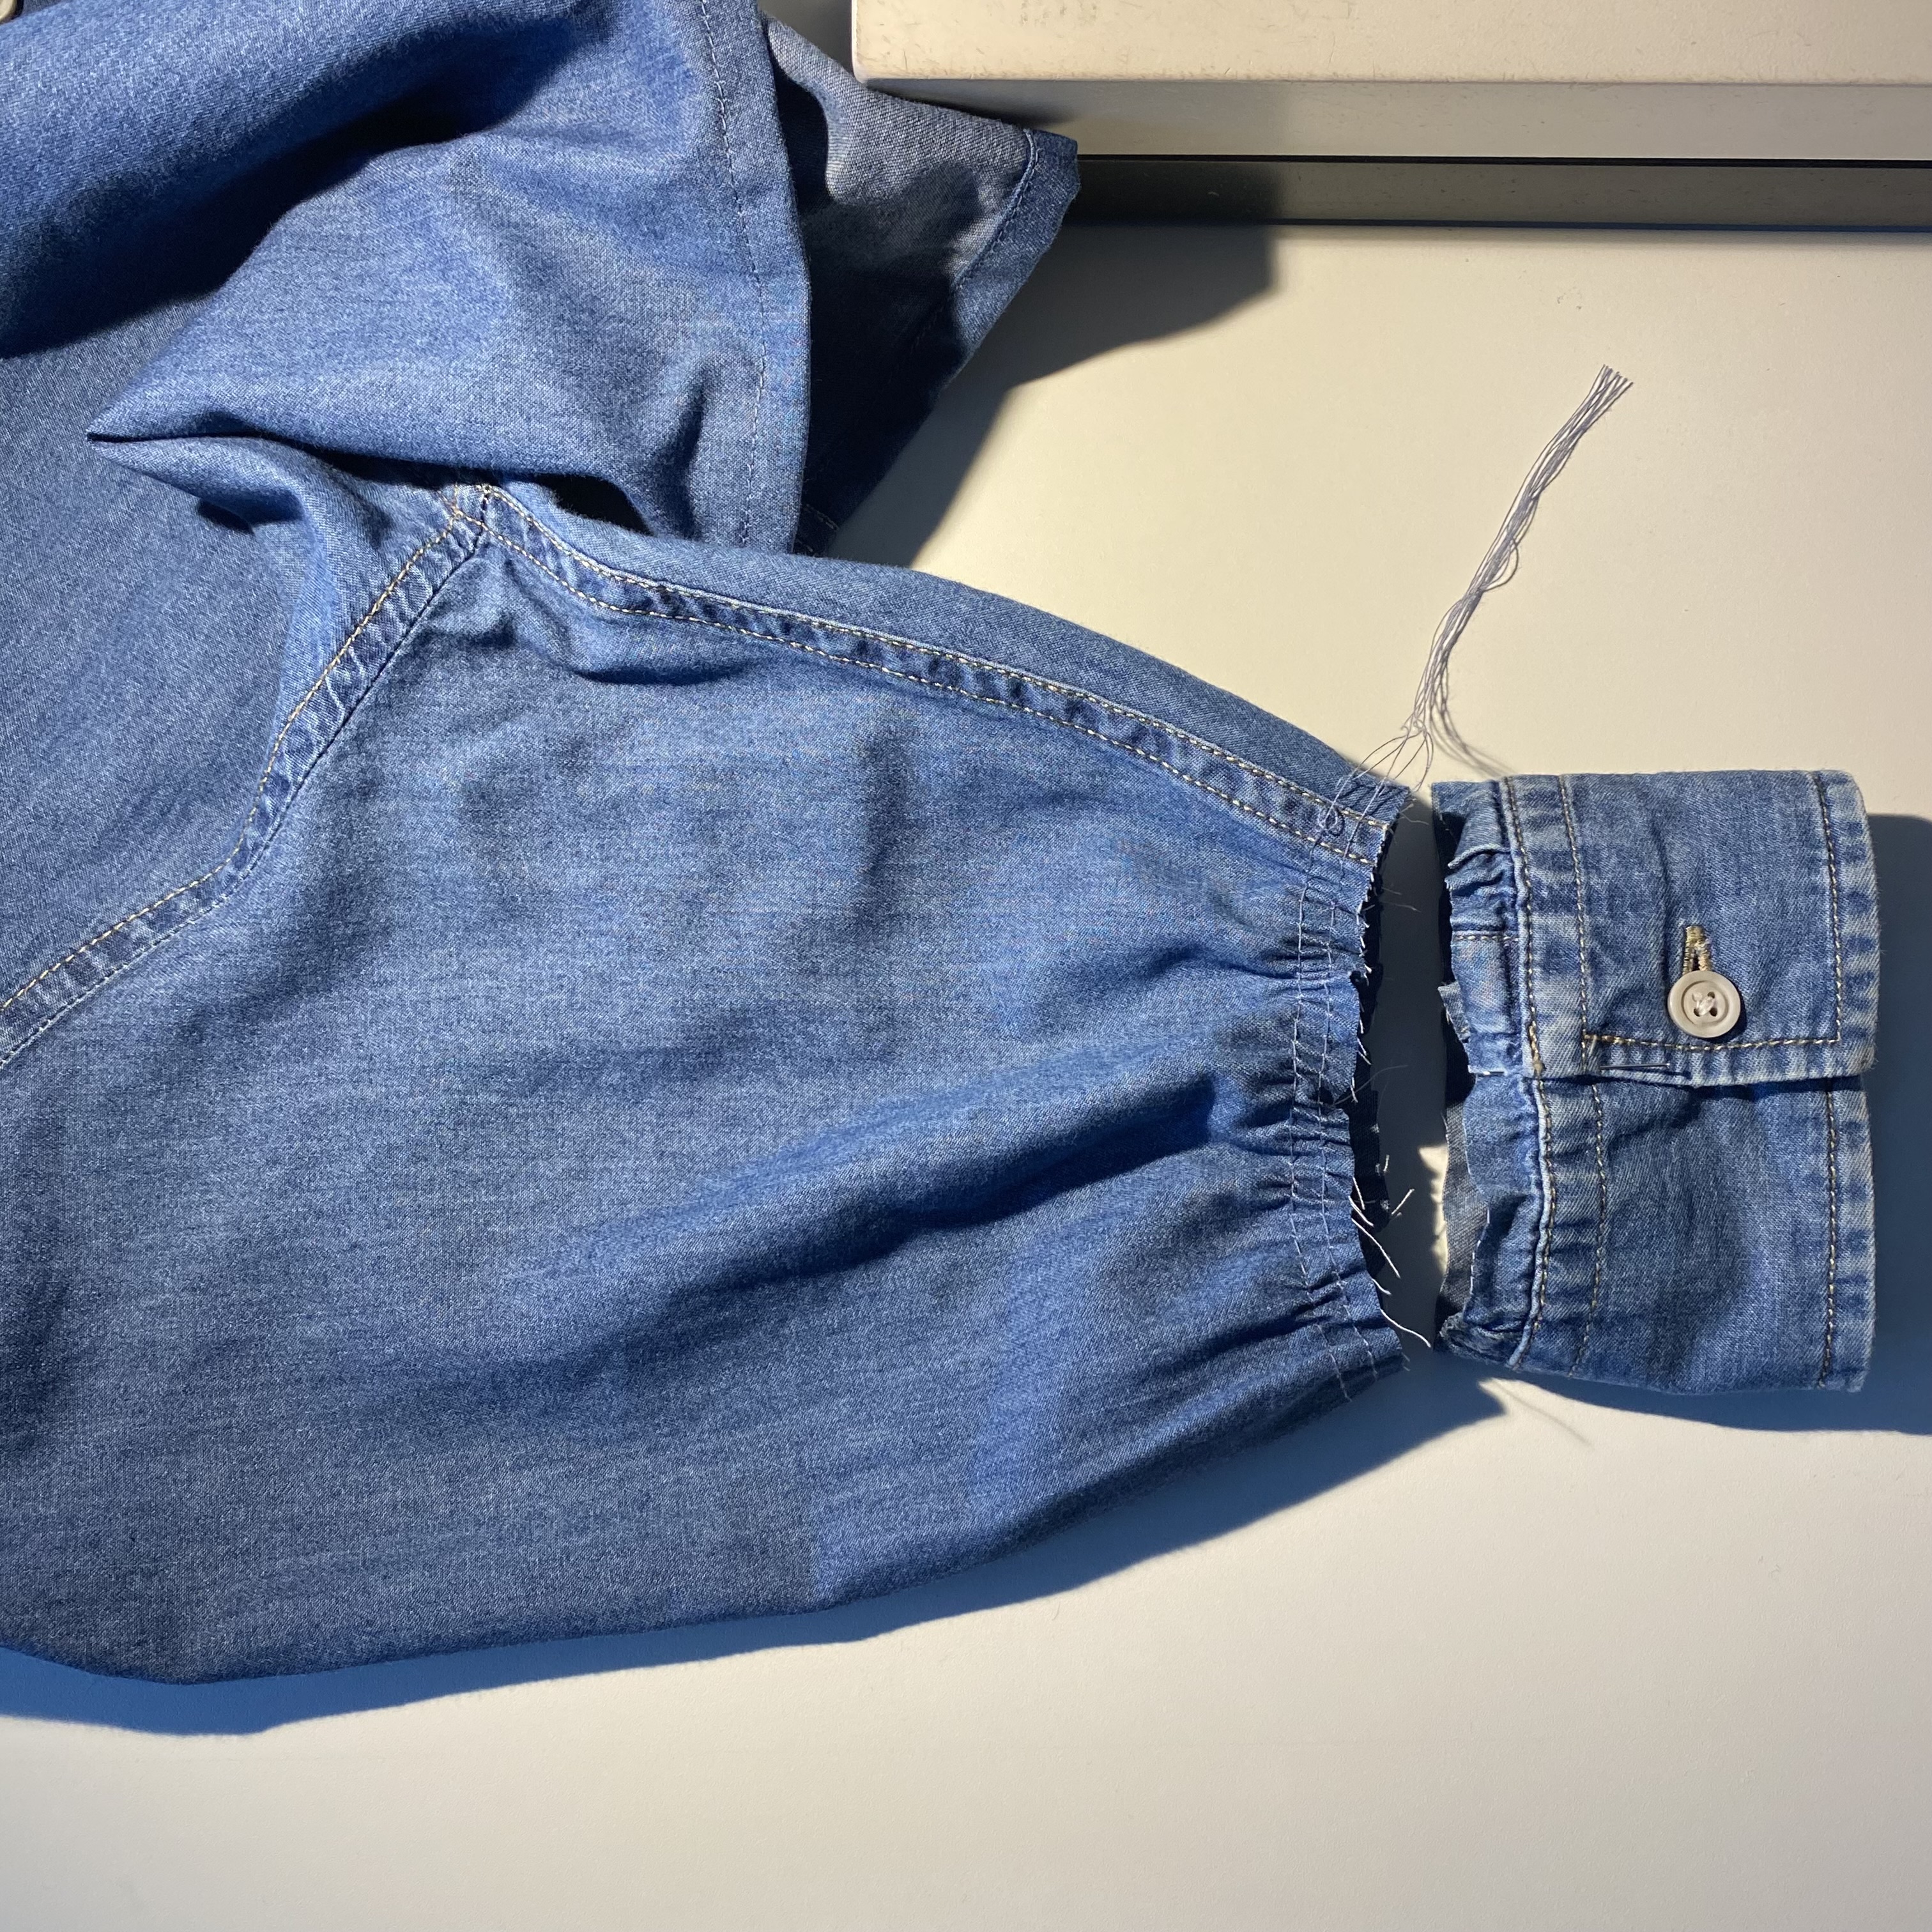
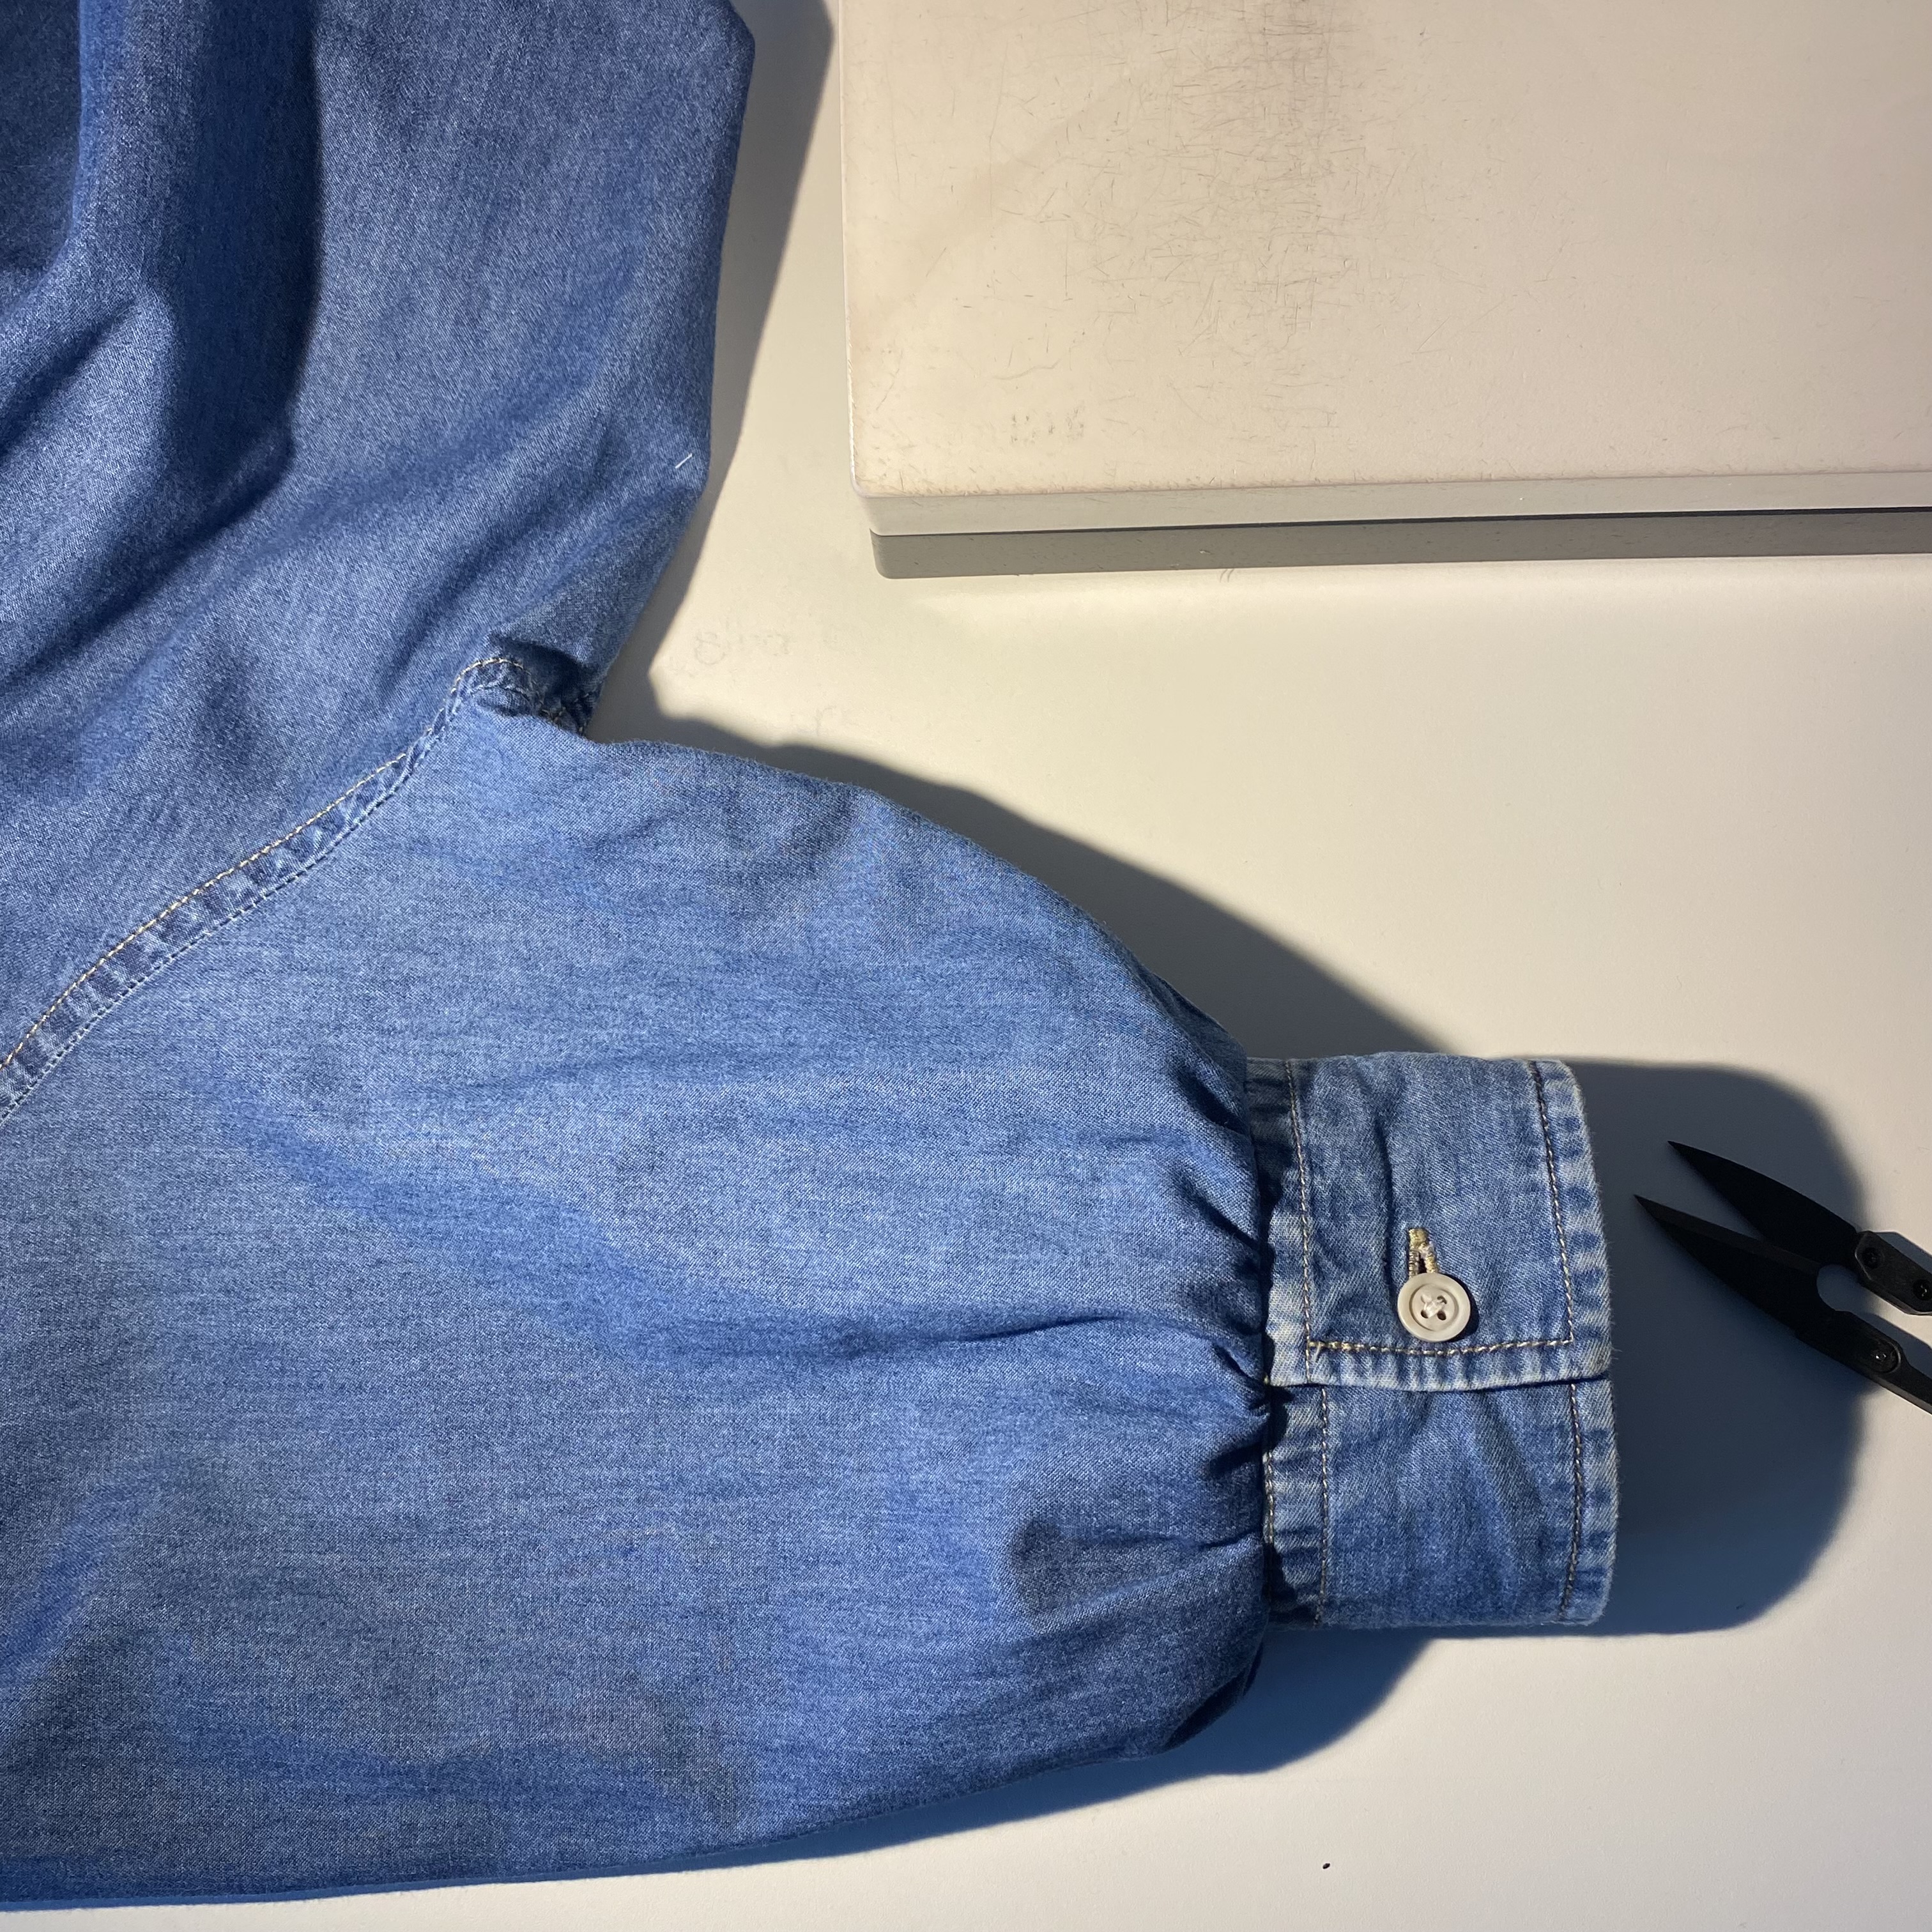
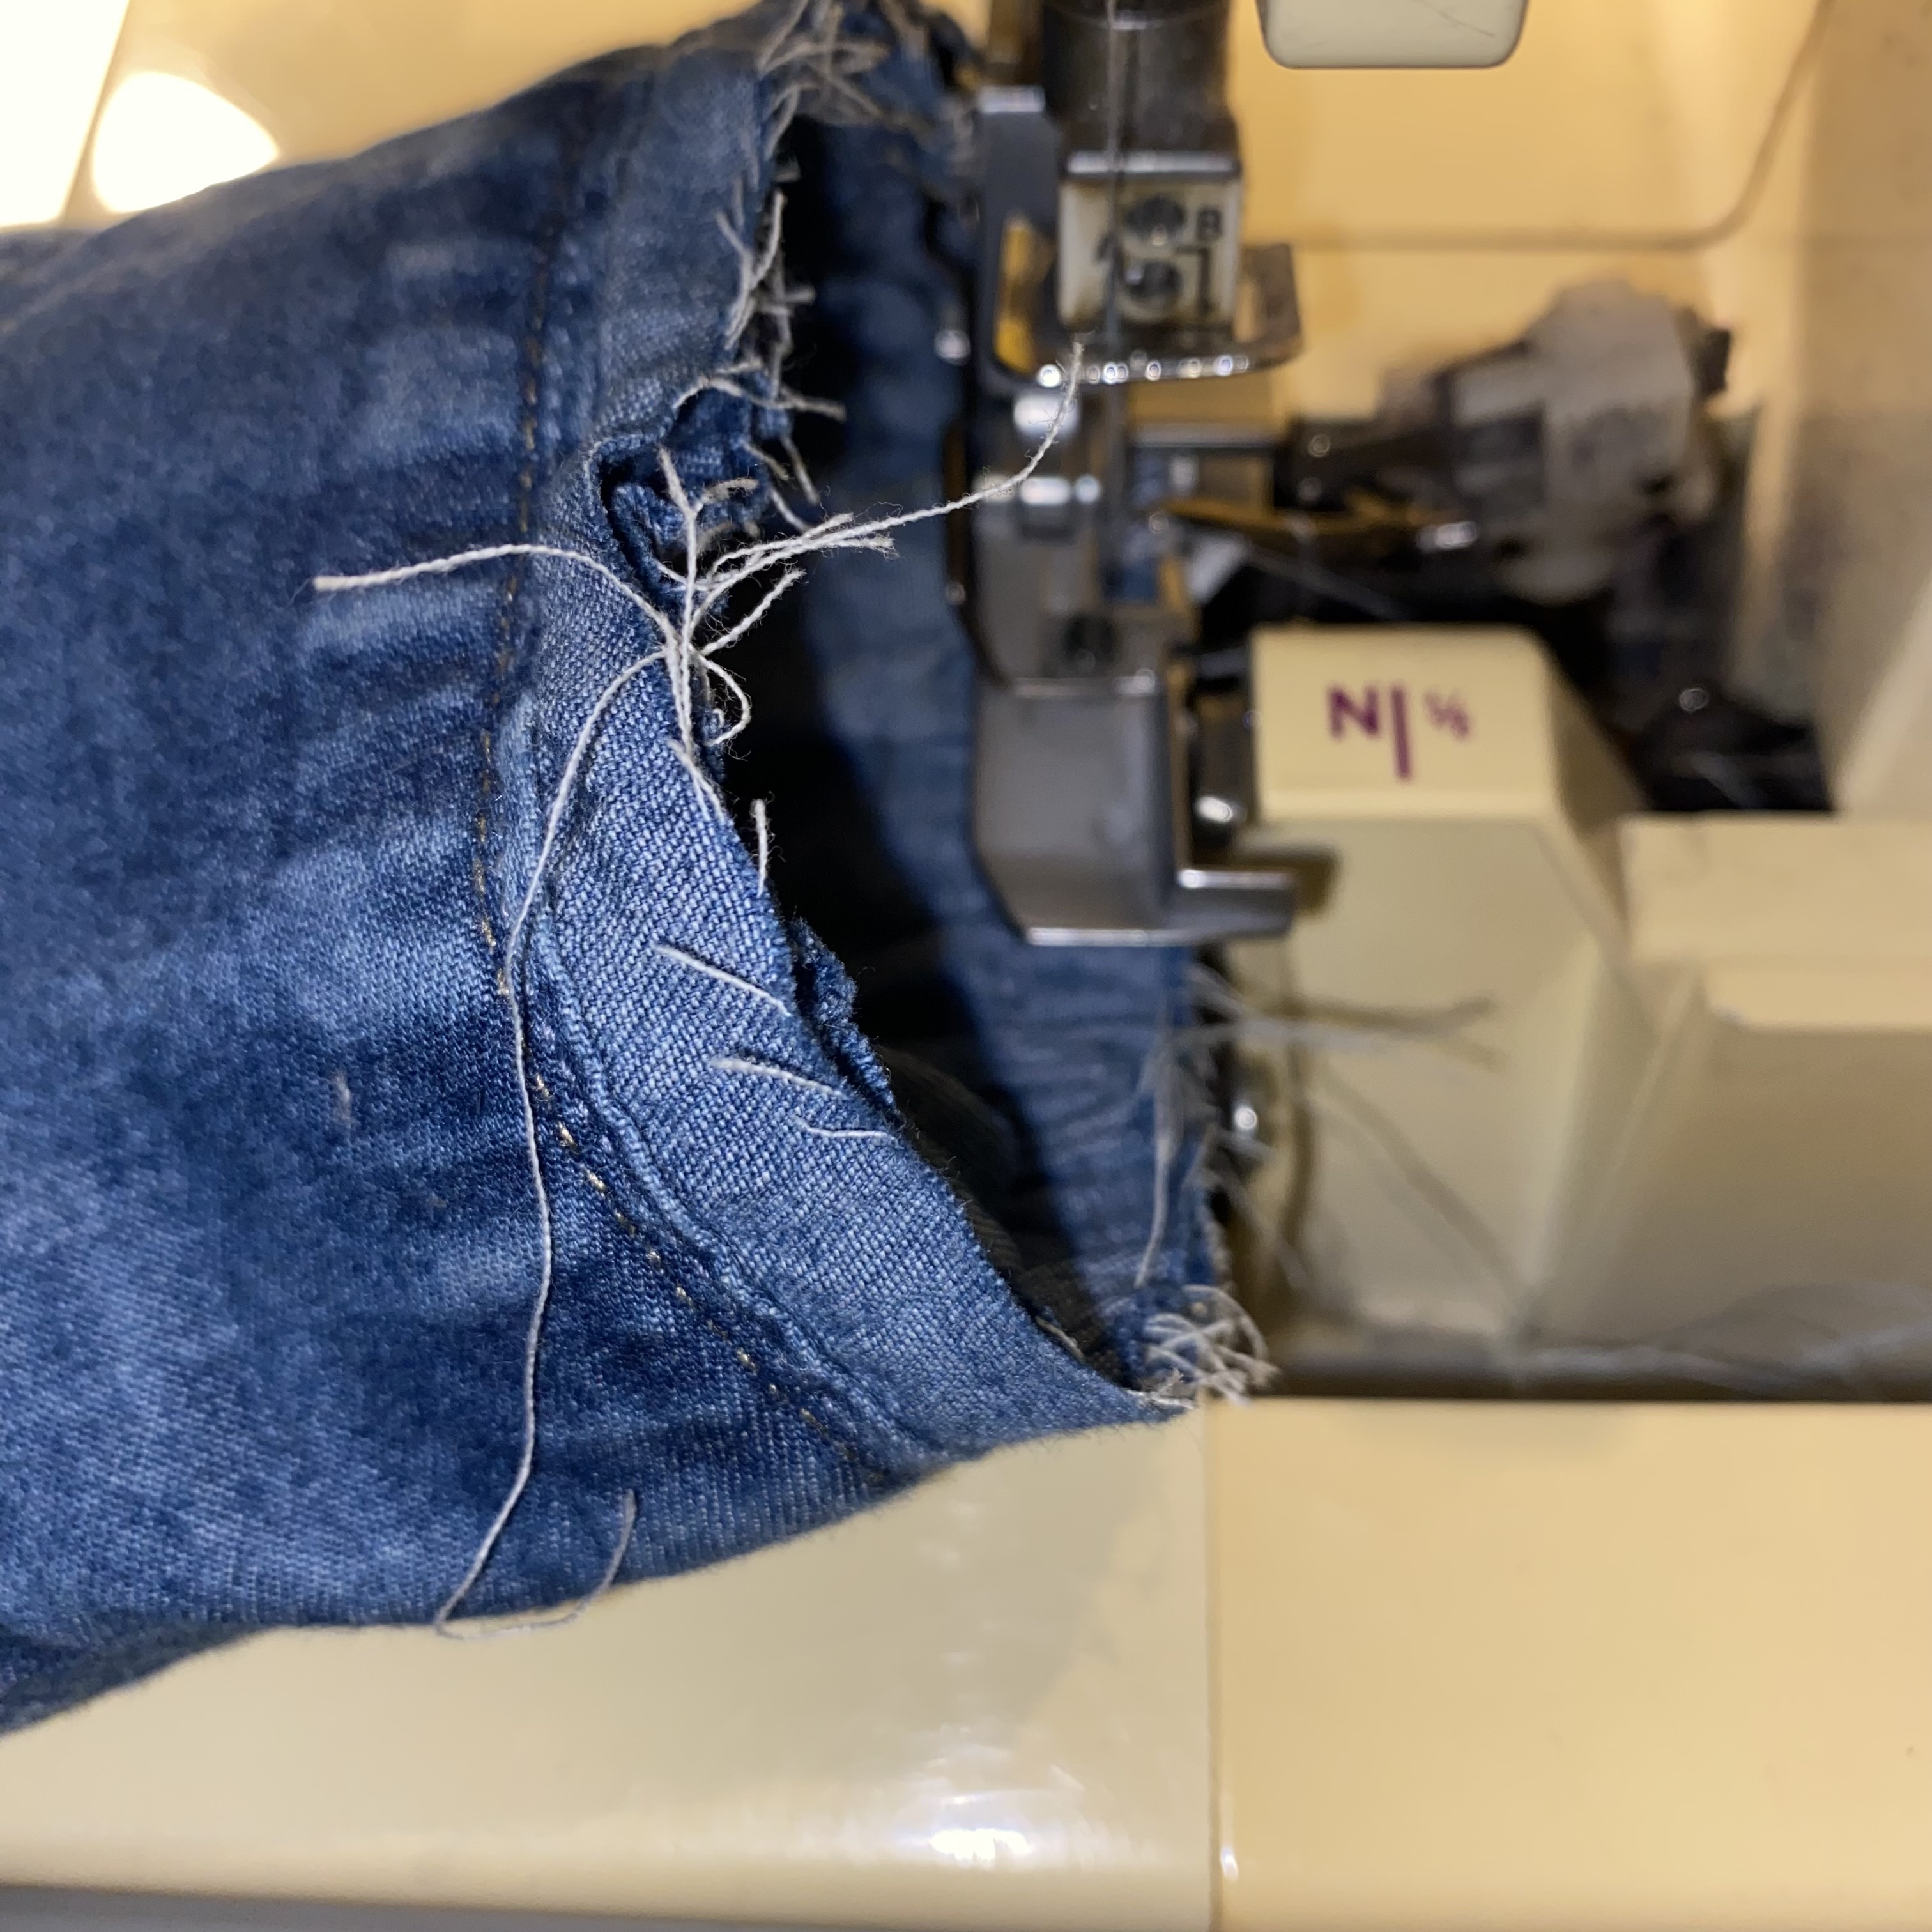
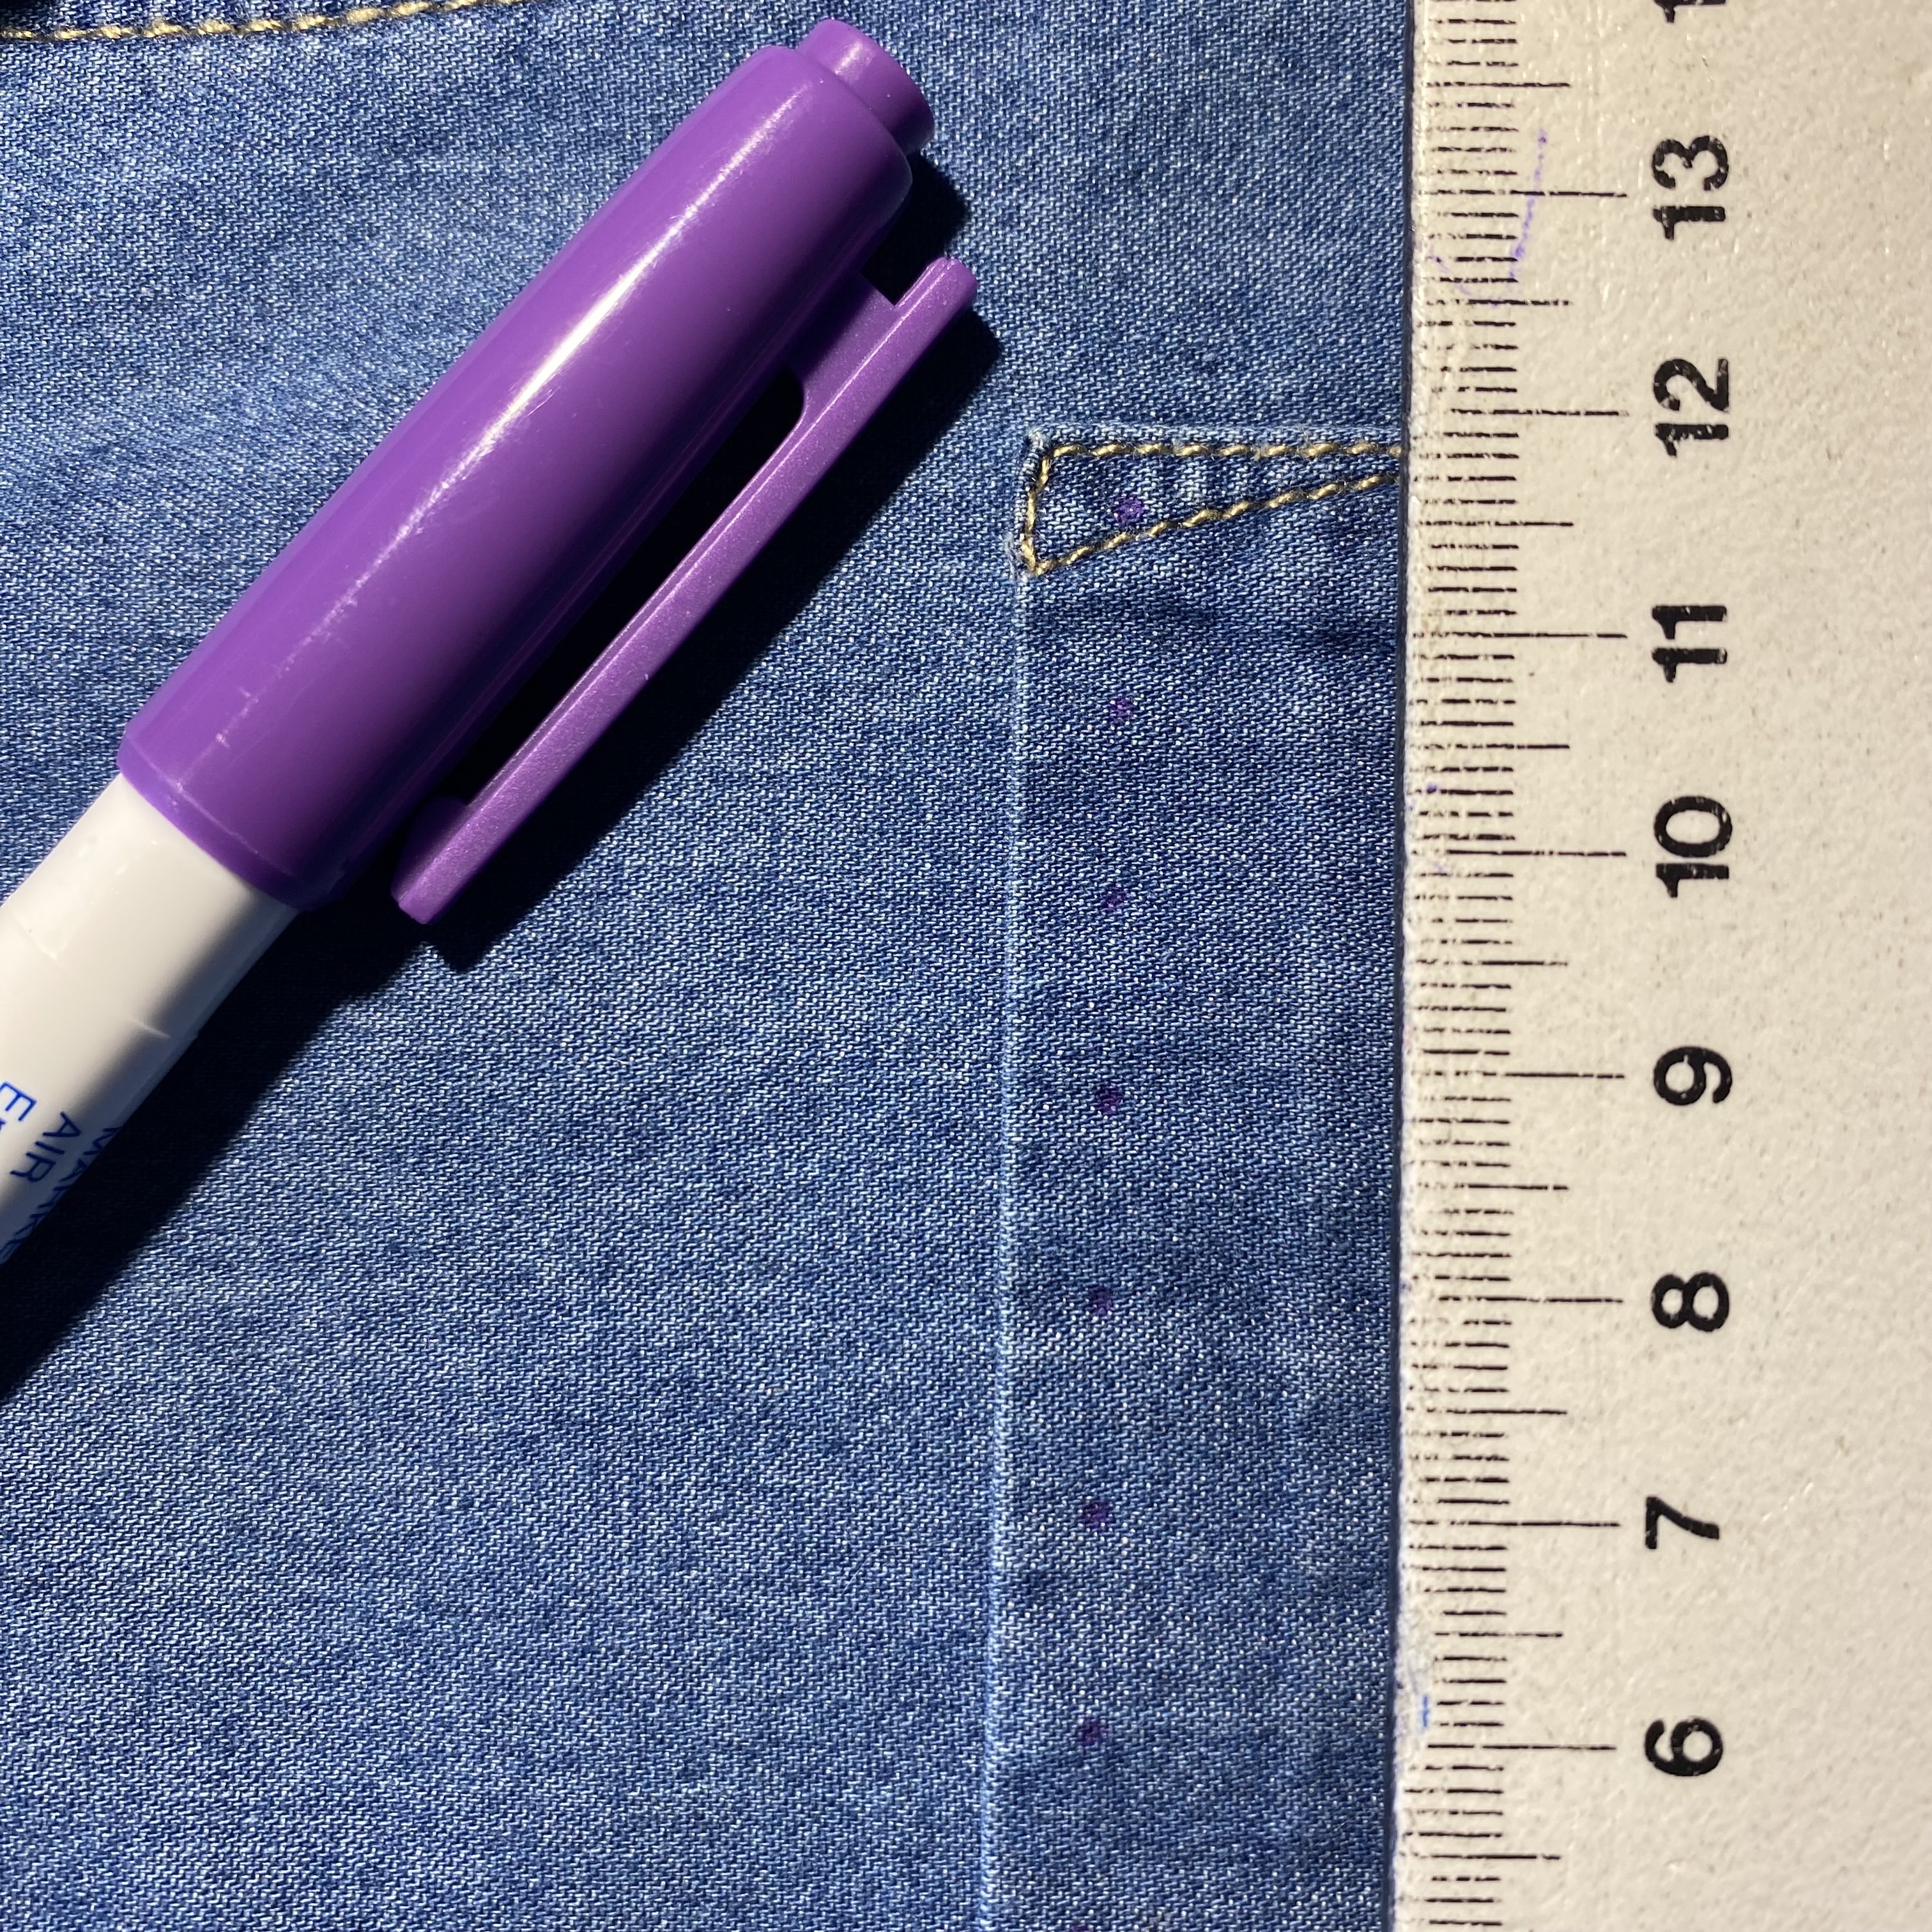
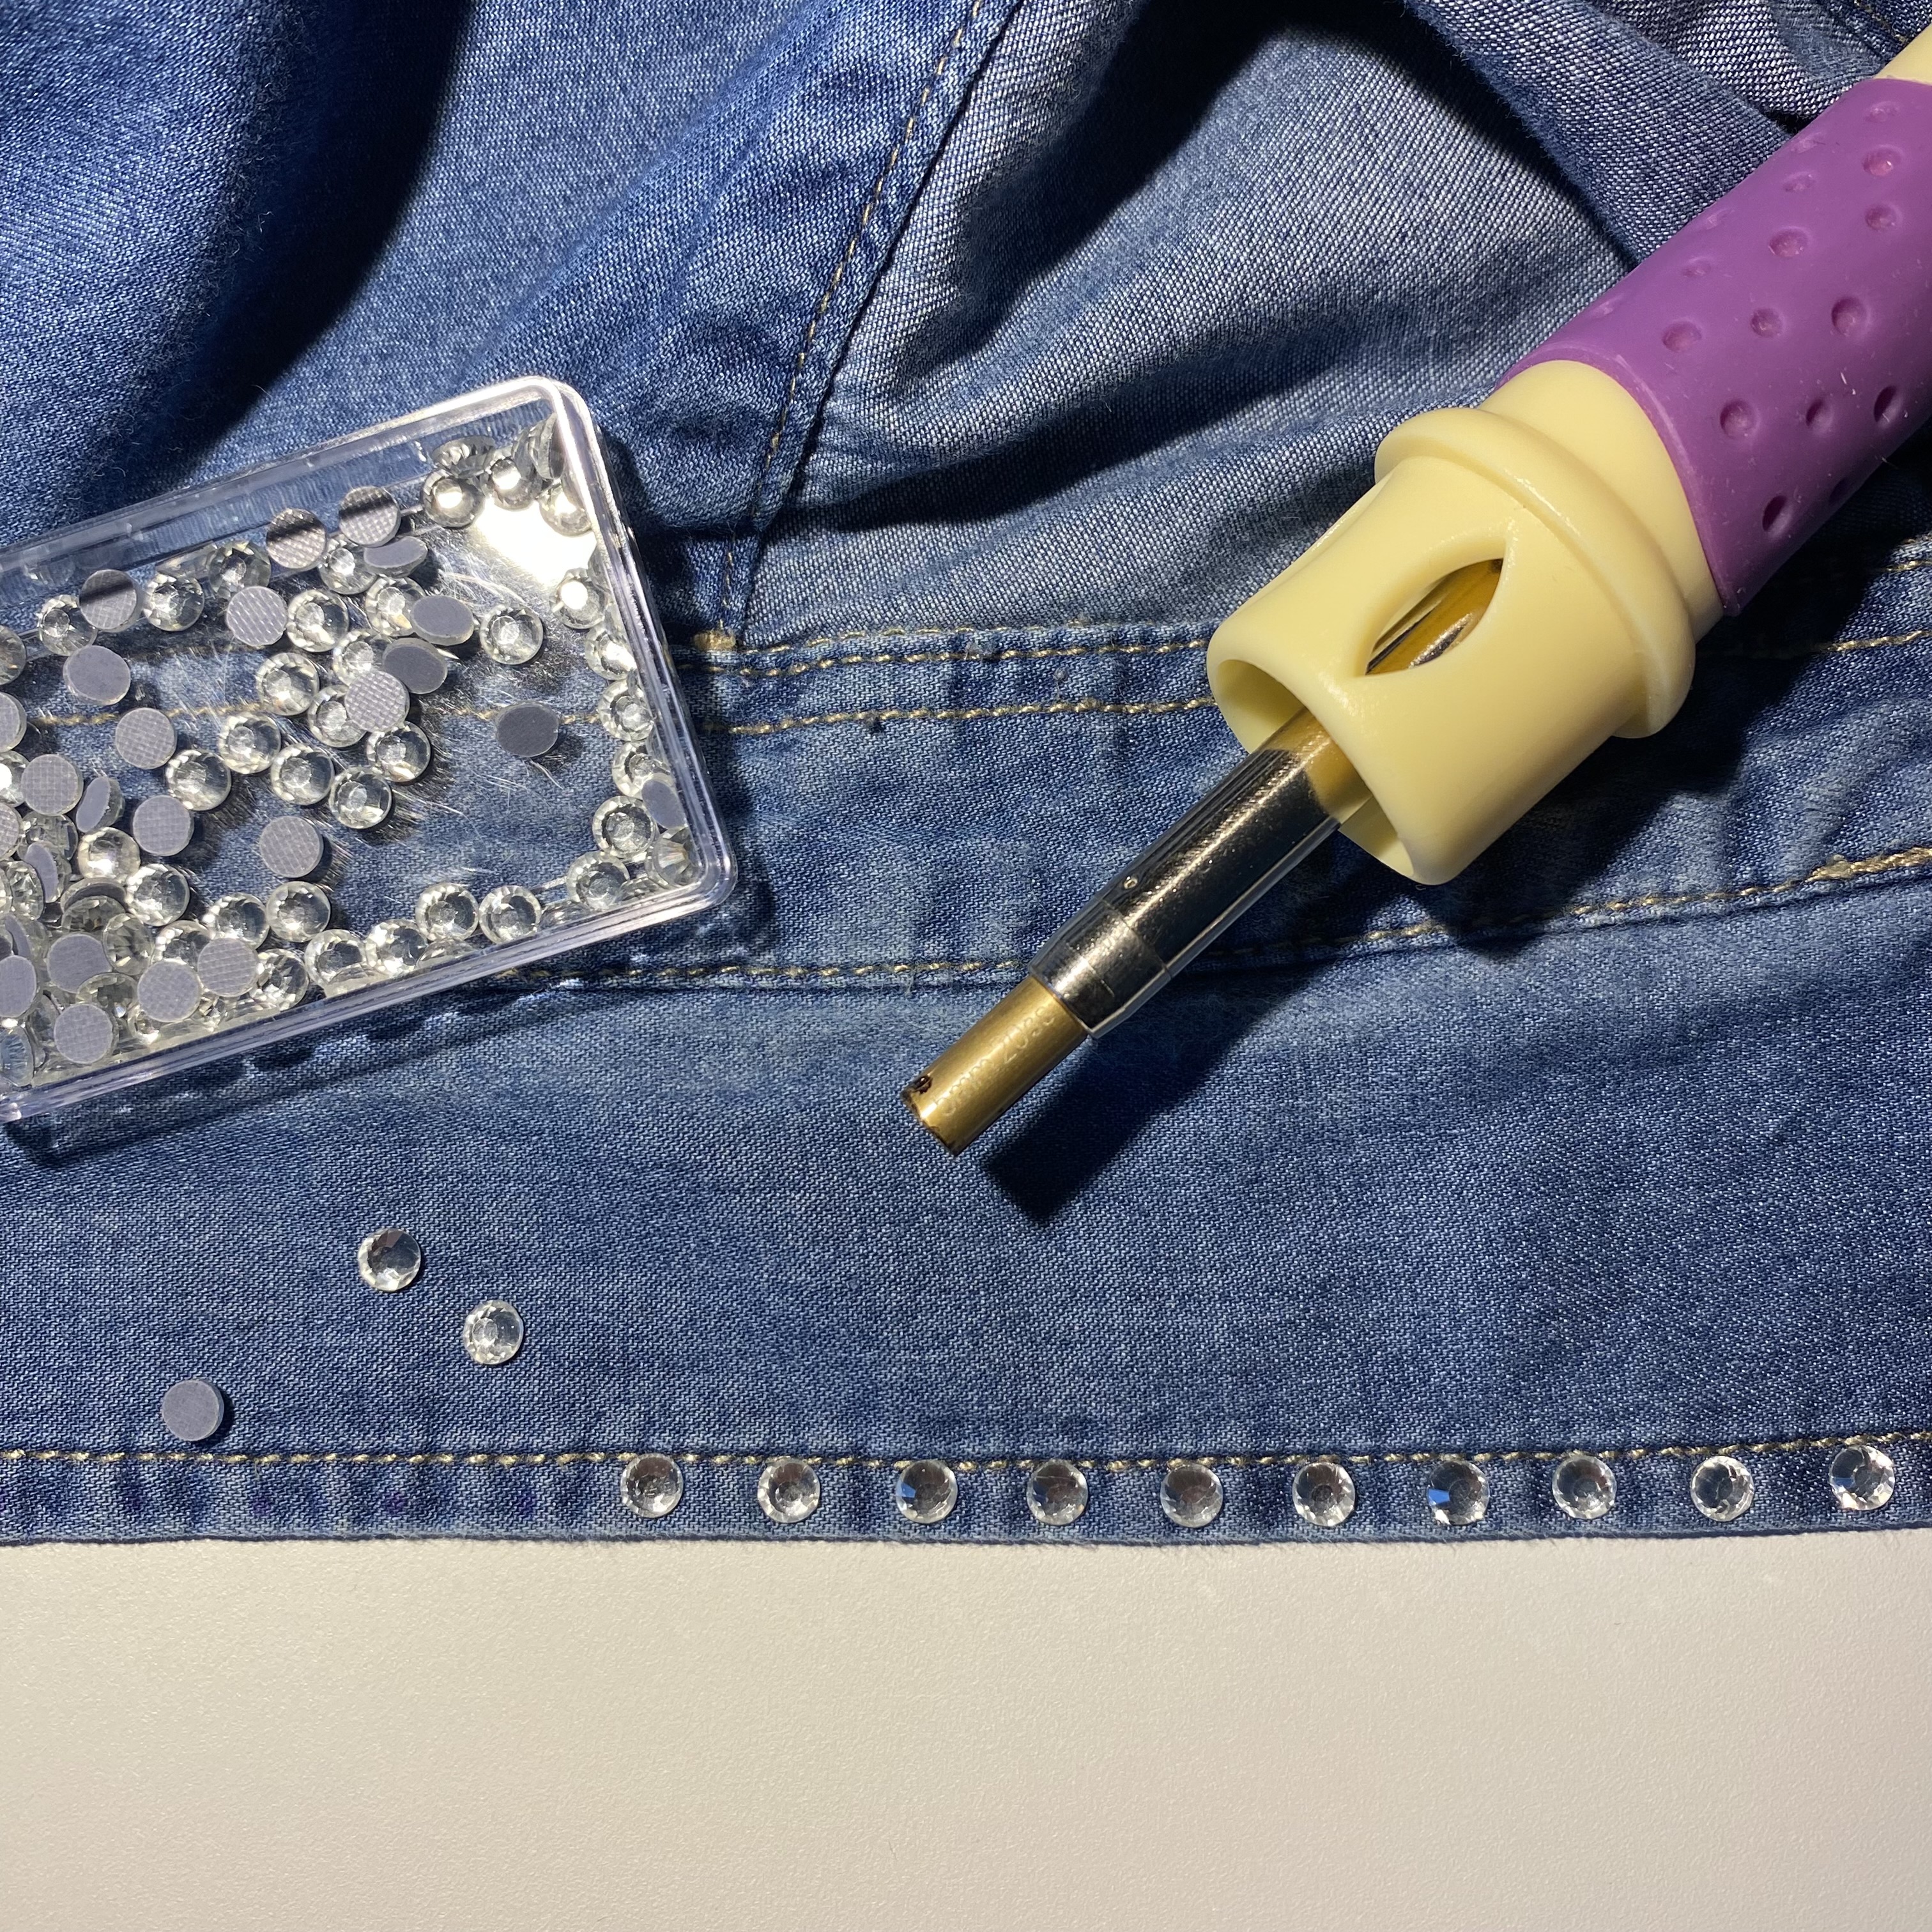
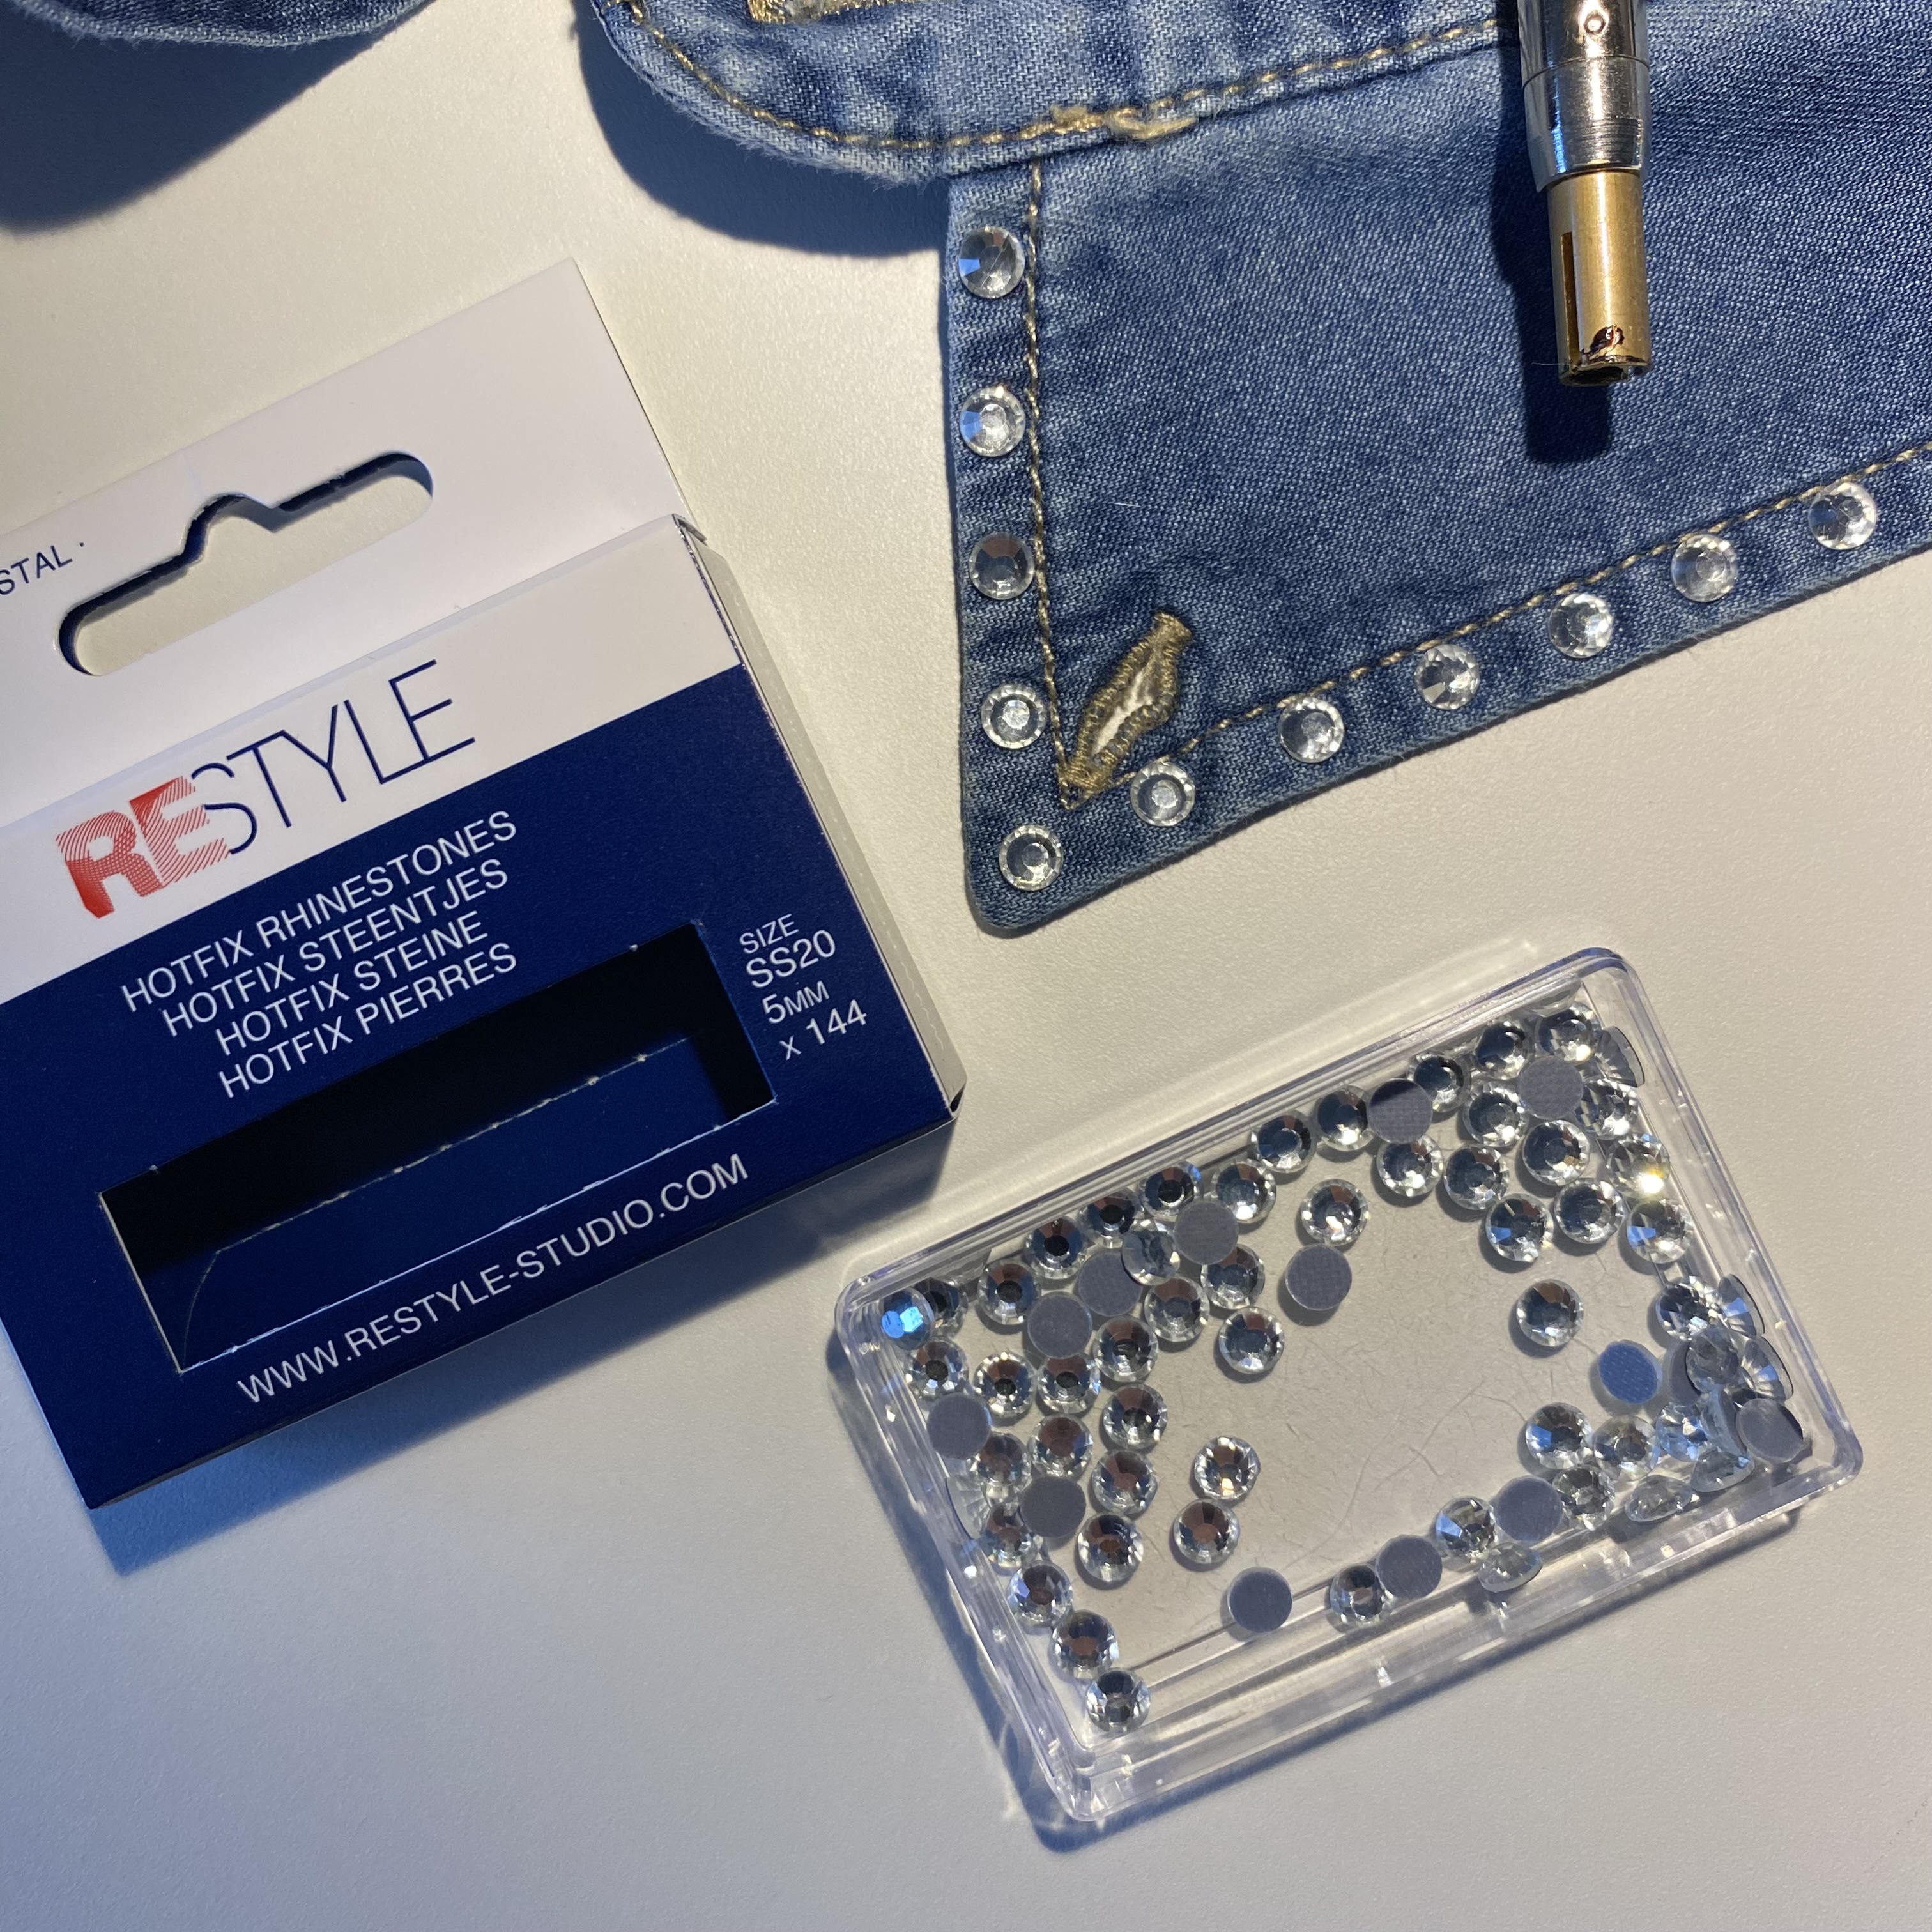
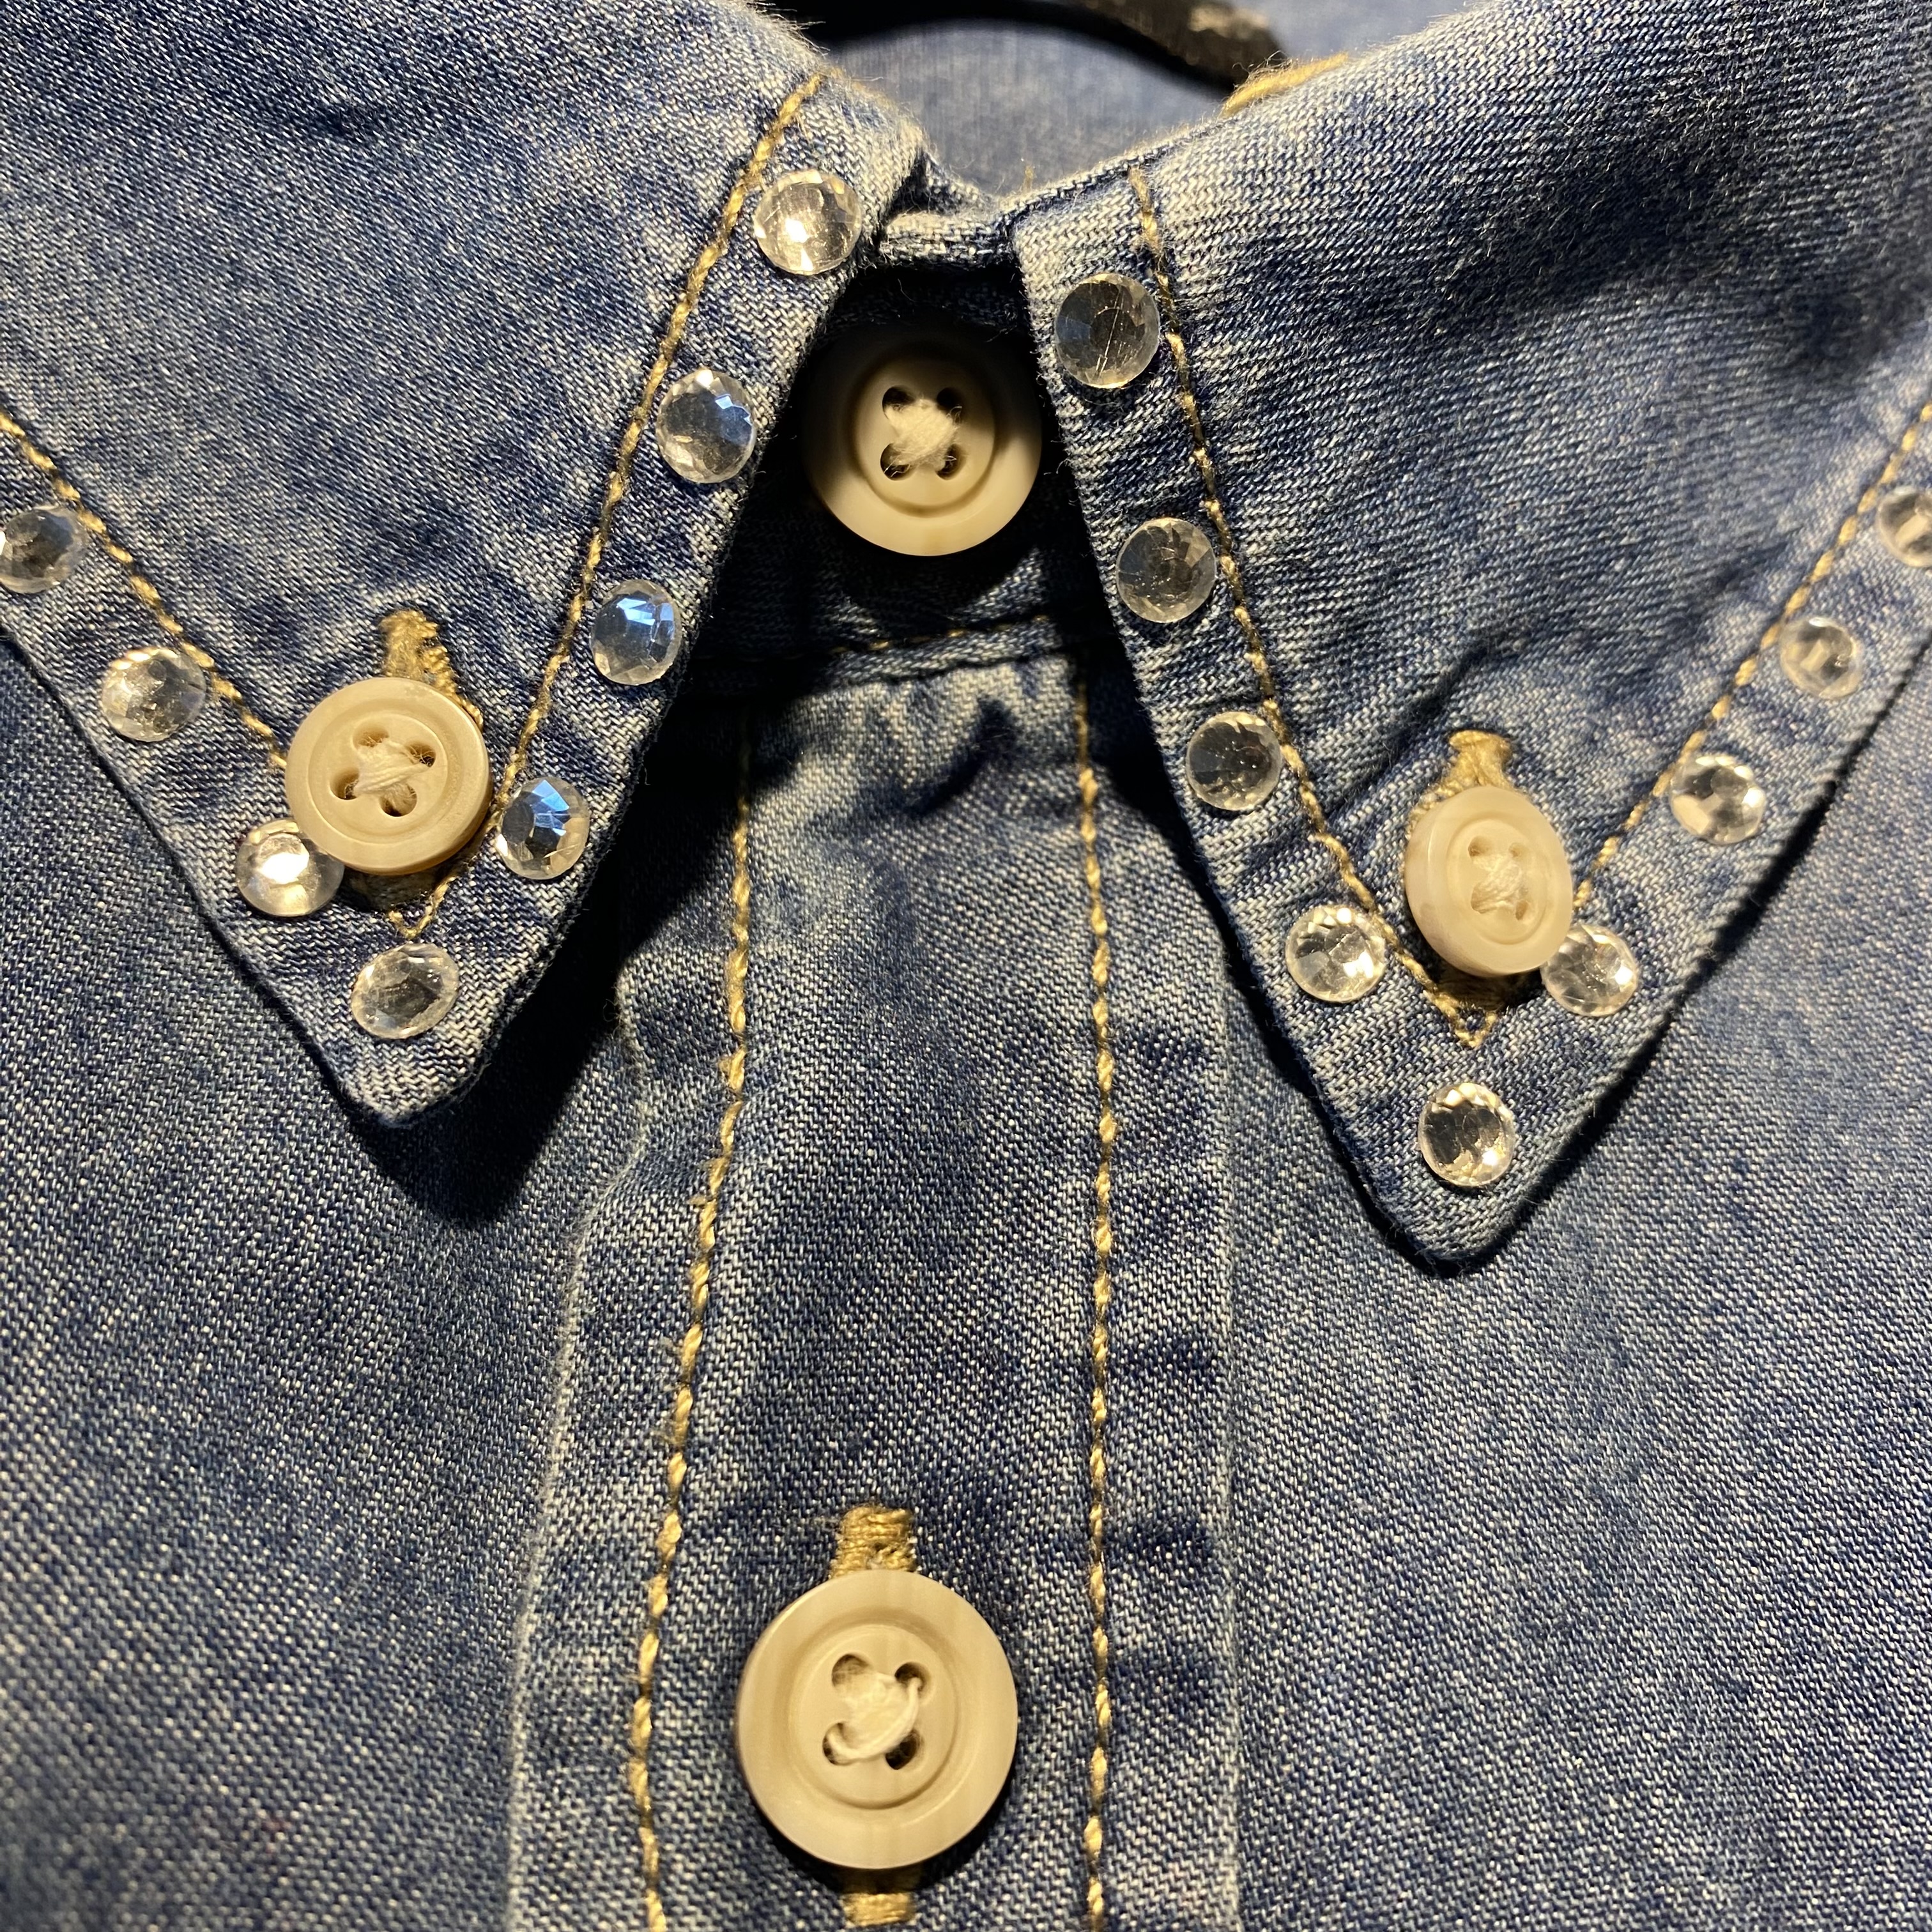
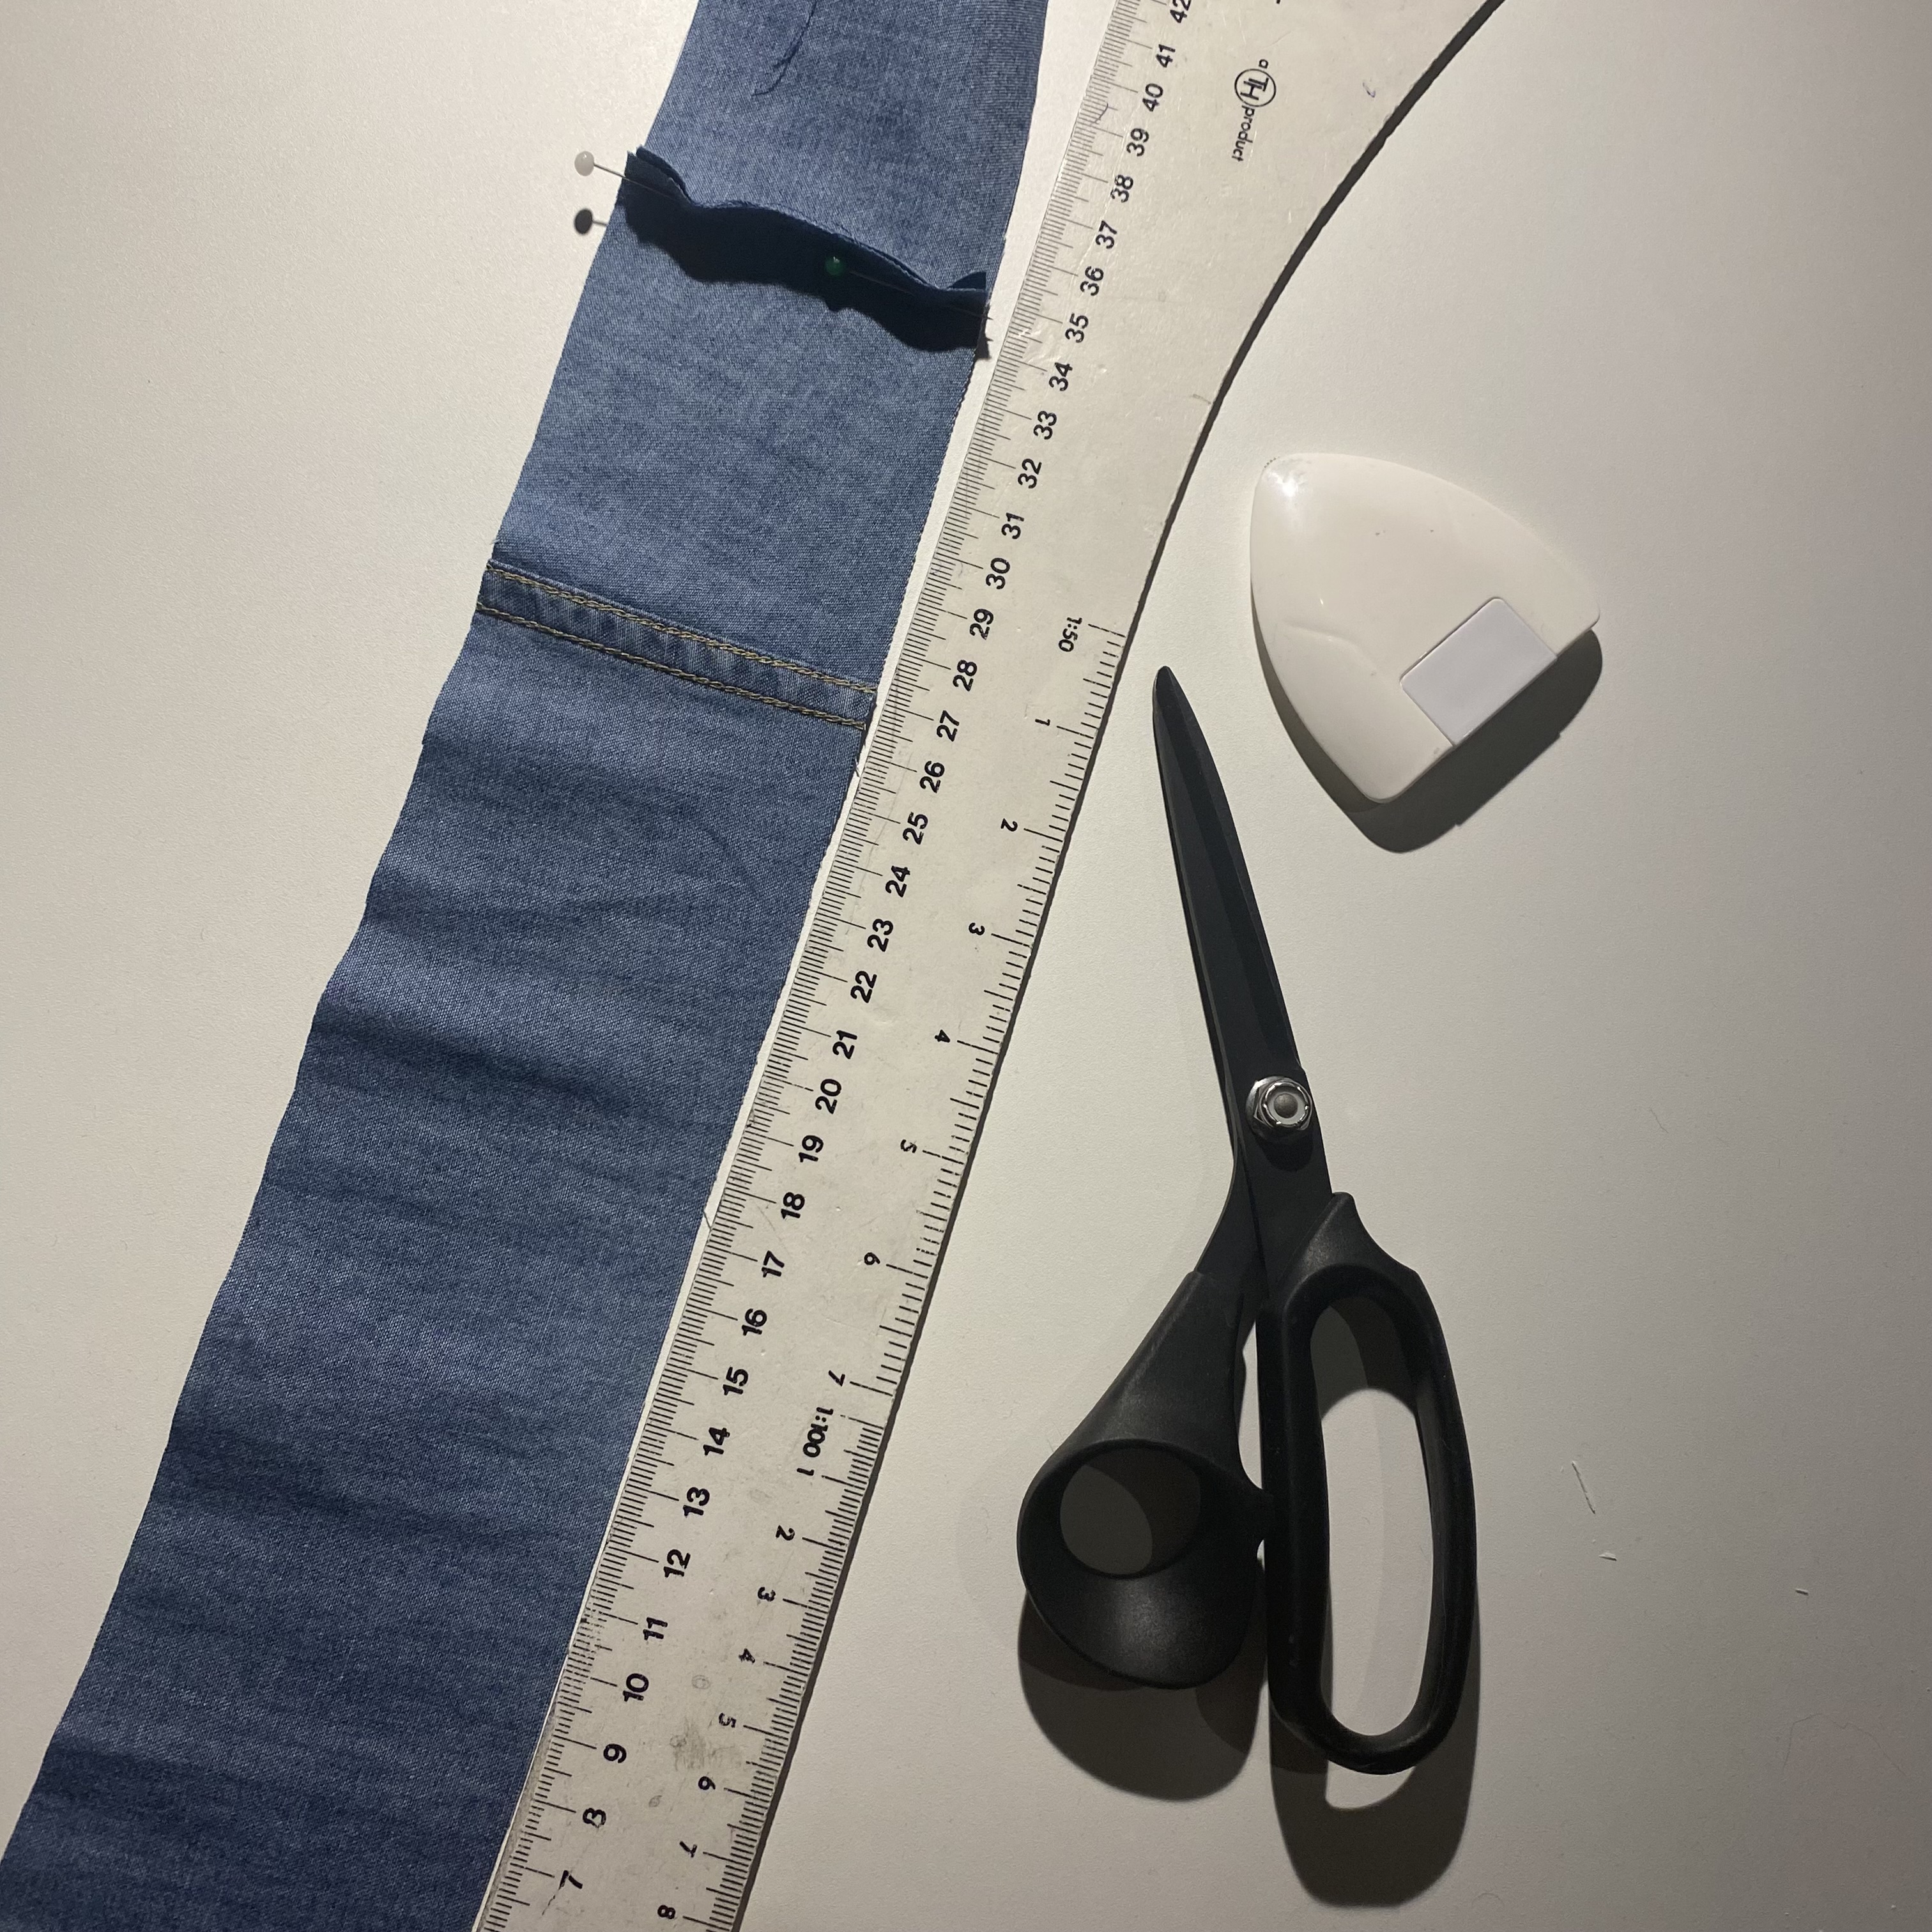
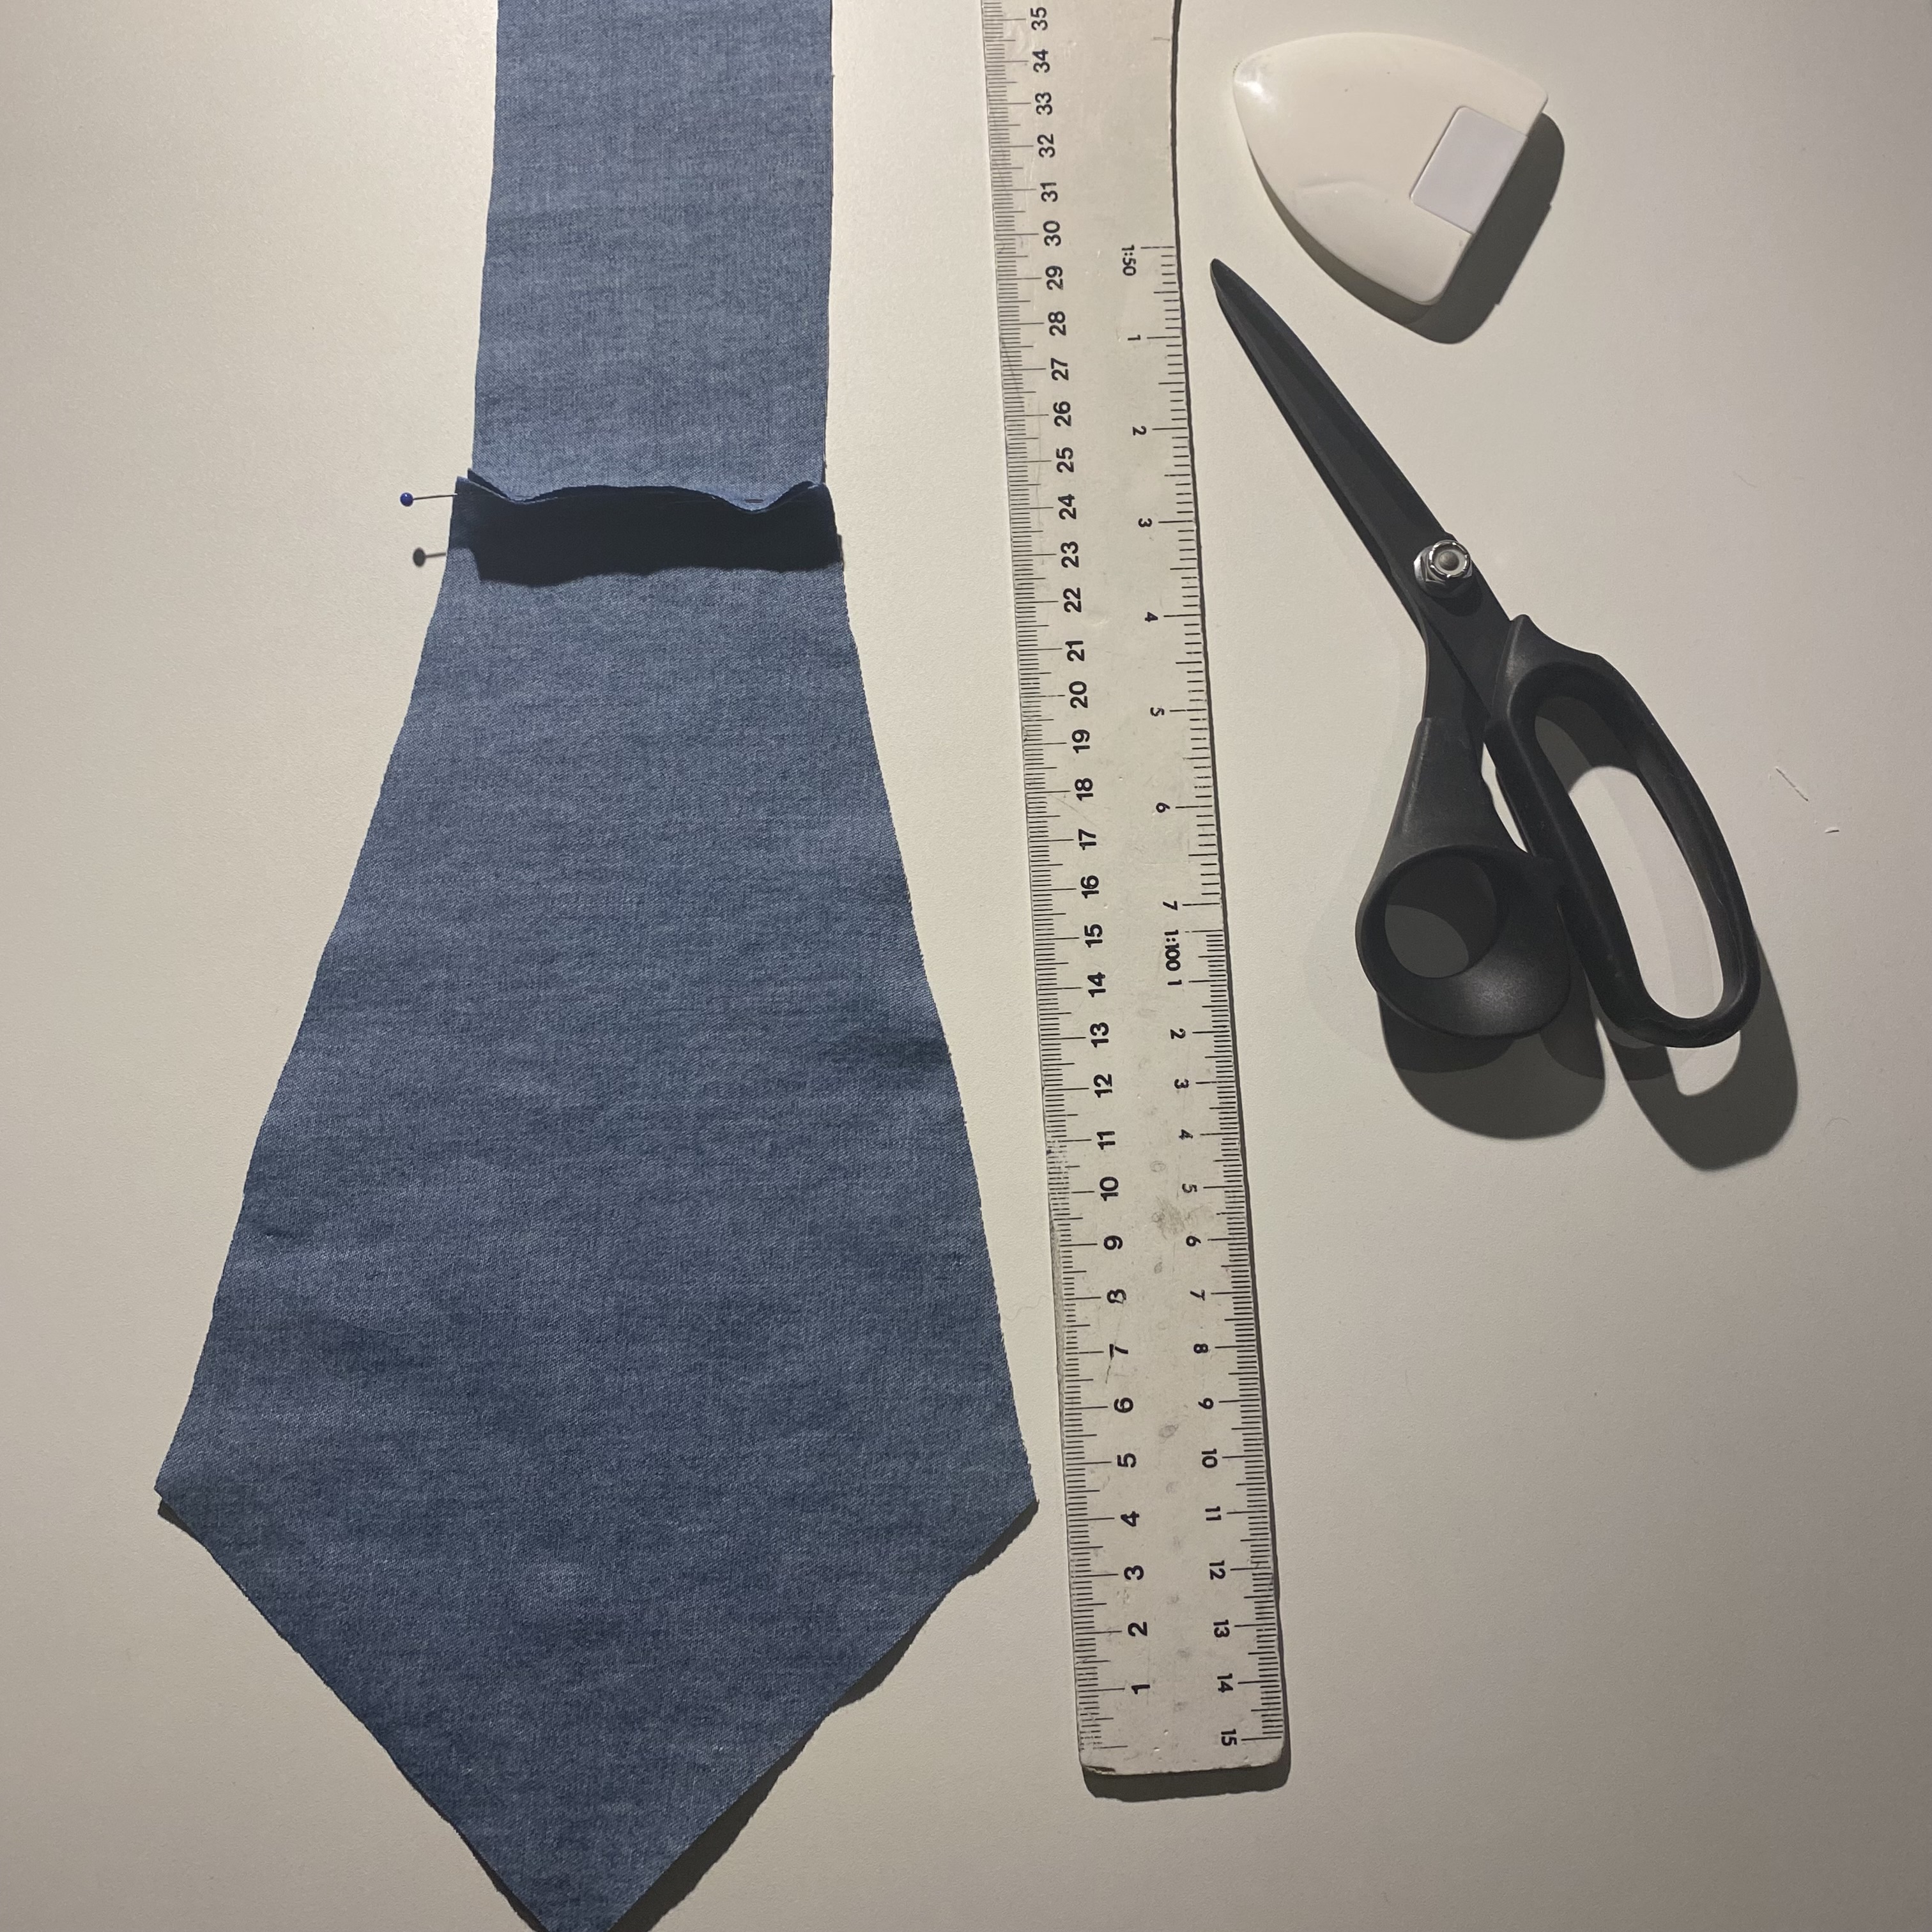
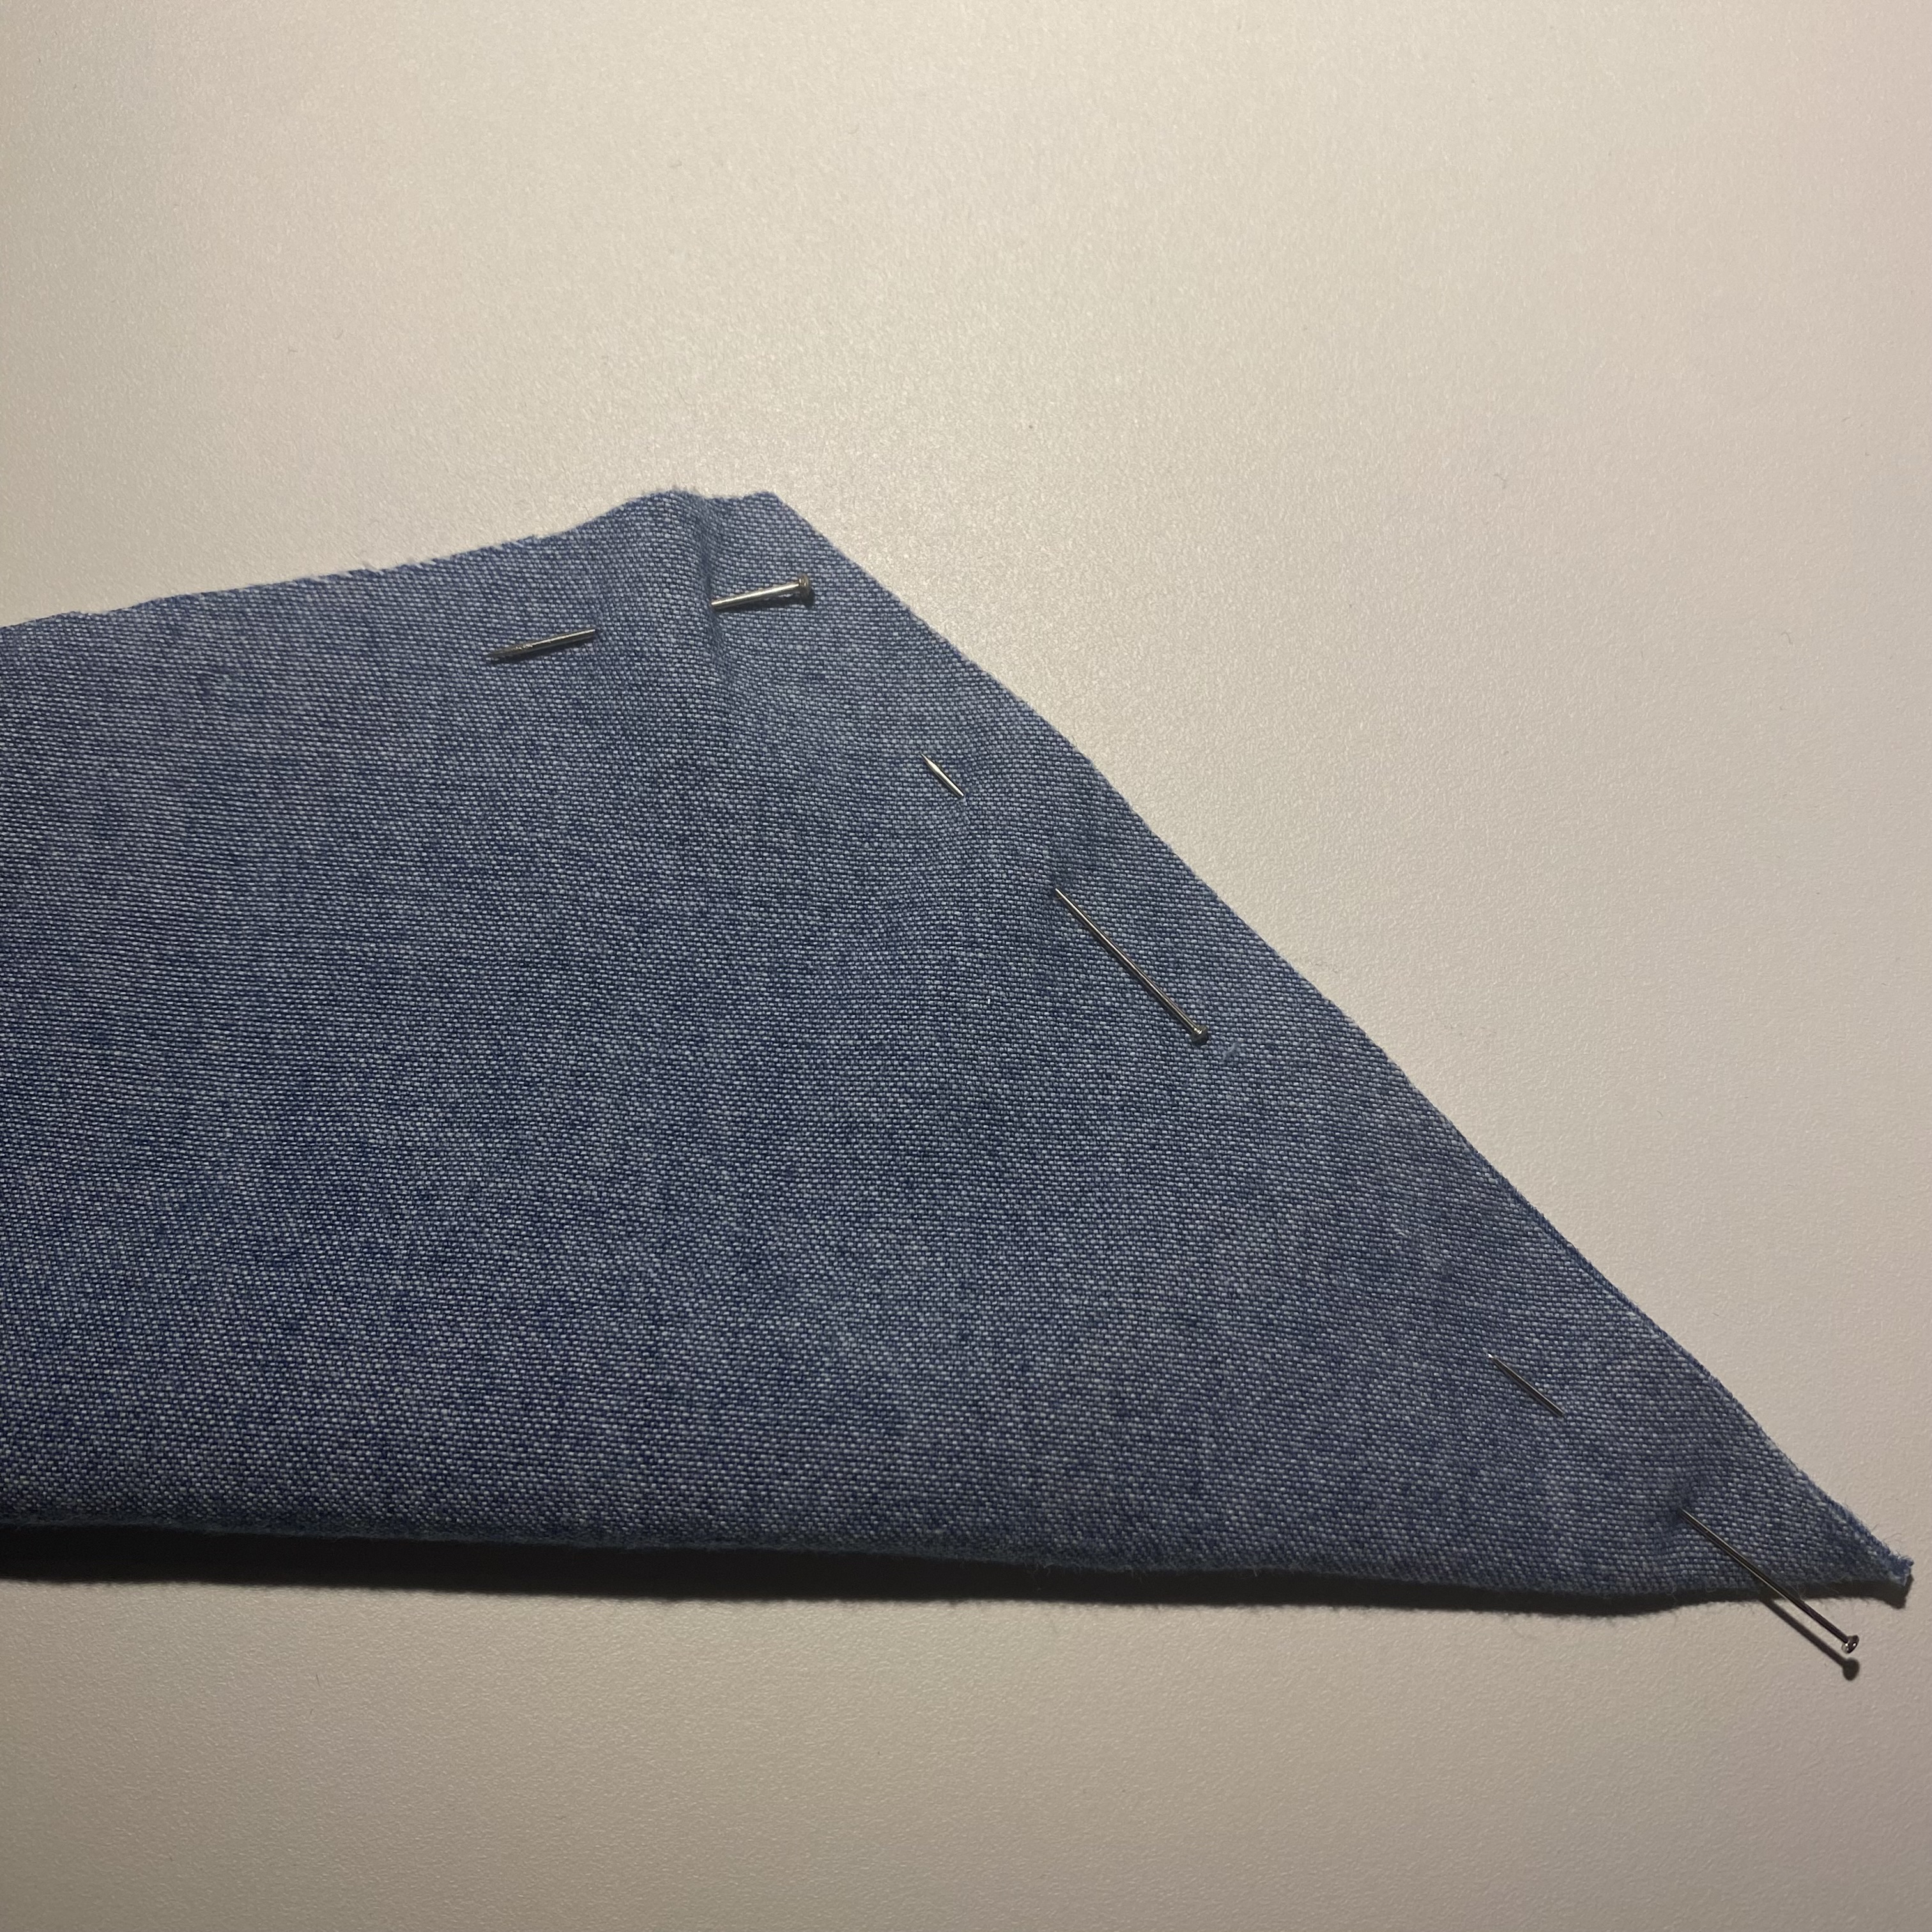
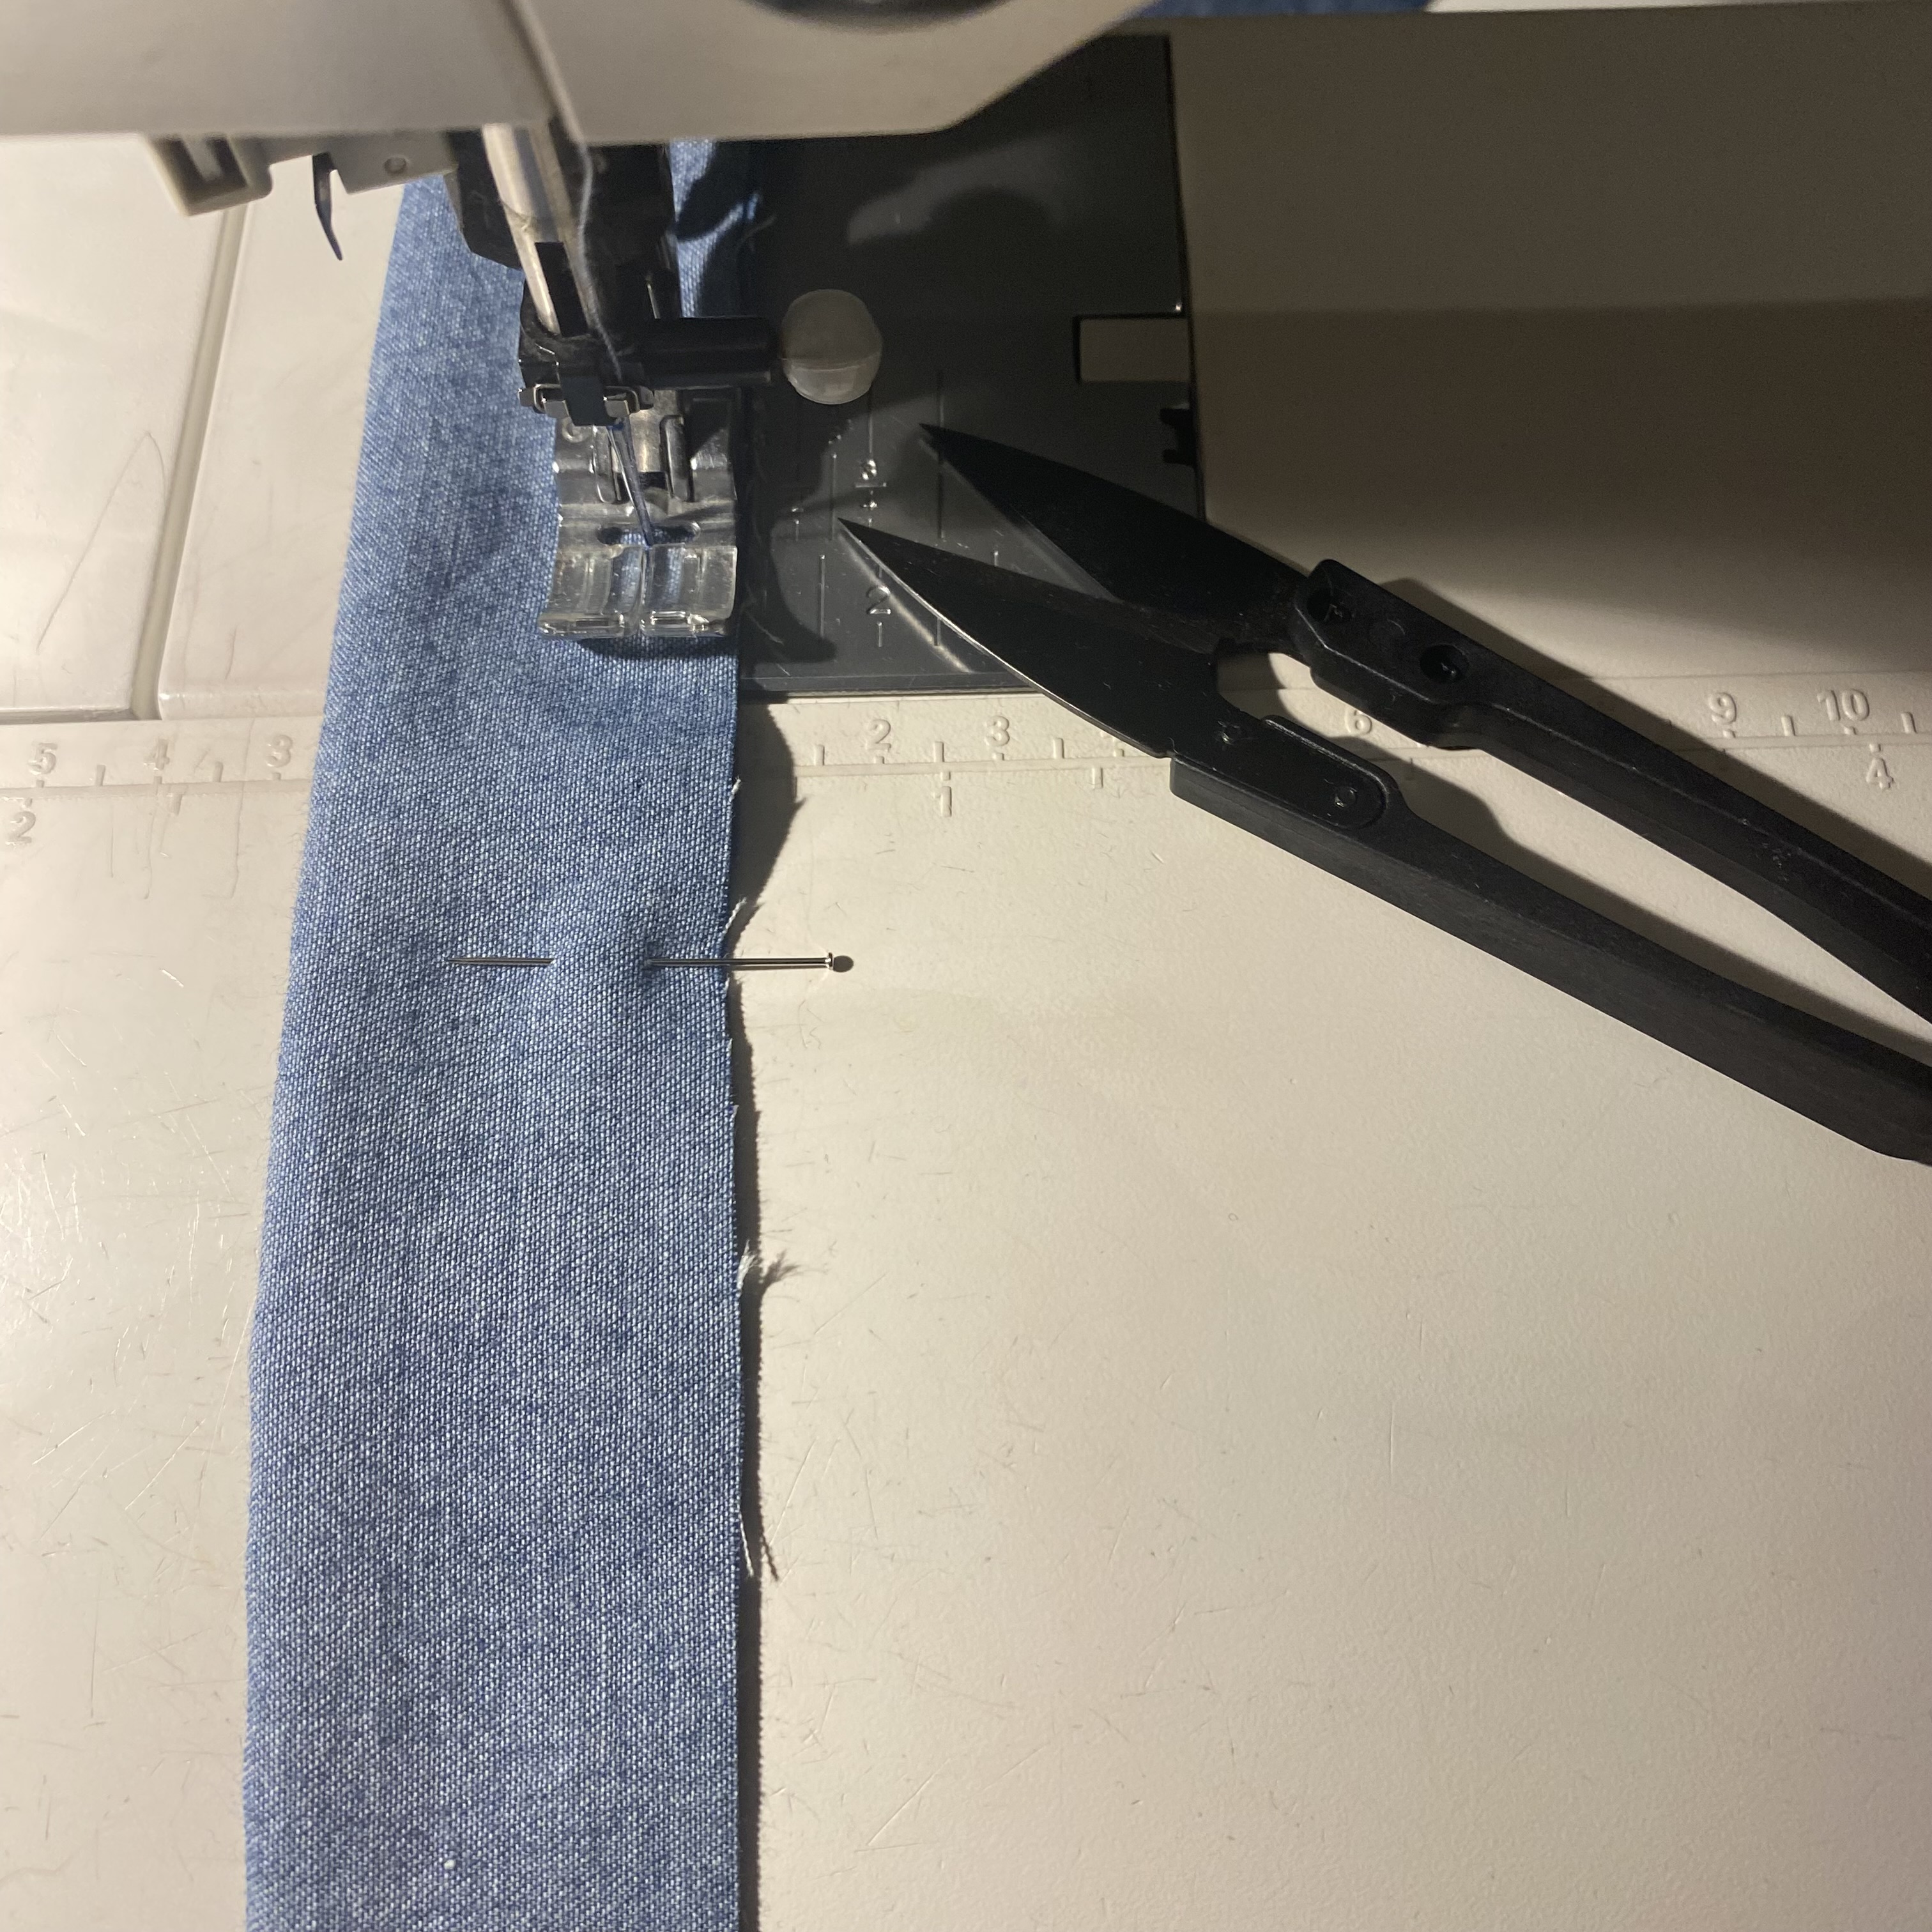
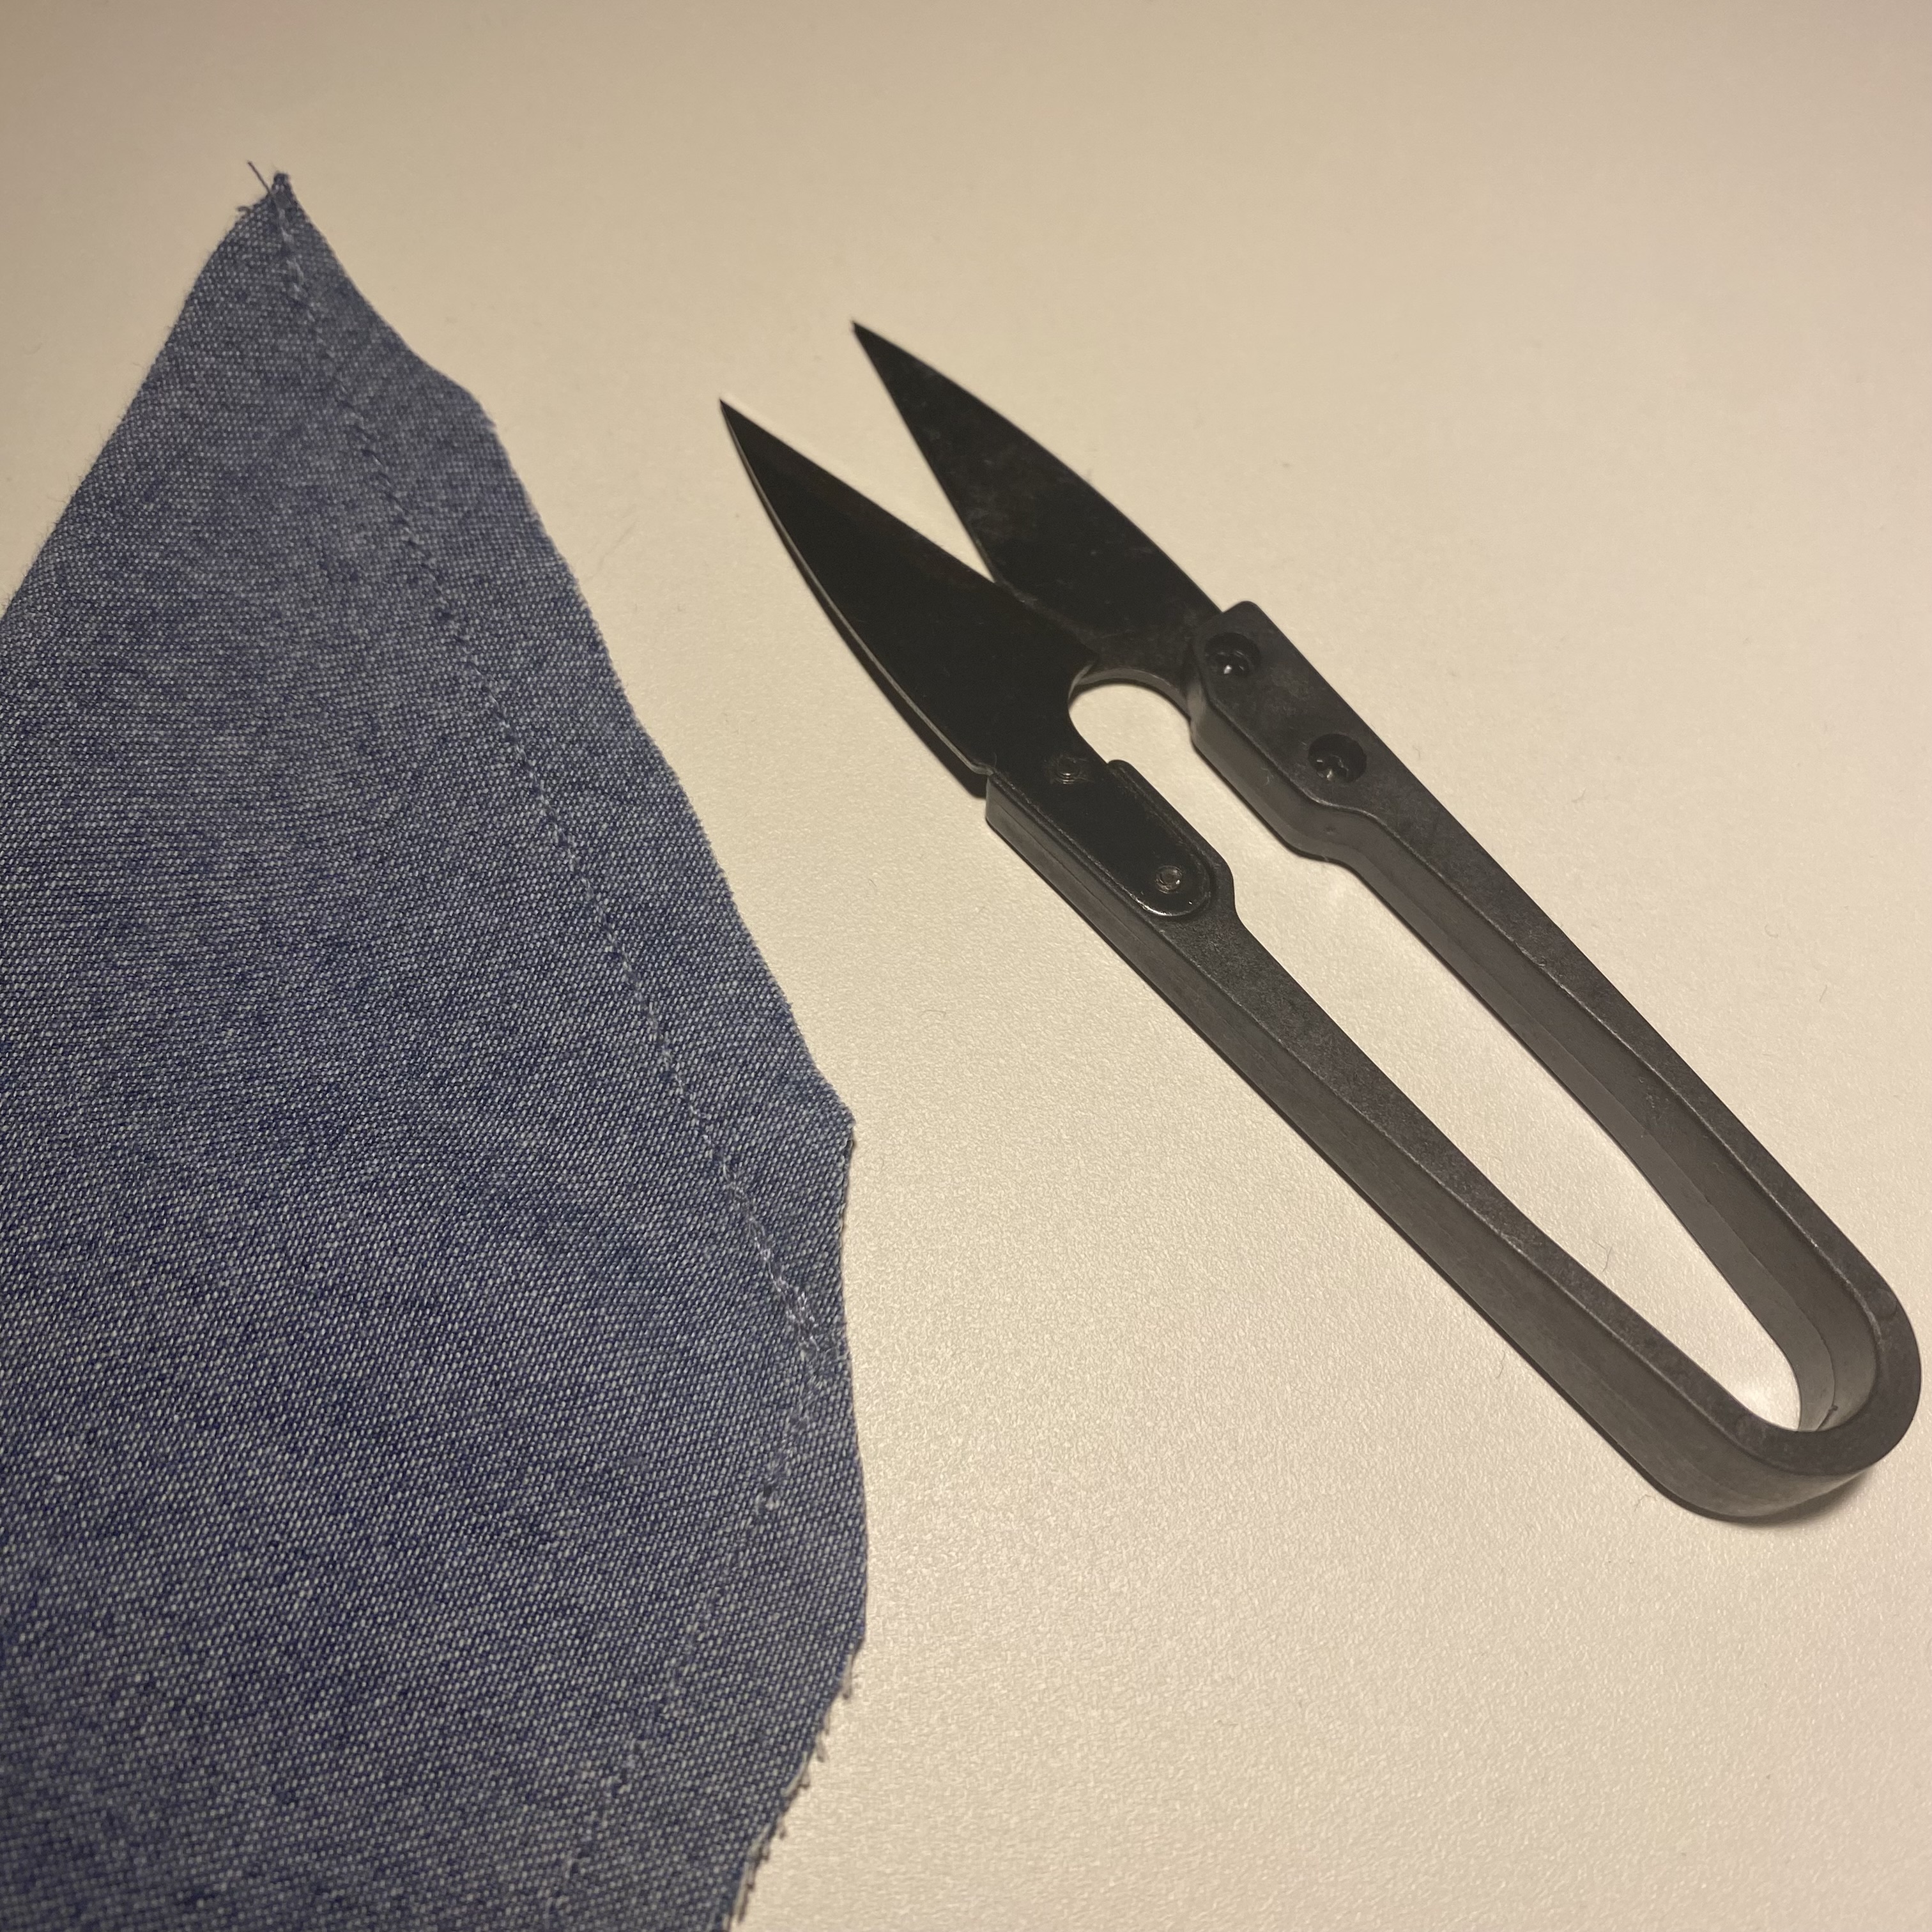
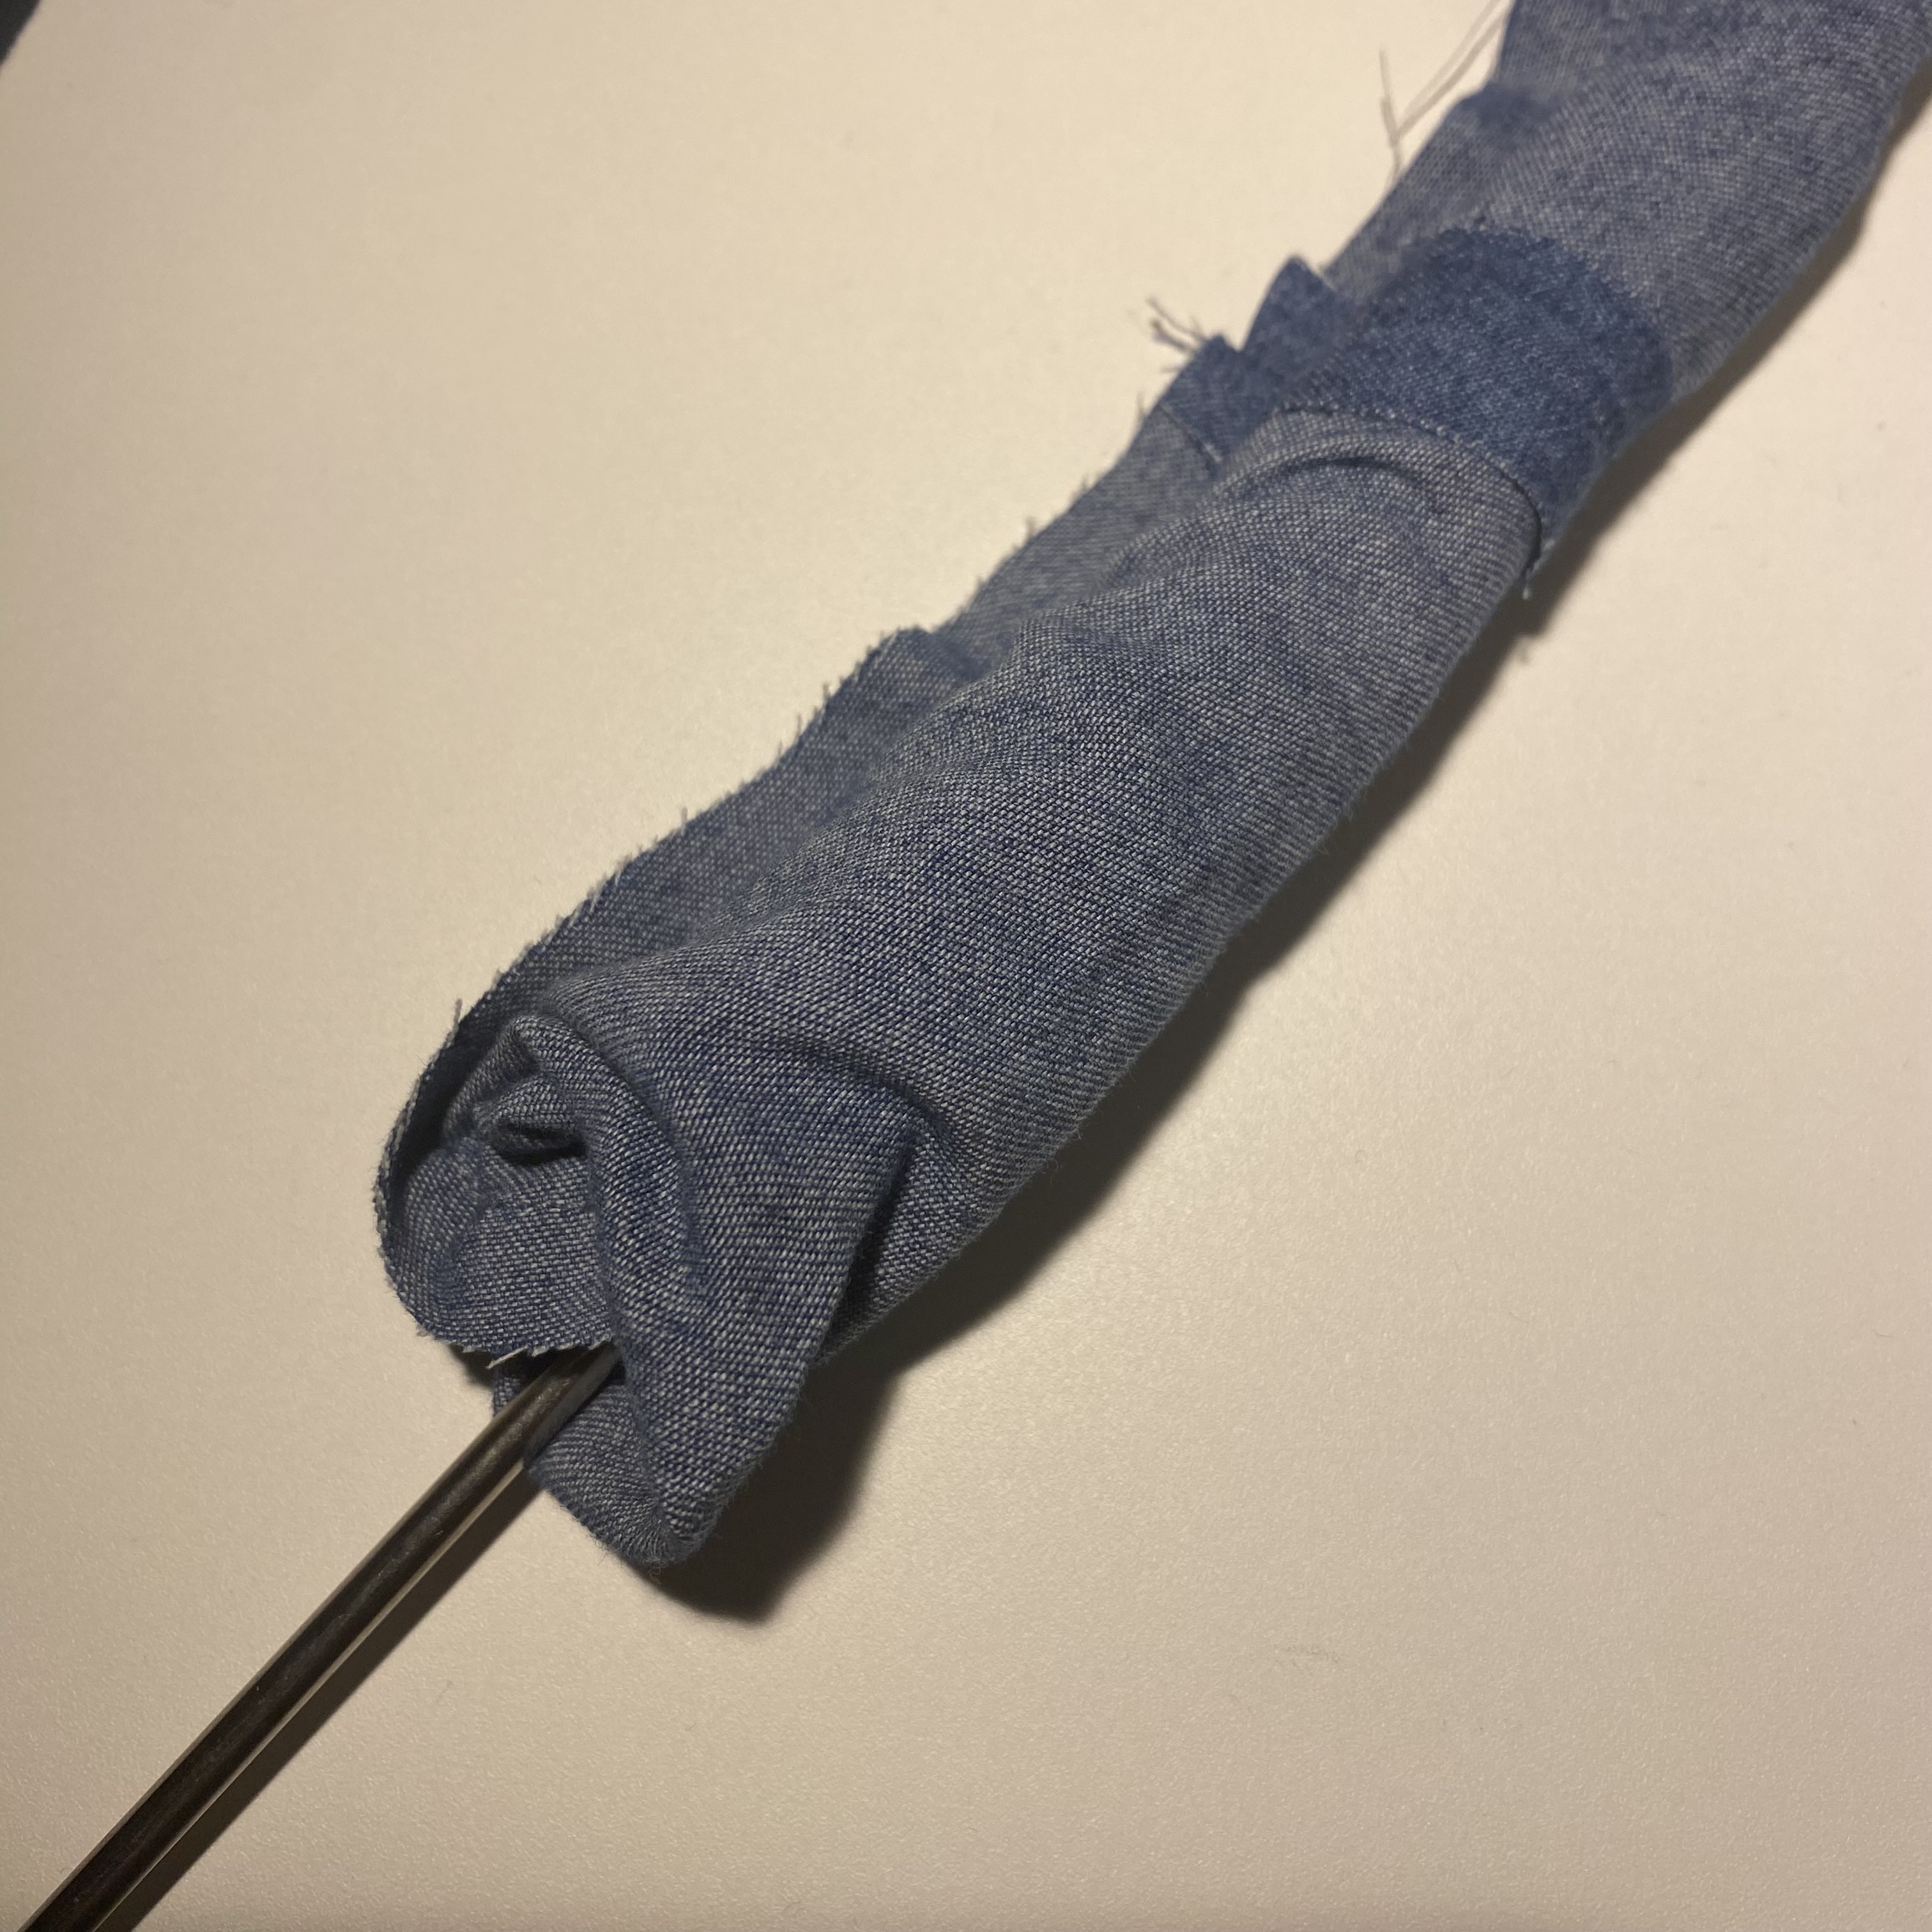
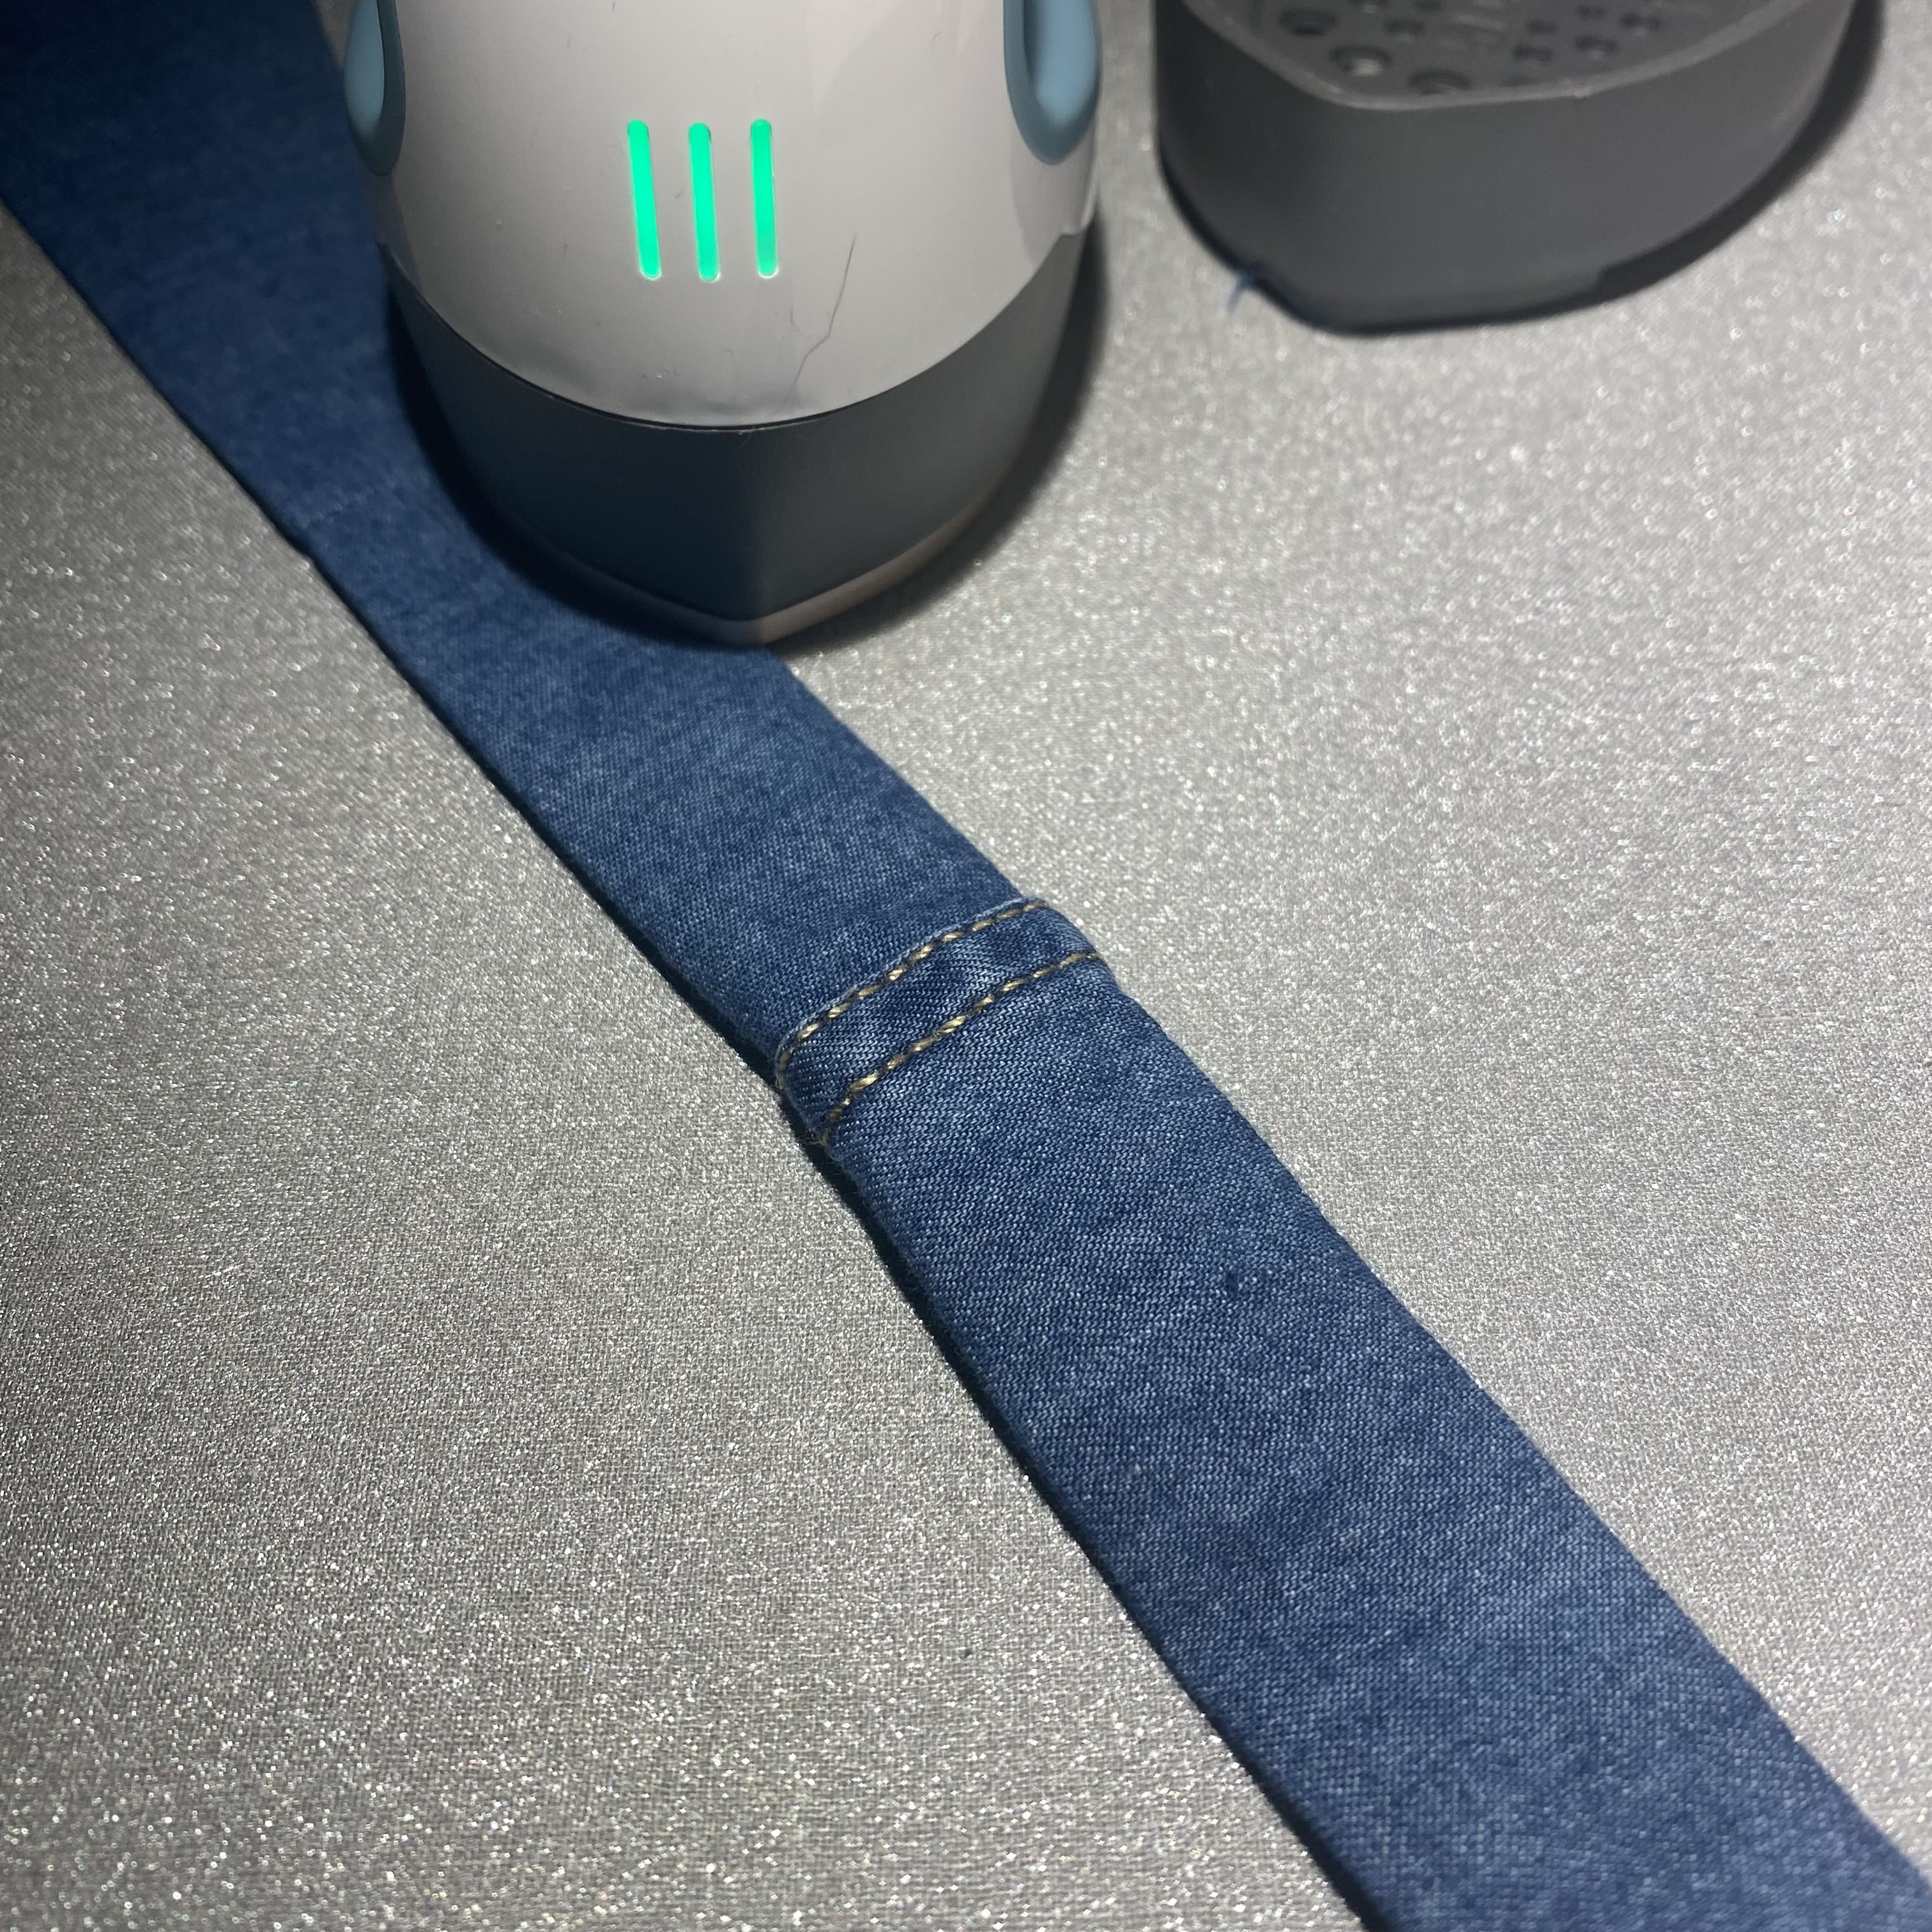
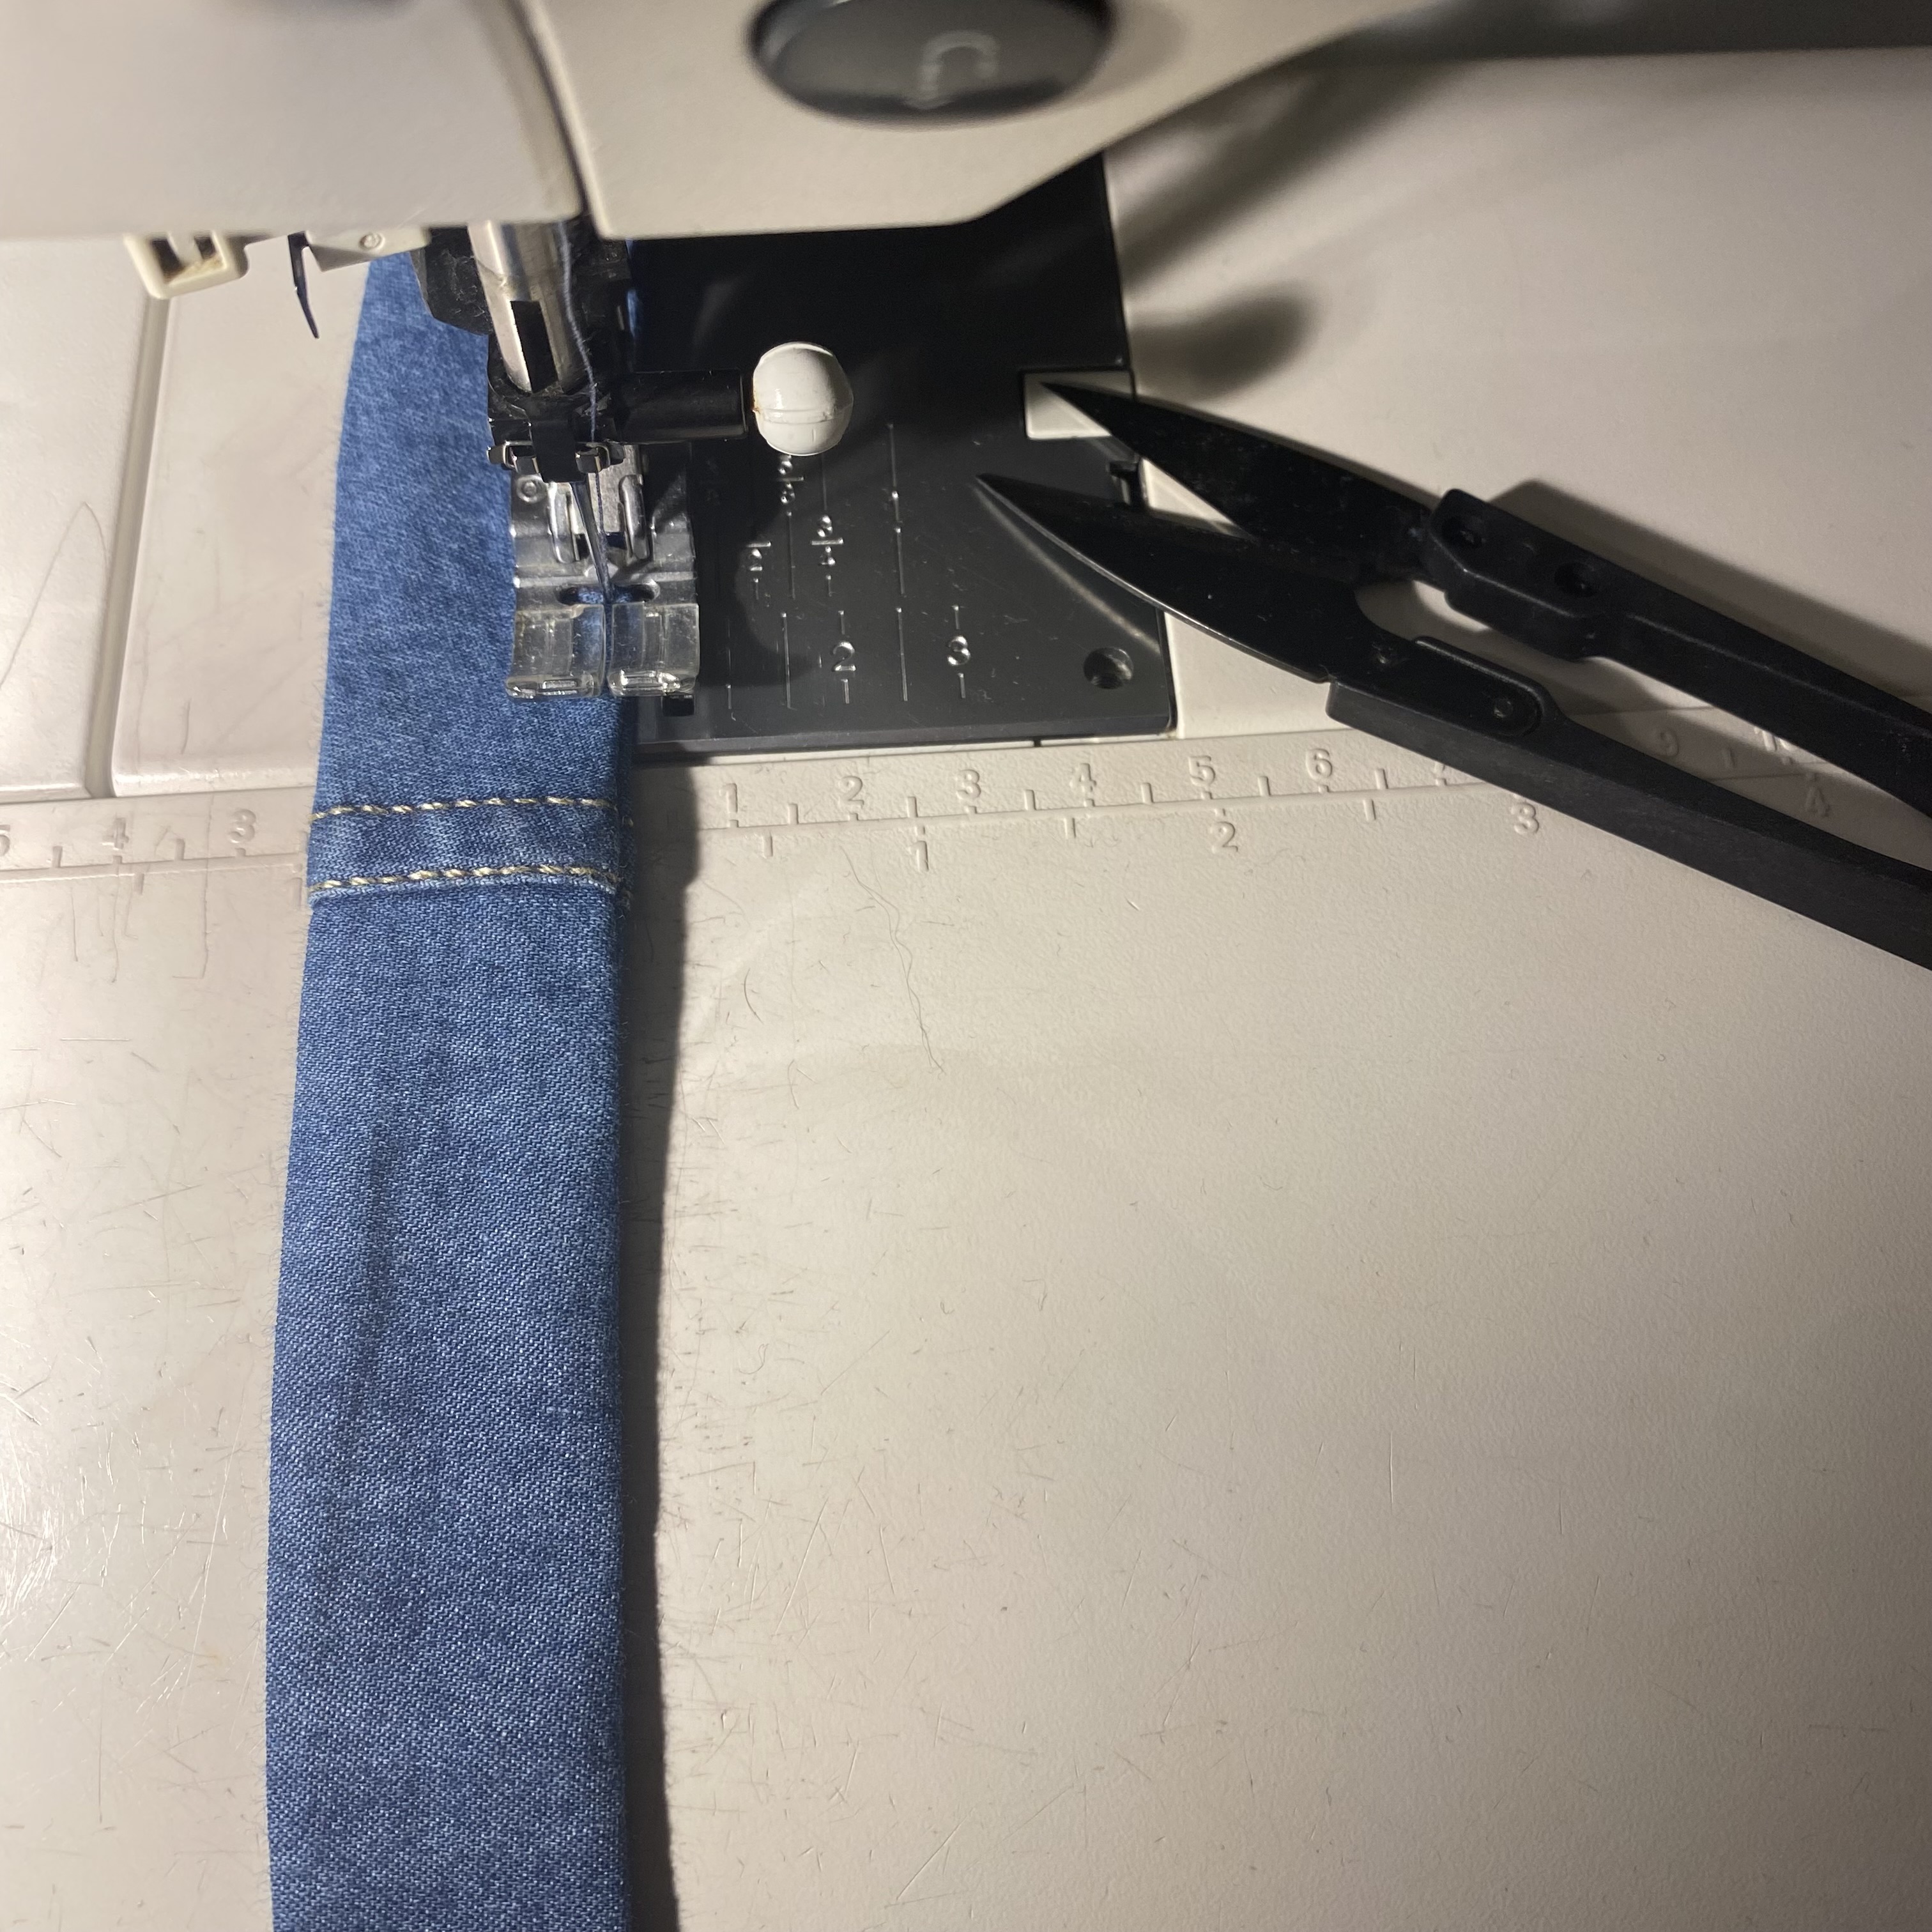
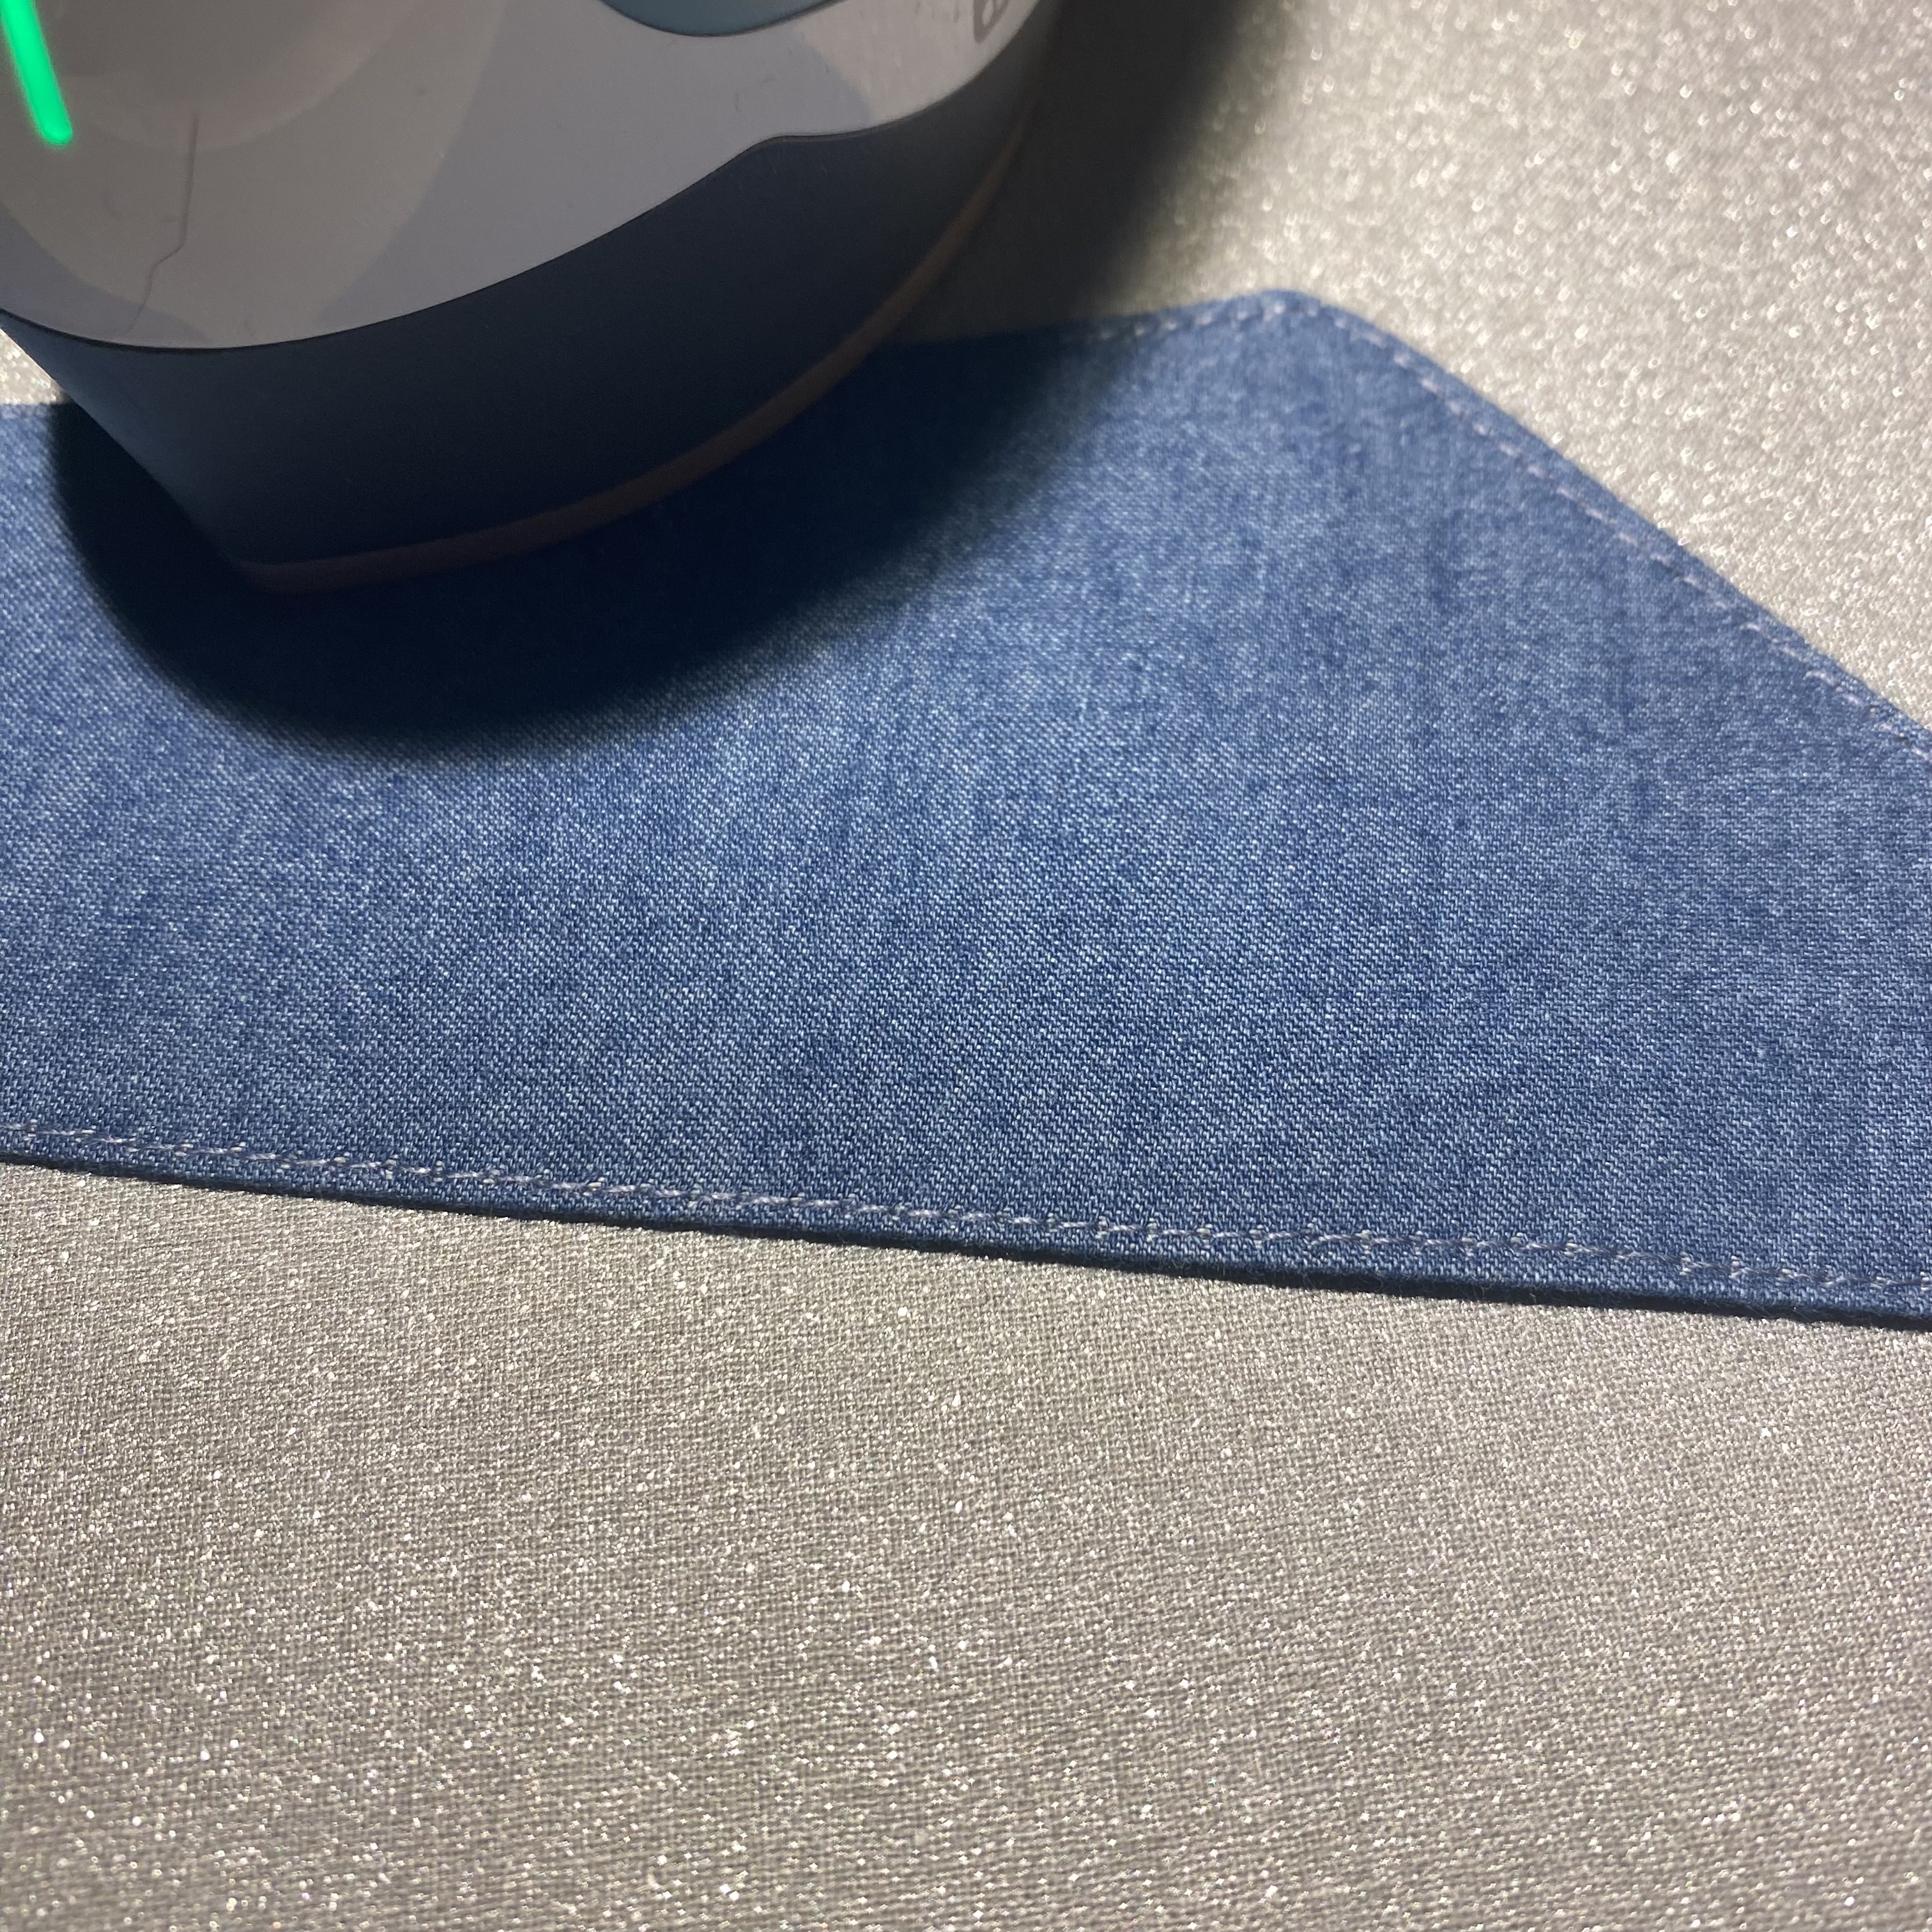
You might be wondering… how?! No worries! In 9 simple steps, Renata guides you through the ReStyle process. Whether you’ve found a cool shirt at a thrift store or want to repurpose a sentimental piece from your dad’s or partner’s wardrobe—this tutorial helps you turn it into something trendy.
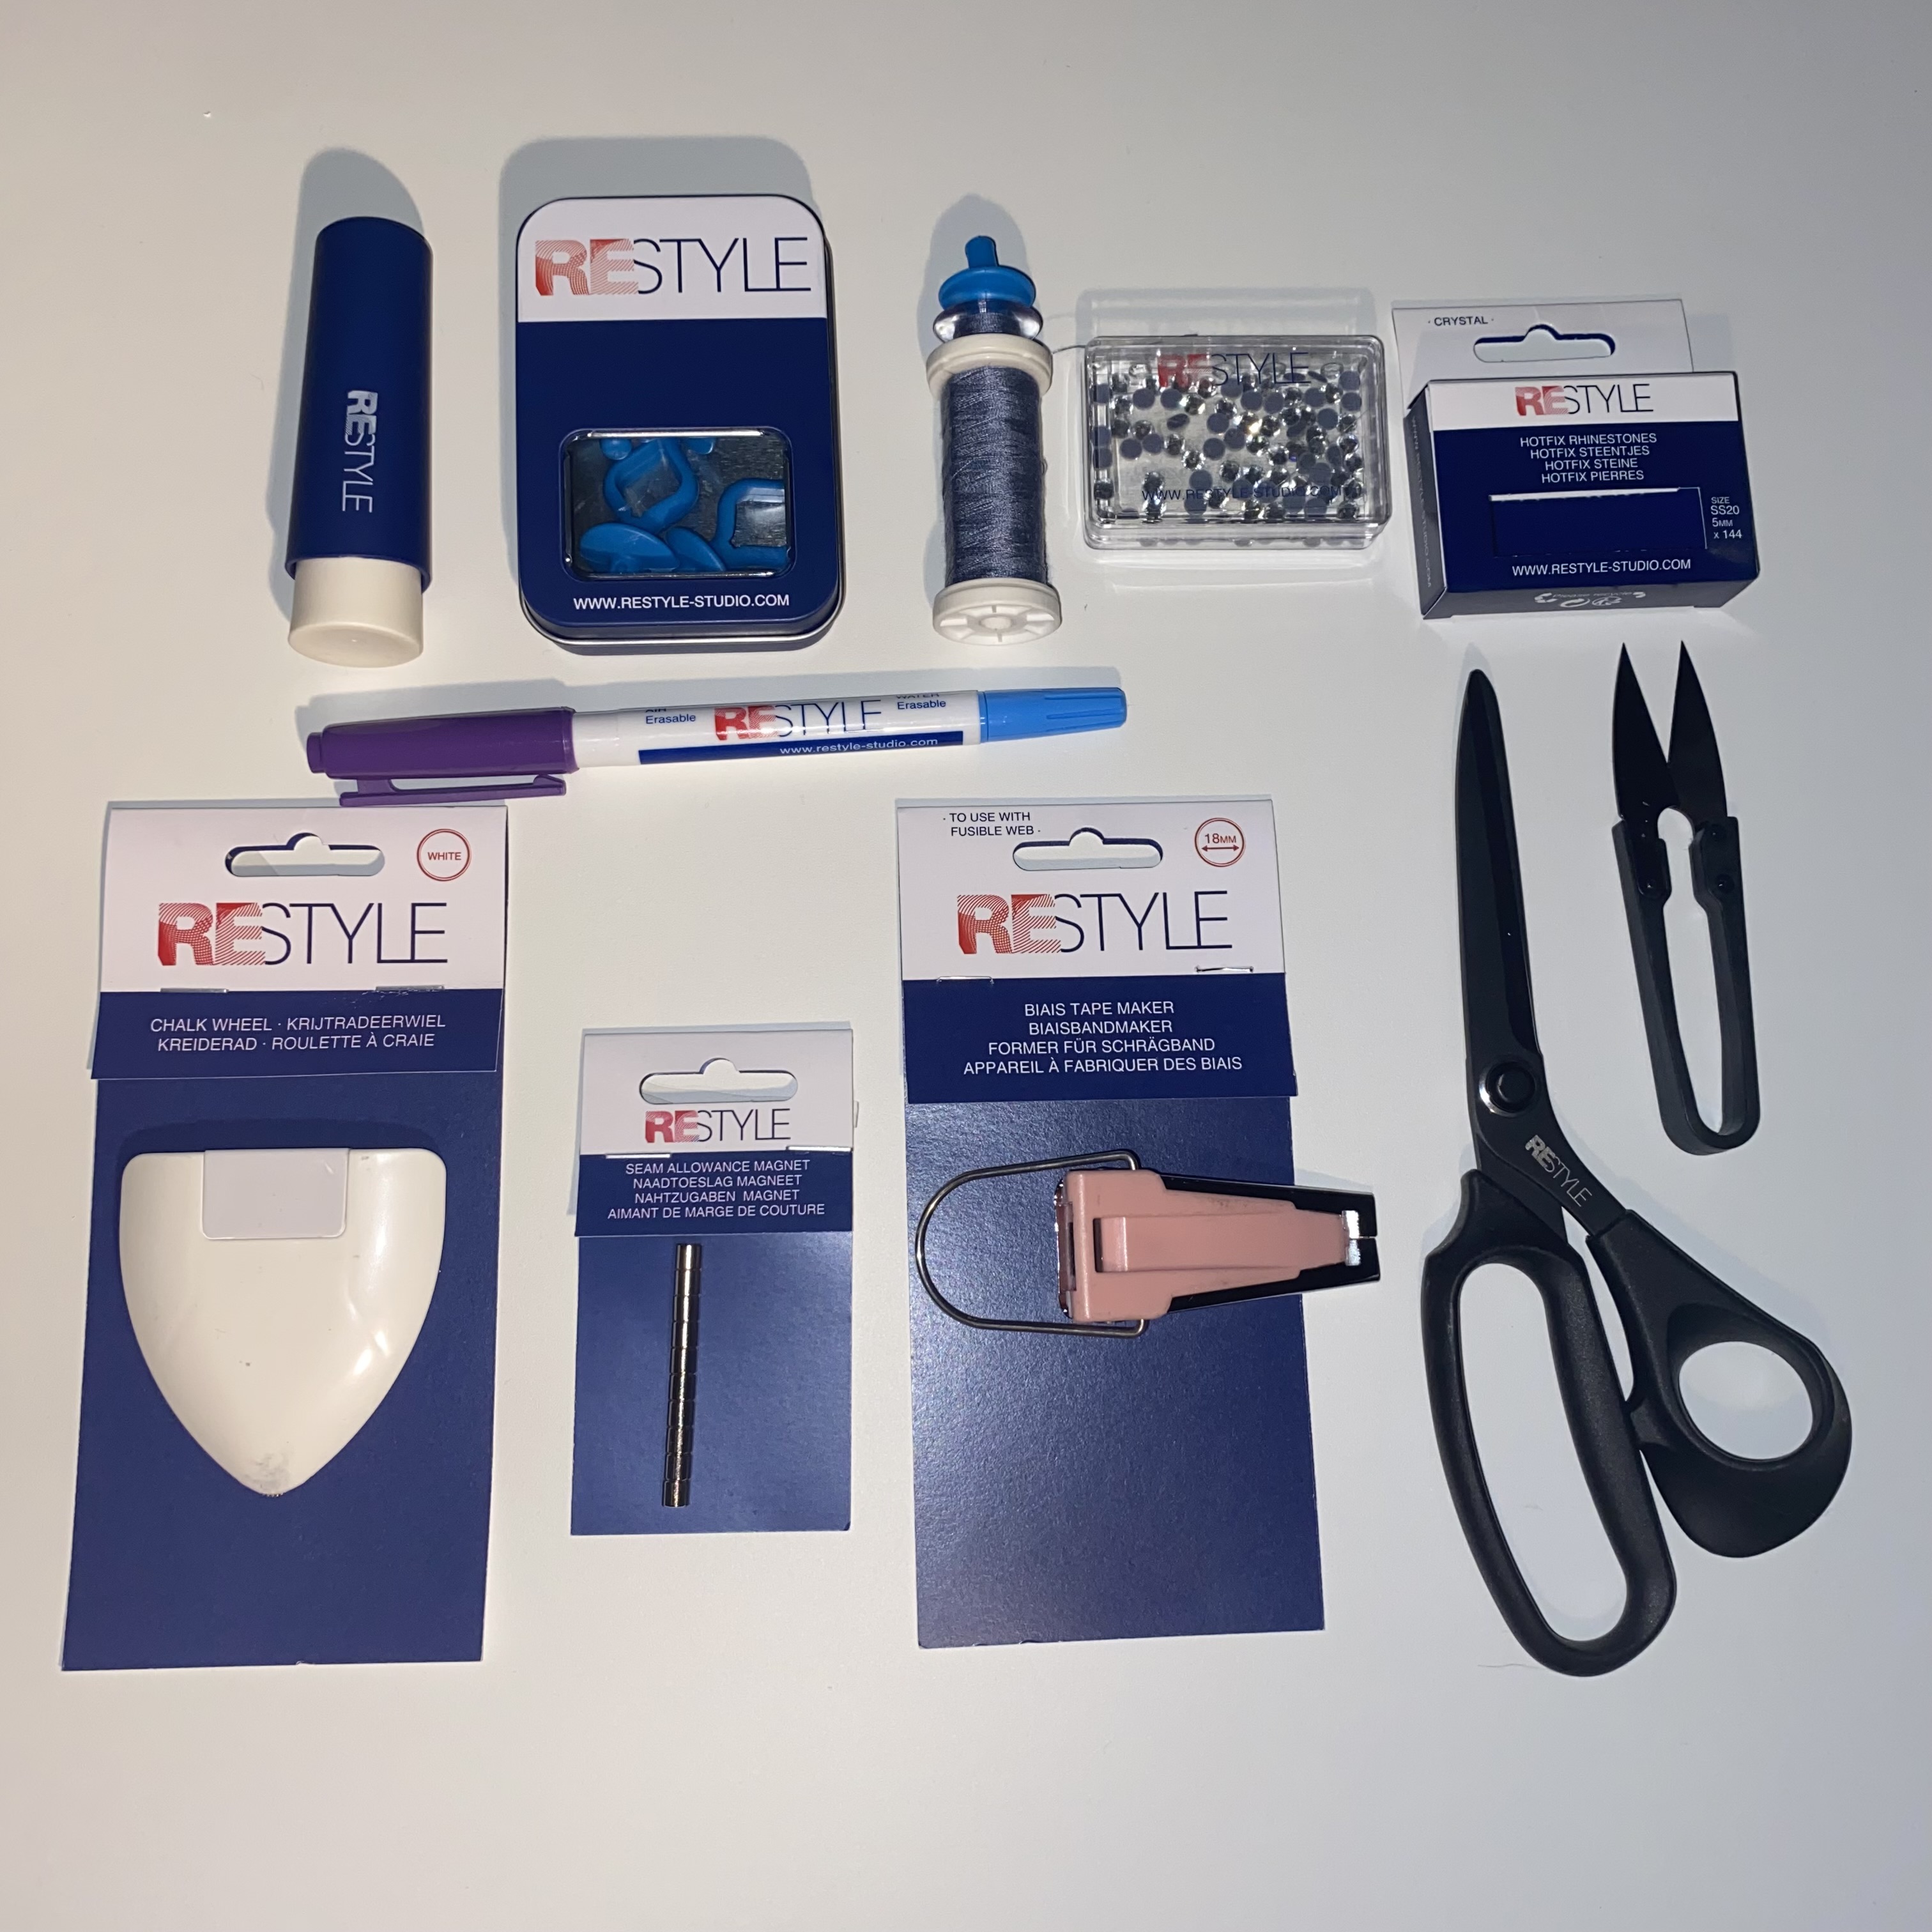
What do you need?
✔ An old men’s shirt
✔ Sewing machine & sewing supplies
✔ ReStyle accessories like buttons, ribbons, or lace for extra flair
With a bit of creativity and material repurposing, you can create a completely unique blouse. Whether you choose a tailored fit, add playful ruffles, or modify the sleeves—the possibilities are endless! And the best part? You’re contributing to a more sustainable fashion world by upcycling instead of buying new.
Are you trying this tutorial? Share your creation with us on Instagram! Use the hashtag #LetsReStyle and tag @Restyle_Studio_ to showcase your ReStyle project.
