Sewing and Fabrics

Sew a bolster pillow with decorative stitching in 10 Steps

Looking to add a personal touch to your interior with a unique handmade item? This DIY tutorial teaches you how to sew a beautiful bolster pillow in just ten steps, complete with decorative stitching and stylish embellishments.

Looking to add a personal touch to your interior with a unique handmade item? This DIY tutorial teaches you how to sew a beautiful bolster pillow in just ten steps, complete with decorative stitching and stylish embellishments.

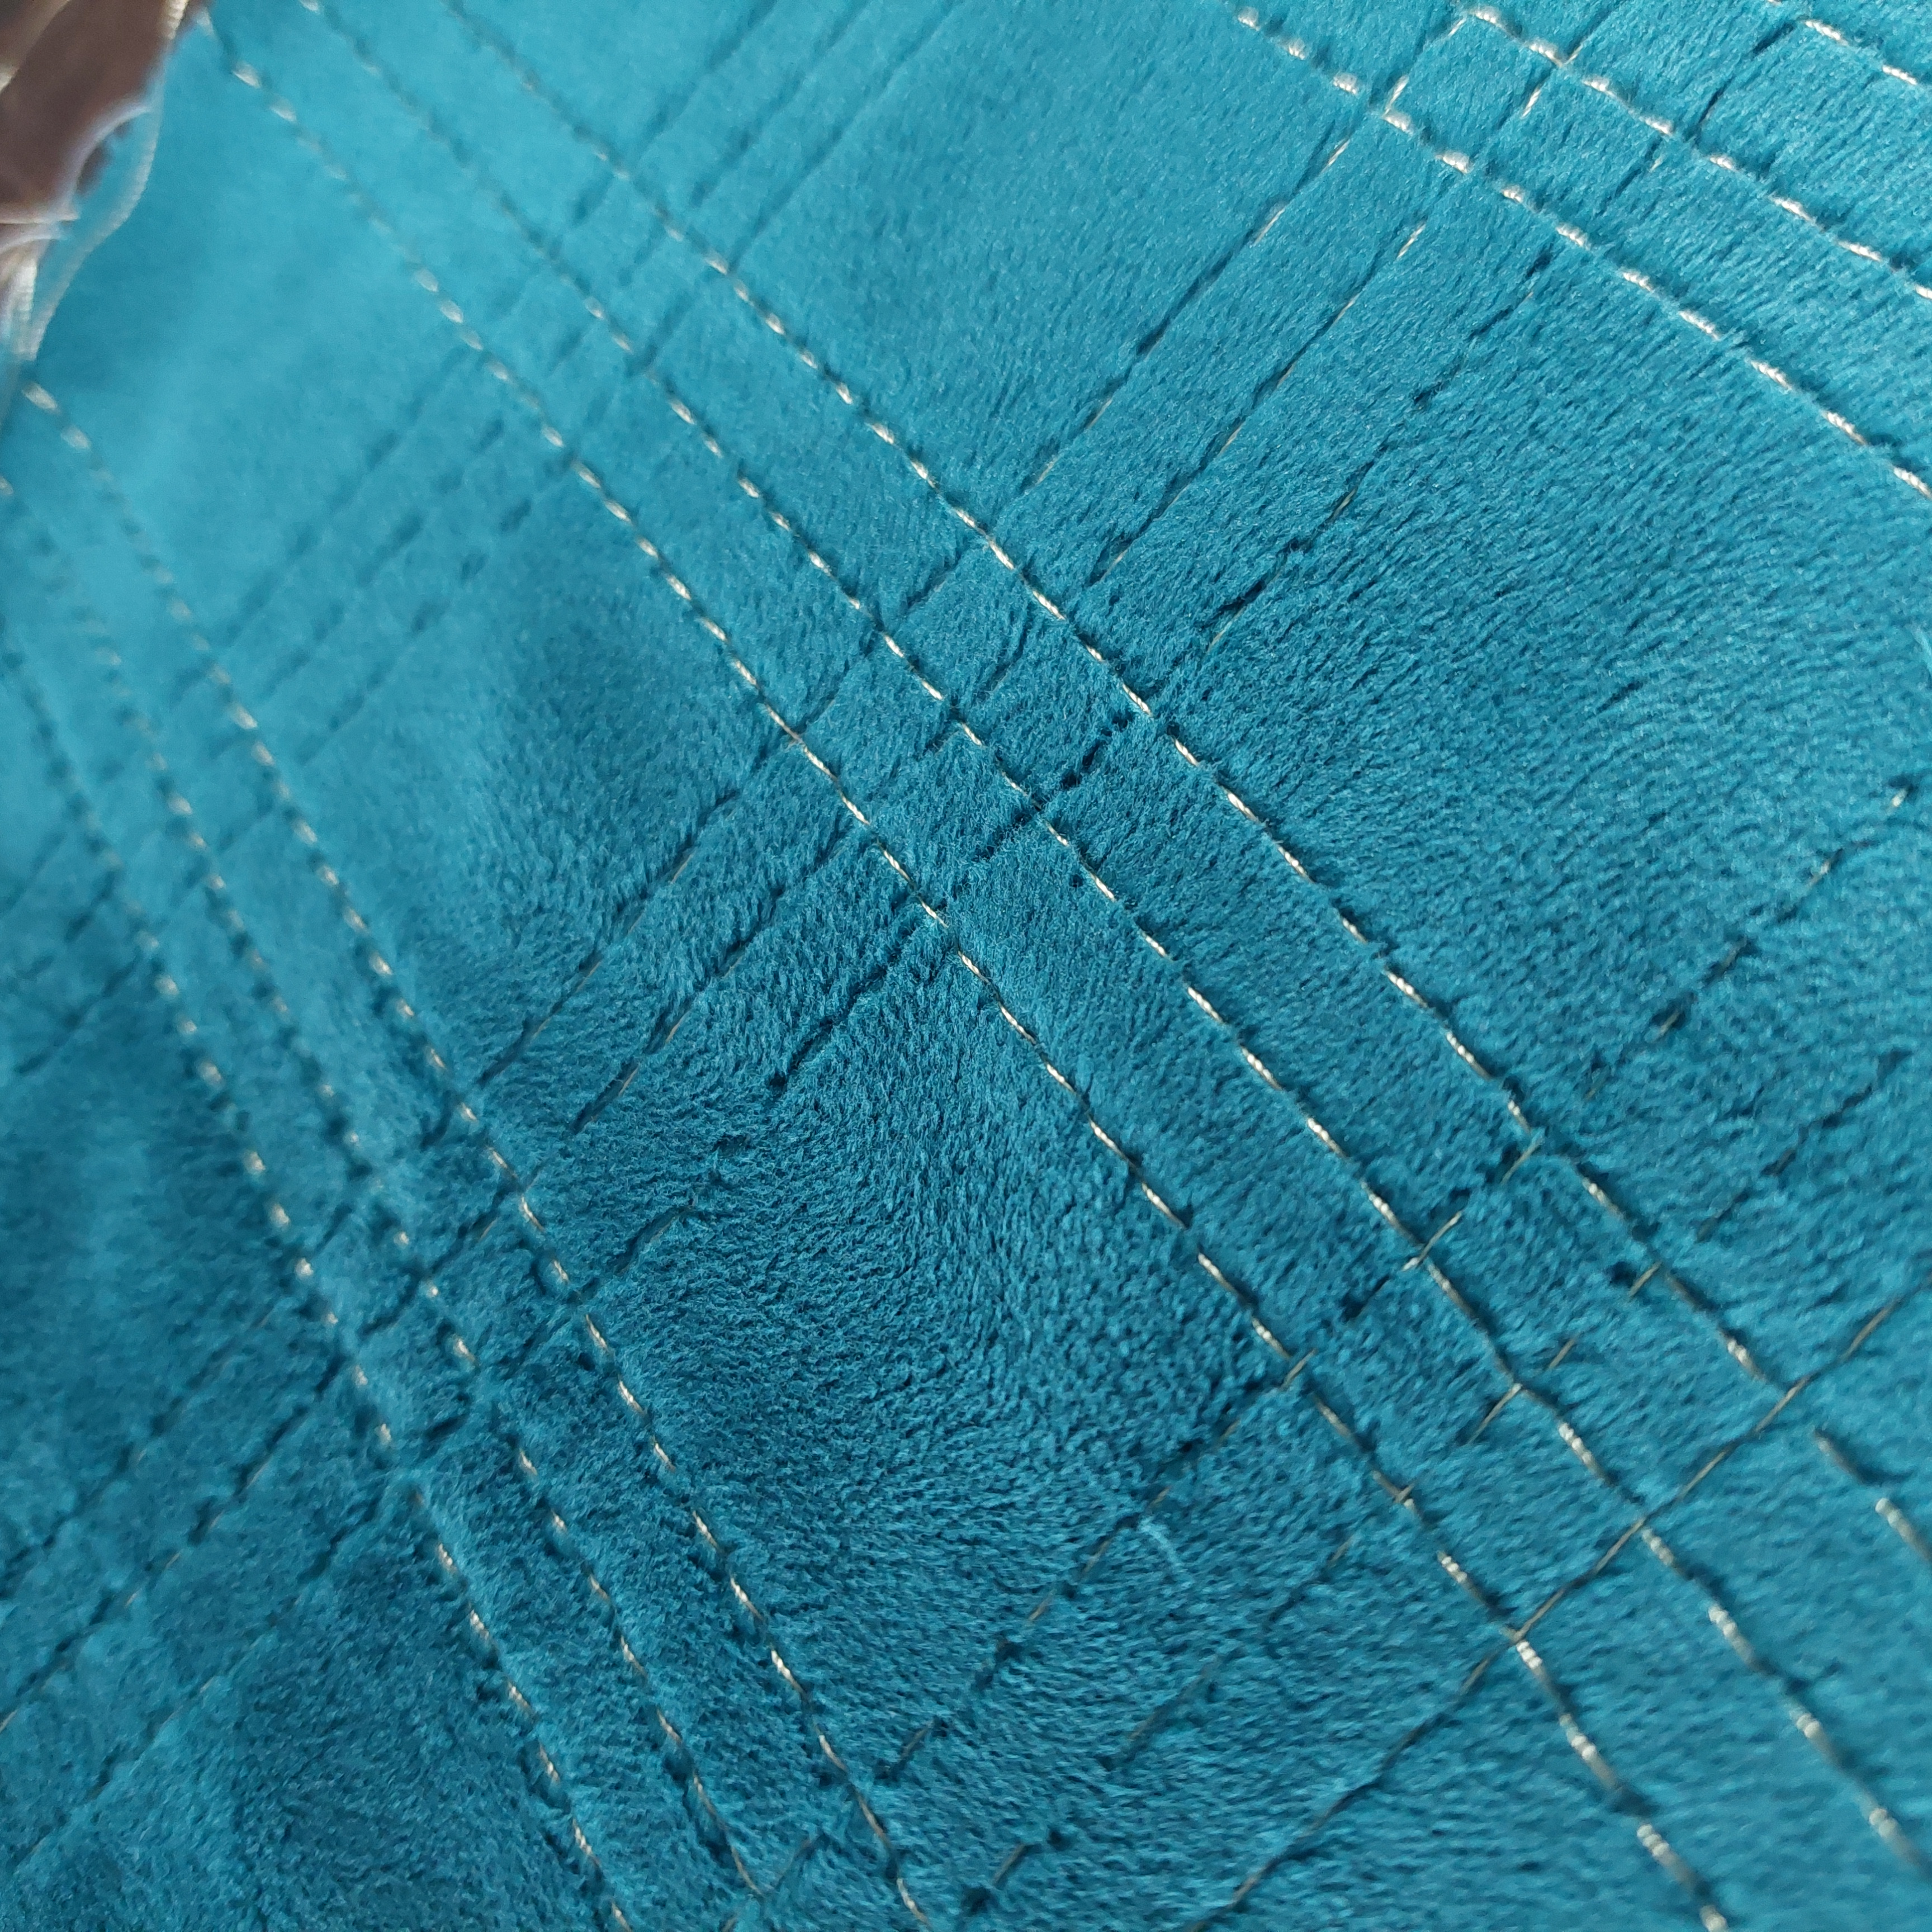
This soft and cozy pillow is perfect for lounging and relaxing. Its cylindrical shape is not only functional but also a beautiful accent piece for your sofa or bed. The ends of the bolster pillow are adorned with fun details—think ribbons, fringe trims, and creative stitch lines that give your project that extra charm.

ReStyle blogger Renata guides you through the entire process: from choosing the right fabric and supplies to sewing the base and finishing it off with eye-catching decorative touches. All you need is a sewing machine, some fabric, and a few fun notions to get started.

This project is perfect for DIY lovers with a bit of sewing experience and offers plenty of room to personalize your pillow with colors, textures, and trims that match your style. Whether you love bold prints or neutral tones, this bolster pillow will brighten up any space.

Check out the full step-by-step tutorial on our blog and create your own stylish pillow that’s both comfy and full of character—thanks to ReStyle!

Supplies

  • Velour fabric, blue
  • ReStyle Cotton Fabric, item no. 069.9050, color 089
  • ReStyle Concealed Zipper 60cm, item no. 081.5596.60, color 300
  • ReStyle Cushion Filling 500 grams, item no. 083.28500 (2 bags)
  • ReStyle Metallic Piping 10mm, item no. 017.1157, color 040
  • Gütermann Machine Embroidery Thread Set, set 5, color 1055
  • ReStyle Crystalline Lurex Ribbon 10mm, item no. 018.9307, color 869
  • ReStyle Ribbon Check Pattern 25mm, item no. 018.9306, color 750
  • ReStyle Fringe Trim 15mm, item no. 017.1230, color 040

Other supplies

  • Matching sewing thread
  • Pattern paper
  • Sewing machine
  • ReStyle Pins (item no. 015.10101)
  • Iron
  • ReStyle Measuring Tape 300x2cm (item no. 015.16765)
  • Pencil
  • ReStyle Fabric Scissors 21cm (item no. 027.11)
  • Needle

Dimensions

The bolster pillow measures approximately 60 centimeters in length and about 20 centimeters in diameter.

Work description

Step 1:

We’ll start with the inner cushion, which is made from the cotton fabric. Cut a piece measuring 62 cm x 70 cm. Then cut two circles with a 22 cm diameter. This includes a 1 cm seam allowance.

Step 2:

Fold the fabric in half along the short side and pin the 62 cm edge. Leave a 12 cm opening in the center for filling later. Stitch the long edge, except for the opening, and press the seam open.

Step 3:

Pin each of the open ends to the circles and sew them in place.

Step 4:

Fill the inner cushion with two bags of cushion filling. Distribute the filling evenly. Once filled, pin the opening closed and sew it shut by hand.

Step 5:

Cut the pieces for the outer cushion from the velour fabric:

  • one piece measuring 62 cm x 70 cm
  • two circles with a 22 cm diameter

Overlock all fabric edges.

Step 6:

Divide the circles into four equal parts. Pin a line from the top pin to the side pin, as shown in the photo. Using the Gütermann embroidery thread, stitch a line with a long stitch length (e.g. 5). Then stitch one line to the left and one to the right, one presser foot’s width apart. Repeat this 5 cm to the left and 5 cm to the right again. Repeat the same perpendicular to these lines, a total of three times, to create a diamond pattern.

Step 7:

Along the 62 cm edge, place pins 12 cm in from each side. This is where the zipper will go.

Pin the concealed zipper along the edge and sew from pin to pin.

Then stitch the remaining openings closed, stopping exactly where the zipper ends.

Step 8:

Pin and sew the piping around the openings where the circles will be attached. Let the piping ends overlap neatly, as shown in the photos.

Step 9:

Divide the openings into four equal parts, and do the same with the circles.

Turn the zipped piece inside out so the right side is facing in.

Pin the circles to the openings, right sides together, and sew them on. Stitch directly on top of the existing piping seam.

Step 10:

Turn the cover right side out and topstitch the seam flat, about one presser foot width from the edge.

Next, pin the first trim (fringe trim) 3 cm from the edge and sew it all the way around, overlapping the ends at the seam. Then add the next two trims with about 0.75 cm space in between. Stitch both trims in place, all around each end of the bolster pillow.

Once all trims are attached, carefully insert the inner cushion. Close the invisible zipper—and your pillow is ready!

Look how fabulous it turned out! Can you already picture it among your other beautiful pieces in the bedroom? Or maybe you’d love it on the couch in your living room. No matter where you place it, it’s a dream to use.
Good luck and have fun sewing!
Love, Renata

Info About the blogger

Renata de Rover
Hoi, Mijn naam is Renata de Rover. Mijn passie voor de naaimachine is voor mij al jong begonnen. Wanneer ik bij mijn oma kwam, die zelf coupeuse was, zette ze me al snel achter de naaimachine. Al jong ging ik op naailes in ons dorp en al snel was het duidelijk voor me….achter de naaimachine….dat deed ik het allerliefst! Ook vond ik het leuk om iedereen te motiveren en te inspireren om ook achter de naaimachine te kruipen en het gevoel dat naaien een beetje ouderwets is….weg te nemen. Dus naast mijn werk heb ik 9 jaar lang les gegeven, bij mij thuis. Nu werk ik alweer een aantal jaren met plezier op het atelier bij een groot modehuis, waar ik kleding vermaak en waar ik bij de klanten persoonlijk, de kleding op maat afspeld. En na mijn werk….heb ik altijd zo’n zin om thuis weer achter mijn naaimachine te kruipen….! Gekscherend zeg ik altijd: Een dag niet genaaid , is een dag niet geleefd! ;) Toen ik gevraagd werd voor ReStyle voelde ik me vereerd en was meteen enthousiast, natuurlijk ook spannend….want ik wil graag dat iedereen het leuk vindt…! En wat een gave projecten heb ik al mogen maken….het interieurconcept, het babyconcept en laatst ook het kussenconcept! Valt jullie op dat ik dol ben op pipingband? Love it…..het is zo leuk om mee te werken en echt niet zo heel moeilijk. Maar geldt voor alles…….gewoon proberen! Ook ik vind het leuk om via deze weg jullie te inspireren met wat je allemaal kan op creatief gebied. Ik zeg…blijf ReStyle Studio volgen met alles wat we met elkaar maken….en maak tijd voor jezelf vrij! Want geloof mij….je zal tijd te kort hebben… Vinden jullie het leuk om mijn passie te volgen op Insta en Facebook? Neem gerust een kijkje: Instagram: renatasfashionsewing Facebook: Renatas Fashion Een lieve groet van mij, Renata de Rover