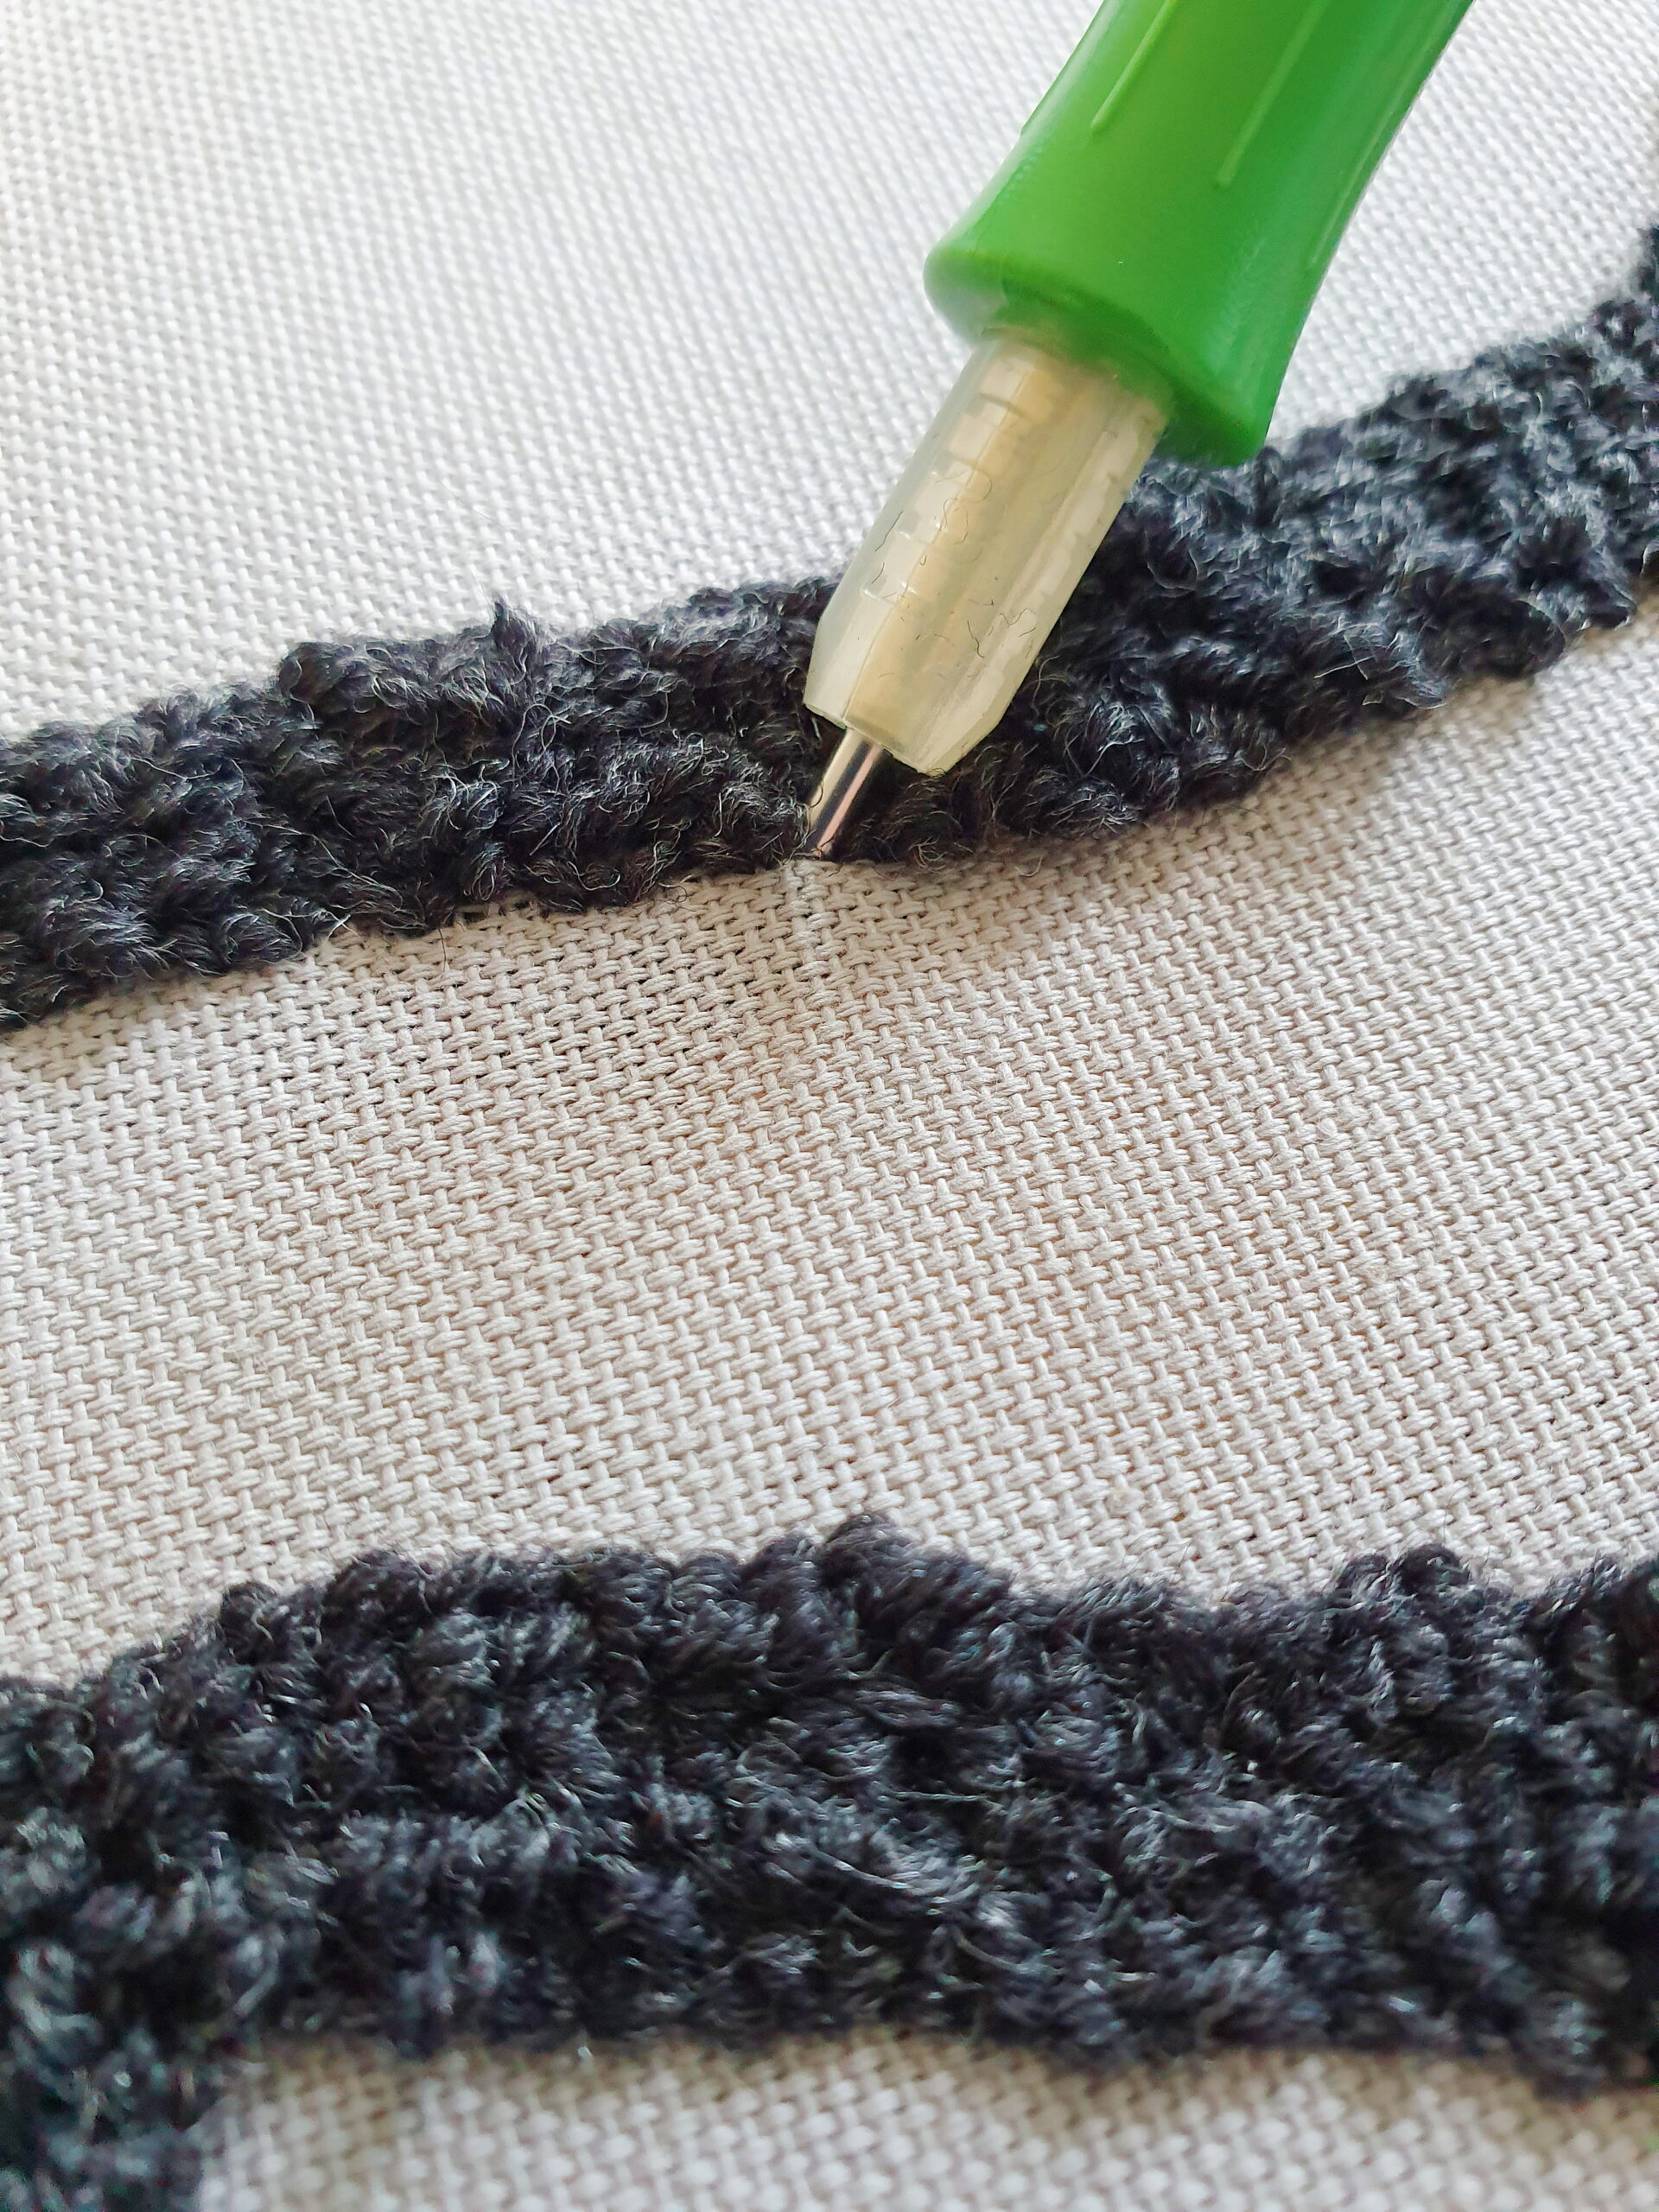
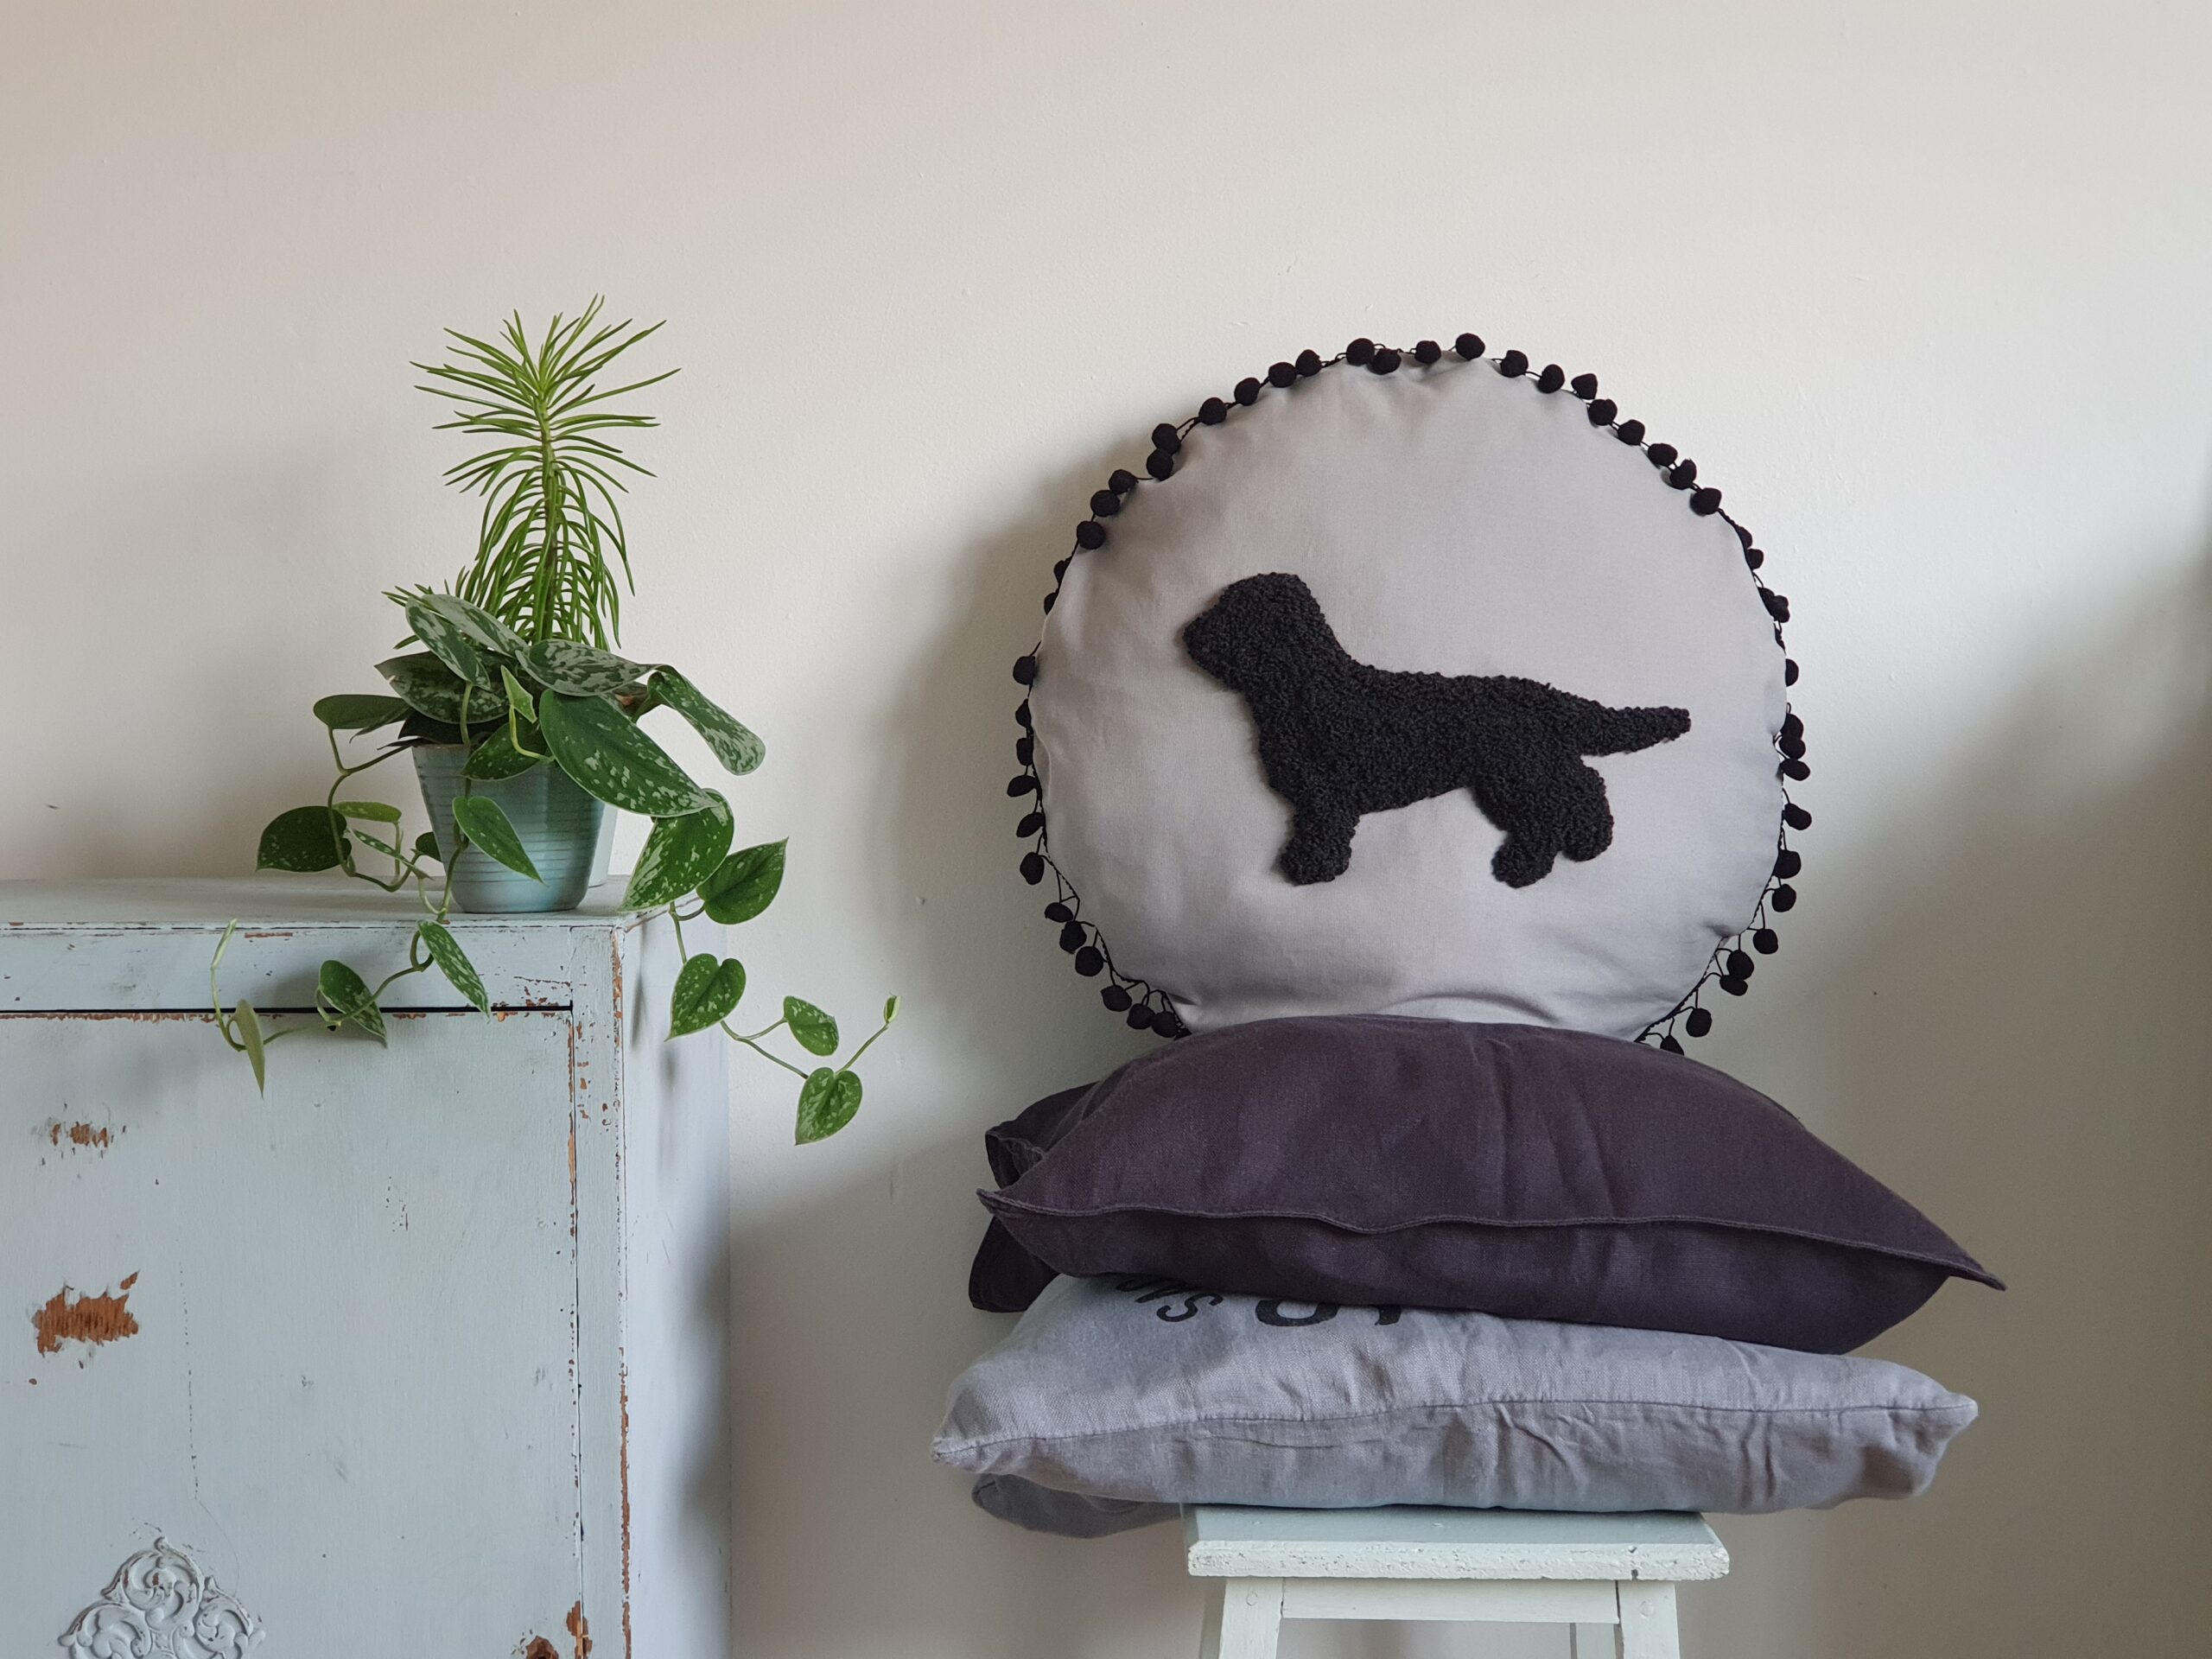
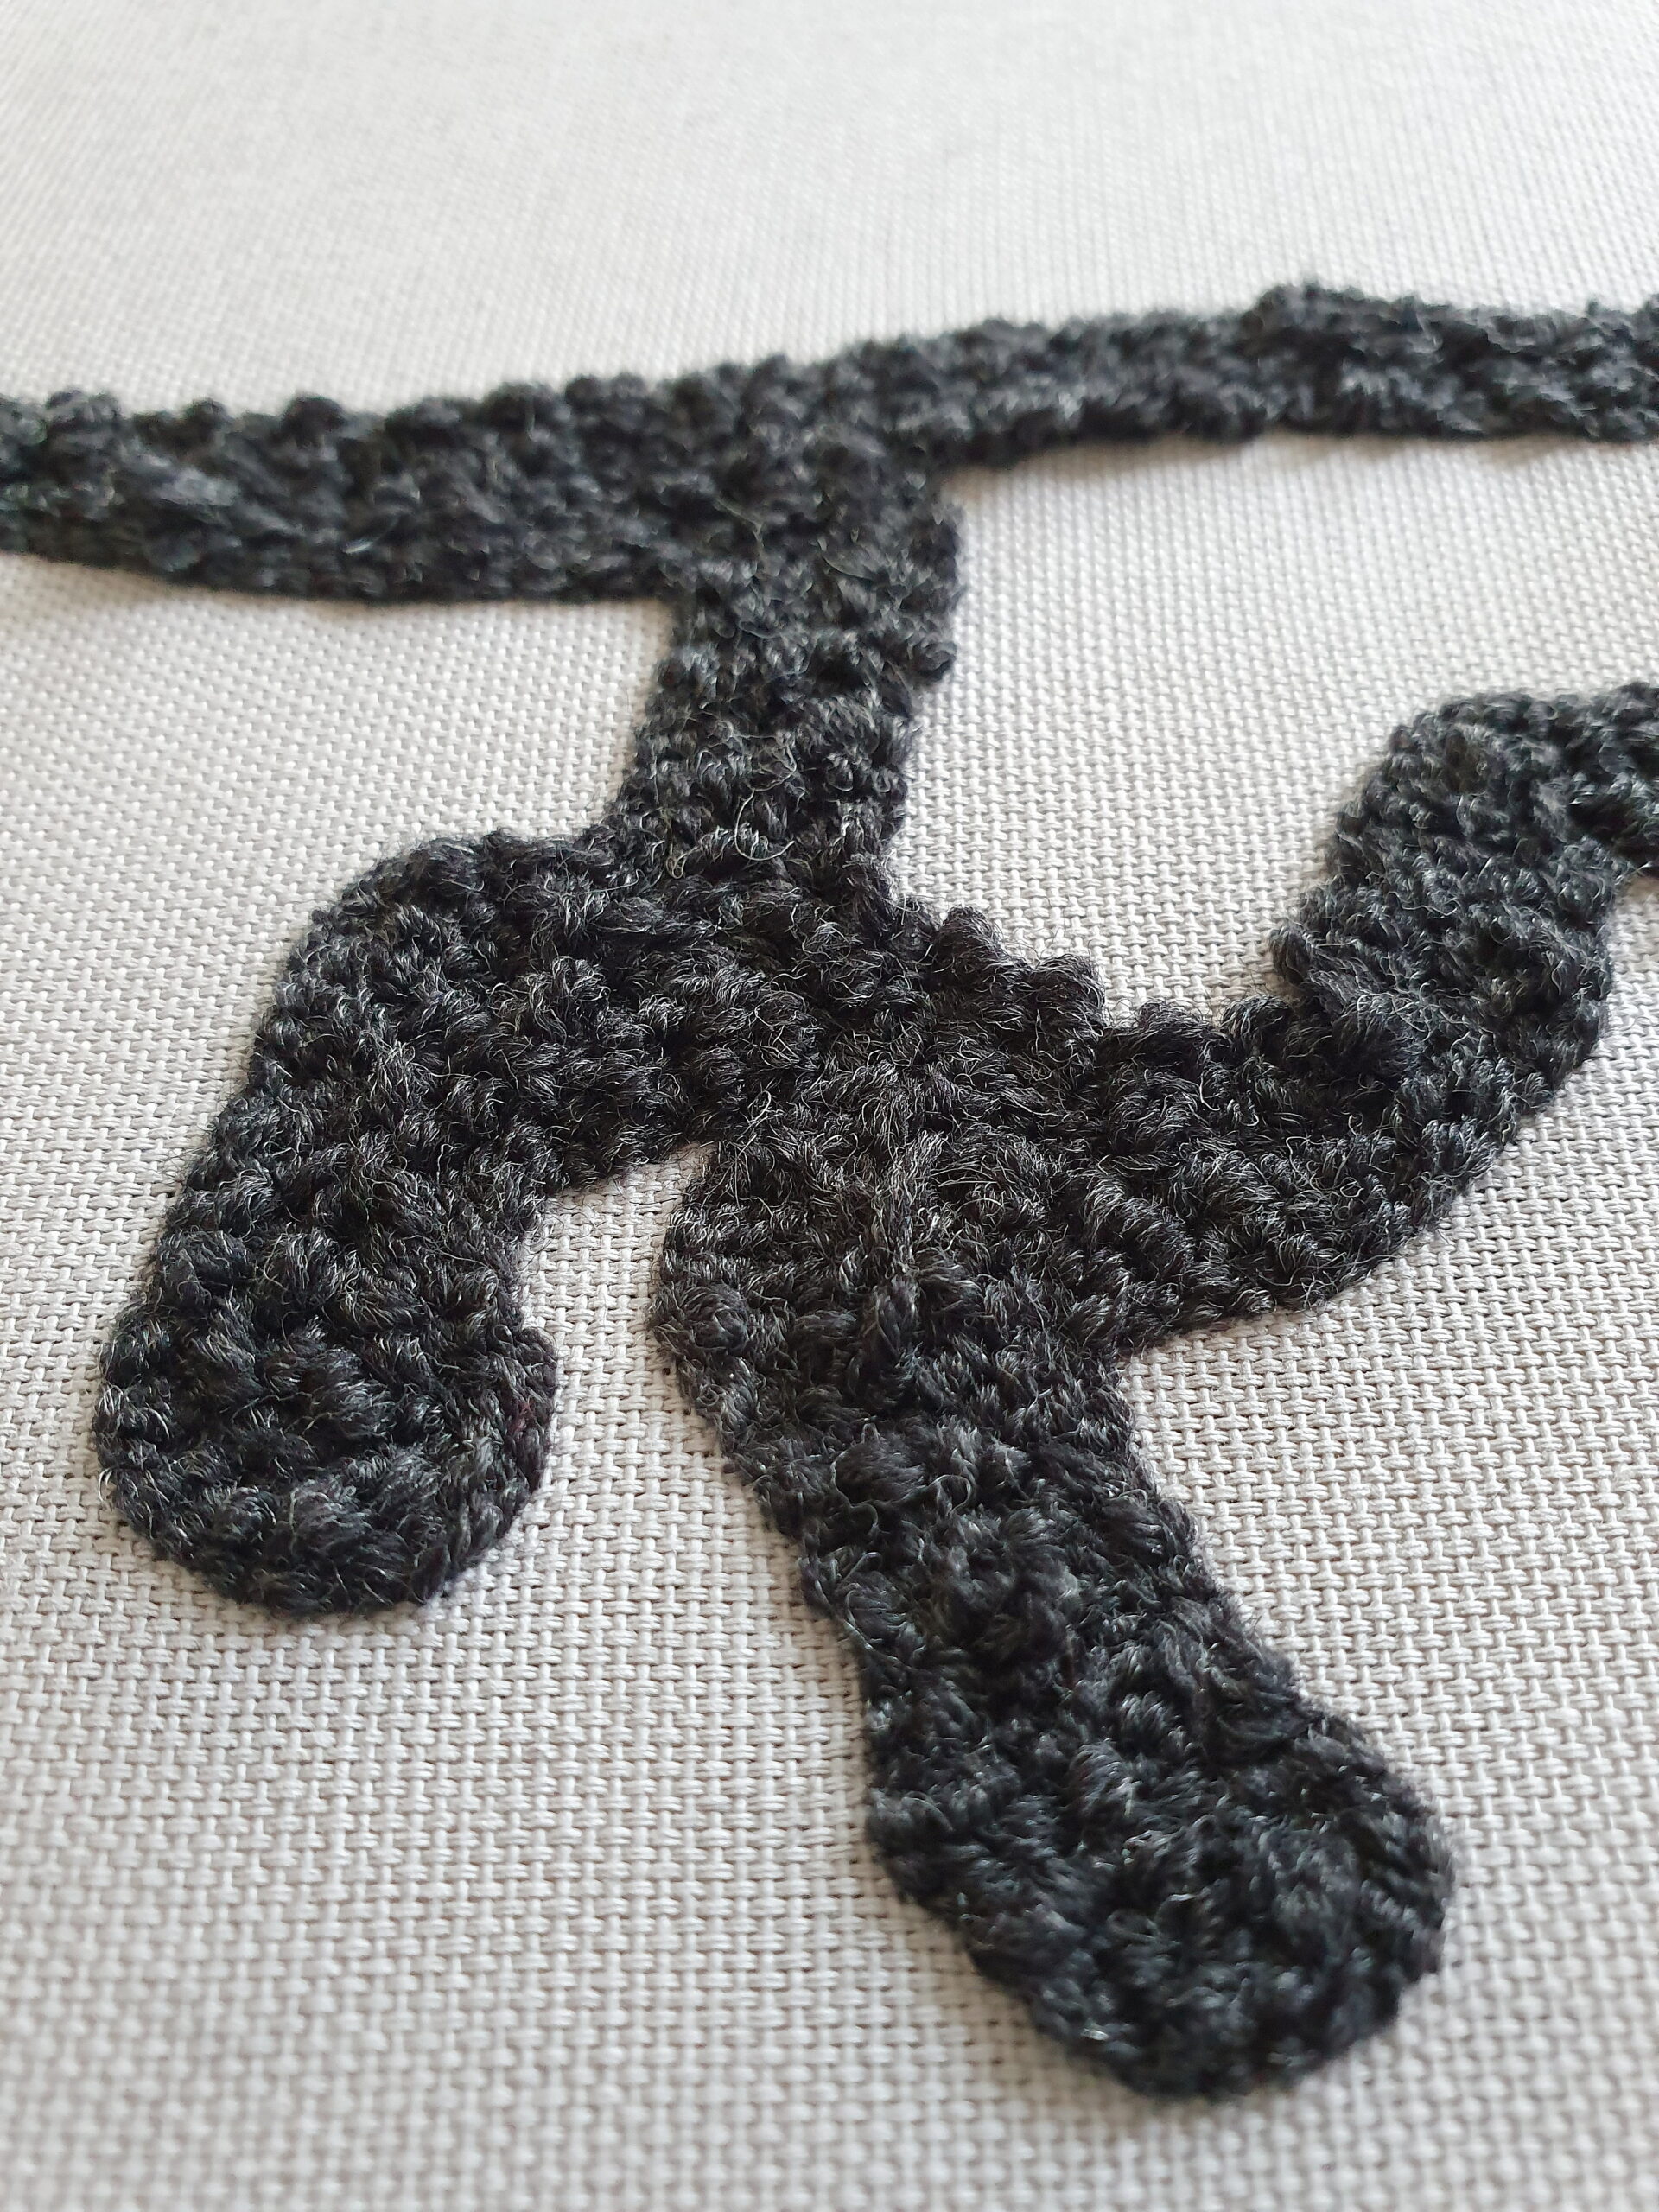
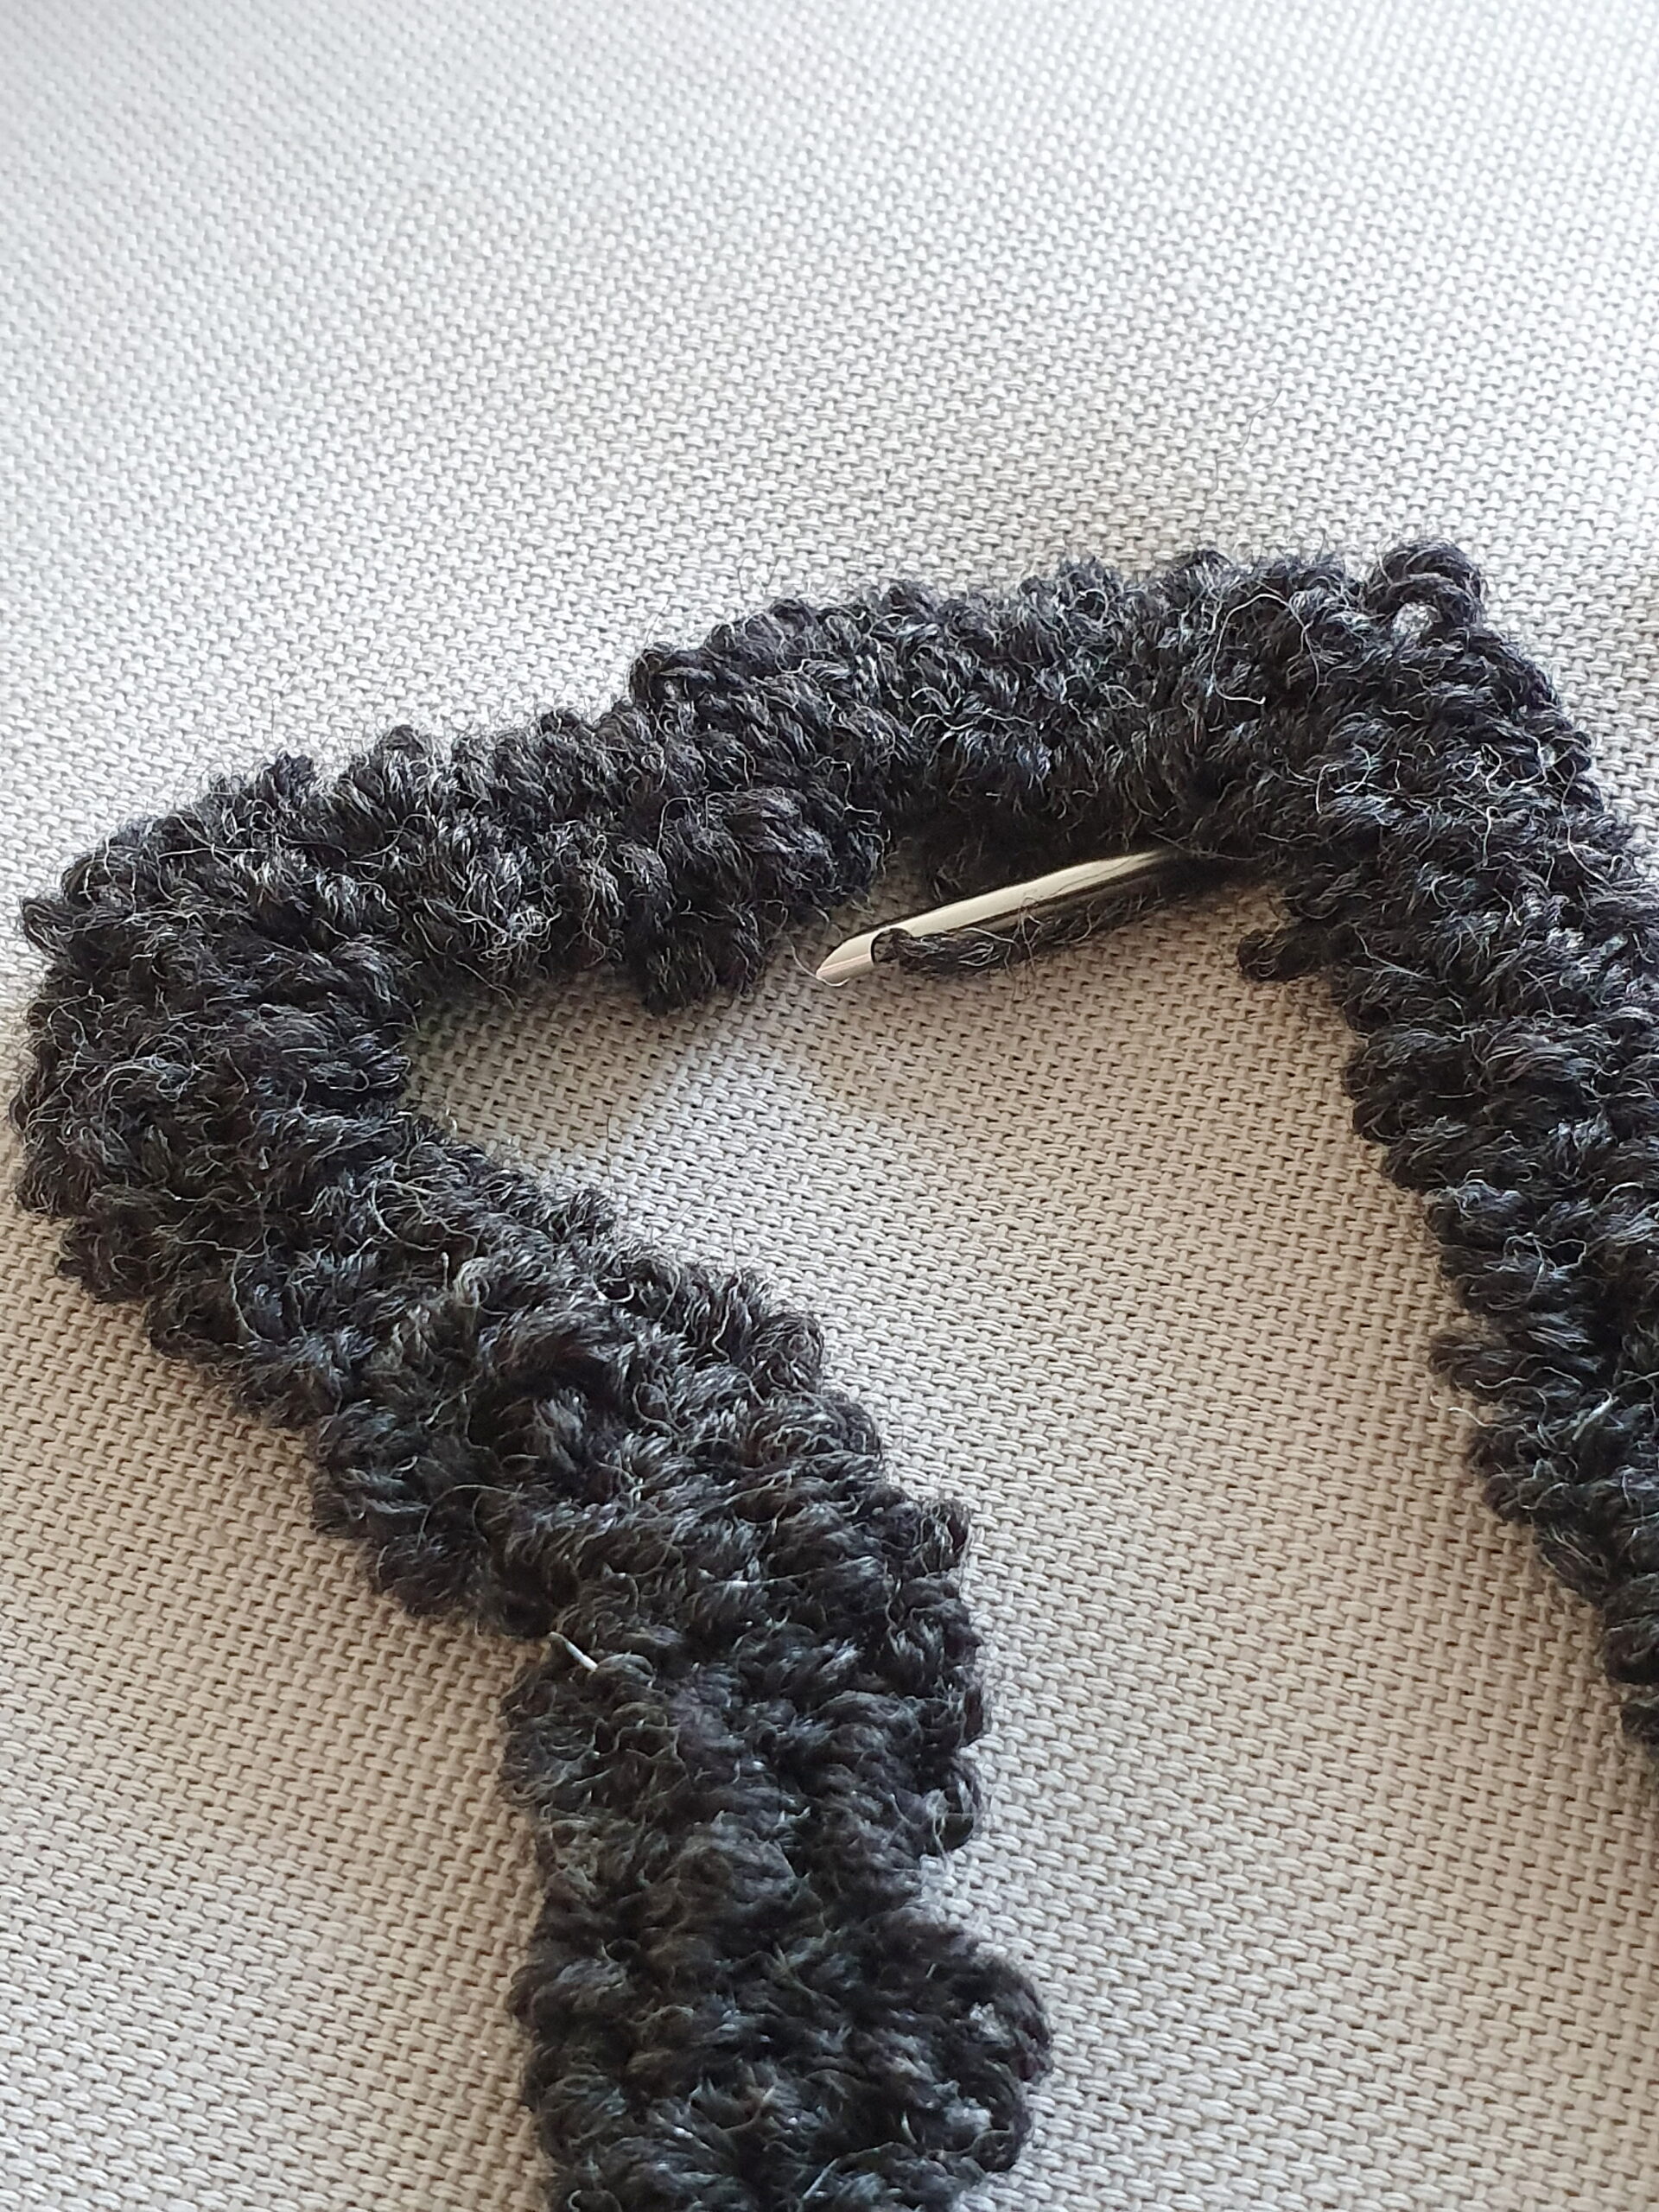
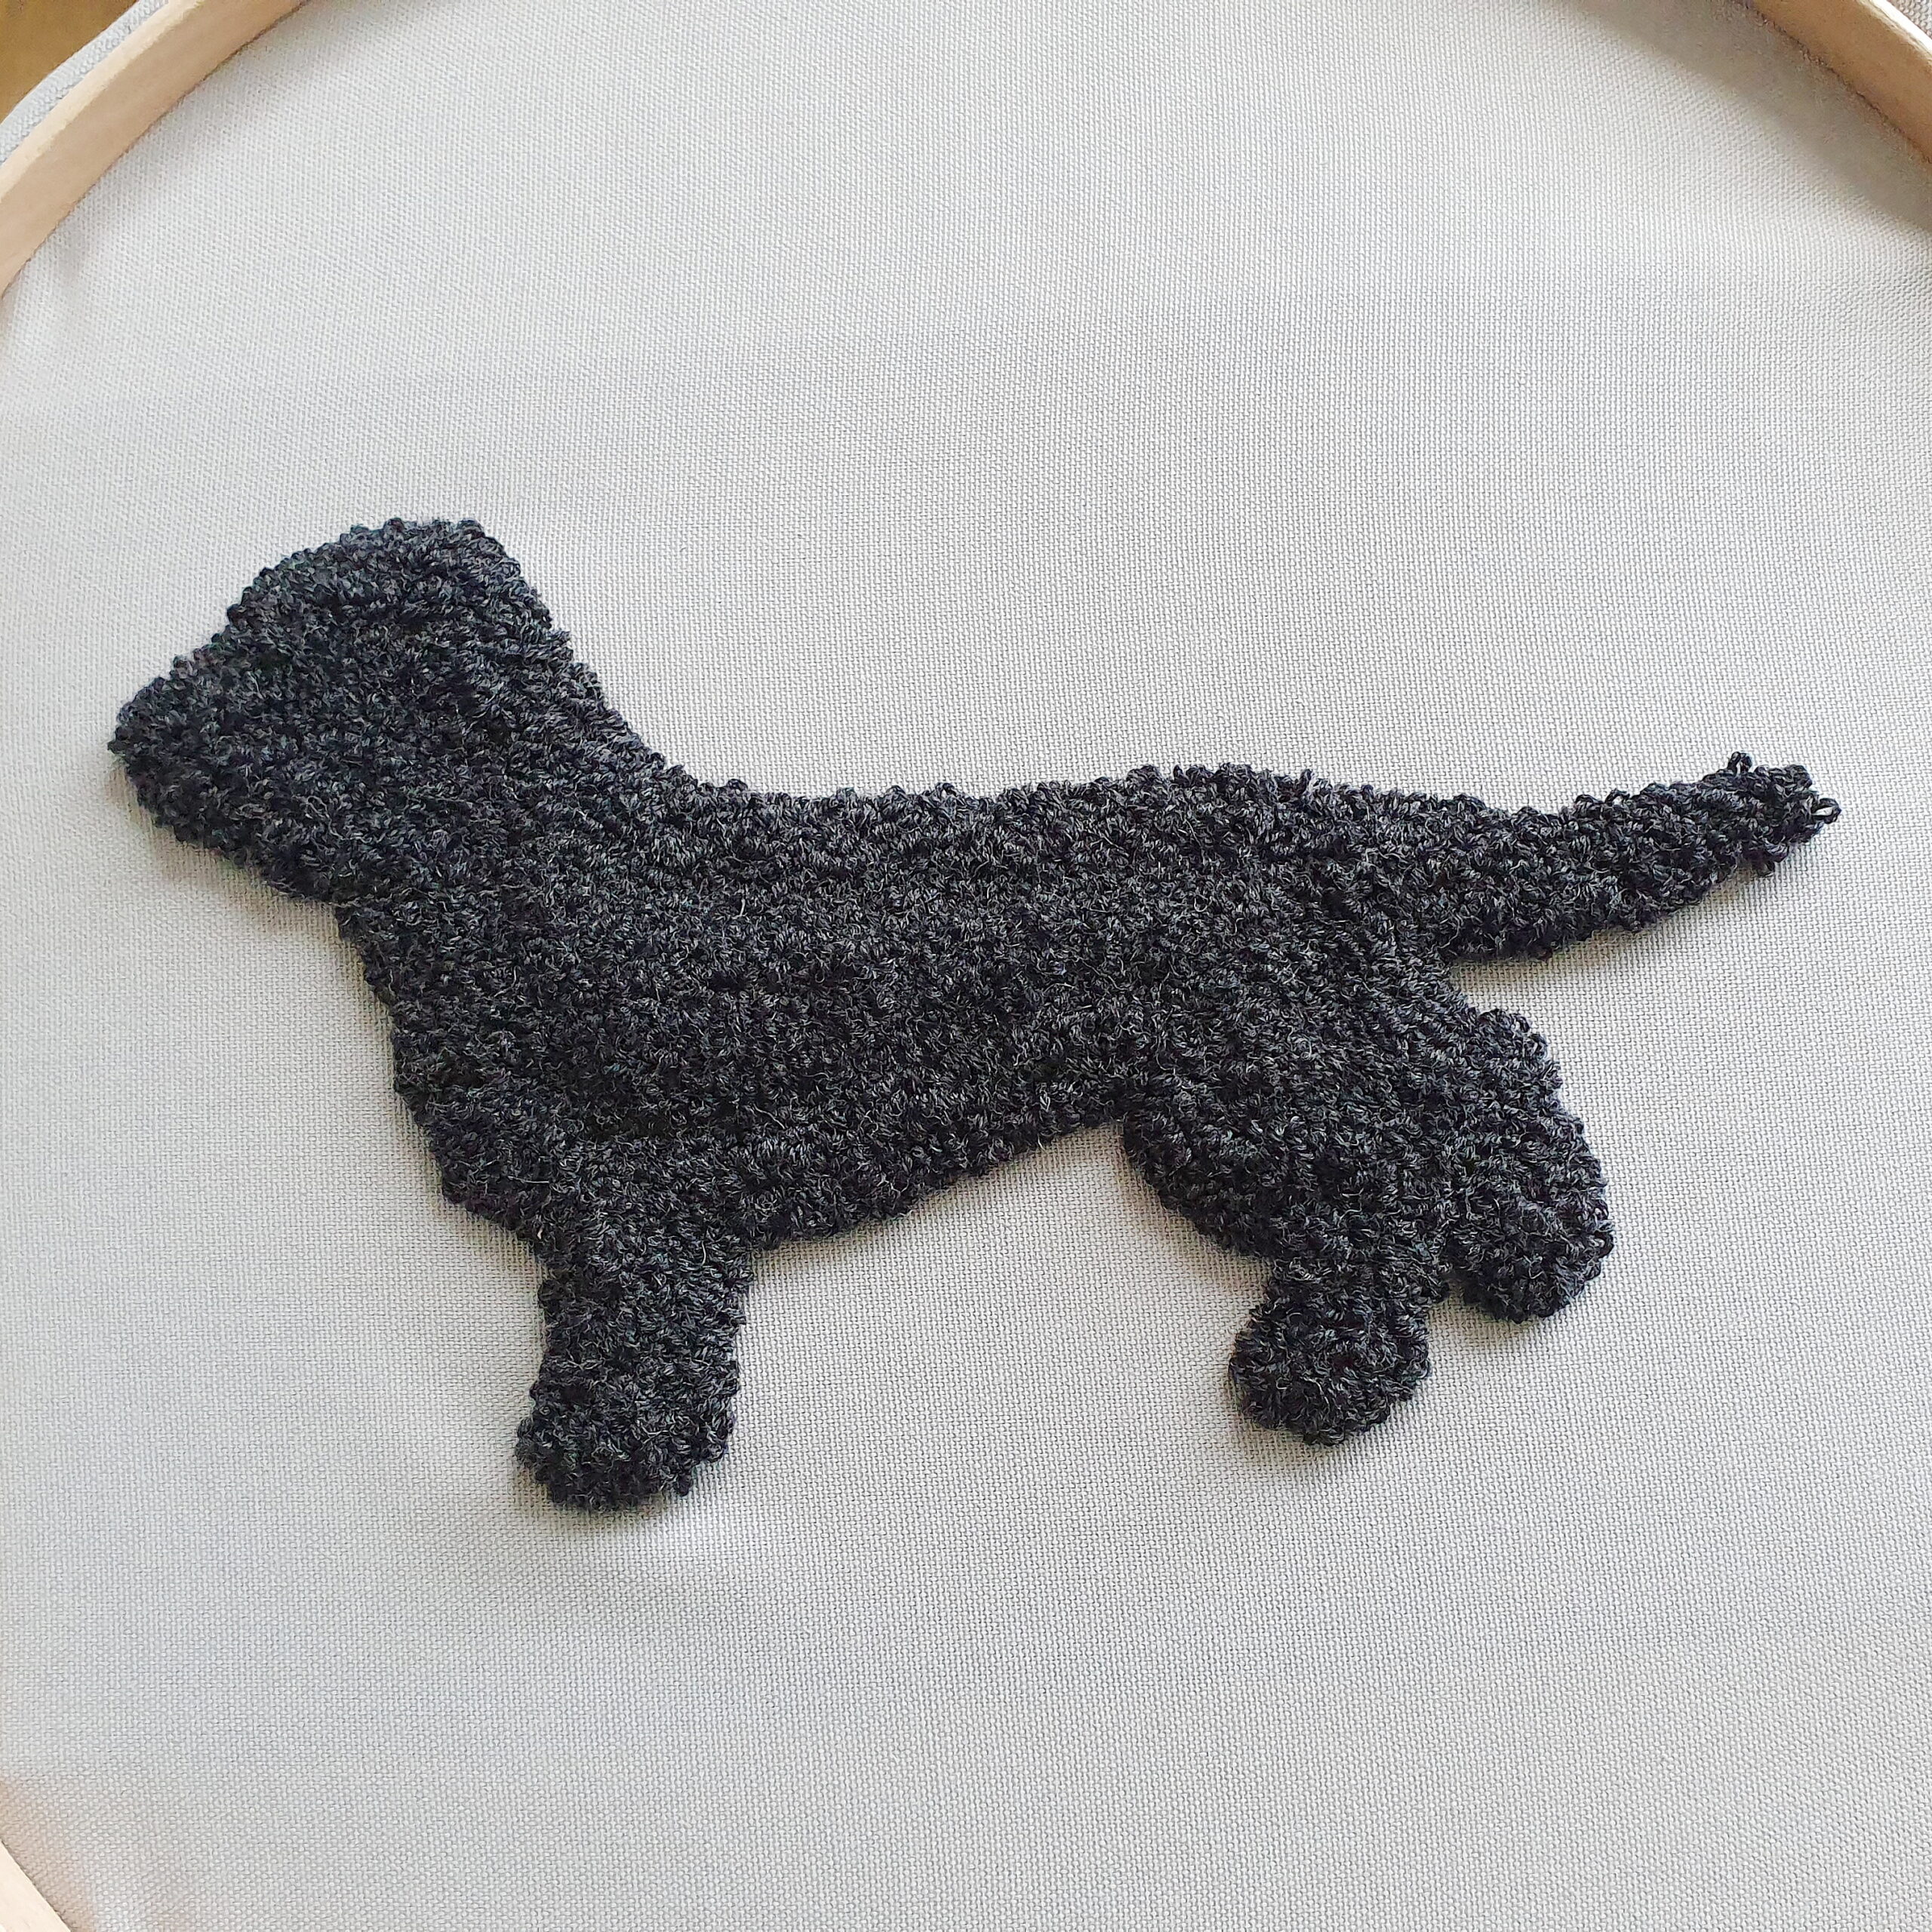
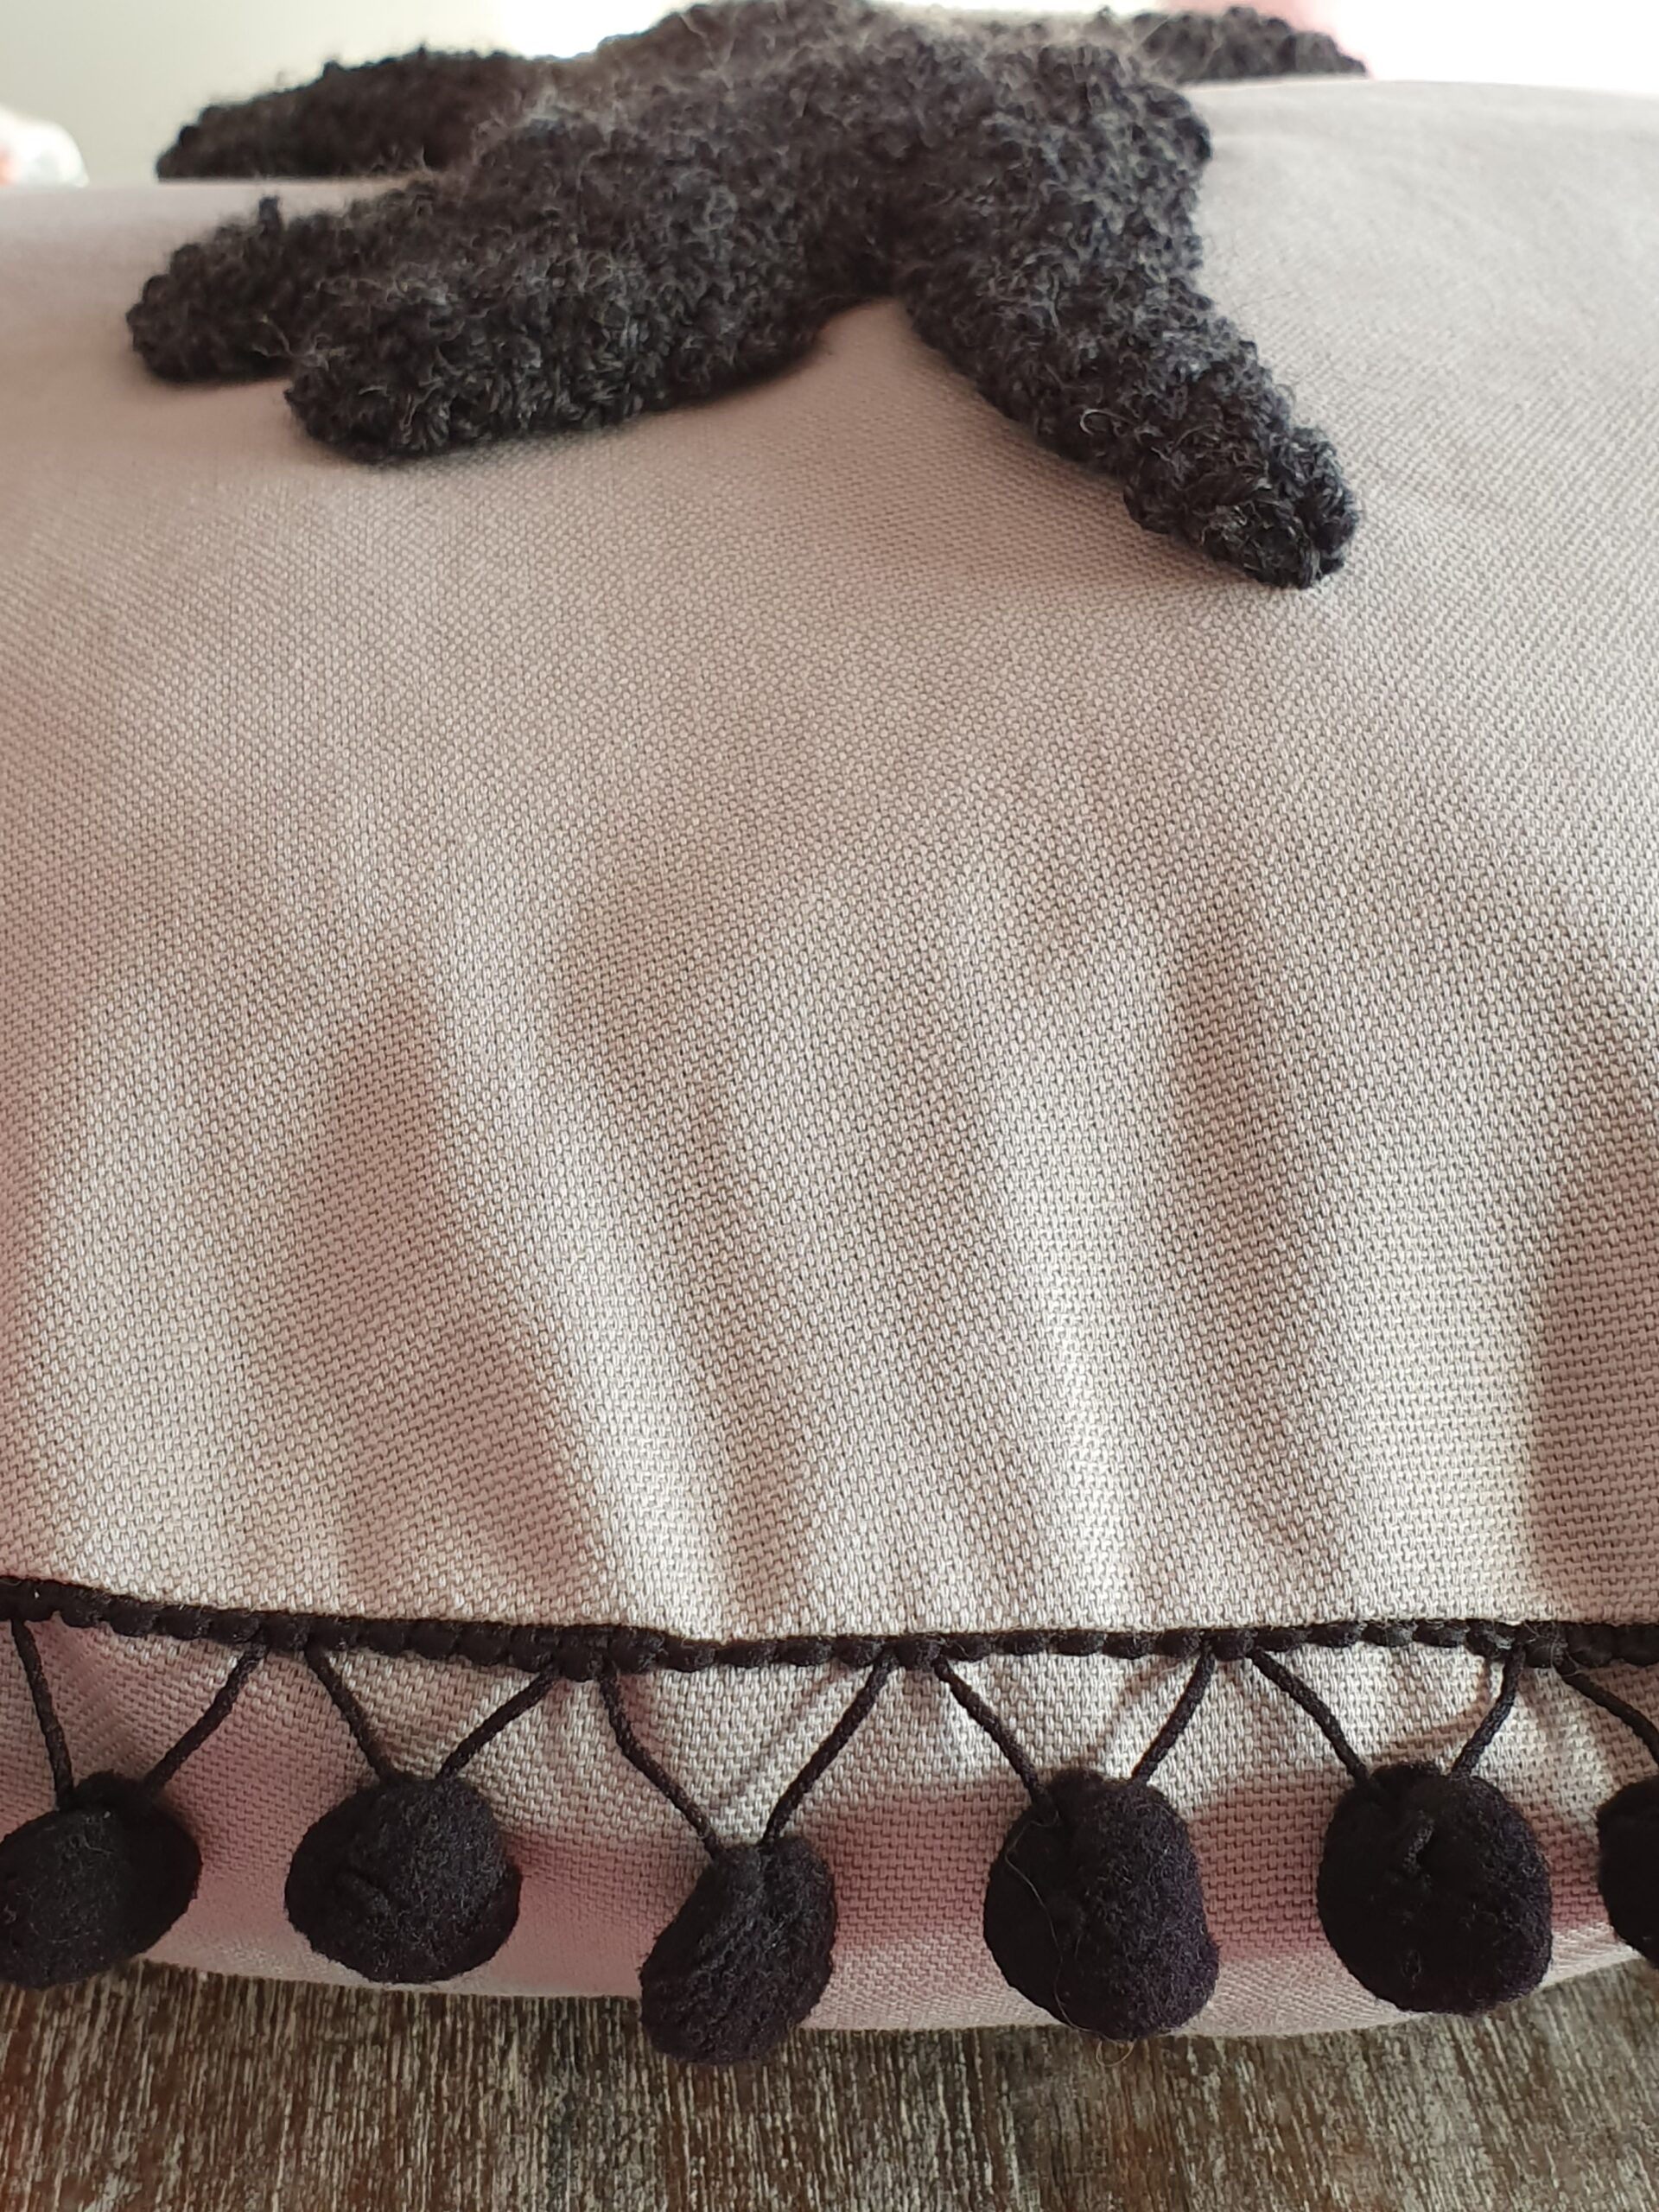
Silhouette Punching

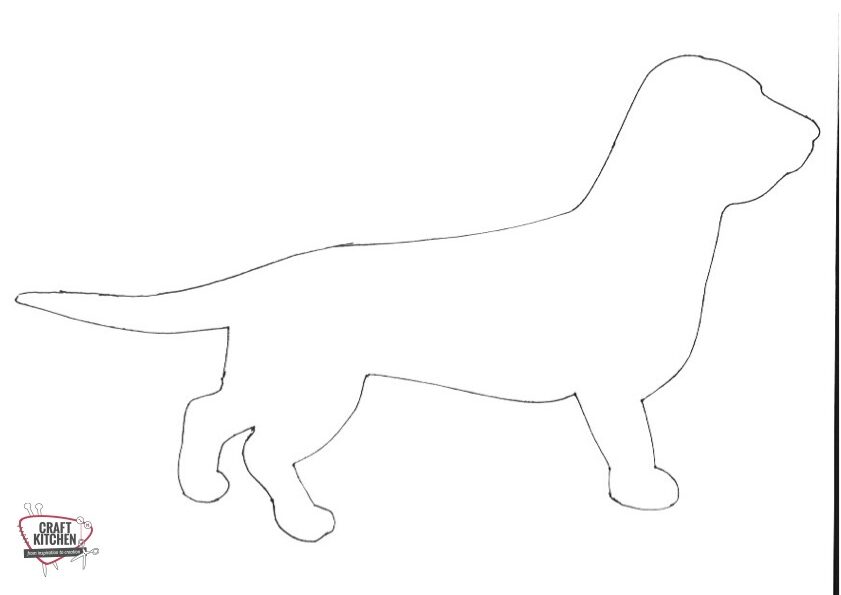
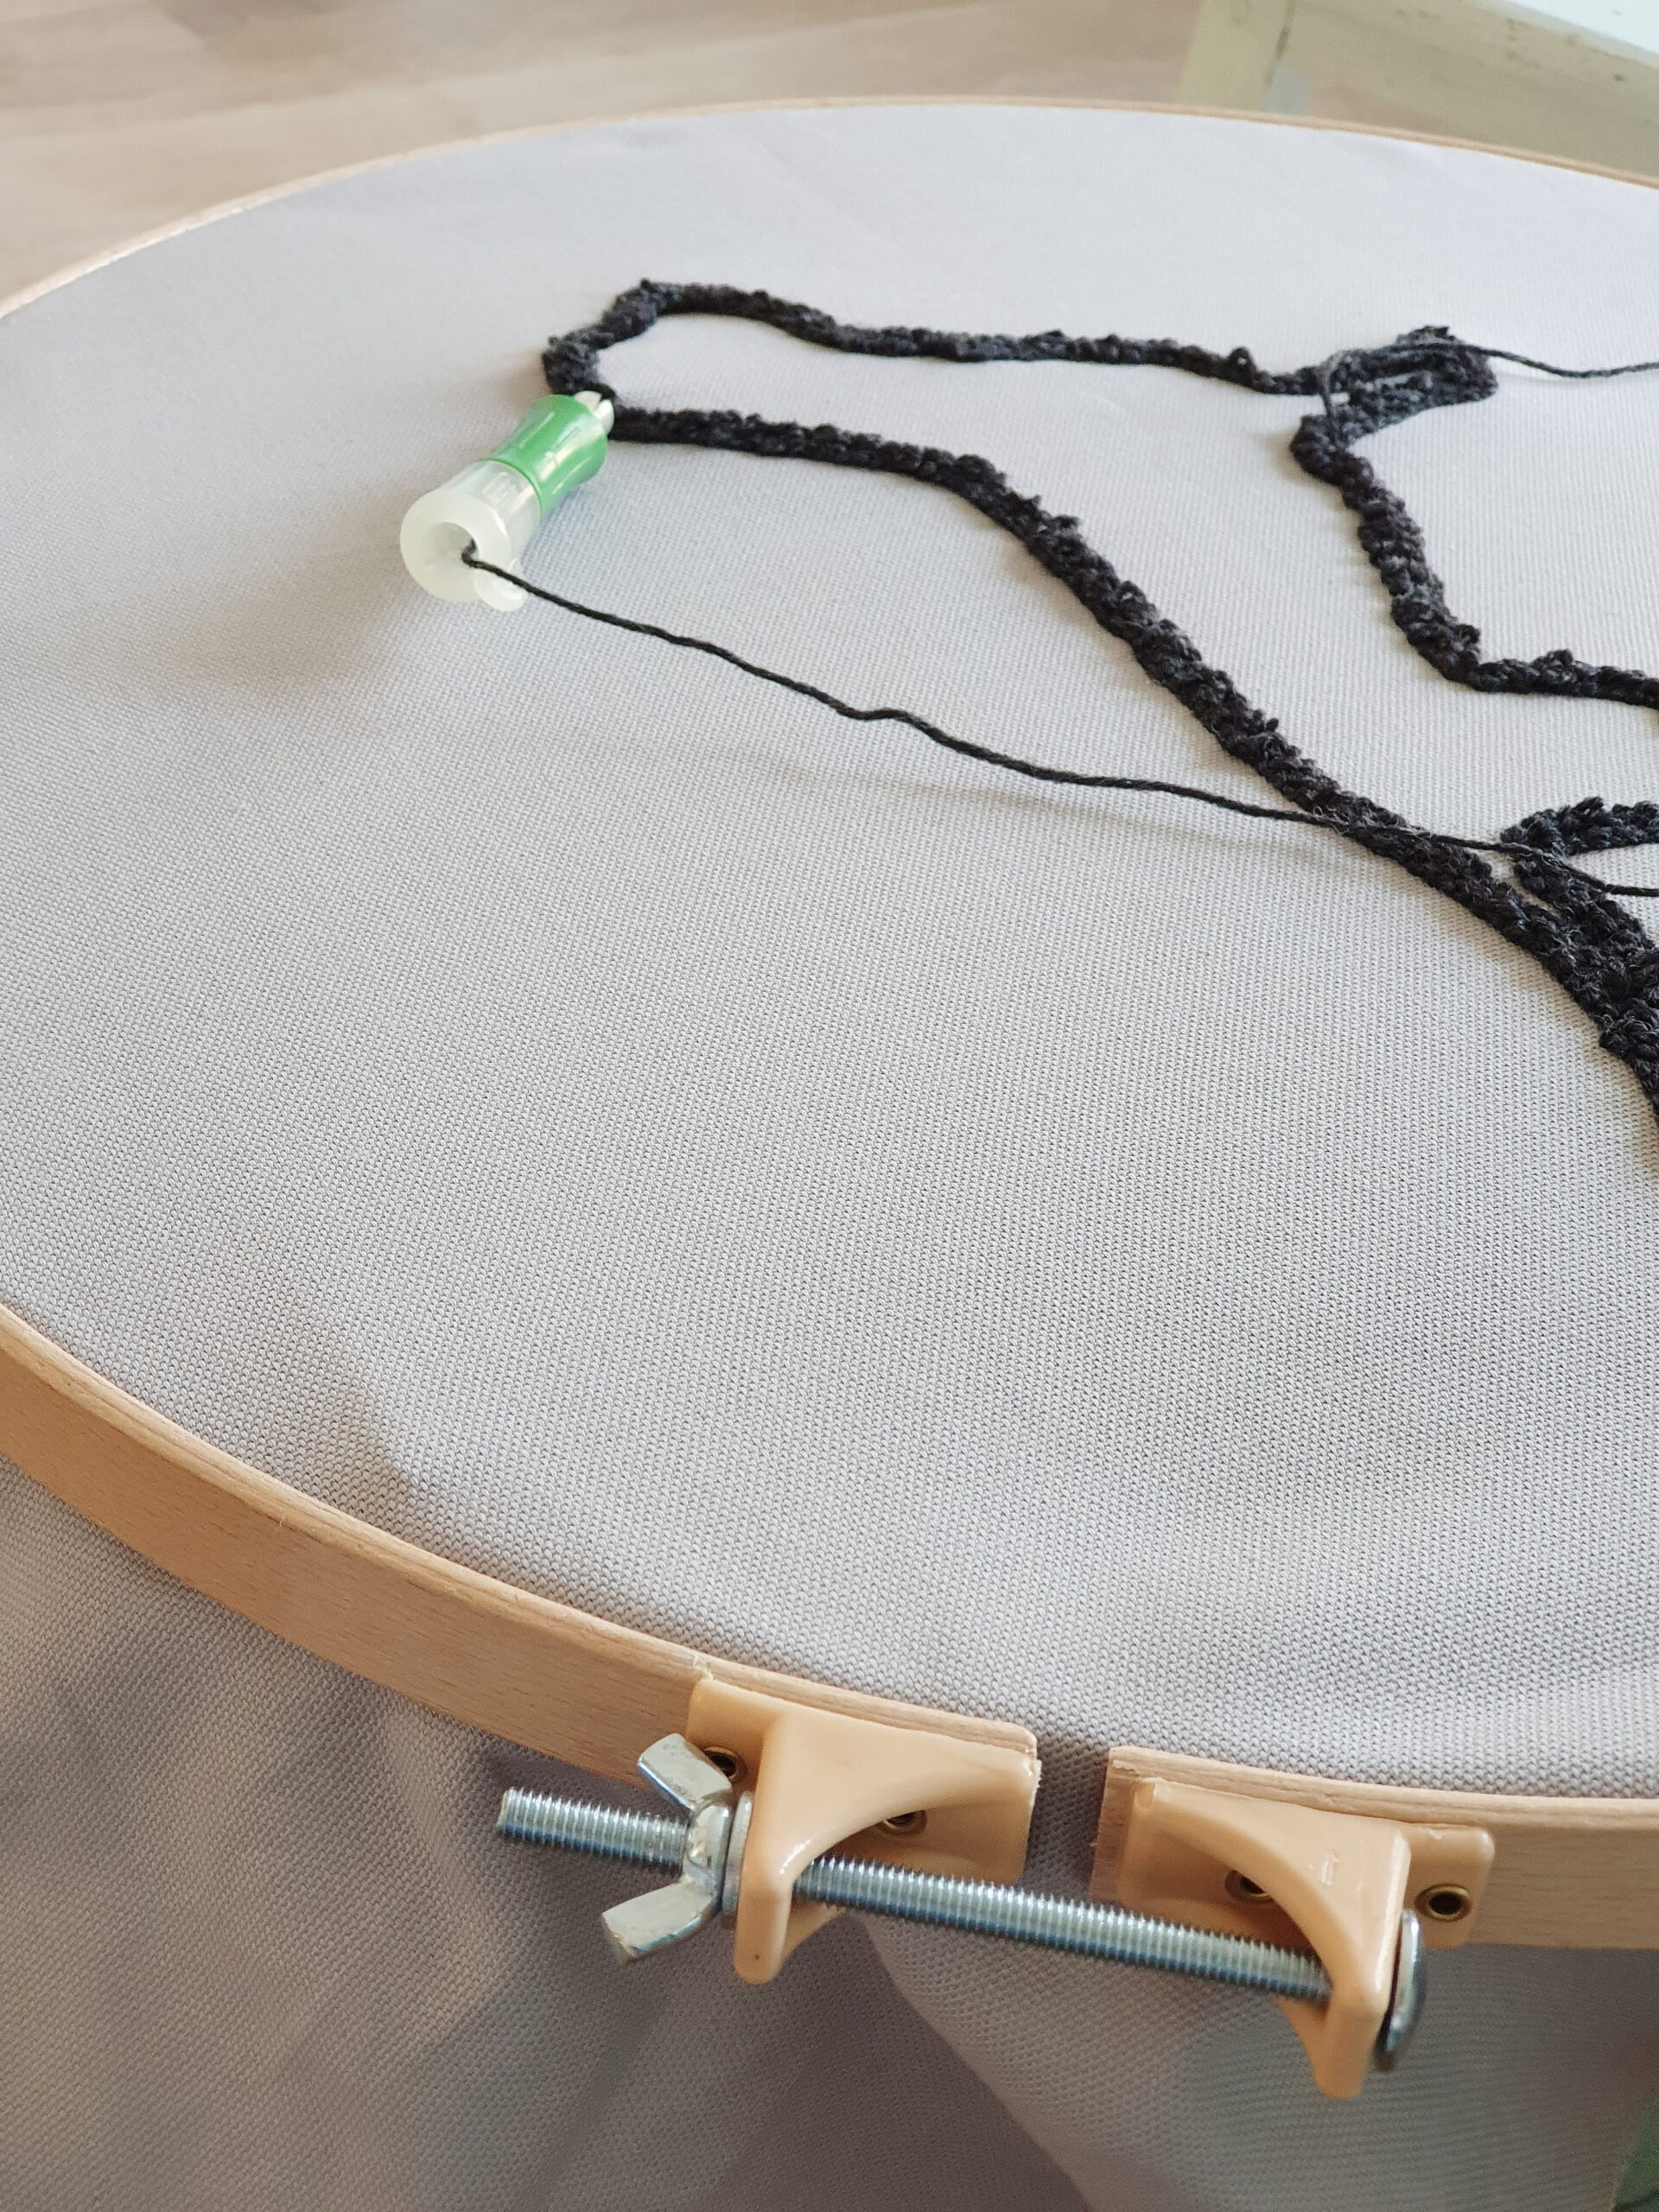
Punching is “in”. My former CraftKitchen colleague Marianne has shown it here before. Punching is so much fun to do and the effect is beautiful too. I used Joep as a model for this pillow. You can easily create a silhouette with a photo. Transfer the drawing to the fabric and punch away. I used

Supplies

  • Restyle canvas fabric 069.2000
  • Durable SOQS 1 Ball 010.75 color 412 Phantom
  • Pompom trim 017.589 color 000
  • Round inner cushion 026.50R
  • Quilting hoop diameter 45 cm 084.QR45
  • Clover punch needle 086.8800
  • Clover wonder clips 086.3185

Other supplies

  • Pen/pencil

Dimensions

45 cm

Work description

Step 1

Print out the drawing of Joep. Alternatively, create your own image by printing a photo, cutting out the outline, or drawing it. The easiest way to do this is by placing the photo and a blank white piece of paper against the window. You can then trace the photo onto the white paper. Cut out the drawing and transfer it onto the fabric using the pen/pencil.

Step 2

Place the fabric in the embroidery/quilting hoop, ensuring that the drawing is in the center and not too close to the edge, otherwise, you won’t be able to reach it with the punch needle. Tighten the embroidery hoop firmly. Tip: use pliers to tighten it.

Step 3

Thread the yarn through the punch needle. Refer to the instructions on the packaging or instructional videos on YouTube for guidance.

Step 4

Begin punching now, starting with the outer line and continue around. Punch tightly against the first round, and repeat this gradually moving towards the center until the entire drawing is filled. Ensure that the working yarn hangs freely during punching; if there is tension on it, it may pull the thread out of the fabric.

Step 5

When you’re finished, cut the thread. Correct any loops that are too long by cutting them and pulling them back through to the back of the fabric.

Step 6

You can leave the punch work in the hoop and hang it up, or you can make a cushion out of it like I did.

Step 7 Cushion

Cut a circle of 51 cm (including seam allowance) from the fabric. Use the inner ring of the quilting hoop as a template, then cut a second circle for the back.

Step 8

Place the wrong sides together and secure the pieces with wonder clips. Stitch the pieces together. Open a small part for turning. Turn the fabric, shaping it into a nice circle. Press the seams flat.

Step 9

Make an inner cushion in the same way as the cushion cover, or use a ready-made cushion. Insert the cushion into the cover. Sew the opening neatly closed by hand.

Info About the blogger

admin

Newsletter

Stay up to date with the latest products and projects by subscribing to our newsletter.