Sewing and Fabrics
Make Your Own Vest from an Old Scarf | Sustainable and Creative with ReStyle
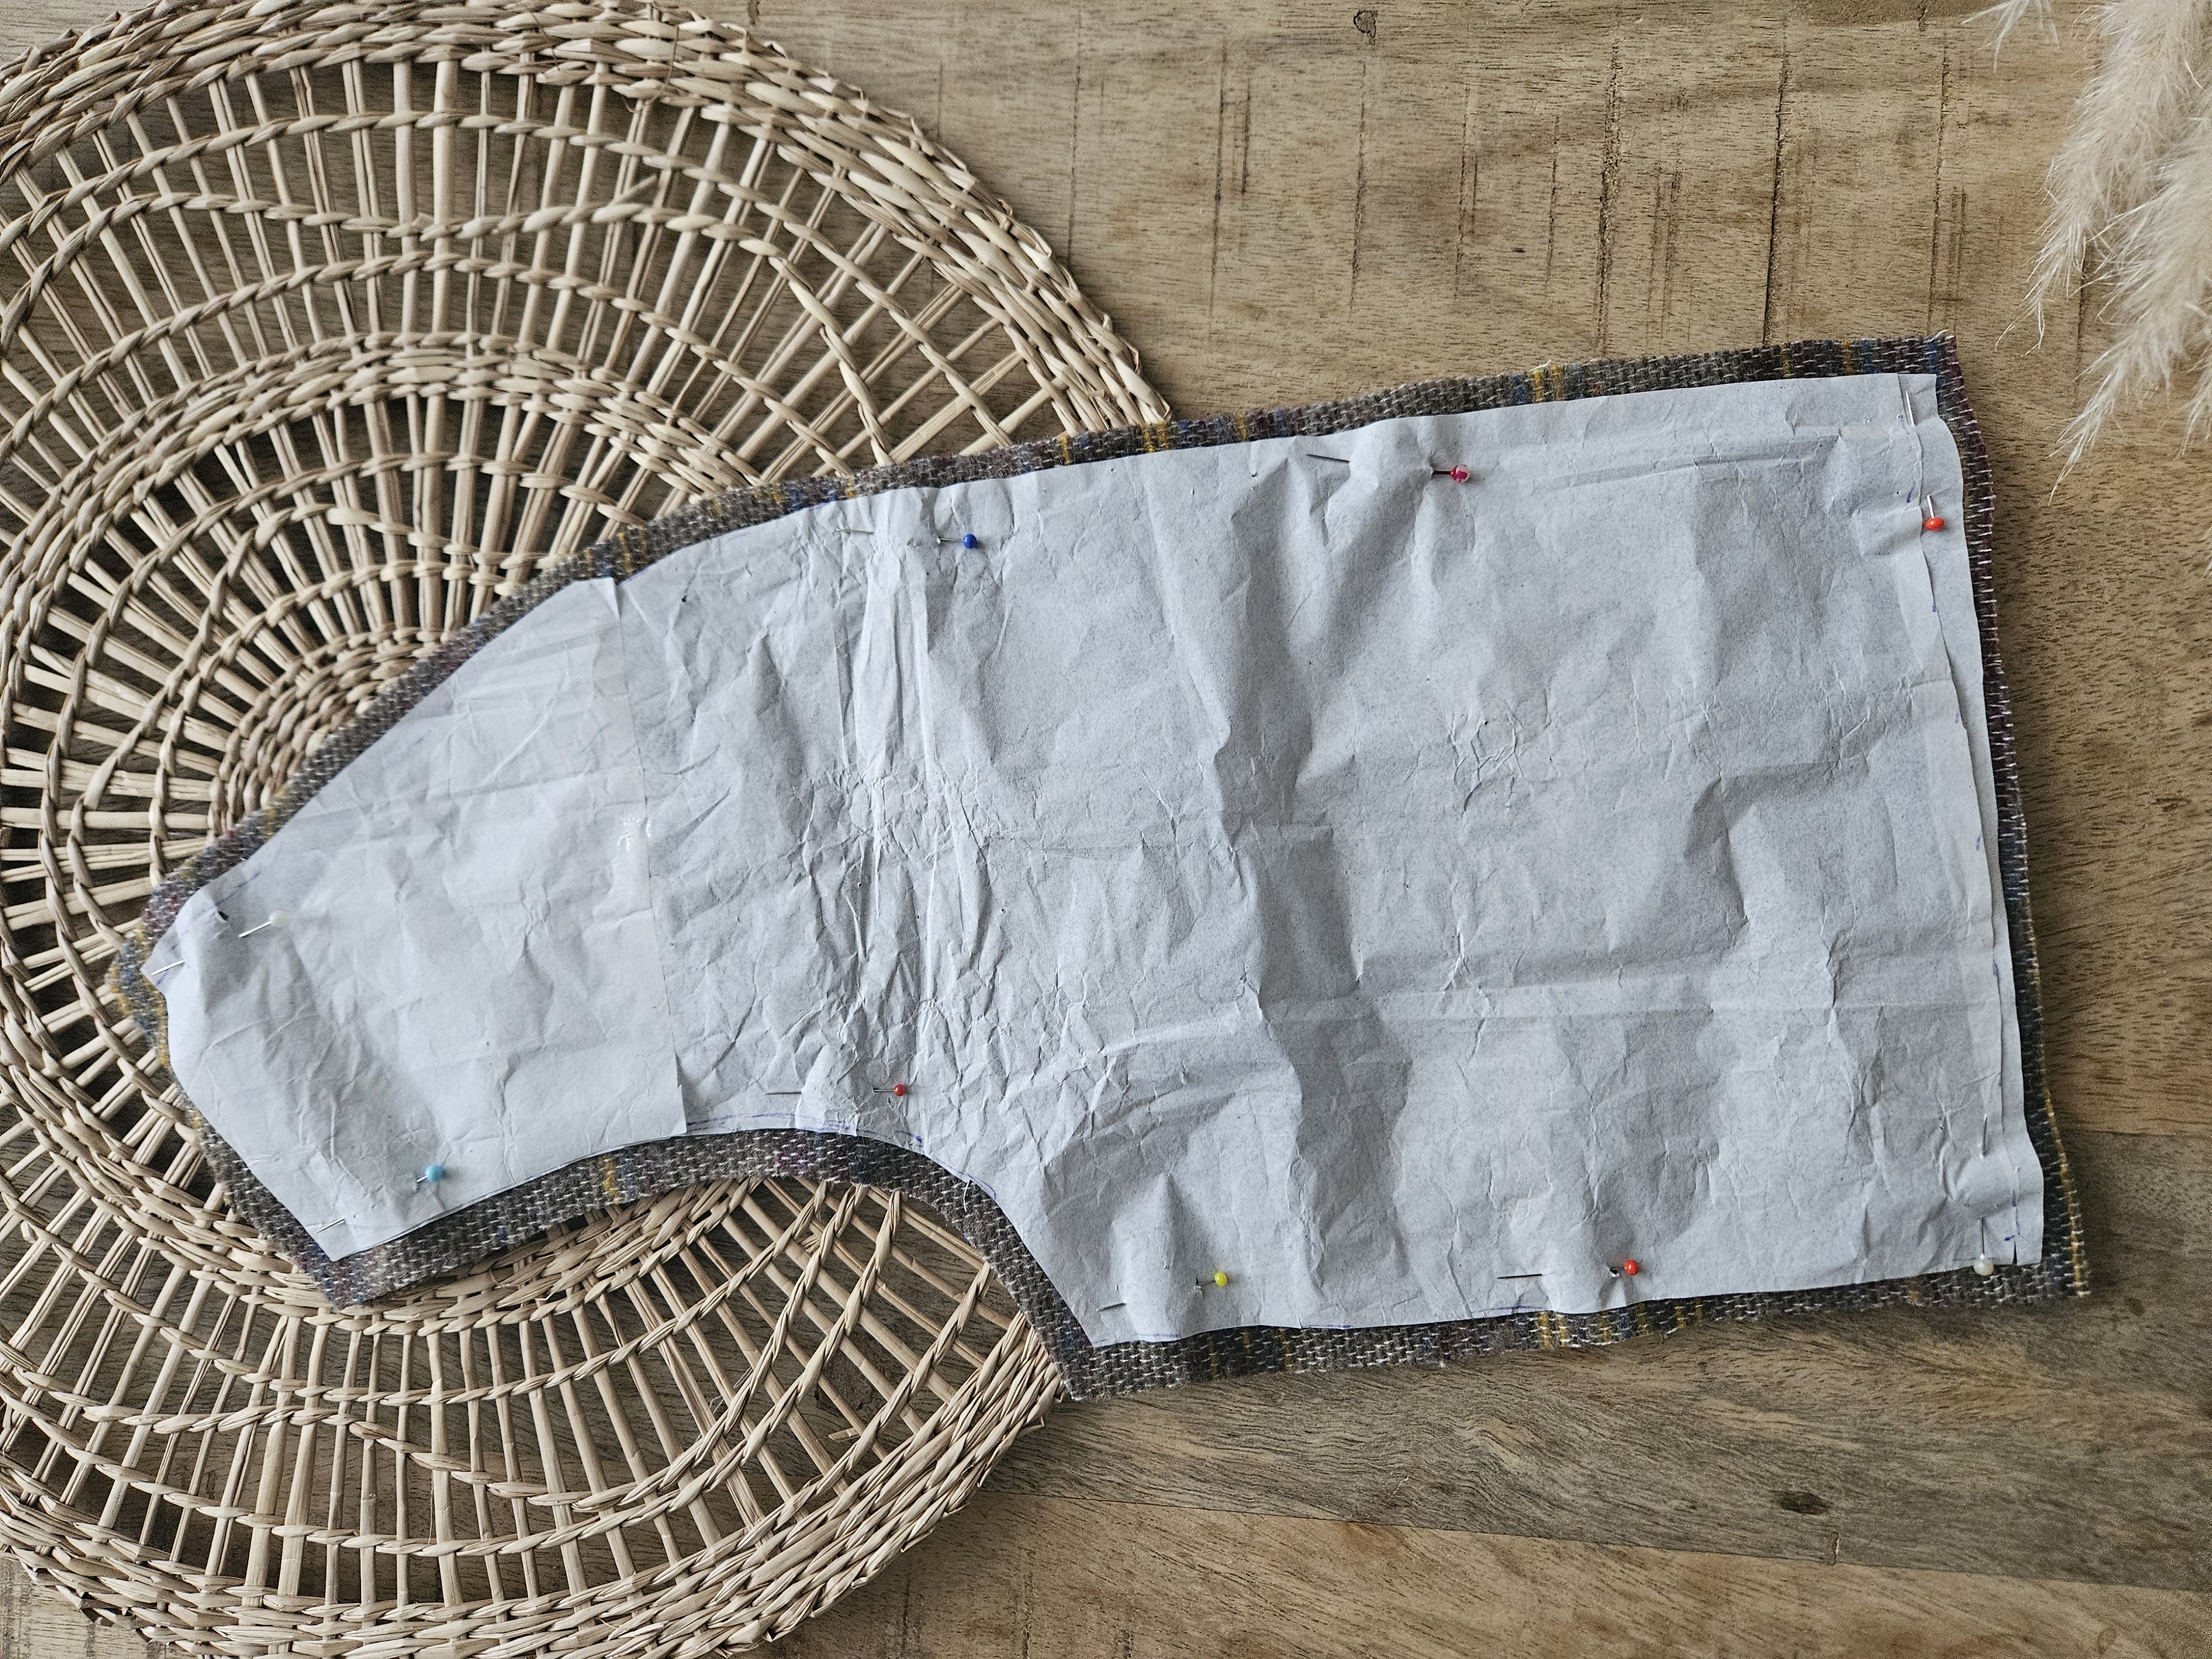
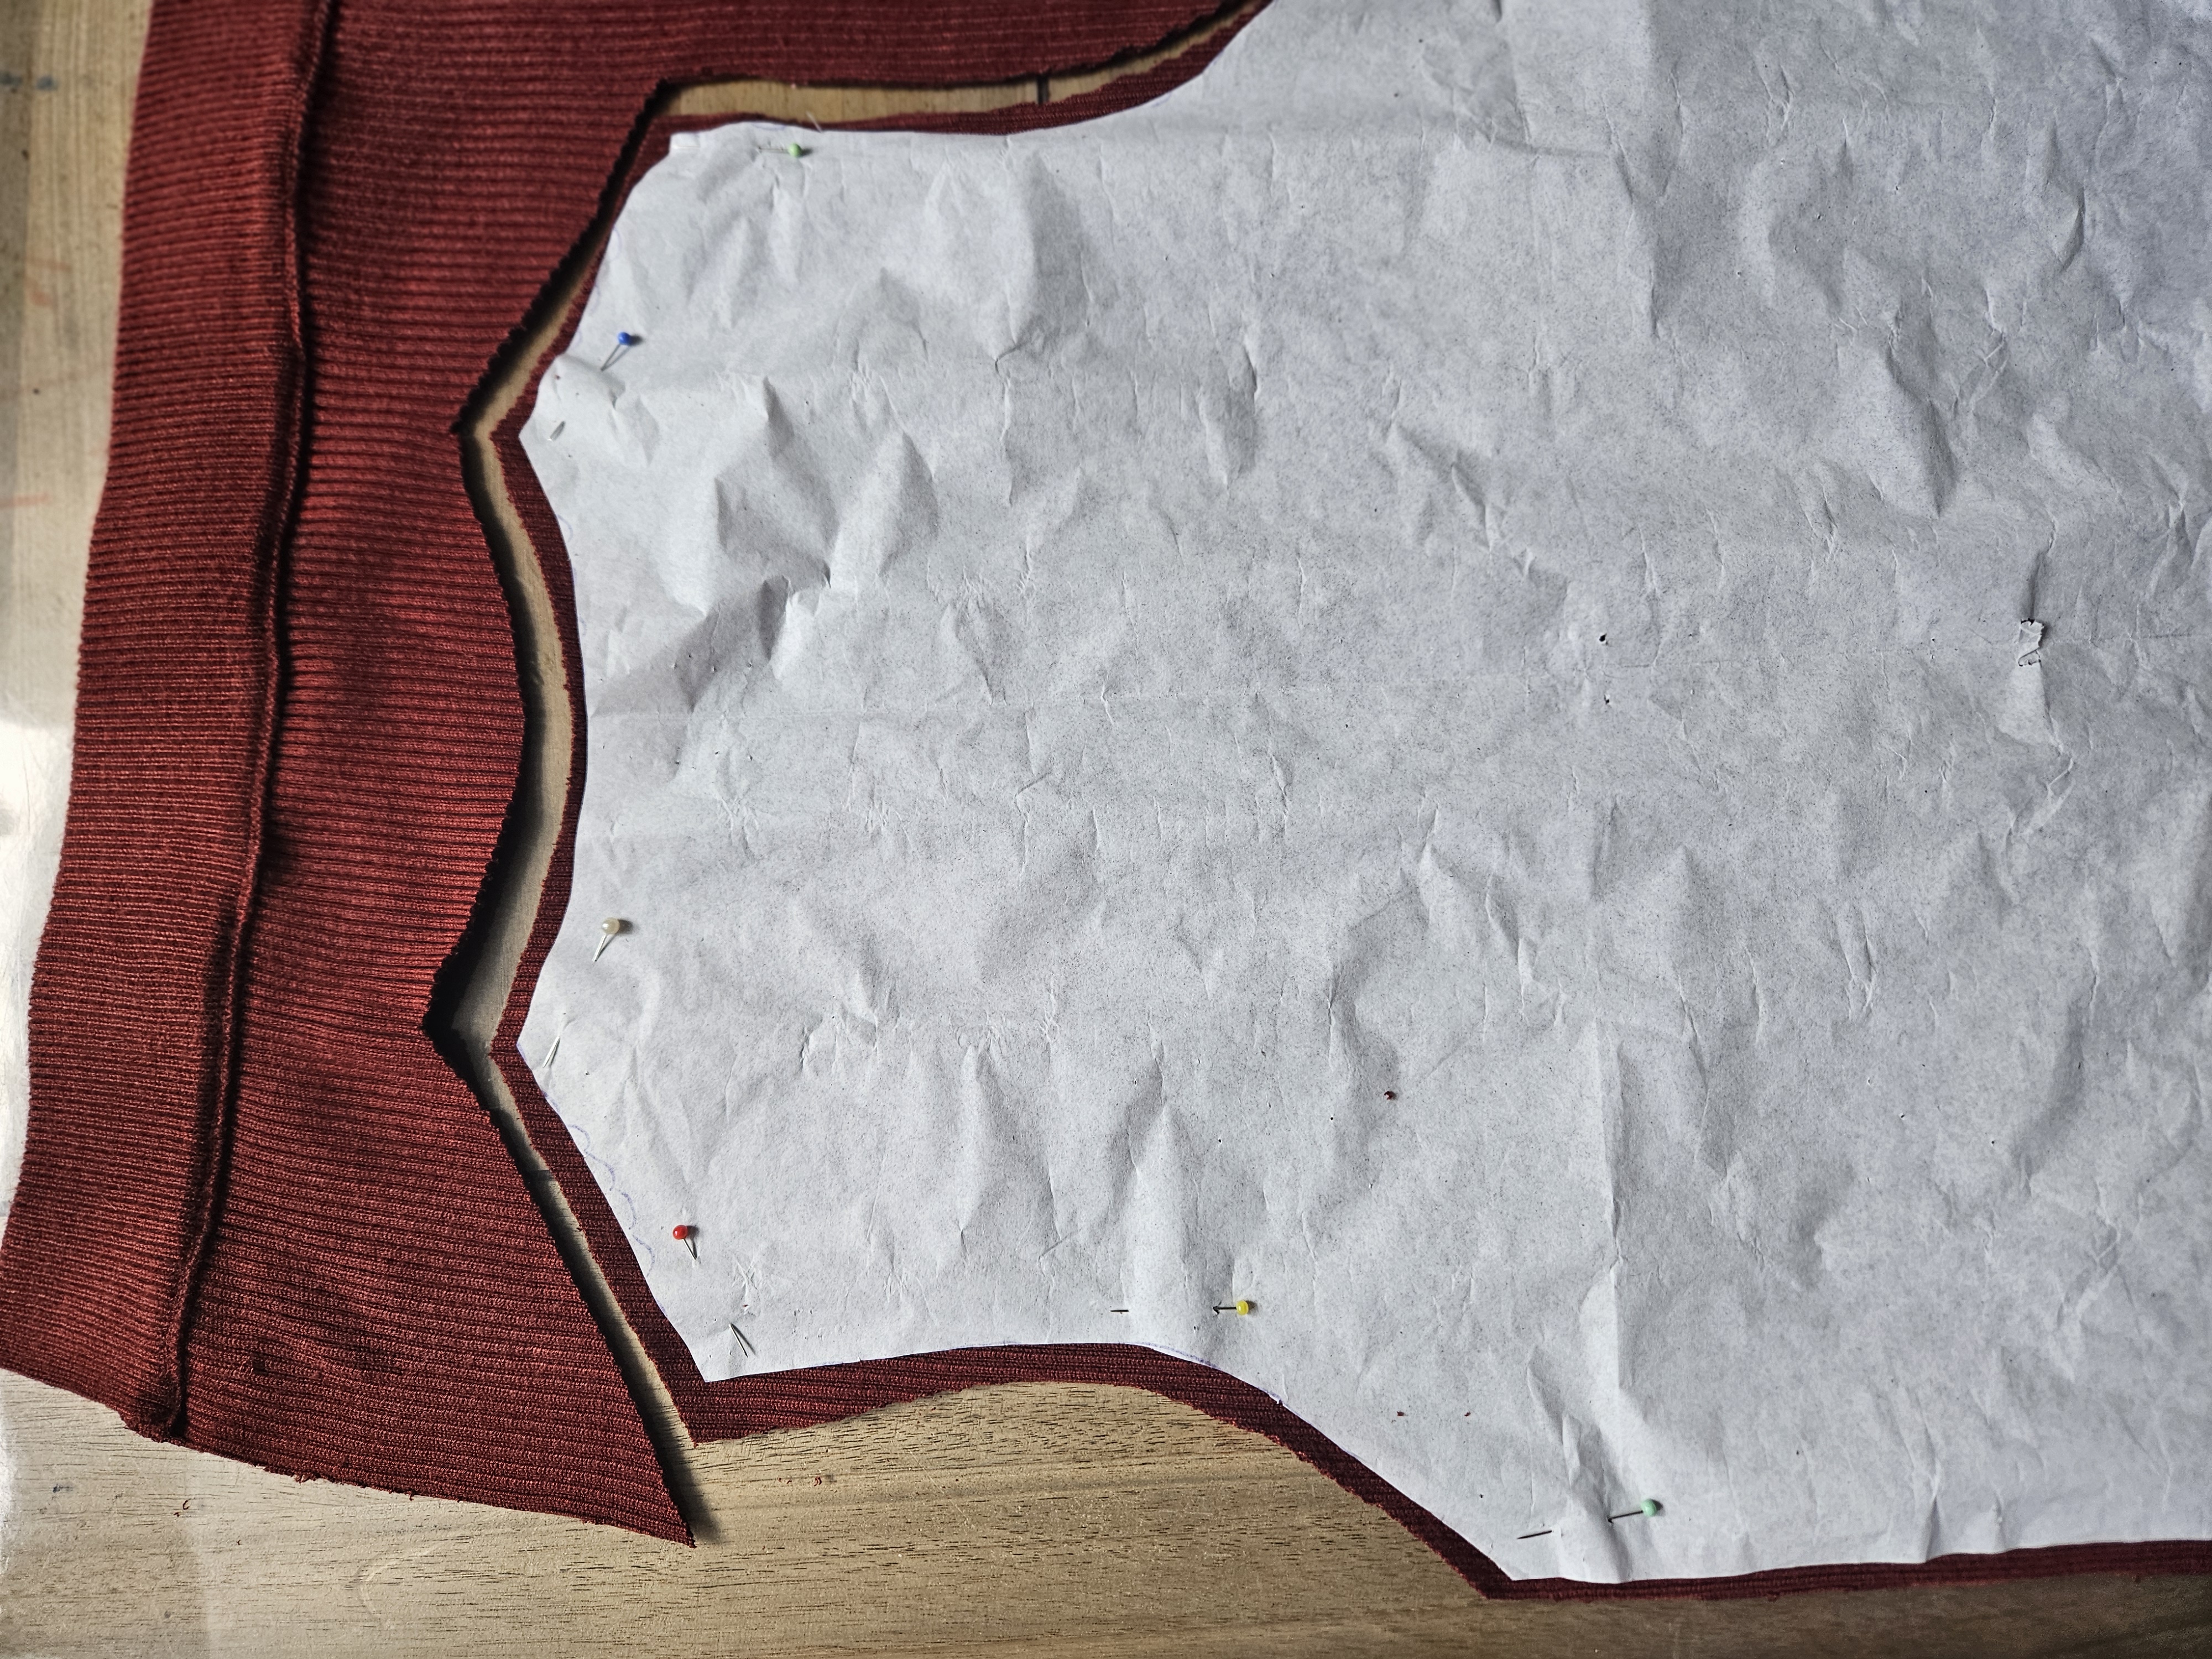
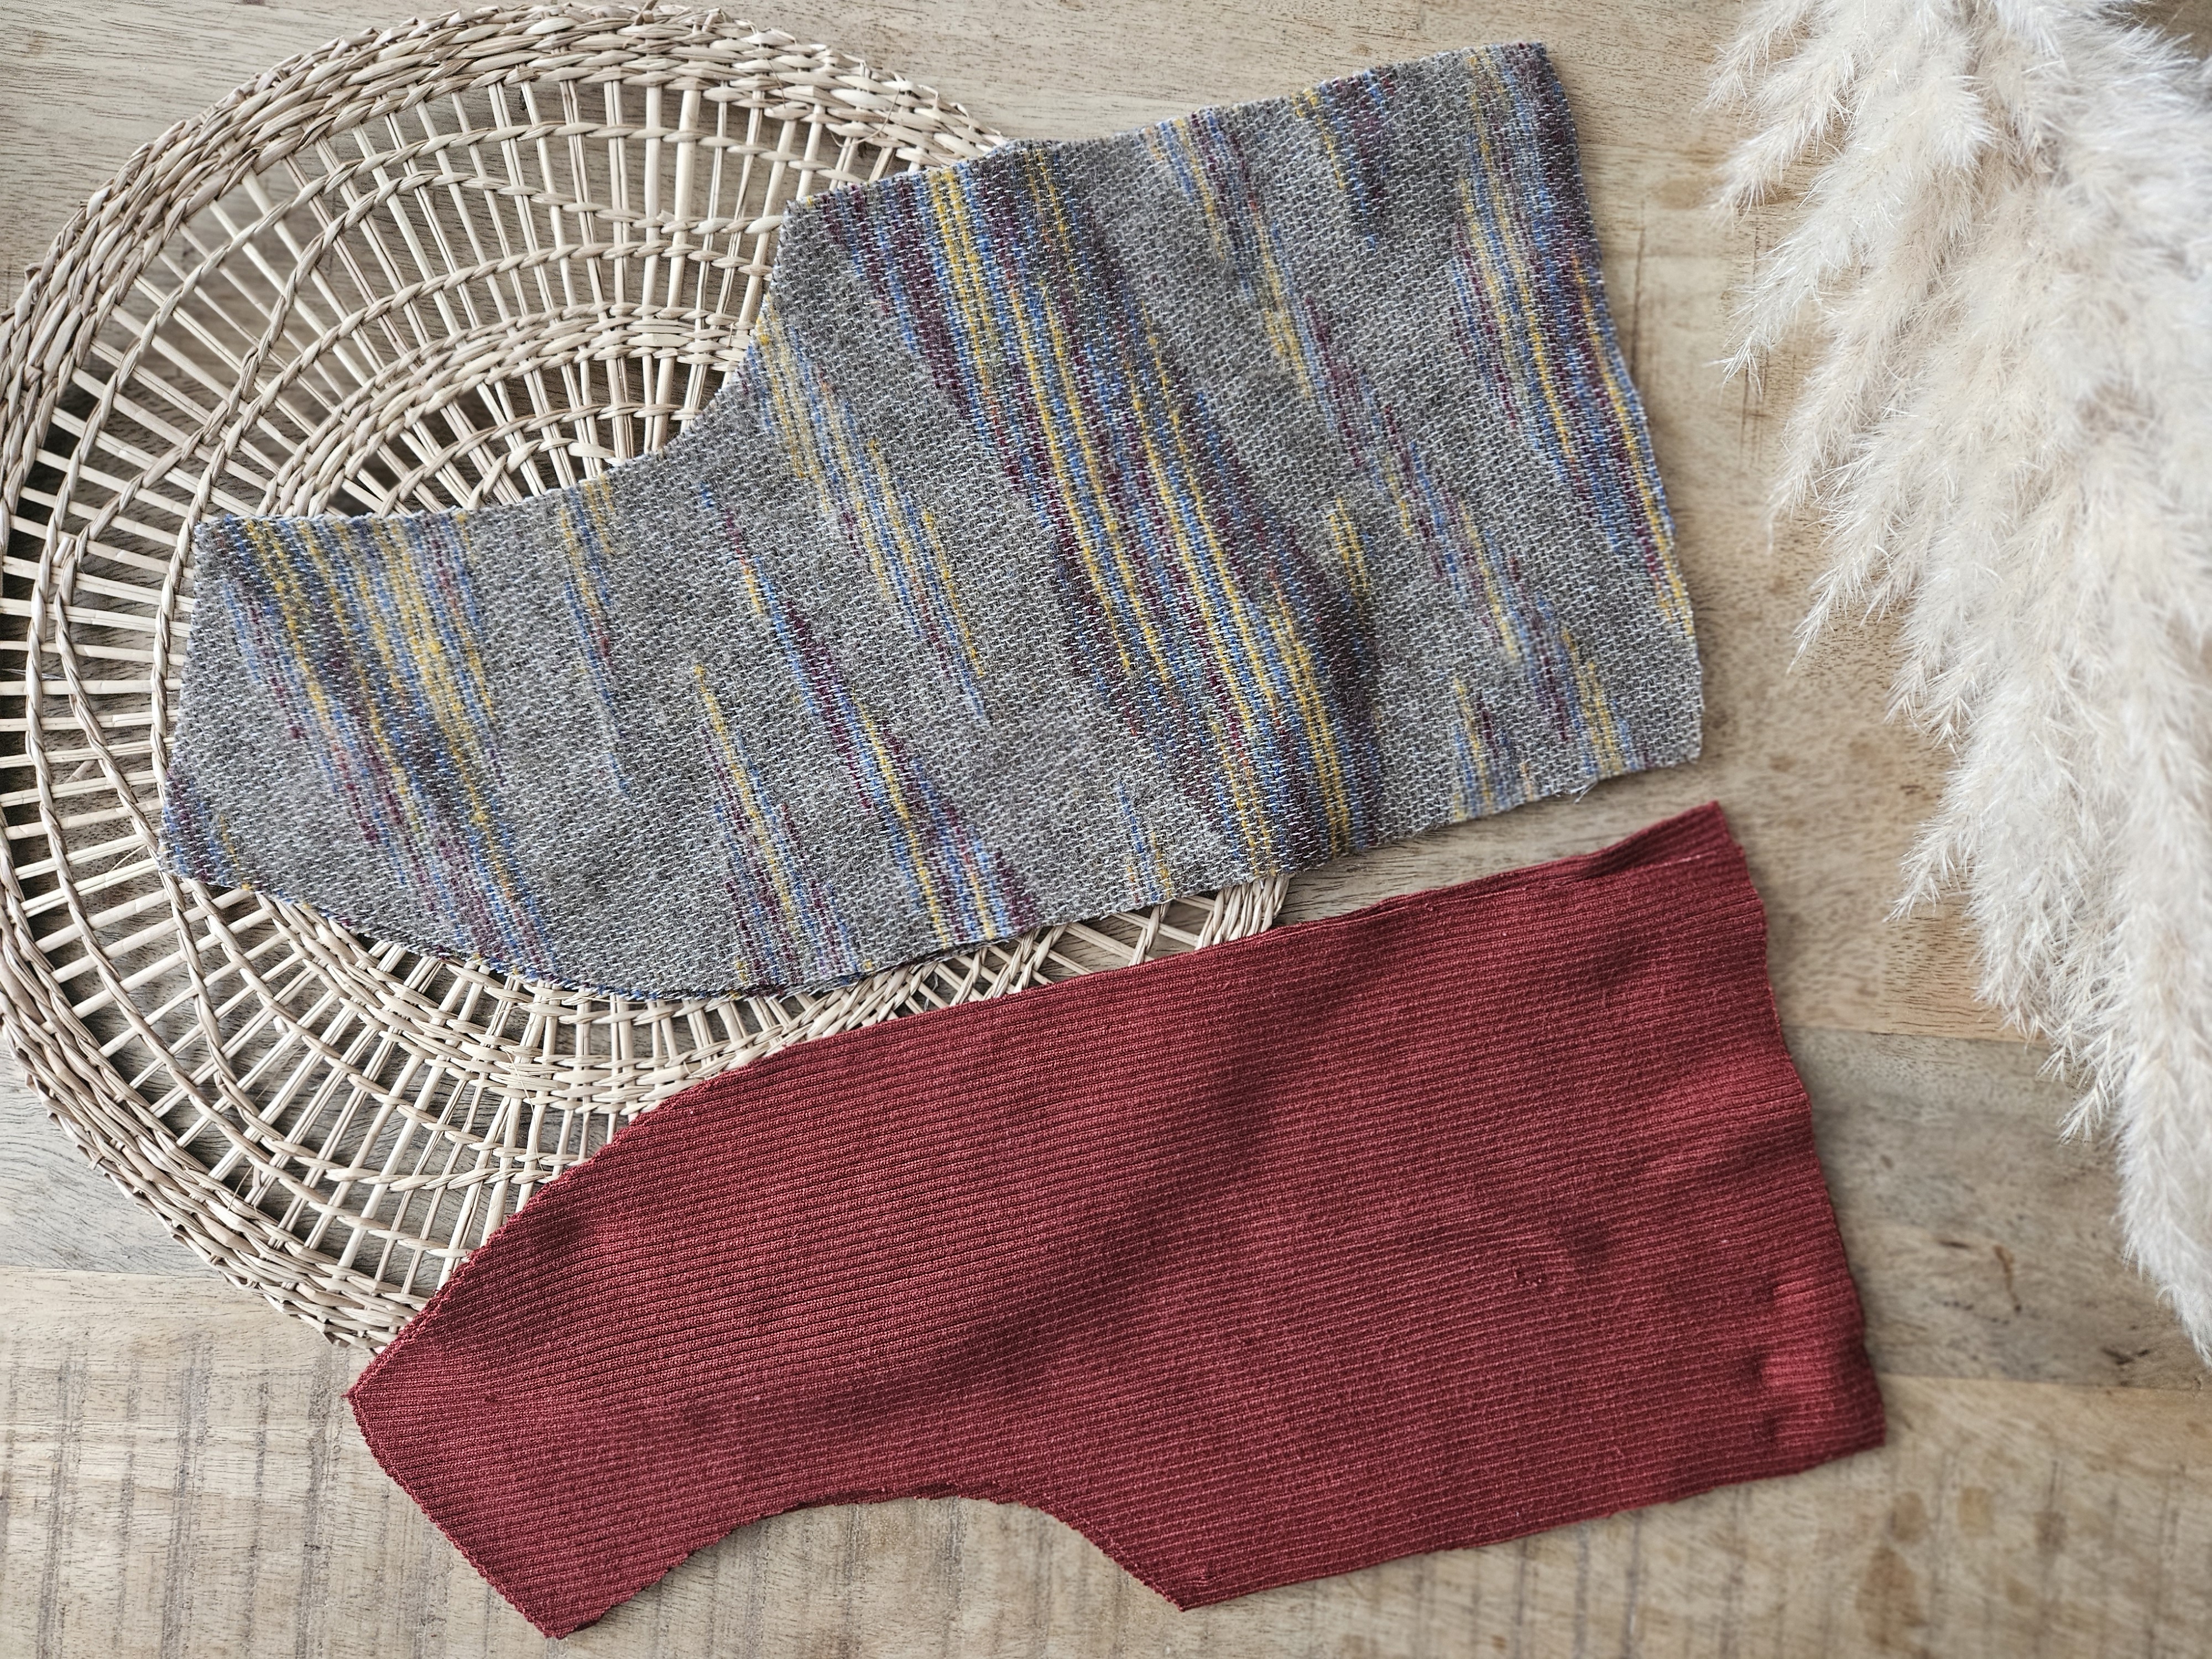
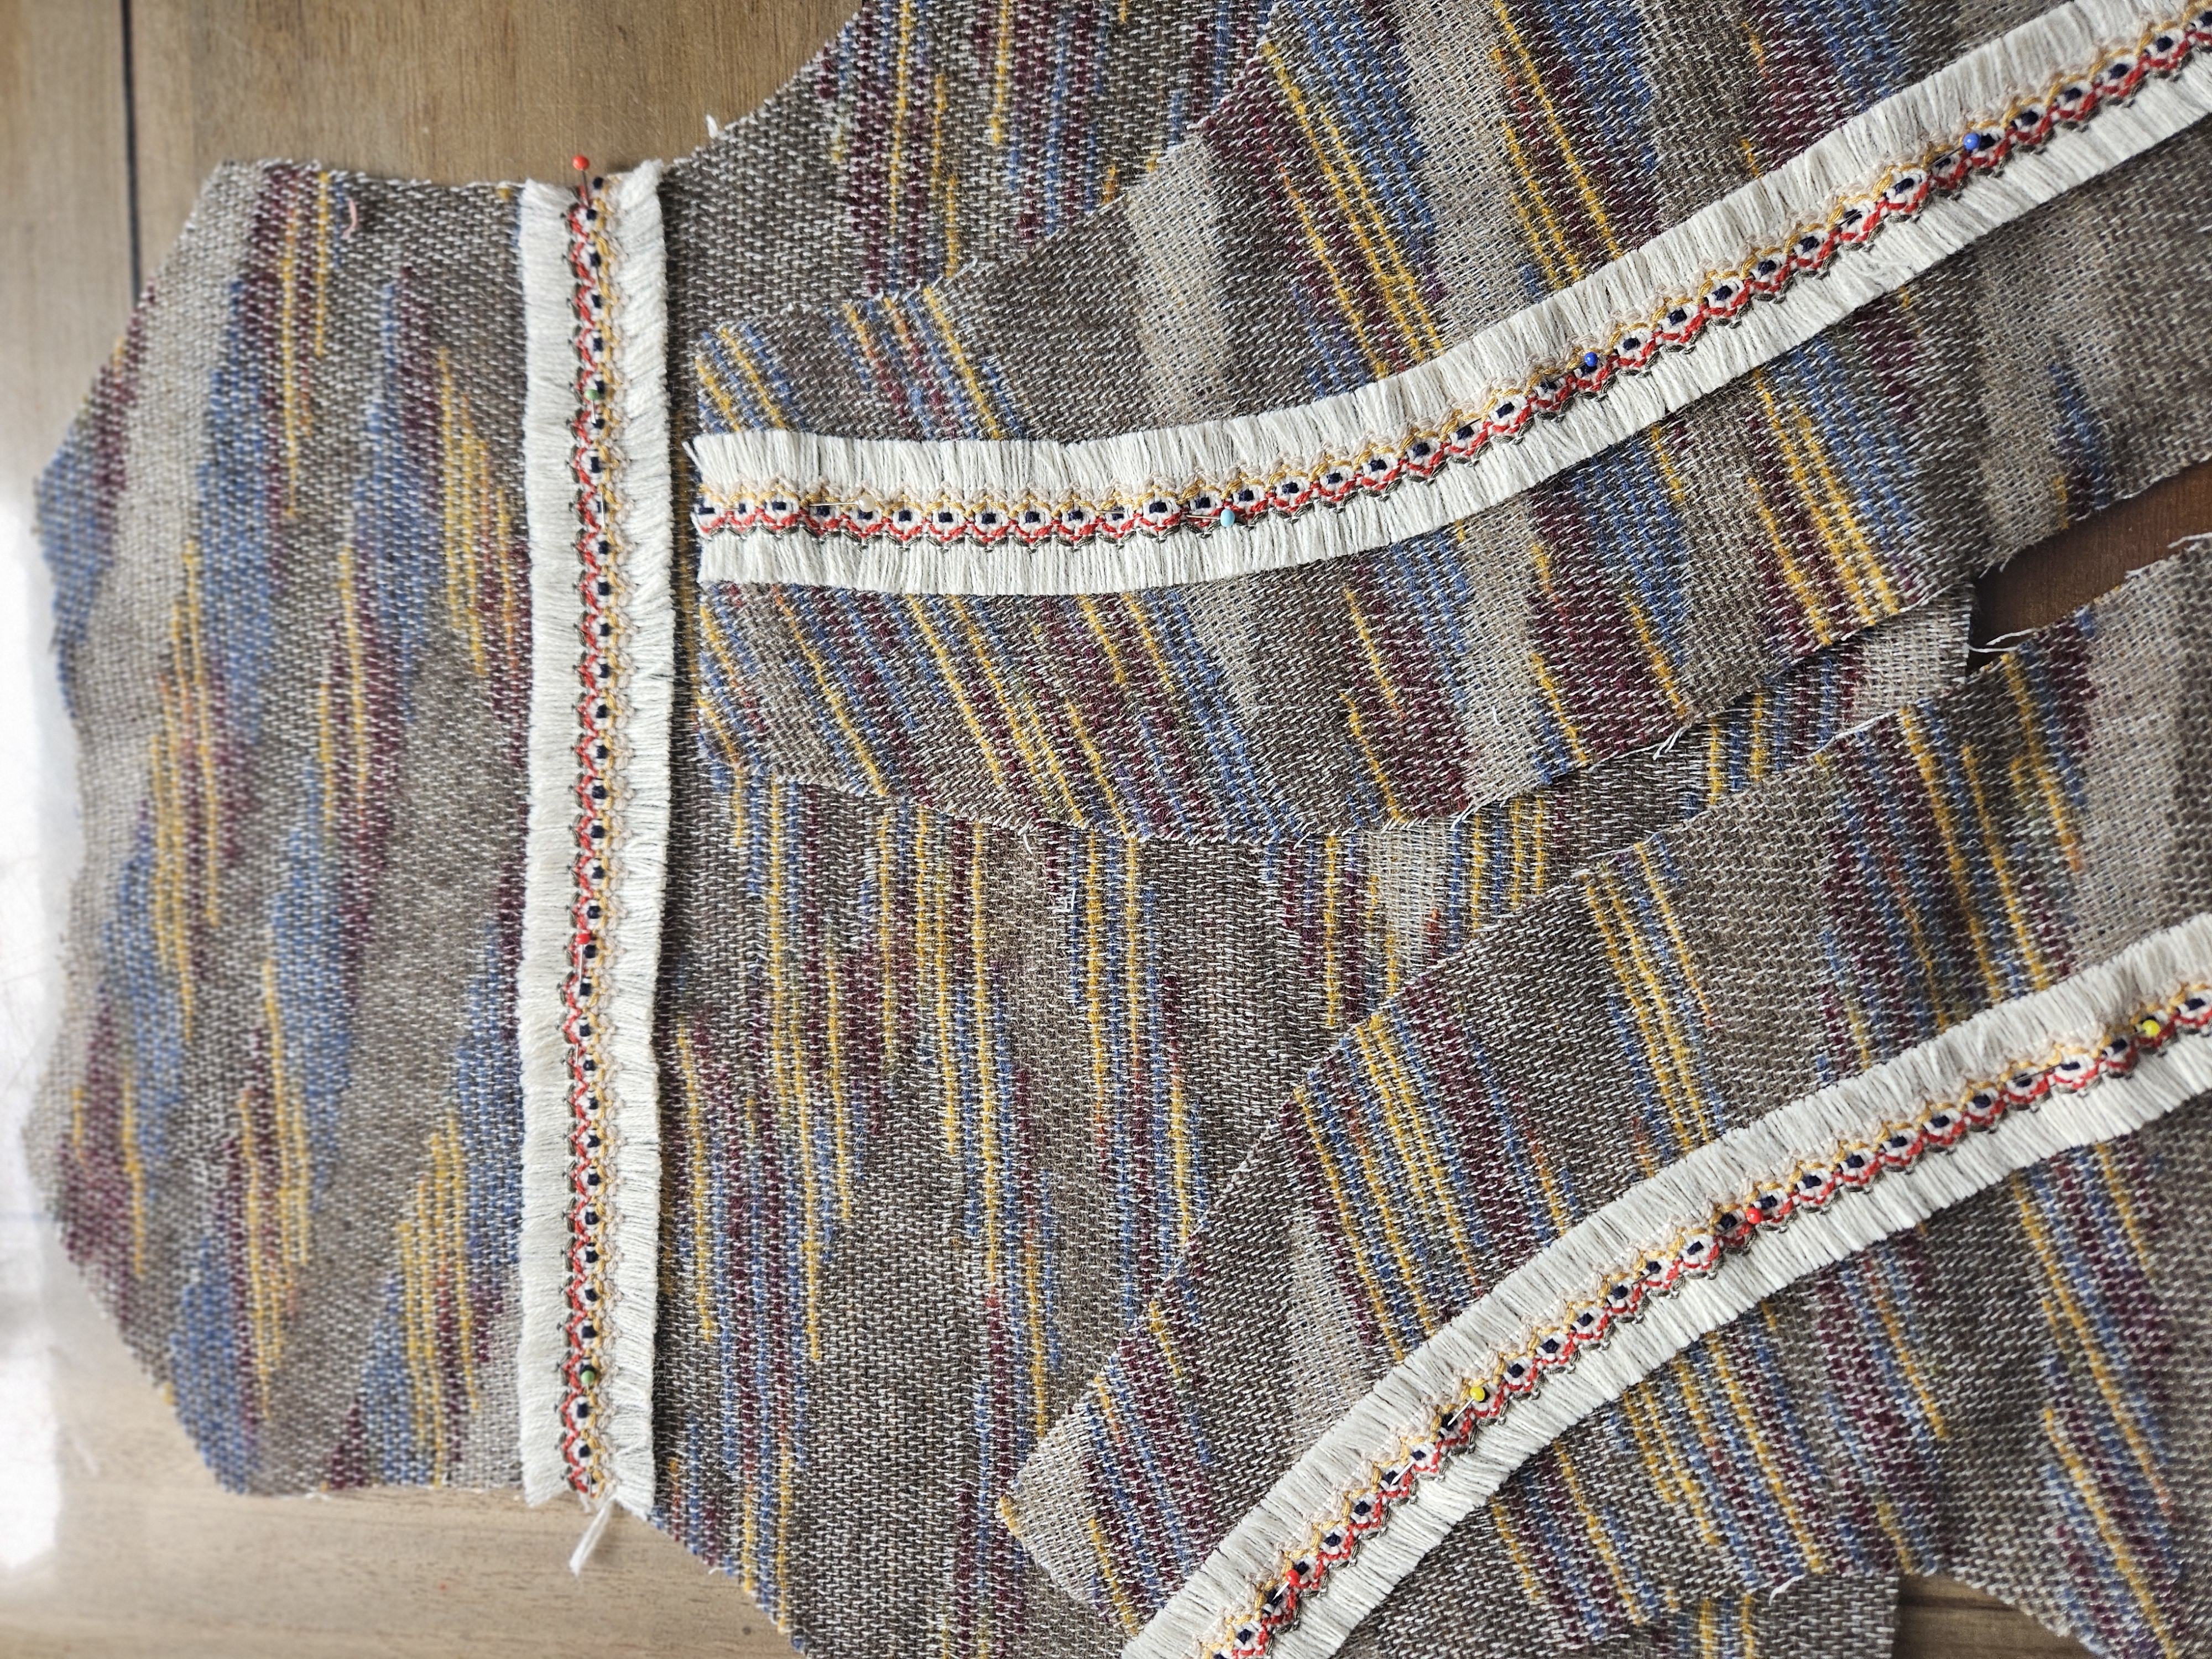
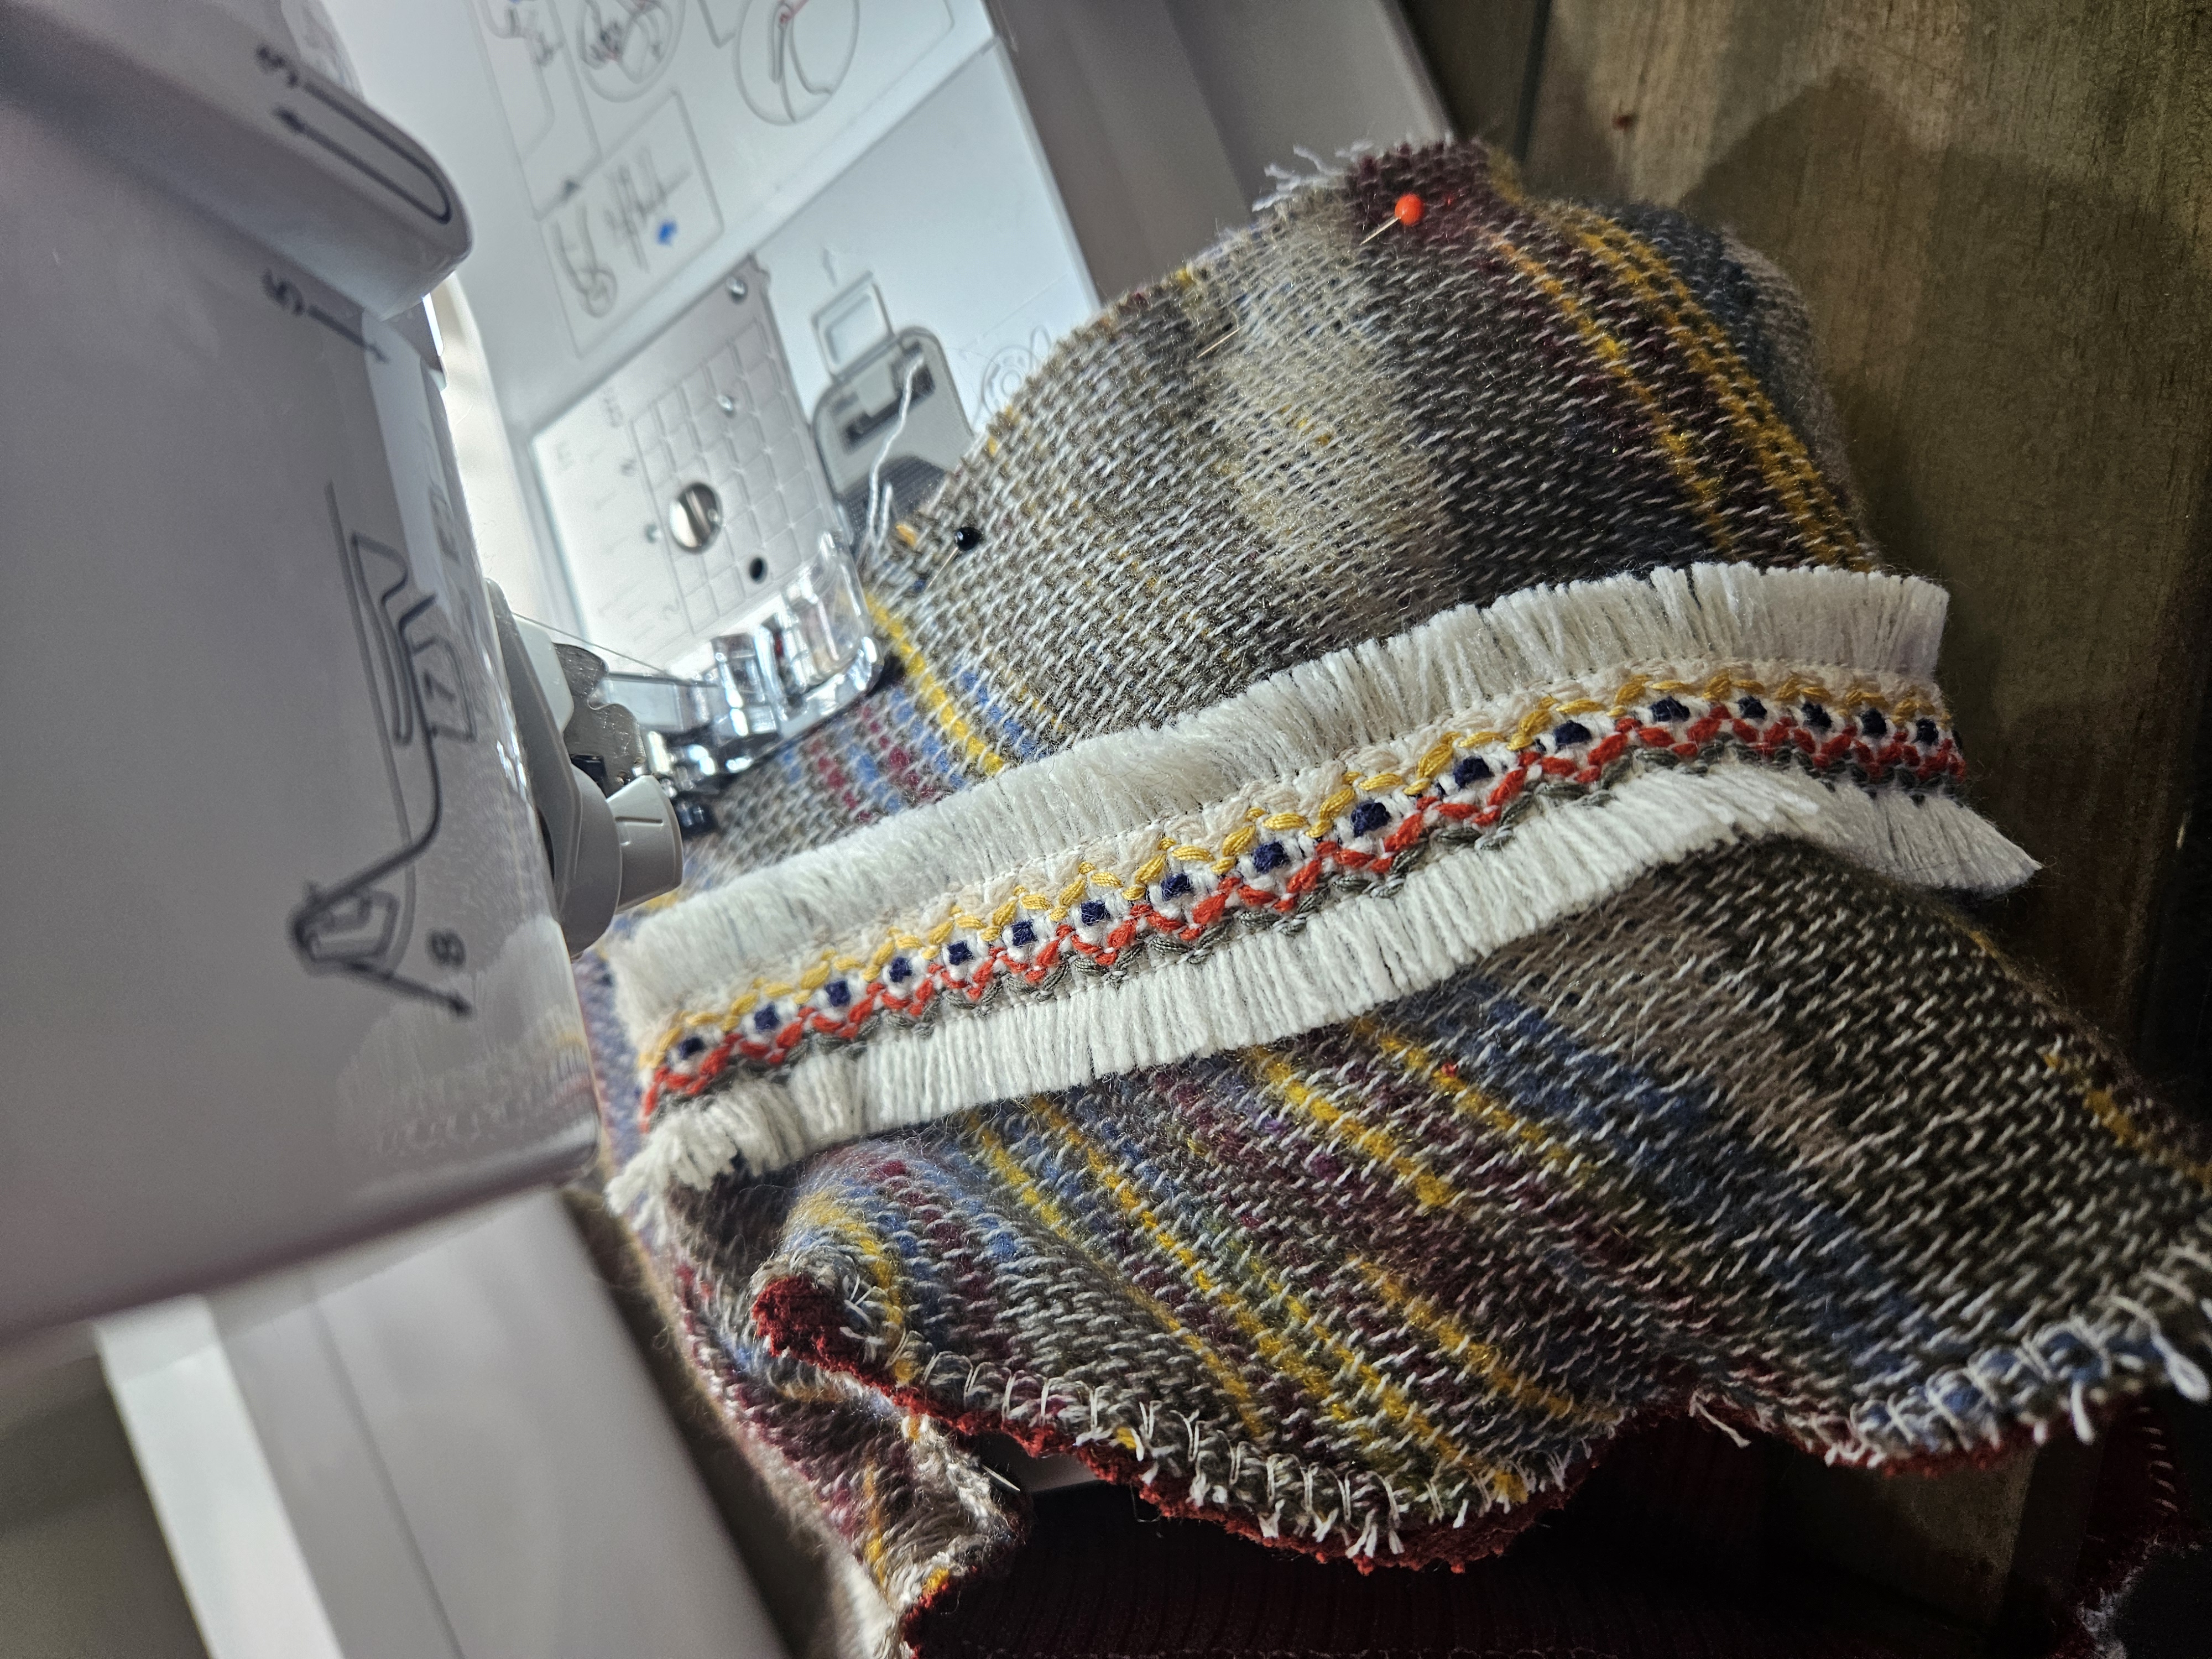
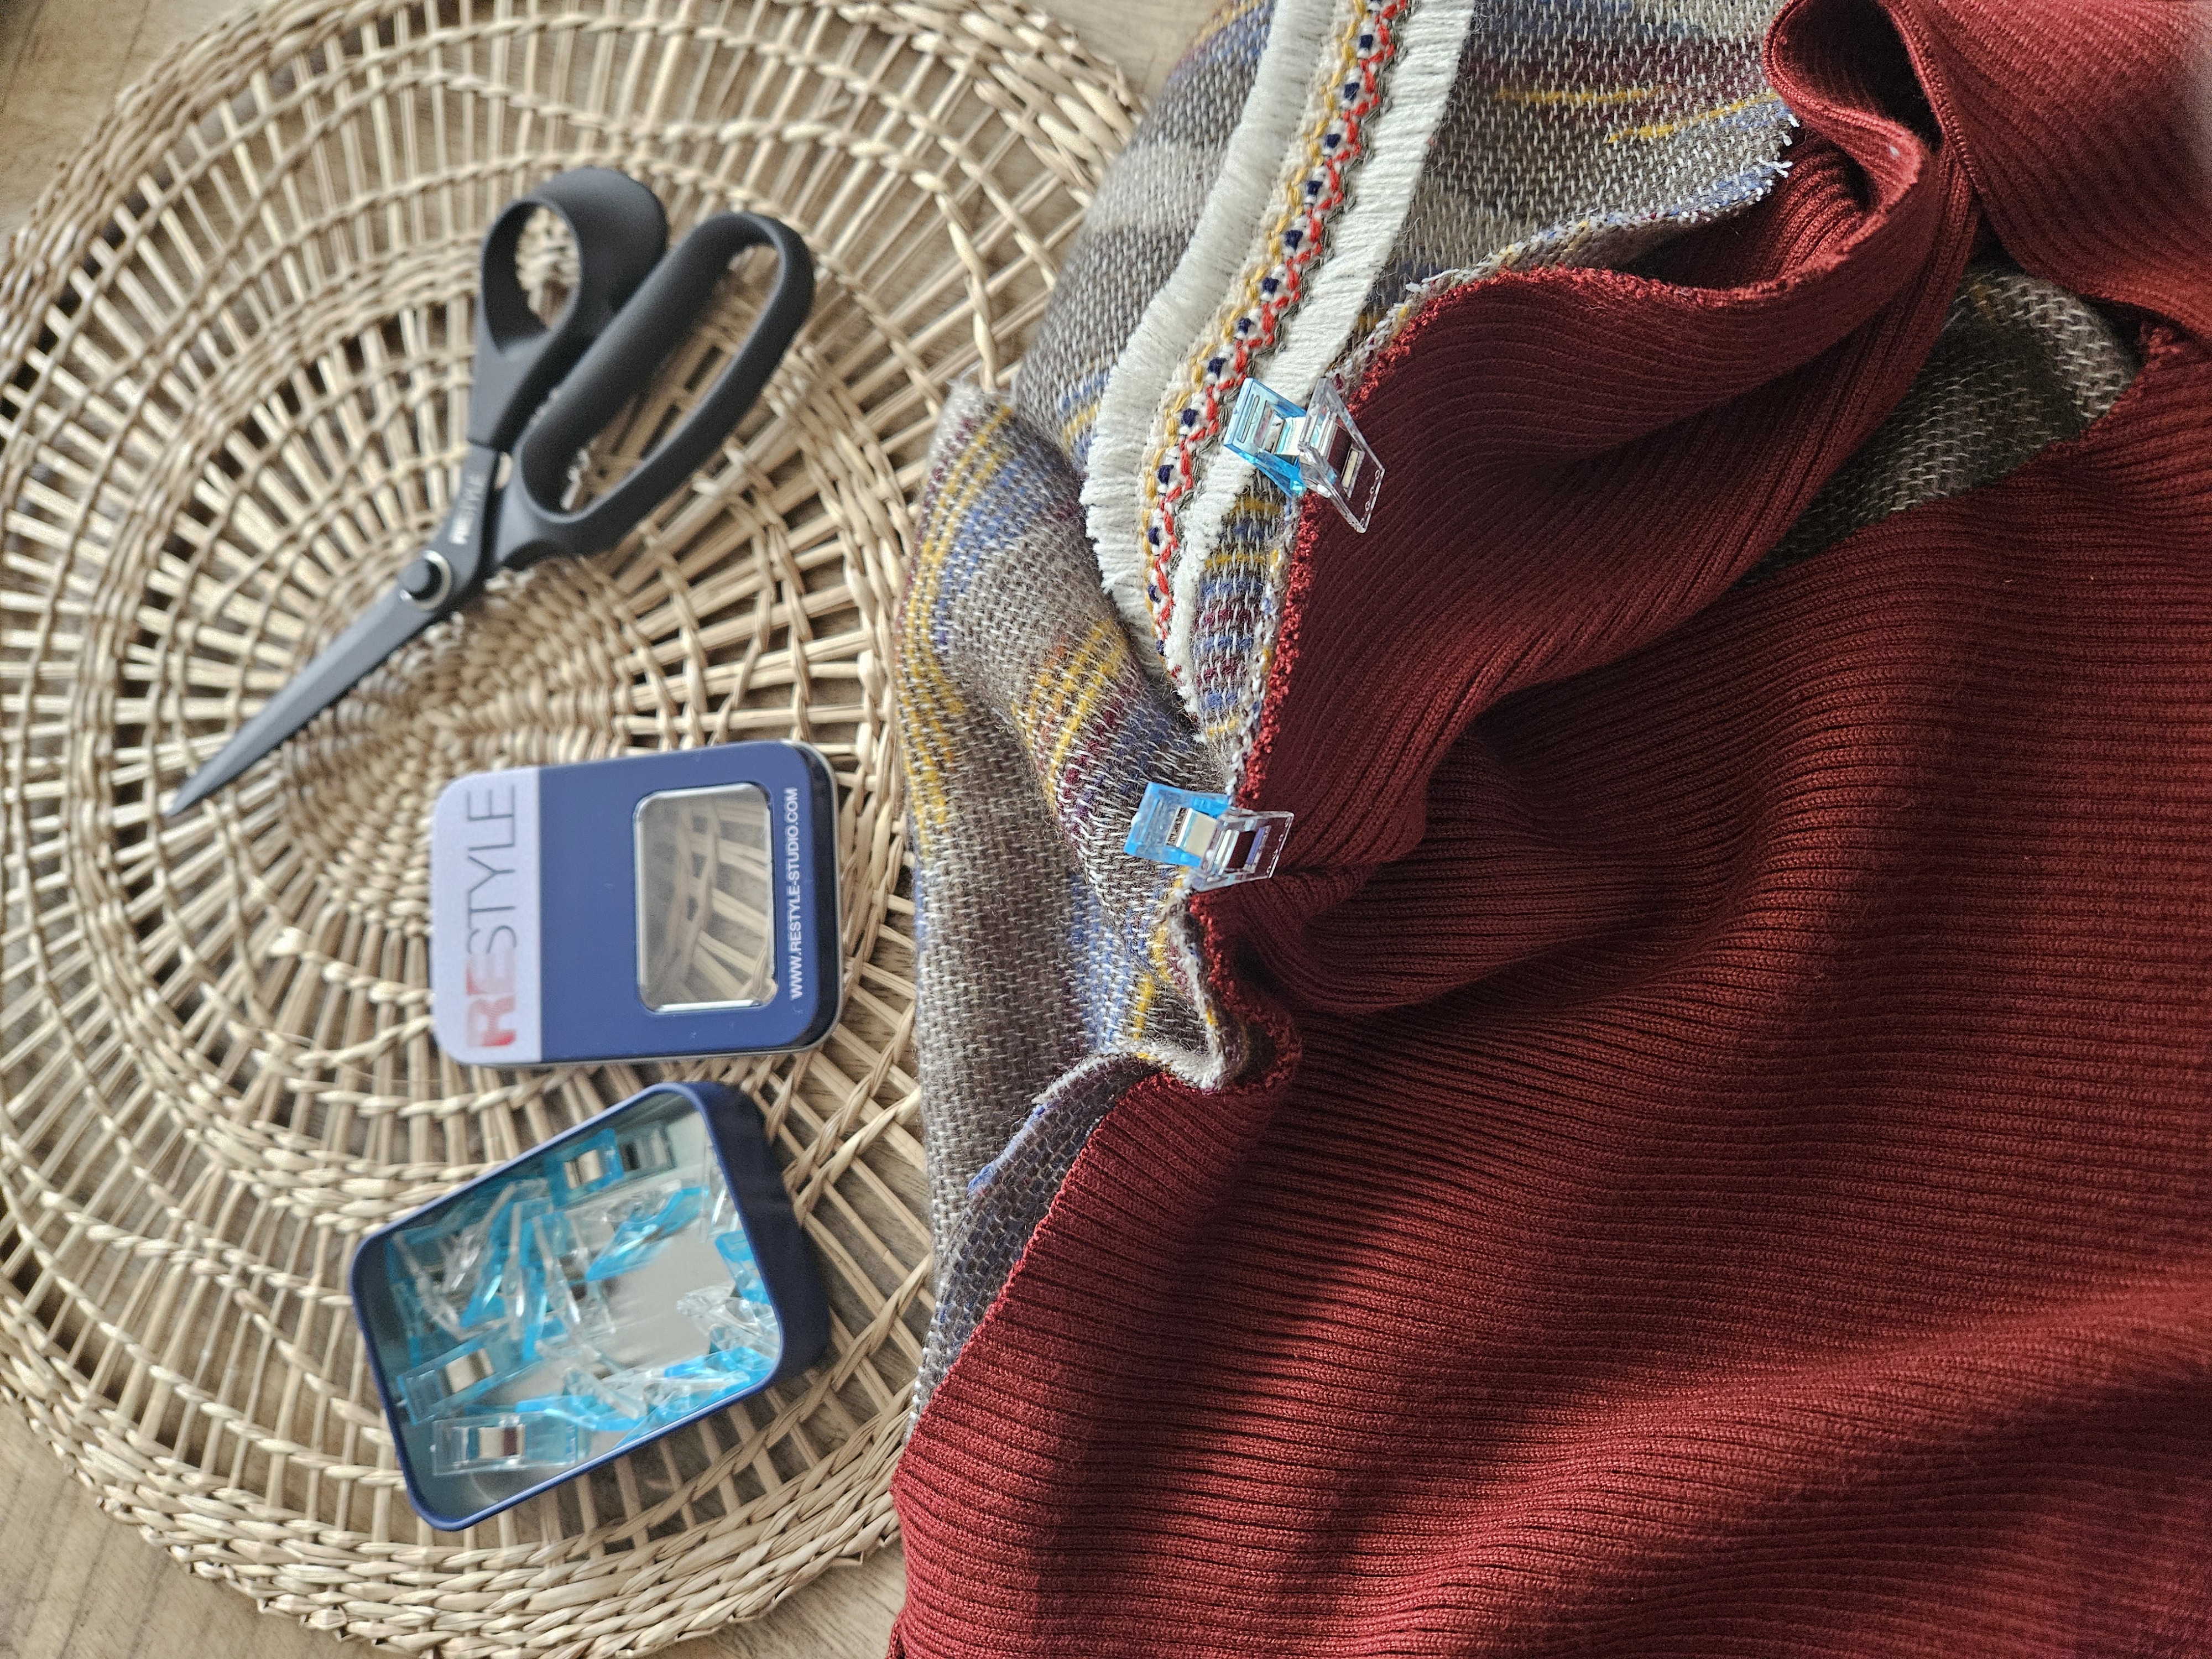
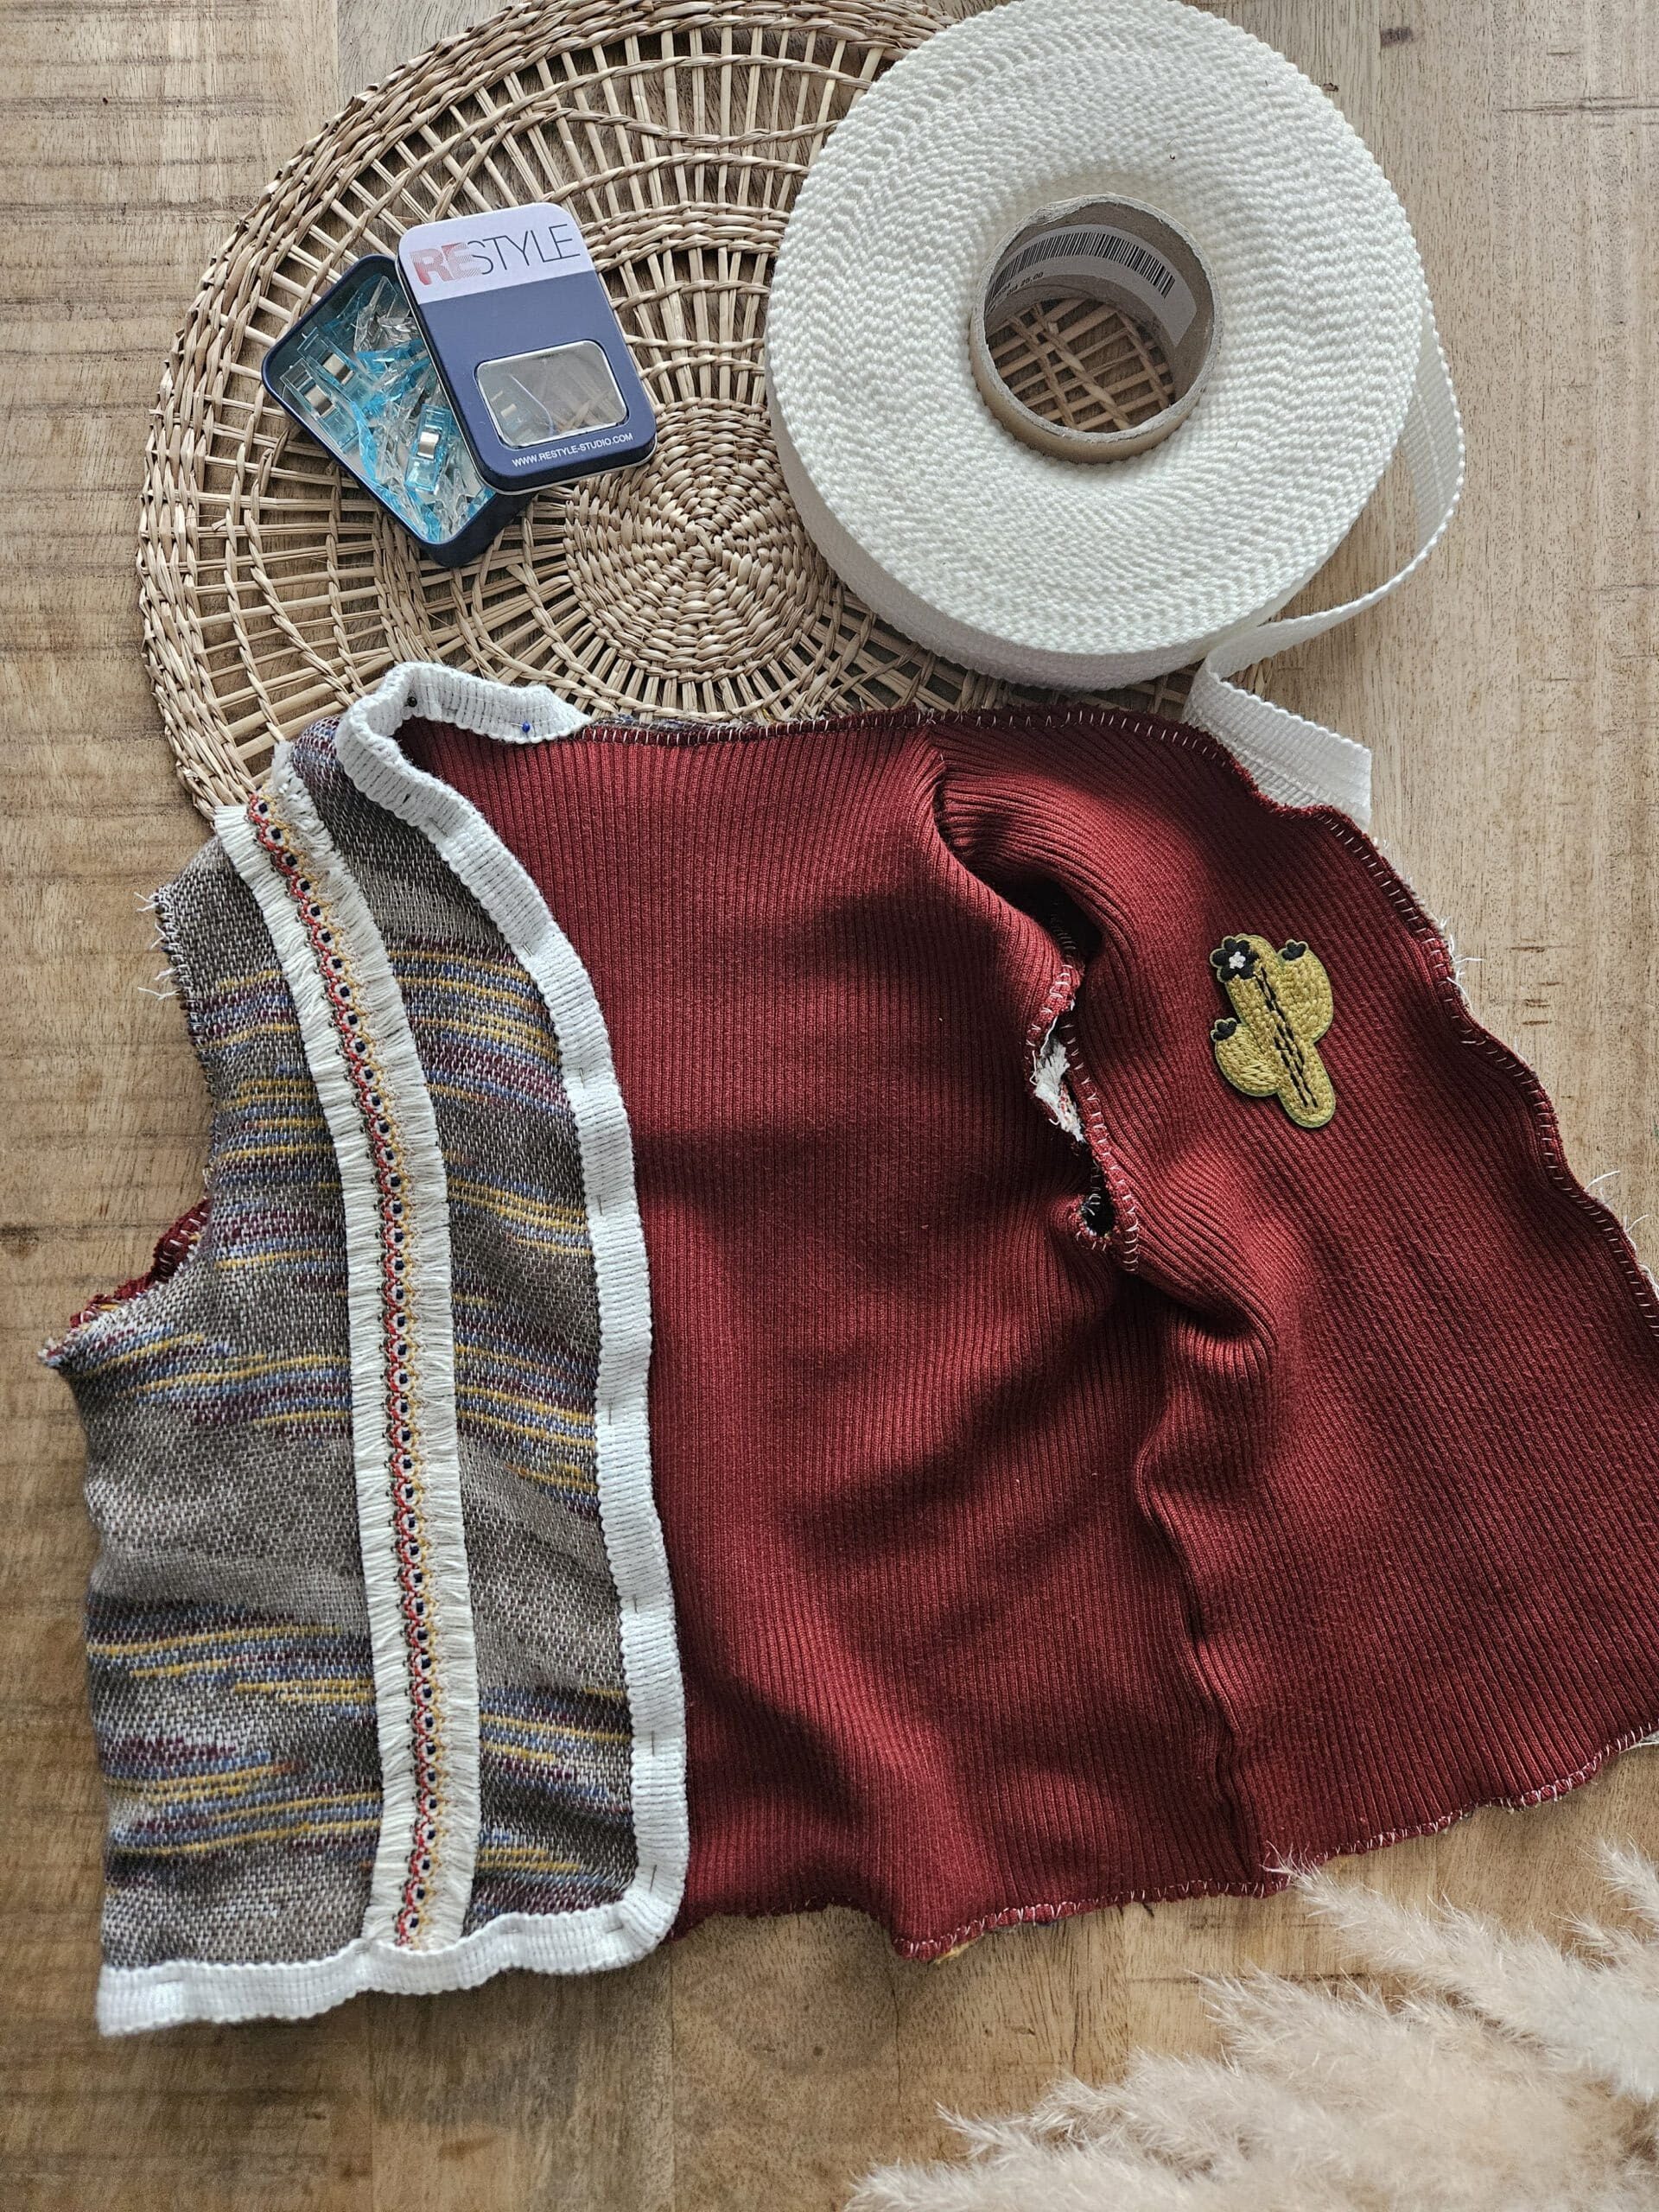
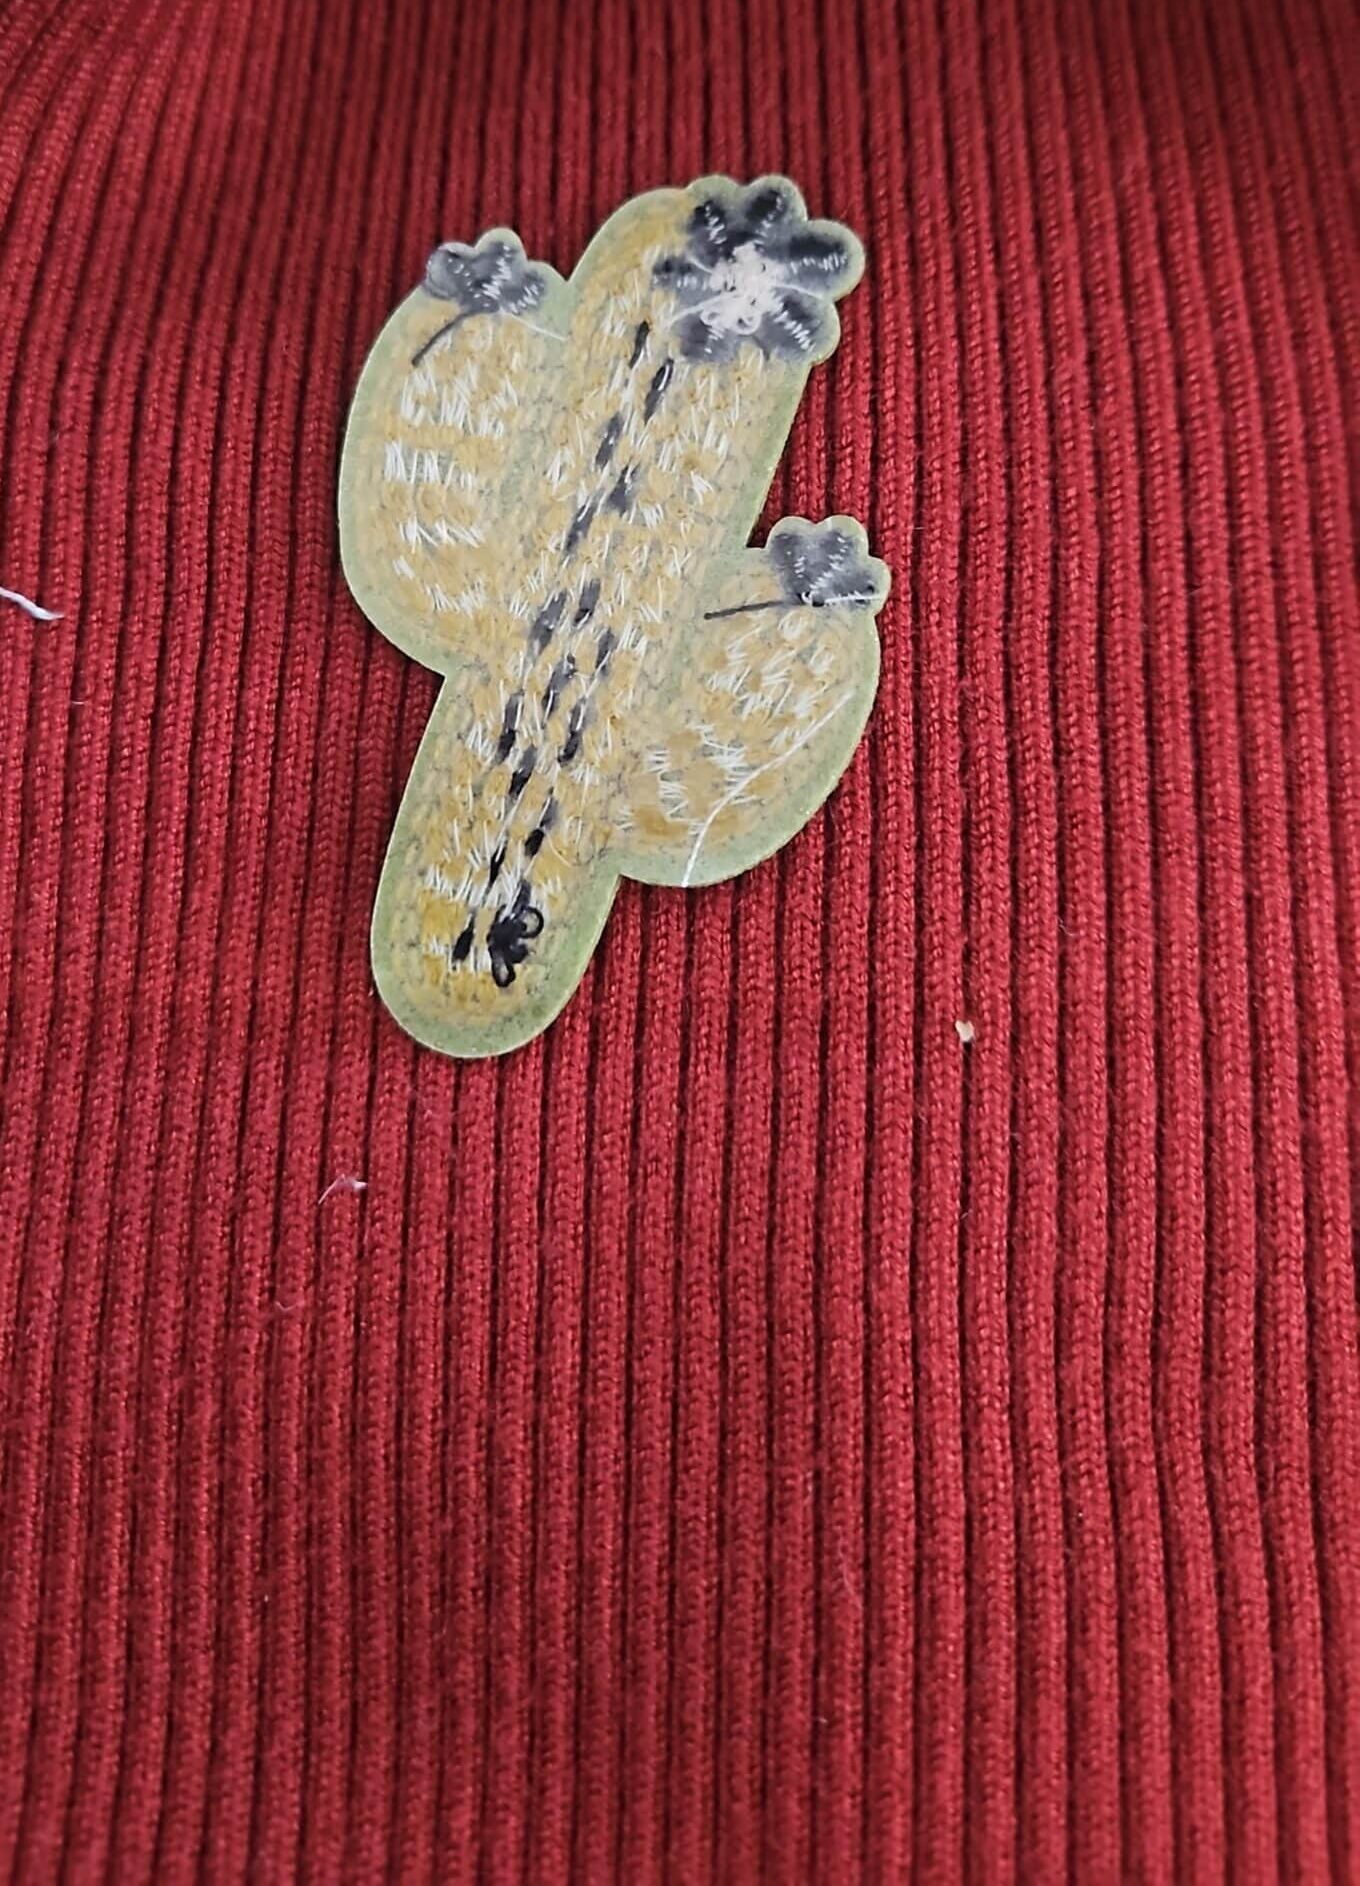
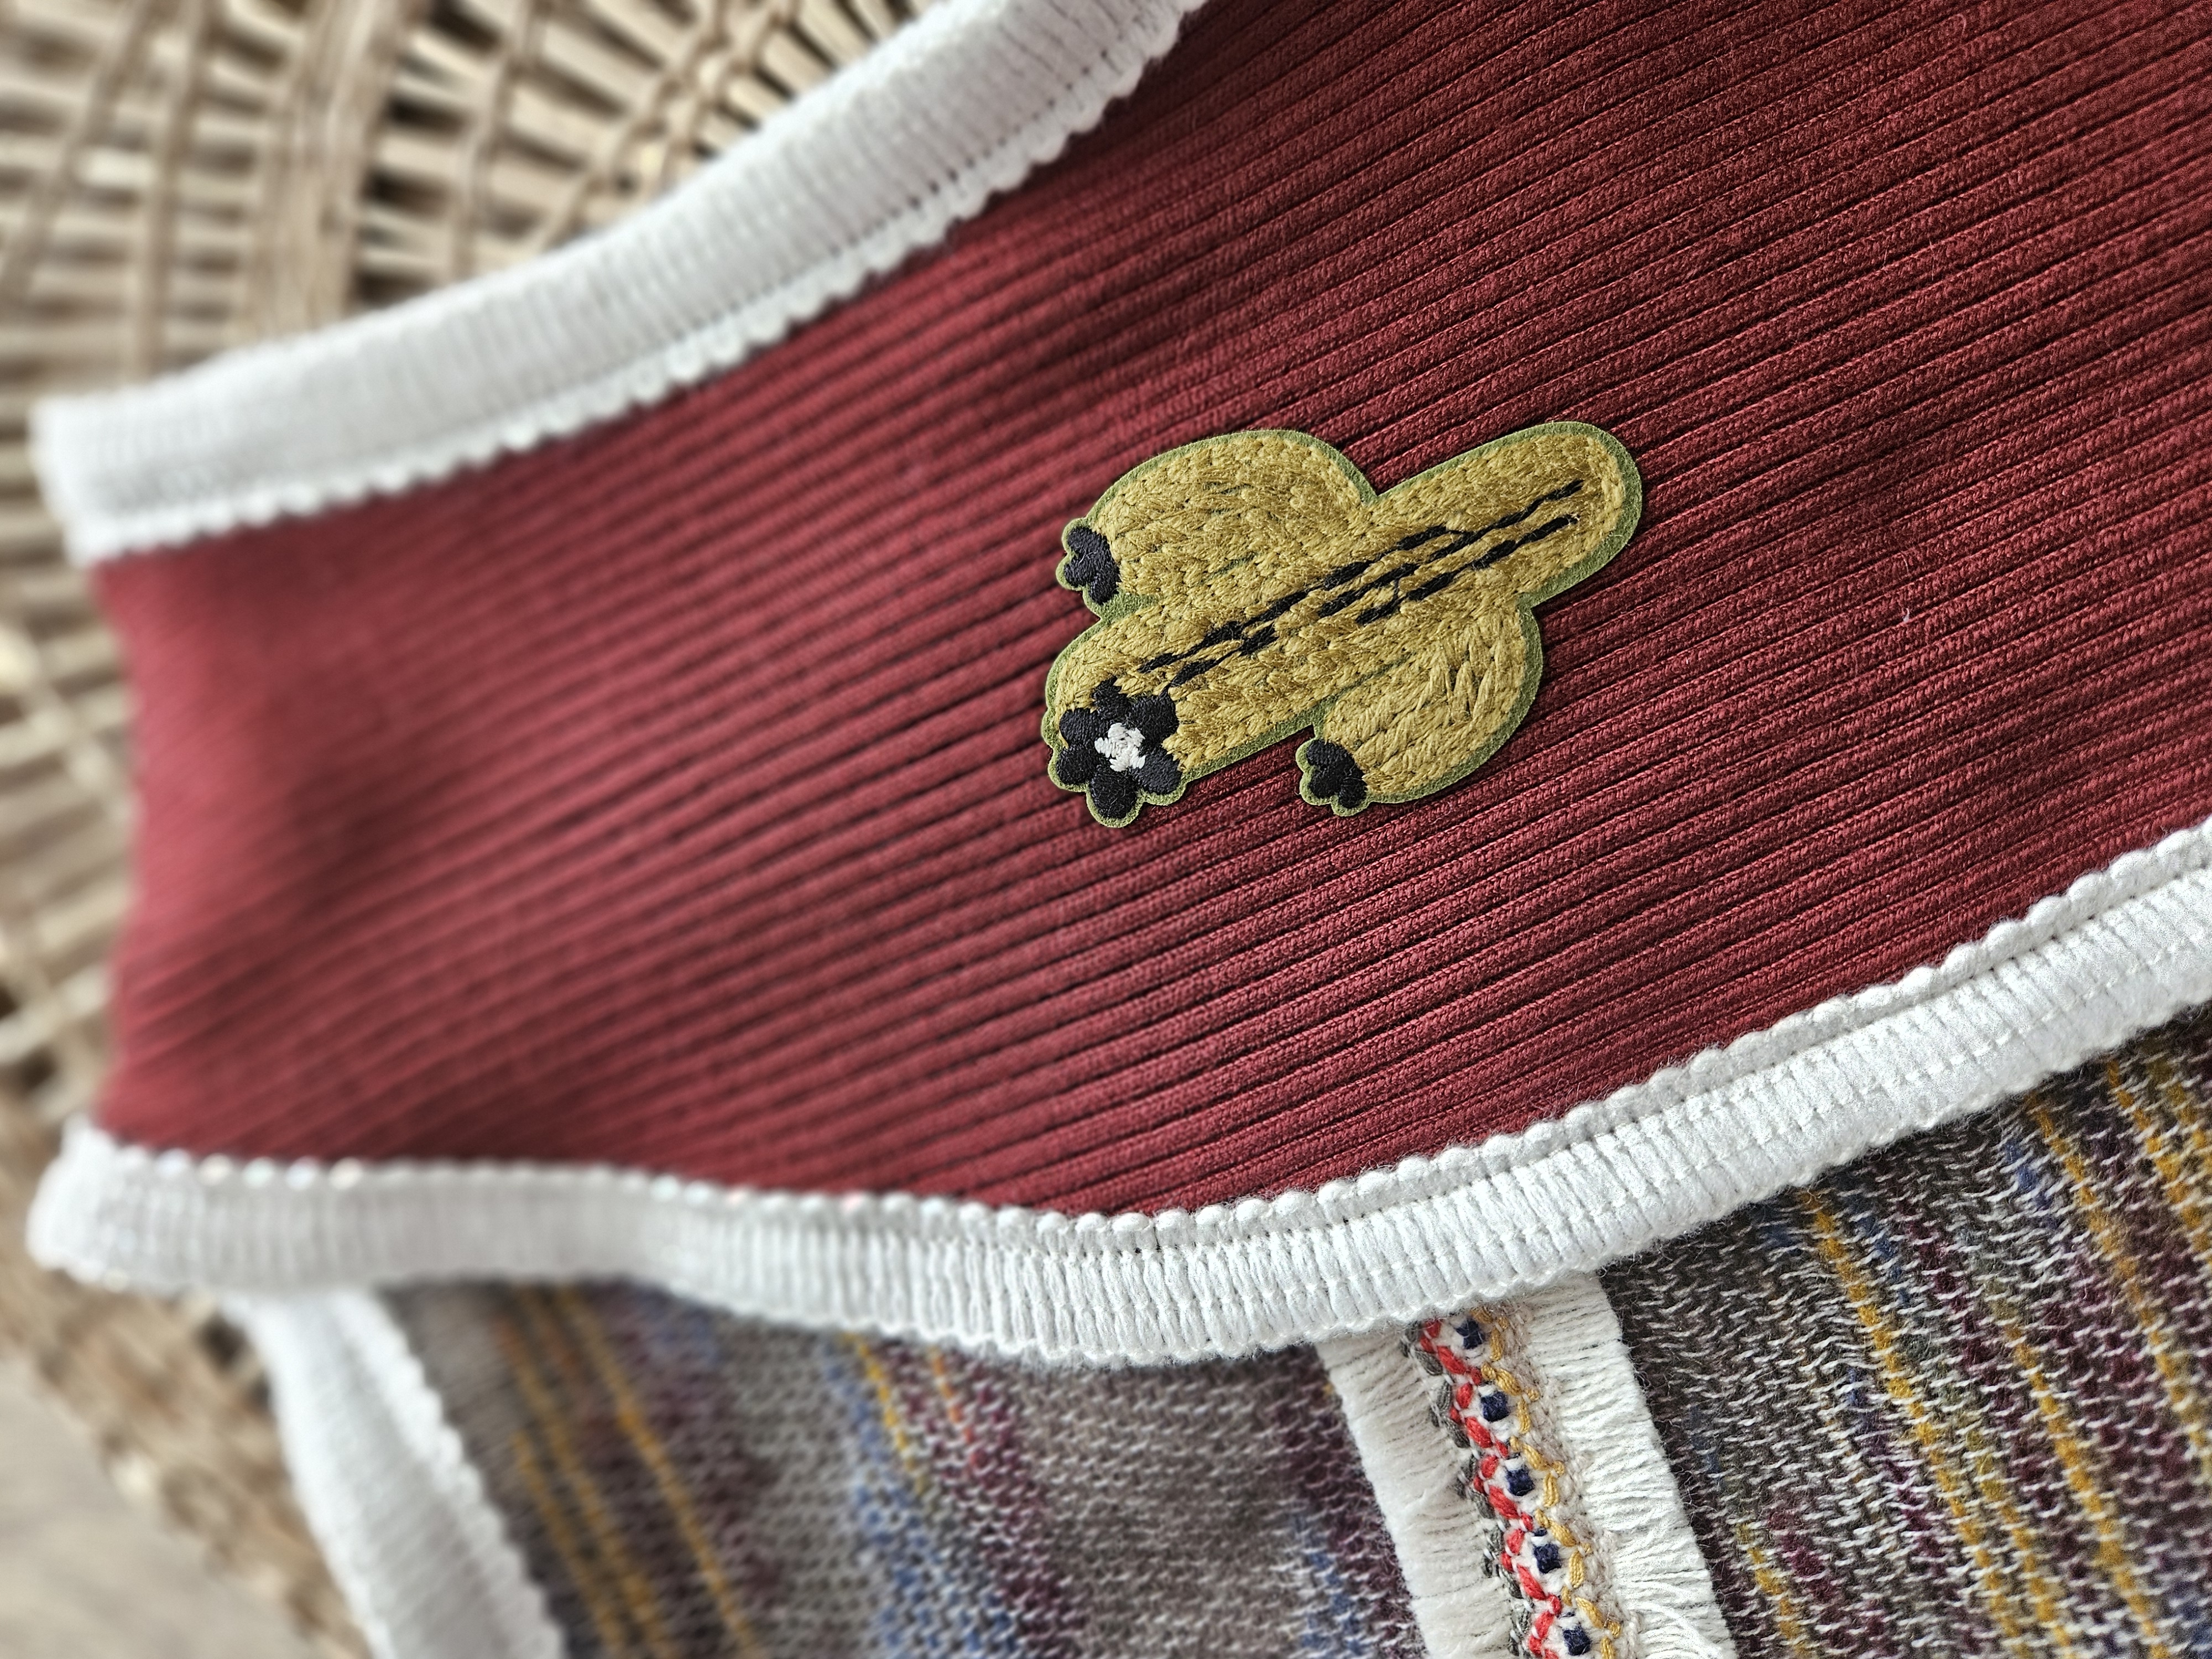
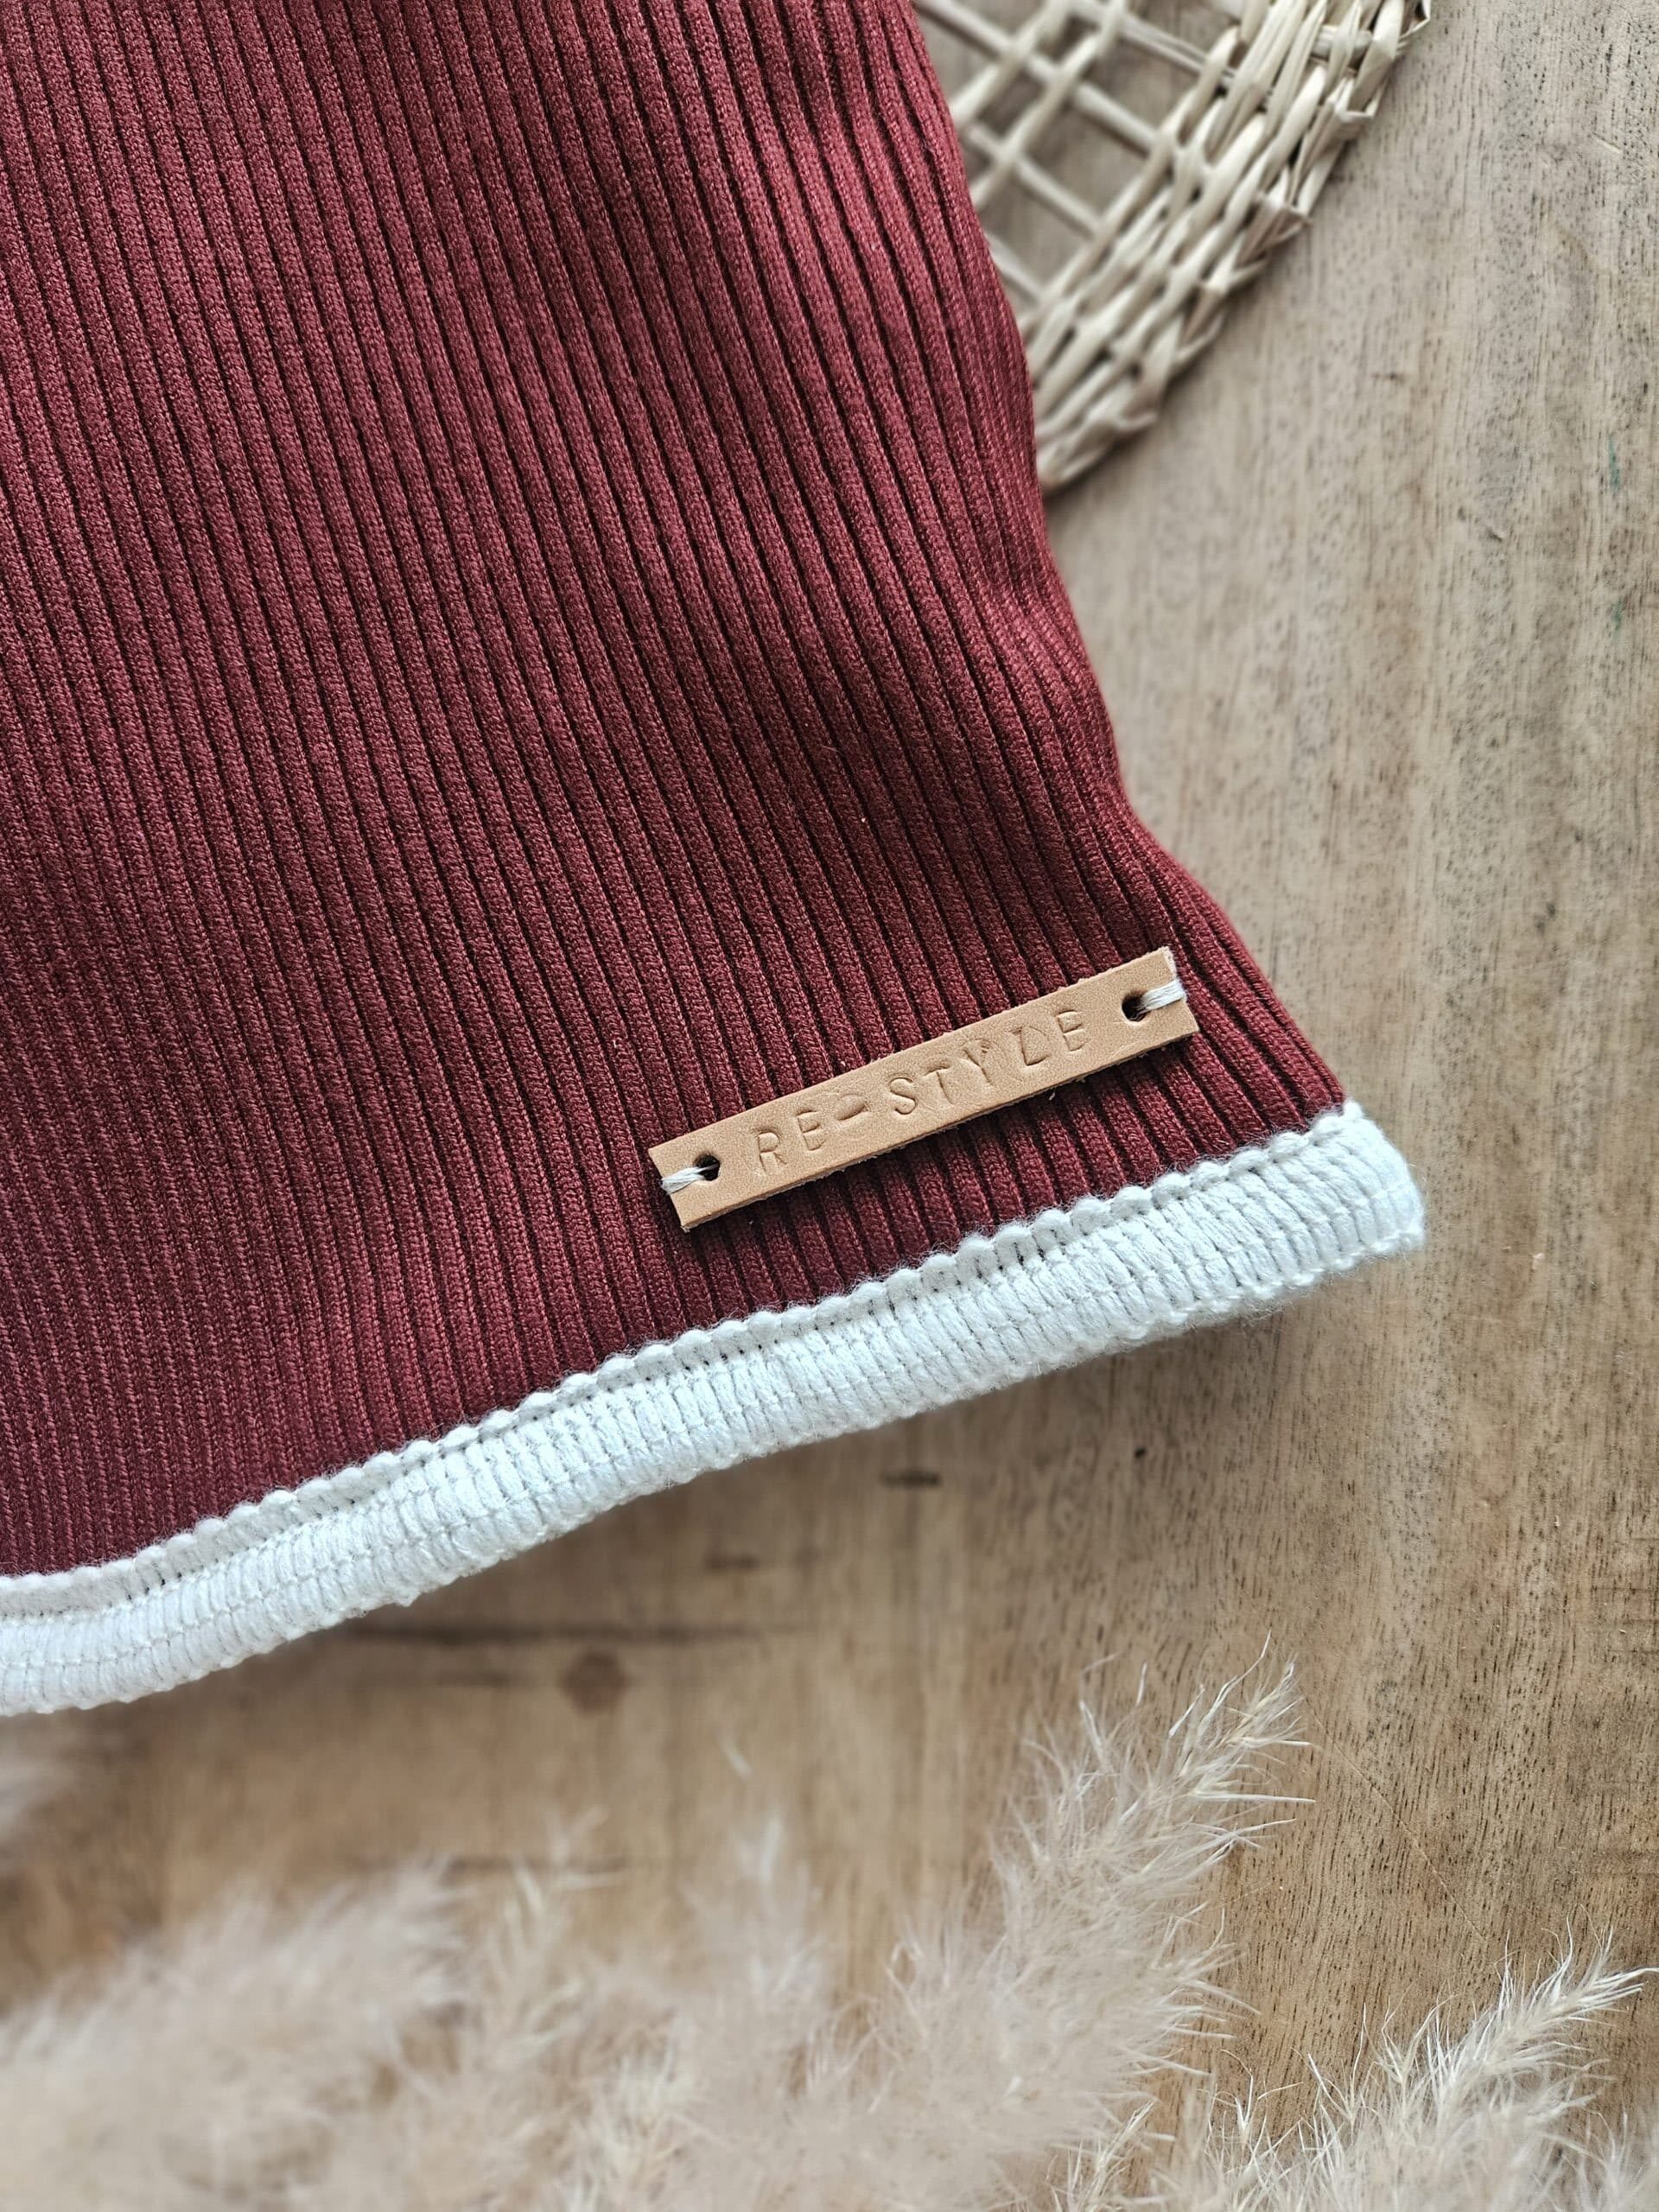
Easily make your own vest from an old scarf and give new life to used materials. With ReStyle lace trims, ribbons, and closures, you can make your design completely unique. Share your creation with #LetsReStyle and inspire others!
