Sustainability and Upcycling
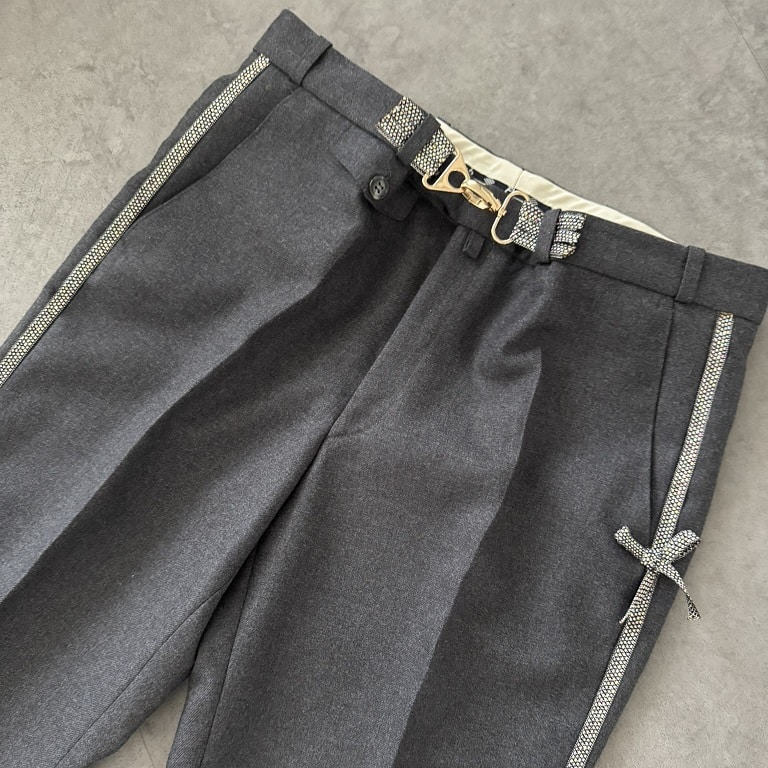
ReStyle Men’s Trousers: DIY step-by-step tutorial
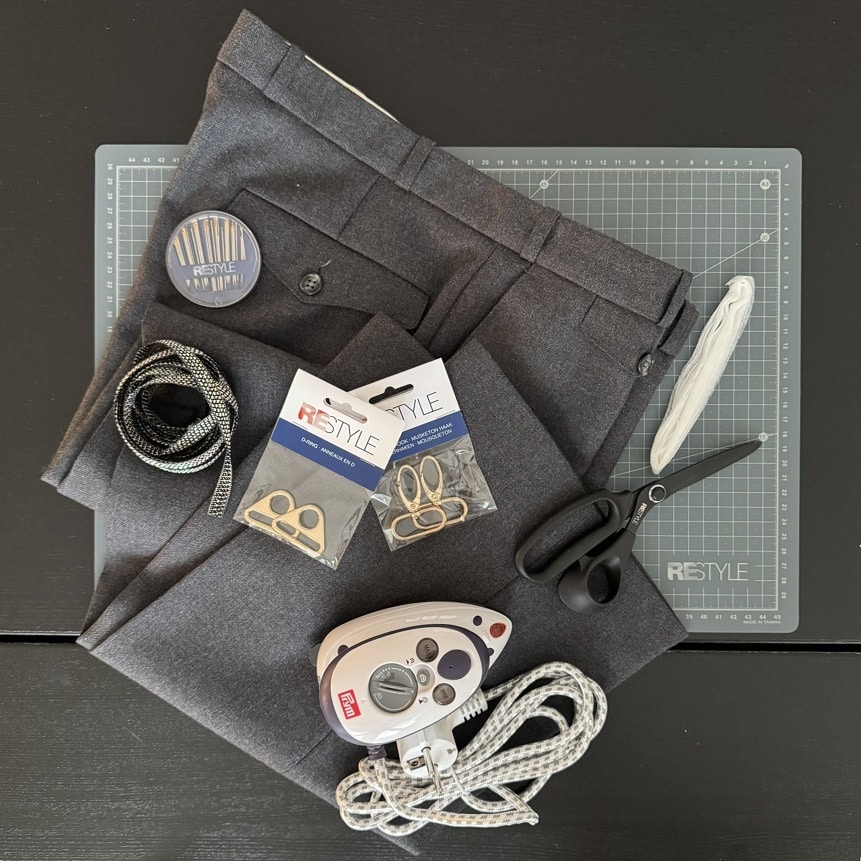
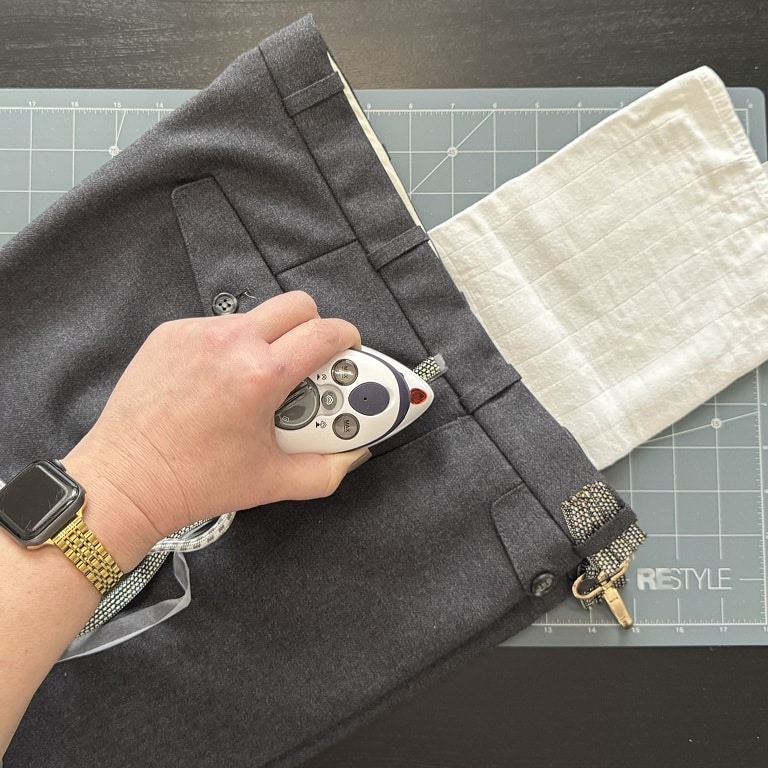
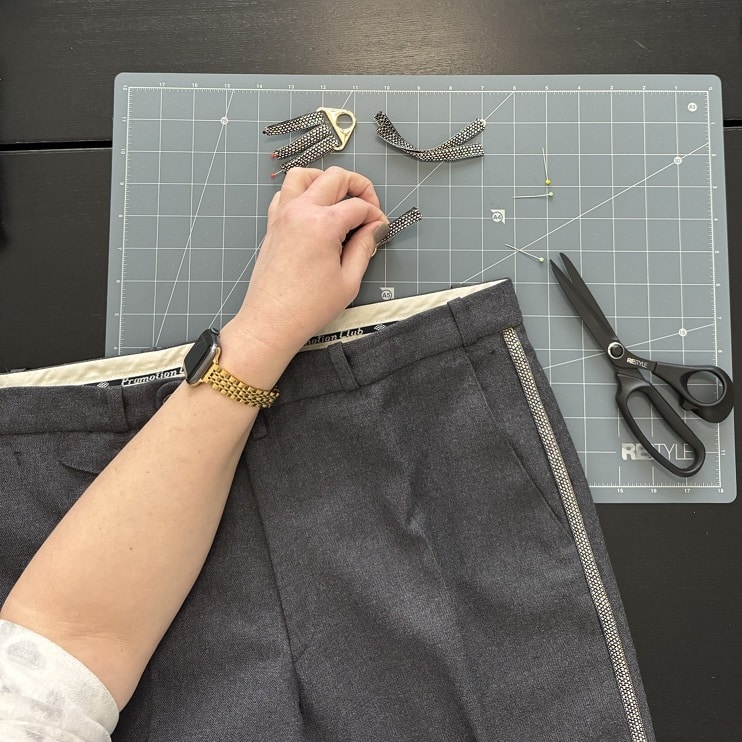
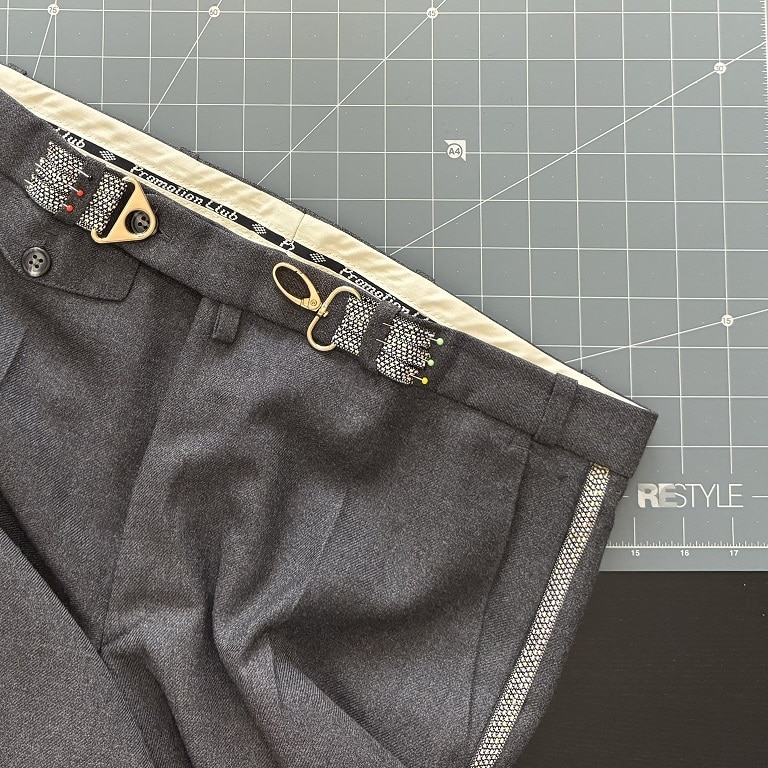
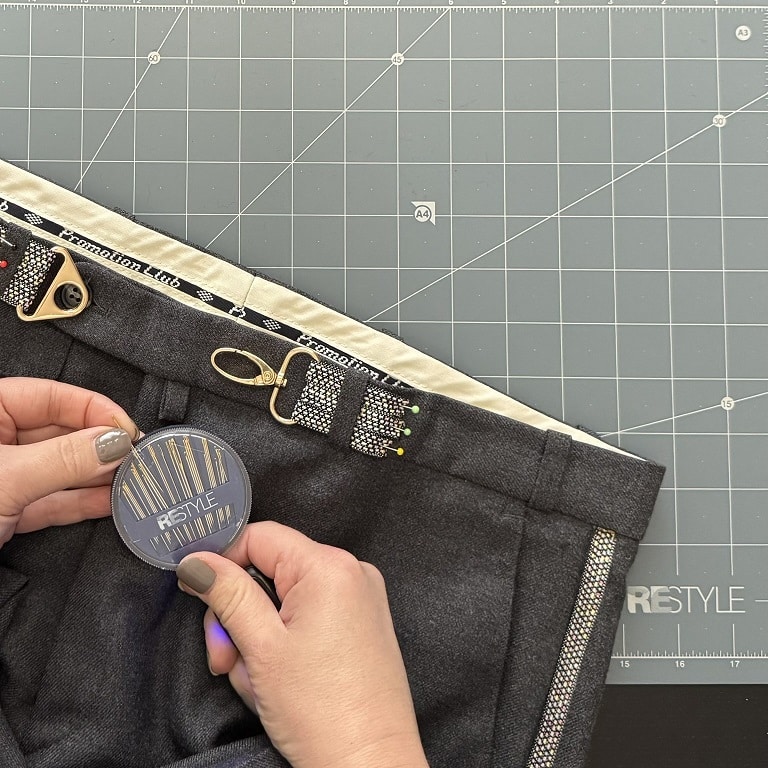
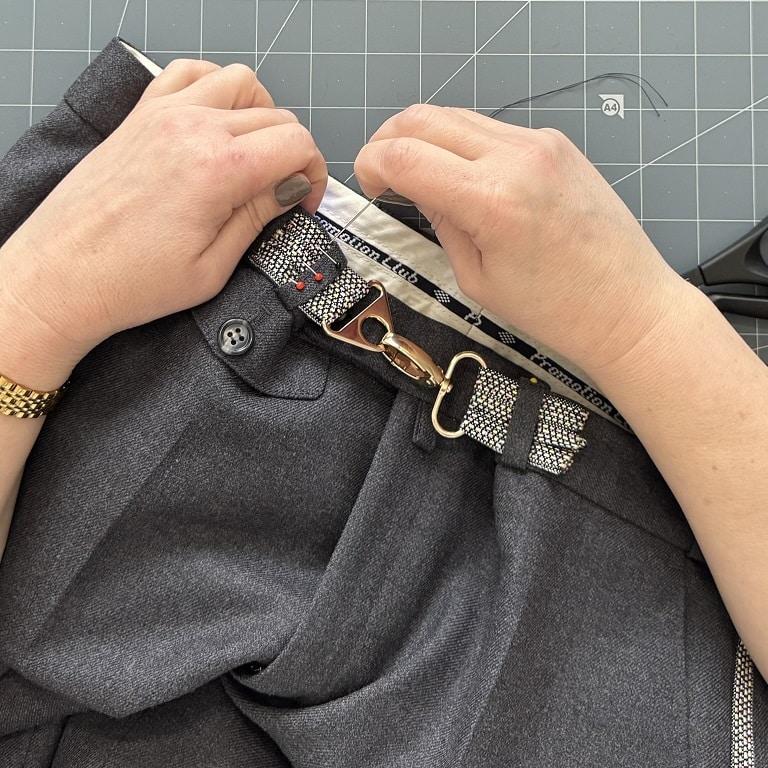
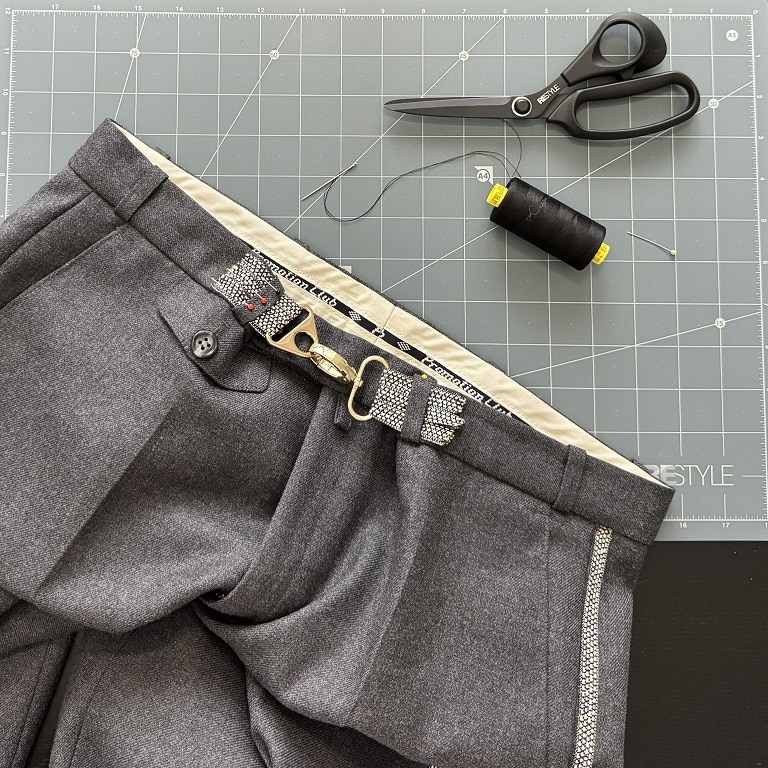
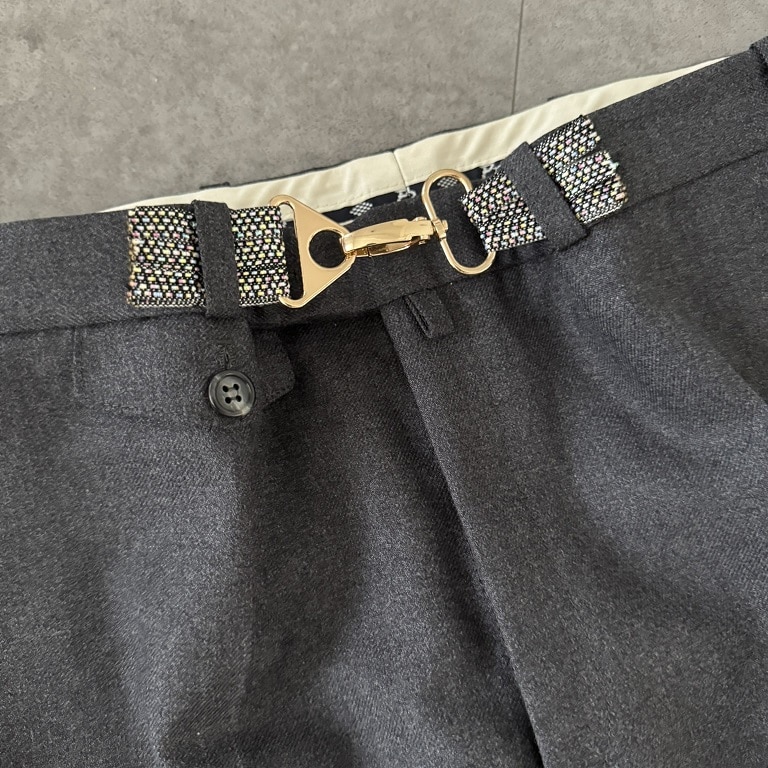
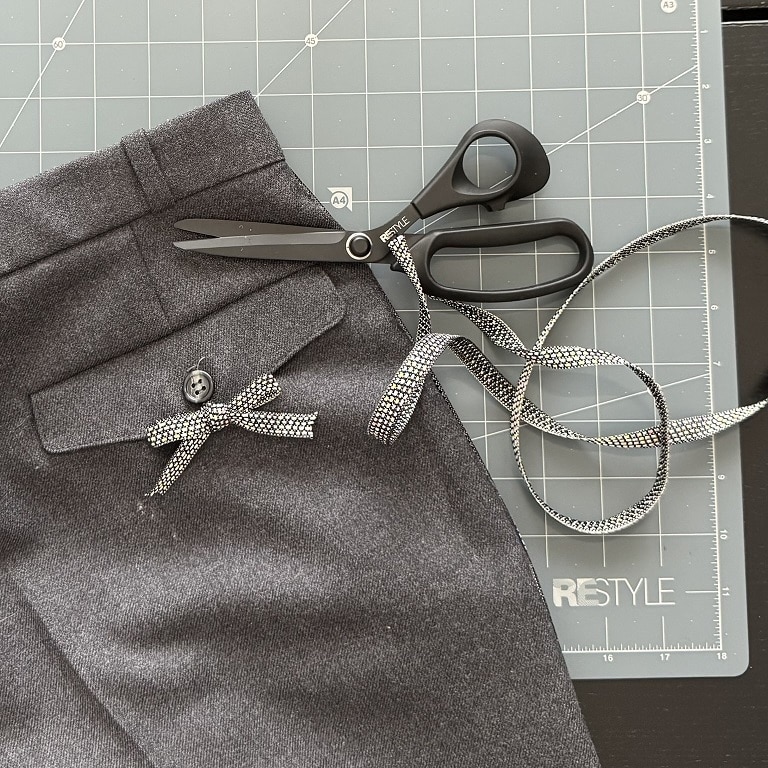
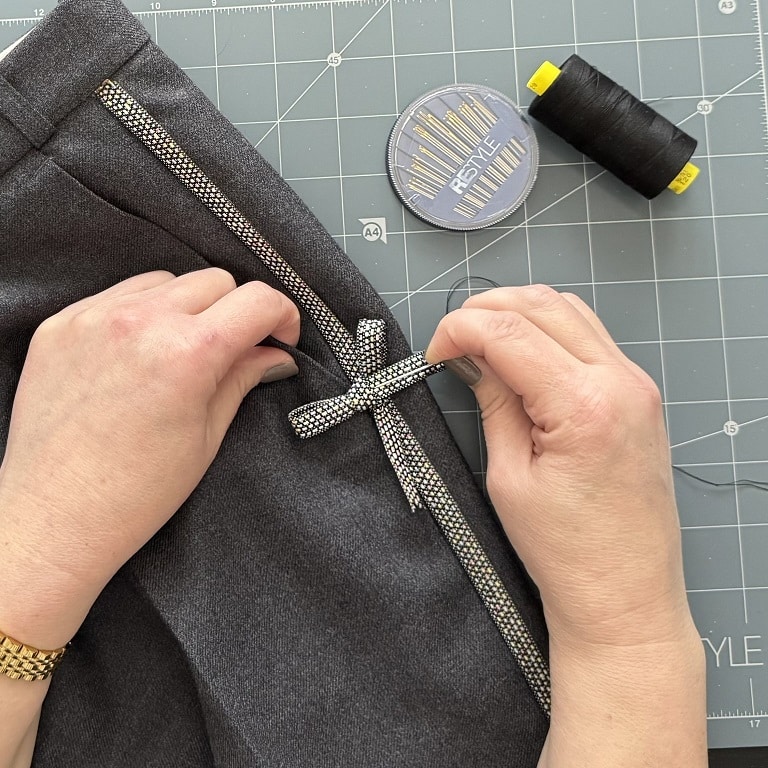
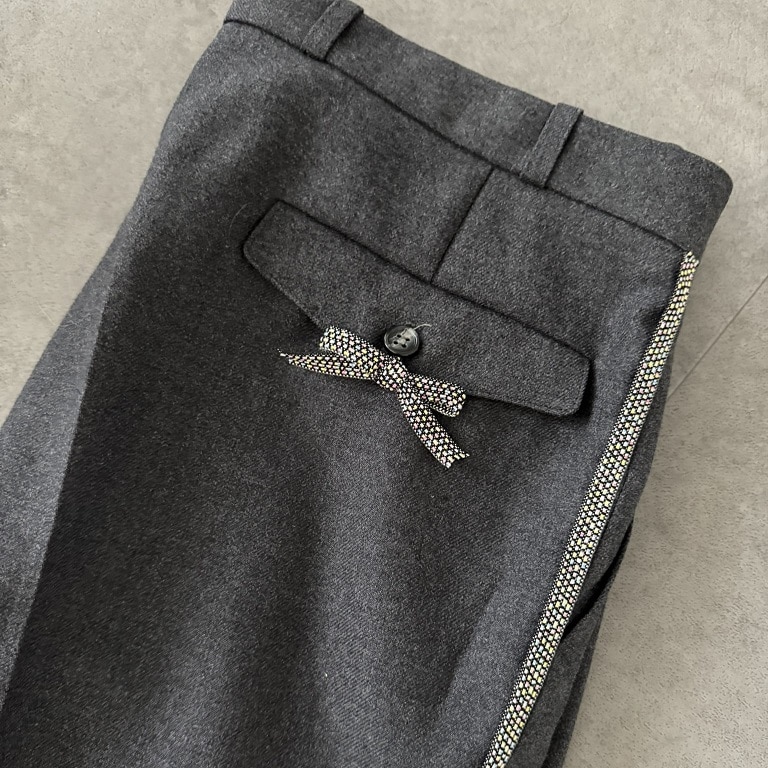
Do you want to give your old men's trousers or any other old pants a fresh new look? In this DIY guide, we’ll show you how to easily create a stylish restyle using just a few simple materials and techniques.
